Hello stampers and crafters! I hope you’re having a great day so far. Thanks for joining me today. I am back to share with you some Easter cards that I have made ages ago. I forgot how I loved making interactive cards. For the Easter cards you see below, I have made a ton of them back when I first started paper crafting. I didn’t have enough supplies then so it is really more fun for me to re-create them now. These cards can be easily mass-produced! They are so simple!
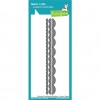
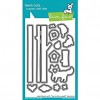
I started out by die-cutting my white card stock and patterned papers using my oval dies. I also die-cut a ¾ inch. colored card stock and adhered it to the center of the patterned paper. To create the “cracked” look on the “egg” and to be able to open and close the card, I used my Lawn Fawn stitched scallop edge die. By doing this process, it will ensure that your patterned paper are perfectly lined up together.


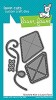
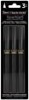
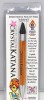
Using my Xyron Teresa Collins Mega Runner adhesive, I adhered the bottom decorative patterned paper to the card base. I then used my paper punch to punch a hole on the top panel, and inserted a decorative brad so I can open and close the card.


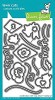
I stamped my little chick image on Neenah solar white card stock (twice) and colored him in with my Copic markers. I fuzzy cut the images with my precision-cut scissors and used my Xyron mega tape runner again to adhere the image inside the card.

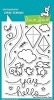
To finish off the design, I stamped my sentiments on both cards, and covered the brad with some decorative flowers. Aren’t they adorable? They are so easy to make. Even little kids will love creating these interactive Easter cards.

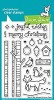
Here are some other spring-related cards that I designed before and recreated for this blog post using my Xyron tape Runner and Sticker Maker. I hope I have given you some inspiration to create some cute Easter and spring cards. Happy crafting!


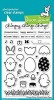
———SUPPLIES——–