Newton’s Nook & Xyron Inspiration Week Collaboration

NNDXYRON_2018

This week Newton’s Nook Designs and Xyron are partnering for a very awesome inspiration week!  Each day there is fresh inspiration using Newton’s Nook Designs products with Xyron adhesives on the NND blog and on the Xyron facebook page!

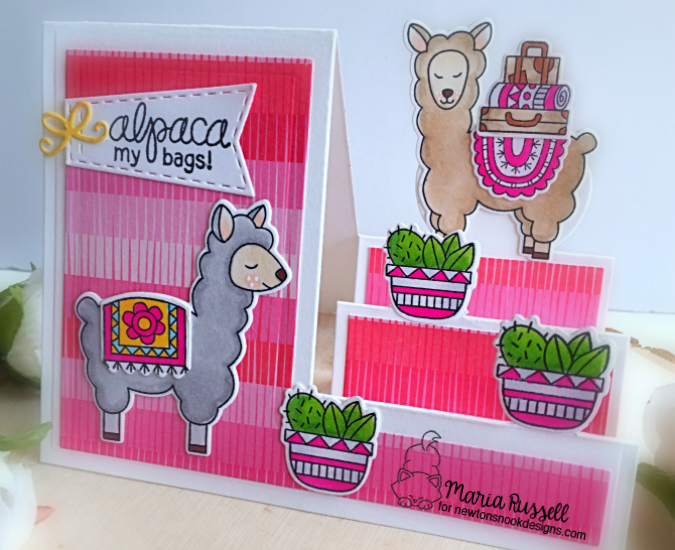
For my project today, I used the new Loveable Llama stamp set by NND, a Sizzix step-up die from my stash and my all-time favorite Xyron Mega Tape Runner.

I started out by die-cutting some white 110 lb. card stock using my Sizzix Basic Step-up dies.

IMG_8655

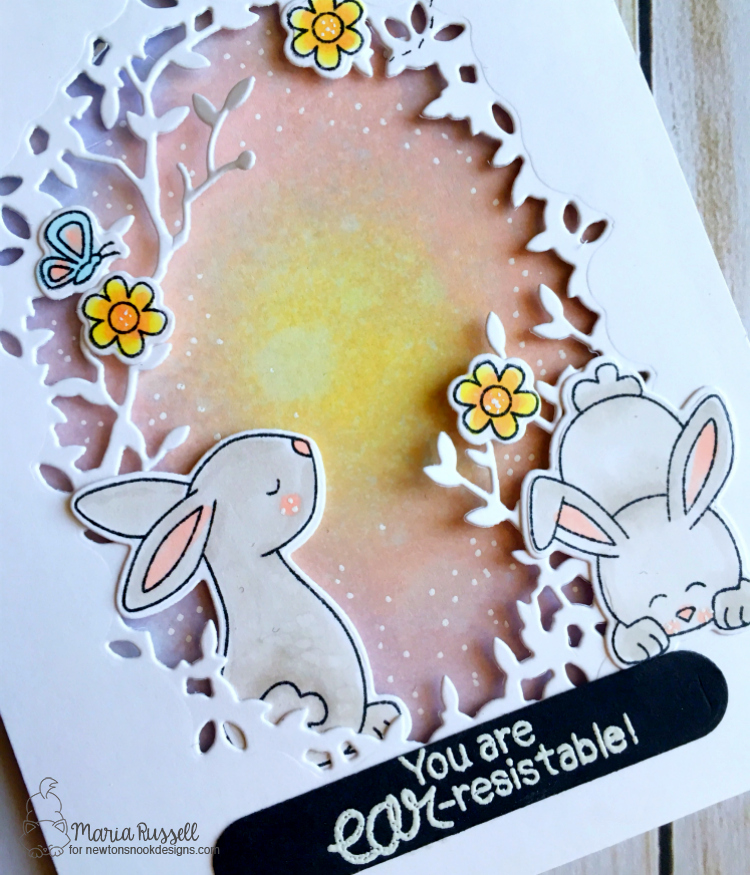
I stamped my Llamas from Loveable Llamas stamp set on some Neenah solar white card stock, using memento tuxedo black ink.  I colored them in with my Copic markers, and used the coordinating dies to die-cut the images.

I used a patterned paper from my stash to die-cut the pieces to decorate my step-up card and adhered them with my Xyron Mega Tape Runner.  This is my favorite adhesive to use on my projects.

IMG_8656

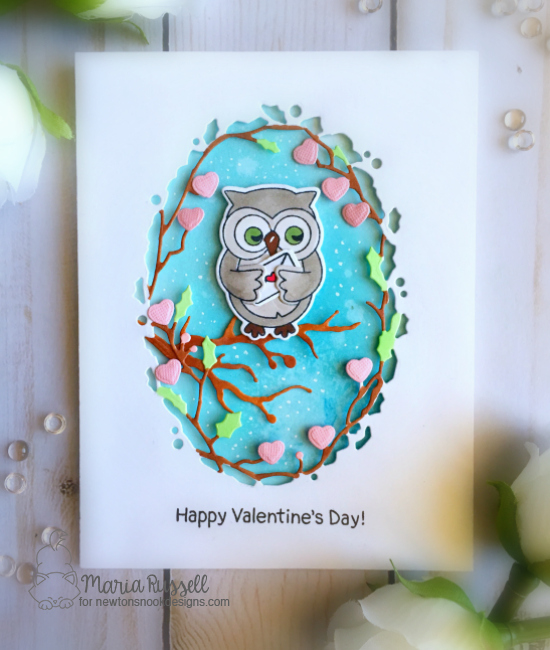
I adhered all of the images on the card and finished the design by stamping the sentiment on a banner strip die, and added the yellow bow.  Here’s the card:

NNDLovableLlamasXyron3


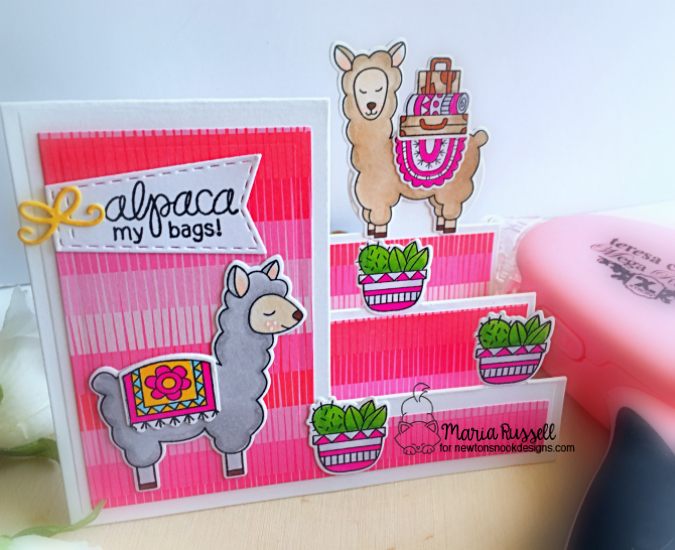
I really love how cheerful this card turned out.  The cacti images from the stamp set went perfectly with the theme of this card.


NNDLovableLlamasXyron3A


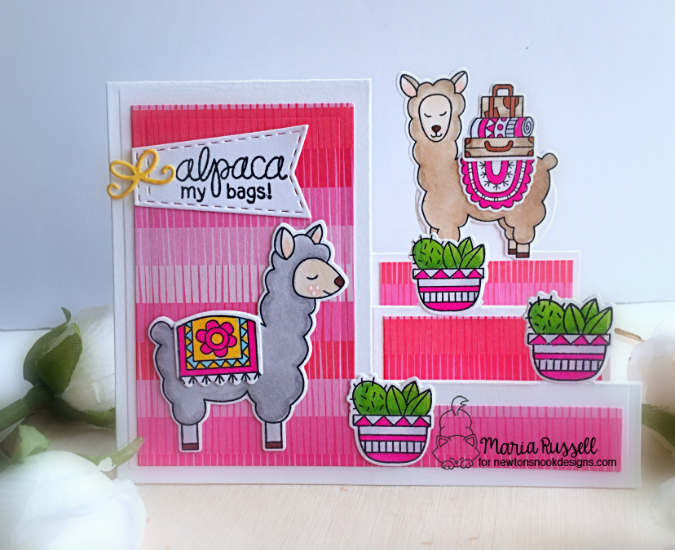
Here’s another look:


NNDLovableLLamasXyron3B

Would you like to win a Prize pack including a Mega Runner from Xyron and a $25 store credit to Newton’s Nook Designs?

Here’s how to win:

Leave a comment on the NND & Design Team blog posts using Xyron products all week (June 25-29) to enter. One winner will be randomly chosen from blog posts throughout the week so the more posts you leave comments on the better your chances are of winning!  You have until Friday, June 29th, at midnight EST to comment. The winner will be announced on the NND blog post on Monday, July 2nd.

Xyron will also be giving away a prize pack! Make sure to visit the Xyron facebook page each day this week for inspiration and leave comments there for another chance to win! Have an amazing week and happy crafting!
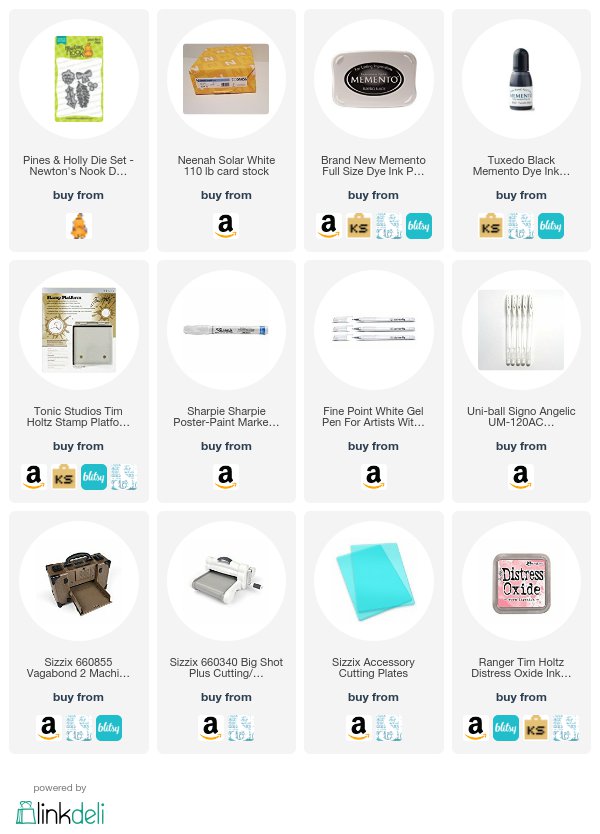
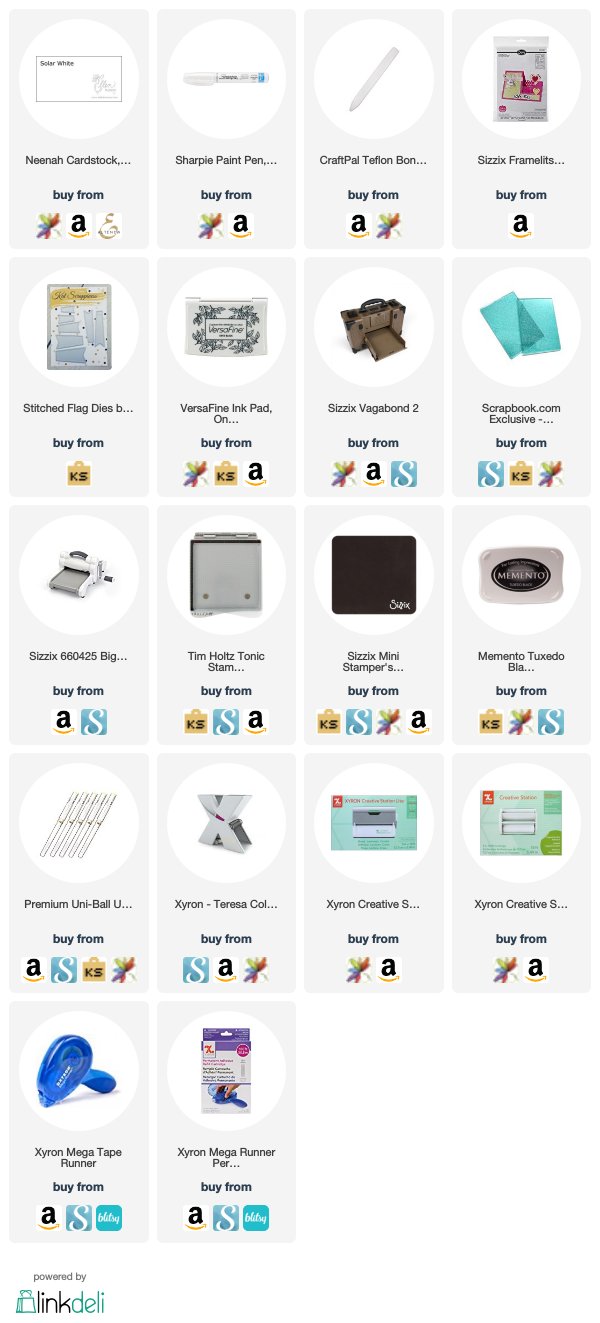
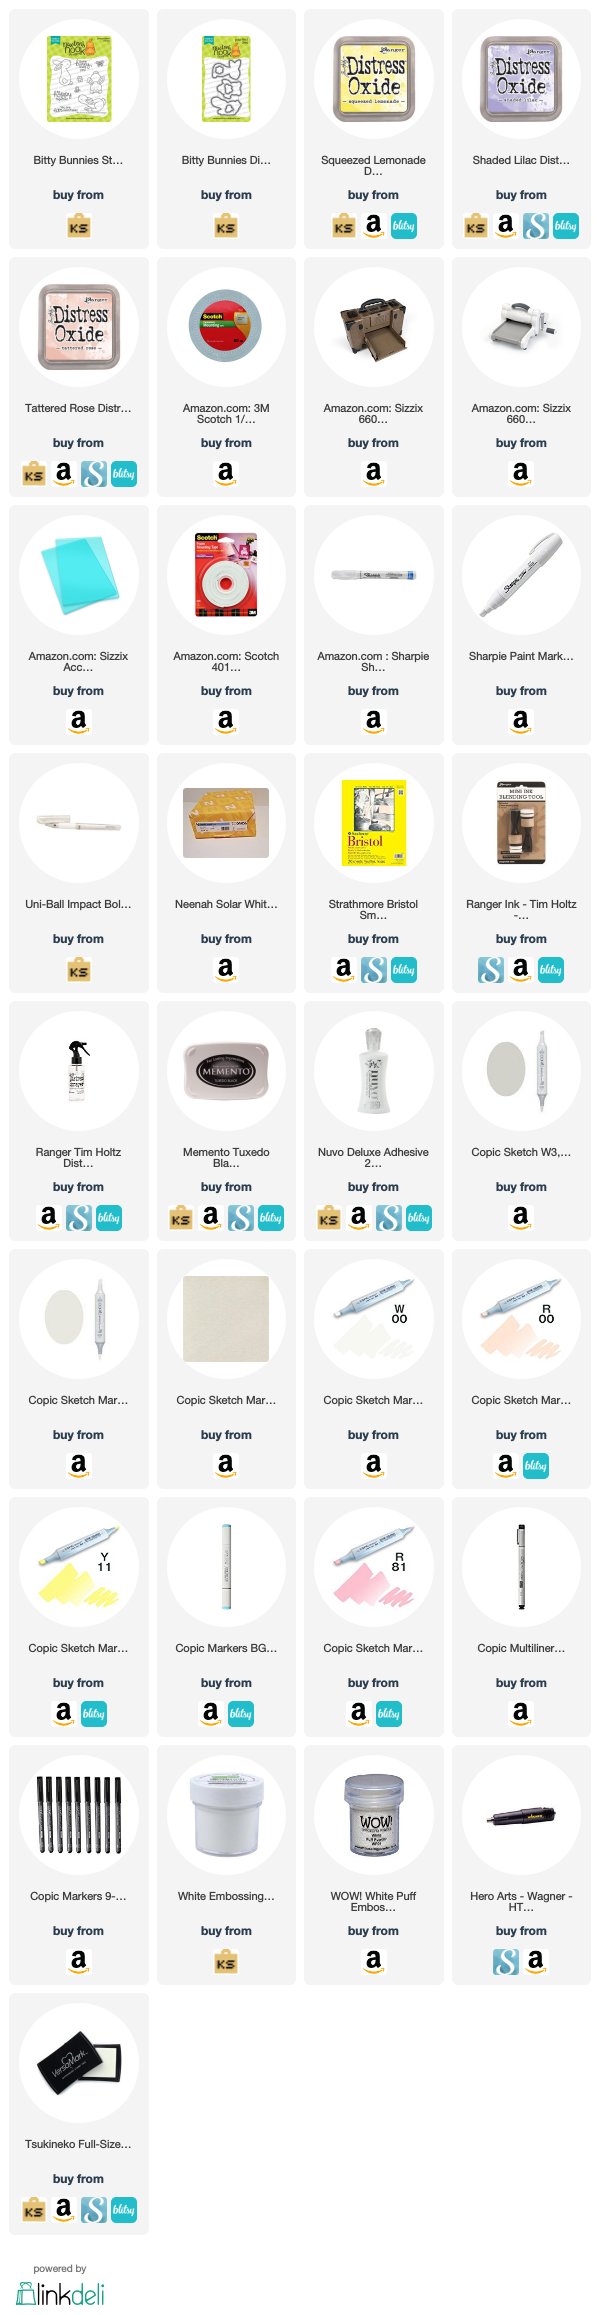
—————-SUPPLIES—————


Bitty Bunnies Spring Card

Ahh! Spring is almost here and I am ready for all things “pastel”, haha!  I am back today to share with you a Spring card, showcasing the Bitty Bunnies stamp set and coordinating dies, with some squeezed lemonade, shaded lilac and tattered rose distress oxide inks.

I have a process video for you today so I will keep this blog post short.  I hope you got inspired.  The supplies I used are listed and linked below. Have a wonderful day!

Here’s my card:

NNDBittyBunnies03

Here’s a close-up:

NNDBittyBunnies04

The process video:

————SUPPLIES————-


NND February Release – Woof Pack

NNDFeb18ReleaseIcon

It is the last day of the February release by Newton’s Nook Designs and the design team is showcasing the Woof Pack stamp set.  You also have a chance to win each stamp set during release week so check out the details I have indicated at the end of this blog post.  [Just a little important note:  I know some of you had difficulties finding the comments section.  If you would like to leave a comment to participate in the giveaway, the “comments section” will only be ever visible when a single post on Word Press is being viewed. Please click on this particular blog post and you will be able to leave a comment below.  Thank you for understanding and I apologize for the confusion.]  

Here’s what the stamp set look like:

NNDWoofPack_PKG

I die-cut a piece of Neenah Solar white card stock using the Scallop Rectangle from the Frames and Flags die set.  I stamped my images on this die-cut using memento tuxedo black ink and colored my images in with my Copic markers.   To finish my design, I stamped my sentiment with Memento Tuxedo black ink and stamped the hearts with for lipstick distress oxide.  Here’s my card:

NNDWoofPack

Here’s a close-up photo of the cute dogs:

IMG_7141

I absolutely adore the dog images!    Would you like to win the “Woof Pack” Stamp Set?  This stamp set will be given away to ONE lucky winner!

Here’s how to win:

Comment on the NND blog and Design Team blogs (see list below)! Thewinner will be chosen at random from the collective reveal posts. Make sure to check out each of their blogs and comment for your chance to win. You will not know which blog has been chosen so the more you comment on the better your chances are of winning! You have until Thursday February 15th at 9pm EST to comment  — winners will be announced on the blog post on Friday, February 16th.

Check out all the awesome Design Team Blogs below to enter:

Newton’s Nook Designs

Amanda Bodine

Holly Endress

Ellen Haxelmans

Larissa Heskett

Samantha Mann

Juliana Michaels

Naki Rager

Maria Russell

Jennifer Timko

Tatiana Trafimovich

 ——–SUPPLIES——–


Kat Scrappiness Dies with Lawn Fawn Sweet Friends

I hope you all had a great Valentine’s Day yesterday!  I have two cute cards for you today showcasing the (new) Large Alpha Dies, Distressed Edge Circle Dies, Distressed Edge Rectangle Dies, Fancy Scalloped Edge Dies by Kat Scrappiness, with Lawn Fawn’s Sweet Friends stamp set and Sweet Friends Lawn Cuts dies.

Even though these two cards have hearts, they are not for Valentine’s Day.  My friends and I love s’mores and I thought the Sweet Friends stamp set with the Large Alpha Dies and other dies by Kat Scrappiness would be perfect to use for my cards today.

I have a process video for you so I will keep this blog post short.  Here are my cards:

KatScrapAlpha2

KatScrapAlpha1

Here’s the process video:

I hope I have inspired you today.  If you like to purchase the products I used, they are listed and linked below.  Please don’t forget to use my coupon code “MARIA10” for 10% off your order.  Please also check out the Valentine’s Day sale at the shop as they are only valid until February 18, 2017.  Have a wonderful day!

KatScrap Valentine's Sale

 ——–SUPPLIES———-


Valentine’s Mailbox Treat Holder with Color Washed 12×12 Paper Pad by PHP

Maria Russell CircleAre you looking for some last-minute gift ideas for Valentine’s Day?  Look no further.  Here’s an easy and fun Valentine’s Mailbox Treat Holder idea!   You can find these mailboxes at a craft store, or go to your local Target at the Dollar spot section.  I have altered my mailbox, using the beautiful Color Washed 12 x 12 Paper Pad by Paper House Productions.  You guys are all going to love this paper pad.  The pad comes with a sticker sheet that contains alphabet stickers, and other ephemeras.

I love making 3D projects for Valentine’s Day, especially making treat holders for my family and friends.  Valentine’s Day is always a special day at my house.  When my kids were a lot younger, I would surprise them by decorating the table with hearts, candles, confetti, and flowers!  I would also leave the little treat bags on top of their plates so that before they eat breakfast and go to school, they already have their treats with them.  It made their day.  It doesn’t matter how big or small the presents were but they were always happy to get a few treats to celebrate the day.  We also made treats for their friends!

Here are the photos of my finished project:

PHPColorWashed1

PHPColorWashed2

PHPColorWashed3

PHPColorWashed4

PHPColorWashed6

I have a process video for you today to show you how I altered this inexpensive mailbox that I found from Target.  It is super fast and easy, and it doesn’t require decoupaging.  I hope you like it.  The supplies I used are listed and linked below.  Have a wonderful day!

SUPPLIES:  Color Washed 12 x 12 Paper Pad, Xyron Creative Station Lite, Mailbox


London Calling Scrapbook Layout Destination Stickers with Paper House

Maria Russell CircleHello my crafty friends!  Maria here with you today and I am back to share with you a scrapbook layout, showcasing the Discover London 3-D Sticker Pack and the London Calling 12″ Double-sided Scrapbook paper.  I love that there are endless possibilities to mix and match the coordinating travel sets, especially the Destination Stickers.  I really love the 3d stickers!IMG_6677

I started out by printing my photos using my Canon Selphy photo printer.  I cut them to size for my layout.

I decided to use the London-Calling 12″ Double-sided scrapbook paper to match the Discover London 3D Sticker pack.  I cut a 6 x 12 black card stock to cover half of the scrapbook paper to have a plain base to showcase my photos and the sticker.

IMG_6678

I also used another black card stock to mat my Big Ben photograph and ground it a little so that it doesn’t look like it’s floating in the air.

IMG_6679

I used another red card stock to mat the photo of my daughter and I standing in Leicester  Square while it was snowing, and journaled a little of how the day was going, where we were, and the date.

IMG_6680

Here’s a close-up with the amazing Destination 3D sticker, and that England heart flag is super cute!

PHPLondon1

I thought it’s also appropriate to include the “Cheers” and the Red Tour Bus, also included in the Discover London 3D Sticker pack.

PHPLondon2

My daughter and I are huge fans of Sherlock Holmes so naturally, we had to see where he lived and thought that the Police Cap and the Red Telephone Booth would be perfect to showcase this spot.

PHPLondon3

I wish I can share more photos and use more stickers but I guess I will have to share it on another post.  We have definitely enjoyed touring London and this London-Calling 12″ Double-sided scrapbook paper with the Discover London 3D Sticker pack are the perfect combination to decorate my layout.

PHPLondon4

I hope you all enjoyed this project and found some inspiration.  Please don’t forget to visit www.paperhouseproductions.com to find the supplies that I used.  They are also listed and linked below to make it easier for you.  Don’t forget to use the coupon code “PH18MARIA” to get 15% off your order. Have a wonderful day!
SUPPLIES USED:  London-Calling 12″ Double-sided scrapbook paperDiscover London 3D Sticker pack

Maria Russell Signature Logo

NND January Release – Deer Friend Stamp Set and Dies

NNDJan18ReleaseIcon_Jan18

It is the third day of the January reveals by Newton’s Nook Designs and today we are showcasing the Deer Friend stamp set and coordinating dies.   [Just a little important note:  I know some of you had difficulties finding the comments section.  If you would like to leave a comment to participate in the giveaway, the “comments section” will only be ever visible when a single post on Word Press is being viewed. Please click on this particular blog post and you will be able to leave a comment below.  Thank you for understanding and I apologize for the confusion.]  

NNDJan18_DeerFriend

I stamped all of the images on Neenah Solar White card stock and colored them in with my Copic markers.  I die-cut the images using the coordinating dies.  I wanted to showcase the deer by creating a shadow box card.  This card can be folded flat and inserted in an envelope for mailing.  I followed a shadowbox tutorial on pinterest.  here’s what you need:

  1.  Cut two pieces of card stock measuring 4 1/4 X 6 3/4, and score 1 1/4 from each long edge.
  2. Die-cut a square window from the center of one of the panels (this is your front piece).  You will later on connect both panels to create your shadow box.
  3. Cut a 4 1/4 square panel of patterned paper and adhere to the center of the second card panel (this is your back piece).  (You can do your stamping here before you assemble the box).
  4. Cut two pieces of green card stock. One is measuring 1 1/4 x 5 and the other is measuring 1 x 5 and score from each long edge at 3/8″
  5. I used the Newton’s Nook Grass Border die to die-cut the green panels.
  6. Adhere some score tape on each scored panels.
  7. Fold the ground panels flat, flush to the card’s bottom edge. Fold right side flat over them to adhere.
  8. Attach the images you need to decorate your shadow box.
  9. Fold box flat and adhere right side flaps to close the card.

Here are some step-by-step photos:

Here is the card:

NNDDeerFriend

You can also use acetate sheets to suspend some images inside your shadow box (i.e., birds, clouds, etc.)  I hope you got inspired today to create your own shadow box.

Would you like to win the “Deer Friend” Stamp Set?  This stamp set will be given away to ONE lucky winner!

Here’s how to win:

Comment on the NND blog and Design Team blogs (see list below)! The winner will be chosen at random from the collective reveal posts. Make sure to check out each of their blogs and comment for your chance to win. You will not know which blog has been chosen so the more you comment on the better your chances are of winning! You have until Thursday January 18th at 9pm EST to comment  — winners will be announced on the blog post on Friday, January 19th.

Check out all the awesome Design Team Blogs below to enter:

Newton’s Nook Designs

Holly Endress

Ellen Haxelmans

Larissa Heskett

Samantha Mann

Juliana Michaels

Naki Rager

Maria Russell (you are here)

Jennifer Timko

Tatiana Trafimovich

Maria Russell Signature Logo

 ————-SUPPLIES———–


NND January Release – Sending Hugs Stamp Set and Dies

NNDJan18ReleaseIcon_Jan18

It is the second day of the January reveals by Newton’s Nook Designs and today we are showcasing the Sending Hugs Stamp Set and Coordinating Dies.  I love that the dies cut through the arms and it can hug the little images included in the stamp set. [Just a little important note:  I know some of you had difficulties finding the comments section.  If you would like to leave a comment to participate in the giveaway, the “comments section” will only be ever visible when a single post on Word Press is being viewed. Please click on this particular blog post and you will be able to leave a comment below.  Thank you for understanding and I apologize for the confusion.]  

NNDJan18_SendingHugs

I stamped all of the images on Neenah Solar White card stock and colored them in with my Copic markers.  I die-cut the images using the coordinating dies.

I die-cut a piece of white card stock measuring 4 1/4 by 5 1/2 and used a die from my stash to cut out the window.  I also used another die to die-cut a branch for my Owl to perch on.  I finished my design my adding the pink hearts from the Love Bites die set (showcased yesterday).  Here’s my first card:

NNDSendingHugs1

For my second card, I wanted to create a non-Valentine project.  The stamp set is so versatile and you can use this for any occasion.  Here’s my birthday card:

NNDSendingHugs2

Would you like to win the “Sending Hugs” Stamp Set?  This stamp set will be given away to ONE lucky winner!

Here’s how to win:

Comment on the NND blog and Design Team blogs (see list below)! The winner will be chosen at random from the collective reveal posts. Make sure to check out each of their blogs and comment for your chance to win. You will not know which blog has been chosen so the more you comment on the better your chances are of winning! You have until Thursday January 18th at 9pm EST to comment  — winners will be announced on the blog post on Friday, January 19th.

Check out all the awesome Design Team Blogs below to enter:

Newton’s Nook Designs

Holly Endress

Ellen Haxelmans

Larissa Heskett

Samantha Mann

Juliana Michaels

Naki Rager

Maria Russell (you are here)

Jennifer Timko

Tatiana Trafimovich

Maria Russell Signature Logo

 ————-SUPPLIES———–


At The Beach Scrapbook Layout

Hello my crafty friends!  I am so excited to share my very first post for the Paperhouse Productions and today and I am sharing a very simple scrapbook layout showcasing the At The Beach 12 x 12 Paper Crafting Kit.  This pack is AMAZING as it contains card stock and puffy stickers to embellish, plus other ephemeras to decorate my project.  I thought it’s perfect to showcase the photos that I took while my husband, daughter and I were in The Maldives in July of 2016.


I started out by printing a couple of my photos with my colored printer and cut these photos down to size.    When I do scrapbook layouts, I kind of just go with what I feel that day and I don’t overthink about making sure the lines and photos are all perfect!  It is after all, a handmade project!


I adhered the photos with my favorite adhesive and added some of the embellishments.  I LOVE the puffy stickers that were included in At The Beach Paper 12 x 12 Paper Crafting Kit.  Here’s what it looks like:


PHPBeach1


I also added the card stock stickers and journaling cards that are included in the pack:


PHPBeach2


I adhered the alphabet stickers and the rest of my embellishments to finish my design. Here’s what it looks like:


PHPBeach3


I hope you all got inspired today!  Don’t forget to check out the beautiful paper products available at www.paperhouseproductions.com.  I also listed and linked the supplies that I used below.  Have a wonderful day!

Products used:  At The Beach 12 x 12 Paper Crafting Kit