Just Chicken-In Card – New Die at Kat Scrappiness

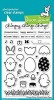
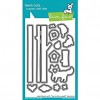
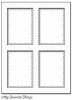
Hello my crafty peeps!  I am super excited to share this post because today, we are launching a new die by Kat Scrappiness called Wood Grain Framed Diamond Wire Background Die.  This die is designed by Kathleen herself and it is AMAZING!  It gives a nice wood grain-embossed details on the die-cut.  Here’s what it looks like:

IMG_8538

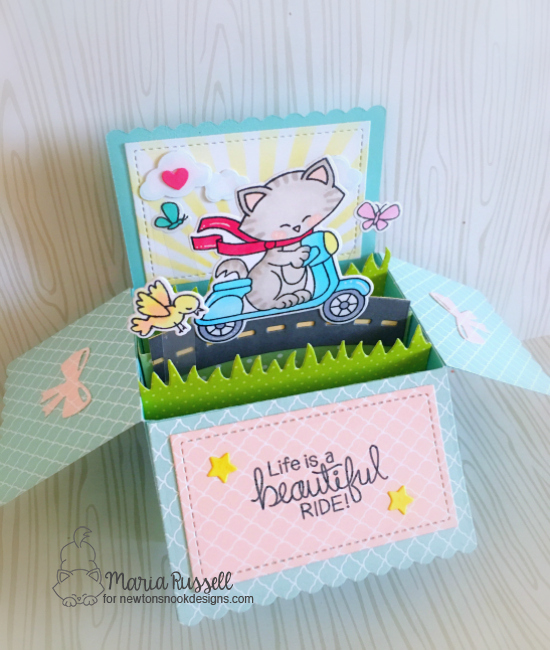
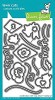
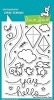
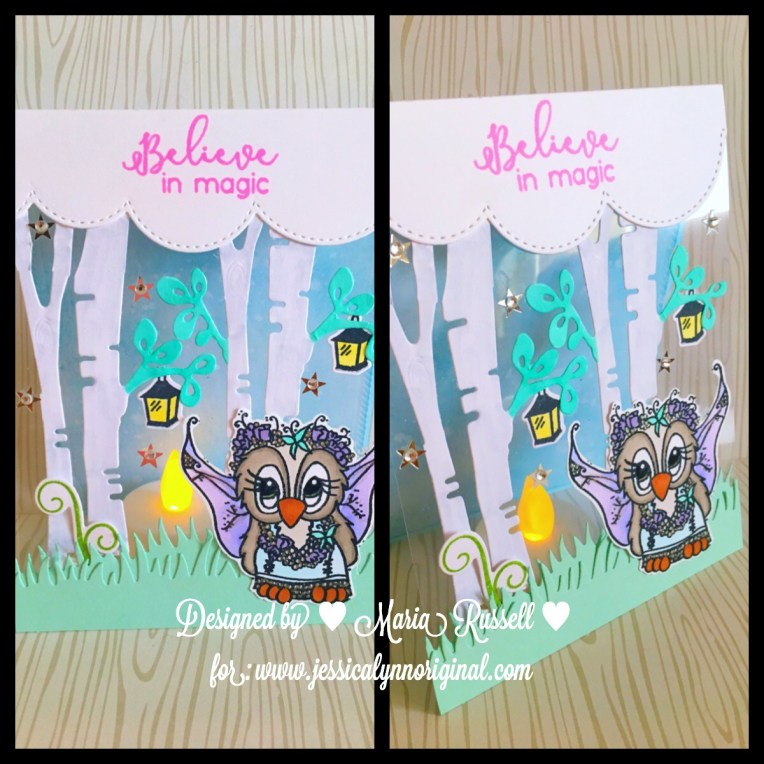
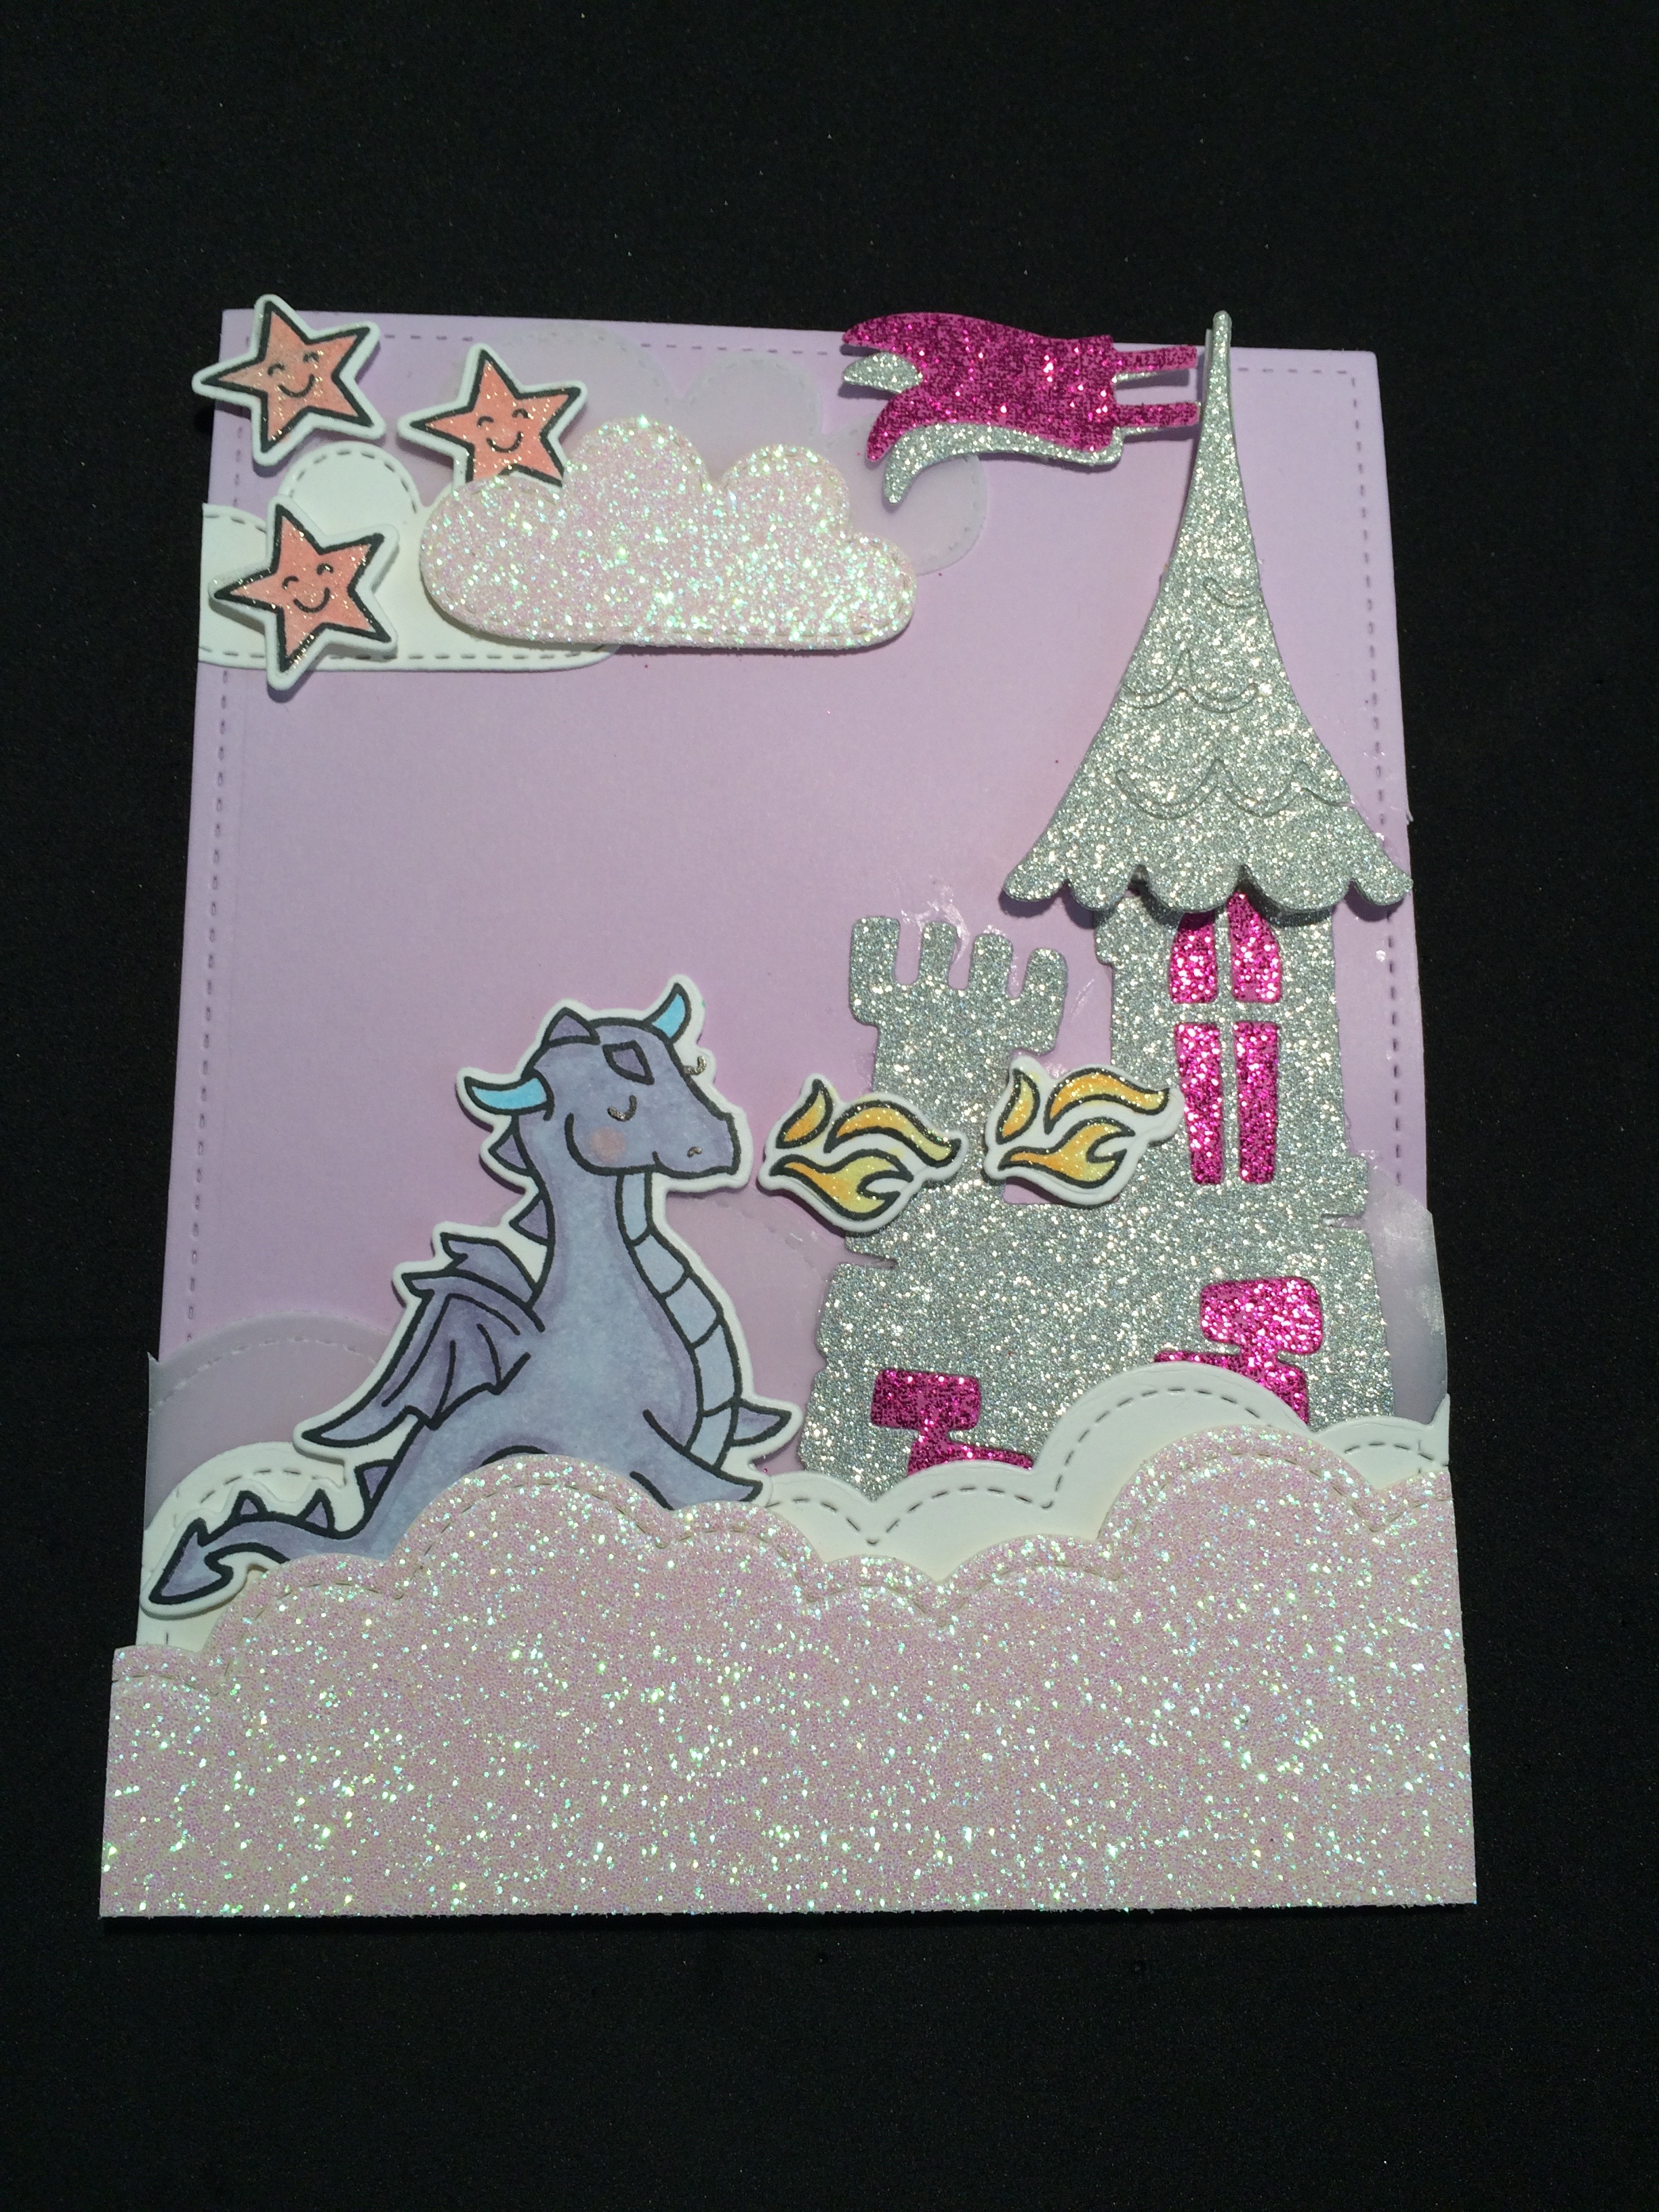
I stamped my images on Neenah solar white card stock with my Lawn Fawn Jet Black ink and colored them in with my Copic markers.  I fuzzy-cut the images using my precision cut scissors.

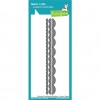
I used some older dies by Lawn Fawn to die-cut the grass hills and the picket fence.

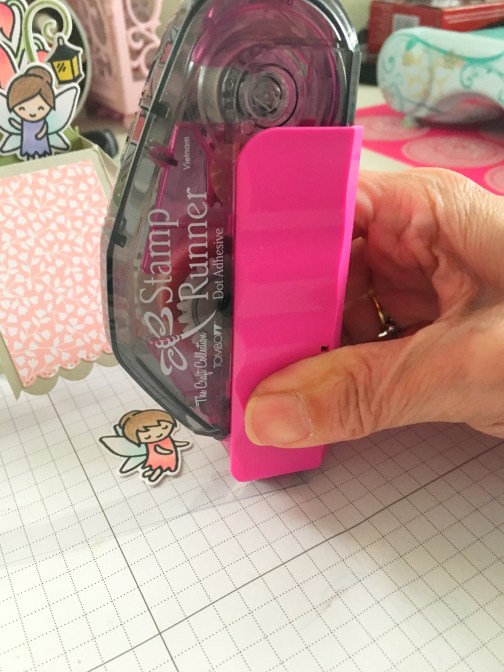
I die-cut some silver foiled card stock using the new die.  I also used another light tan card stock to die-cut the same piece so I can layer them together.  For the second piece, I cut the wires using my scissors, and adhered this piece onto the silver foiled card stock.  I adhered an acetate sheet to this piece, then added foam adhesive to create my little well for my shaker card.

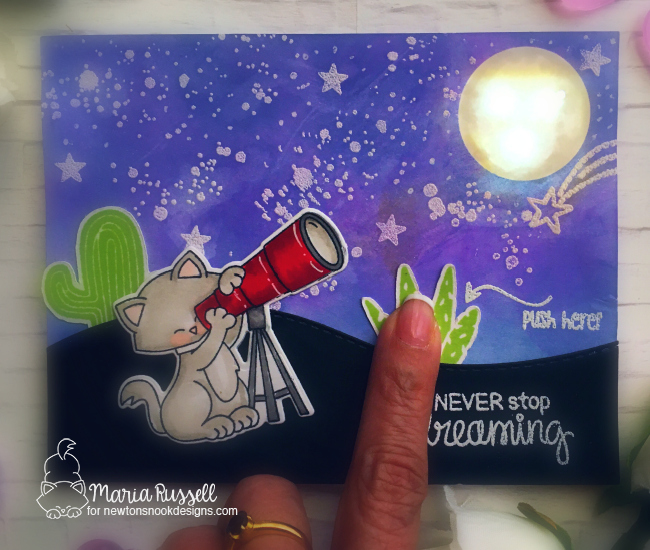
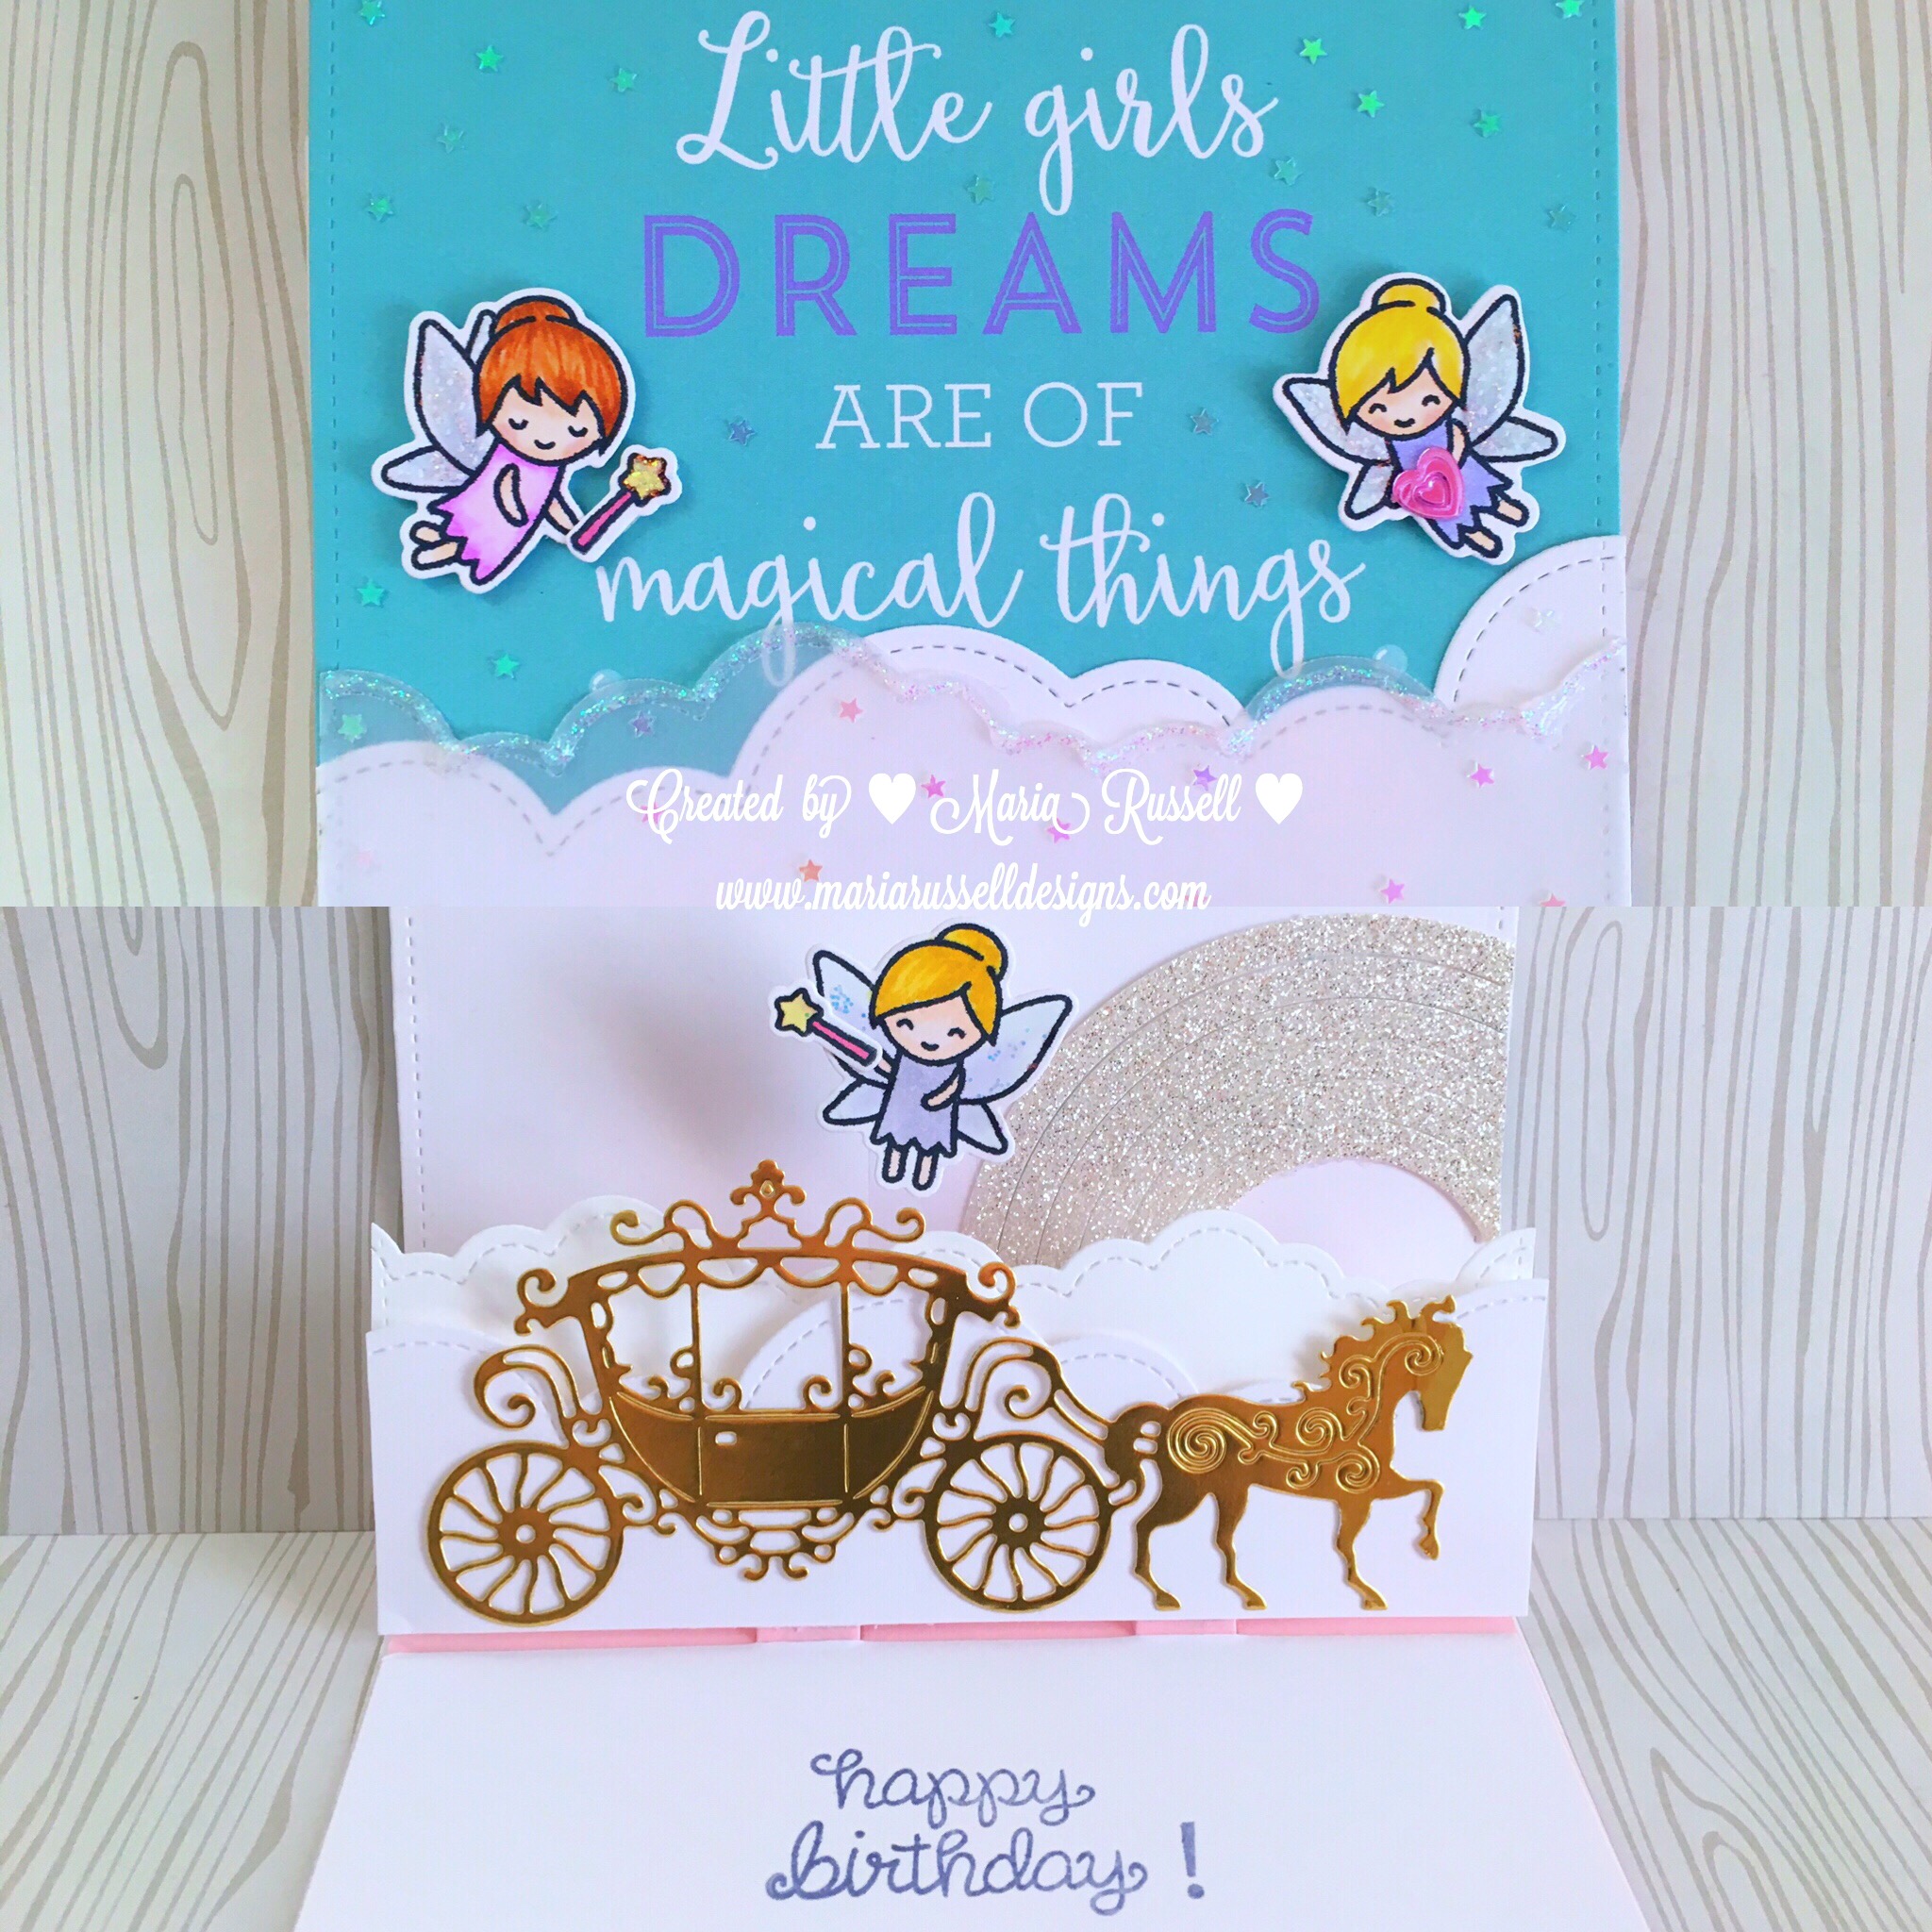
I cut an A2 size card stock for my card base.  I used the Sunburst Layering Stencils by Honeybee Stamps (also available at the shop) to color my card base.  I used a clouds stencil die to add the clouds.

I added the Walking on Sunshine sequin mix inside the well and adhered my card base on top to create my shaker card.  I adhered the chicken and the little chicks onto the foreground.

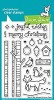
To finish my design, I die-cut some white card stock using the Stitched Flag Dies and stamped the sentiment.  I added this piece to my card with a pink bow.

KatScrapChickenWire1A

I love, love, love this new die!  I love that it also embosses the die-cut.  This die will also be great to create some layers, or do an inlaid technique.  The possibilities are endless!

KatScrapChickenWire1B

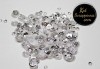
You guys should also check out the new sequin mixes at the shop.  This Walking on Sunshine sequin mix is so cheerful and the colors are so vibrant!  I chose this mix to make it look like corn kernels 🙂

KatScrapChickenWire1

Please check out the new products available now at www.katscrappiness.com.   This new die is a must-have!  I hope you like my shaker card and wishing you all a wonderful day!  Happy crafting!

————-SUPPLIES—————-


Newton’s Nook Designs & Chibitronics Inspiration Week + GIVEAWAY!

NND_Chibicollab

This week Newton’s Nook Designs and Chibitronics are partnering for a fabulous inspiration week! All week long, both design teams will be sharing ways to light up your cards using Chibi lights with Newton’s Nook Designs stamps! There is also a GIVEAWAY so please make sure to read up ‘til the end of this post to find out how you can WIN.

I am showcasing NND’s Cosmic Newton and Cultivated Cacti stamp set and dies, with the land border dies. I also would like to take this opportunity to thank Chibitronics for sending us this starter pack (this is a must-have, especially for the holidays).

I started out by stamping my images on Neenah solar white card stock and colored my images in with Copic markers. I also cut a 5 ½ by 4 ¼ to stamp my stars and draw the dots with my versamark ink and versamark pen. I covered them with my white embossing powder and heat-set it. I then used my distress oxide inks to color my background to create a night-sky.

I marked the position of where the battery was going to go on my card base, and also marked the “+” and “-“ placement of the circuit lines. Before I finalized the design and adhered my card front, I wanted to make sure that the lights worked first:

Here’s my card:

NNDCHIBI1

Here’s when I pushed the cactus to show the lights on the moon!  Doesn’t it look so spectacular? I had so much fun creating this card.

NNDCHIBI2

Would you like to win a prize pack including a Starter Kit from Chibitronics and a $30 store credit to Newton’s Nook Designs?

Here’s how to win: Leave a comment on the NND & Design Team blog posts using Chibitronics products all week (Aug 21-25) to enter. One winner will be randomly chosen from blog posts throughout the week so the more posts you leave comments on the better your chances are of winning! You have until Friday August 25th at midnight CST to comment. The winner will be announced on the NND blog post on Monday, August 28th.

Chibitronics will also be giving away a prize pack! Make sure to visit the Chibitronics blog each day this week for more inspiration and leave comments there for another chance to win!

Thank you for stopping by my blog today.  The supplies I used are listed and linked below. Have an amazing weekend!!!!

————–SUPPLIES————-


Life is a Beautiful Ride – Newton Scoots By

Hello my crafty friends! I’m finally back today after a short (and scary) “medical” hiatus. I am so happy because the doctor told me that I wouldn’t need surgery and I will only have to undergo physical therapy for the next few weeks. That being said, I am slowly trying to get back to the swing of things and it is going to take awhile before everything is back to normal schedule for me.


I apologize if I will not have a step-by-step instruction for you for my card today. I hope you understand. I am still recovering and was advised to take it easy for a few more weeks. It actually took me awhile to make the card below but I’m just thankful that I can finally use my right arm to color and die-cut, or even type this blog post. God is great!


For my card today, I am showcasing the new May release stamp set called Newton Scoots By and its coordinating dies, the land border dies, and the Newton’s Birdbath stamp set and its coordinating dies. I wanted to create a happy and cheerful card today.


Here’s my pop-up box. I hope you like the card and got inspired today. Please visit http://www.newtonsnookdesigns.com to purchase the new stamps and dies. Have an amazing day!


NNDNewtonScooter1


NNDNewtonScooter2

Easter Interactive Cards with Xyron Plus More Spring Cards Inspiration

Hello stampers and crafters! I hope you’re having a great day so far. Thanks for joining me today. I am back to share with you some Easter cards that I have made ages ago. I forgot how I loved making interactive cards.  For the Easter cards you see below, I have made a ton of them back when I first started paper crafting. I didn’t have enough supplies then so it is really more fun for me to re-create them now. These cards can be easily mass-produced!  They are so simple!

I started out by die-cutting my white card stock and patterned papers using my oval dies.  I also die-cut a ¾ inch. colored card stock and adhered it to the center of the patterned paper. To create the “cracked” look on the “egg” and to be able to open and close the card, I used my Lawn Fawn stitched scallop edge die. By doing this process, it will ensure that your patterned paper are perfectly lined up together.

Using my Xyron Teresa Collins Mega Runner adhesive, I adhered the bottom decorative patterned paper to the card base. I then used my paper punch to punch a hole on the top panel, and inserted a decorative brad so I can open and close the card.

img_4070

I stamped my little chick image on Neenah solar white card stock (twice) and colored him in with my Copic markers. I fuzzy cut the images with my precision-cut scissors and used my Xyron mega tape runner again to adhere the image inside the card.

img_4071

To finish off the design, I stamped my sentiments on both cards, and covered the brad with some decorative flowers. Aren’t they adorable? They are so easy to make. Even little kids will love creating these interactive Easter cards.

xyroneastercards

Here are some other spring-related cards that I designed before and recreated for this blog post using my Xyron tape Runner and Sticker Maker. I hope I have given you some inspiration to create some cute Easter and spring cards. Happy crafting!

xyroneastercards2

xyroneastercards1

xyroneastercards3

———SUPPLIES——–

Once Upon A Fairy Tale Brentwood and Operation Snowball Brentwood

This is my second blog post for today and I apologize for that. It just so happens that today, we are launching two new beautiful stamp sets by www.jessicalynnoriginal.com, called “Operation Snowball Brentwood” and “Once Upon a Fairy Tale Brentwood”. These two new stamp sets are probably my favorite drawings by Jessica, thus far. I have created two samples for each stamp set.

Once Upon a Fairy Tale Brentwood:

Processed with MOLDIV

img_2434

Operation Snowball Brentwood:

img_2626

img_2624

The supplies are listed and linked below. Have a great weekend!

Sparkle It Up Lawnscaping Challenge #130

To celebrate the new Lawn Fawn summer release and also participate in the current Lawnscaping Challenge # 130, Sparkle It Up, I made an over-the-top birthday card for a little girl, using the Lawn Fawn Fairy Friends Stamp Set and Dies, with the Stitched Cloud Border Dies.


Here is my rendition for the current challenge. I used Stickles, Wink of Stella, Glitter, Star Confetti, Glitter Card Stock and Gold Card Stock to make my card sparkle, shimmer and shine.  The little fairy inside is popped up with an acetate sheet to make her look like she’s hovering on top of the carriage.


“Little girls dreams are of magical things”


img_0955
Front of the card
img_0956
Inside the card

Here is the photo of the current challenge, and the link if you would like to participate http://lawnscaping.blogspot.com/2016/05/lawnscaping-challenge-sparkle-it-up.html

12391019_10208140514496435_4066071782680543841_n

I hope you like the card that I created.  Have an amazing day!

Fairy Friends with Tombow Dot Runner Adhesive

I recently ordered some very cute stamp sets from Lawn Fawn and I have been dying to play around with them before I travel in the next few days. I also received the new Tombow Dot Runner Adhesive. I have never used this adhesive before so I thought this Blog post will also serve as a review on how the adhesive worked.

I first stamped my images and colored them using my markers. I then lined up my images with the coordinating dies and run it through my die-cutting machine. Since I have made hundreds of these box cards, that you see on the photo below, I was able to put the box together in less than a minute, because I even have the dimensions memorized. (Note to self, I need to get a life)  I know that sounds really weird but it’s true! I wanted to create a cute scene for my fairies and so I also had to die-cut some grass to create my garden.

I used the Tombow Dot Stamp Runner for the first time to adhere all of my die-cut pieces and let me just tell you, I just fell in love with this adhesive.  It was sliding through so smoothly on the card stock and I didn’t have any issues at all!  Since it is also a dot-adhesive, I was able to reposition my die-cut pieces without tearing the paper but once you press it on, it adheres really well.

IMG_9550

IMG_9552

IMG_9551

Now comes the part where I have to use an acetate sheet to make one of my fairies look like she’s floating in the air. I normally use a mini-glue dot for this task but I decided to use the “stamp runner”. Holding it down and stamping it to the acetate, I was able to put enough adhesive to adhere my fairy.

I think the photos are self-explanatory so I will leave you all to enjoy looking at the photos. Overall, I’M IN LOVE WITH THE TOMBOW DOT RUNNER ADHESIVE!  I can say that this is now my all-time favorite tape runner and will purchase more in the future.

IMG_9553

I hope you like this project and have an amazing day!

IMG_9559IMG_9561IMG_9562


Rock Lobster Stamp Set by JessicaLynnOriginal

I am thrilled to finally be able to post photos of this new stamp set by Jessica Lynn Original called Rock Lobster. I love Brentwood, but don’t you just love that little smiley fish? It’s so adorable! Jessica is such a talented artist and a wonderful person; I am so proud to be a member of her design team.

Below you will find a photo of the stamp set. I think this will be a great addition to your collection. Just like the rest of Jessica’s stamps, this is made of high quality photo polymer material. You don’t have to be a skilled stamper to use this set.

IMG_8927

Since today is Halloween, I wanted to create a Halloween card. I have always believed that you can use any stamp set for any occasion, with just a little imagination. I always liked stretching my stamps and dies. Since Brentwood is already dressed up as a lobster for Halloween, I figured he needed some confetti to go along and celebrate my favorite holiday! I also used my We Are Memory Keepers Fuse tool for the first time to create a flat shaker. Note to self: next time, do not touch the fuse tool with your fingers to check it it’s hot enough! Ouch!

IMG_8899

The next card is one of my all time favorites! I think everything just worked and blended together beautifully. I love the colors on this card. I used my Avery Elle Wonky Stitched rectangle die to create the frame for my shaker card. I used a combination of blue, iridescent and white sequins and seed beads for my shaker elements. A video tutorial will be posted soon on my YouTube channel so please stay tuned for that.

IMG_8889

I hope you like what I’ve created. Please don’t forget to go to www.jessicalynnoriginal.com to grab this stamp set.  Happy Halloween!

Lawnscaping Challenge Sparkle and Shine Sponsored by Ellen Hutson

There is something about Lawn Fawn stamps that just makes me happy. It’s whimsical, fun and brings out the inner child in me. I found Lawn Fawn stamps two years ago, but it was only the recent 6 months that I started getting obsessed with it.   I watch Lawn Fawn’s YouTube videos constantly, especially when I don’t feel crafty. I somehow get my mojo back just watching people create with Lawn Fawn stamps.

I am entering this card for the Lawnscaping Challenge called Sparkle and Shine.  The card below is one of my all-time favorite stamps – the Critters Ever After!  As a child, I was very sickly and most of the time I was stuck indoors looking at my sisters and other kids play in the yard. I wasn’t allowed to go out so I always pretended I was a princess stuck in a castle. A little cliché but true! So when I saw the stamp set, I was immediately hooked! They didn’t have the coordinating dies then so I bought the stamps first and when the dies came out, of course I had to get them too. Who likes fuzzy-cutting?! Definitely not me!

It took me a couple of hours to create the card below. I’ve put on some music and just let my imagination run wild. I wanted it to look girly, whimsical and glittery. This is the reason why I used a lot of glitter paper on this card, vellum and stickles. In my memory as a child, this is how the dragon looked like ~ cute, friendly, glittery and purple! I used my Wink of Stella clear glitter pen on the dragon but unfortunately, my camera and the lighting didn’t catch the glitz and shine.

The unicorn and the frog prince are also one of my favorites, so I decided to do a pop-up card to show them off. I didn’t want them left out!

I hope you guys like this card and please let me know what you think. Happy crafting!

Lawnscaping Challenge Sparkle and Shine Created by Maria Russell
IMG_8159
Created by Maria Russell – http://www.mariarusselldesigns.wordpress.com
Created by Maria Russell http://www.mariarusselldesigns.wordpress.com
Created by Maria Russell – http://www.mariarusselldesigns.wordpress.com

Please check out this link to join the fun ~ http://www.lawnscaping.blogspot.com

1920416_10205213003230483_6087235880717357886_n