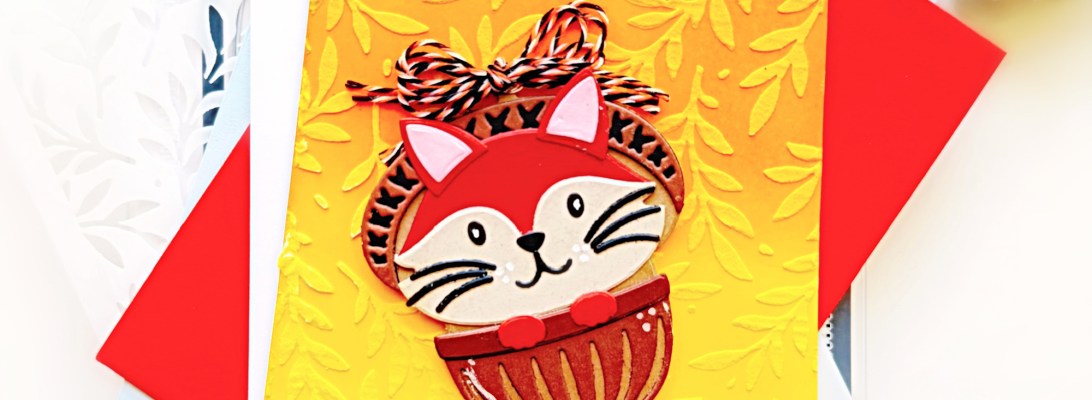
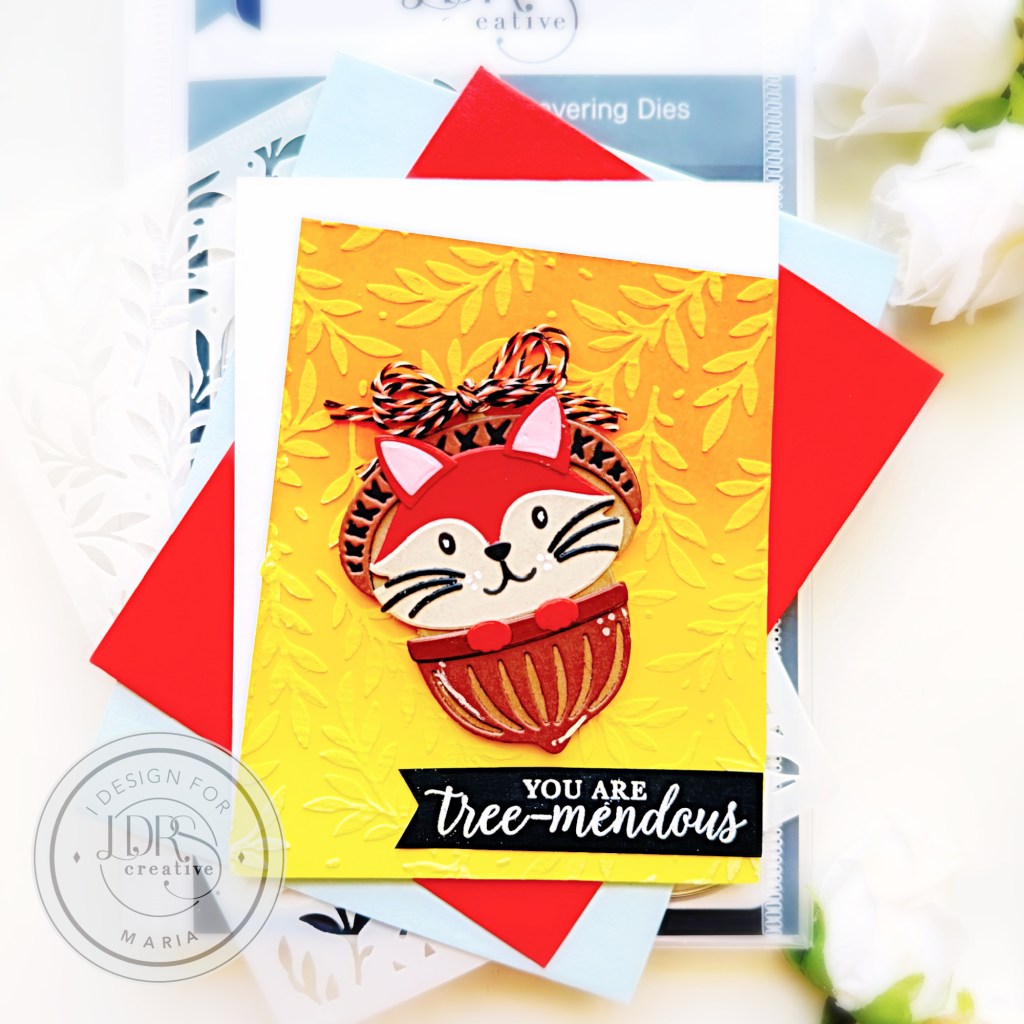
I started by inking up some watercolor paper with dark orange, brown, and yellow inks. I used blending brushes and carefully blended the colors to create a seamless look!
Next, I used some texture paste and the Anytime Background Stencil to add some texture to the background. I set it aside to dry for about half an hour, then used my guillotine to cut it at an angle. I adhered the background onto some white top-folding card base.
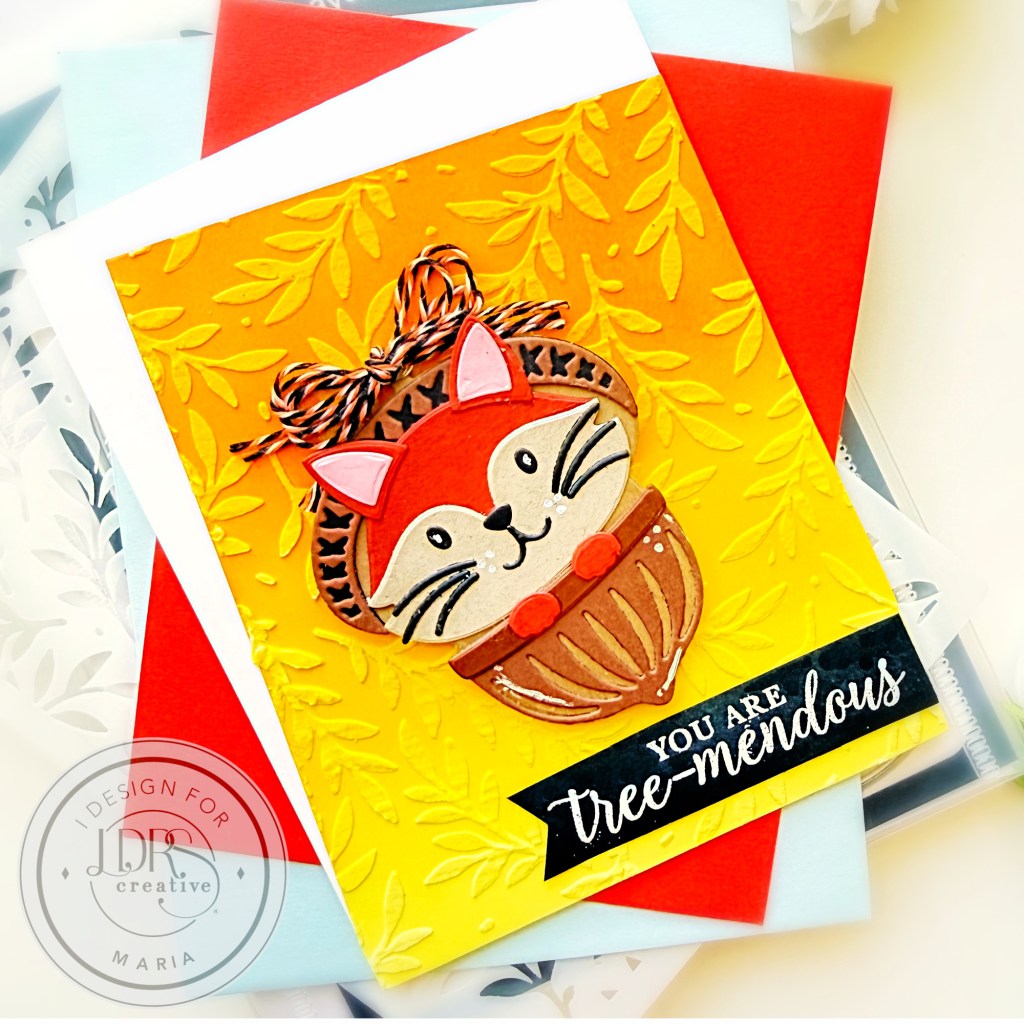
Meanwhile, I created the cute acorn by using the Acorn Cubbies Die Set and adhered everything together with liquid glue. I added some colorful twine and foam-mounted this piece to the card for added dimension.
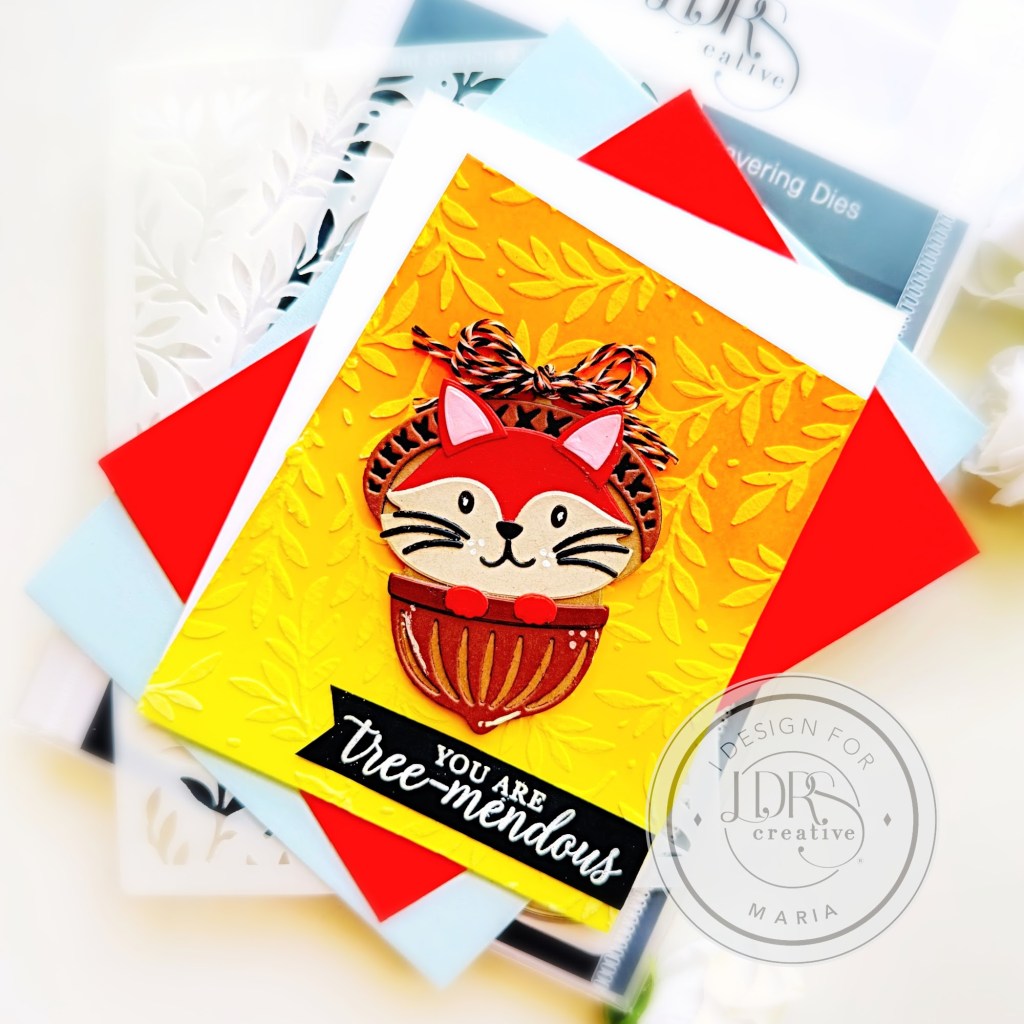
I finished the card design by embossing the sentiment onto black cardstock using the Acorny Hello Stamp Set. Here’s another look:
I had fun creating this fall-themed card today! Which one is your favorite from the latest Festive Holidays Collection? I hope you have an awesome day today! Happy crafting!
Hello and Welcome to the Newton’s NookJuly Release Day 3. I hope you were able to join us since Monday. You also have a chance to win the stamp set being revealed each day so please read through ’til the end of the blog post to find out more info. [Just a little important note: I know some of you had difficulties finding the comments section. If you would like to leave a comment to participate in the giveaway, the “comments section” will only be ever visible when a single post on Word Press is being viewed. Please click on this particular blog post and you will be able to leave a comment below. Thank you!]
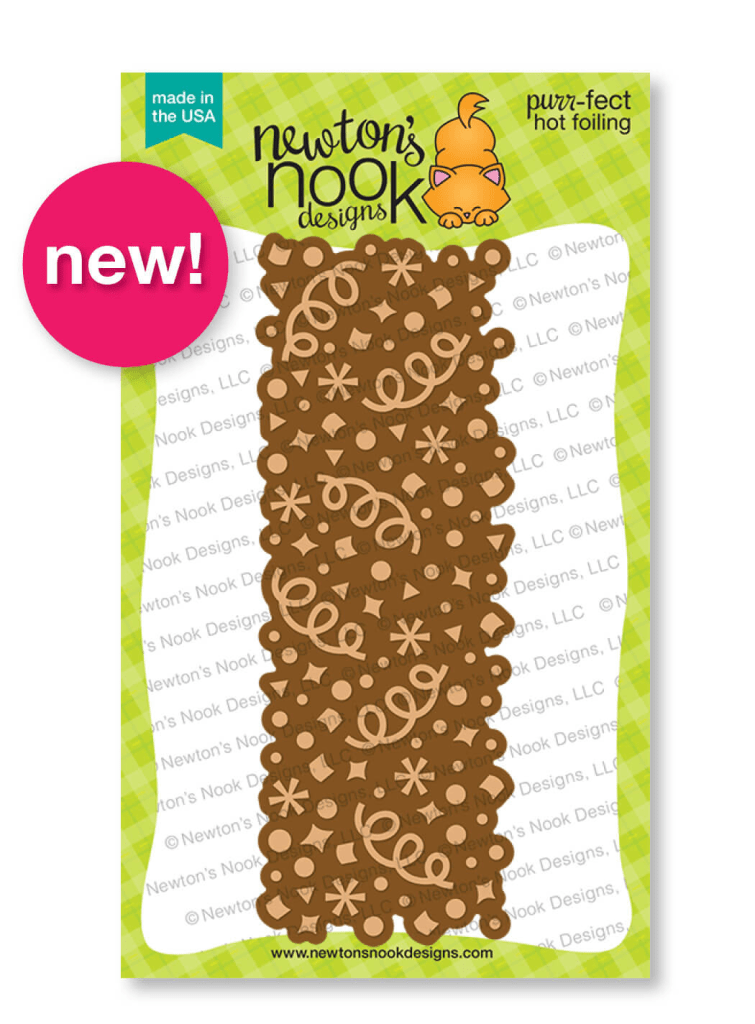
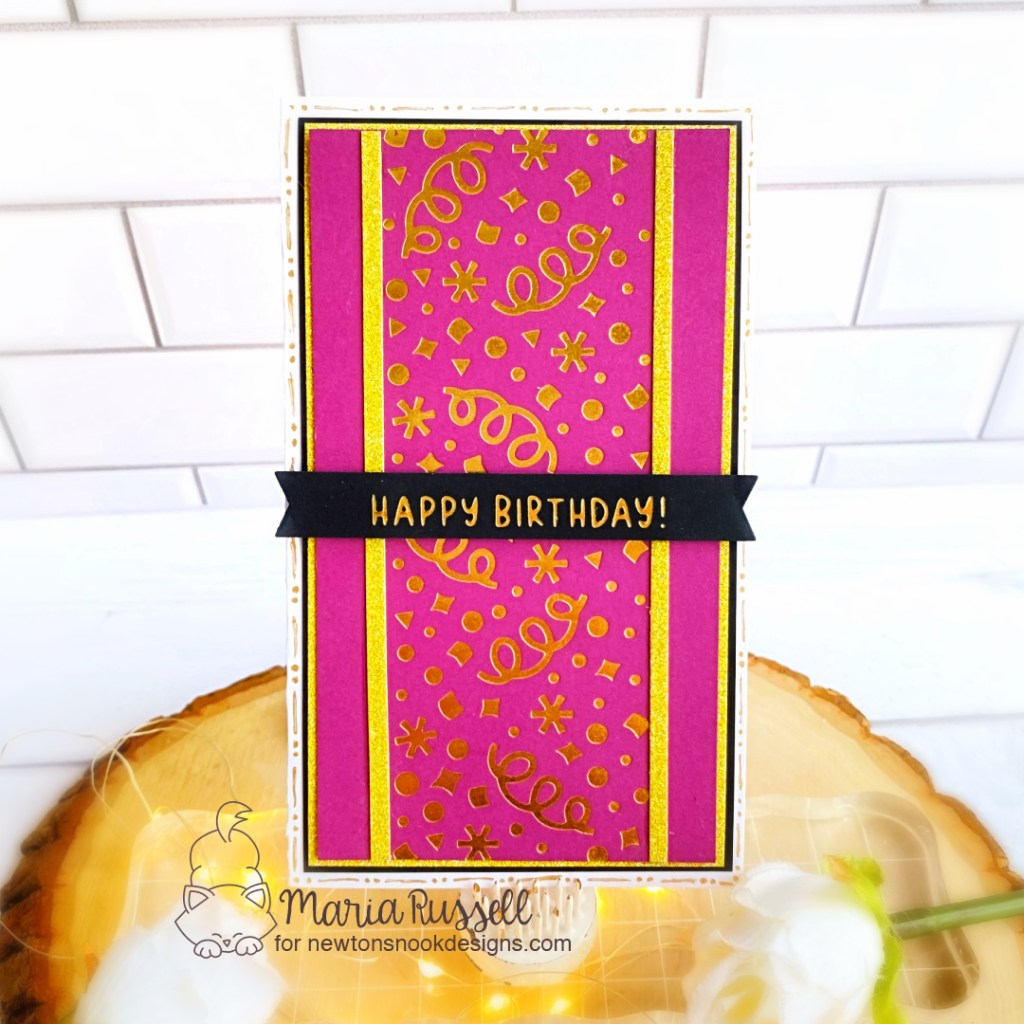
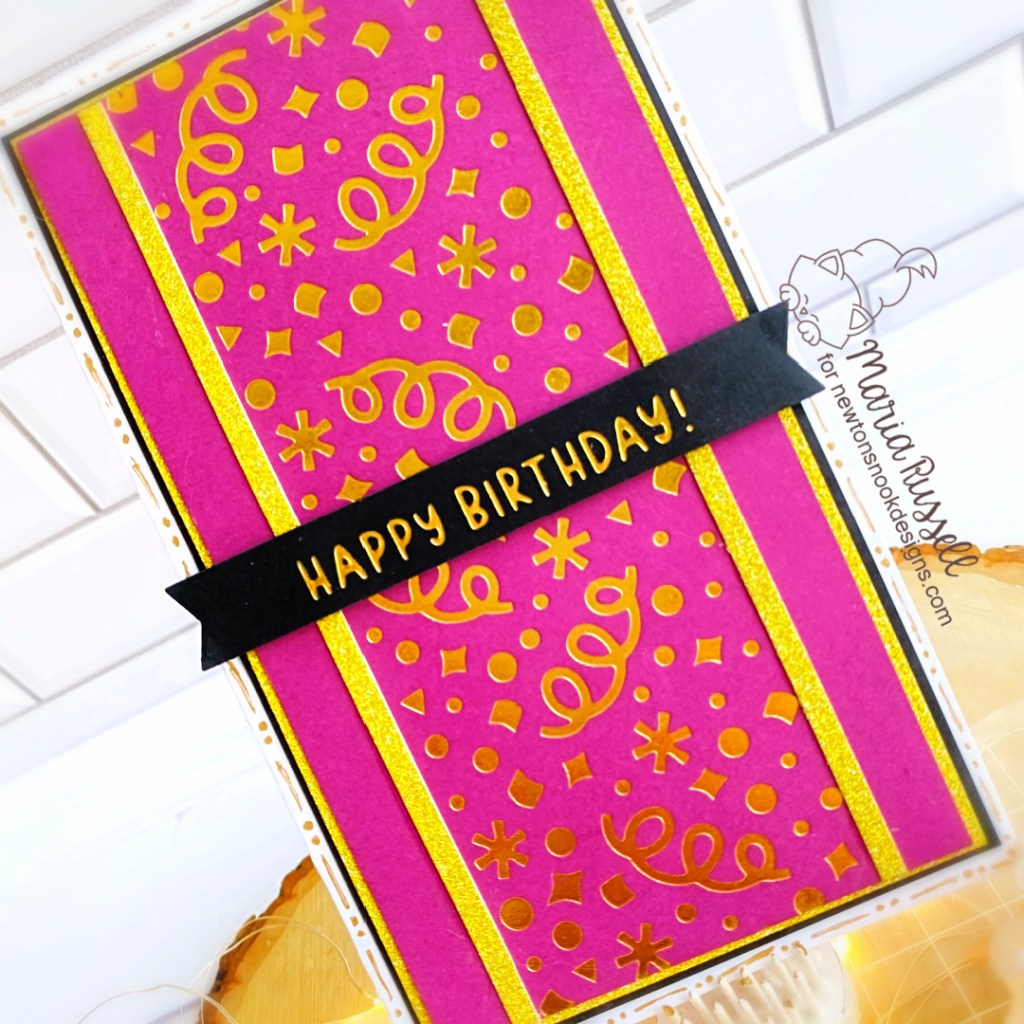
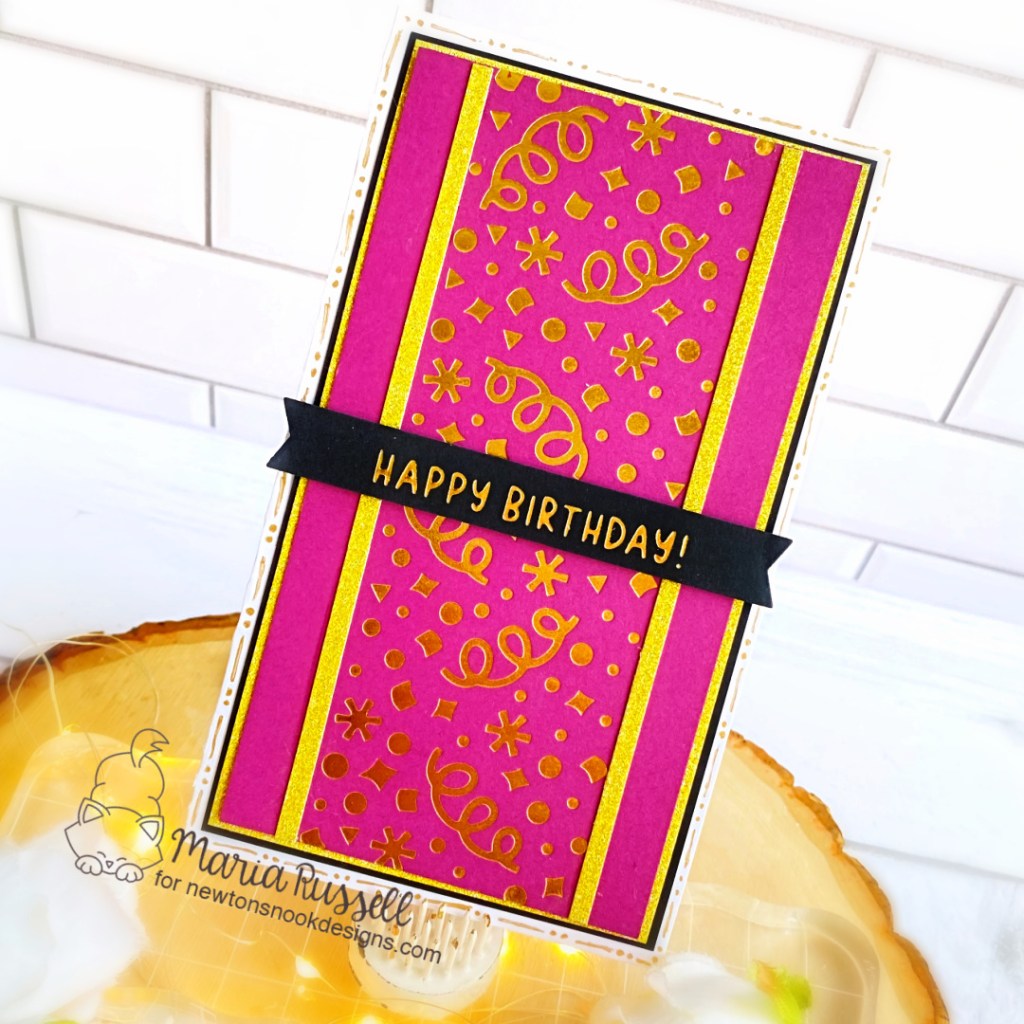
I opted for a cute mini slimline card to showcase the Confetti Hot Foil Plate. My Gemini Foil Press Machine gave up on me so I was only able to make one card, boohoo!
After hot foiling the background, I adhered some gold and black card stock behind to give it more dimension. I also used the same gold card stock to trim two strips and adhered both pieces on the foreground with liquid glue.
Next, adhering the focal panel on a mini slimline card base with liquid glue; and used some gold gel pen to add some lines and dots for added interest.
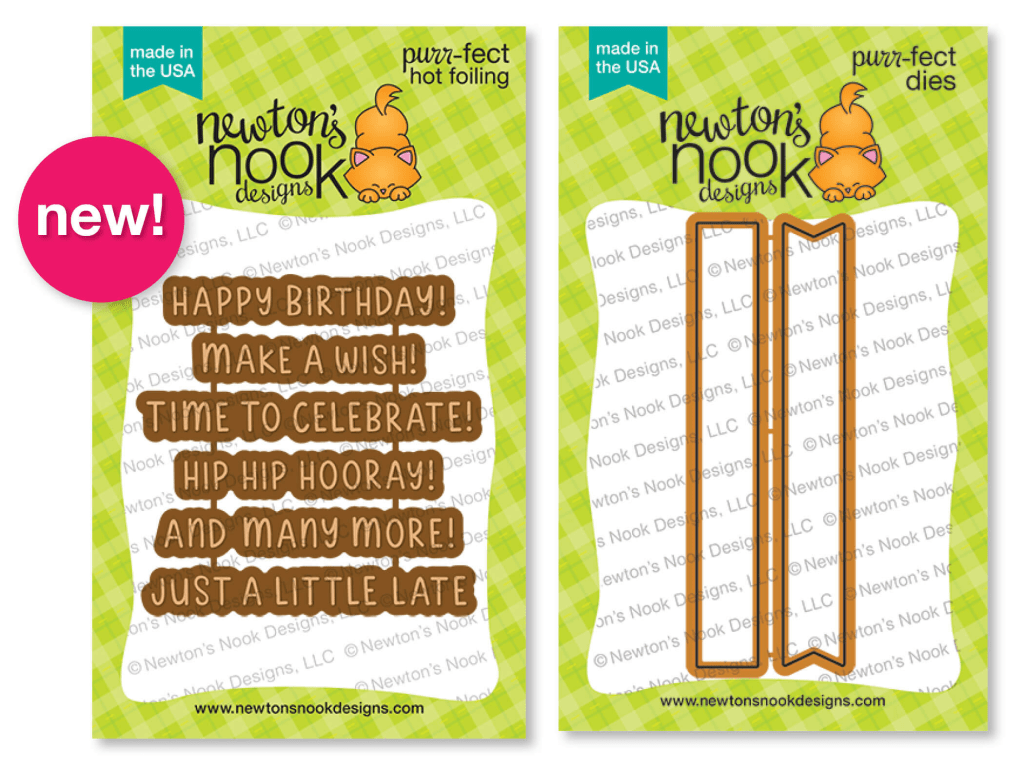
I finished the card design by adding the sentiment that I foiled using the Birthday Sentiments Hot Foil Plate and foam-mounting it onto the card for added dimension.
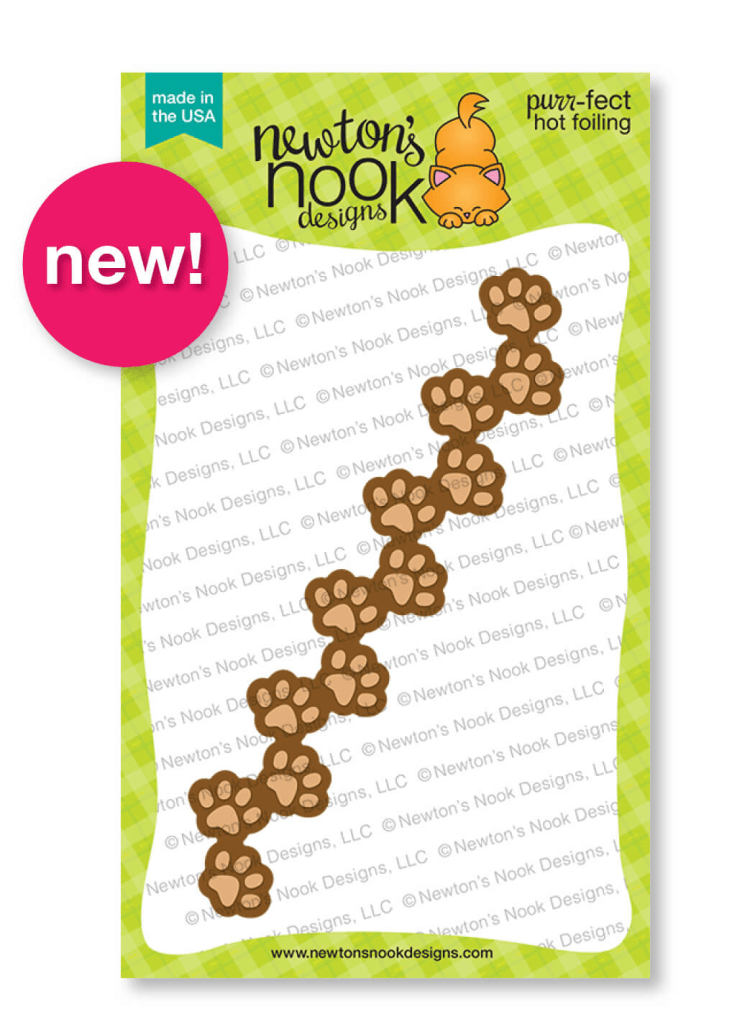
Would you like to win the “Paw Print Hot Foil Plate”? This stamp set will be given away to ONE lucky winner!
Here’s how to win: Comment on the NND blog and Design Team blogs (see list below)! Thewinner will be chosen at random from the collective reveal posts. Make sure to check out each of their blogs and comment for your chance to win. You will not know which blog has been chosen so the more you comment on the better your chances are of winning! You have until Wednesday July 19th at 9pm ET to comment — winners will be announced on the blog post on Thursday, July 18th.
Check out all the awesome Design Team Blogs below to enter:
Hello and Welcome to the Newton’s NookJuly Release Day 2. I hope you were able to check out yesterday’s reveal. You also have a chance to win the stamp set being revealed each day so please read through ’til the end of the blog post to find out more info. [Just a little important note: I know some of you had difficulties finding the comments section. If you would like to leave a comment to participate in the giveaway, the “comments section” will only be ever visible when a single post on Word Press is being viewed. Please click on this particular blog post and you will be able to leave a comment below. Thank you!]
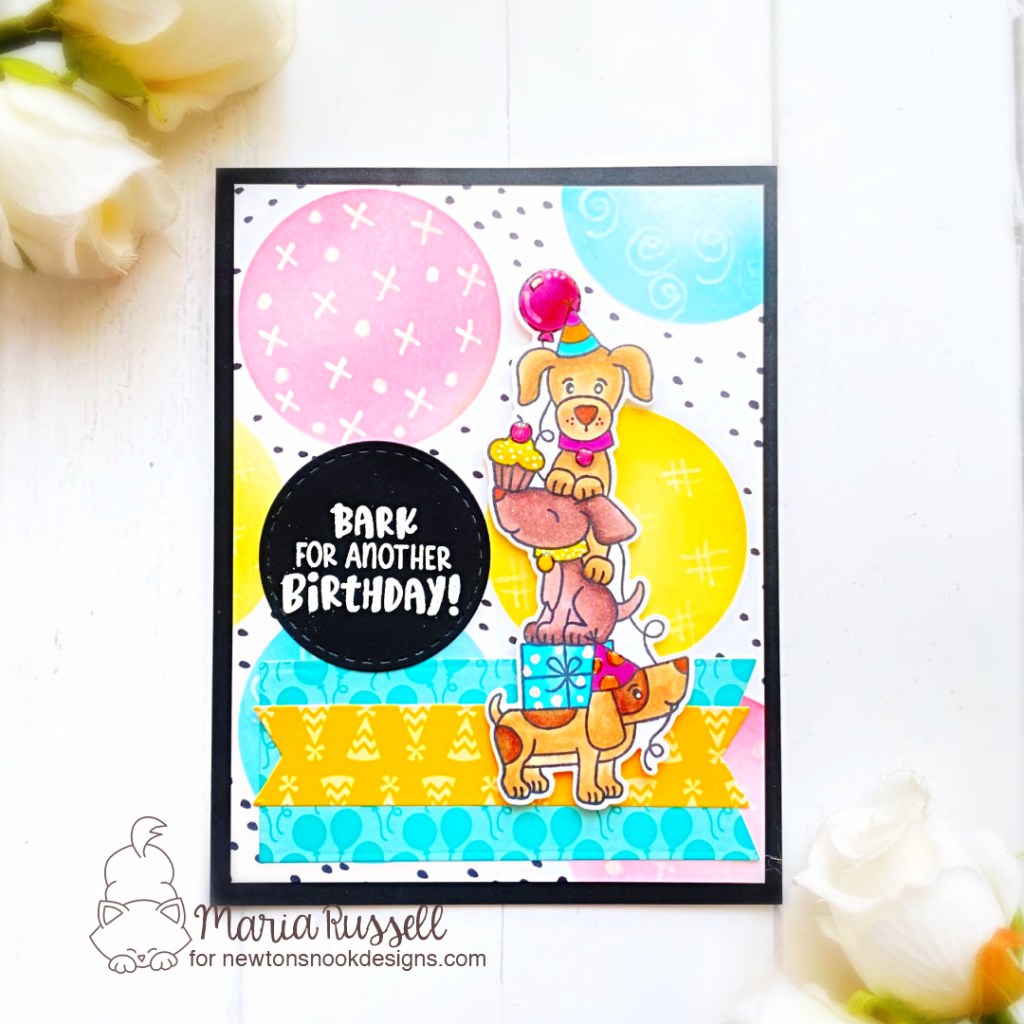
I first trimmed some Bristol smooth white card stock measuring 5 1/4 by 4 inches and used the Slimline Masking Circles Stencil to create the colorful circles with different colors of dye inks. I added some interest to the circles by using some white gel pen and drew some dots and squigglies. I also used some black marker to add more dots to the background.
Next, I stamped the images using Memento Tuxedo Black Ink on some white card stock and colored the images in with alcohol markers. I used the coordinating die to cut them all out
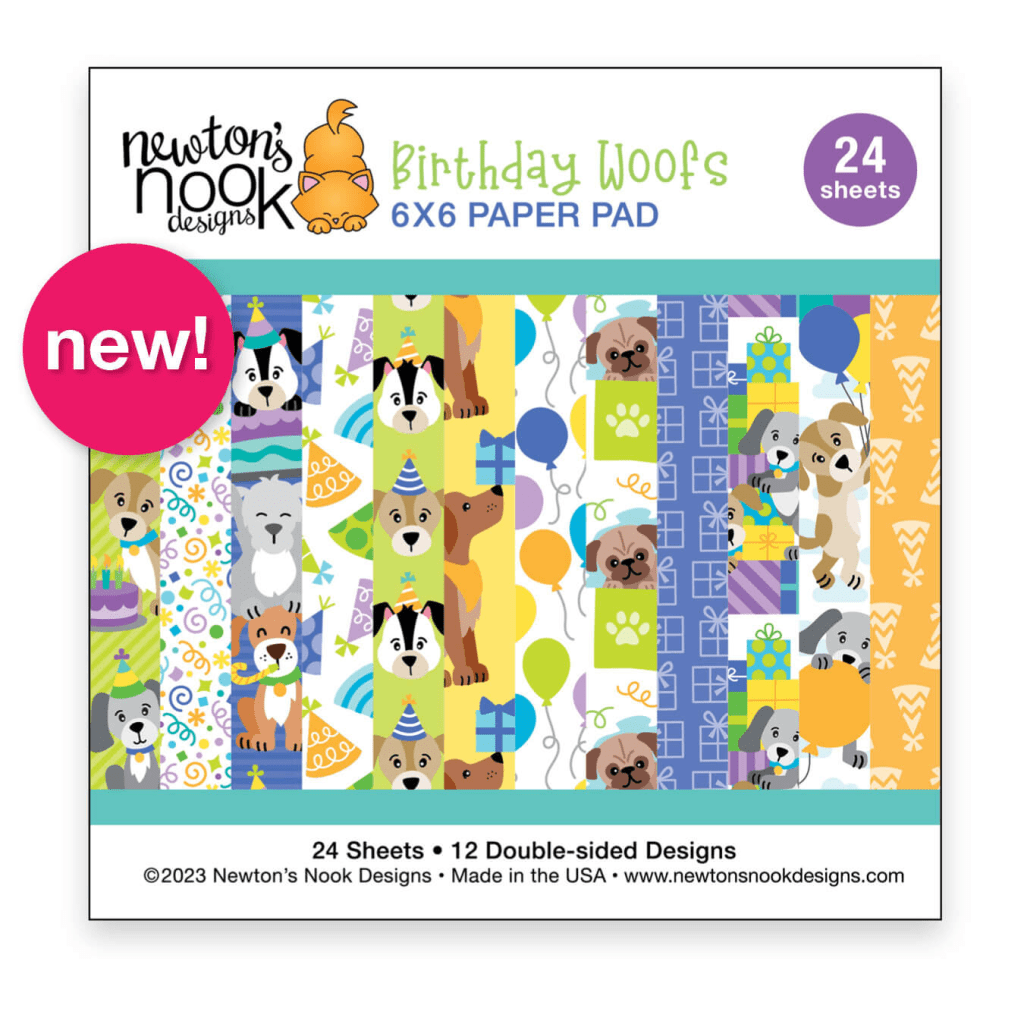
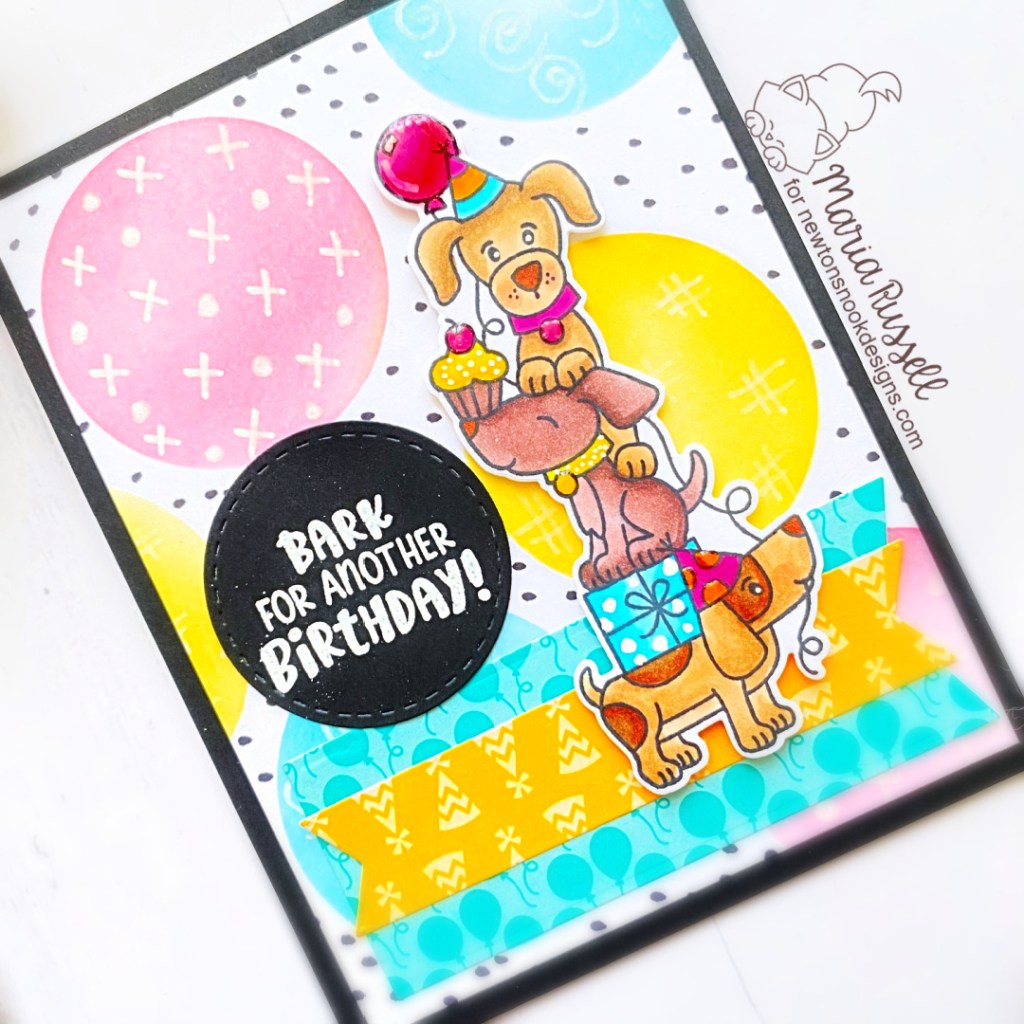
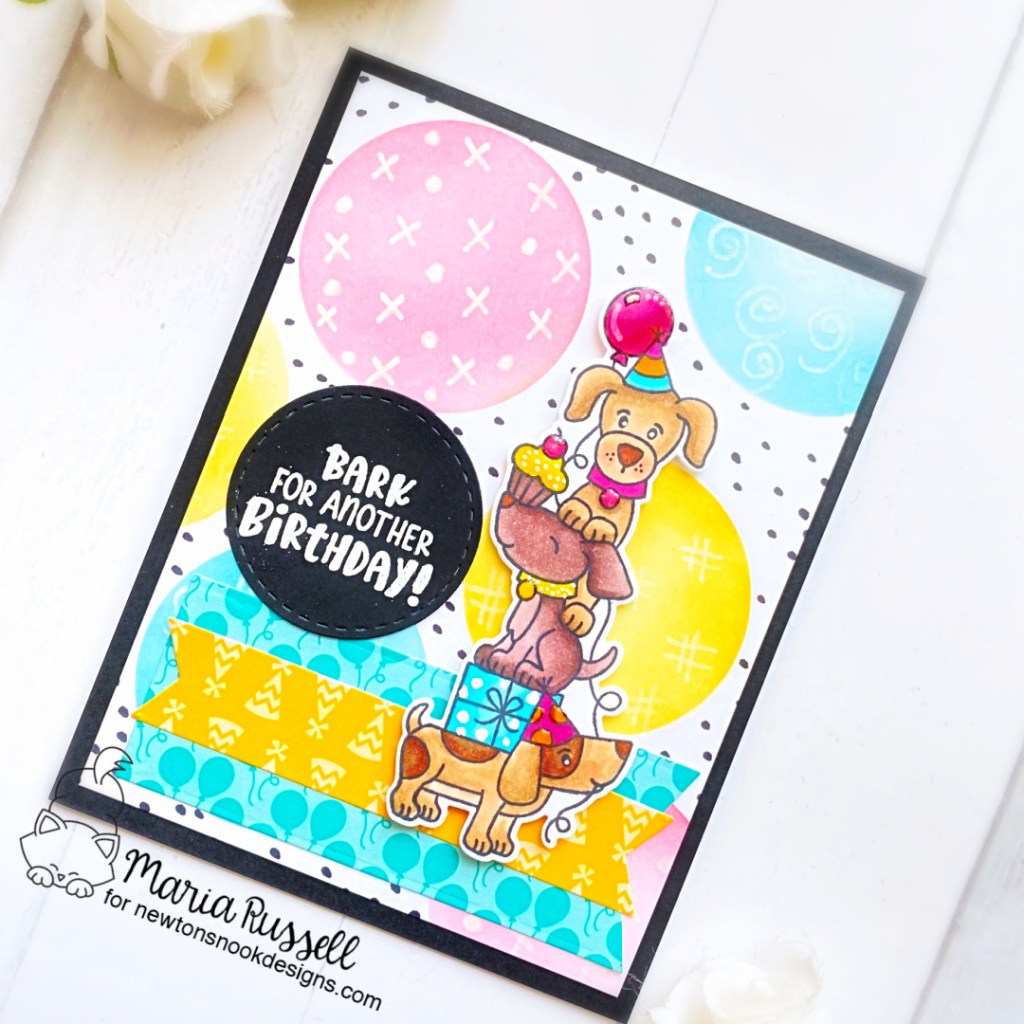
The background panel was adhered to some black card stock and added to a white top-folding notecard. I used the flag dies from the Frames & Flags Die set to die cut a few pattern paper from the Birthday Woofs Paper Pad and adhered to the card, then foam-mounted the focal image for added dimension.
I finished the card design by adding the sentiment that was heat-embossed on some black card stock. Here’s another look:
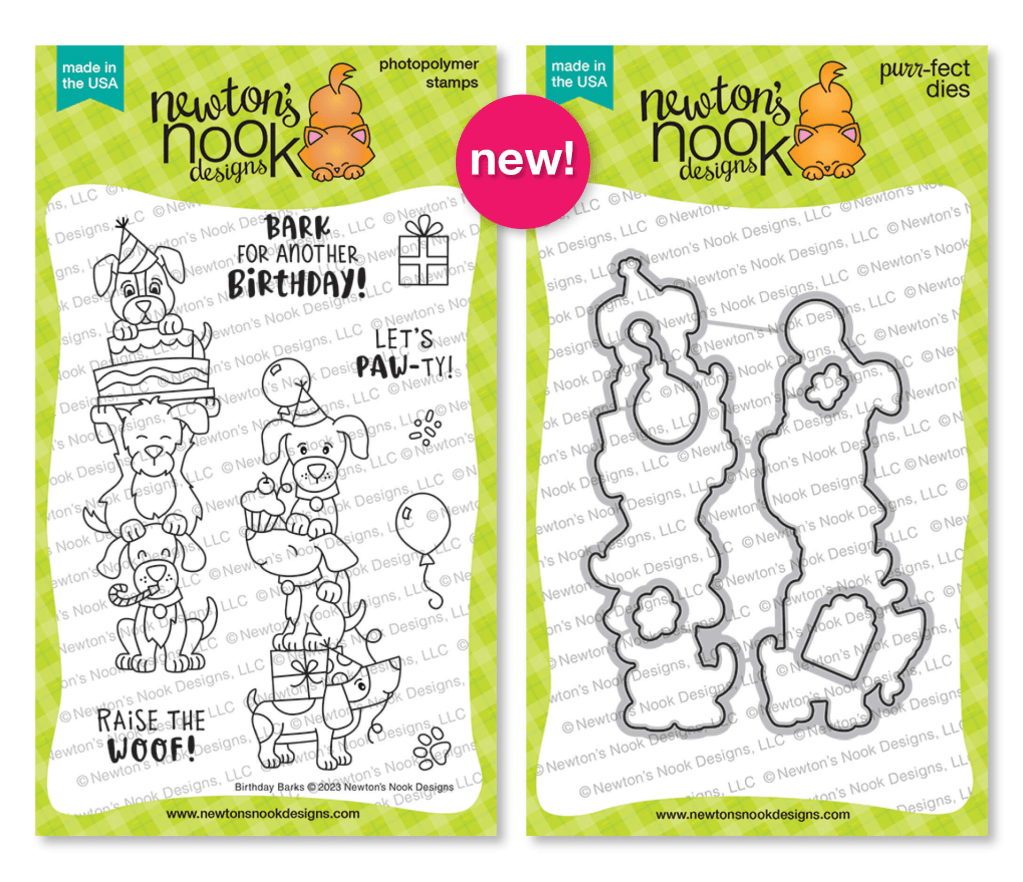
Would you like to win the “Birthday Barks” Stamp Set? This stamp set will be given away to ONE lucky winner!
Here’s how to win: Comment on the NND blog and Design Team blogs (see list below)! Thewinner will be chosen at random from the collective reveal posts. Make sure to check out each of their blogs and comment for your chance to win. You will not know which blog has been chosen so the more you comment on the better your chances are of winning! You have until Wednesday July 19th at 9pm ET to comment — winners will be announced on the blog post on Thursday, July 18th.
Check out all the awesome Design Team Blogs below to enter:
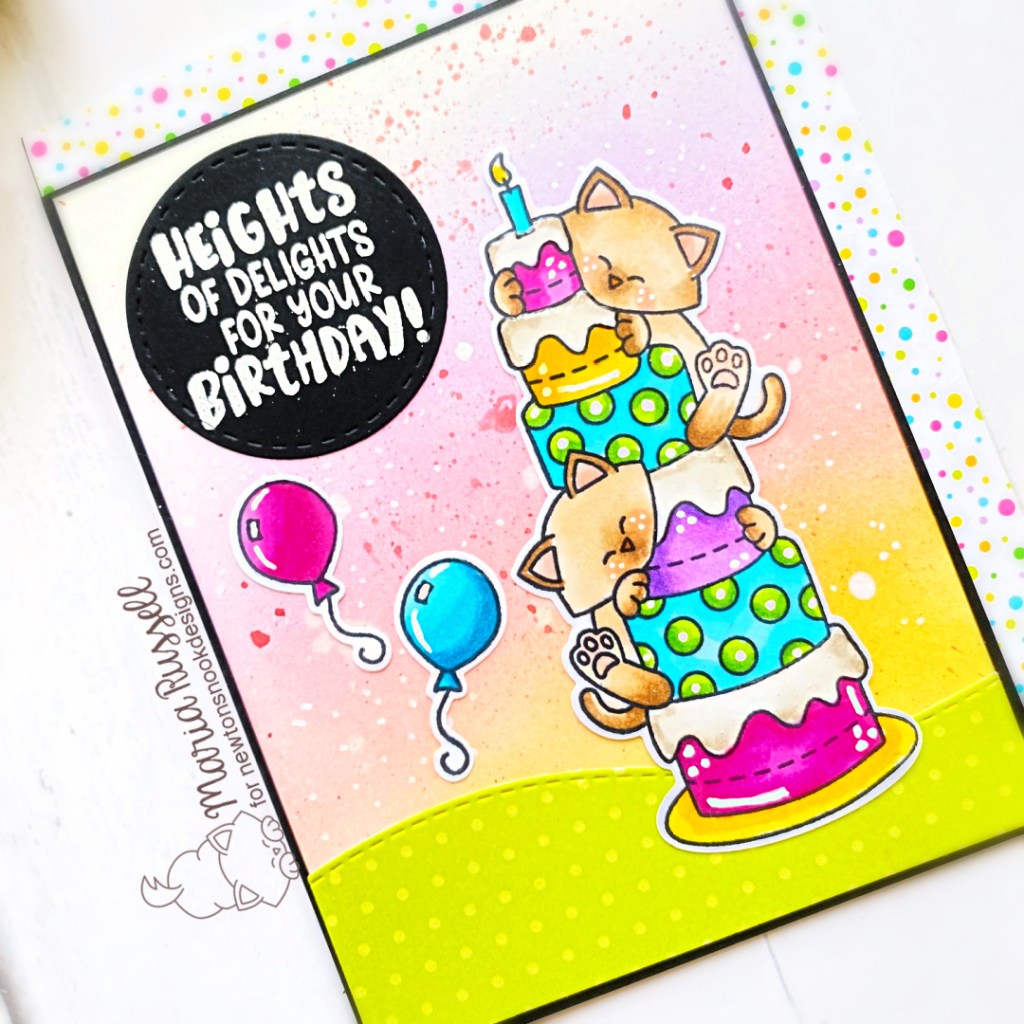
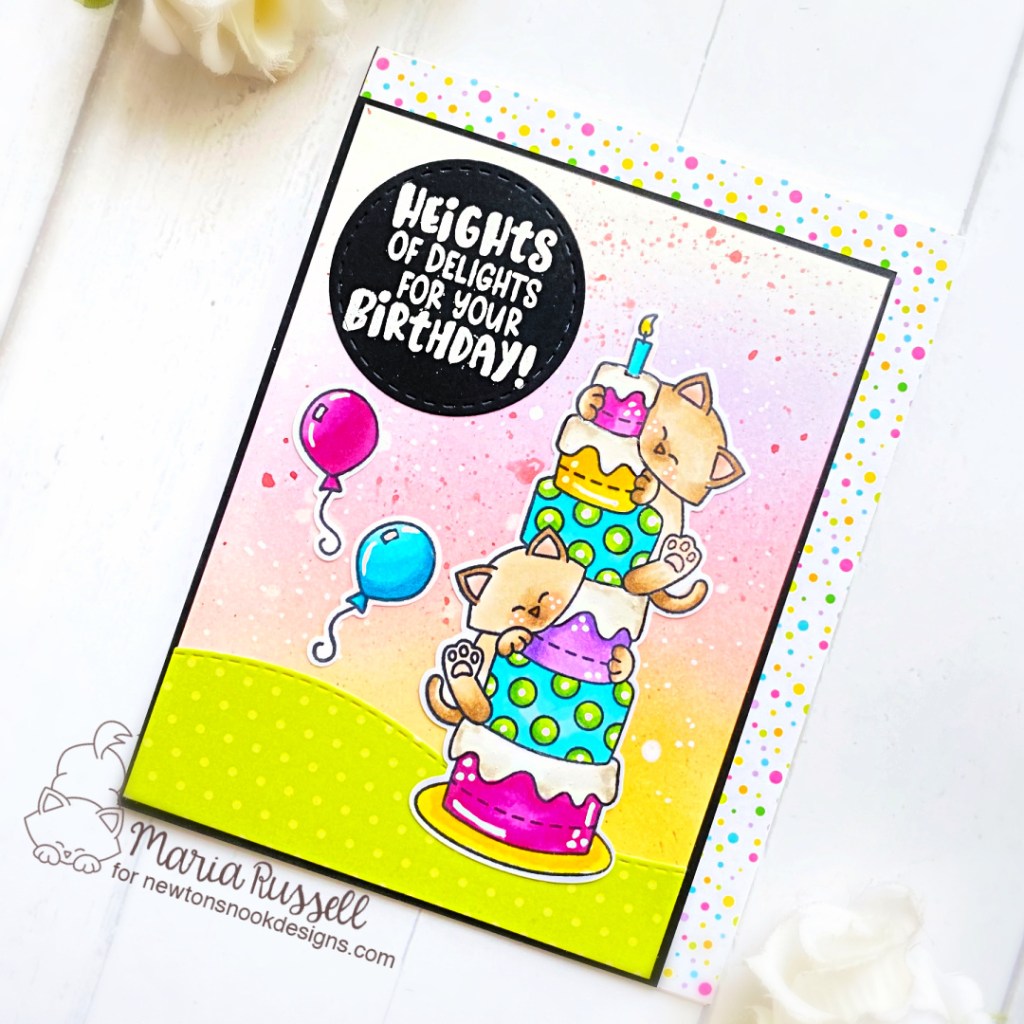
Hello and Welcome to the Newton’s Nook July Release and 10-year Birthday Celebration. I am so excited to show off the new products by Newton’s Nook Designs. You also have a chance to win the stamp set being revealed each day so please read through til the end of the blog post to find out more info. [Just a little important note: I know some of you had difficulties finding the comments section. If you would like to leave a comment to participate in the giveaway, the “comments section” will only be ever visible when a single post on Word Press is being viewed. Please click on this particular blog post and you will be able to leave a comment below. Thank you!]
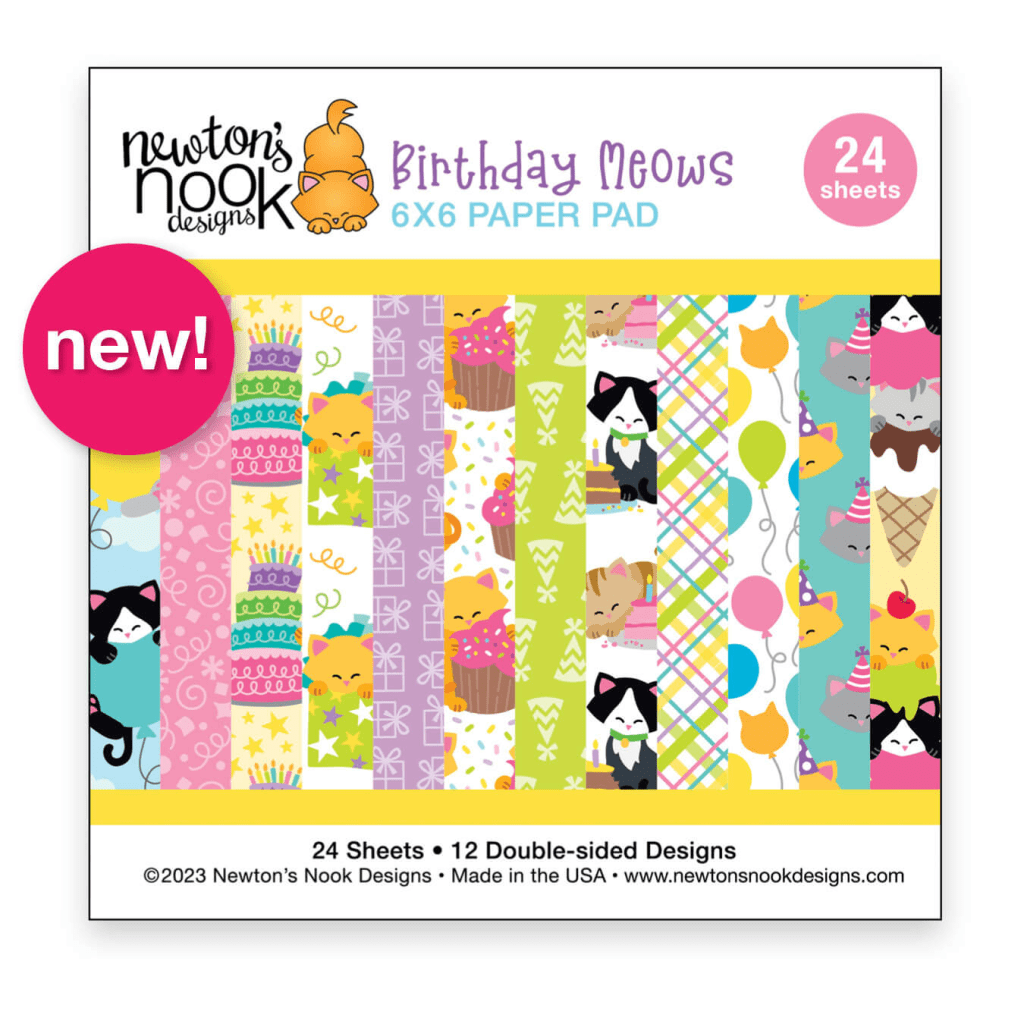
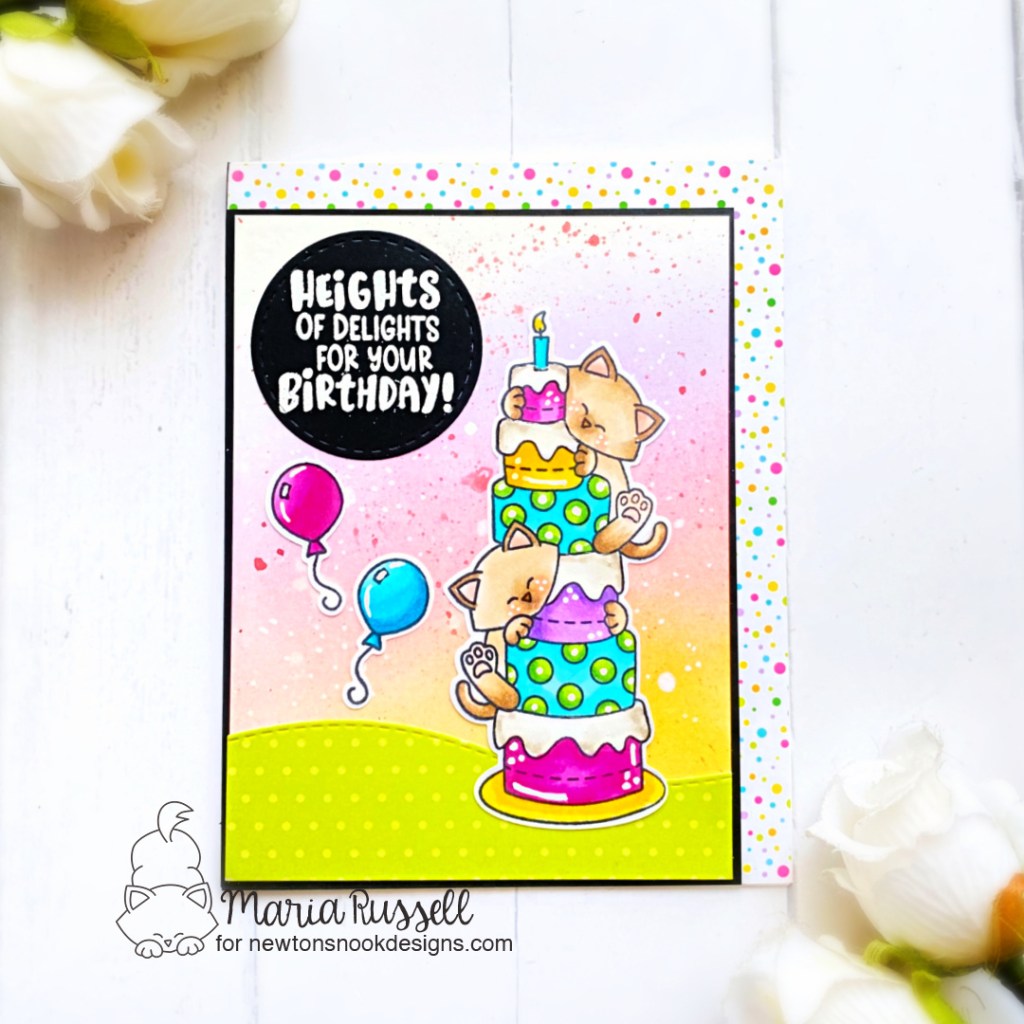
I started by adhering the Birthday Meow’s Paper on some A2-size notecard. I trimmed some Bristol Smooth White Card Stock measuring 5 x 3 3/4 inches and used Distress Inks and blending brushes to ink-blend this panel.
I stamped the images on some Neenah solar white card stock and used the coordinating dies to cut them out. I colored the images in using Copic markers.
Next, I pressed the Aged Mahogany Distress ink on the acrylic block and added some water; I then used my watercolor brush to add splatters to the ink-blended panel. This created more texture to the background. I die-cut the grass panel using the Land Border Die and the Birthday Meow’s Paper Pad and adhered on the panel. I also added the colored images to the foreground with liquid glue.
I adhered the focal panel with some black card stock and trimmed it closed to the size of the panel to ground the images, and added to the card.
The last thing to do is add the sentiment that I heat-embossed on some black card stock and die-cut using the circle die from the Frames Squared Die Set. Here’s another look:
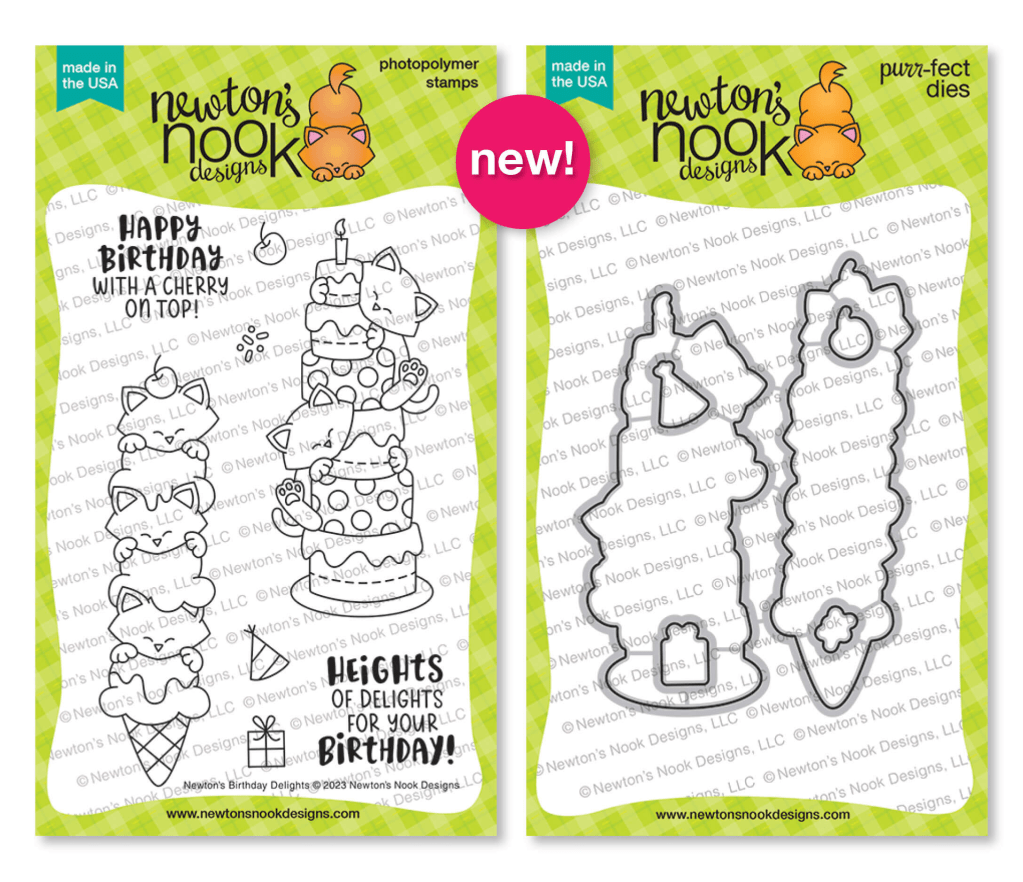
Would you like to win the “Newton’s Birthday Delights” Stamp Set? This stamp set will be given away to ONE lucky winner!
Here’s how to win: Comment on the NND blog and Design Team blogs (see list below)! Thewinner will be chosen at random from the collective reveal posts. Make sure to check out each of their blogs and comment for your chance to win. You will not know which blog has been chosen so the more you comment on the better your chances are of winning! You have until Wednesday July 19th at 9pm ET to comment — winners will be announced on the blog post on Thursday, July 18th.
Check out all the awesome Design Team Blogs below to enter:
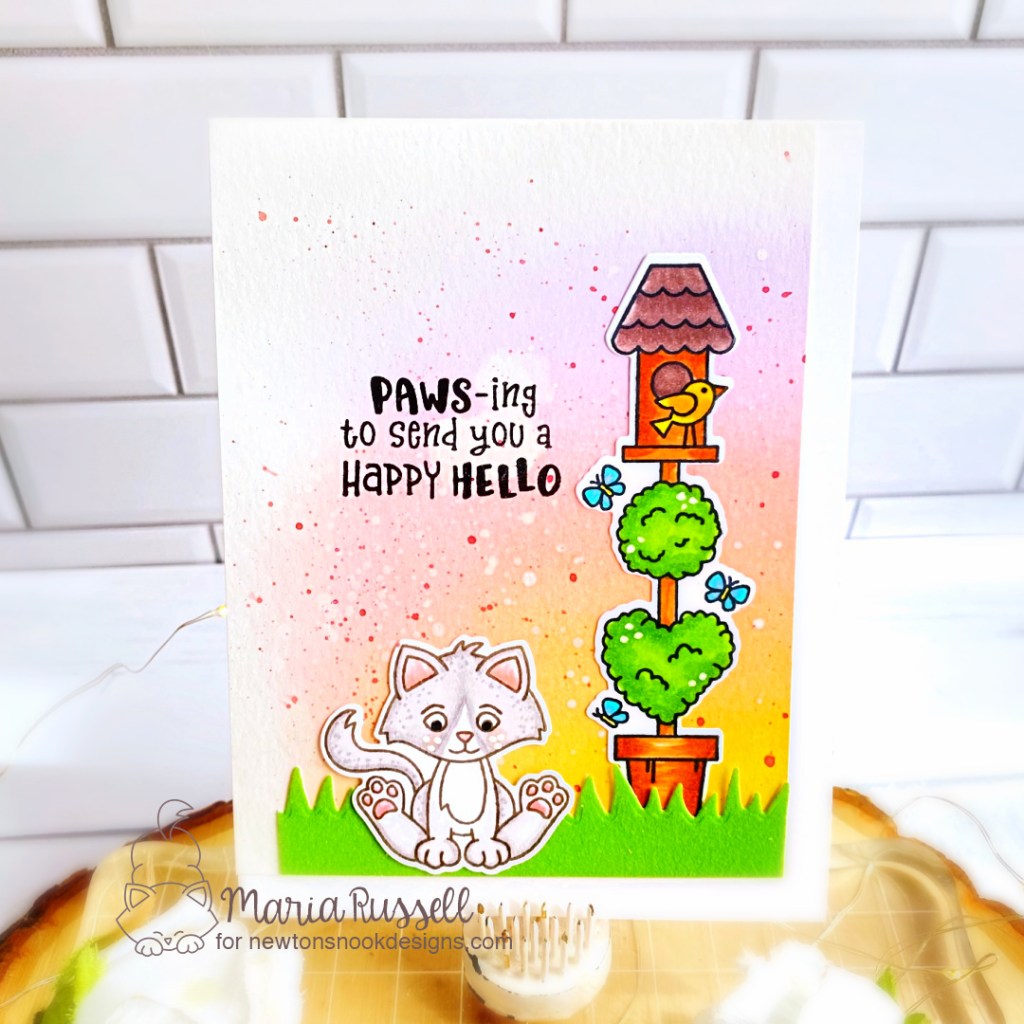
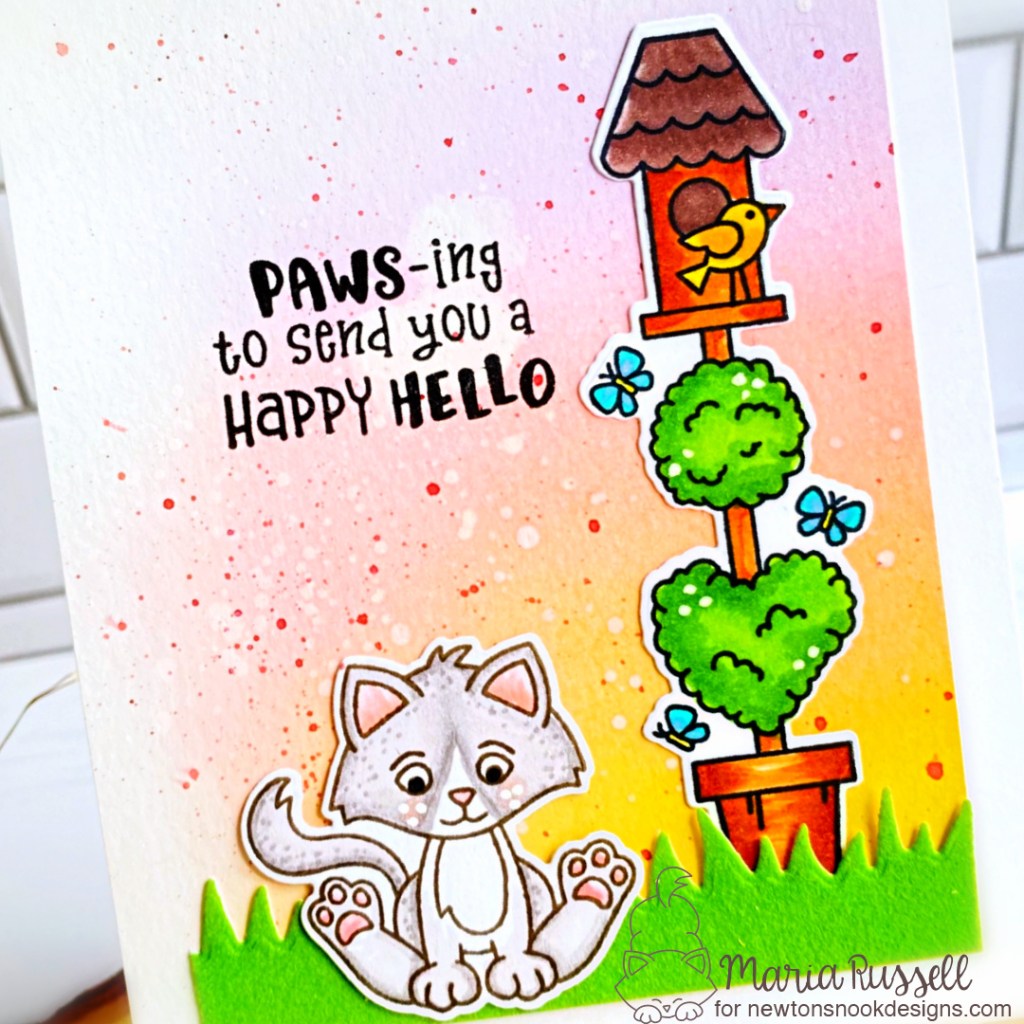
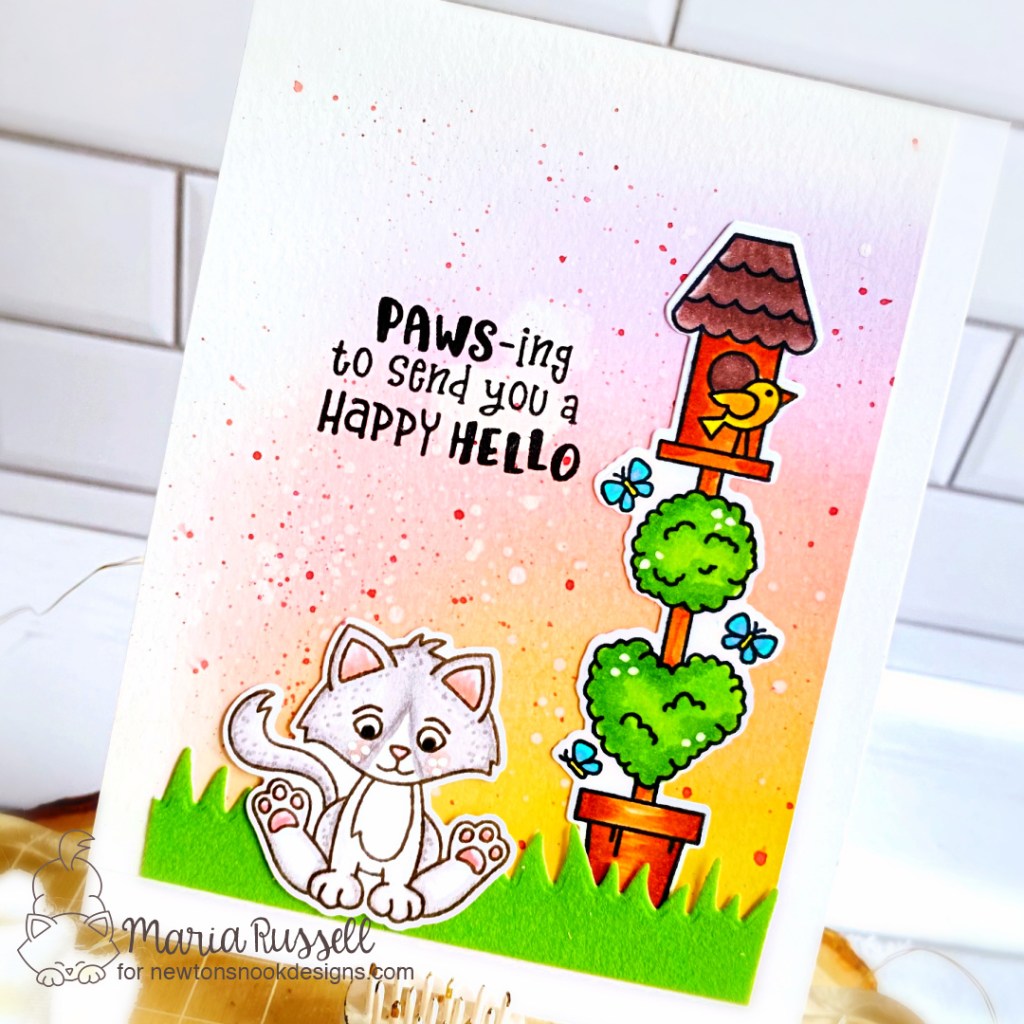
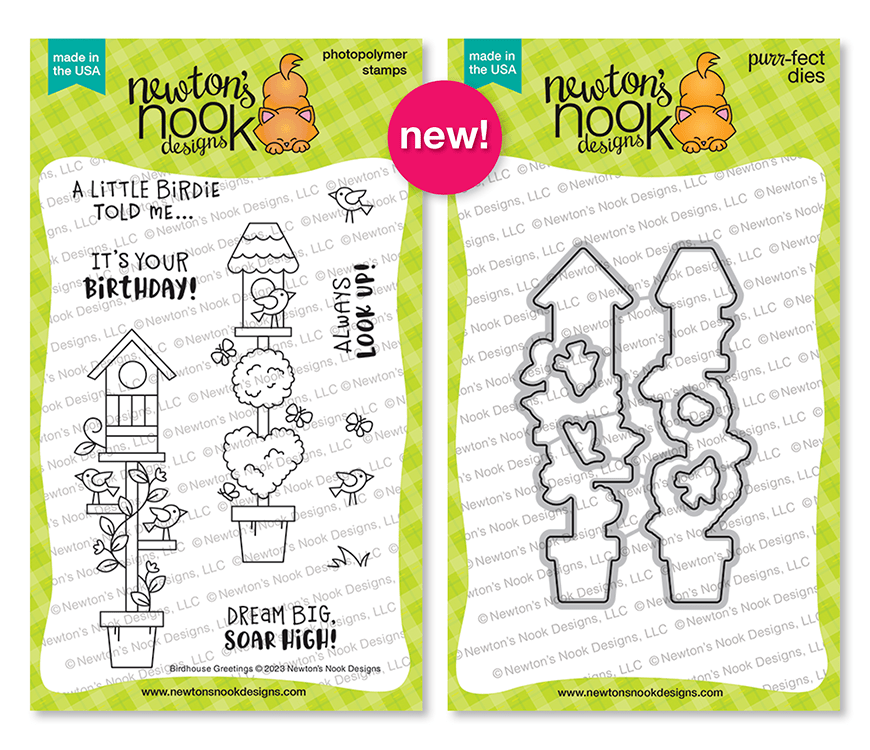
I have a really cute card to share with you today that is so simple to make that you can ass-produce to send to your friends. For the project below, I am showcasing the new Birdhouse Greeting Stamp Set & Dies with the Smitten Kitten Stamp Set & Coordinating Dies by Newton’s Nook Designs.
I hope you like this card today and got inspired. The supplies I used are highlighted and linked within the context of this blog post. Where available, I use compensated affiliate links at no extra cost to you. Your support helps me to keep bringing you new projects and inspiration. Thank you for stopping by, and have an amazing day!
Hello and Welcome to the Newton’s NookMay Release Day 4. I hope you were able to join us since Monday. You also have a chance to win the stamp set being revealed each day so please read through ’til the end of the blog post to find out more info. [Just a little important note: I know some of you had difficulties finding the comments section. If you would like to leave a comment to participate in the giveaway, the “comments section” will only be ever visible when a single post on Word Press is being viewed. Please click on this particular blog post and you will be able to leave a comment below. Thank you!]
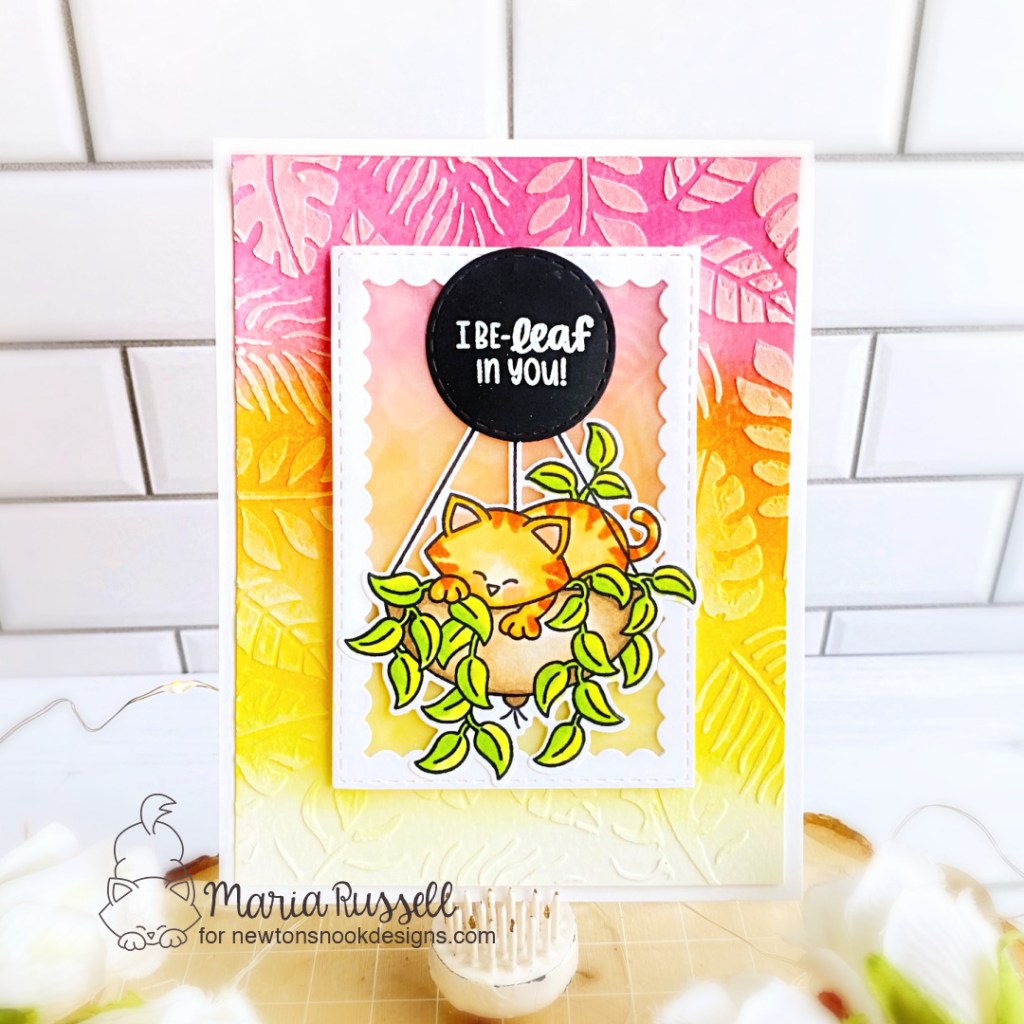
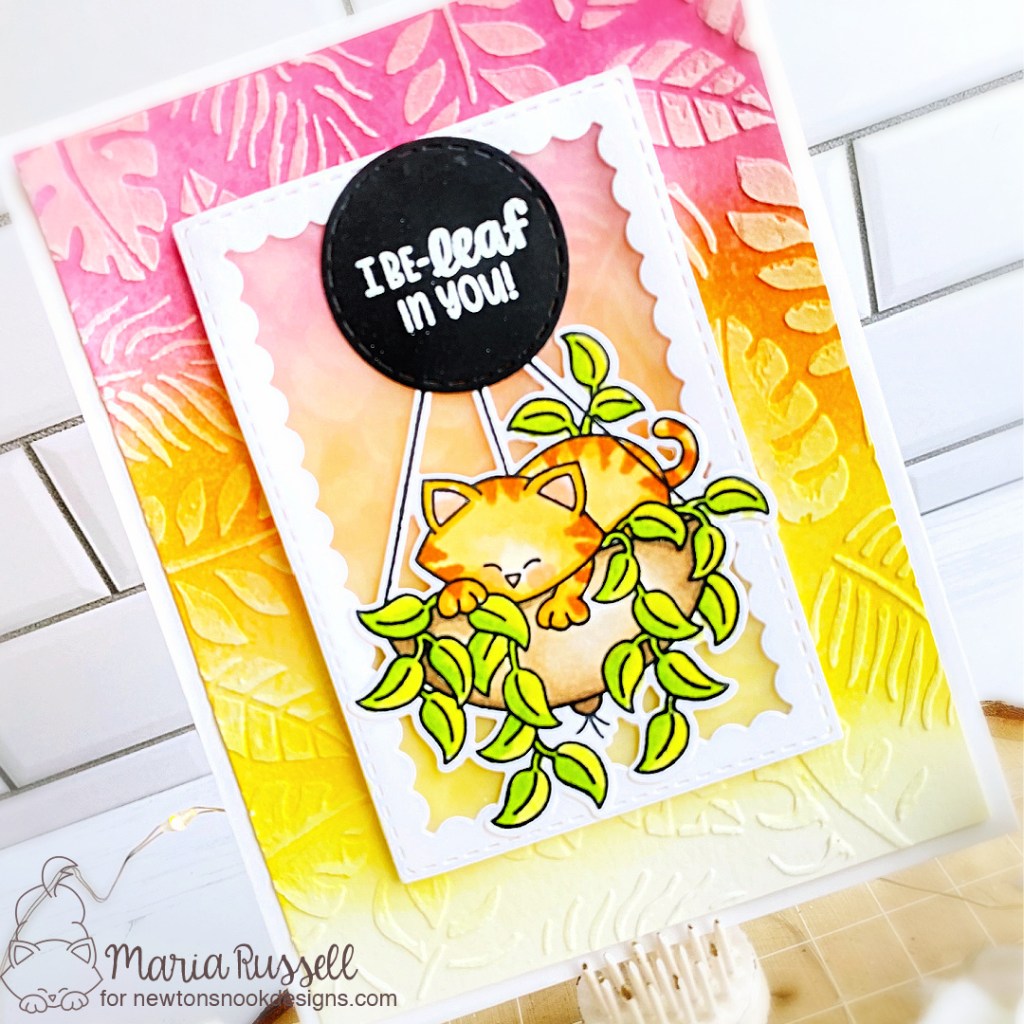
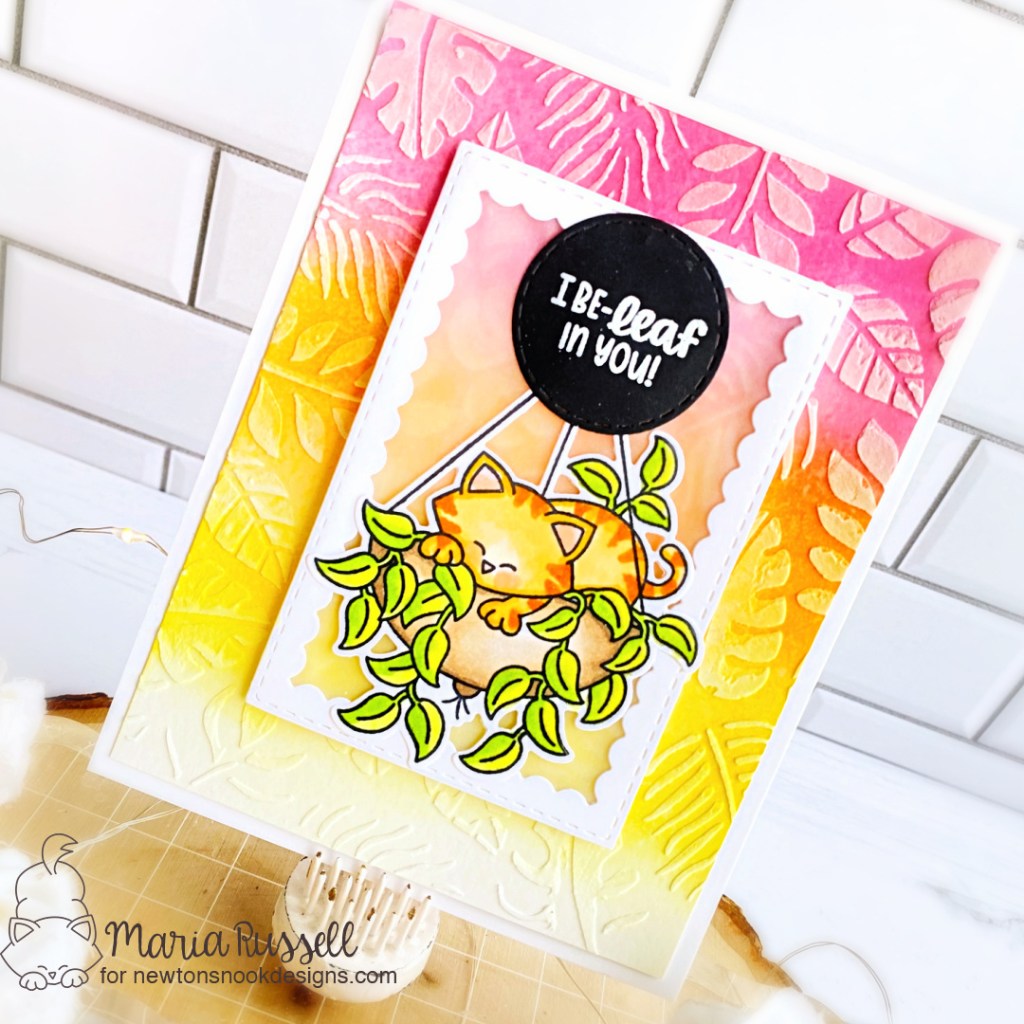
Leave the ink-blended panel to dry for about 20 minutes then use the Tropical Leaves Stencil and apply some Ranger Distress Matte Texture Paste using some Palette Knife. This will add a lot of texture to the focal panel. Allow this to dry for another half an hour and adhere on some top-folding notecard.
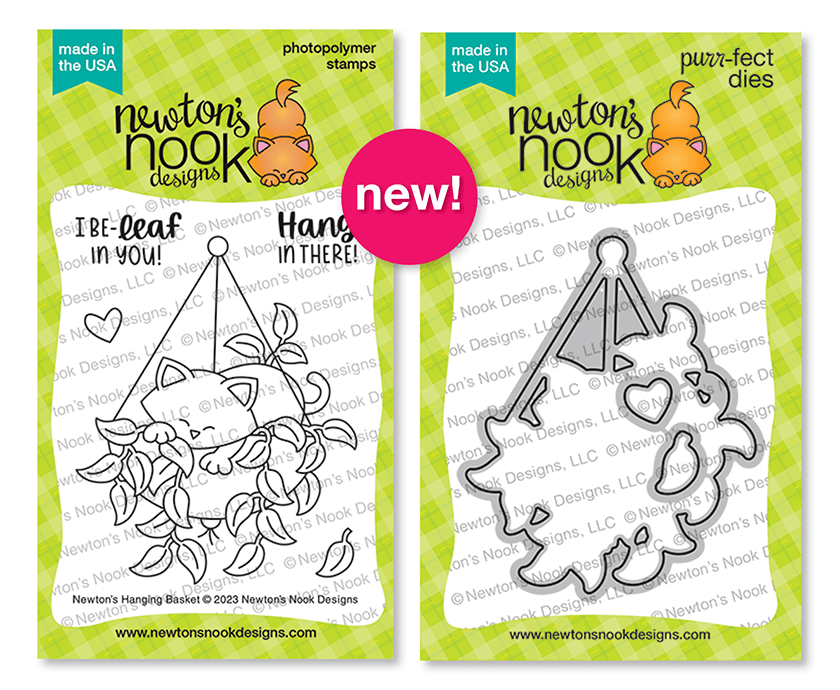
Would you like to win the “Newton’s Hanging Basket” Stamp Set? This stamp set will be given away to ONE lucky winner!
Here’s how to win: Comment on the NND blog and Design Team blogs (see list below)! Thewinner will be chosen at random from the collective reveal posts. Make sure to check out each of their blogs and comment for your chance to win. You will not know which blog has been chosen so the more you comment on the better your chances are of winning! You have until Thursday May 18th at 9pm ET to comment — winners will be announced on the blog post on Friday, May 19th.
Check out all the awesome Design Team Blogs below to enter:
Hello and Welcome to the Newton’s NookMay Release Day 3. I hope you were able to join us since Monday. You also have a chance to win the stamp set being revealed each day so please read through ’til the end of the blog post to find out more info. [Just a little important note: I know some of you had difficulties finding the comments section. If you would like to leave a comment to participate in the giveaway, the “comments section” will only be ever visible when a single post on Word Press is being viewed. Please click on this particular blog post and you will be able to leave a comment below. Thank you!]
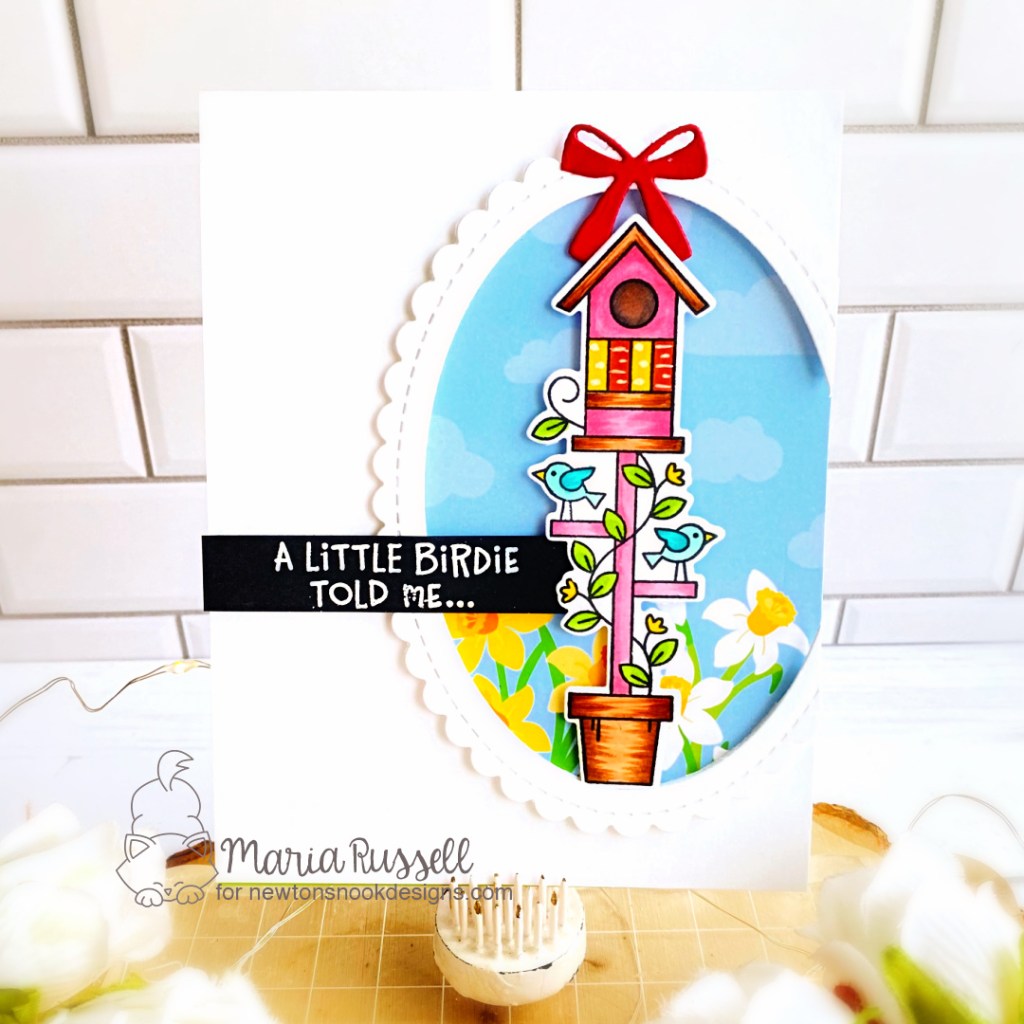
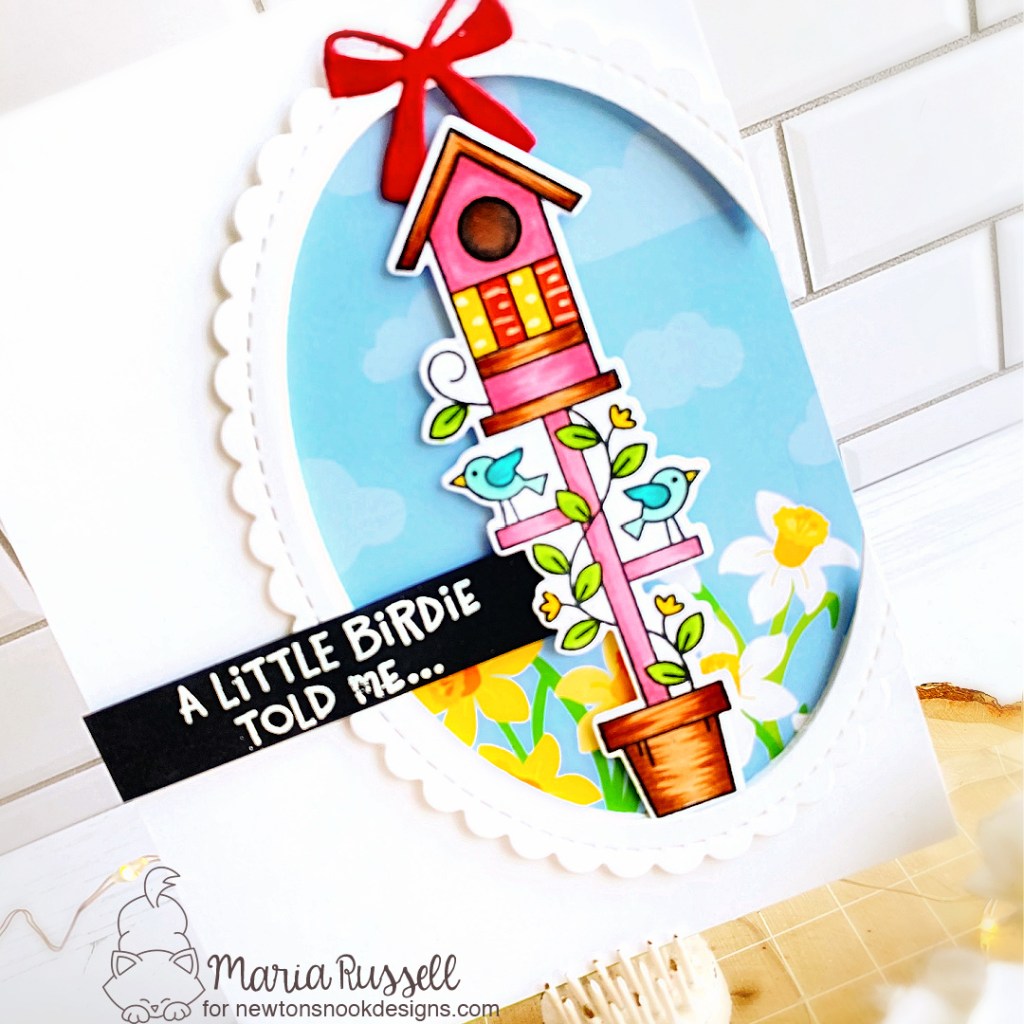
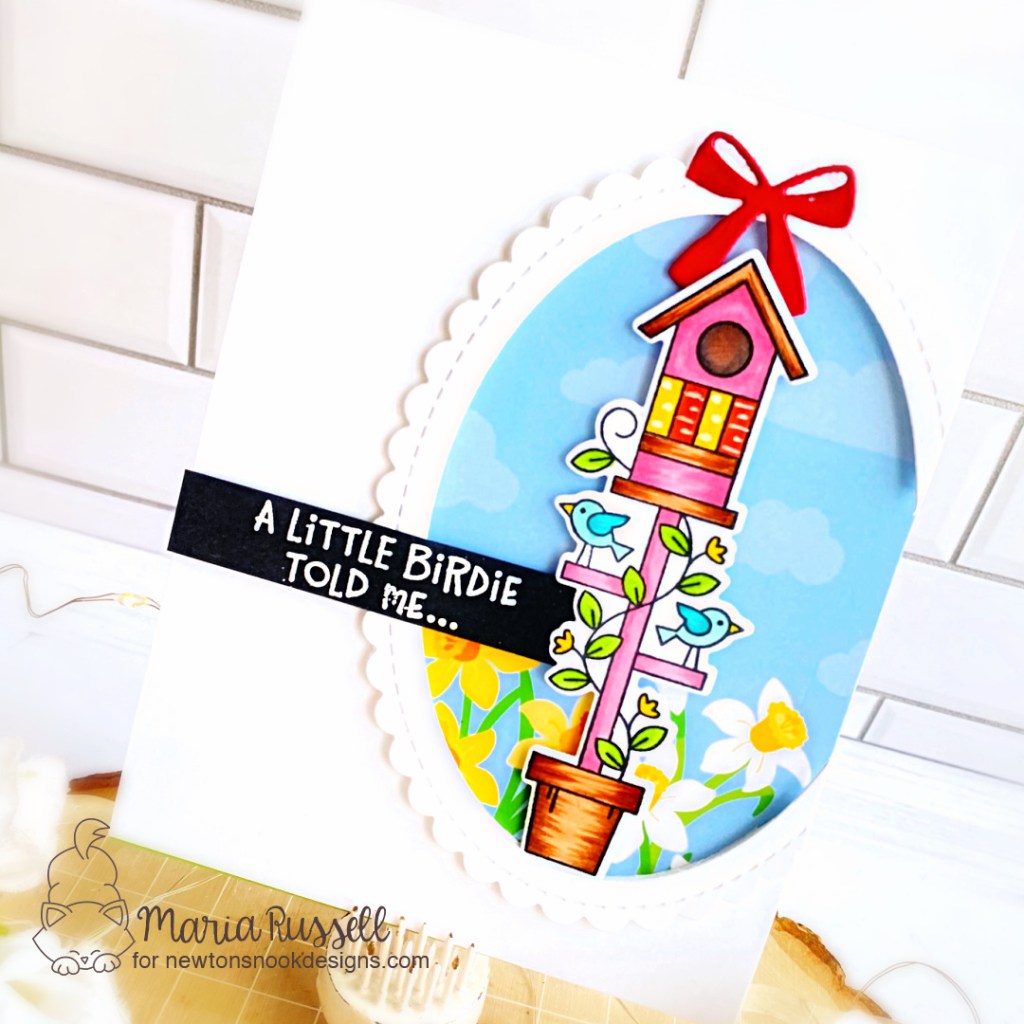
Next, I used the same Oval Frames Die Set to create the frame and foam-mounted this piece on the notecard for added dimension.
I stamped the images on some Neenah Solar White Card Stock and colored them in with alcohol markers. I used the coordinating die to cut the image out and foam-mounted on the focal panel.
I finished the card design by adding the sentiment that I heat-embossed on some black card stock and added the red bow from the Baby Bib Die Set.
Would you like to win the “Birdhouse Greeting” Stamp Set? This stamp set will be given away to ONE lucky winner!
Here’s how to win: Comment on the NND blog and Design Team blogs (see list below)! Thewinner will be chosen at random from the collective reveal posts. Make sure to check out each of their blogs and comment for your chance to win. You will not know which blog has been chosen so the more you comment on the better your chances are of winning! You have until Thursday May 18th at 9pm ET to comment — winners will be announced on the blog post on Friday, May 19th.
Check out all the awesome Design Team Blogs below to enter:
Hello and Welcome to the Newton’s NookMay Release Day 2. I hope you were able to check out yesterday’s reveal. You also have a chance to win the stamp set being revealed each day so please read through ’til the end of the blog post to find out more info. [Just a little important note: I know some of you had difficulties finding the comments section. If you would like to leave a comment to participate in the giveaway, the “comments section” will only be ever visible when a single post on Word Press is being viewed. Please click on this particular blog post and you will be able to leave a comment below. Thank you!]
I first created the background by adhering some colored card stock to my A2-size notecard. I trimmed a panel of some Neenah Solar White card Stock measuring 4 x 5 1/4 inches and used an embossing folder to add texture to the background. I adhered this piece on the notecard.
Next, I stamped the images using Memento Tuxedo Black Ink on some white card stock and colored the images in with alcohol markers. I used the coordinating dies to cut them all out.
I used the Oval Frames Die Set to create the oval frame on the background, that was later on foam-mounted to the card for added dimension. I also adhered the colored images with liquid glue! I know you can’t see it on the photo but I added crystal glaze to the images to make them pop!
I finished the card design by adding the sentiment that was heat-embossed on some black card stock. Here’s another look:
Would you like to win the “Succulent Garden” Stamp Set? This stamp set will be given away to ONE lucky winner!
Here’s how to win: Comment on the NND blog and Design Team blogs (see list below)! Thewinner will be chosen at random from the collective reveal posts. Make sure to check out each of their blogs and comment for your chance to win. You will not know which blog has been chosen so the more you comment on the better your chances are of winning! You have until Thursday May 18th at 9pm ET to comment — winners will be announced on the blog post on Friday, May 19th.
Check out all the awesome Design Team Blogs below to enter:
Hello and Welcome to the Newton’s Nook May Release. I am so excited to show off the new products by Newton’s Nook Designs. You also have a chance to win the stamp set being revealed each day so please read through til the end of the blog post to find out more info. [Just a little important note: I know some of you had difficulties finding the comments section. If you would like to leave a comment to participate in the giveaway, the “comments section” will only be ever visible when a single post on Word Press is being viewed. Please click on this particular blog post and you will be able to leave a comment below. Thank you!]
I started by creating the background using my favorite Prima Pastel Dreams Watercolor Confections using some flat watercolor brush on some Bristol smooth white card stock. I swiped the colors back and forth until I the colors were blended together, and adhered this panel on some top-folding notecard.
Next, I created the frame for my shaker using the Frames and Flags with the Framework Die set and adhered some acetate sheet using liquid glue. I added some iridescent sequins as my shaker element and closed the shaker using foam-adhesive.
Would you like to win the “Fireflies” Hot Foil Plates & Dies?This hot foiling set will be given away to ONE lucky winner!
Here’s how to win: Comment on the NND blog and Design Team blogs (see list below)! Thewinner will be chosen at random from the collective reveal posts. Make sure to check out each of their blogs and comment for your chance to win. You will not know which blog has been chosen so the more you comment on the better your chances are of winning! You have until Thursday May 18th at 9pm ET to comment — winners will be announced on the blog post on Friday, May 19th.
Check out all the awesome Design Team Blogs below to enter: