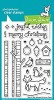
Hello and welcome to the release hop. We are so excited for you to join us as we present to you our June release. The whole design team will be sharing projects featuring the Pretty In Peony stamp set. We also have a GIVEAWAY so please be sure to scroll at the end of this blog post to find out how you can WIN. Don’t forget to visit the participating blogs (links are indicated below) and leave us some crafty love.
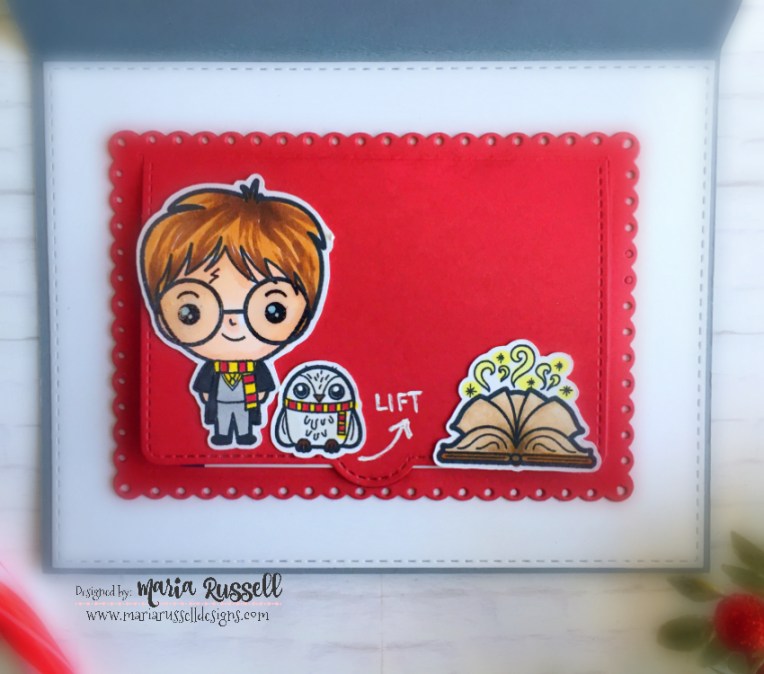
Here’s is my first card:
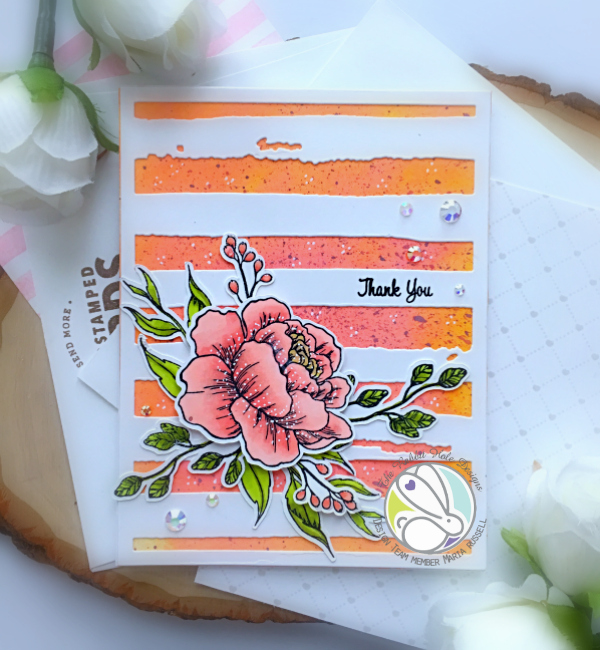
Card recipe:
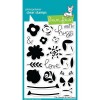
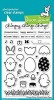
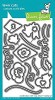
- stamp the images on some Neenah classic crest solar white card stock and color the images in with Spectrum Noir TriBlend markers (or any medium of your choice).
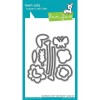
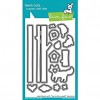
- die-cut the image using Brother Scan N Cut 2
- smoosh distress oxide inks onto an acrylic block and spray with water. Use watercolor brush to add color to the background. Let it dry.
- smoosh aged mahogany distress oxide ink onto an acrylic block again and add water. Use watercolor brush to add splatters on the background. Dab it with paper towel.
- adhere this piece on card base.
- use die from my stash to die-cut the distress edge panel. add foam adhesive and adhere to the colored background.
- adhere the stamped images on the card.
- finish the design by adding sparkling clear jewels and use white gel pen to add more dot details to the card.
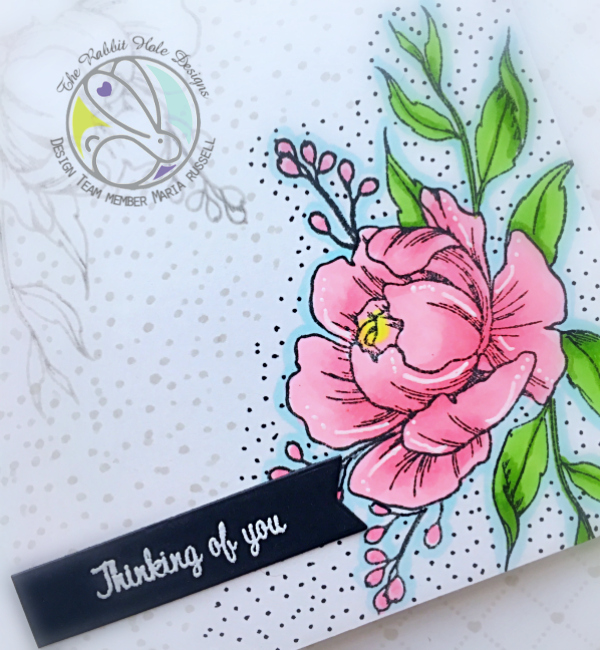
Here’s a closer look:

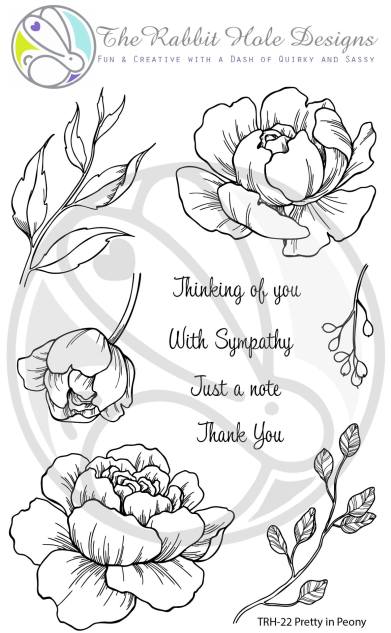
Purchase this stamp set here: Pretty in Peony
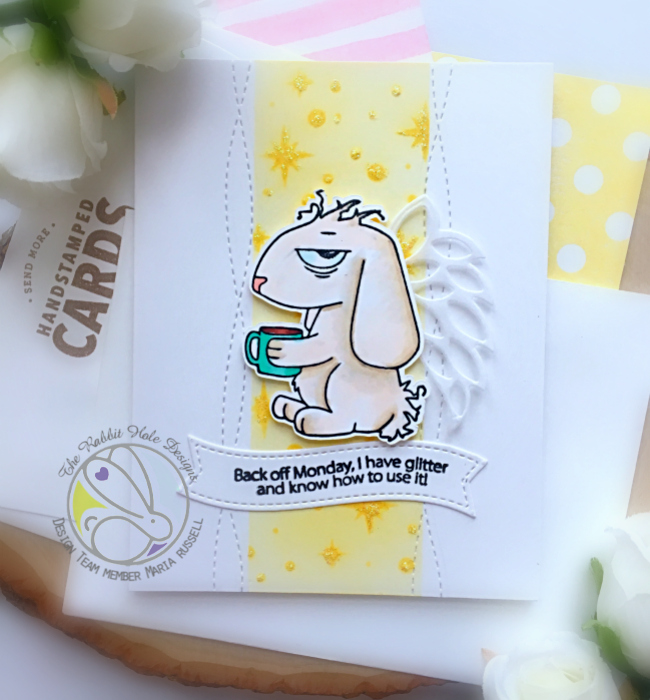
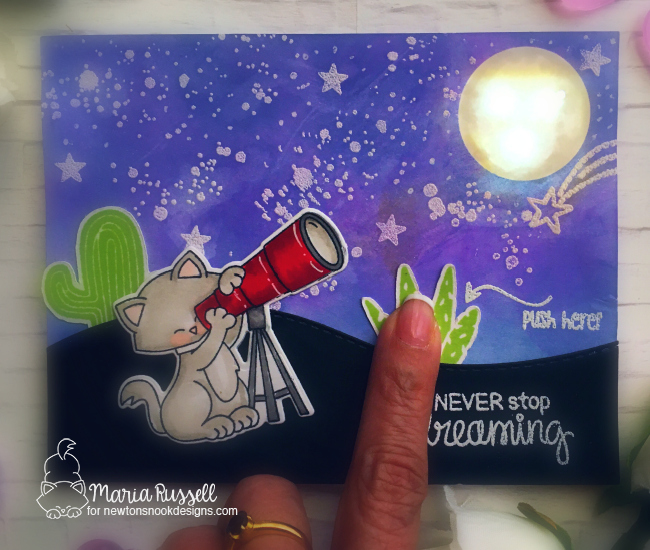
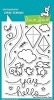
Here’s another simple card that I made using the stamp set:
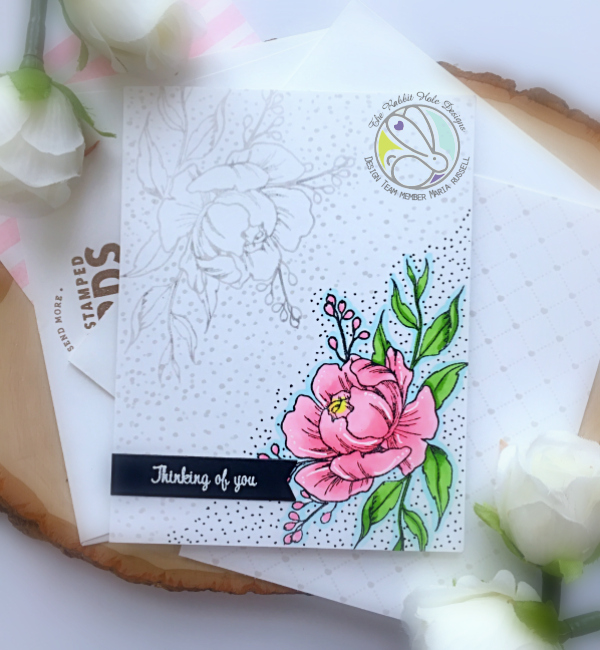
This is pretty much self-explanatory and super easy to make. Not sure if I love this design but I used Fog ink to add the “watermark look” on the other side.
The Rabbit Hole Designs Blog
Maria Russell
Lynnea Hollendonner
Amanda Stevens
Martha Lucia Gomez
Lisa Golzbein
Katie Brooks
Shanna Slater
MaryAnn Samuelson
For more inspiration, updates, and news make sure to check out these places.

———SUPPLIES———–