stamp the images on some Neenah Classic Crest Solar white card stock.
color images in with alcohol markers (or any medium of your choice).
die-cut the image using the coordinating die.
die-cut some birthday-themed pattern paper and adhere on some A2-size, top-folding notecard.
die-cut the Happy Birthday Circle Frame die on some Neenah 100 lb. card stock.
use the circle shaker pouch and add some confetti as the shaker element. Adhere and close the shaker on the card.
adhere the Happy Birthday die-cut on the circle shaker using liquid glue.
finish the card design by adhering the focal image on the card.
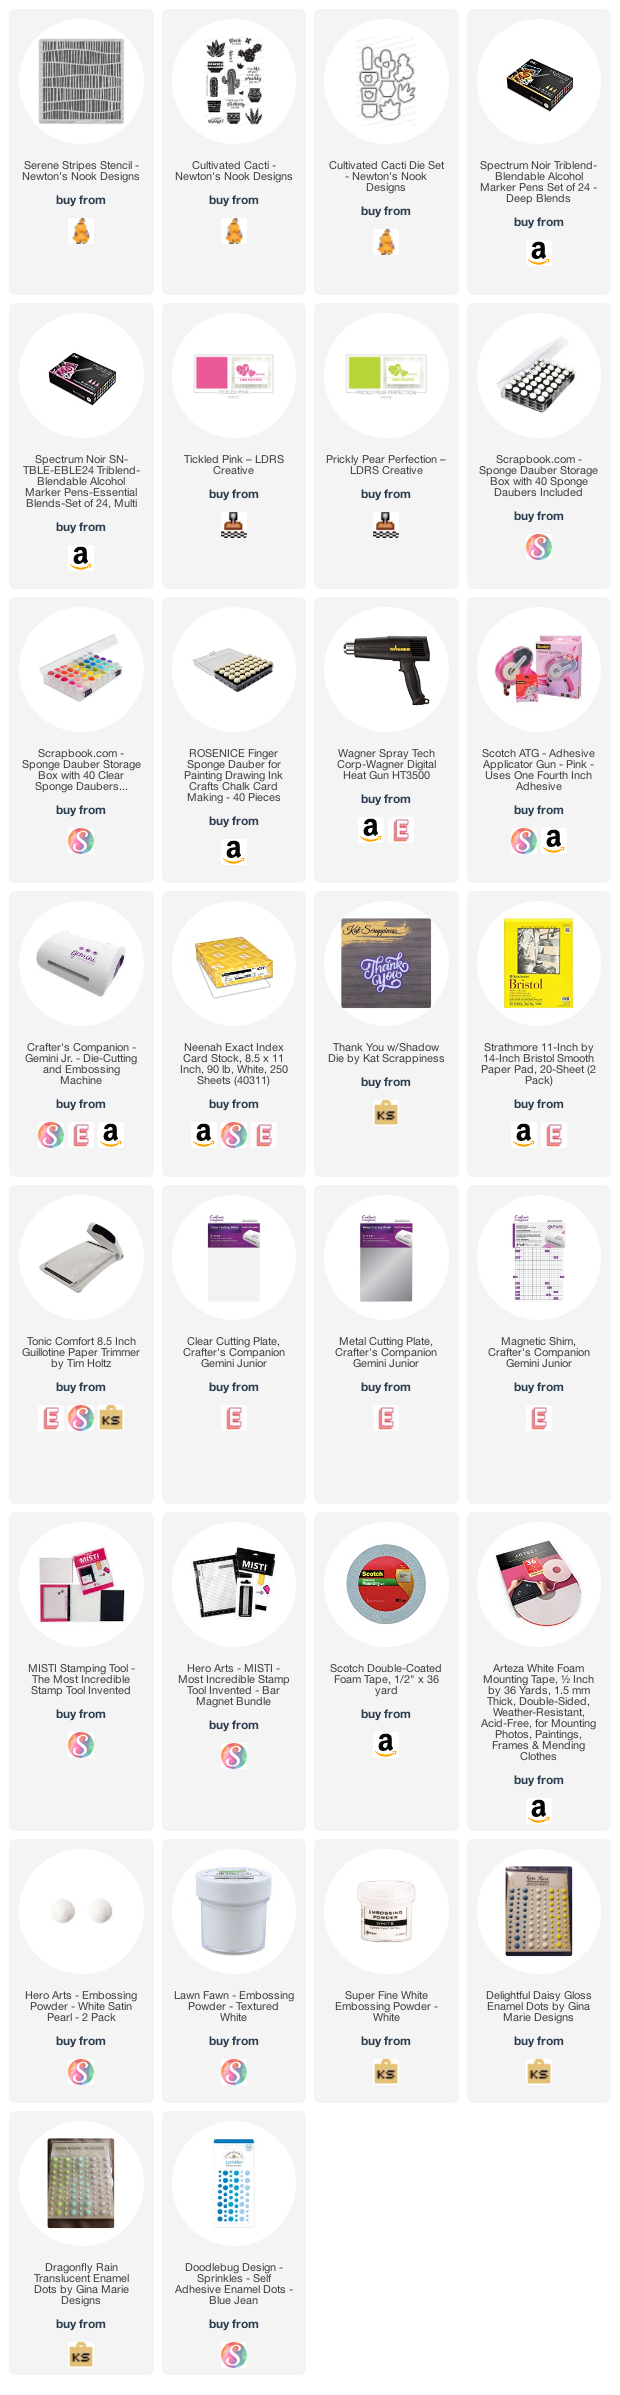
I love the simplicity of this fun shaker card. I hope you like this project today and got inspired. Below, you will find links to the supplies used to create this project(s). Where available, I use compensated affiliate links at no extra cost to you. Your support helps me to keep bringing you new projects and inspiration. Thank you for stopping by, and have an amazing day!
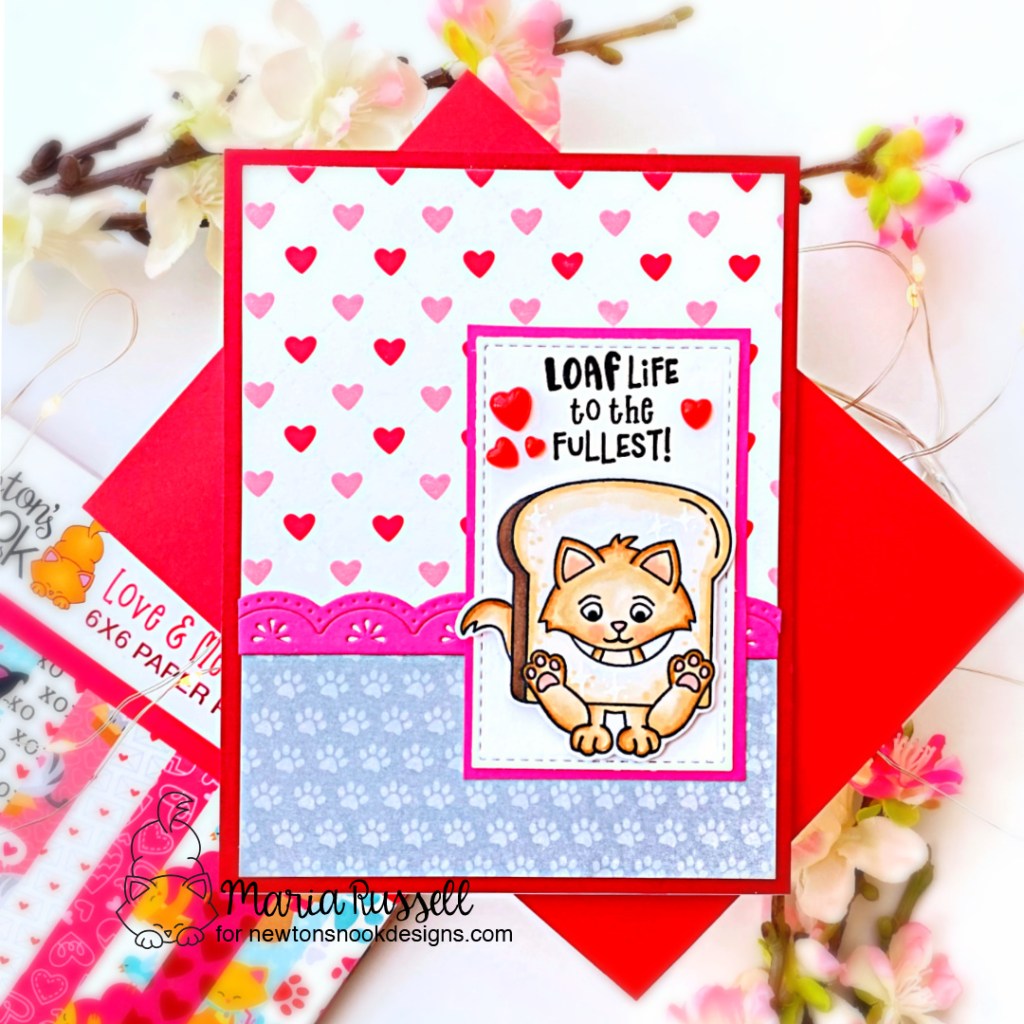
Love is in the air and I am busy creating Valentine’s Day Cards. What have you all been up to? If you haven’t seen the new release by Newton’s Nook Designs, y’all need to head on over there and check out all the new products, including the new Love & Meows Paper Pad.
I found a few card sketches while browsing on Pinterest so I thought I’d give it a try today. I don’t normally create sketch cards because mixing patterns is not my thing; but when you have a really cute pattern paper such as the Love & Meows Paper Pad, you can’t help but show it off!
Here’s how I made this card:
Stamp the image from the Knead Kittens stamp set on some X-Press It Blending Card and color the image in with alcohol markers.
Use the Knead Kittens coordinating die to cut the image.
Cut some red card stock measuring 4 1/4 X 5 1/2 and adhere on an A2-size notecard.
Cut a few pieces of pattern paper from the Love & Meows Paper Pad and adhere to the card.
Use a scallop border from your collection and die-cut some dark pink card stock. [Designer tip: this will create a smooth transition between the patterns.]
Die-cut a small stitched rectangle with some Neenah solar white card stock. Matt this piece on some dark pink card stock that matches the scallop border. Adhere this panel on the card front.
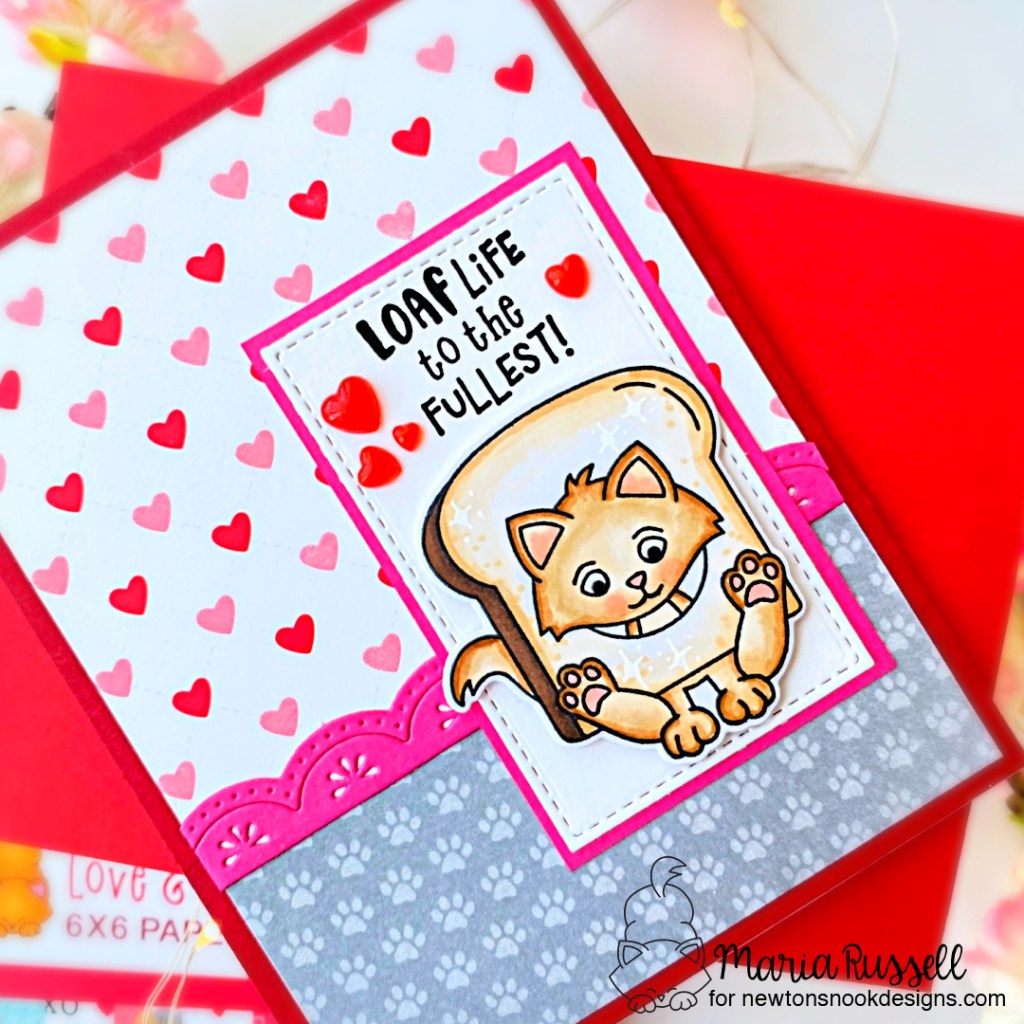
Adhere the focal image on the card for added dimension.
Stamp the sentiment with VersaFine Clair ink in Black
Finish the card design by adding some heart enamel dots with liquid glue.
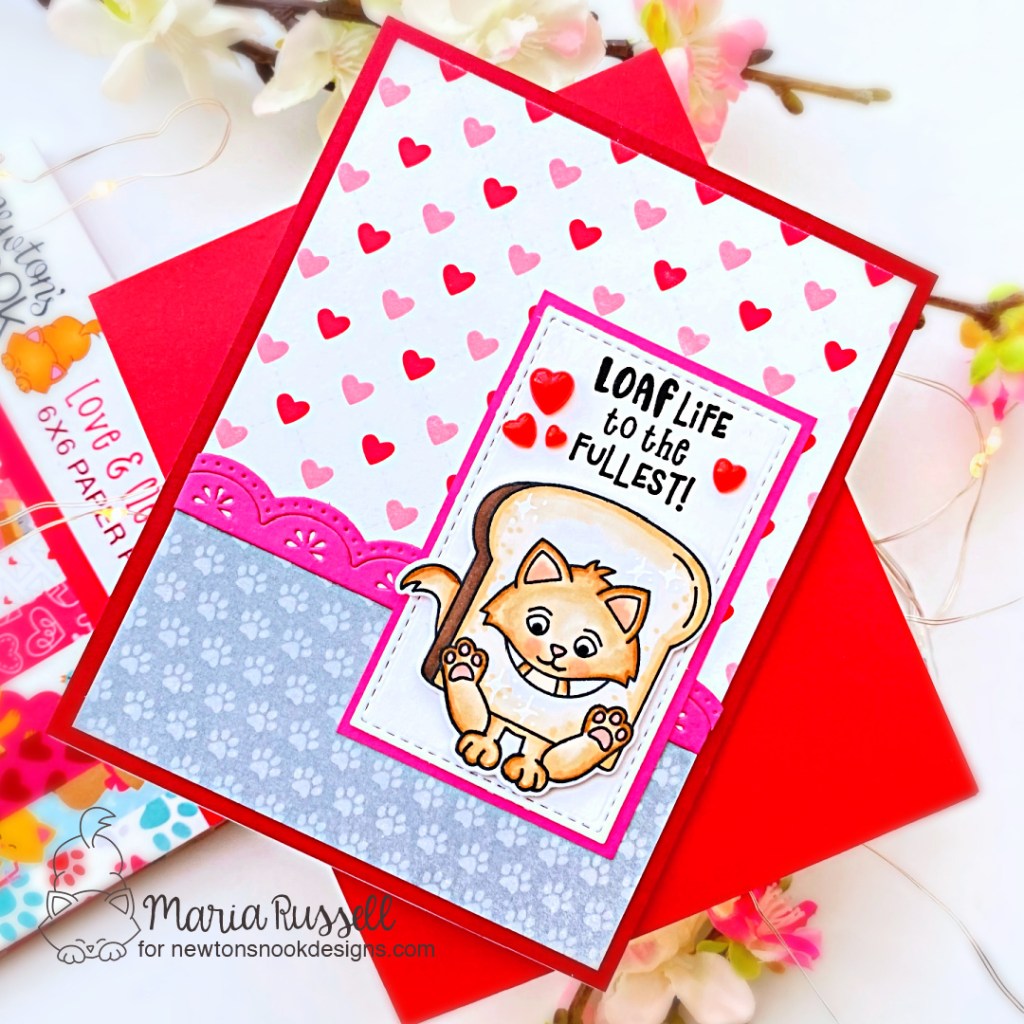
This card is easy, peasy! I may have to start making sketch cards more often since this took about less than 30 minutes, and it can easily be mass-produced! What do you think?
I hope I’ve given you some great inspiration today using the new products from the January release by Newton’s Nook Designs. The supplies I used are listed and linked below. Thanks for stopping by!
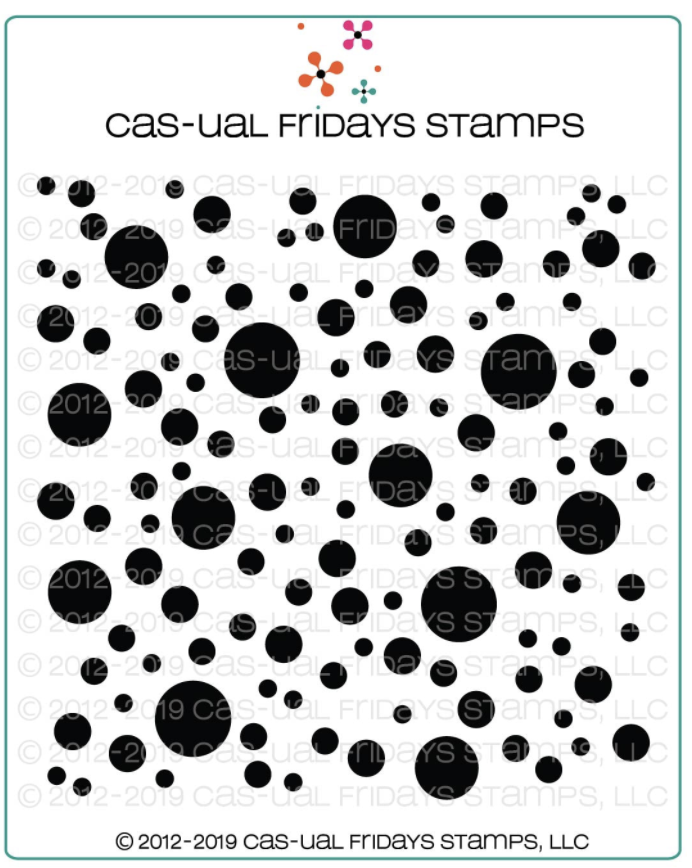
To make the card, I temporarily adhered the Bubbly Stencil on some Neenah Solar white card stock and added some color with dye inks using some blending brushes. I adhered this piece on an A2 size card base.
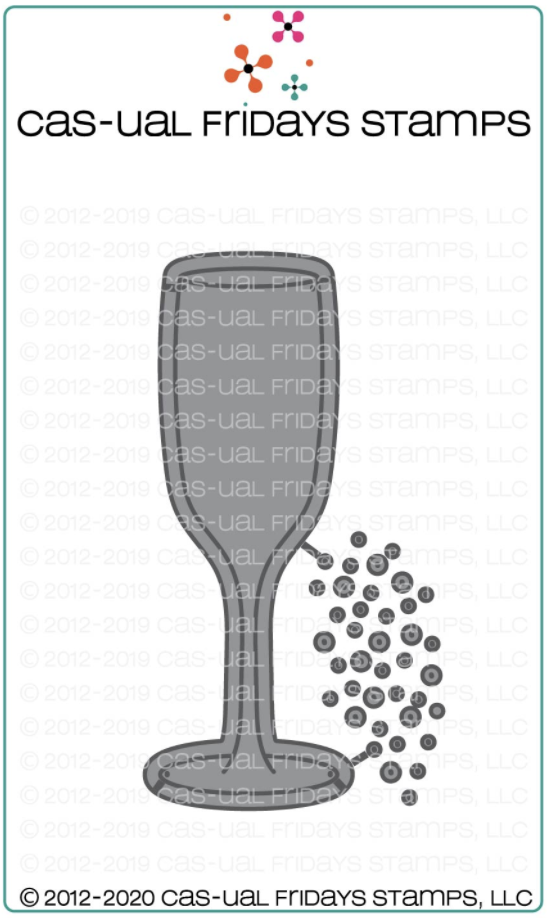
Next, I die-cut the Champagne Flutes a couple of times using some gold and white card stock, as well as some acetate sheets. Instead of using foam adhesives, I adhered the pieces together to create my shaker well. I also added the acetate sheet on one end, then added my shaker element to the well. I closed my shaker by adding another piece of acetate sheet on top, making my champagne flute see-through.
I stamped my sentiment on my focal panel with some Versafine Onyx black ink. I finished my design by adhering both champagne flutes on my card. Here’s another look:
I absolutely LOVE how this card turned out! Here are the supplies if you’re interested:
All stencils are currently on SALE at the shop. Use my coupon code below for 15% off your order! Thanks for stopping by and have a great weekend!
The Newton’s Nook Design Team is hopping along today to share some Sweet Treats – just in time for Valentines day! Make sure to scroll down at the bottom of this post to see the whole list, and hop along and comment for a chance to win!
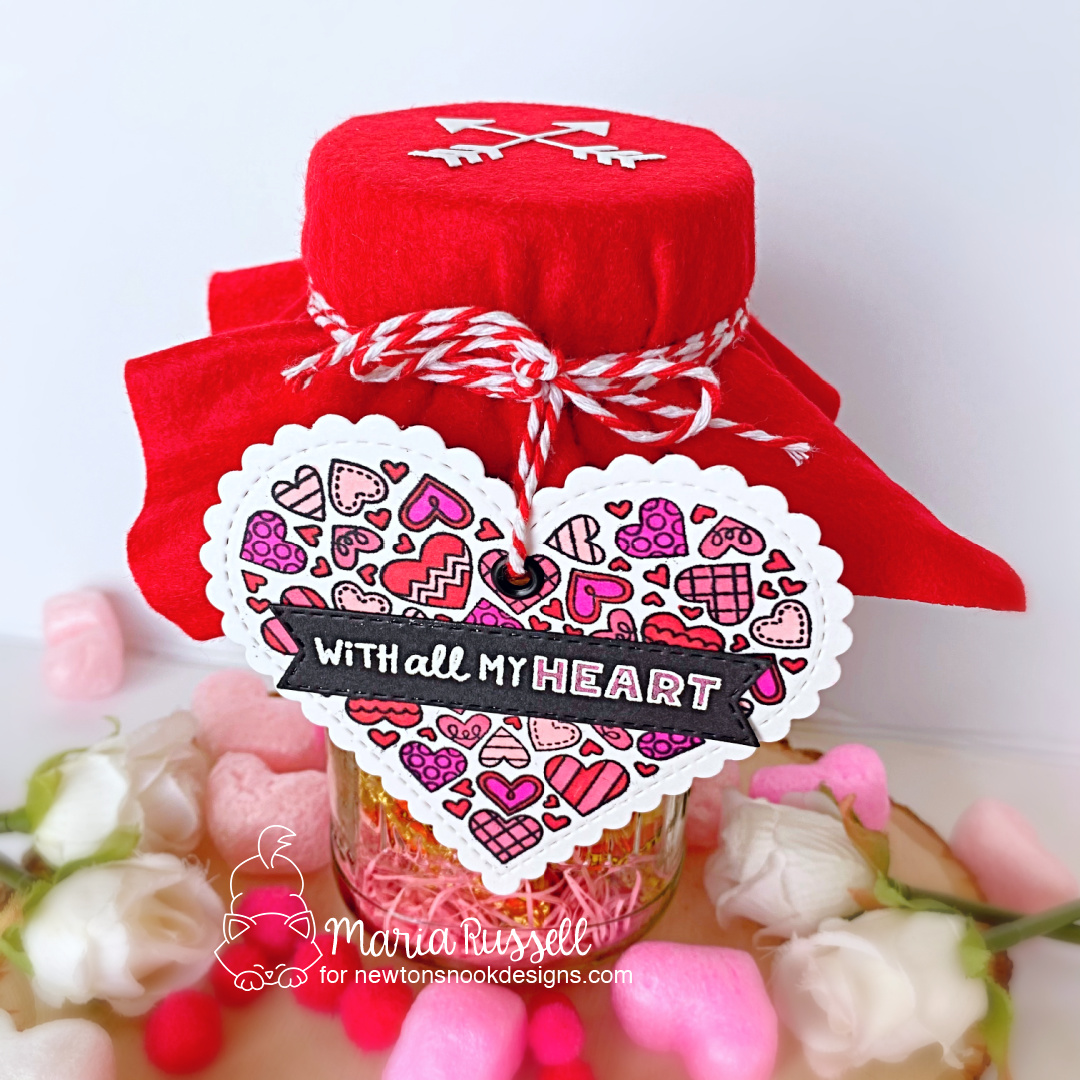
To begin, I stamped my image on some Neenah solar white card stock and colored the images in with my Spectrum Noir TriBlend markers. I die-cut the image that I colored using the scallop die from the Heart Frames die set.
To turn the die-cut into a tag, I used my Crop-A-Dile to punch a hole in the middle. I inserted the eyelet and used my Crop-A-Dile again to set the eyelet and finish the tag.
I want a bigger treat holder this year to house my husband’s special treat. I used a recycled glass jar that I washed in my dishwasher. I added some pink shredded paper at the bottom for added color and texture. Next, I poured the whole bag of Reese’s pieces (my husband’s favorite chocolate) inside the jar. The glass jar is big enough to hold all of the chocolates inside. I added more shredded paper on top and closed the jar with the lid. I cut some red felt to cover the top of the jar and used some red and white twine to hold it shut. I inserted my tag and created a loop, then finished it with a bow. I also die-cut some arrows to decorate the top of the jar and adhered them with liquid glue.
To finish my tag design, I die-cut some black card stock using the Banner Trio die. I stamped the sentiment on this piece and sprinkled some white embossing powder. I used my heating tool to heat-set the sentiment and waited for this piece to cool for a few seconds. To add more texture to the the sentiment, I used my Spectrum Noir Glittered Pens to add color to the word “HEART”. Here’s another look:
I’ve always loved recycling glass jars and this treat holder turned out so cute with just a few supplies from my collection, and stamps & dies from Newton’s Nook Designs! My hubby is going to LOVE this! Don’t forget to join us and hop along to win one of the prizes. Full details about the hop is indicated below. I have also listed and linked the supplies I use. Thanks for joining me today!
Sweet Treats Blog Hop Giveaway!
Would you like to win a $25 store credit to Newton’s Nook Designs online shop? We are giving them out to TWO lucky winners!
Here’s how to win:
Comment on the NND blog and Design Team blogs (see list below)! The winner will be chosen at random from the collective reveal posts. Make sure to check out each of their blogs and comment for your chance to win. You will not know which blog has been chosen so the more you comment on the better your chances are of winning! You have until Monday, February 8th at 9pm EST to comment — winners will be announced on the NND blog on Tuesday, February 9th.
Check out all the awesome Design Team Blogs below to enter:
Create cute seasonal maple bag tags with the Art of Sublimation!
Learn how to create one-of-a-kind seasonal bag tags with Artesprix Sublimation Markers and Ink Pad!
Hello! Maria Russell here again and I am super excited to share with you today’s project! Since I’ve already created some summer-themed bag tags a few months ago, I thought I’d share more projects today celebrating Halloween, Winter and Spring seasons.
Trace your maple tag on plain typing paper with a pencil.
Step 2.
Before I stamped the images, I refilled my Artesprix Sublimation Stamp Pad with the (new) Sublimation Stamp Ink Refill. Since I was creating 3 designs, I wanted to make sure that my stamp pad is juicy so that my images will look crisp when stamped on the paper.
Add a few drops of the ink and use a plastic card to spread them evenly on the pad.
Use the Artesprix Sublimation Stamp Pad to stamp the images and color with the Sublimation Markers. I repeated these steps for the three tags, assembly-line style.
Step 4.
Secure your design on your Maple Bag Tag by using Artesprix Heat Tape. If you are going to sublimate using the Artesprix Heat Press, you only need one on each side to hold it down. If you are using an iron, you will need a few more. Sometimes the iron will cause the image to slip and you will get a ghost image. [Only use Artesprix Heat Tape on the outer edge of the design (not over it).]
Step 5.
Turn your Artesprix Heat Press on and set the temperature to 400 degrees Fahrenheit and the timer for 45 seconds. Create your sublimation sandwich. Cut two pieces of Protective Paper to cover your Artesprix Halloween Decorative Metal Panel on the top and bottom. [Designer tip: Make sure that your design is facing the heat source before you heat press.] Place it inside the Heat Press and close the machine. The Heat Press will beep indicating that your project is finished!
Step 6.
I sublimated the tags one after another (“assembly-line style“). This made it easier for me to get them all done while the machine is on!
Step 7
While wearing protective gloves, lift the handle and take your Sublimated Maple Bag tags out of the machine and sublimate the others. Place them all on top of the Protective Project Mat and give it about half an hour to cool it down.
Step 7.
Gently remove the paper to reveal the Sublimated Maple Bag Tag.
Step 8
I created a double-sided Halloween Tag. Here’s the design:
Here’s what it looks like after sublimation:
I didn’t add any sentiments on this design. Since I LOVE Halloween images so much, I can use this bag tag all-year round!
Here are the three Maple Bag Tags –> Halloween/Fall, Woodland/Winter theme and a floral one for Spring:
Join in the Iron-on-Ink Fun!
Love this All-seasons Maple bag tags project? Join the Iron on Ink Community on Facebook for more project ideas and to share your own creative iron-on ink projects.
You will find all the blanks and other supplies available for purchase on the Artespix website. Thank you for stopping by and happy crafting!
**The links below are affiliate links. If you decide to make a purchase, you are supporting today’s post writer at no extra cost to you, thank you! These products are endorsed by the author and we hope you’ll love them, too.
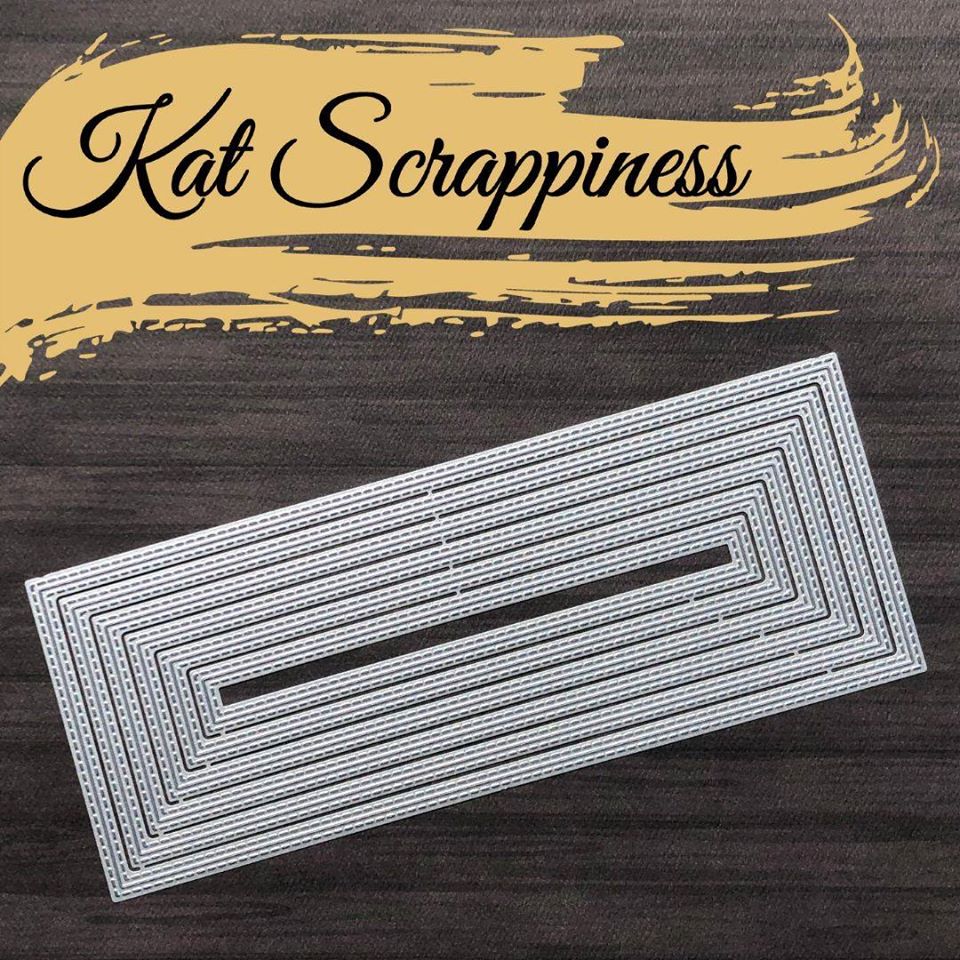
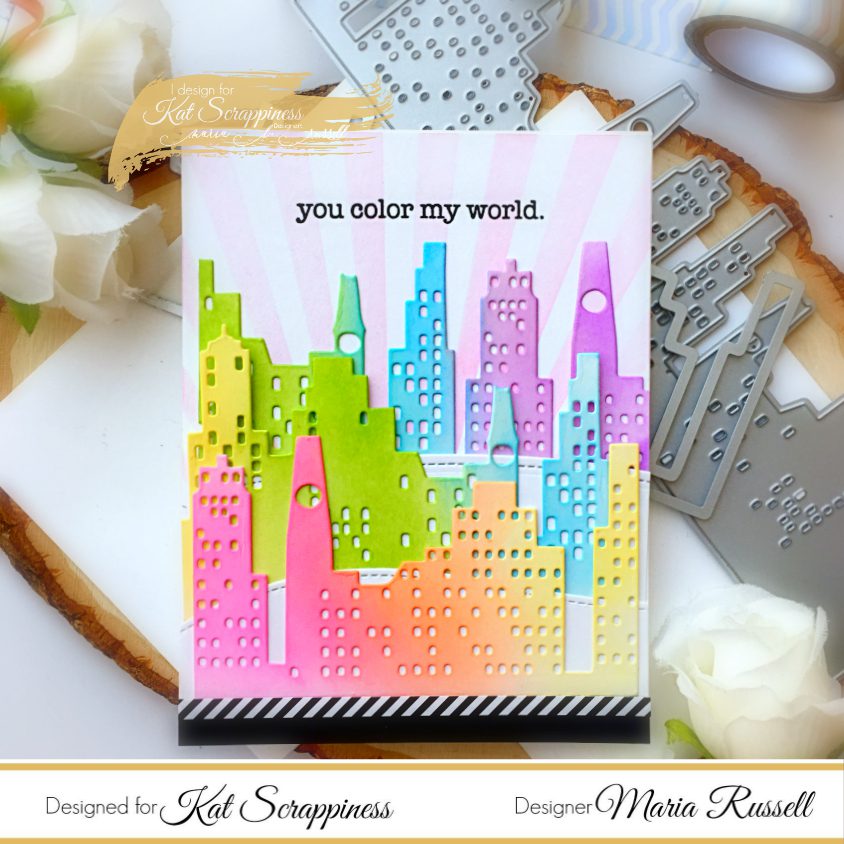
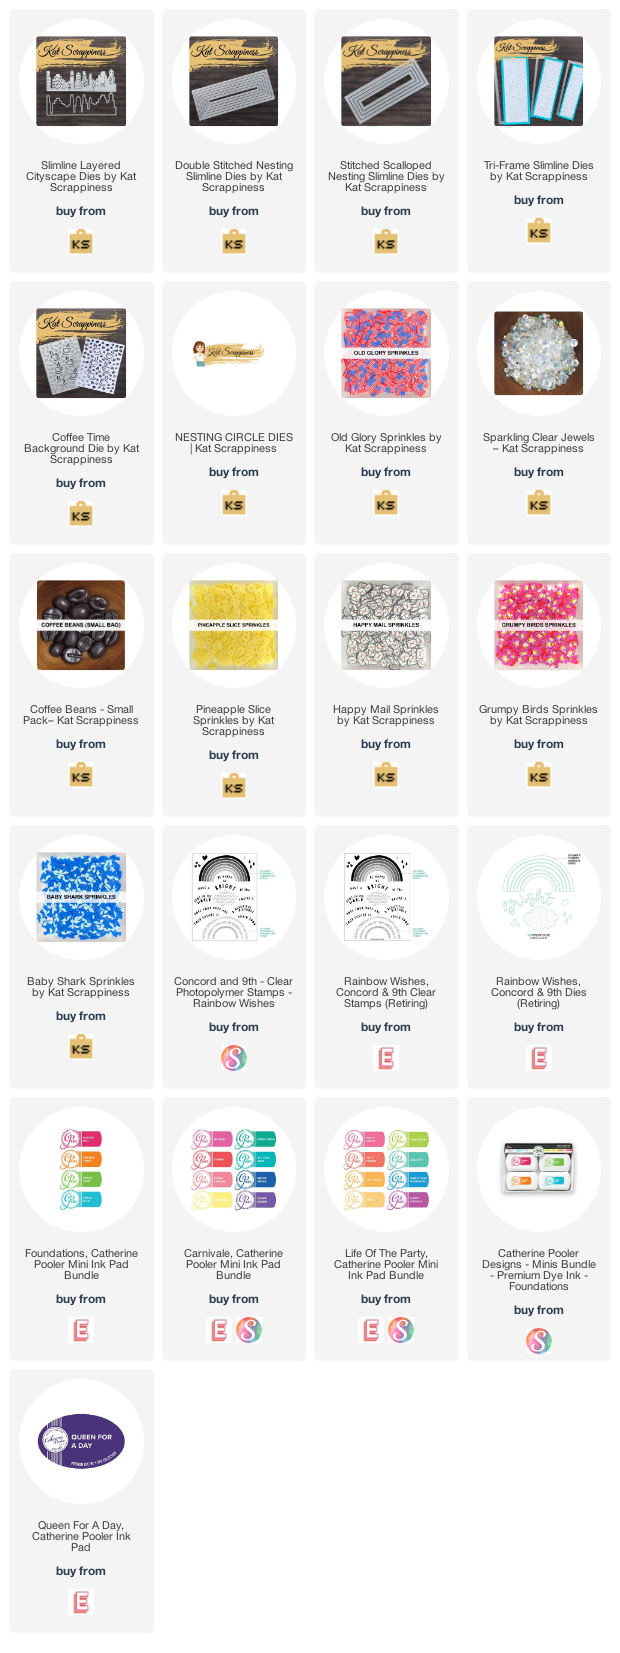
I have a special post today as we reveal some new slimline dies, background cover plate and stamp sets from Kat Scrappiness. These new dies are AMAZING and definitely cheaper than what’s available out there in the market! You need to hurry and order them soon before they sell out!
There is also a GIVEAWAY for today and tomorrow at the KS Blog so if you would like to participate, head on over to the blog post (click here) and leave a comment there for a chance to win a $25 gift card that you can spend to get anything you want from the shop!
Before I show you the products, I just want you all to know that Kat Scrappinessis also having a 4th of July weekend “SITEWIDE” sale (excludes Slimline products). Use the coupon code (FREEDOM) to get 15% off your entire order.
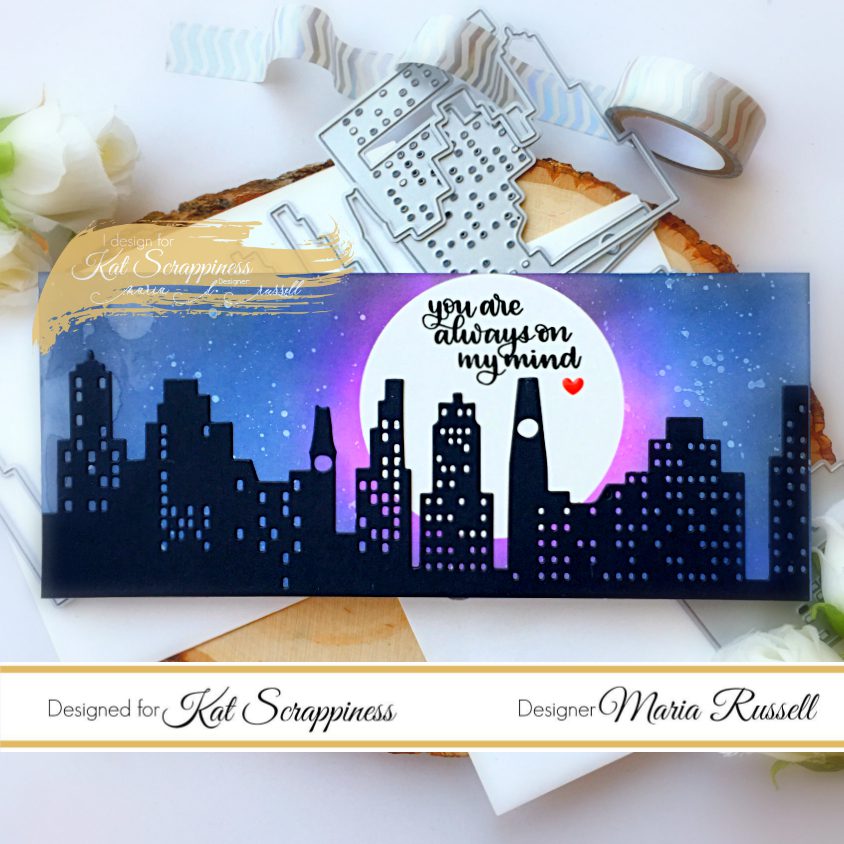
To make my first card, I created the background by die-cutting masking paper using the Nesting Circle dies. I ink-blended a Bristol smooth panel with Chipped Sapphire, Faded Jeans, Wilted Violet and Black Soot. I used a paintbrush to flick some water on the colored panel and dabbed it with paper towel to dry. Removing the mask revealed the full moon. I used the Cityscape slimline die to die-cut it in black and kept it simple by adhering it to the colored panel with liquid glue.
I finished the design by stamping the sentiment with Versafine Onyx black ink and added an enamel heart. Here’s a closer look:
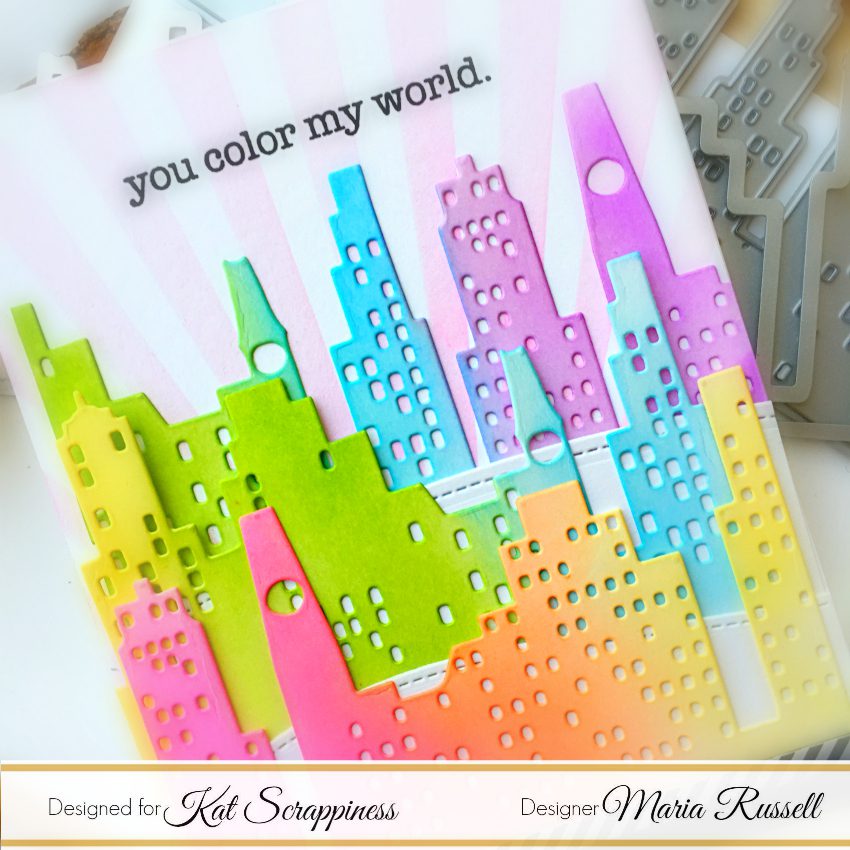
For my second card, I wanted to showcase the Cityscape slimline die on an A2 size card to show versatility, die-cutting it a couple of times with some Bristol smooth white card stock and inking them up with some distress oxide inks in rainbow order.
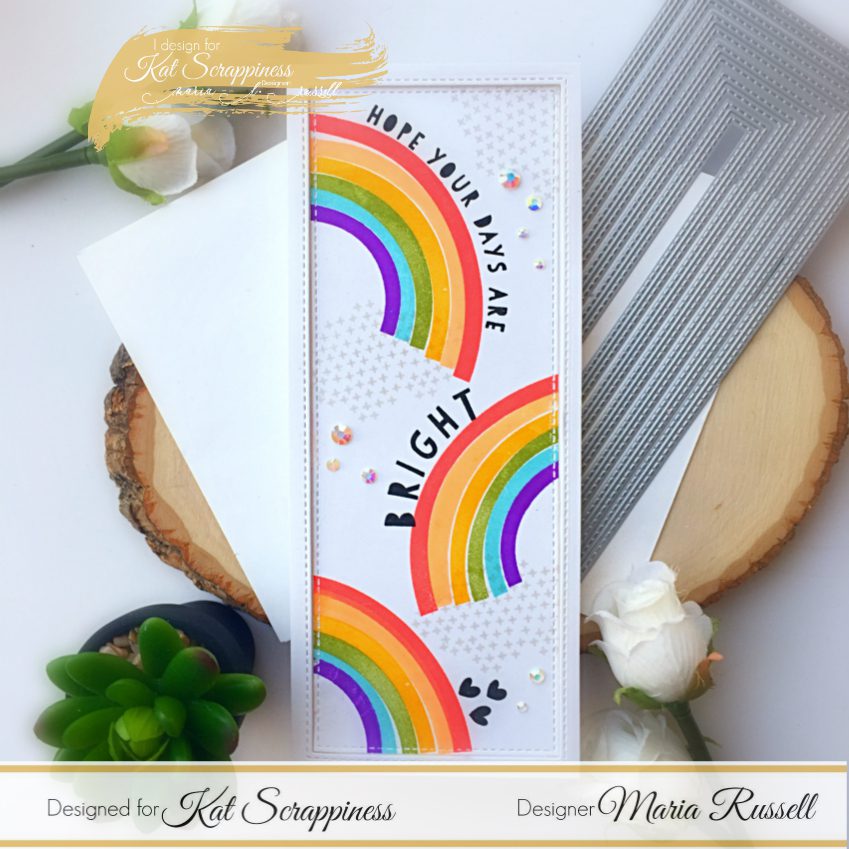
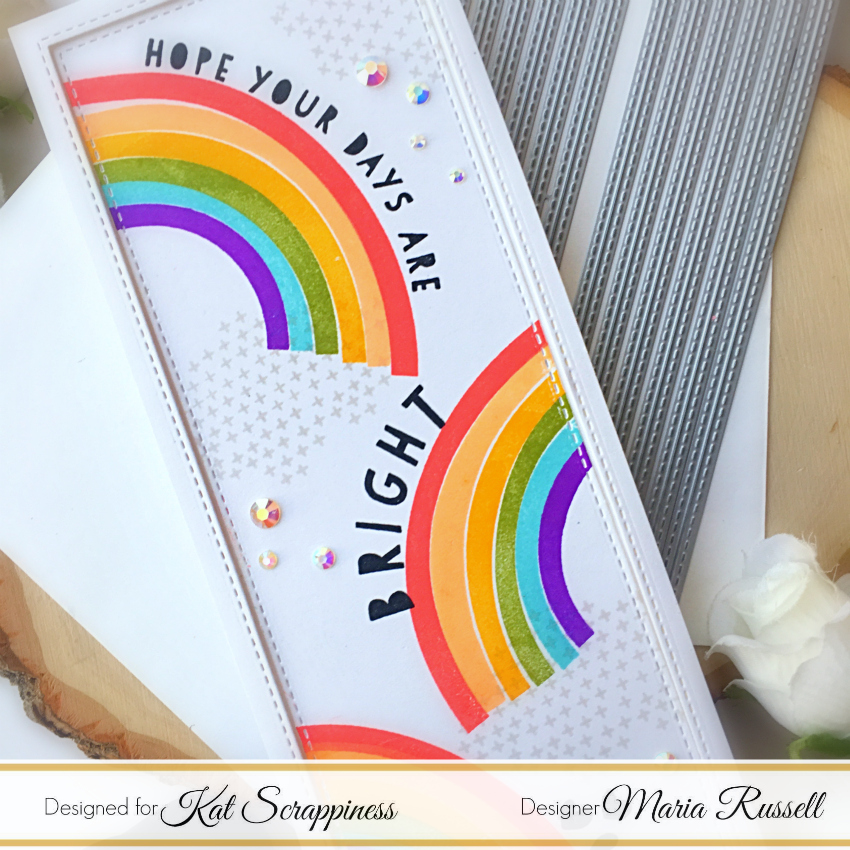
I went for a simple card for my third sample for you. I die-cut the panel using the Double-Stitched Nesting Slimline diesand stamped the rainbows and other images a few times on the card. The new Catherine Pooler inks are my favorite!
The frame was foam-mounted for added dimension and to finish the design, I added some Sparkling clear jewels. They are my favorite to use for cards!
Here’s a closer look:
I hope I have given you some card-making/stamping inspiration today. The supplies I use are listed and linked below. Thanks for stopping by and happy stamping!
I always get a bit bummed when it’s the last day of the reveals by Newton’s Nook Designs. Have you seen the last three days? The design team totally rocked it! You also have a chance to win the stamp set being revealed each day so please read through til the end of the blog post to find out more info. [Just a little important note: I know some of you had difficulties finding the comments section. If you would like to leave a comment to participate in the giveaway, the “comments section” will only be ever visible when a single post on Word Press is being viewed. Please click on this particular blog post and you will be able to leave a commentbelow. Thank you!]
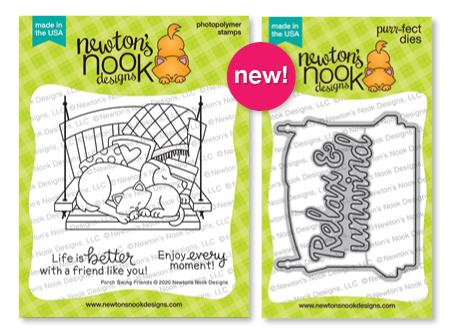
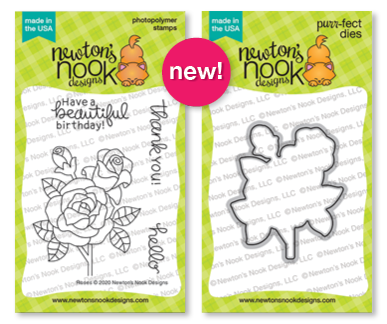
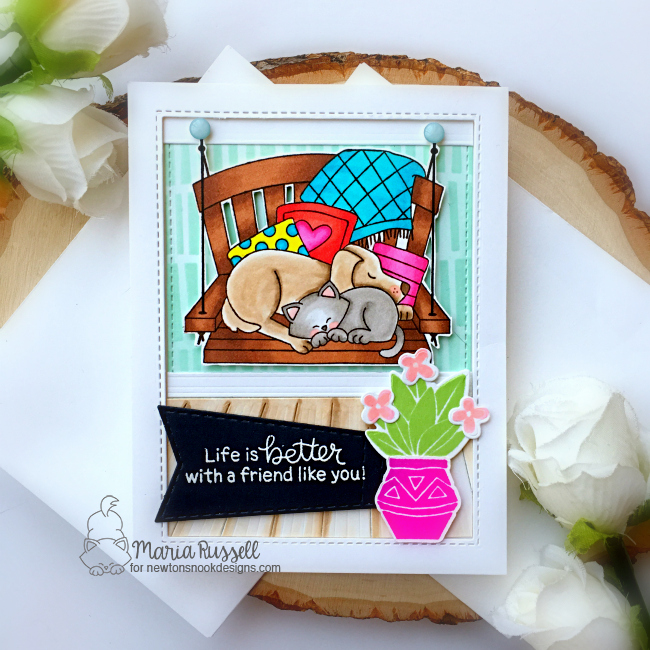
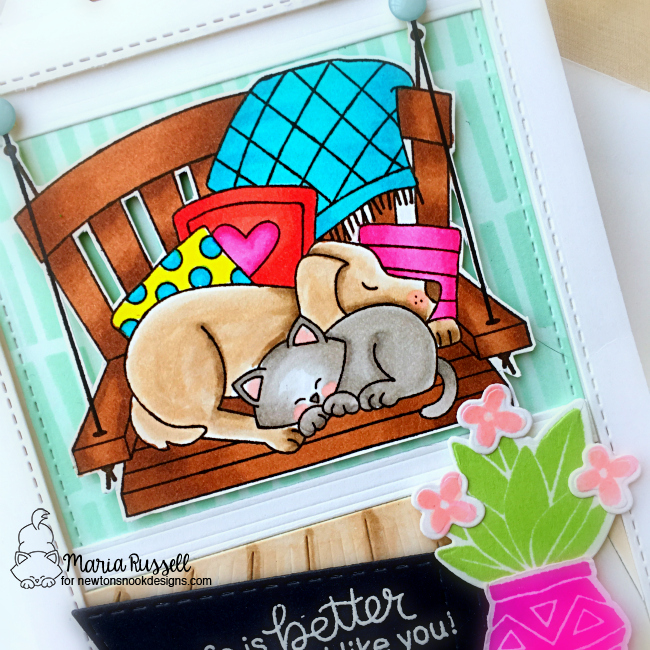
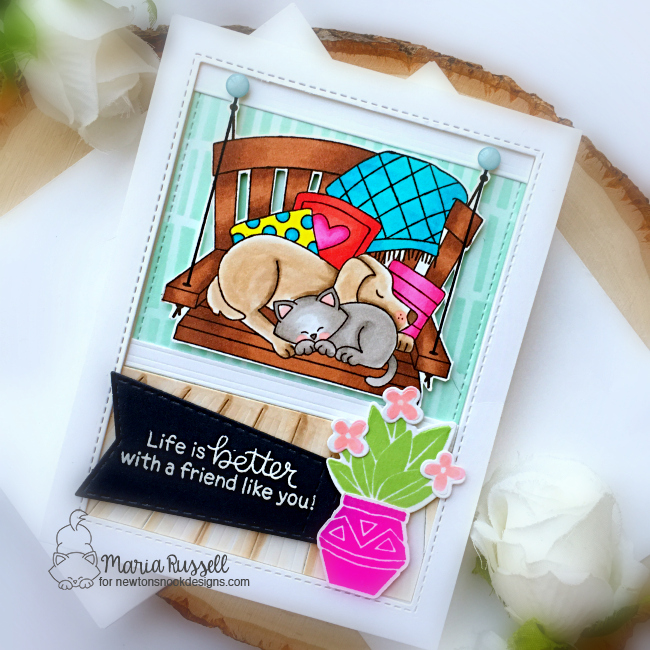
For day 4, we are showcasing the Porch Swing stamp set and Roses stamp set with the coordinating dies.
To make my first card, I started by stamping my images on some Neenah solar white card stock. I colored my images in with my Spectrum Noir alcohol markers. Since I didn’t have the dies, I used my precision snips to fussy-cut the images.
I ink-blended a panel of Bristol smooth white card stock using some dye inks from my collection and the Serene Stripes stencil (this stencil is one of my favorites!). I adhered this piece on an A2 size card base.
The floor and the baseboards were die-cut using a die from my collection and adhered to the card with some liquid glue. I die-cut the white rectangle frame and foam-mounted this onto the card. I added the focal image for with some foam adhesive for more dimension.
To finish my card design, I stamped the sentiment on some black card stock and adhered with some foam adhesive. Lastly, I added the potted cactus from the Cultivated Cacti stamp set. Here’s another look:
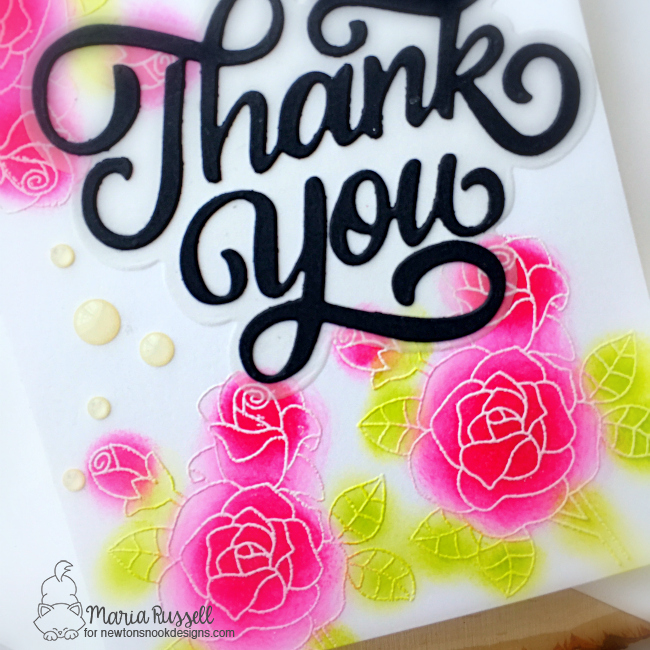
I made my second card extremely simple so this can easily be mass-produced. I prepped my Neenah solar white card stock with my powder tool to keep my embossing powder from spreading everywhere. I stamped the image with some Versamark ink a few times. I sprinkled some white embossing powder and heat-set with my heating tool. I used some mini ink daubers and hybrid inks to color my flowers. Sometimes, keeping the card clean & simple creates a huge impact in the overall design!
I die-cut the “thank you” using a die from my collection with some black card stock and vellum, adhering them onto the card with liquid glue. Here’s a closer look at the beautiful flowers!
I finished my card design by adding some white enamel dots all over the card panel.
Would you like to win the “Porch Swing” Stamp Set or the Roses stamp set?We will choose ONE lucky winner for each stamp set!
Here’s how to win: Comment on the NND blog and Design Team blogs (see list below)! Thewinner will be chosen at random from the collective reveal posts. Make sure to check out each of their blogs and comment for your chance to win. You will not know which blog has been chosen so the more you comment on the better your chances are of winning! You have until Thursday June 18th at 9pm EST to comment — winners will be announced on the blog post on Friday, June 19th.
Check out all the awesome Design Team Blogs below to enter:
It is the third day of the reveals by Newton’s Nook Designs. Have you see the last two days of the reveal? Which one os your favorite? You also have a chance to win the stamp set being revealed each day so please read through til the end of the blog post to find out more info. [Just a little important note: I know some of you had difficulties finding the comments section. If you would like to leave a comment to participate in the giveaway, the “comments section” will only be ever visible when a single post on Word Press is being viewed. Please click on this particular blog post and you will be able to leave a commentbelow. Thank you!]
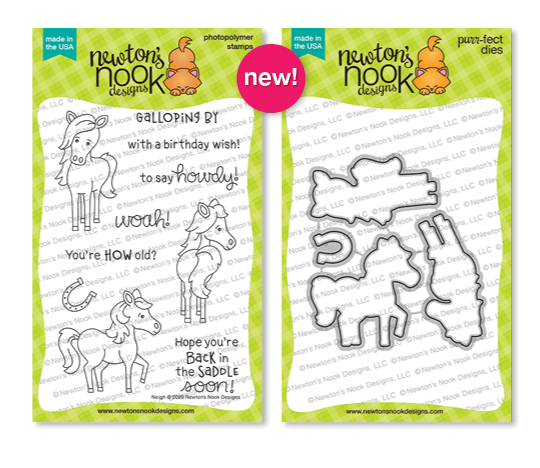
For day 3, we are showcasing the Neigh Stamp Set and coordinating dies.
To make my card, I started by stamping my images on some Neenah solar white card stock. I colored my images in with my Spectrum Noir alcohol markers. Since I didn’t have the dies, I used my precision snips to fussy-cut the images.
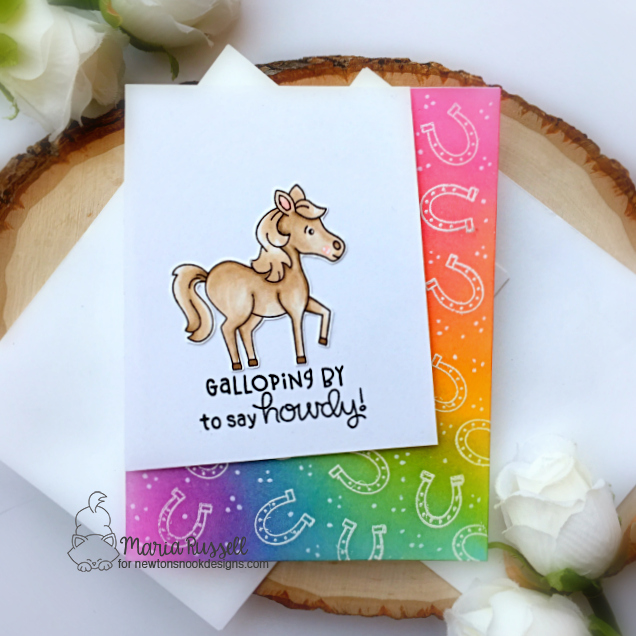
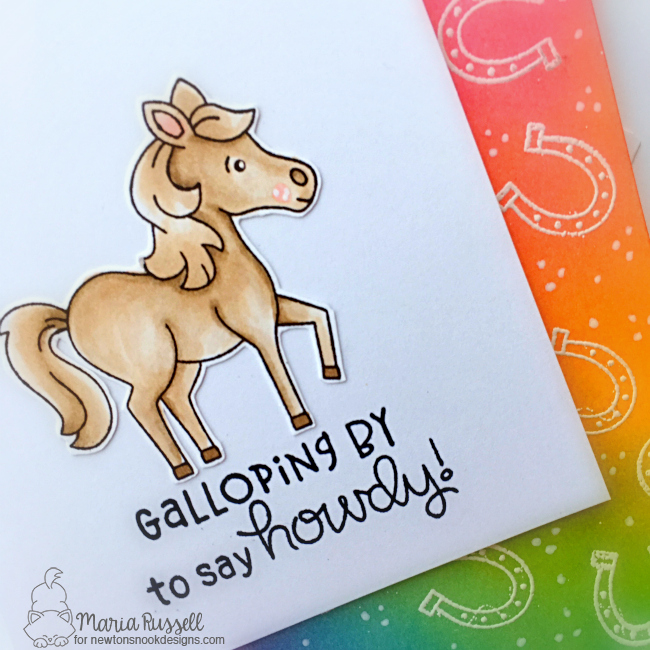
I prepped my A2 size panel of Bristol smooth white card stock with my powder tool. I placed this panel inside my mini Misti and stamped the horseshoe a couple of times with Versamark ink. I sprinkled it with white embossing powder and heat-set with my heating tool. I then ink-blended this panel with some distress oxide inks and used my paper towel to wipe the excess ink. I love the “emboss-resist” effect using the oxide inks.
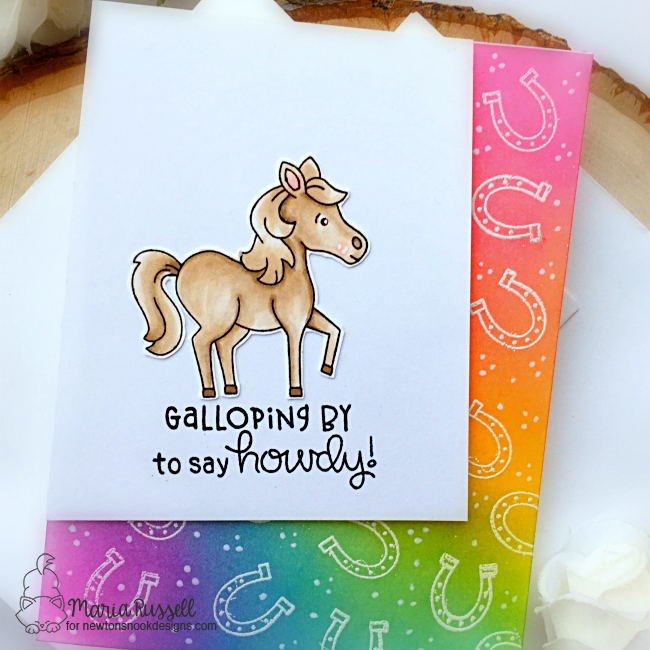
I cut some Neenah solar white card stock on an angle and foam-mounted this piece on my colored background.
I adhered the colored image on my card with some liquid glue.
To finish my card design, I stamped the sentiment with some Versafine Onyx Black ink and used my white gel pen to add more texture to the background. Here’s another look:
Would you like to win the “Neigh” Stamp Set?This stamp set will be given away to ONE lucky winner!
Here’s how to win: Comment on the NND blog and Design Team blogs (see list below)! Thewinner will be chosen at random from the collective reveal posts. Make sure to check out each of their blogs and comment for your chance to win. You will not know which blog has been chosen so the more you comment on the better your chances are of winning! You have until Thursday June 18th at 9pm EST to comment — winners will be announced on the blog post on Friday, June 19th.
Check out all the awesome Design Team Blogs below to enter:
It is the second day of the reveals by Newton’s Nook Designs. I hope you were able to check out yesterday’s reveal. You also have a chance to win the stamp set being revealed each day so please read through til the end of the blog post to find out more info. [Just a little important note: I know some of you had difficulties finding the comments section. If you would like to leave a comment to participate in the giveaway, the “comments section” will only be ever visible when a single post on Word Press is being viewed. Please click on this particular blog post and you will be able to leave a commentbelow. Thank you!]
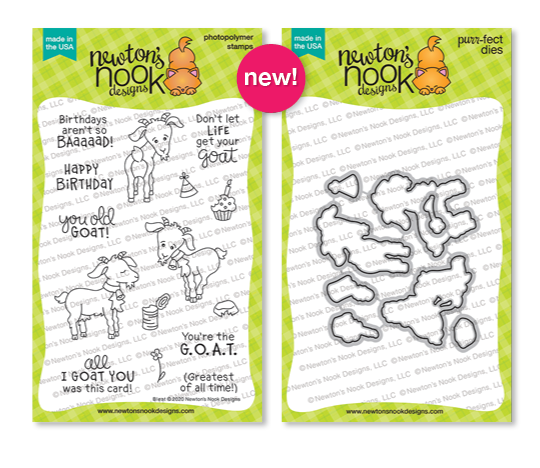
For day 2 of the reveals, we are showcasing the Bleat Stamp Set and coordinating dies.
To make my card, I started by stamping my images on some Neenah solar white card stock. I colored my images in with my Spectrum Noir alcohol markers. Since I didn’t have the dies, I used my precision snips to fussy-cut the images.
I ink-blended an A2 panel of some Bristol smooth white card stock with some distress oxide inks. I used the Confetti Stencil for added texture to the background. I adhered this panel on some A2-size card base.
I die-cut a square frame using some dies from my collection and adhered this on the background with some liquid glue. The grass panel was die-cut using the grass border from the Land Borders die set. I added a strip of some black and white patterned paper and a strip of just plain black card stock to ground my images.
I adhered the colored images on my card with some liquid glue.
To finish my card design, I stamped the sentiment with some Versafine Onyx Black ink. Here’s another look:
Would you like to win the “Bleat” Stamp Set?This stamp set will be given away to ONE lucky winner!
Here’s how to win: Comment on the NND blog and Design Team blogs (see list below)! Thewinner will be chosen at random from the collective reveal posts. Make sure to check out each of their blogs and comment for your chance to win. You will not know which blog has been chosen so the more you comment on the better your chances are of winning! You have until Thursday June 18th at 9pm EST to comment — winners will be announced on the blog post on Friday, June 19th.
Check out all the awesome Design Team Blogs below to enter: