stamp the images on some Neenah Classic Crest Solar white card stock.
color images in with alcohol markers (or any medium of your choice).
die-cut the image using the coordinating die.
die-cut some birthday-themed pattern paper and adhere on some A2-size, top-folding notecard.
die-cut the Happy Birthday Circle Frame die on some Neenah 100 lb. card stock.
use the circle shaker pouch and add some confetti as the shaker element. Adhere and close the shaker on the card.
adhere the Happy Birthday die-cut on the circle shaker using liquid glue.
finish the card design by adhering the focal image on the card.
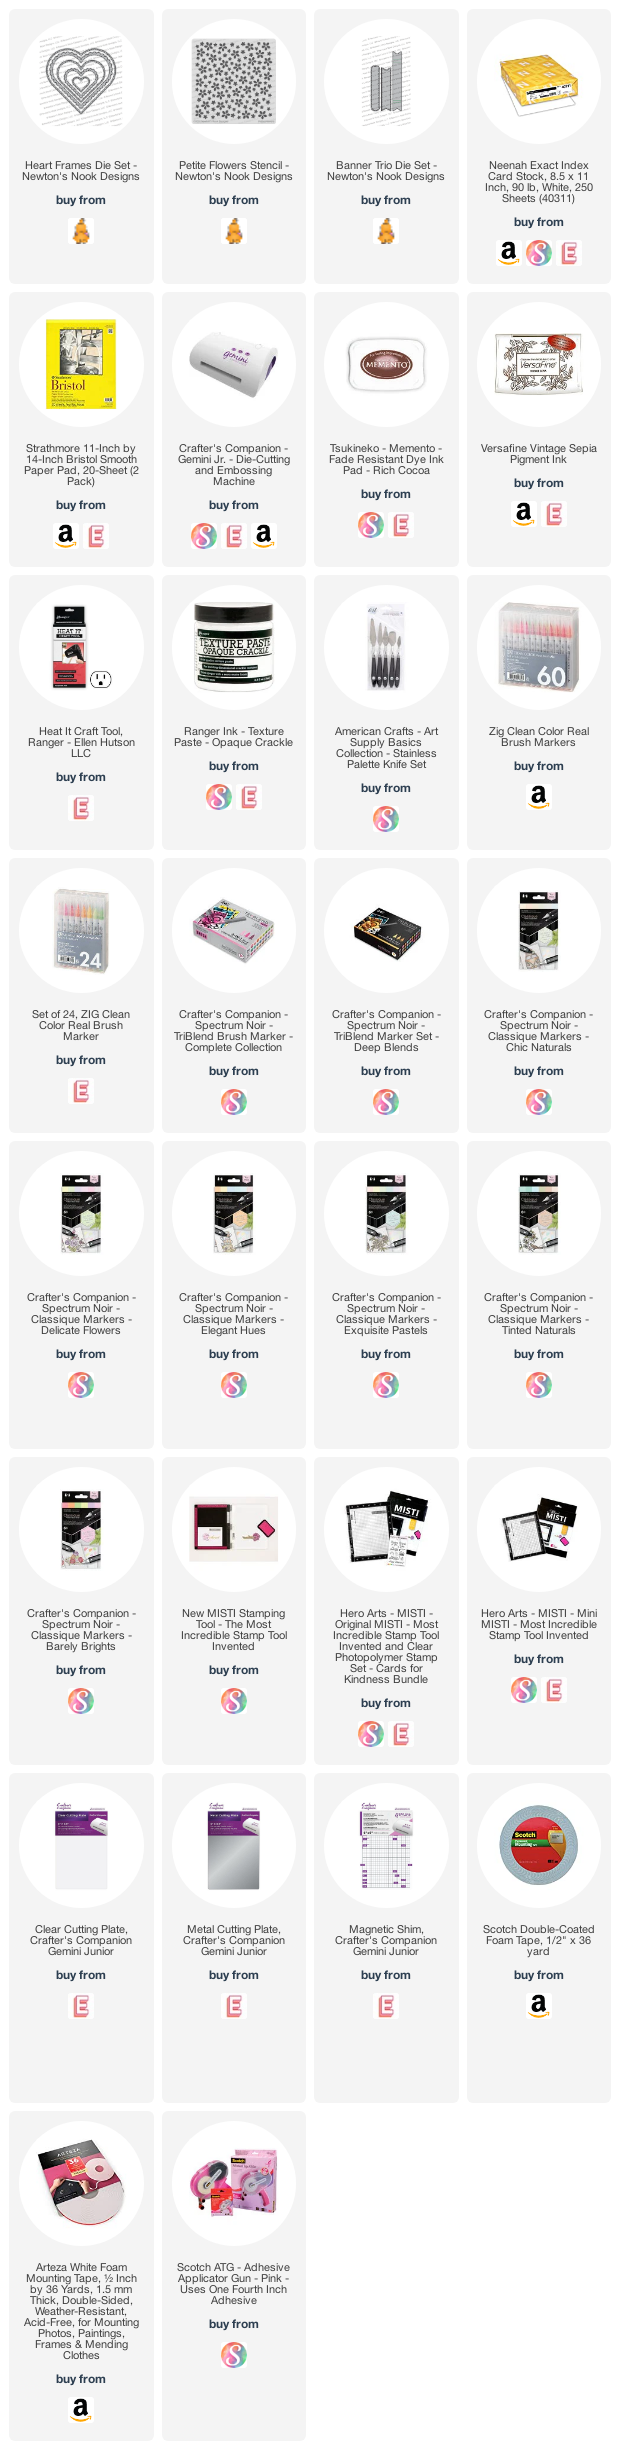
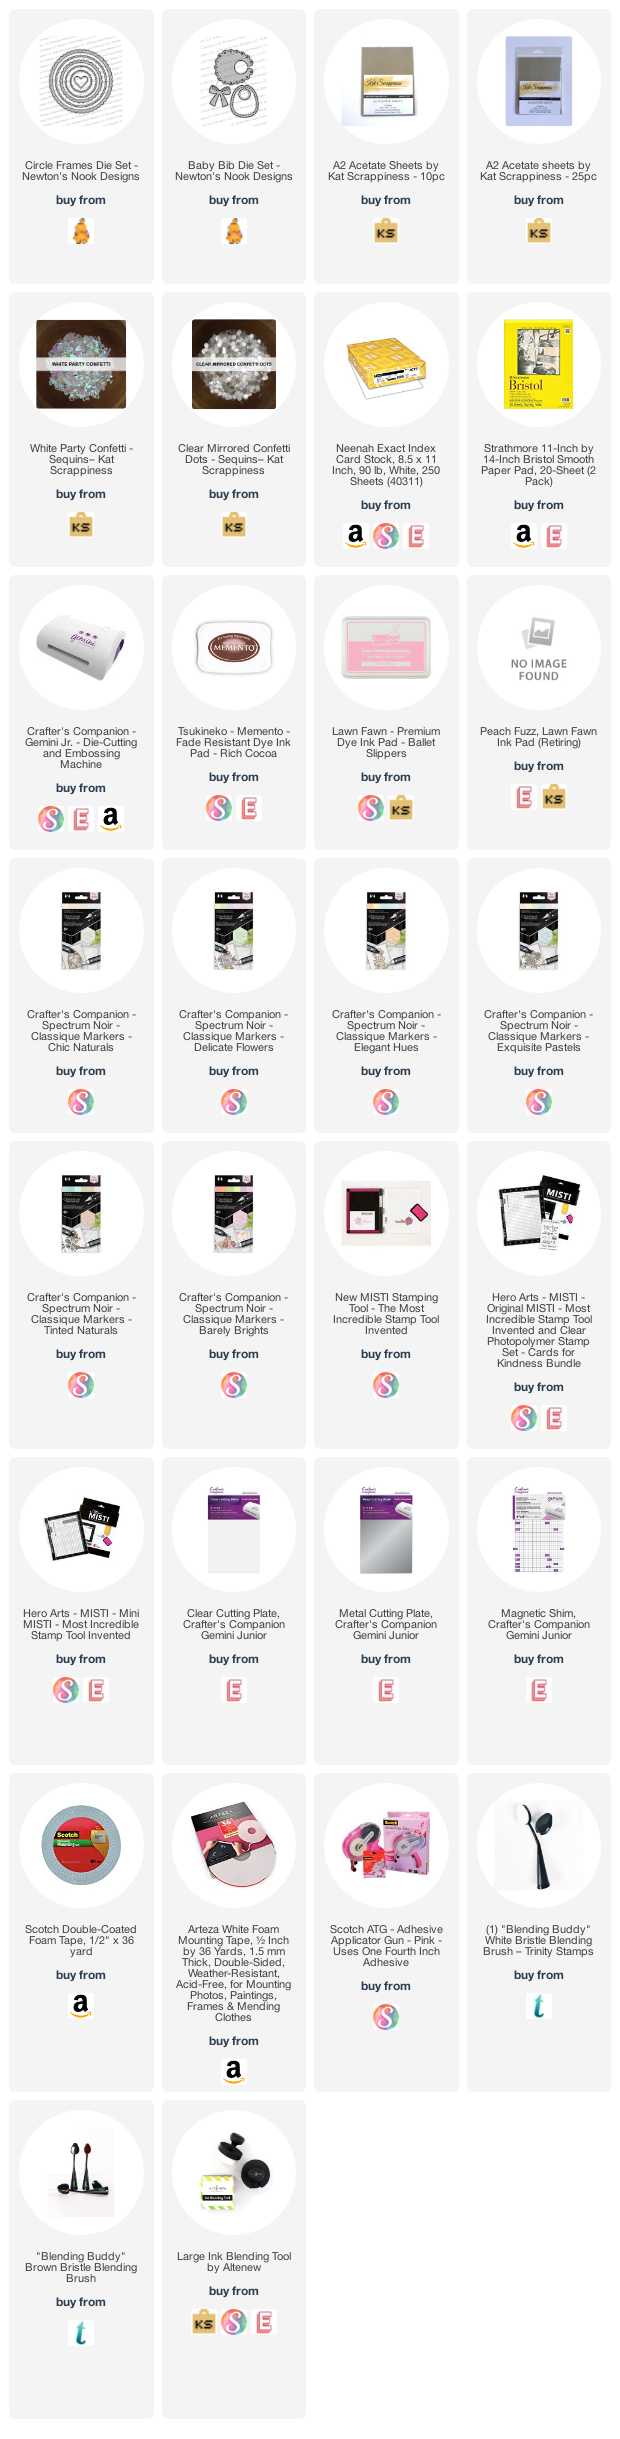
I love the simplicity of this fun shaker card. I hope you like this project today and got inspired. Below, you will find links to the supplies used to create this project(s). Where available, I use compensated affiliate links at no extra cost to you. Your support helps me to keep bringing you new projects and inspiration. Thank you for stopping by, and have an amazing day!
Adhere the pattern paper border on the card panel.
Add the focal image with liquid glue.
Stamp the sentiment on some black card stock with Versamark ink, sprinkle some white embossing powder and heat-set with the heating tool.
Adhere the sentiment on the card.
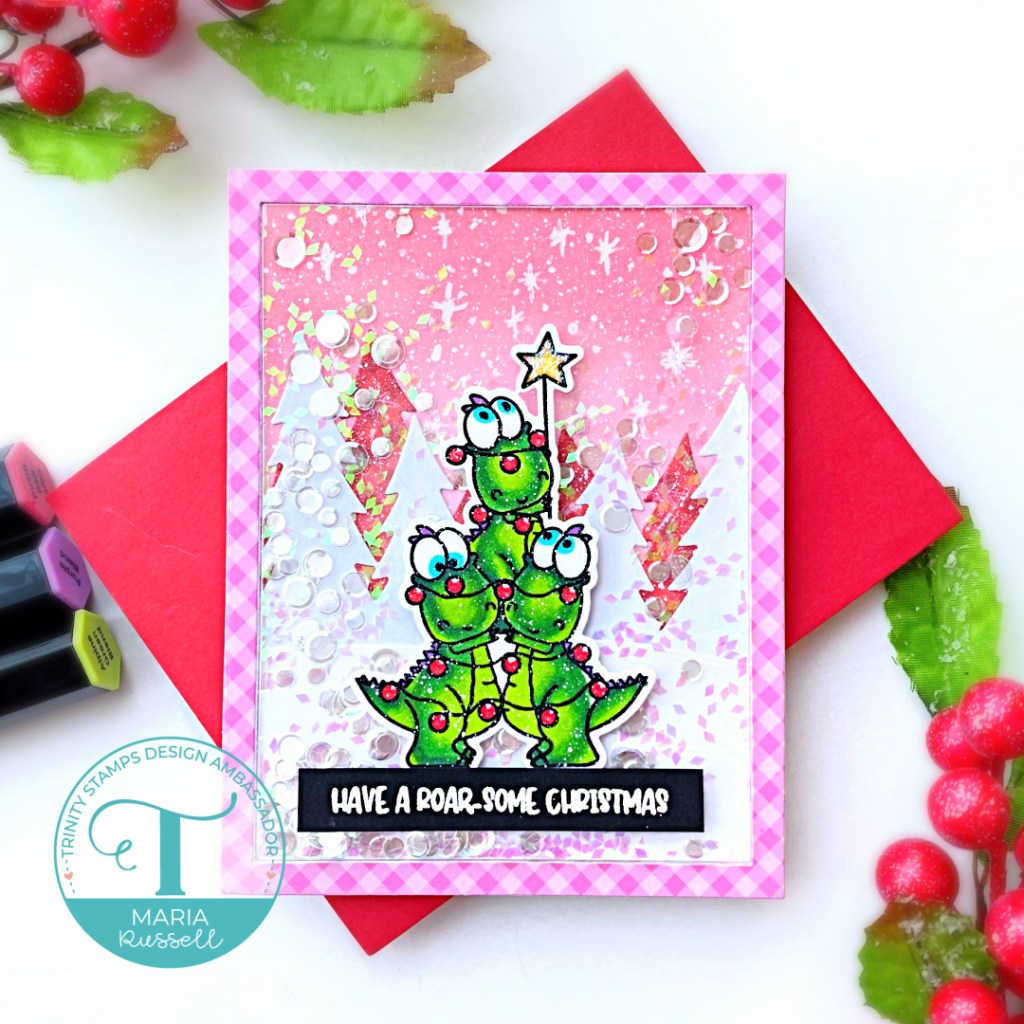
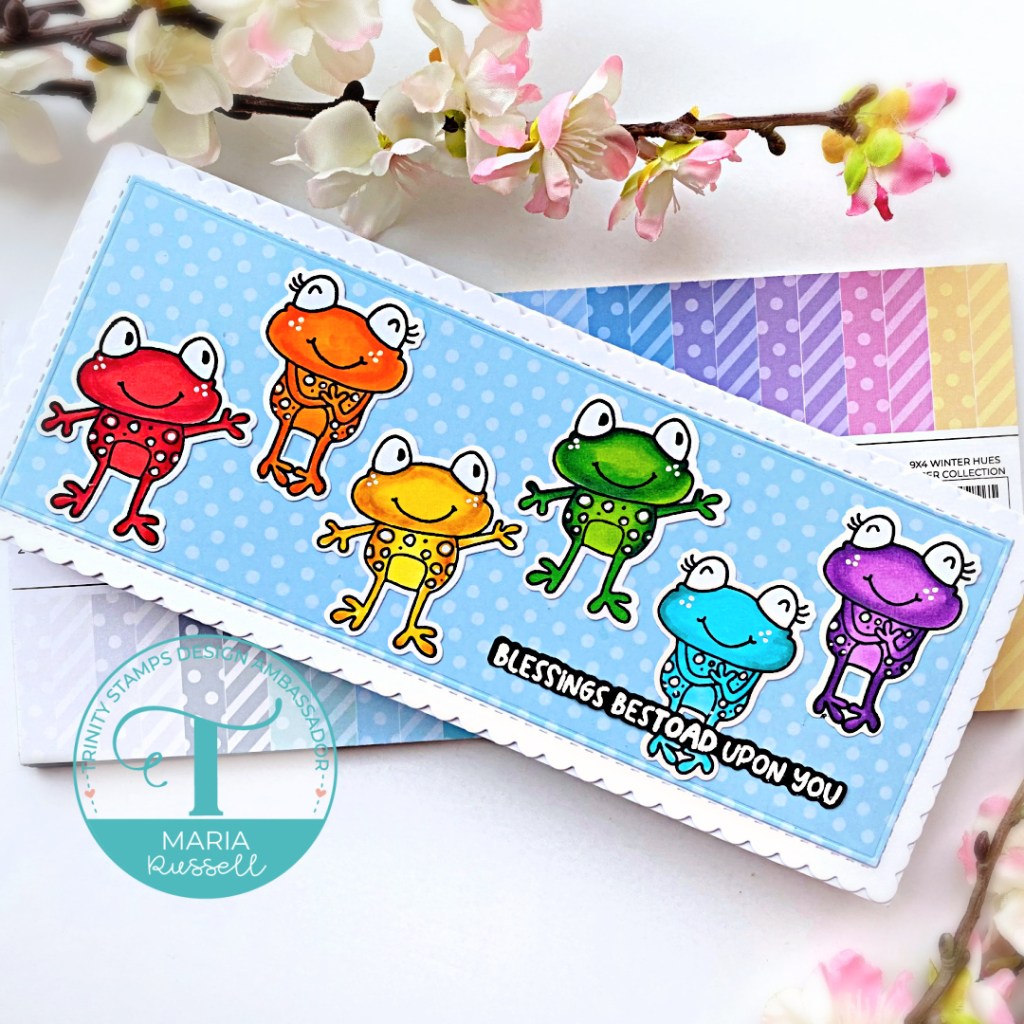
My next project is easy, peasy! Who wouldn’t want to see rainbow toads, right?! I know I would! I know this stamp set is meant for Christmas but I would like for you to think outside the box and stretch your supplie.
Finish the design by using white gel pen to add some dots to the toads.
Aren’t they ADORABLE? Which one is your favorite? I can’t really choose because both cards are so cute!
I hope I have given you some inspiration today to stretch your supplies. Everything I used is listed and linked below. Thanks for stopping by and happy stamping!
I am a bit bummed that today is the last day of the reveals. I hope you were able to check out the first 3 days. Which one is your favorite so far? Don’t forget that have a chance to win the stamp set being revealed each day so please read through til the end of the blog post to find out more info. [Just a little important note: I know some of you had difficulties finding the comments section. If you would like to leave a comment to participate in the giveaway, the “comments section” will only be ever visible when a single post on Word Press is being viewed. Please click on this particular blog post and you will be able to leave a comment below. Thank you!]
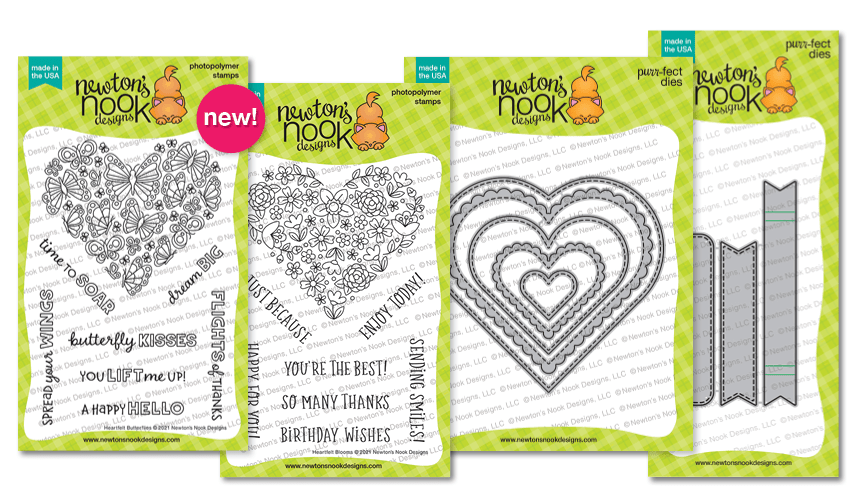
For Day 4, we are showcasing the Heartfelt Blooms and Heartfelt Butterflies stamp set and both stamps coordinate wit the Heart Frames die set.
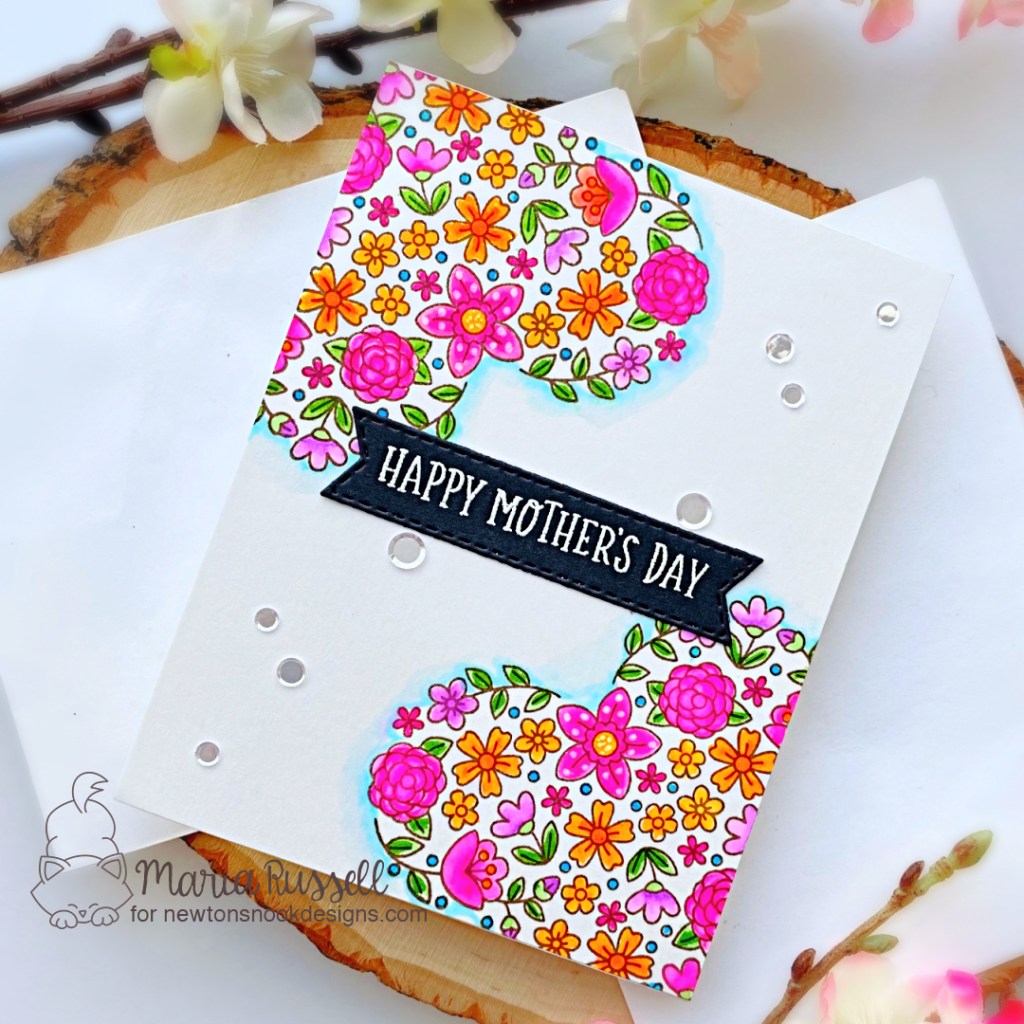
To make my first card, I stamped the images on some Bristol Smooth white card stock with Versafine Vintage Sepia. I colored the images in with Zig Clean Color Real Brush Markers.
To ground the images and make them stand out, I colored the edges with some light blue tint.
I finished my card design by adding the sentiment that was stamped and heat-embossed, then die-cut using the Banner Trio die set.
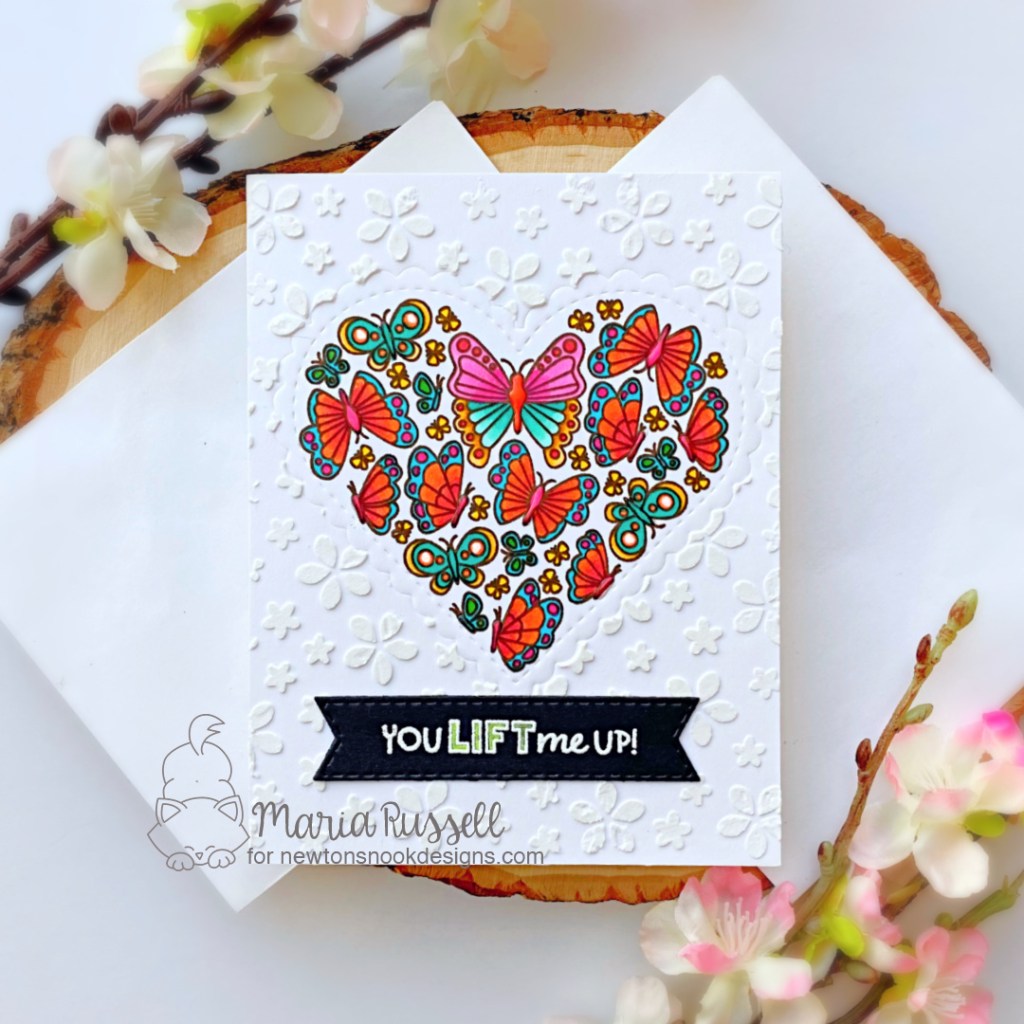
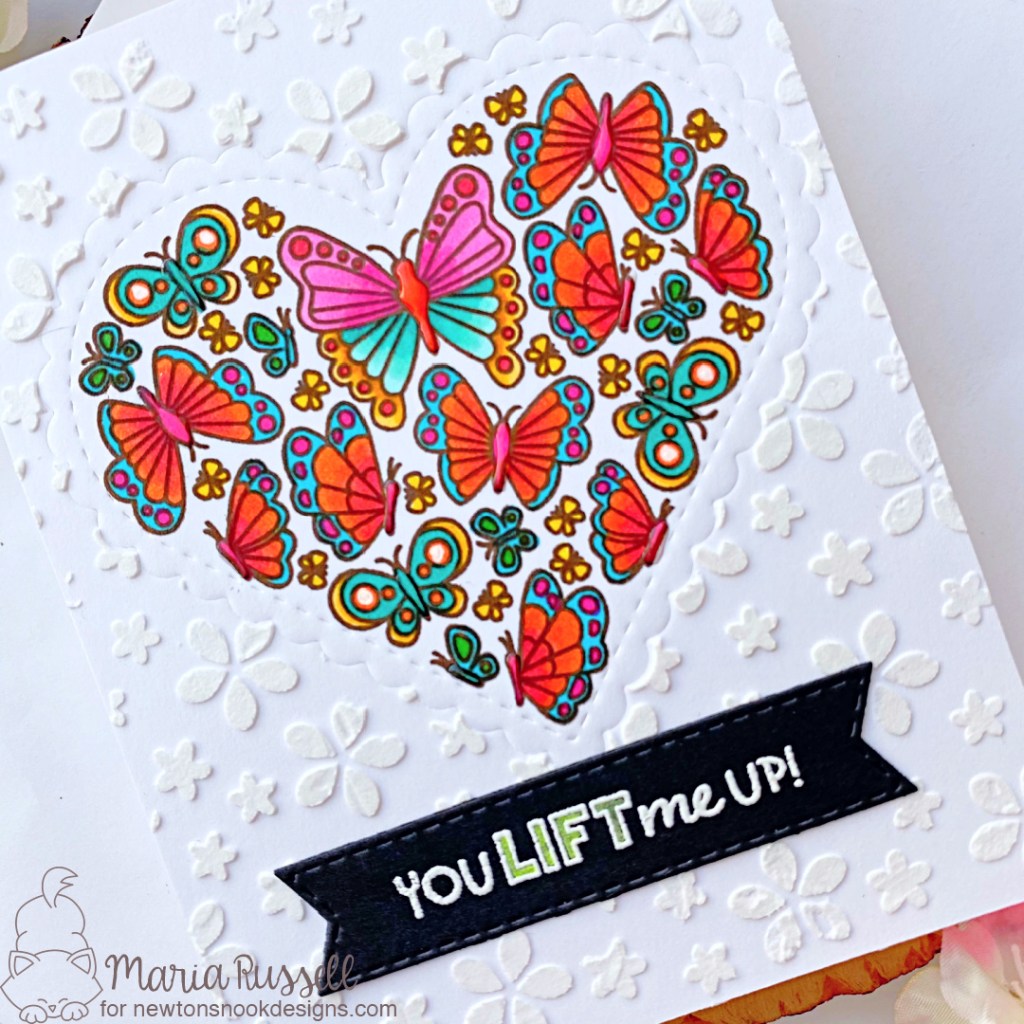
My second card is just as easy as the first! The only difference is I dry-embossed the card stock first, using the scallop die from the Heart Frames die set.
Next, I stamped the images with Memento Rich Cocoa ink and colored them in with Spectrum Noir TriBlend markers.
I masked the colored image with masking paper. I used the Petite Flowers Stencil with some texture paste for added interest to the background. I set this aside to let it dry for about half an hour.
I finished my design by adding the sentiment, also using the Banner Trio die set and added glossy accents to the butterflies.
Here’s a closer look:
Would you like to win the “Heartfelt Blooms” or the “Heartfelt Butterflies” Stamp Set? We will choose ONE lucky winner for each stamp set!
Here’s how to win: Comment on the NND blog and Design Team blogs (see list below)! Thewinner will be chosen at random from the collective reveal posts. Make sure to check out each of their blogs and comment for your chance to win. You will not know which blog has been chosen so the more you comment on the better your chances are of winning! You have until Thursday, April 22nd at 9pm ET to comment — winners will be announced on the blog post on Friday, April 23rd.
Check out all the awesome Design Team Blogs below to enter:
It is the third day of the reveals by Newton’s Nook Designs. I hope you were able to check out Monday and Tuesday’s reveal. You also have a chance to win the stamp set being revealed each day so please read through til the end of the blog post to find out more info. [Just a little important note: I know some of you had difficulties finding the comments section. If you would like to leave a comment to participate in the giveaway, the “comments section” will only be ever visible when a single post on Word Press is being viewed. Please click on this particular blog post and you will be able to leave a comment below. Thank you!]
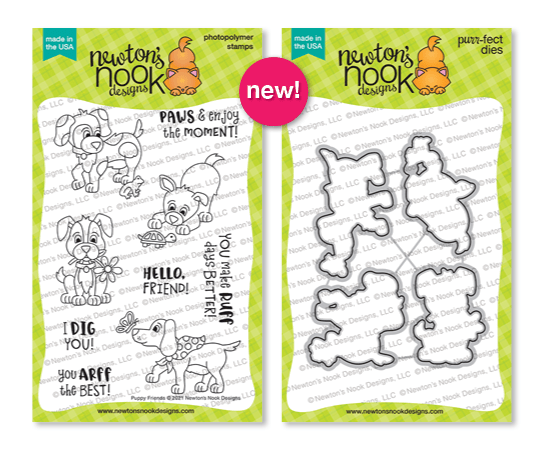
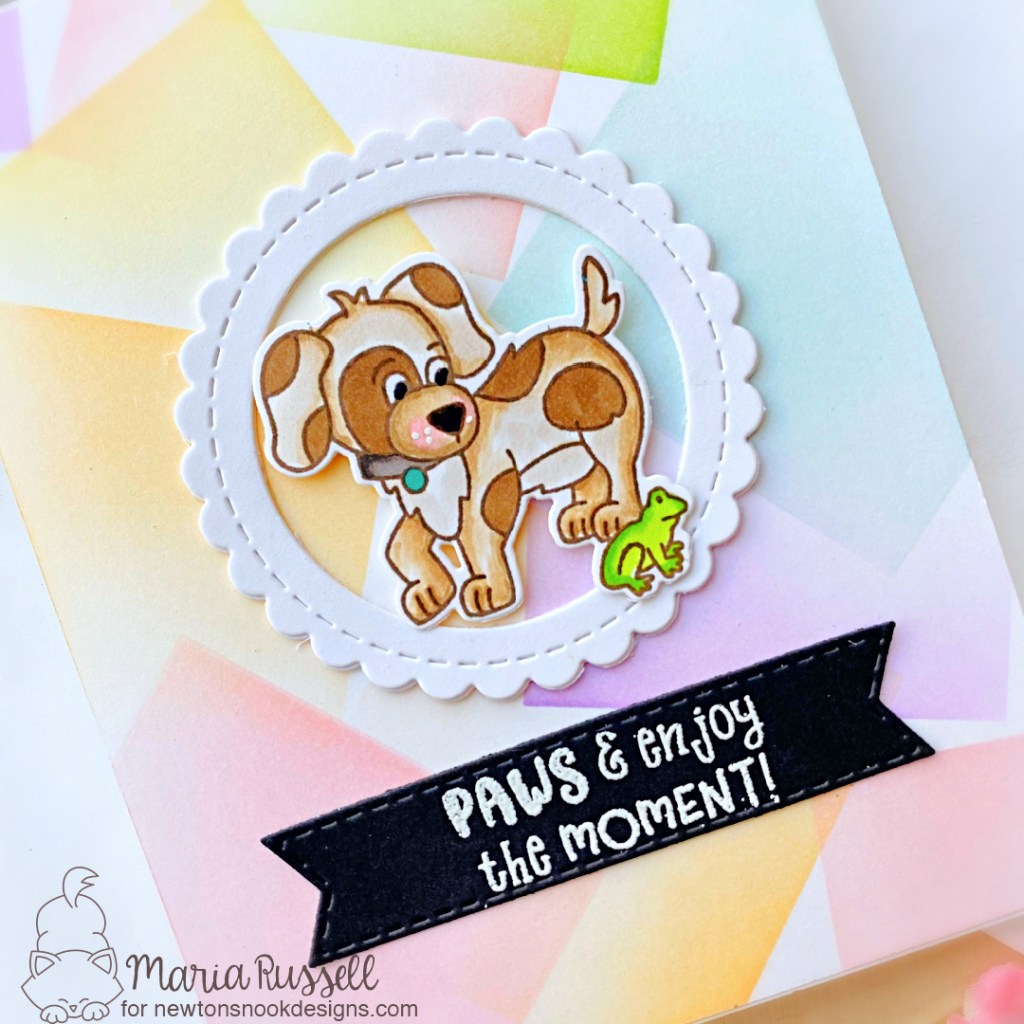
For Day 3, we are showcasing the Puppy Friends stamp set and its coordinating dies.
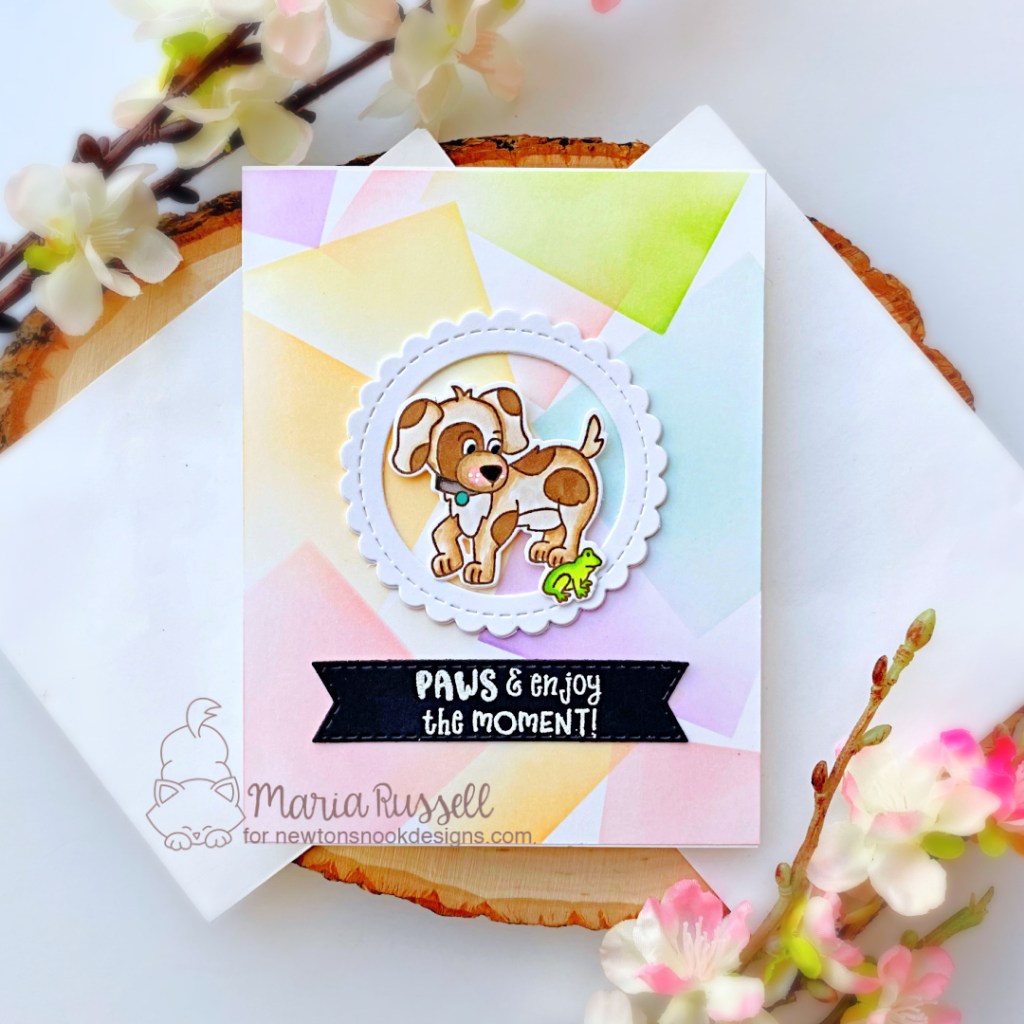
I started by creating the background by using the Slimline Masking Stencil – Squares with some quick-dry dye inks on Neenah solar white card stock. I layered the colors using some blending brushes, making sure they didn’t overlap too much.
I adhered the colored background on some A-2 size notecard.
Next, I stamped the images on some Neenah solar white card stock and colored the images in with Spectrum Noir TriBlend markers. I used the coordinating die to cut them out. I also die-cut the circle frames by combining two dies from the Circle Frames die set.
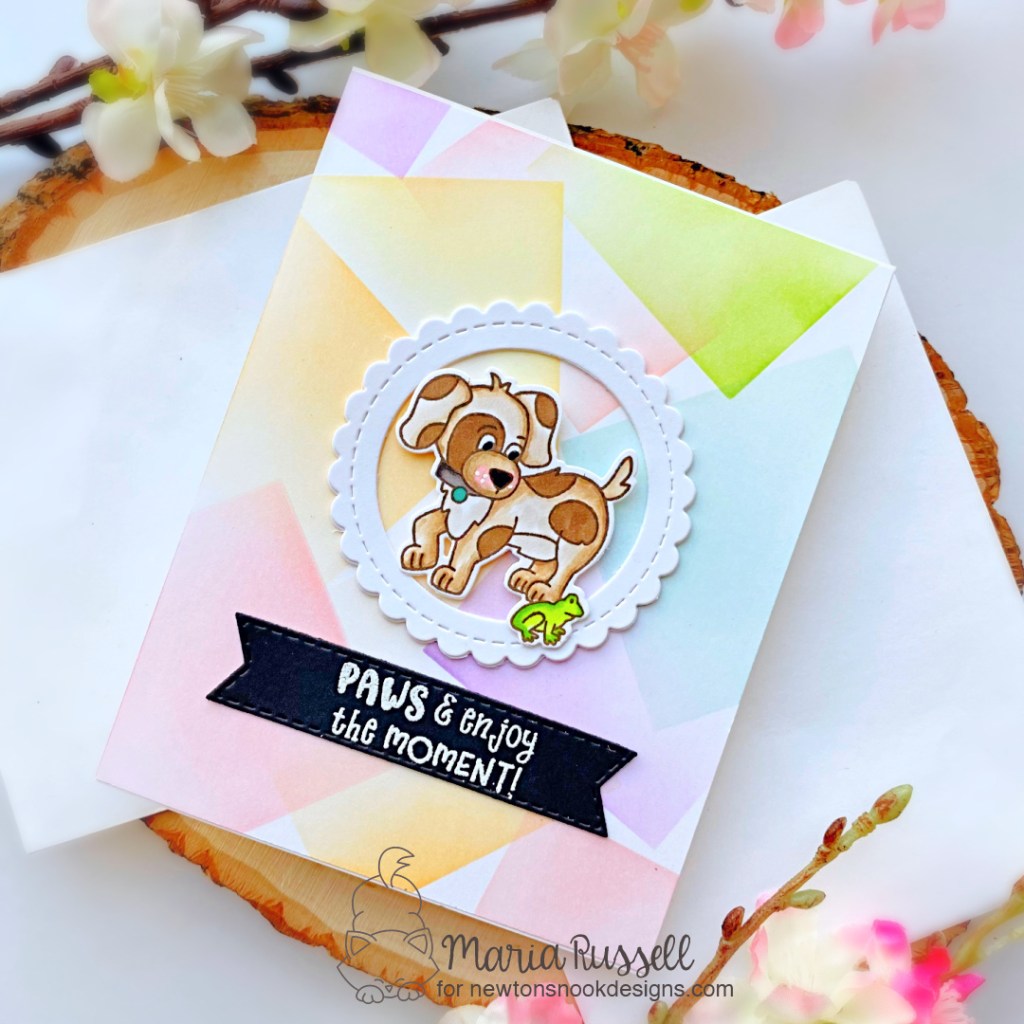
I foam-mounted the circle frame and my focal image in the middle of the card-front for added dimension.
I finished my card design by adding the sentiment strip that was die-cut and heat-embossed using the Banner Trio die set. Easy, peasy!
Here’s another look at the card:
Would you like to win the “Puppy Friends” Stamp Set? We will choose ONE lucky winner!
Here’s how to win: Comment on the NND blog and Design Team blogs (see list below)! Thewinner will be chosen at random from the collective reveal posts. Make sure to check out each of their blogs and comment for your chance to win. You will not know which blog has been chosen so the more you comment on the better your chances are of winning! You have until Thursday, April 22nd at 9pm ET to comment — winners will be announced on the blog post on Friday, April 23rd.
Check out all the awesome Design Team Blogs below to enter:
It is the second day of the reveals by Newton’s Nook Designs. I hope you were able to check out yesterday’s reveal. You also have a chance to win the stamp set being revealed each day so please read through ’til the end of the blog post to find out more info. [Just a little important note: I know some of you had difficulties finding the comments section. If you would like to leave a comment to participate in the giveaway, the “comments section” will only be ever visible when a single post on Word Press is being viewed. Please click on this particular blog post and you will be able to leave a comment below. Thank you!]
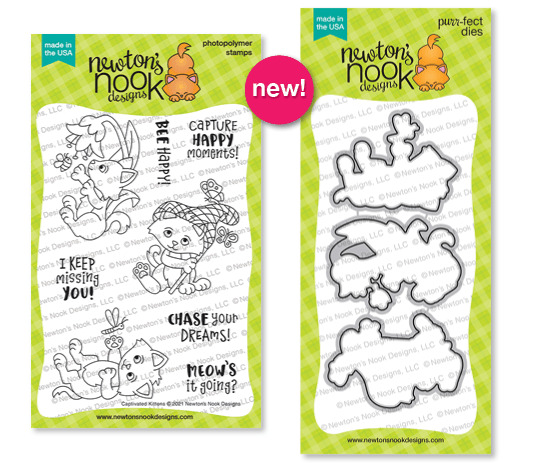
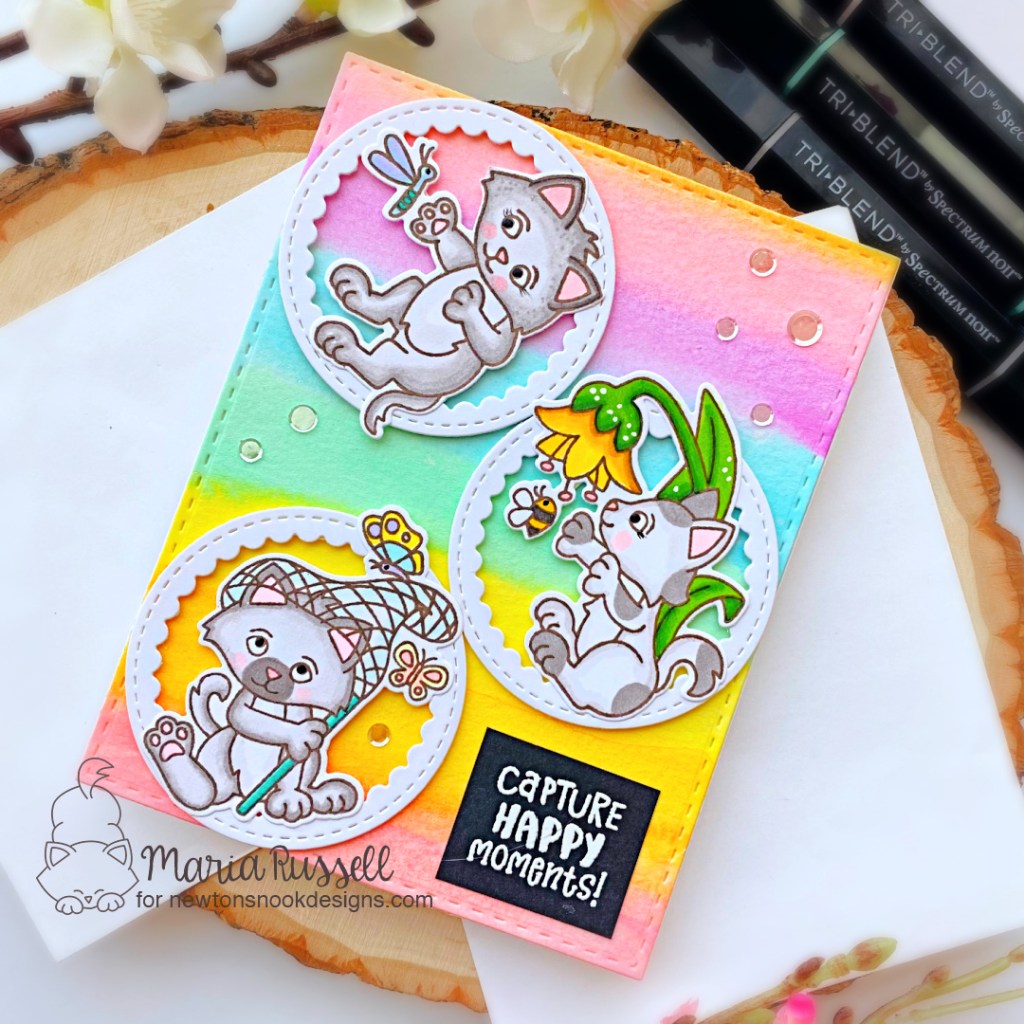
For Day 2, we are showcasing the Captivated Kittens stamp set and its coordinating dies.
I started by creating the background panel with Canson Watercolor Paper and Prima watercolors. I used a wide watercolor brush to apply water first. Next, I added the colors in rainbow order, swiping the brush back and forth until I was happy with the blend. I set this panel aside to let it dry for about 45 minutes and adhered on an A-2 size notecard.
I stamped the images on some Neenah solar white card stock and colored the images in with Spectrum Noir TriBlend markers. I used the coordinating die to cut them all out. I also die-cut the little reverse scallop circles on Neenah using a die from my collection.
Next, I foam-mounted the scallop circle frames and the colored images on the focal panel for added dimension.
I added the sentiment that was stamped with Versamark ink, and heat-embossed with my heating tool. I also used my gelli-roll pen in white and black to add details to the eyes and the flower.
I finished my design by adhering the mirrored sequins for added interest. Here’s another look at the card:
Would you like to win the “Captivated Kittens” Stamp Set? We will choose ONE lucky winner!
Here’s how to win: Comment on the NND blog and Design Team blogs (see list below)! Thewinner will be chosen at random from the collective reveal posts. Make sure to check out each of their blogs and comment for your chance to win. You will not know which blog has been chosen so the more you comment on the better your chances are of winning! You have until Thursday, April 22nd at 9pm ET to comment — winners will be announced on the blog post on Friday, April 23rd.
Check out all the awesome Design Team Blogs below to enter:
It is that time of the month when the entire design team get so excited to show off the new stamps, dies and/or stencils by Newton’s Nook Designs. You also have a chance to win the stamp set being revealed each day so please read through til the end of the blog post to find out more info. [Just a little important note: I know some of you had difficulties finding the comments section. If you would like to leave a comment to participate in the giveaway, the “comments section” will only be ever visible when a single post on Word Press is being viewed. Please click on this particular blog post and you will be able to leave a comment below. Thank you!]
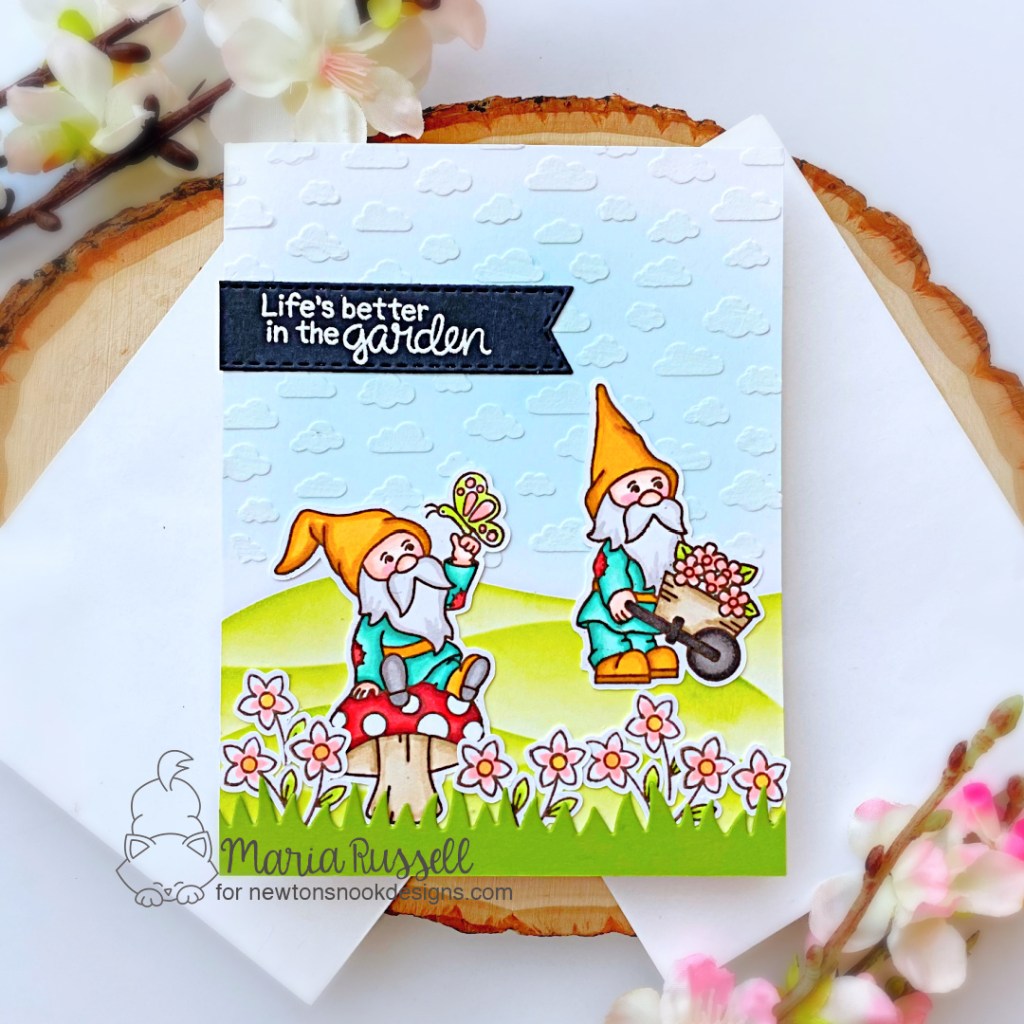
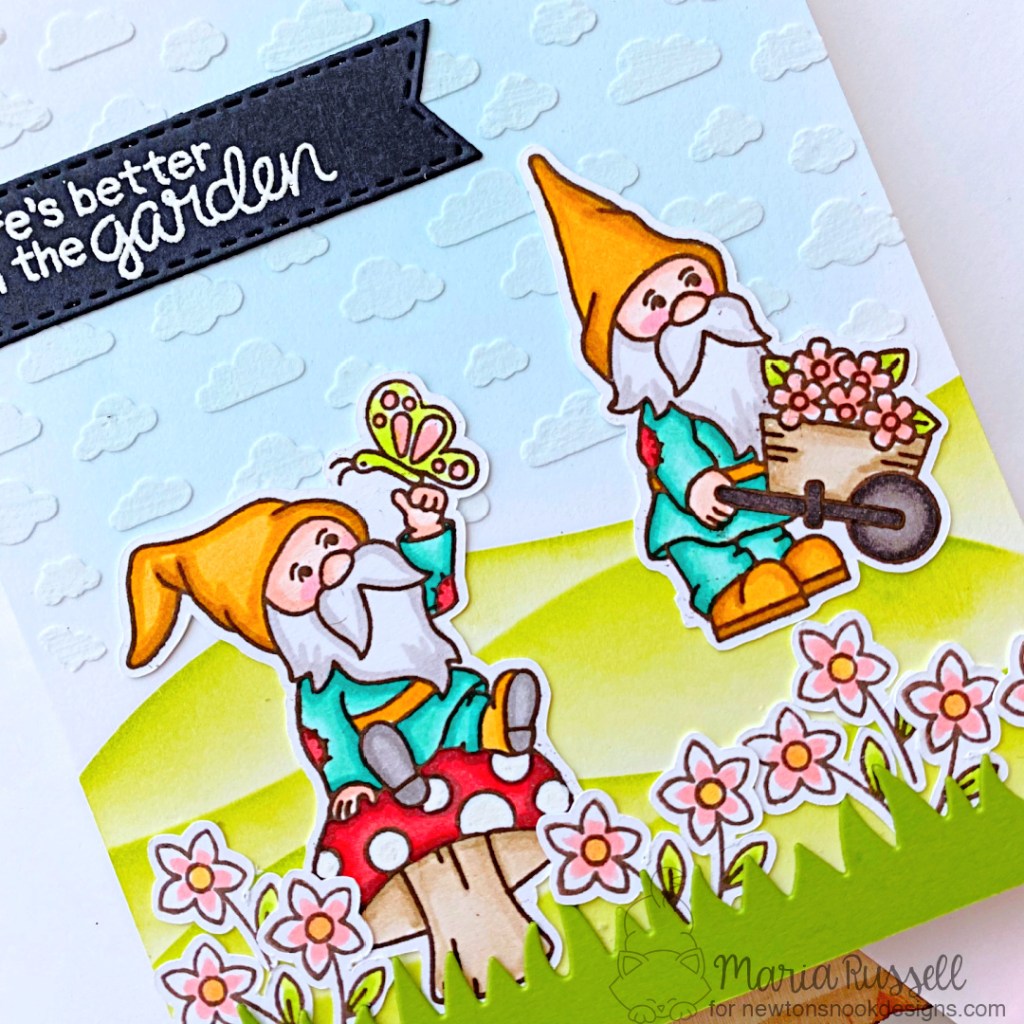
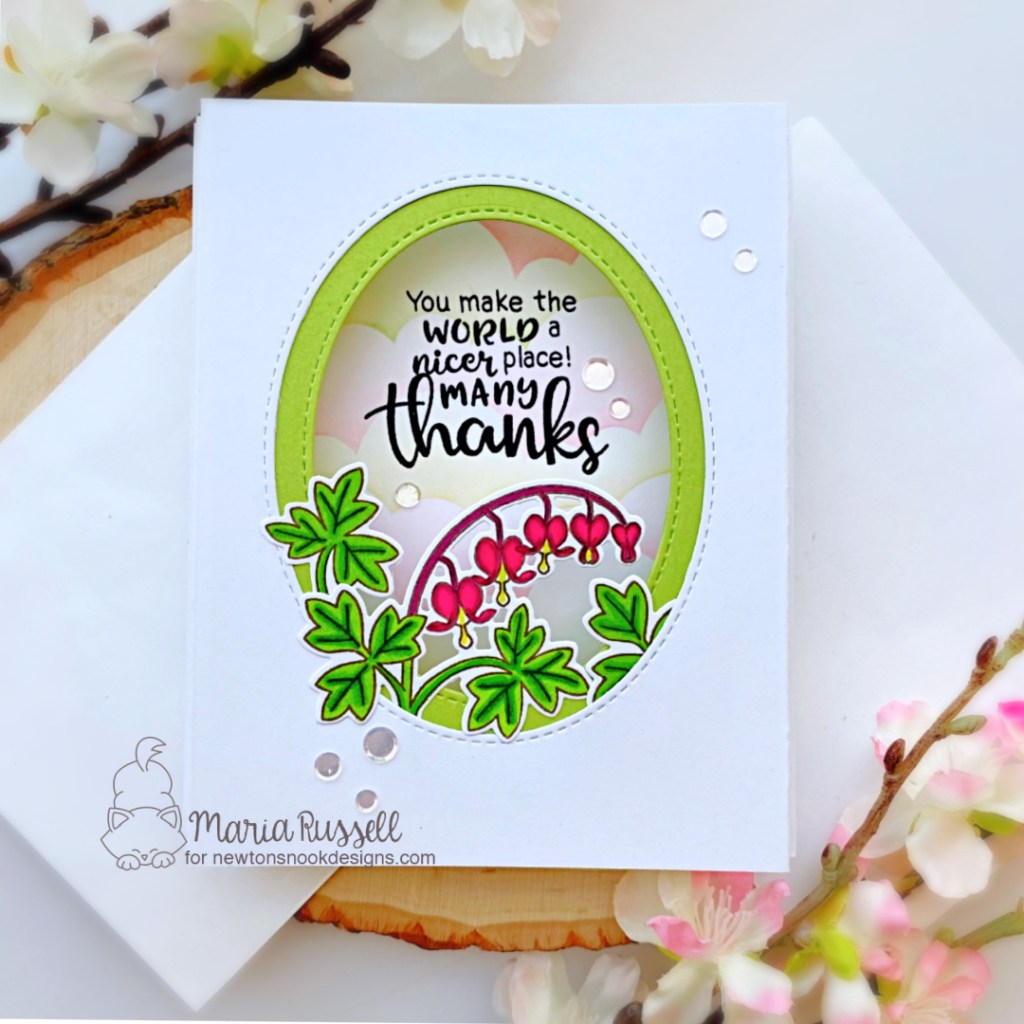
For the first day of the reveals, we are showcasing the Gnome Garden and Bleeding Hearts stampsets and their coordinating dies, along with the Petite Clouds stencil.
To make my first card, I stamped the images with Memento Rich Cocoa ink on some Neenah solar white card stock. I colored the images in with Spectrum Noir alcohol markers and cut them out using the coordinating dies.
The background was made by using the Hills (& Grass) stencil and some dye inks with a blending brush. I also used another blending brush to color the sky. I masked off the grassy hills with masking paper and used the new Petite Stencil with some texture paste to add more interest to the card. I set this aside to let it dry for about half an hour, and adhered on an A2 size notecard.
Next, I started building up my scene by adding the grass border that was die-cut using the Land Borders die set and adhered to the card. I added the images that I colored with liquid glue. I finished the card design by adding the sentiment using one of the dies from the Banner Trio die set.
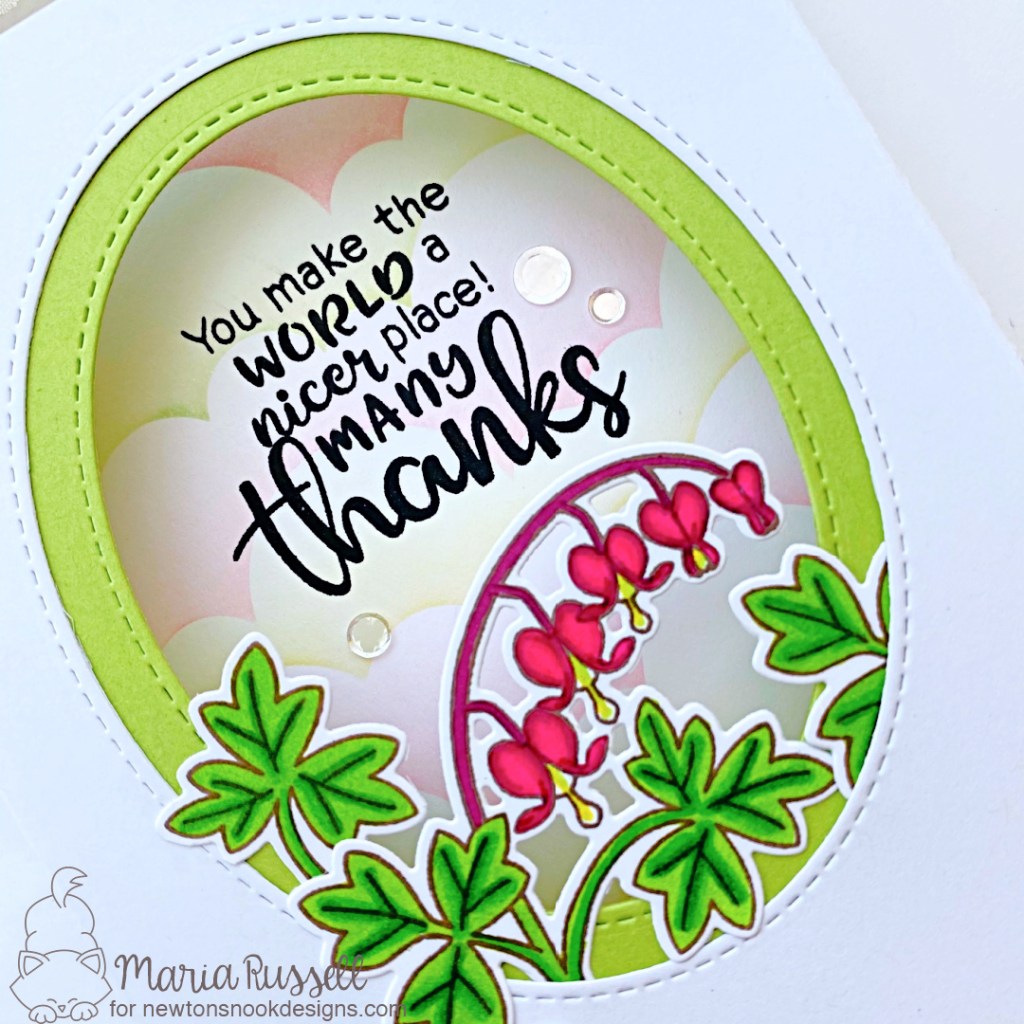
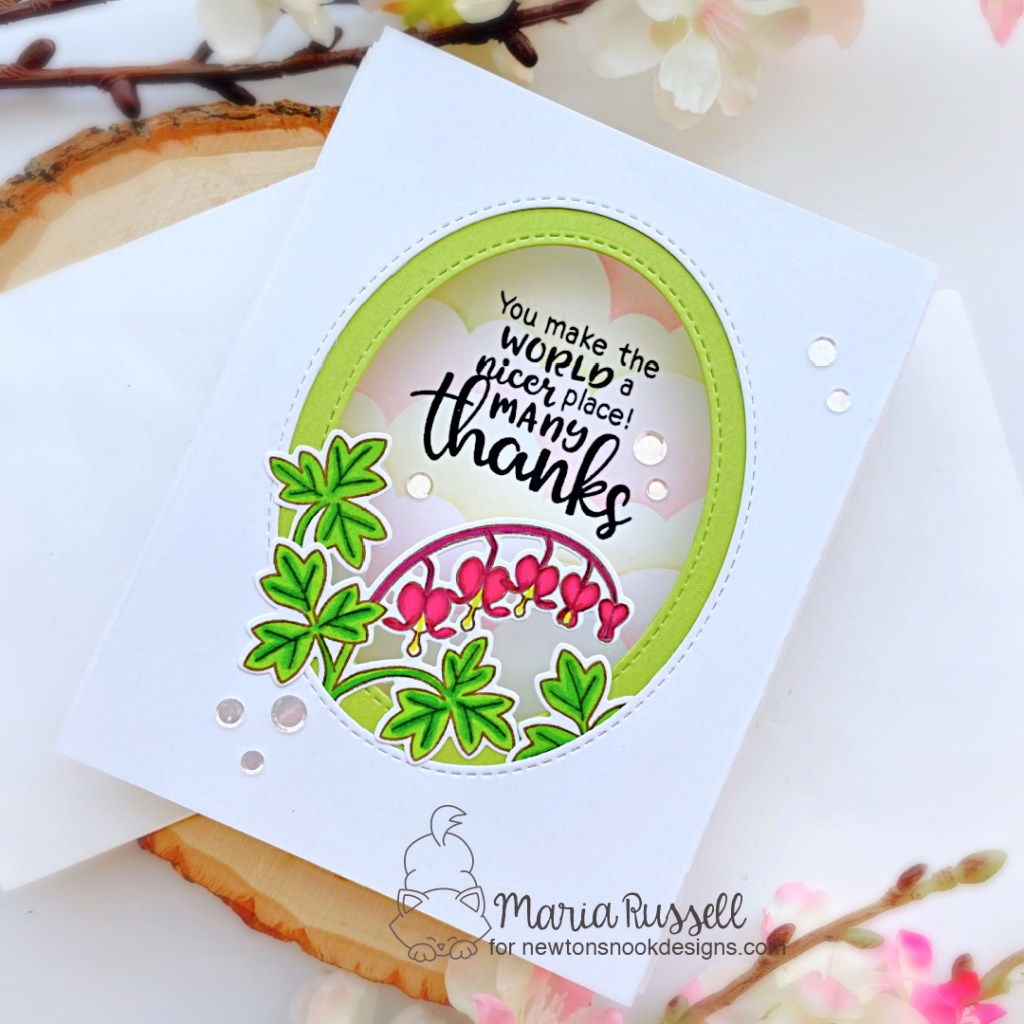
For my next card, I channeled my inner “Jennifer McGuire” (haha!), and created a shadow box card to showcase the new Bleeding Hearts stamp set.
Following Jennifer’s tutorial on her YT channel, I created the shadow box with some Neenah solar white 110 lb. card stock. I also used some oval dies from my collection to create the window.
To decorate the inside of the shadow box, I used the clouds stencil and added some colorful sky with some dye inks. I stamped the sentiment from the Thankful Thoughts stamp set. I adhered this piece inside the shadow box with liquid glue.
Next, I stamped the images with Memento rich cocoa ink and colored them in with SN TriBlend markers. I adhered the images onto the card front.
I finished my design by adding some mirrored clear confetti dots for added interest. Here’s another look at the finished card:
Would you like to win the “Gnome Garden” or the “Bleeding Heart” Stamp Set? We will choose ONE lucky winner for each stamp set!
Here’s how to win: Comment on the NND blog and Design Team blogs (see list below)! Thewinner will be chosen at random from the collective reveal posts. Make sure to check out each of their blogs and comment for your chance to win. You will not know which blog has been chosen so the more you comment on the better your chances are of winning! You have until Thursday, April 22nd at 9pm ET to comment — winners will be announced on the blog post on Friday, April 23rd.
Check out all the awesome Design Team Blogs below to enter:
It is that time of the month where the entire design team get so excited to show off the new stamps, dies and/or stencils by Newton’s Nook Designs. You also have a chance to win the stamp set being revealed each day so please read through til the end of the blog post to find out more info. [Just a little important note: I know some of you had difficulties finding the comments section. If you would like to leave a comment to participate in the giveaway, the “comments section” will only be ever visible when a single post on Word Press is being viewed. Please click on this particular blog post and you will be able to leave a comment below. Thank you!]
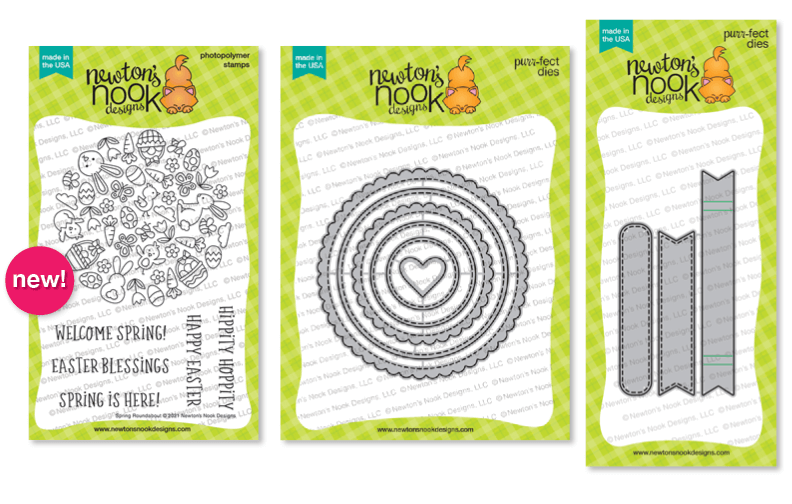
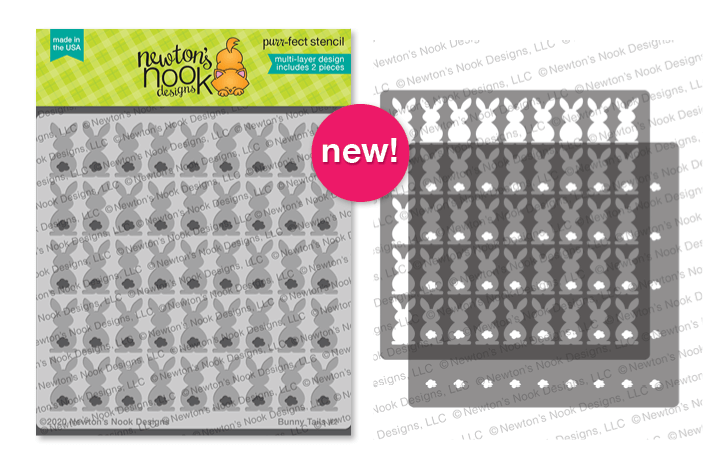
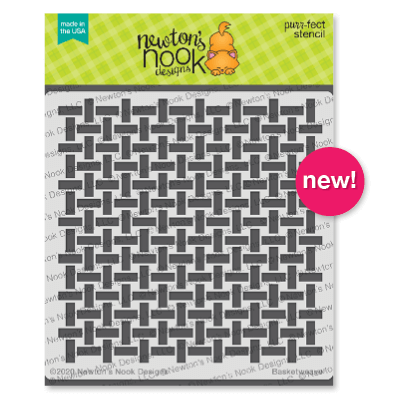
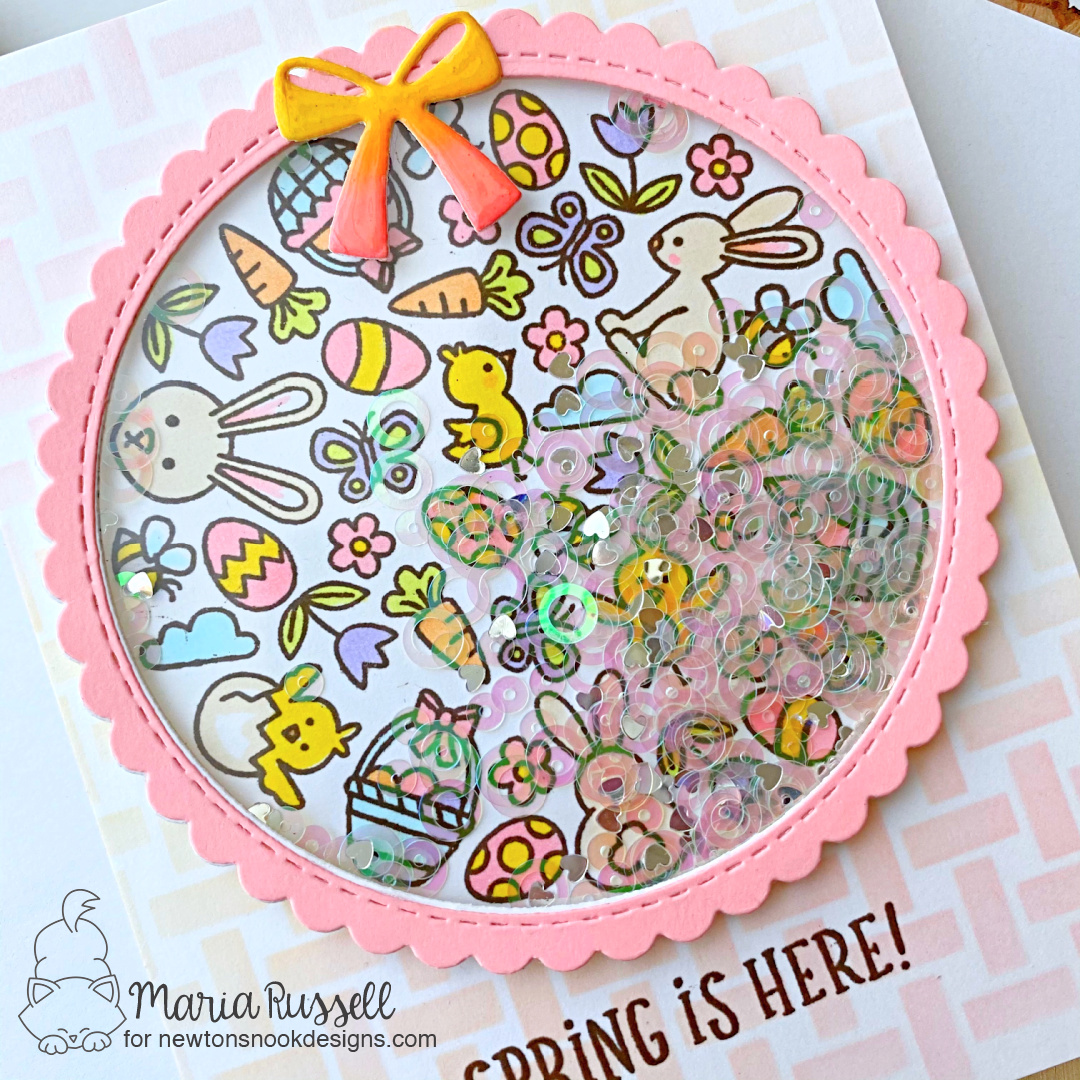
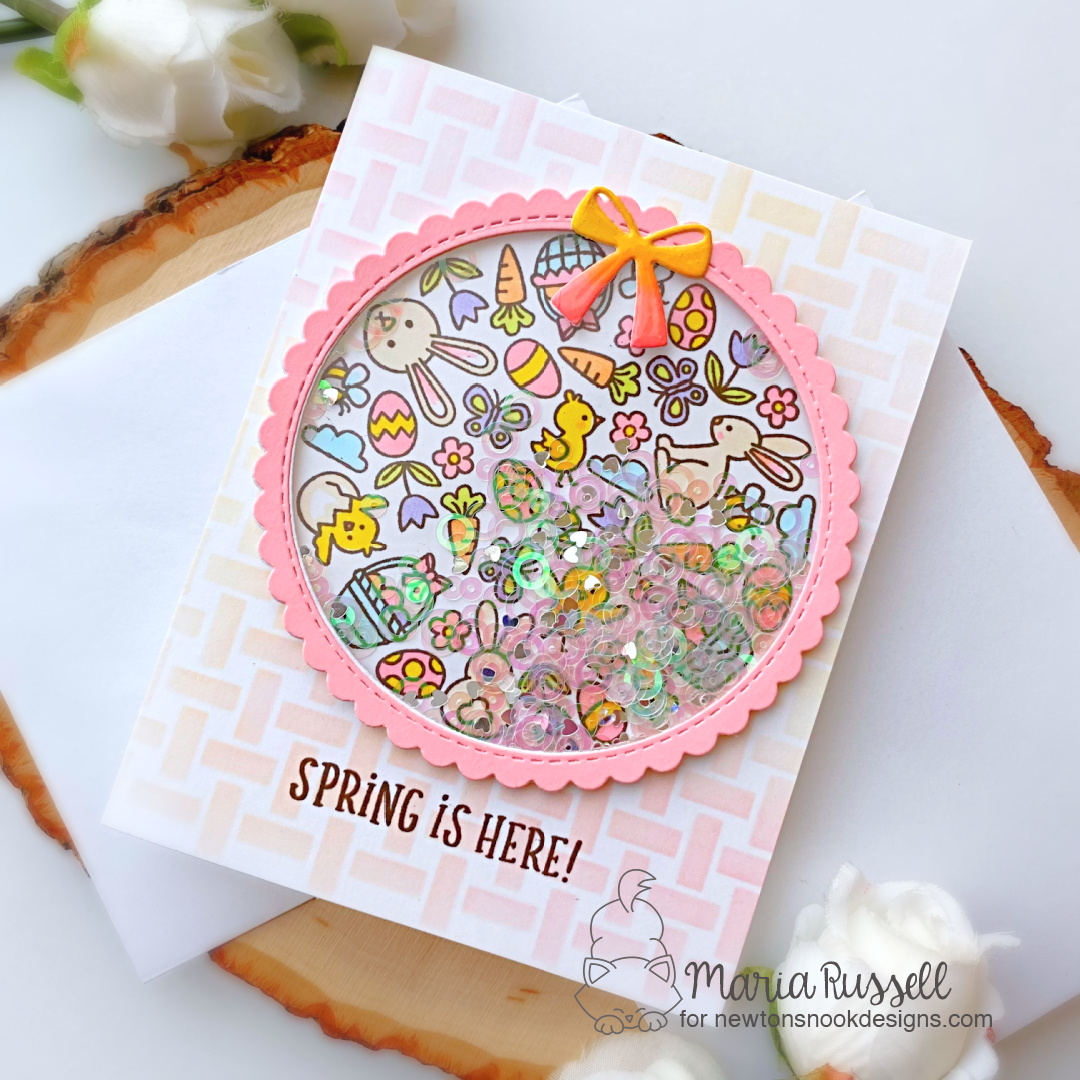
For the first day of the reveals we are featuring the Spring Roundabout Stamp Set that coordinates with the Circle Frame Dies and Banner Trio die, along with the Basketweave and Bunny Tail Stencils.
It’s all about Spring colors today guys!
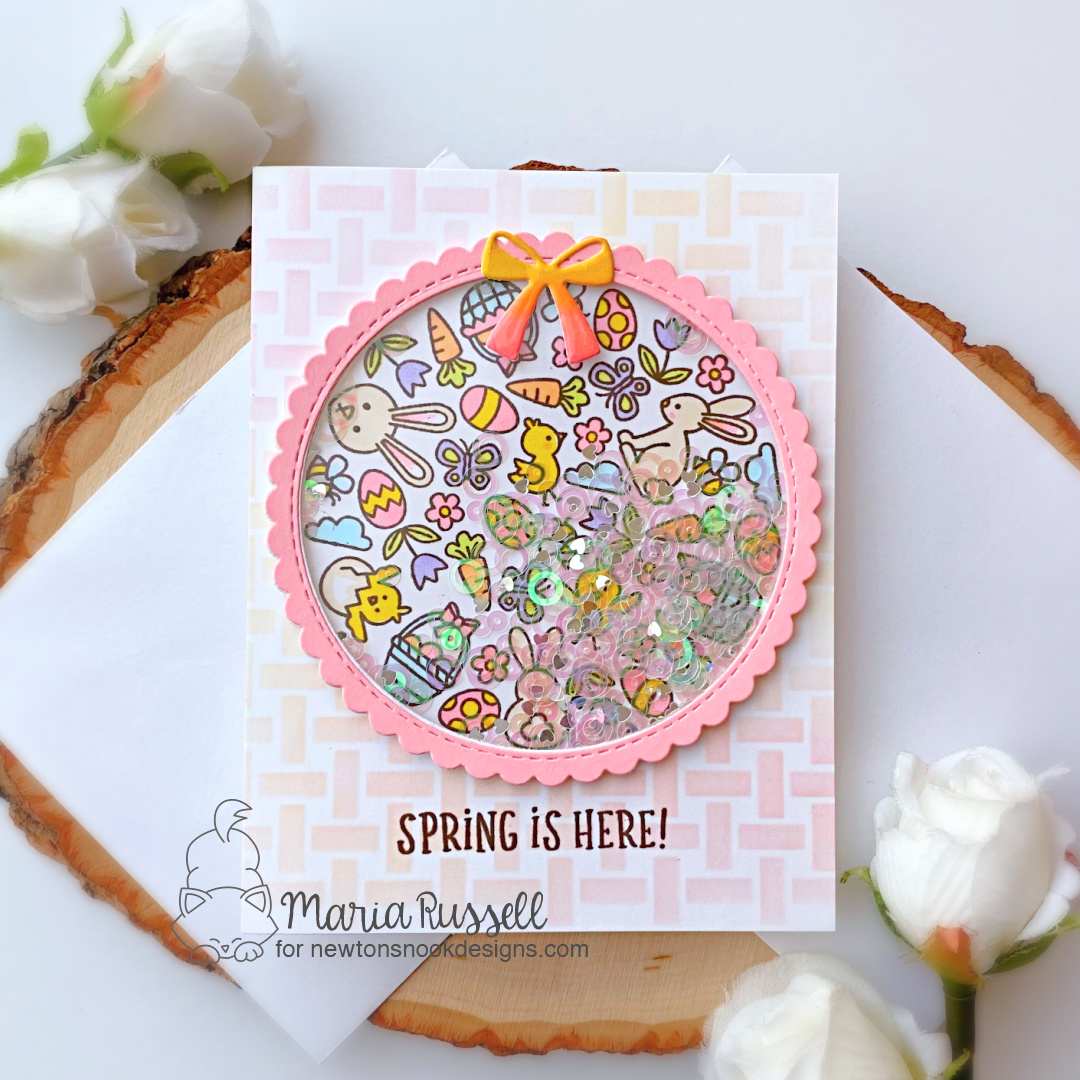
I started by cutting an A2-size panel of some Bristol smooth white card stock. I sprayed my Basketweave stencil with some Pixie Spray and temporarily adhered it on the panel. I used my blending brushes and some pink and peach dye inks to add the basketweave details on the background.
Next, I stamped the images on some Neenah solar white card stock with Memento Rich Cocoa ink and colored the images in with Spectrum Noir “Hint of Collection” alcohol markers. I used the Circle Frame die to die-cut the image. I also used the same circle frame die to die-cut a few pieces of white and pink card stock to create my shaker card. I adhered the pieces together with some liquid glue to create my shaker well. I added some iridescent sequins as my shaker element.
To close the shaker portion, I adhered some acetate sheet to the pink die-cut and added some liquid glue. I put some big acrylic blocks on this and waited for about half an hour until it was completely dry.
I die-cut from the Bitty Bibs die set and added some color to this piece. I also added some glossy accents to give it more texture and dimension. I waited for this piece to dry for about 30 minutes.
Next, I added my shaker to the ink-blended panel with some liquid glue and also added the little bow. I finished my design by adhering this panel to an A2-size notecard and stamped the sentiment with Memento Rich Cocoa ink. Here’s another look at the finished card:
Would you like to win the “Spring Roundabout” Stamp Set?This stamp set will be given away to ONE lucky winner!
Here’s how to win: Comment on the NND blog and Design Team blogs (see list below)! Thewinner will be chosen at random from the collective reveal posts. Make sure to check out each of their blogs and comment for your chance to win. You will not know which blog has been chosen so the more you comment on the better your chances are of winning! You have until Thursday February 18th at 9pm EST to comment — winners will be announced on the blog post on Friday, February 19th.
Check out all the awesome Design Team Blogs below to enter:
Hello CFS fans! Maria here on the blog with you today, sharing a Valentine’s Day shaker card, showcasing the Hearts A2 Panel Fri-die and the sentiment is from the Love Notes stamp set.
To begin, I started off ink-blending a rainbow background on Bristol smooth white card stock with Distress Oxide inks in Mustard Seed, Ripe Persimmon, Worn Lipstick, Peacock Feathers and Seedless Preserves.
I die-cut my ink-blended panel with the Hearts A2 Panel Fri-die. I adhered some acetate sheet on this piece and added foam adhesive to create my shaker panel.
I added some rainbow confetti dots as my shaker element and adhered the panel on top of an A2-size black card base.
I stamped the sentiment on a black strip with versamark ink and sprinkled some white embossing powder. I used my heating tool to heat emboss the sentiment and adhered this piece on my card with my tape runner. Here’s what it looks like:
The black background just made the rainbow panel pop. Here’s a closer look:
I hope you like my project today. The supplies I used are listed and linked below. Please use my coupon code below for an additional 15% off your order at Cas-ual Fridays. Thanks for stopping by and happy stamping!
It is the second day of the November reveals by Newton’s Nook Designs. I hope you were able to check out yesterday’s reveal. You also have a chance to win each stamp set during release week so check out the details I have indicated at the end of this blog post. [Just a little important note: I know some of you had difficulties finding the comments section. If you would like to leave a comment to participate in the giveaway, the “comments section” will only be ever visible when a single post on Word Press is being viewed. Please click on this particular blog post and you will be able to leave a commentbelow. Thank you!]
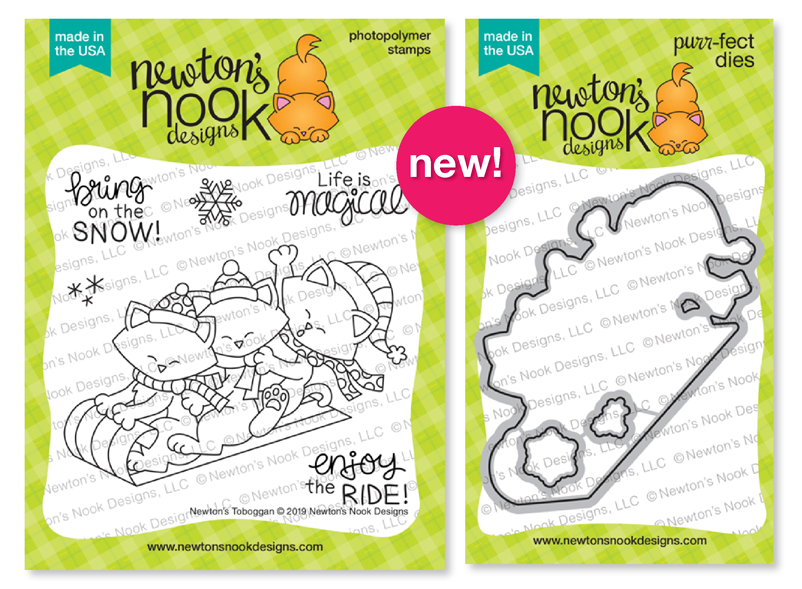
For today’s release, the design team is showcasing the Newton’s Toboggan stamp set and coordinating dies with the Mountains Stencil.
To begin, I stamped my image on some Neenah solar white card stock. I colored the images in with my Spectrum Noir Alcohol markers and die-cut the image using the coordinating dies.
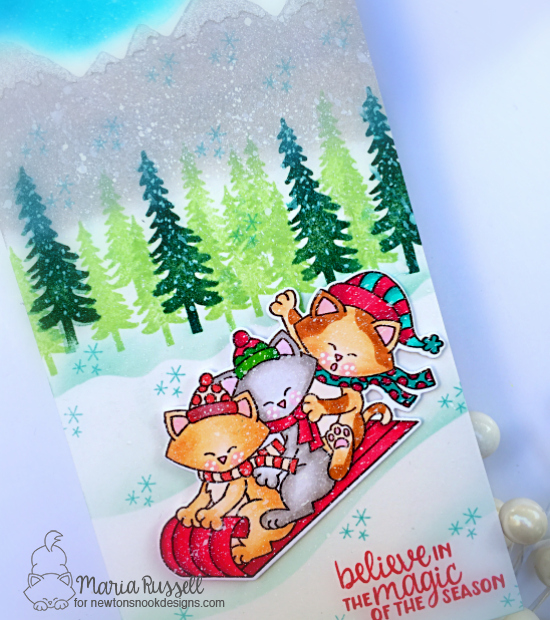
I cut some Bristol smooth white card stock measuring 4 1/4 X 8 1/2. I ink-blended my background with some distress oxide ink. I also used the Mountains Stencil to create my snowy-mountains on the background. I used Gina K Glitz Glitter Gel in White to create the snow and set this piece aside for about half an hour until it dried. I adhered this piece on a 4 1/4 x 8 1/2 slimline card base.
I stamped the trees using the Winter Memories stamp set with some Noble Fir and Celery Stick inks. I used the Hills and Grass stencil to create my snowbank and adhered my focal image on the foreground.
I used some white Copic Opaque paint to splatter it all over my card to create the snowy look for added texture, and stamped the snowflakes using some Mermaid ink.
Lastly, I stamped the sentiment from the winter Memories stamp set with some Lobster ink.
I know you can’t really tell on the photo but the Glitz Glitter Gel that I added really made the snow pop! It’s so pretty in real life. Here’s a closer look:
Would you like to win the “Newton’s Toboggan” Stamp Set?This stamp set will be given away to ONE lucky winner! Here’s how to win:
Comment on the NND blog and Design Team blogs (see list below)! Thewinner will be chosen at random from the collective reveal posts. Make sure to check out each of their blogs and comment for your chance to win. You will not know which blog has been chosen so the more you comment on the better your chances are of winning! You have until Thursday November 14th at 9pm EST to comment — winners will be announced on the blog post on Friday, November 15th.
Check out all the awesome Design Team Blogs below to enter: