Hello and welcome to the release hop. We are so excited for you to join us as we present to you our March release. The whole design team and one guest Designer will be sharing projects featuring the four new stamp sets that are available to purchase right now in the shop. We also have a GIVEAWAY so please be sure to scroll at the end of this blog post to find out how you can WIN. Don’t forget to visit the participating blogs (links are indicated below) and leave us some crafty love.
FREE SHIPPING
on orders of $25 or more before taxes and shipping
(applies to US orders only)
No code necessary, exclusions apply
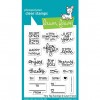
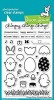
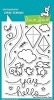
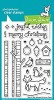
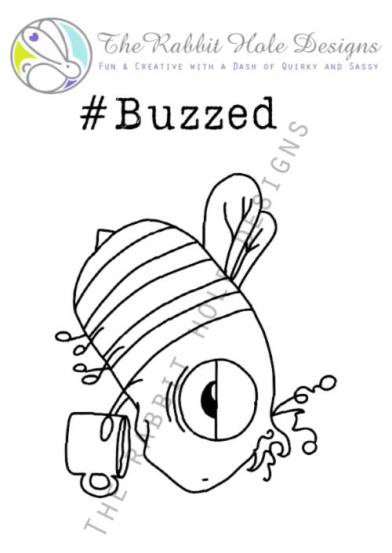
The stamps that are making their debut today are:


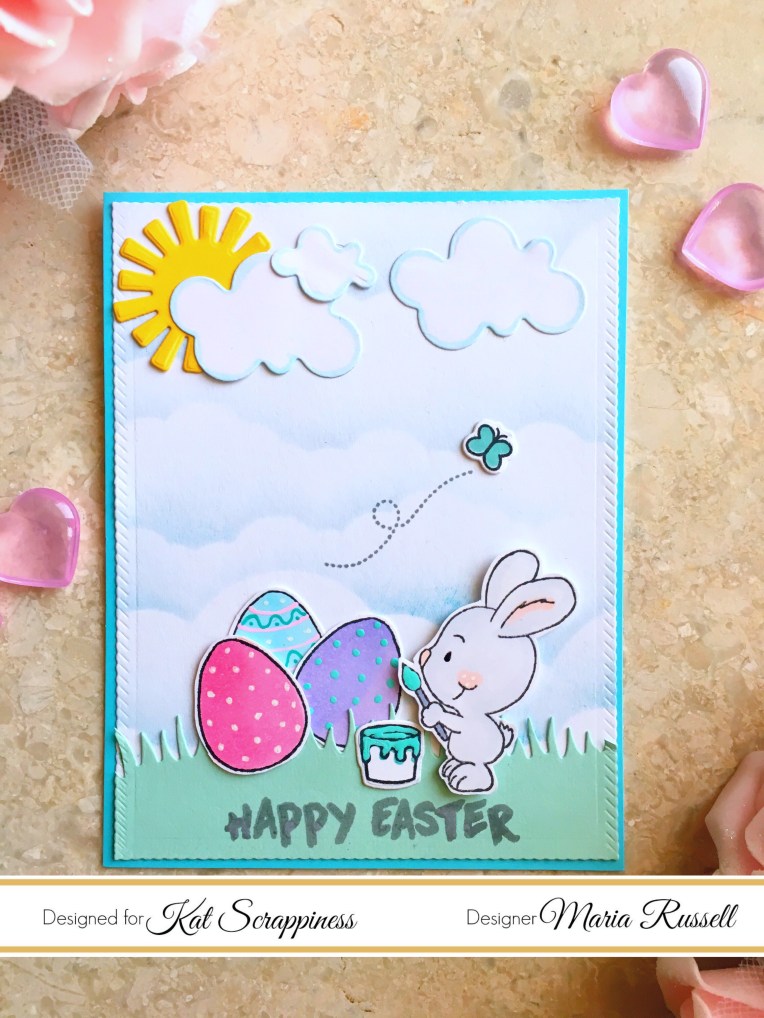
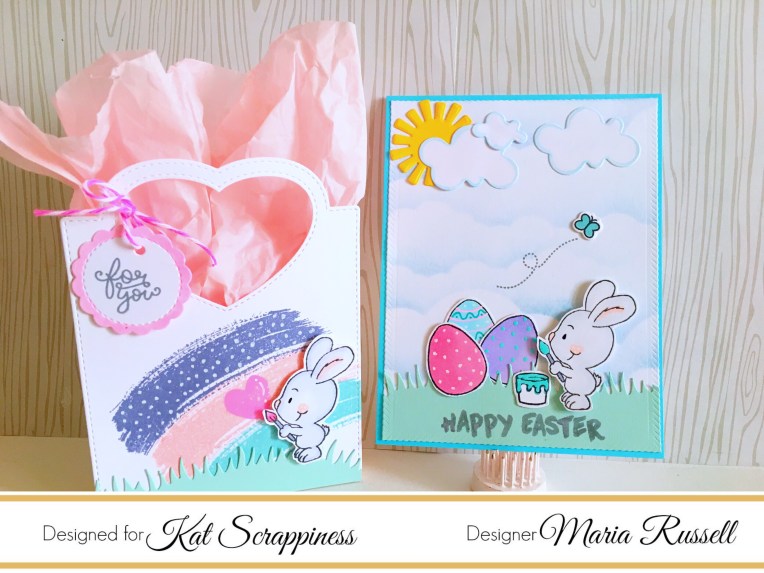
Here’s my first card:
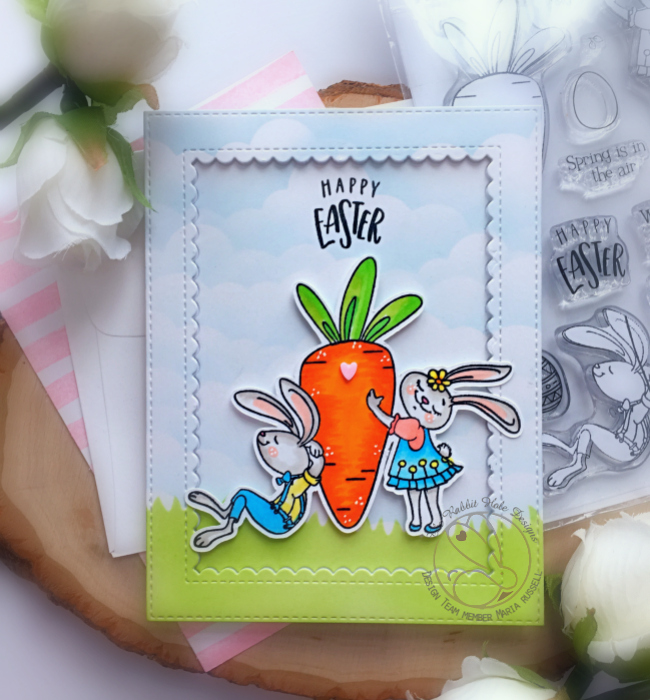
How I made the card:
- stamp the images on smooth white card stock and color the images using copic markers or any coloring medium of your choice.
- fussy cut the image or use scan n cut machine.
- ink up some Bristol smooth white card stock using a clouds stencil and grass stencil.
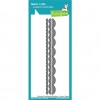
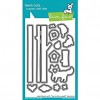
- die-cut the frame using the scallop frame die.
- adhere the images on the background and adhere this piece on an A2 size card base.
- stamp the sentiment using versafine onyx black ink.
- add some white dots on the carrot some white gel pen and adhere a pink heart.
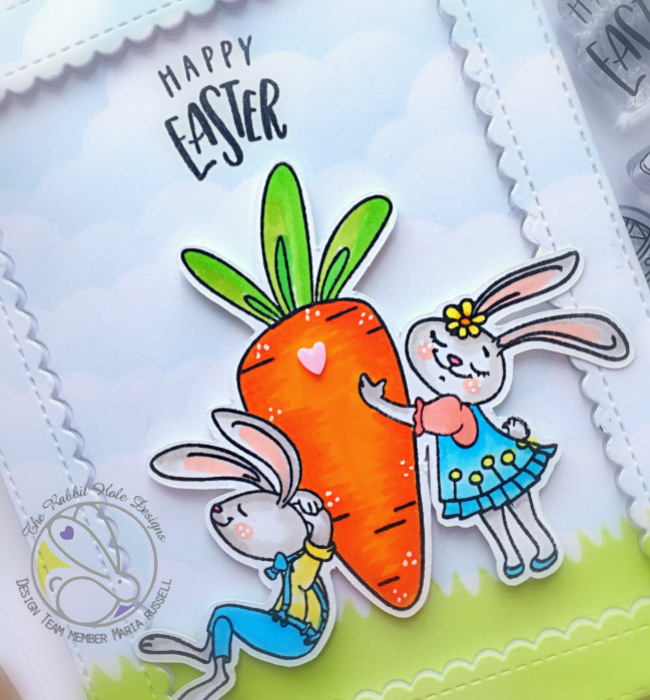
Here’s a closer look:
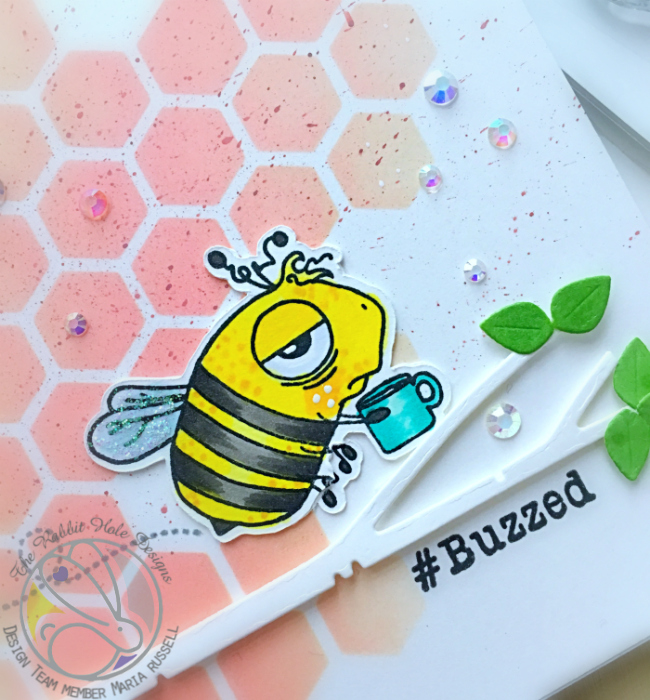
For my second project, I used the Caffeinated Bee:

How I made this card:
- stamp the bee image on smooth white card stock and color him in with copic markers (or any coloring medium of your choice.
- fussy-cut the image or use scan n cut 2.
- Cut an A2 size Bristol smooth white card stock. Ink this up using some distress oxide inks, mini ink blending tool and a hexagon stencil.
- smoosh aged mahogany distress oxide ink on an acrylic block and add some water.
- use watercolor brush and flick it onto the background to add some some tiny speckles. dab it dry with some paper towel.
- adhere this colored background on an A2 size card base.
- stamp the sentiment using versafine onyx black ink.
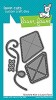
- die cut the birch tree branch and leaves using some dies. adhered these pieces on the colored background with some foam tape and liquid adhesive.
- adhere the bee on the card.
- finish the design by adding some Stardust stickles on the wings and sparkling clear jewels all over the card.
Here’s a closer look:
For my third project, I used the Caffeinated Flamingo:
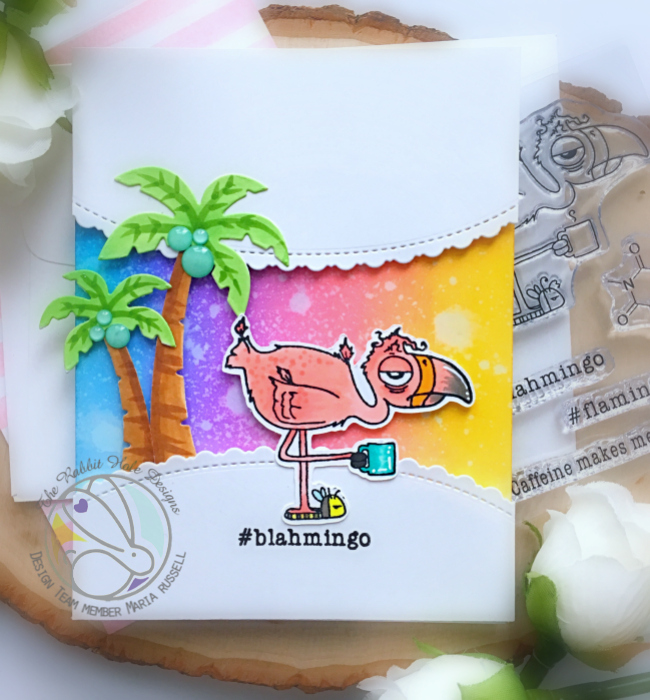
How I made this card:
- stamp the image on smooth white card stock and color it in with Copic markers (or any coloring medium of your choice.
- fussy-cut the image or use scan n cut machine.
- cut an A2 size Bristol smooth white card stock and ink up up the background with mini ink blending tools using distress oxide inks. I used fossilized amber, worn lipstick, seedless preserves and peacock feathers.
- adhere this colored background on an A2 size card base.
- die-cut two scallop frames using the fancy scalloped border die (see supply list below). adhere these pieces on the card with some foam tape.
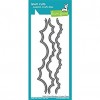
- die-cut the coconut trees using the dies and adhere these pieces on the card base with some foam and liquid adhesive.
- adhere the flamingo on the middle of the card.
- stamp the sentiment using versafine onyx black ink.
- finish the design by adding some green enamel dots on the coconut trees and add white dot details using some gel pen.
Here’s a closer look:

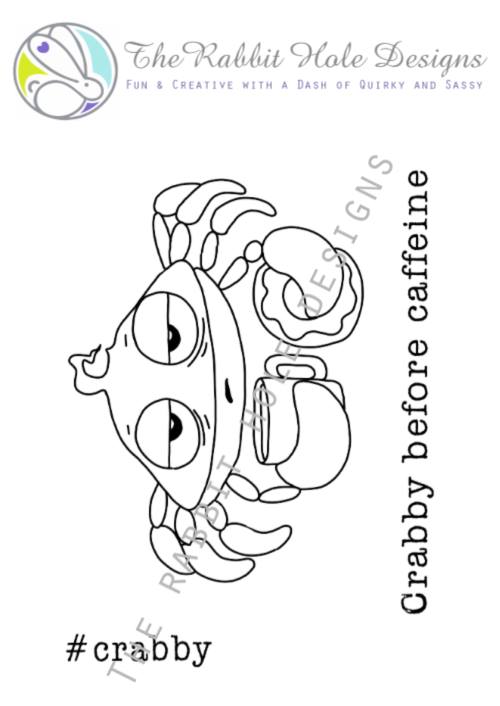
For my last project, I used the Caffeinated Crab:
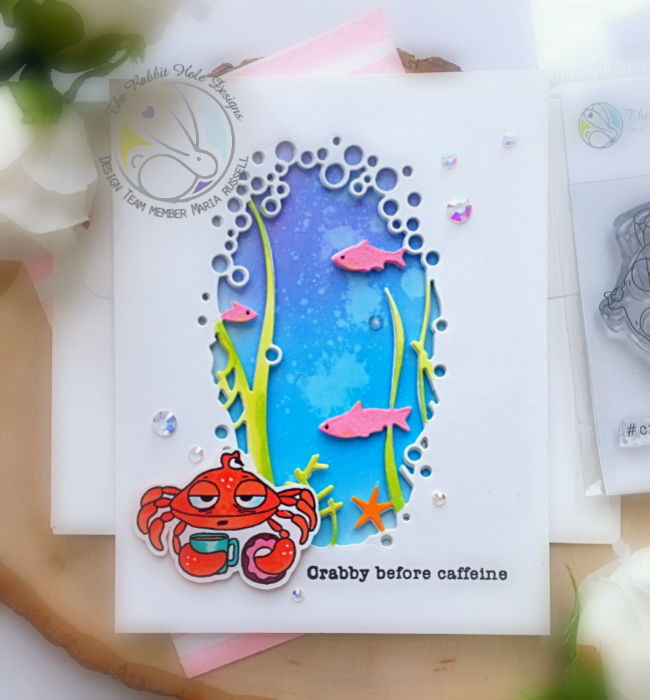
How I made this card:
- stamp the image on smooth white card stock and color it in with Copic markers (or any coloring medium of your choice.
- fussy-cut the image or use scan n cut machine.
- cut an A2 size Bristol smooth white card stock and ink up up the background with mini ink blending tools using distress oxide inks. I used salty ocean, peacock feathers and seedless preserve.
- adhere this colored background on an A2 size card base.
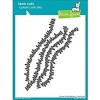
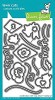
- die-cut some white card stock using the “under the sea” collage die. color the seaweeds and fishes with copic markers. use the same collage die to die-cut some fun foam and adhere both with liquid glue.
- adhere this piece on the colored background.
- adhere the crab with some foam adhesive to give it a little dimension.
- stamp the sentiment using versafine onyx black ink.
- finish the design by adding some white dot details using white gel pen and adhere some sparkling clear jewels to make it look like bubbles.
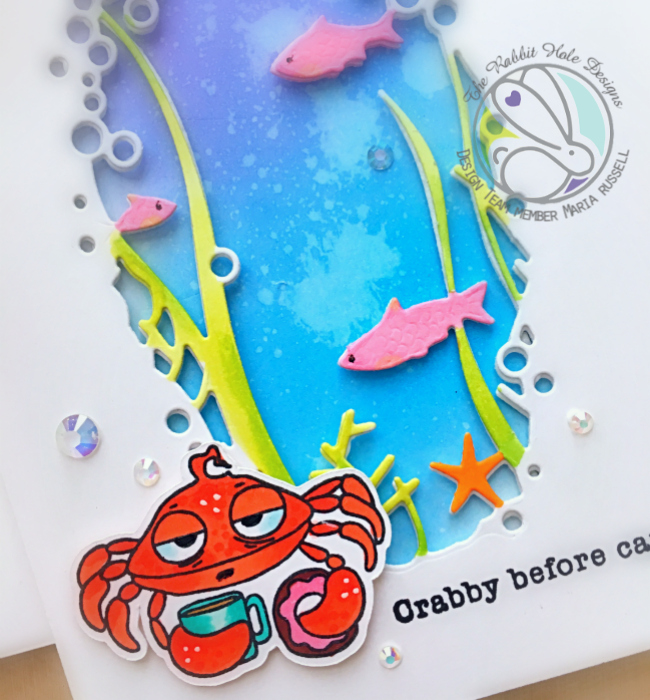
Here’s a closer look:
Giveaway
Two (2) winners will be chosen at random for a chance to win a *$10.00 (US funds) Gift Certificate* to The Rabbit Hole Designs. Leave a comment by 11:59 pm PST on 03-03-2019 on all participating blogs, for the entirety of the hop, so make sure to visit each stop and leave a comment. Winner will be announced on The Rabbit Hole Designs blog 03-04-2019
Here is the line up for the hop:
Maria Russell (you are here)
*Gift certificate can be used at any time and will not expire. It is a one-time use certificate and any funds not used will not be carried over for future use.
For more inspiration, updates, and news make sure to check out these places.
I hope I have given you some great inspiration today. The stamp sets are now available for purchase at The Rabbit Hole Designs website. The rest of the supplies I used are listed and linked below. Have a wonderful day and happy crafting!
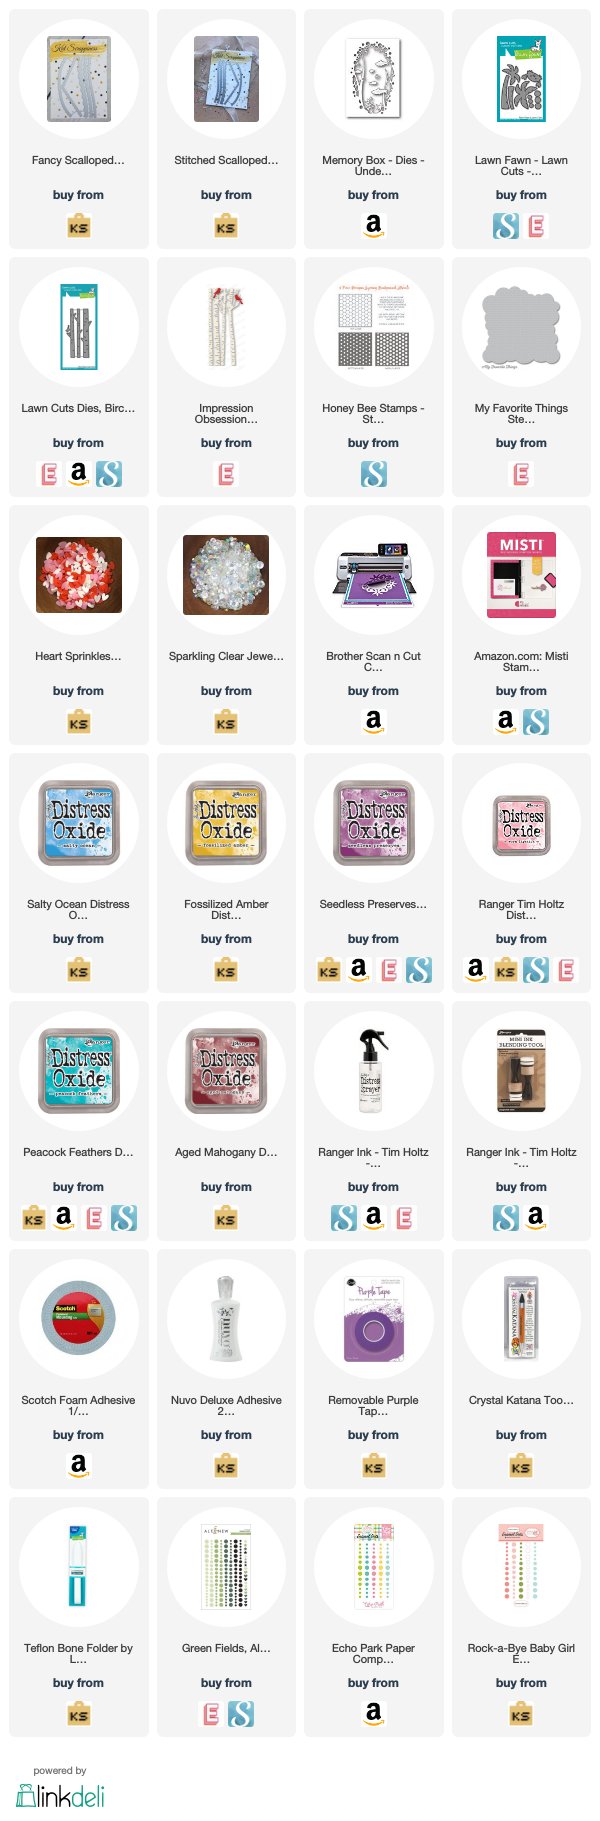
——————-SUPPLIES—————