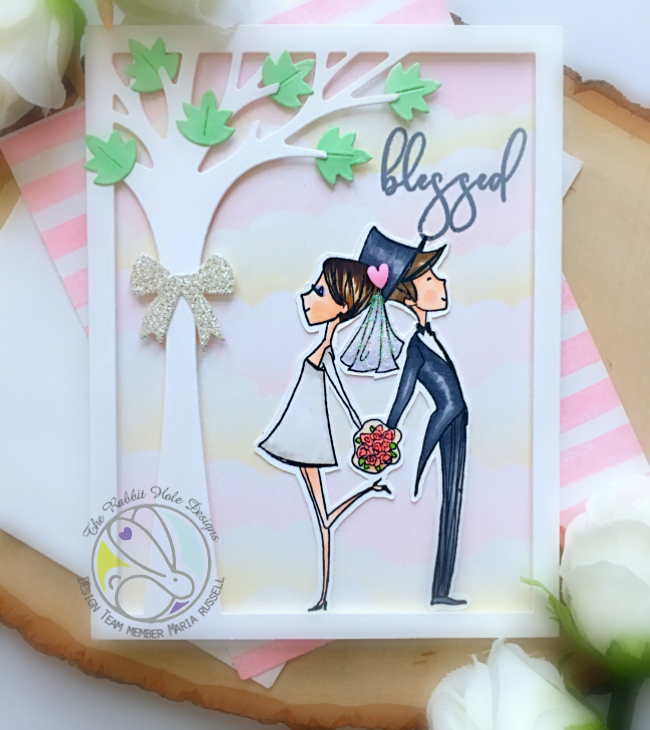
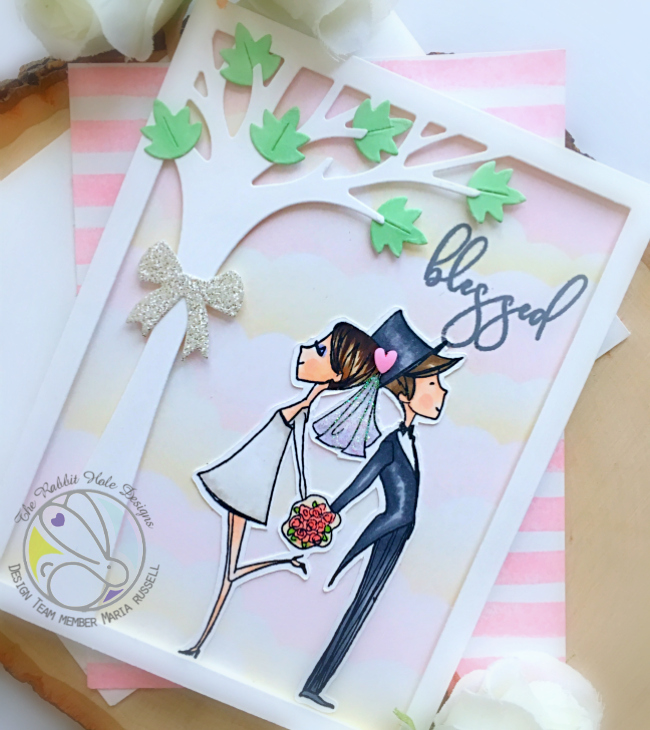
It is day 3 of the March release by CAS-ual Fridays stamps and today, we are showcasing the Sweet Friend fri-dies. The good news is you don’t have to wait! The March release is now available at the shop.
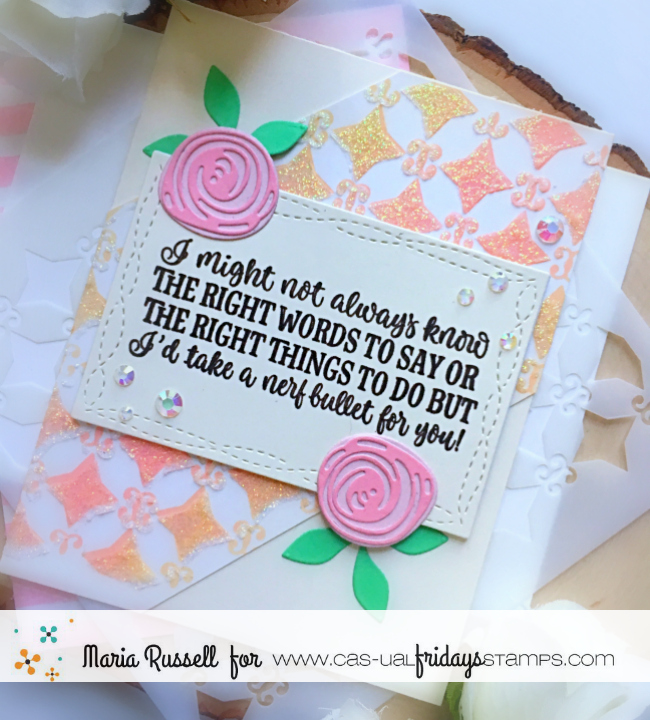
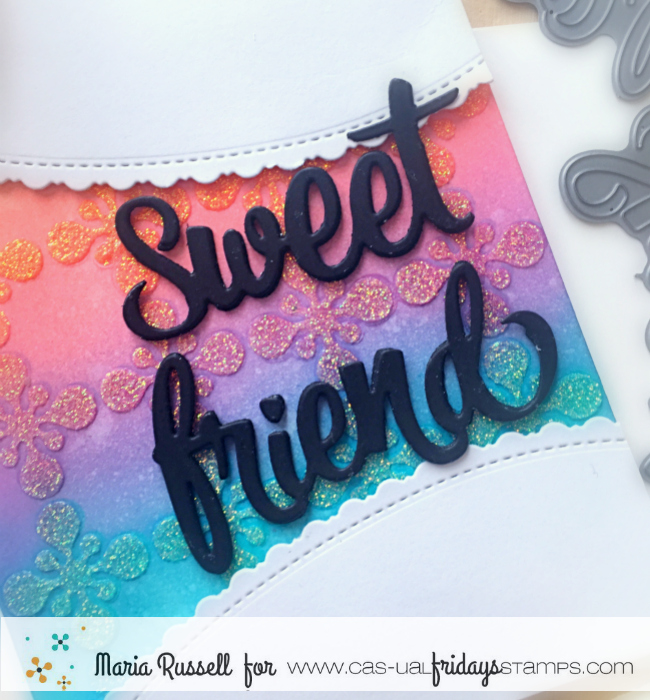
For my first project, I am showcasing the Sweet Friend Fri-dies with the Bold Trellis stencil.

CARD RECIPE:
- I inked up my Bristol smooth white card stock with Peacock Feathers, Seedless Preserves, Worn Lipstick and Spiced Marmalade distress oxide inks using the Bold Trellis stencil.
- I used the stencil again and my moonstone glimmer paste to add some glitter and shine to the background and make it stand out. I set this aside to dry for about half an hour.
- I die-cut the “Sweet Friend” three times from some black card stock and adhered them together with liquid glue.
- I used a borders die from my stash to create the borders and adhered the pieces with foam adhesive on my colored background.
- I used foam adhesive to adhere the Sweet Friend sentiment on my card.
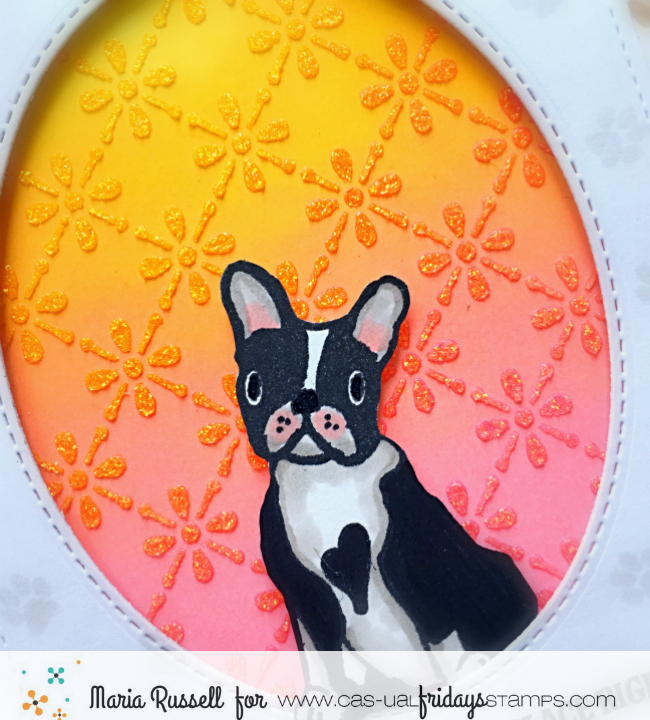
Here’s a closer look:
I love the new trio of dies included in the Sweet Friend fri-dies.

How about some prizes??
Comment on each of our release posts this week telling us what you like about the new product that day.
Follow us on Instagram
Follow us on Pinterest
Sign up for our Newsletter on the blog sidebar.
At the end of the week, Michele will choose 2 winners using random.org – one lucky duck will win a Huggable Critters set and the other lucky duck will win all 5 of our new stencils!
I hope you like my projects today. The stencils are now available for purchase at the shop. Please don’t forget to use my coupon code “MARIASENTME” for 15% off your order. I hope you have an amazing weekend, and happy crafting!