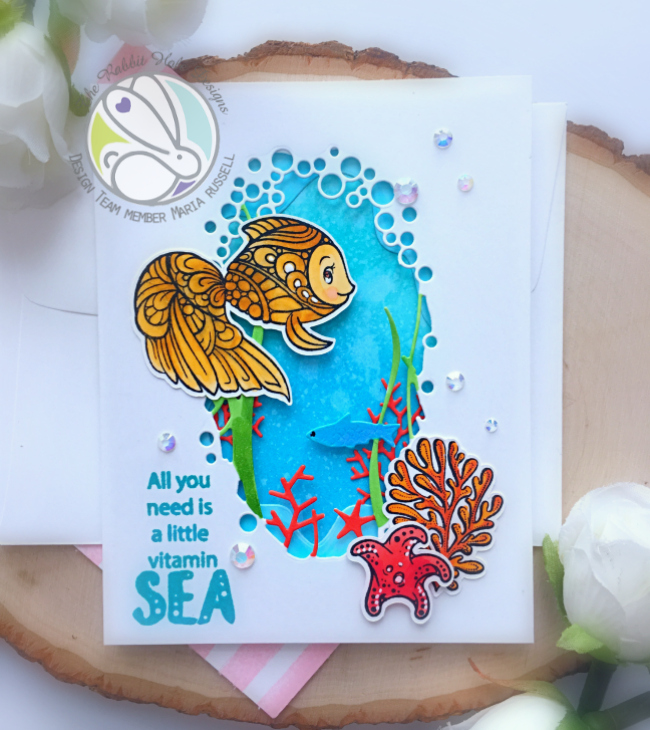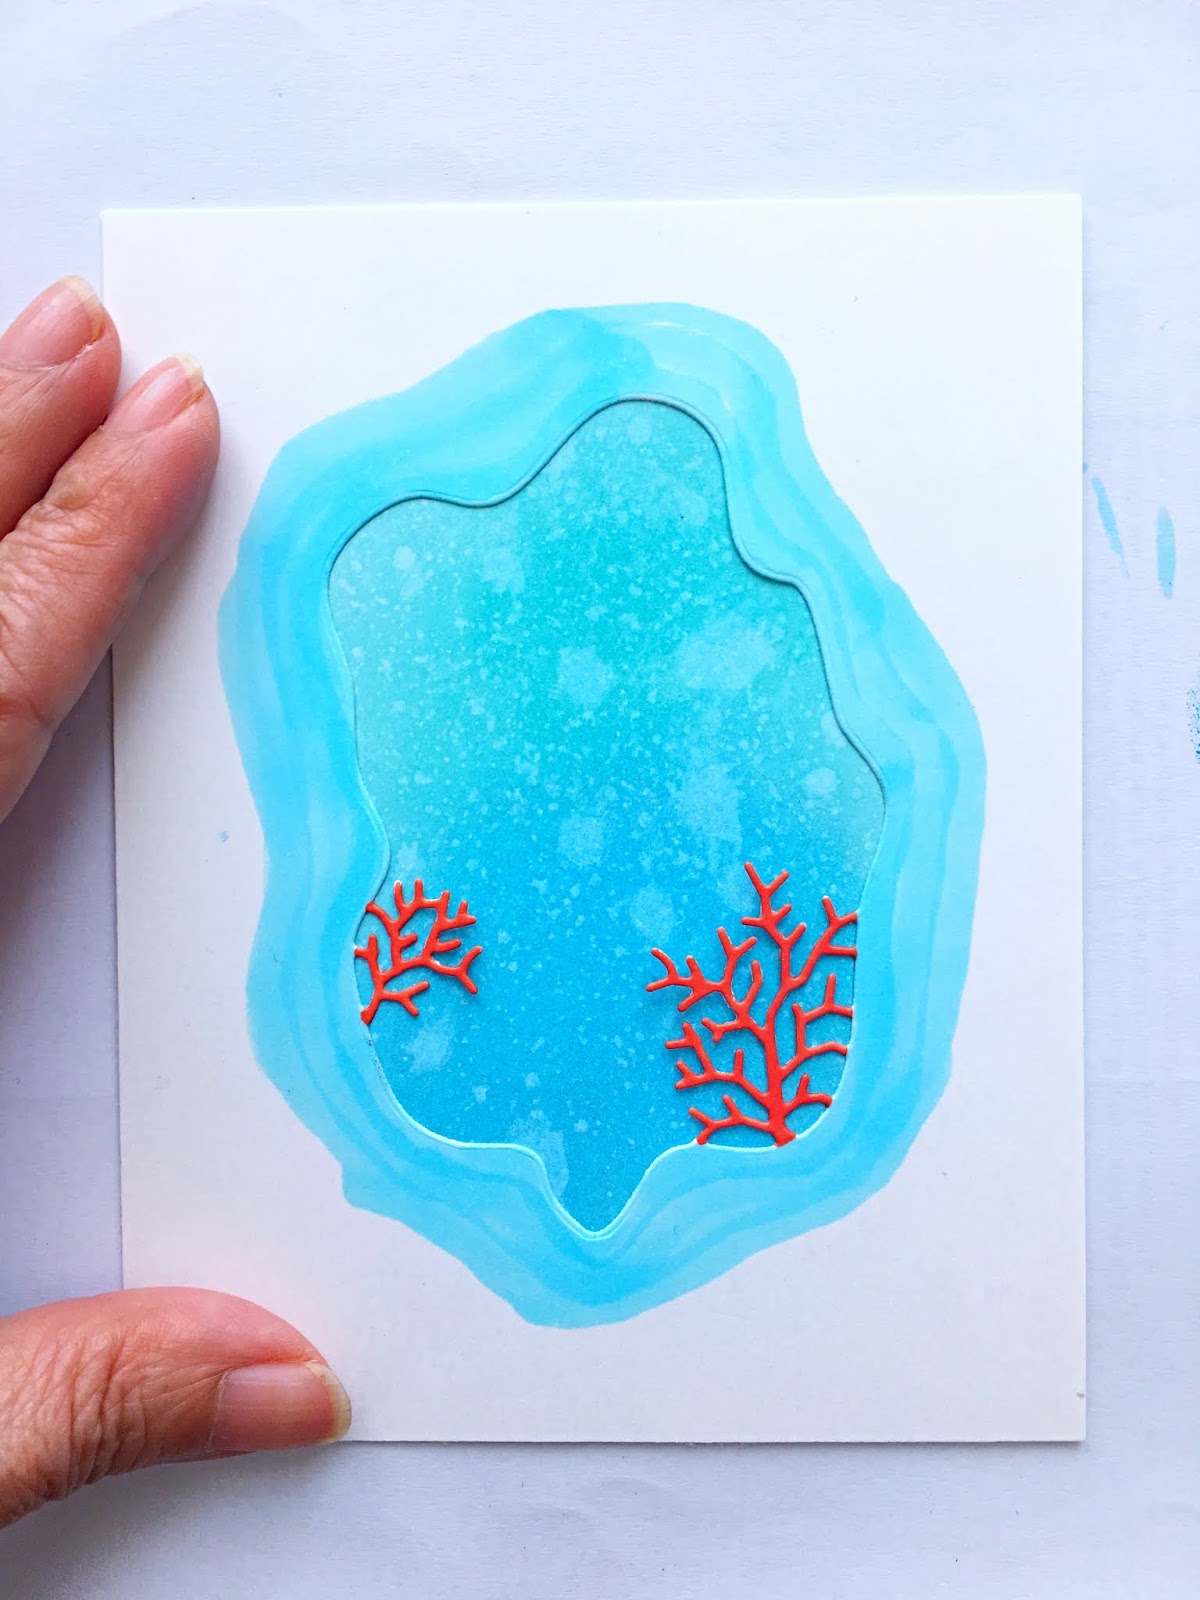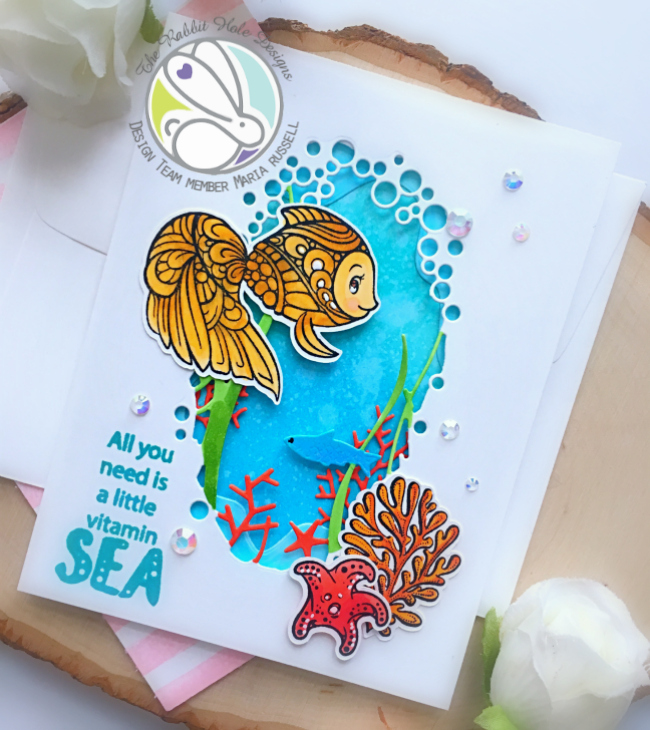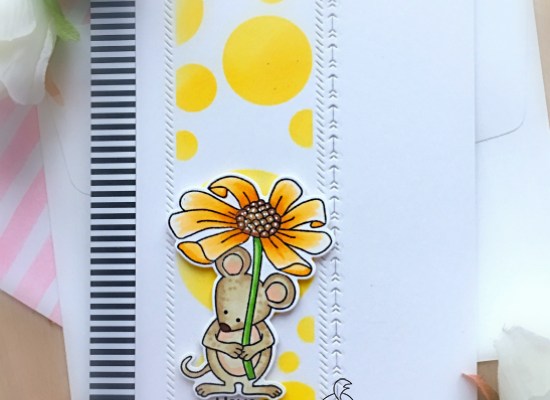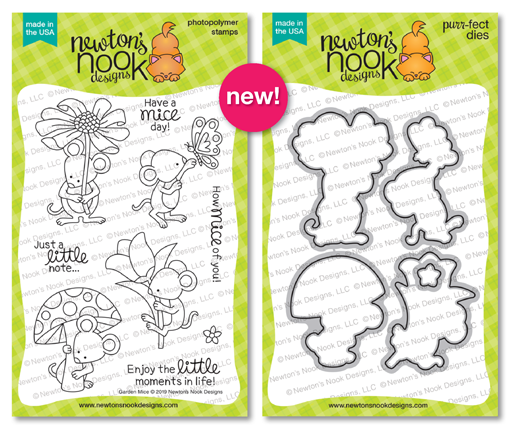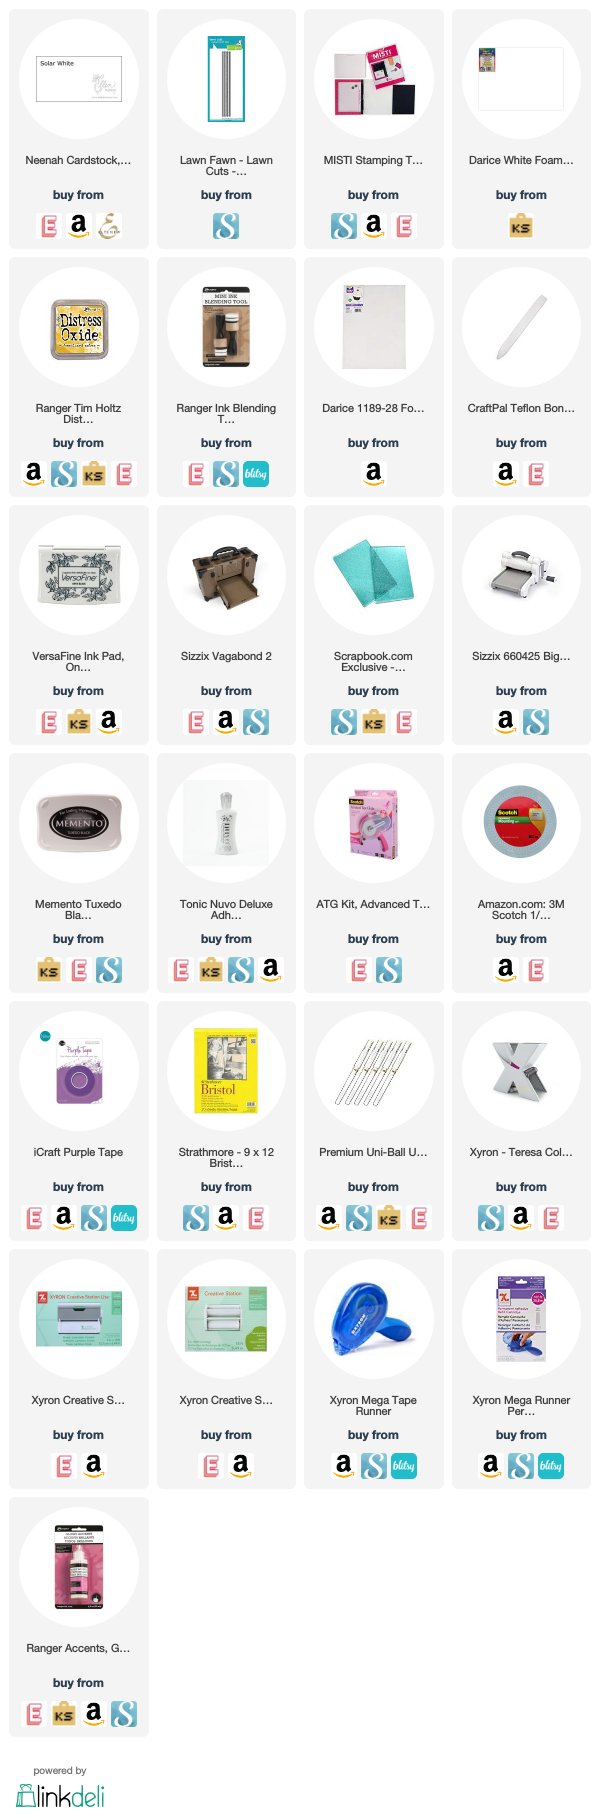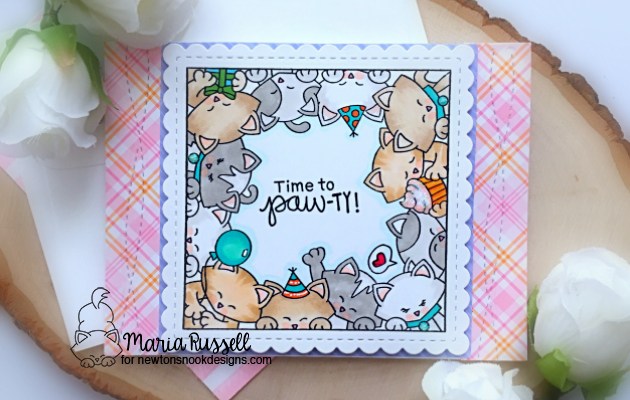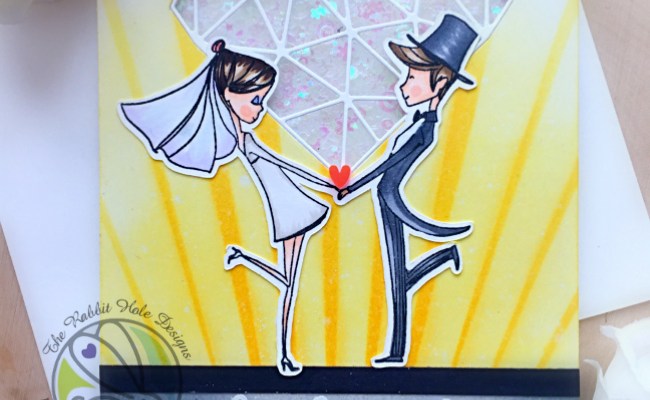


- stamp the images on Neenah solar white 110 lb card stock.
- color the images with Copic markers (or any coloring medium of your choice)
- fussy-cut the image or die-cut using Brother Scan N Cut2.
- cut an A2 size Bristol smooth white card stock and use masking or painter’s tape to block about an inch and a half of the card stock.
- ink up the top portion of the card stock using a sunburst stencil with some distress oxide inks.
- remove the mask and ink up the bottom of the card stock with some black soot distress oxide inks. This will create the “pavement”.
- use distress sprayer to spray some water on the inked up background and blot it dry with some paper towel.
- adhere a strip of black card stock on top of the “pavement”.
- use a heart die to die-cut the top and adhere some acetate sheet to cover the window. add some foam adhesive to create your shaker well.
- add some iridescent sequins as the shaker element and adhere a white card stock on top to close the shaker card.
- adhered this piece on an A2 size card base.
- adhere the colored image to finish the card.
To finish my card design, I added a red heart sprinkle on top of the couple’s hands. Here’s a closer look:

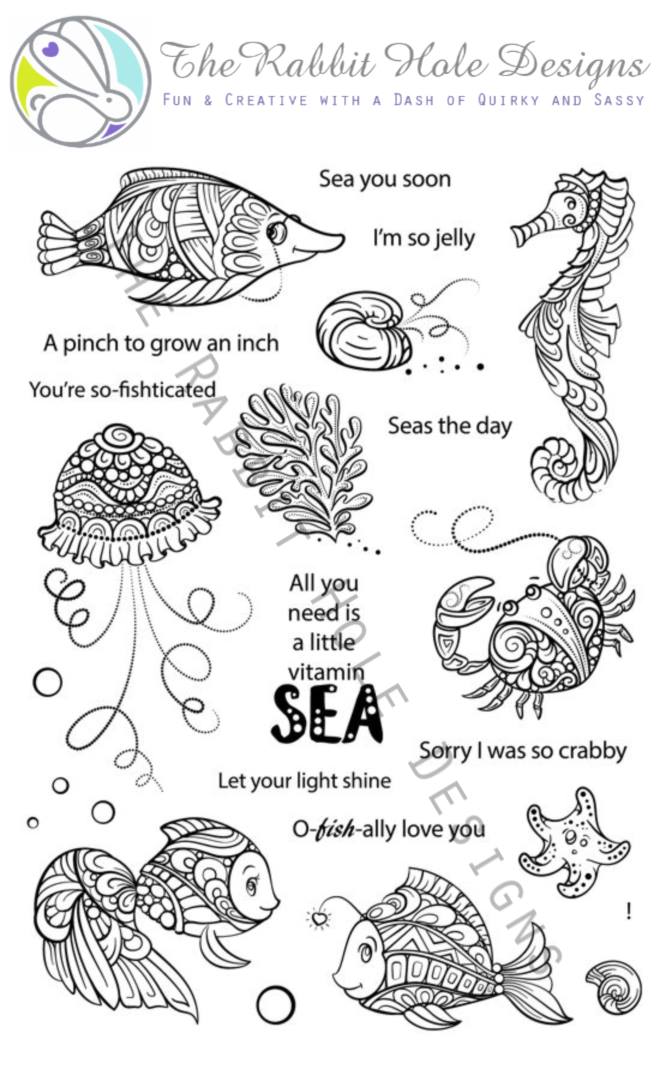
I absolutely adore the images on this stamp set. Here’s another look:

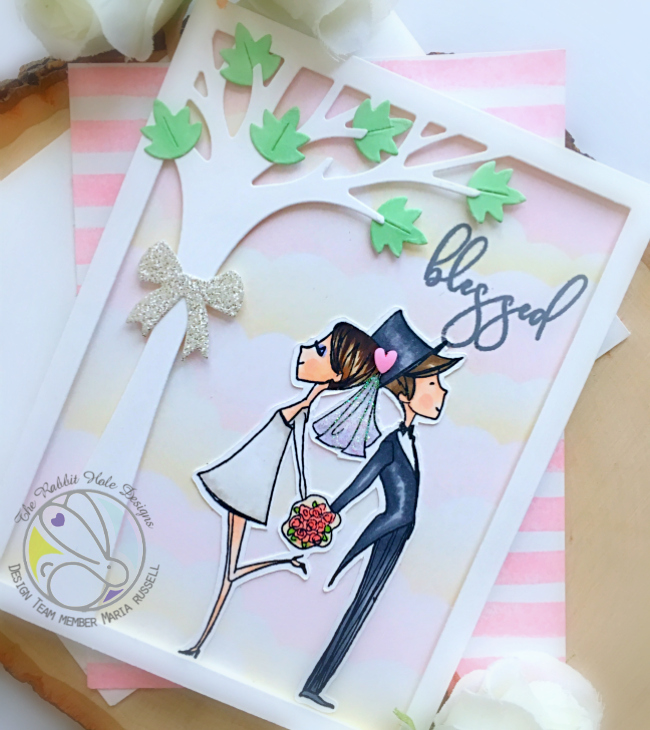
Here’s my second project:
CARD RECIPE:
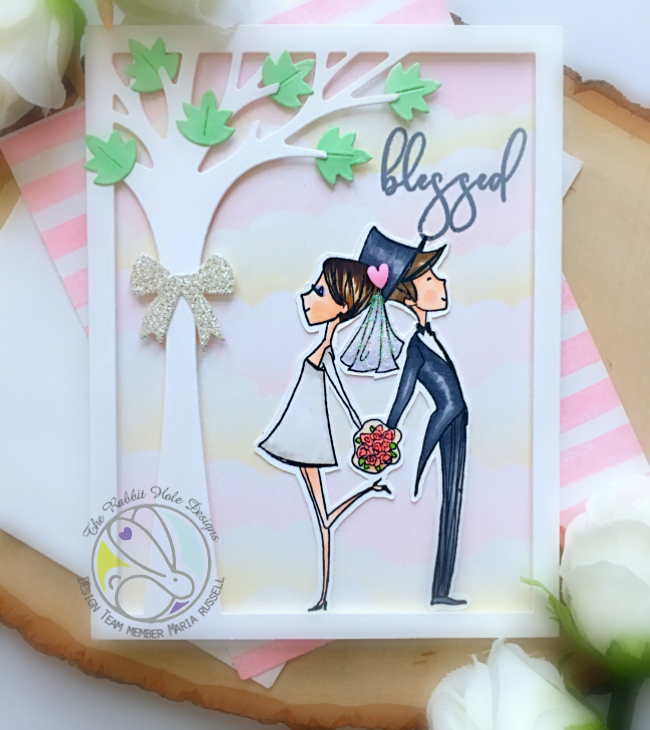
- just like mentioned above, stamp and color images and either fussy-cut or use Brother Scan N Cut to die-cut the image.
- ink up a piece of Bristol smooth white card stock and use a clouds stencil to create the sky.
- to create my “garden” scene, I used a Lawn Fawn portrait tree die and die-cut a piece of 110 lb. smooth white card stock.
- color the leaves with some green Copic markers.
- adhere this die-cut piece on the colored background with some foam adhesive to give it a little dimension.
- adhere the leaves on the tree using liquid glue and foam squares.
- adhere the image on the card.
Here’s a closer look:
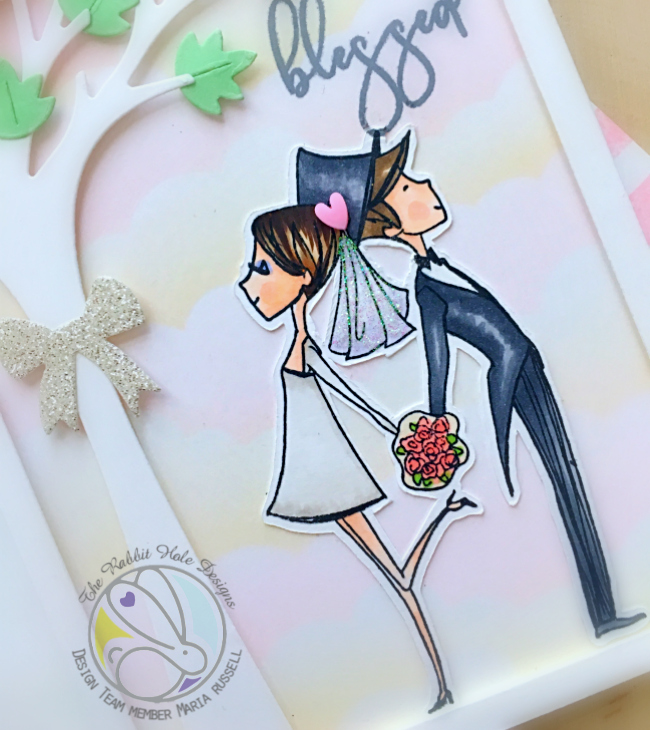
To finish my design, I added the white glittery bow on the tree and added Stardust stickles to the girl’s veil. Here’s another look:
*******GIVEAWAY*******
To celebrate day 1 of the release, The Rabbit Hole Designs is giving away the stamp set featured for today to One lucky winner. Winner will be chosen at random from the comments left on participating blogs, so make sure to visit each stop and leave a comment. Leave comments by 11:59 pm PST on 03-28-2019 on all participating blogs. Winner will be announced on The Rabbit Hole Designs blog March 29, 2019.
Here’s the order of the hop: