Hello Everyone! I am super excited to introduce the Birthday Essentials Release by Kat Scrappiness and I have two cards to share with you today!
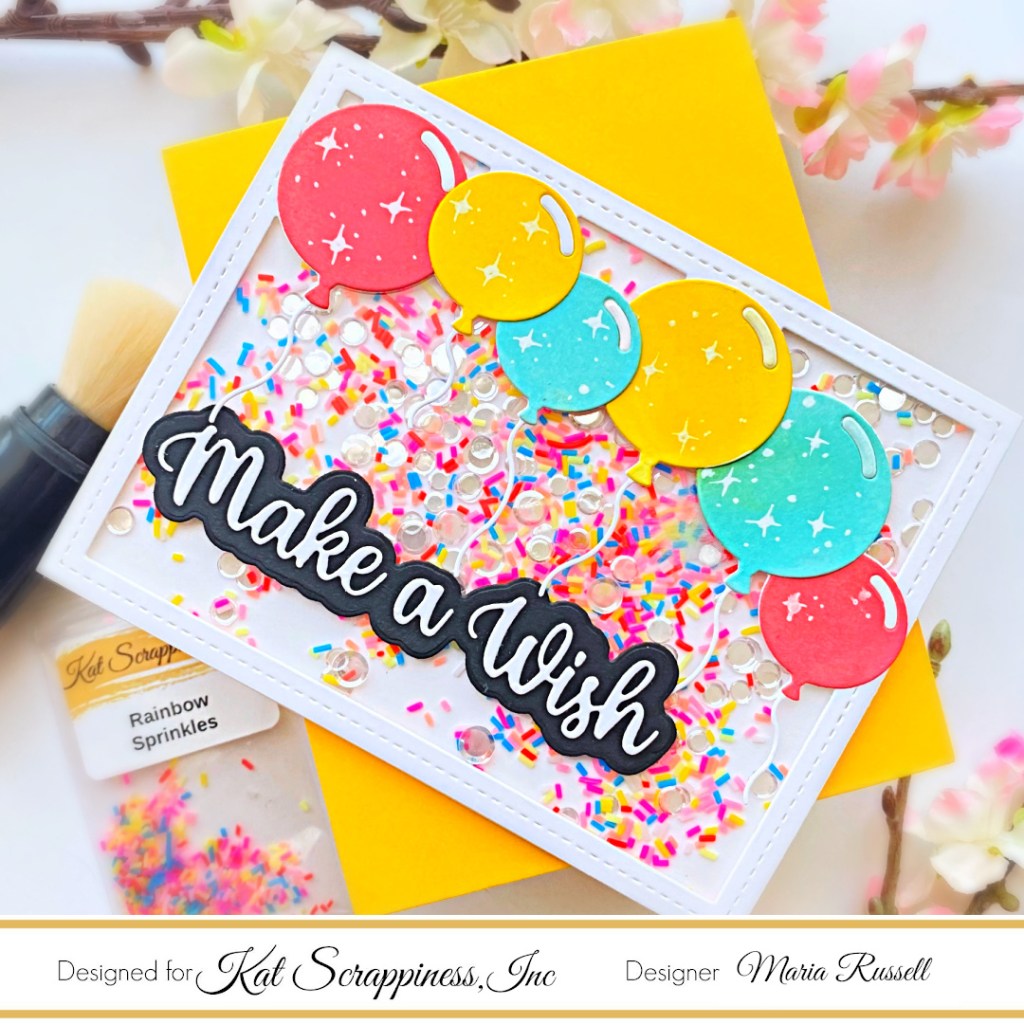
For my first card, I am showcasing the Layered Balloon Coverplate Die with the Make a Wish With Shadow Die.
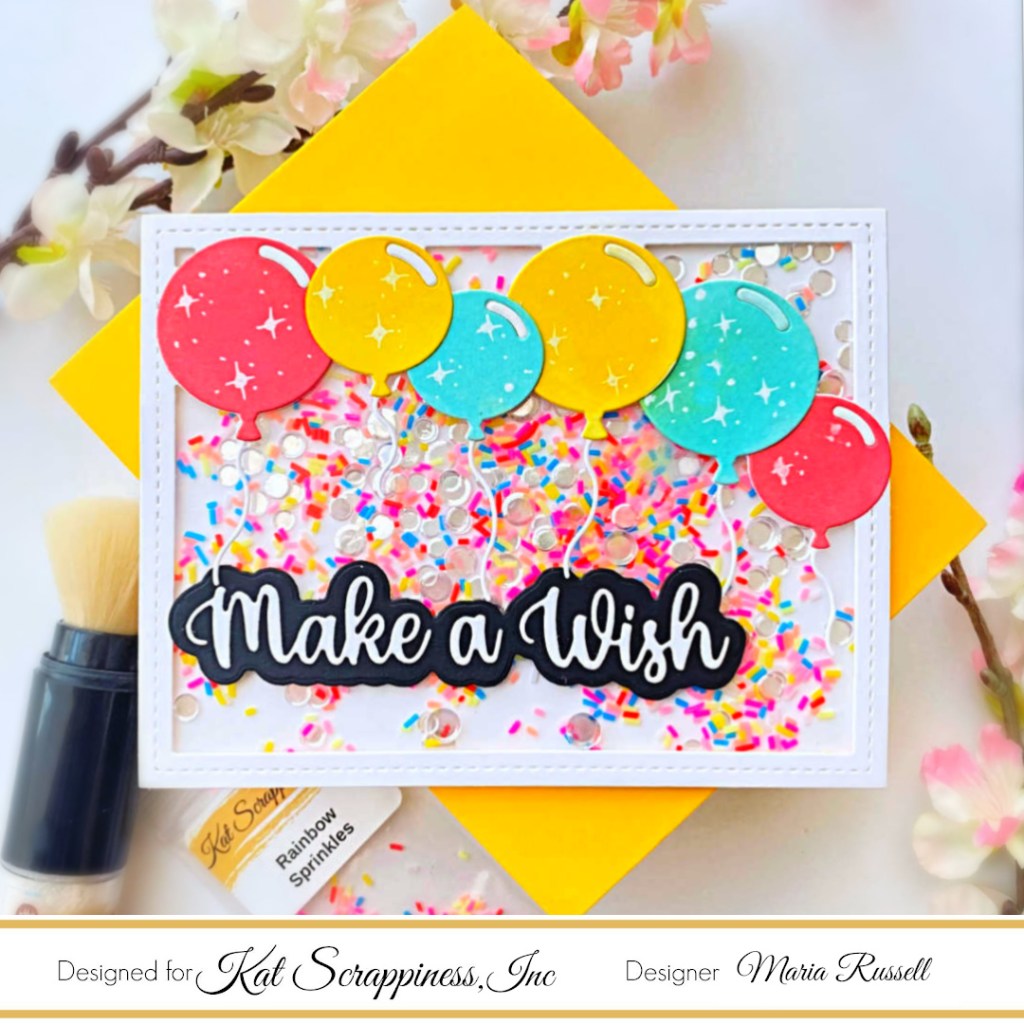
I started by die-cutting the cover panel using the Layered Balloon Coverplate Die on some Neenah solar white card stock. I also die cut the balloons included in the Layered Balloon Coverplate Die set on some Bristol smooth white card stock and used some distress oxide ink to ink-blend the die-cuts.
I adhere the balloons with liquid glue and created a shaker well, by adding acetate sheet to the back of the die-cut panel and foam adhesive. I used the rainbow sprinkles as my shaker element and adhered the panel on some A2 size notecard.
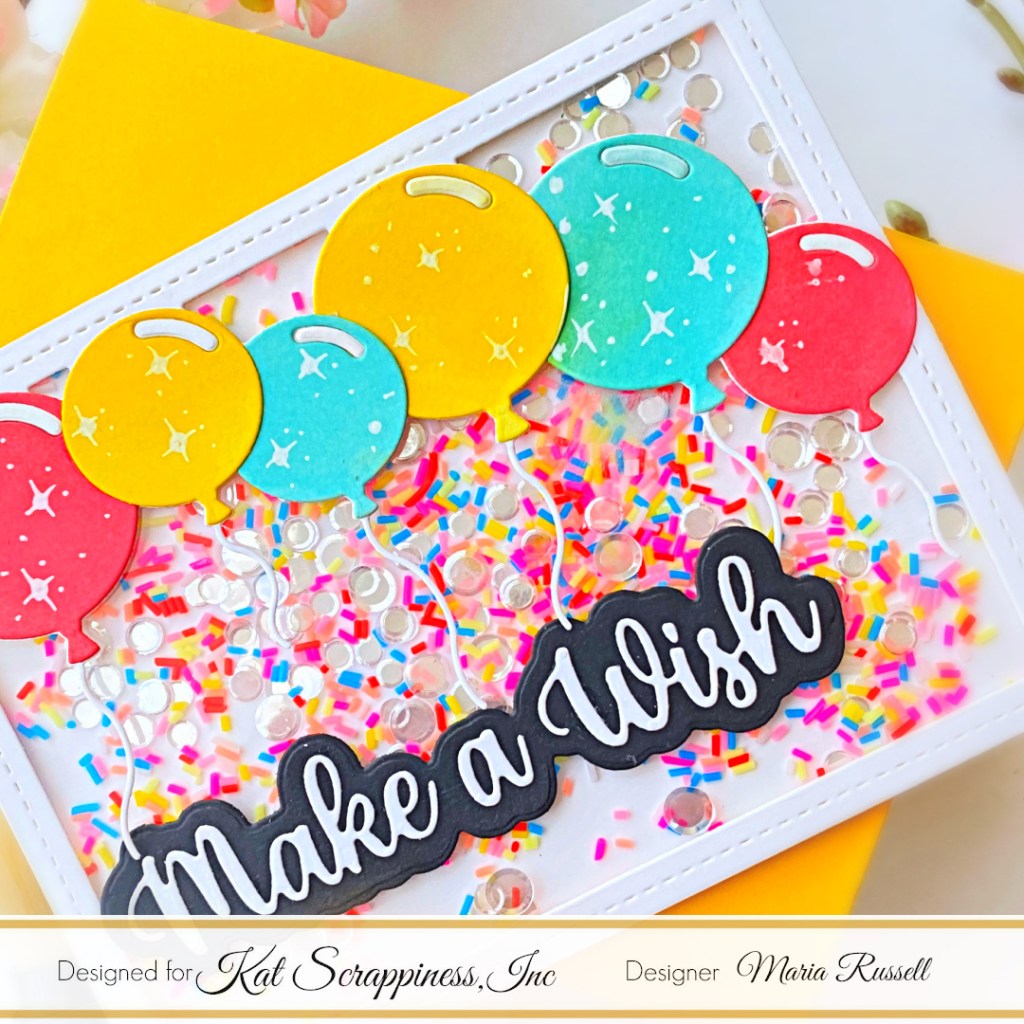
I die-cut the words Make A Wish on some white and black card stock and added to the focal panel with liquid glue. I finished my card design by adding some stars and dots to the balloons using white gel pen.
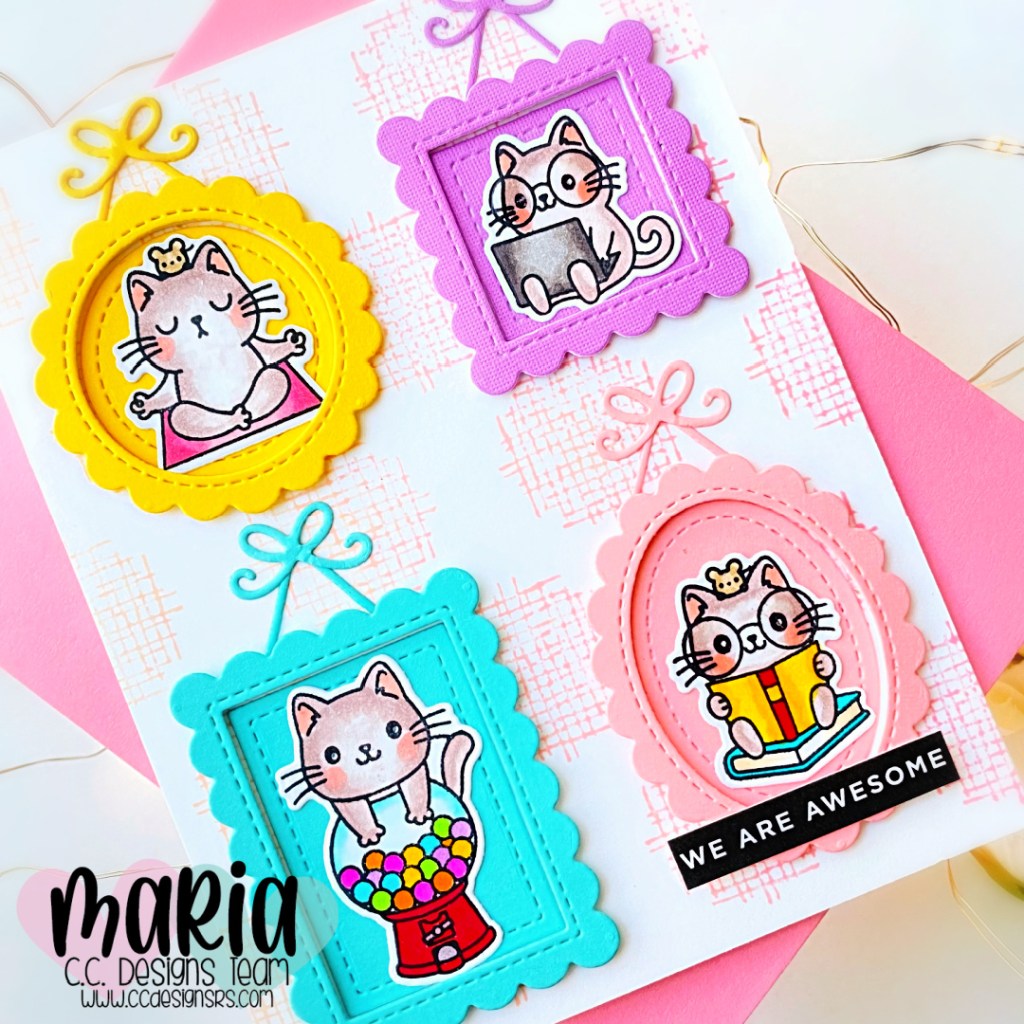
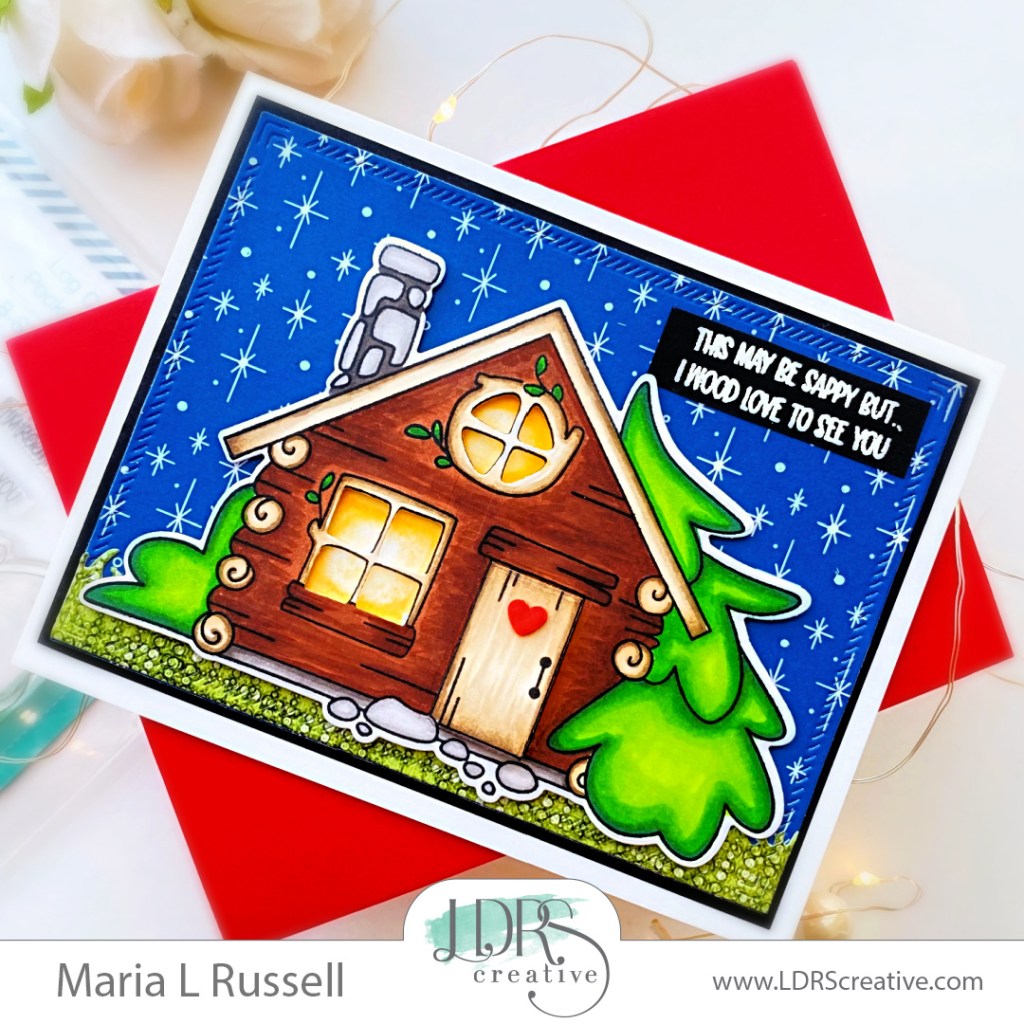
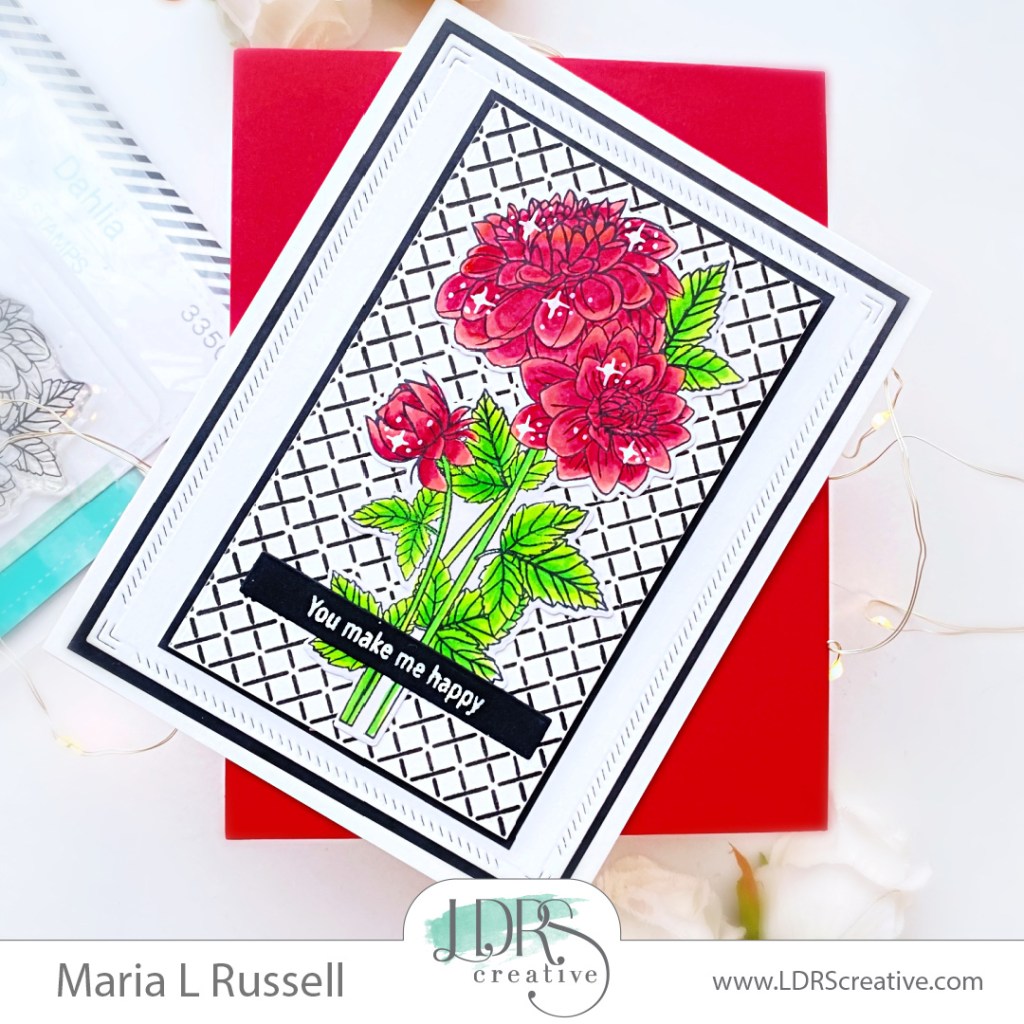
My second card features the Birthday Essentials Die Set with the Happy Day Stamp Set, Zig Zag Rectangle Die and Distressed Edge Rectangle Dies.
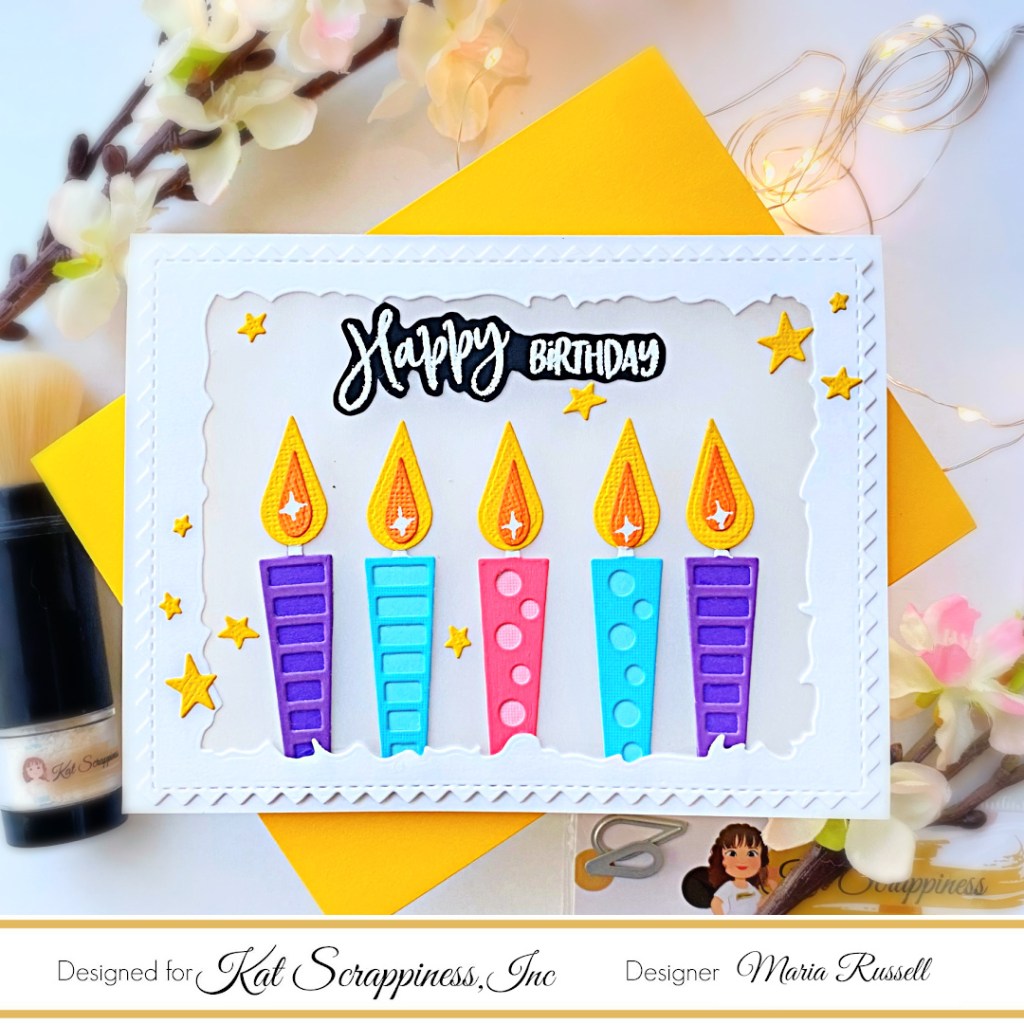
I die-cut the Zig Zag Rectangle Die on some Neenah solar white card stock and used the Distressed Edge Rectangle Dies to cut the window. I also used the same Distressed Edge Rectangle Die to cut the notecard so that when I adhered both panels together, it would create the window. I added some acetate sheet on the back.
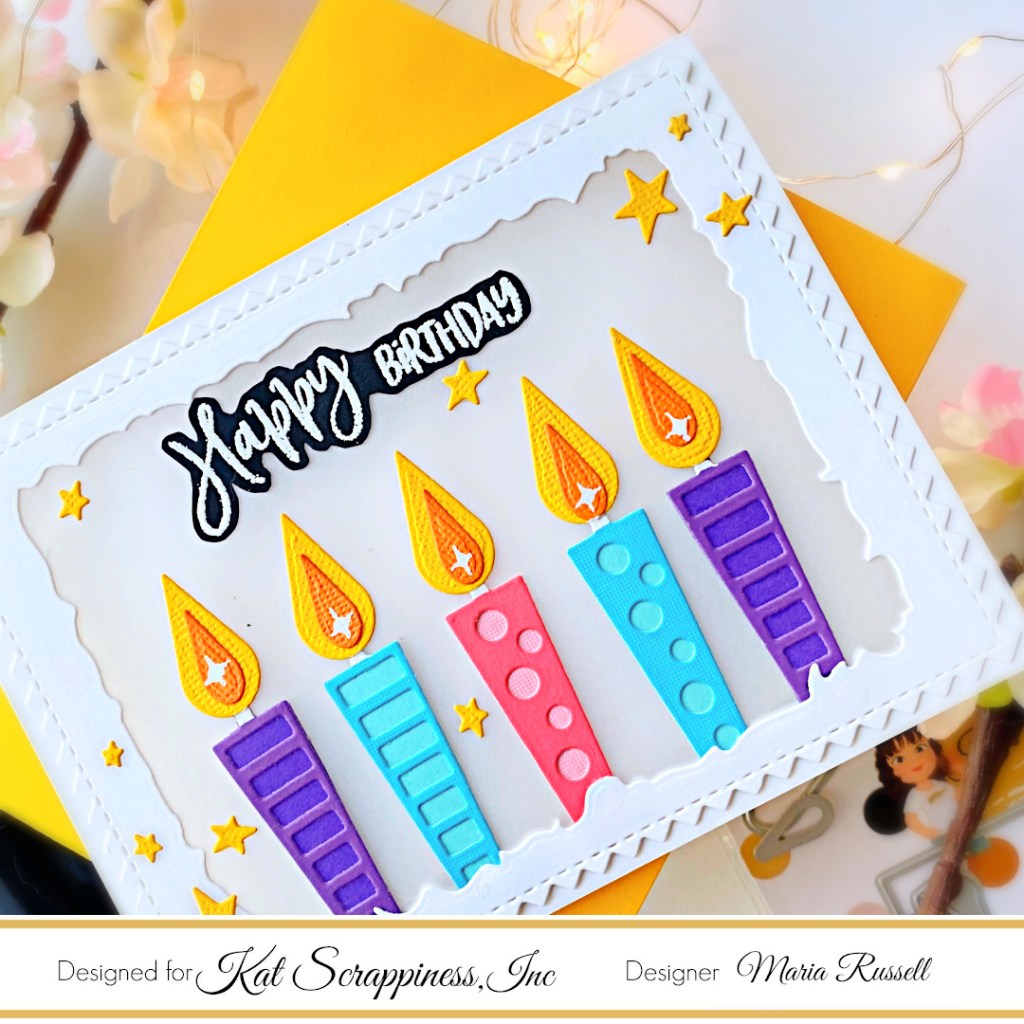
The candles were die-cut in different colors or card stock and adhered together with liquid glue. I finished the design by adding the sentiment and yellow stars for interest and texture.

I hope you like my cards today. The supplies I used are listed and linked below. Thanks for stopping by!
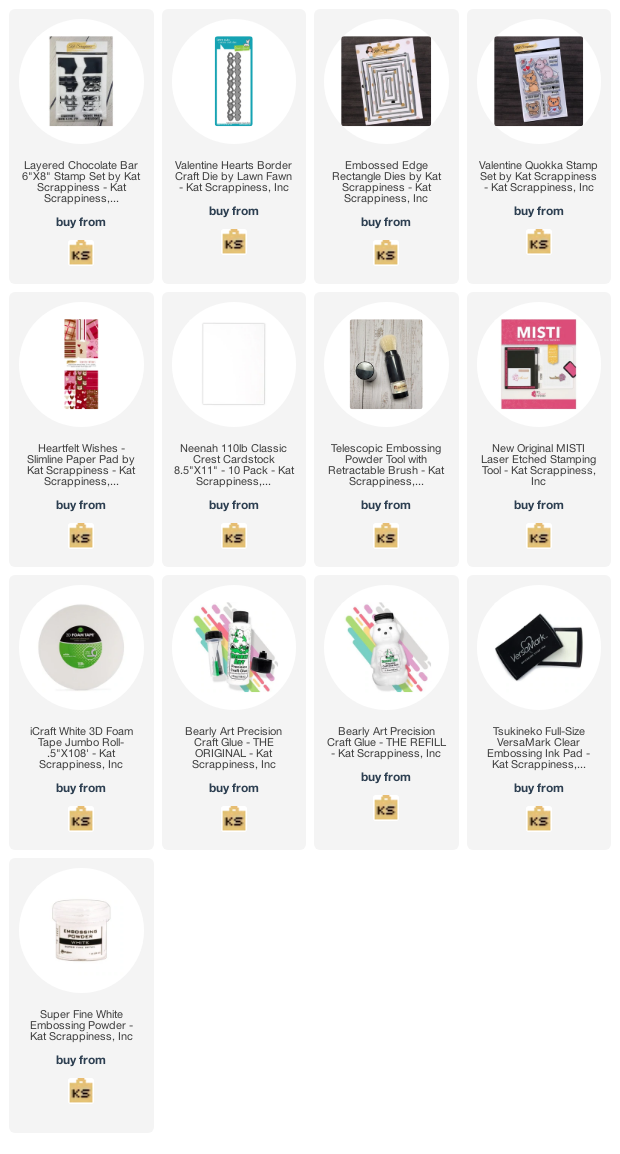
———SUPPLIES———