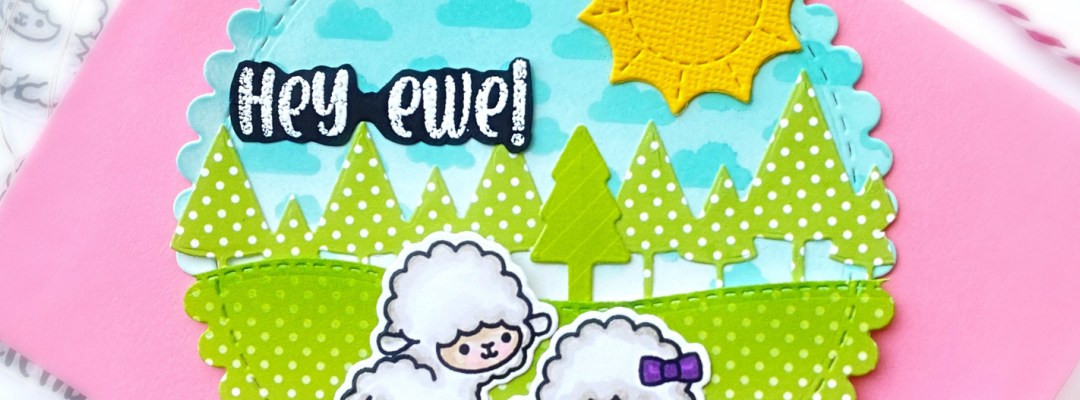
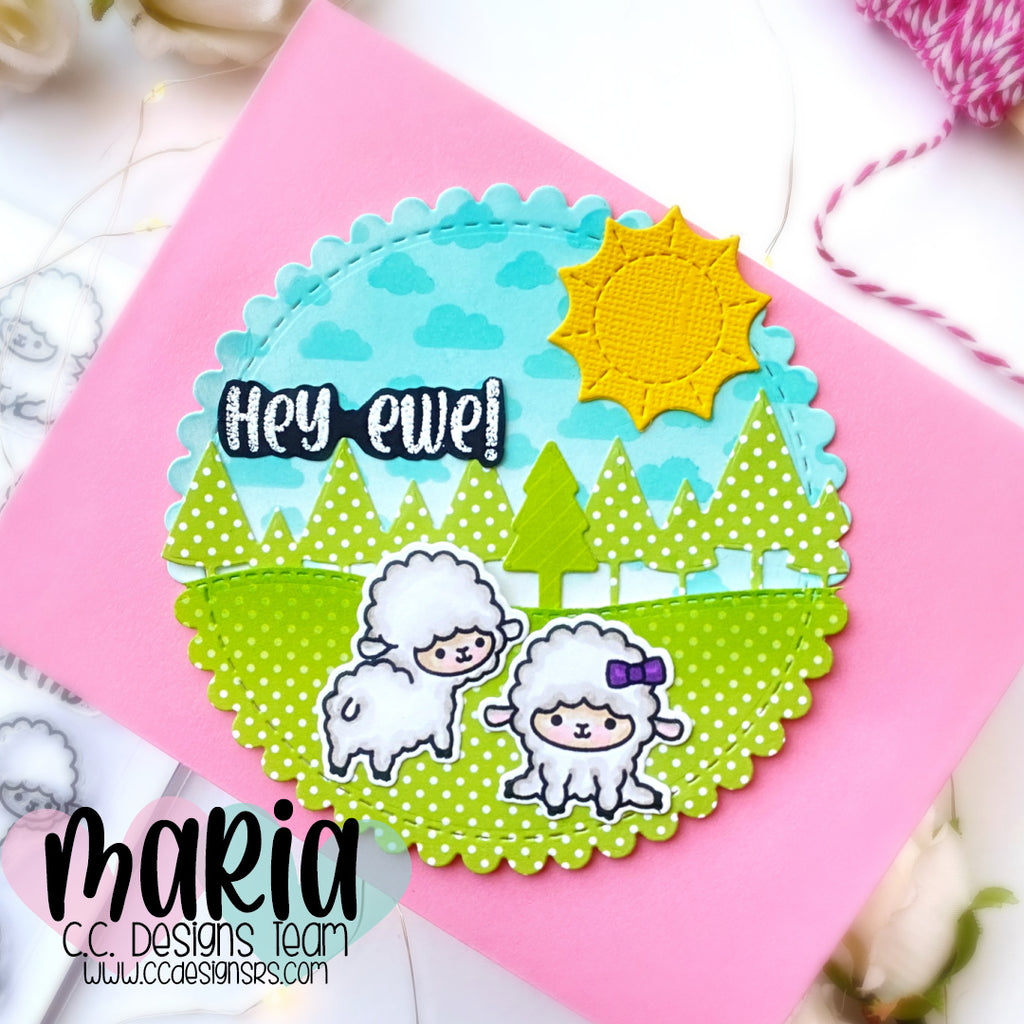
I started by stamping the images on some Neenah solar white card stock and colored the images in with alcohol markers. I used the Sheeps Outline Die to cut them all out.
The background was made by using the scallop die from the Circle Metal Die Set to die-cut some Strathmore Bristol Smooth white card stock that was ink-blended with distress oxide ink and some clouds stencil. I used the same scallop die to die-cut some patterned paper and also used the Winter Border Metal Die Set to die-cut the grass hill and the trees.
Now that I have all of the components for my card, I am ready to assemble the circular card. The background was adhered onto a circular card using tape runner. I foam-mounted the grassy hill for added dimension and adhered the trees with liquid glue. I also adhered the colored images and the sun to finish my scene.
To finish the card design, I stamped the sentiment on some black card stock with Versamark ink. I sprinkled some white embossing powder and heat-set with my heating tool. I fussy-cut the sentiment and adhered it onto the card panel with liquid glue. Here’s another look at the card:
I hope you like this card today. The supplies I used are listed and linked below. Thanks for stopping by!
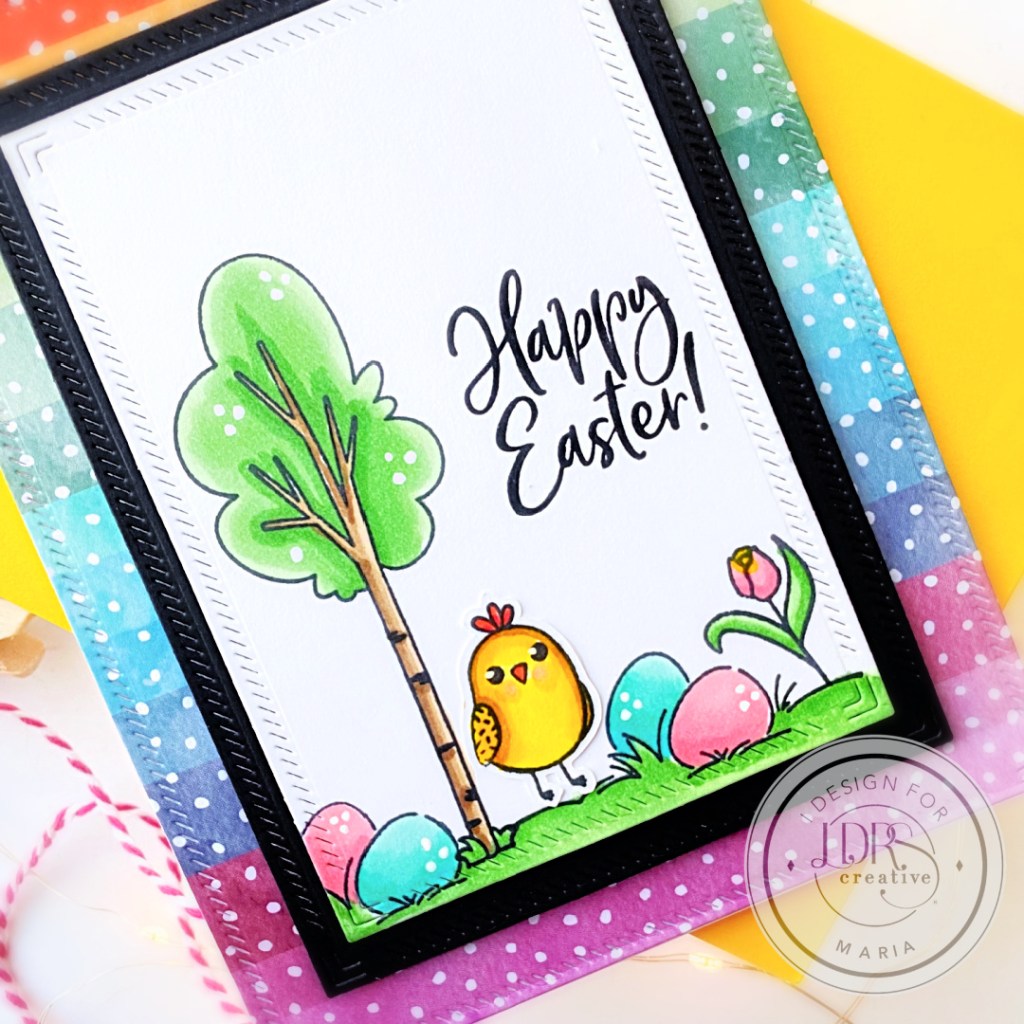
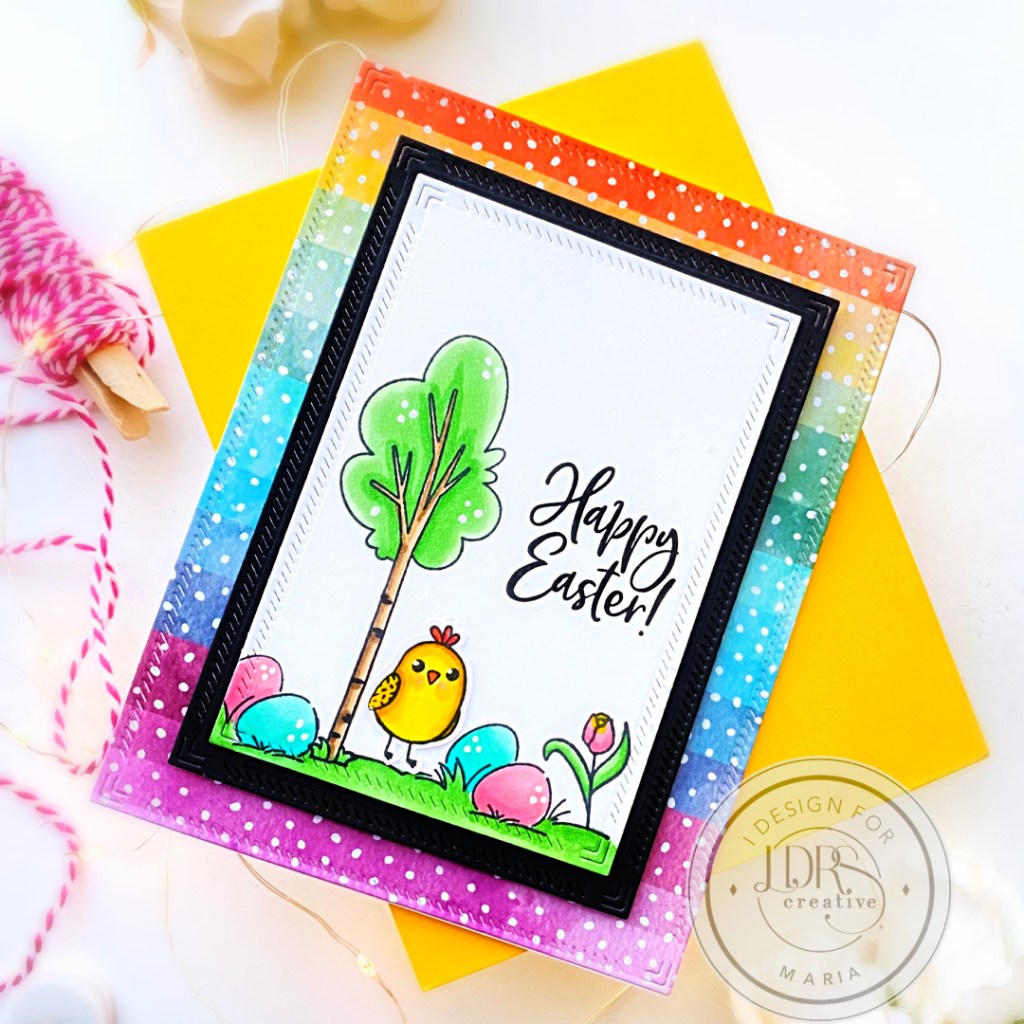
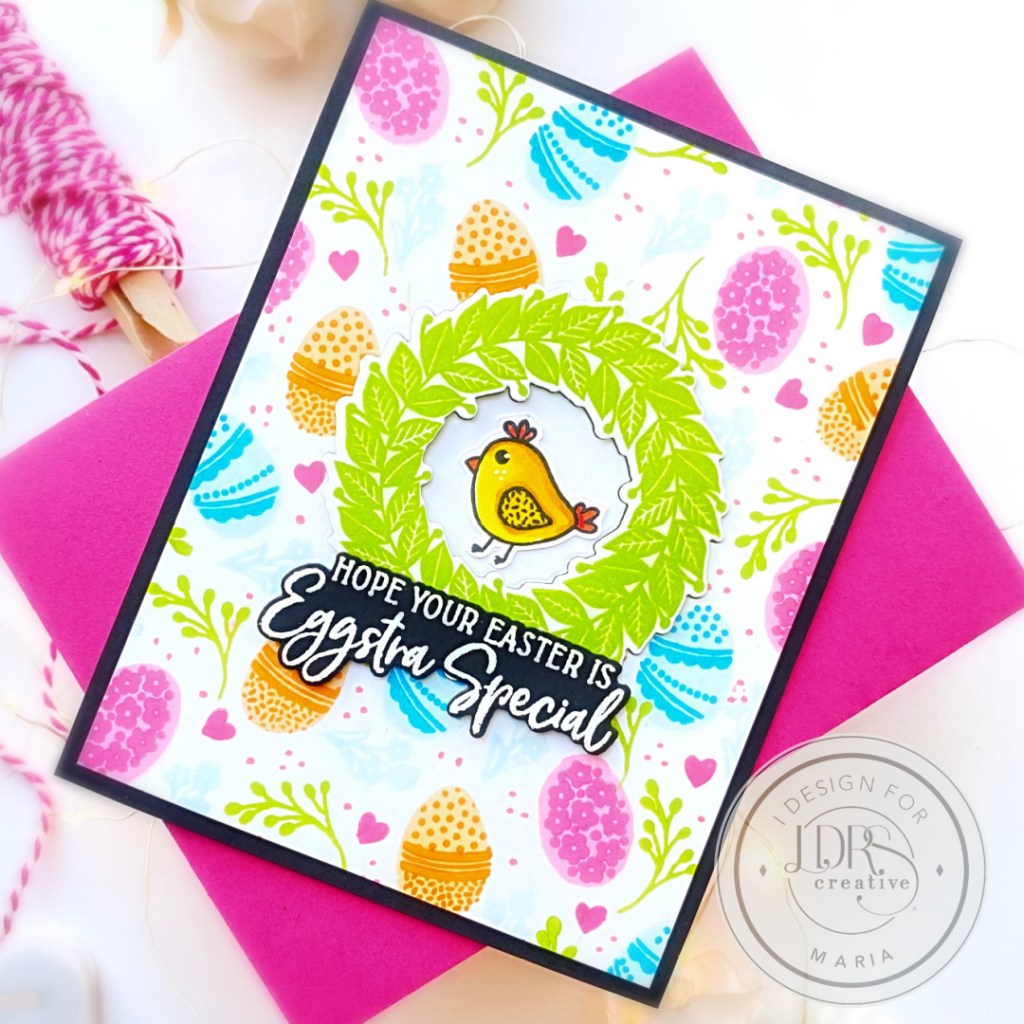
The new LDRS release is to die for! I honestly didn’t know which stamp set to feature for my cards today since they are all AMAZING, but since Easter is coming soon, I figured I’d share some Easter-themed cards!
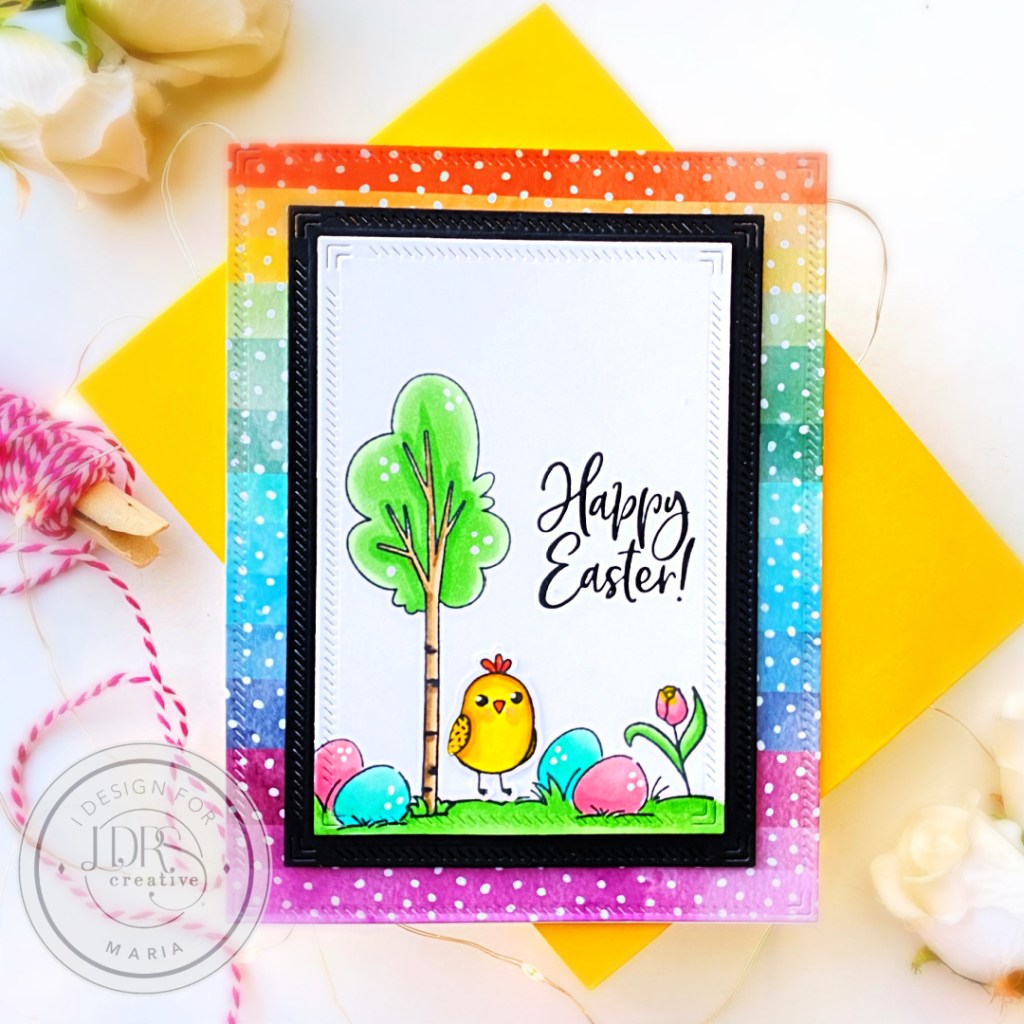
I started by stamping the images on some Neenah Solar White card stock with Raven Hybrid Ink. I colored the images in with alcohol markers and used the coordinating dies to cut them out. I also die-cut another panel of Neenah solar white using the smallest die from the Diagonal Stitched Layered Frames and stamped the images from the Hoppy Egg Hunt (eggs) and A Day in the Park (tree) using Raven Hybrid Ink. I colored them using alcohol markers and adhered the cute little chick to finish the scene. I matted this panel with some black card stock that I die-cut using the Diagonal Stitched Layered Frames.
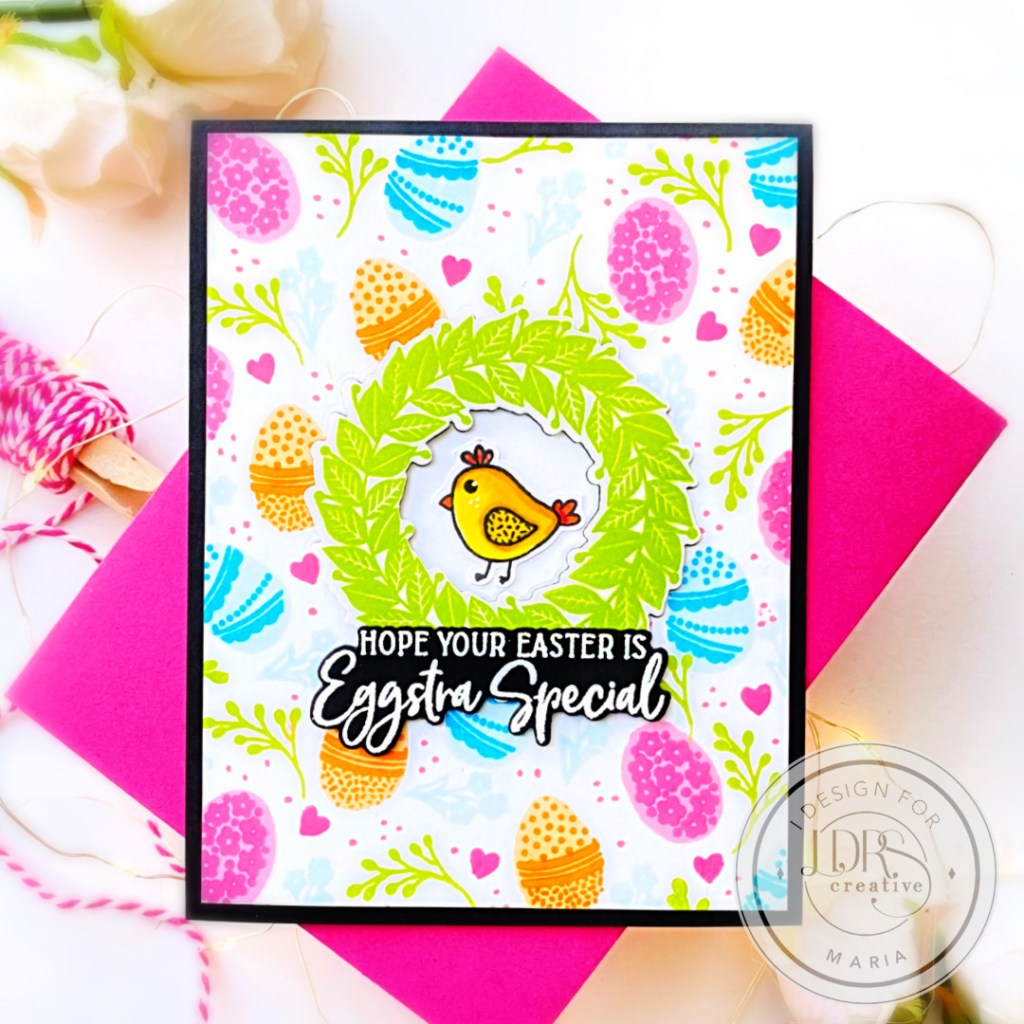
First, I prepared the background that I matted with some black card stock. I stamped the images randomly from the Finest Blooms Pirouette stamp set using the hybrid inks I mentioned above. I had so much fun mixing and matching the beautiful colors!
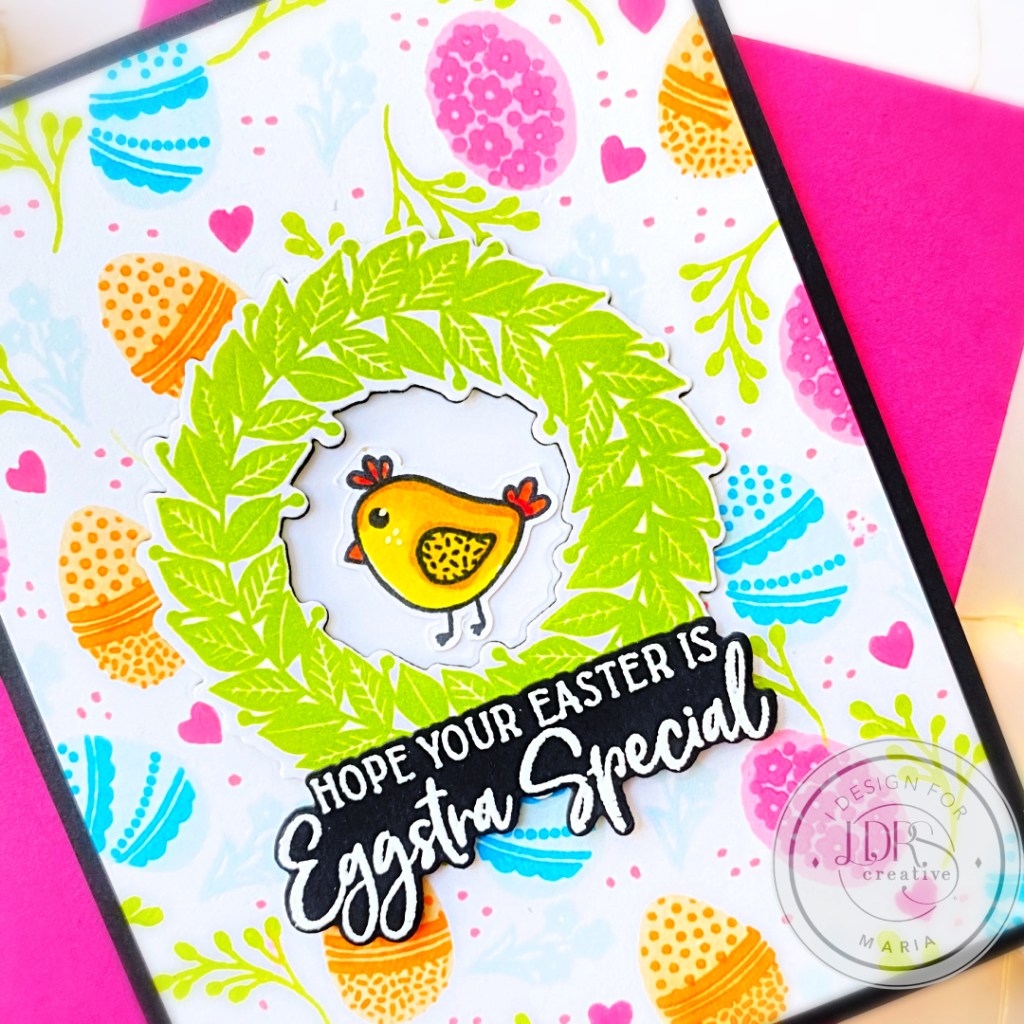
I in-laid the wreath with foam-adhesive for added dimension and adhered the center die-cut with liquid glue. I also adhered the cute little chick in the middle from the Easter Pirouette stamp set. I adhered the card front on some A2-size notecard.
To finish my design, I stamped the sentiment from the Easter Pirouette Stamp Set using Watermark Ink on some black card stock. I sprinkled some White Embossing Powder and used my heating tool to heat-set the sentiment. I love that the sentiment also has a coordinating die to cut it out perfectly! It really is worth the investment! I added some foam adhesive and liquid glue on the sentiment and adhered on the card panel. Here’s another look:
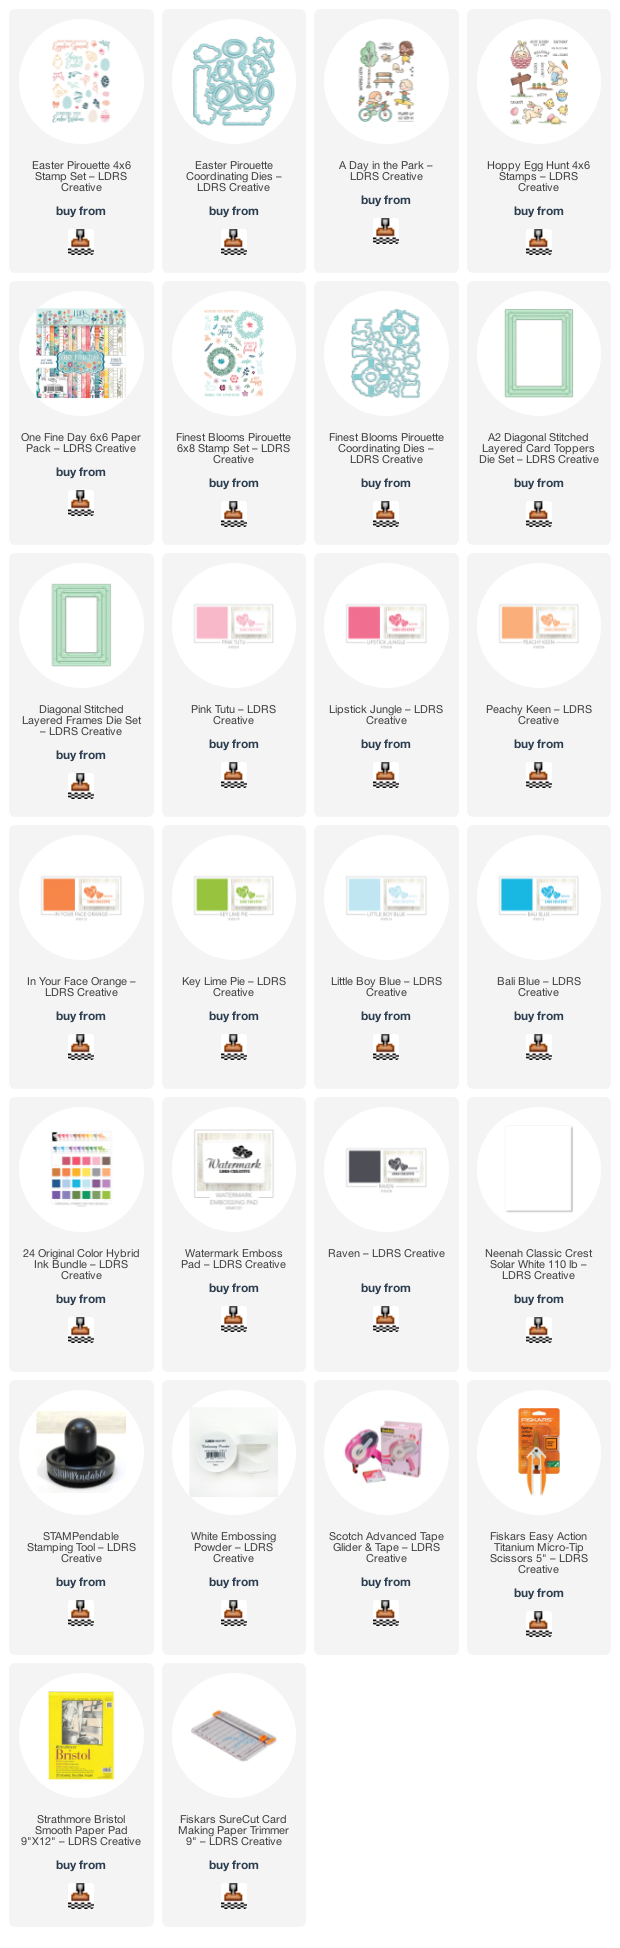
I hope you like my cards today and got inspired to shop the new LDRS Spring Release! The supplies I used are listed and linked below for your convenience. Thanks for stopping by today, and happy stamping!
It’s finally here –> the Reverse Confetti’s March Release Blog Hop and the whole gang is here to show you all the amazing projects we’ve put together to encourage you to shop! Remember, all of the products are available today! Don’t forget to leave a comment on the Blog and the Facebook Group before noon today to participate in the giveaway.
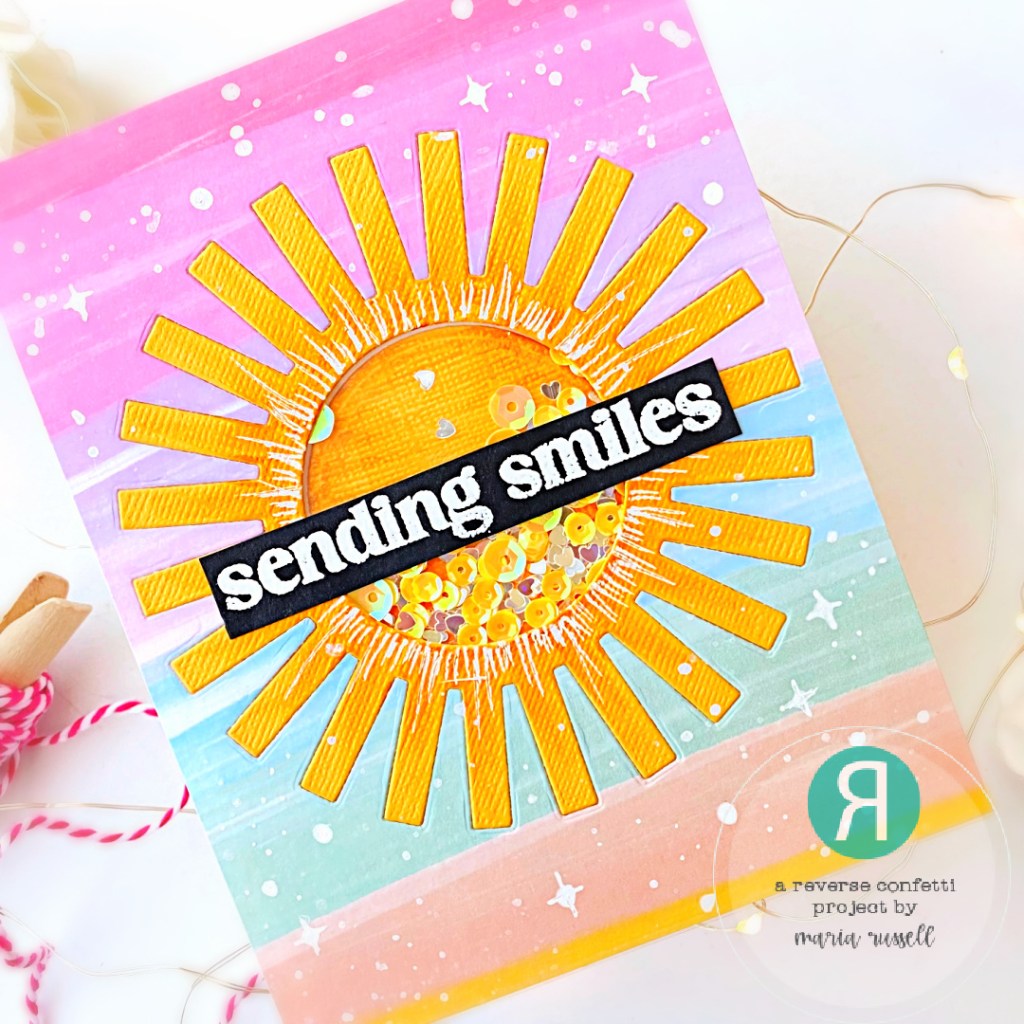
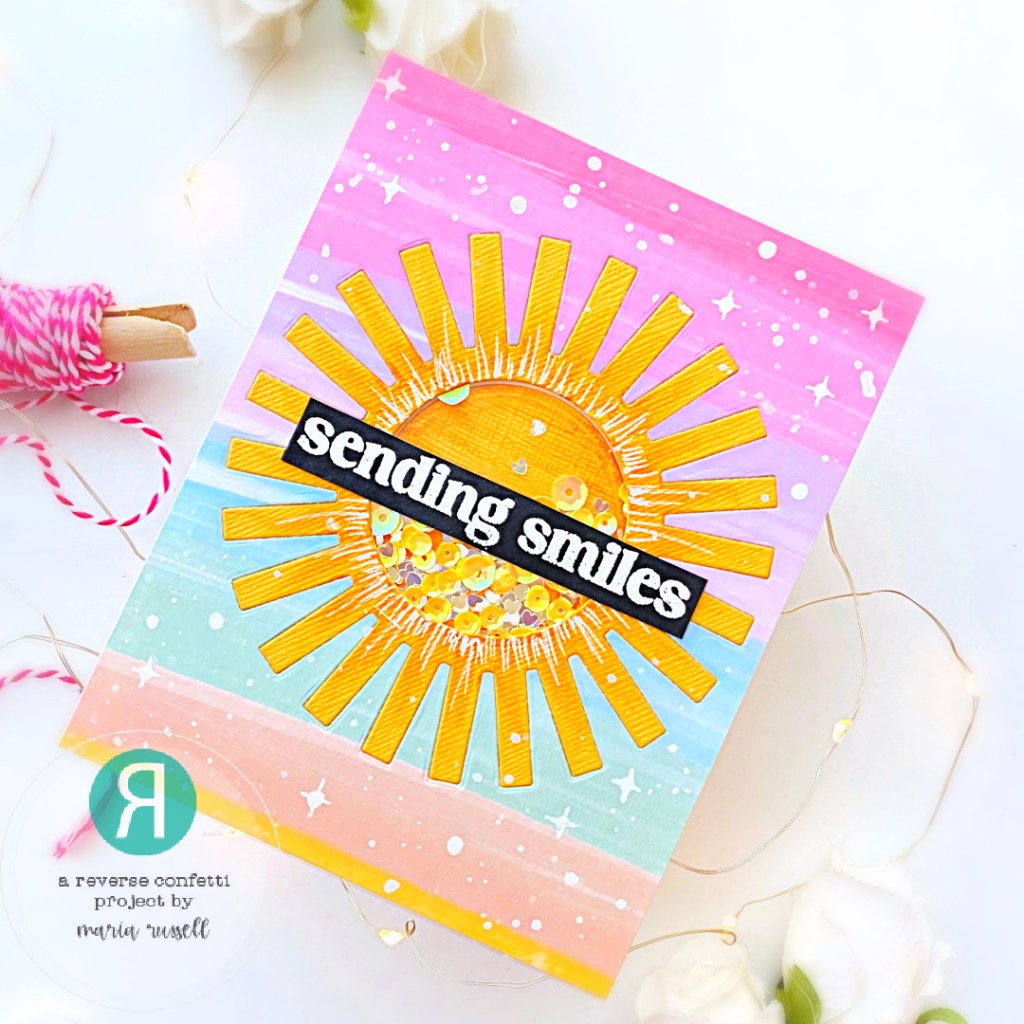
When I saw this Big Sun Confetti Cuts, I immediately thought about this card design below. I knew I wanted to create a card that is cheerful and this truly makes me smile!
Here’s how I made this card:
Prepare the background panel with the rainbow pattern paper and die-cut the middle using the Big Sun Confetti Cuts. Adhere some acetate sheet to create the shaker well.
Use the Big Sun Confetti Cuts again to die-cut some yellow card stock and in-lay the sun on the background panel. Adhere some foam adhesive and add some sequins as the shaker element to close the shaker well.
Use some white gel pen to add some dots and starbursts to the card front for added texture.
Finish the card design by adding the sentiment that was heat-embossed using the Sending Smiles stamp set.
Use the Egg Carton Confetti Cuts and die-cut the egg carton on some white card stock, and the eggs with some pastel-color card stock. I wanted to add texture to the eggs so I used my watercolor brush and some Pumice Distress Oxide ink to add splatters on the eggs. Adhere the eggs with liquid glue and foam-mount the Egg Carton Confetti Cuts on the card front for added dimension. I finished the card design by adding the sentiment that was heat-embossed with my heating tool. Here’s another look:
I hope you got inspired and like my projects this week! Hop along with us and see all the amazing projects prepared by the entire team with our special guest designers! Don’t forget to leave a comment before noon today for a chance to win!
It’s Countdown to Confetti Day 3 and I am super excited to share with you my projects today! Don’t forget that there’s a giveaway so read through the end of this post to find out how you can WIN.
Assemble the card by adhering the images with liquid and foam adhesive for added dimension.
Finish the card design by adding the sentiment that was stamped on black card stock and heat-set with heating tool.
I can’t wait to hop around and see all the wonderful projects prepared by the entire team! Leave a comment by noon central on March 7th for a chance to win. There will be a $15 Gift Certificate for one blog commenter and also one FaceBook commenter. Make sure you pop over to the Reverse Confetti Blog for all the details!
Thank you for stopping by today and joining me for the Countdown to Confetti Day 2 by Reverse Confetti. We have lots to show you and there is also a giveaway so please read through the end of this post to find out how you can WIN!
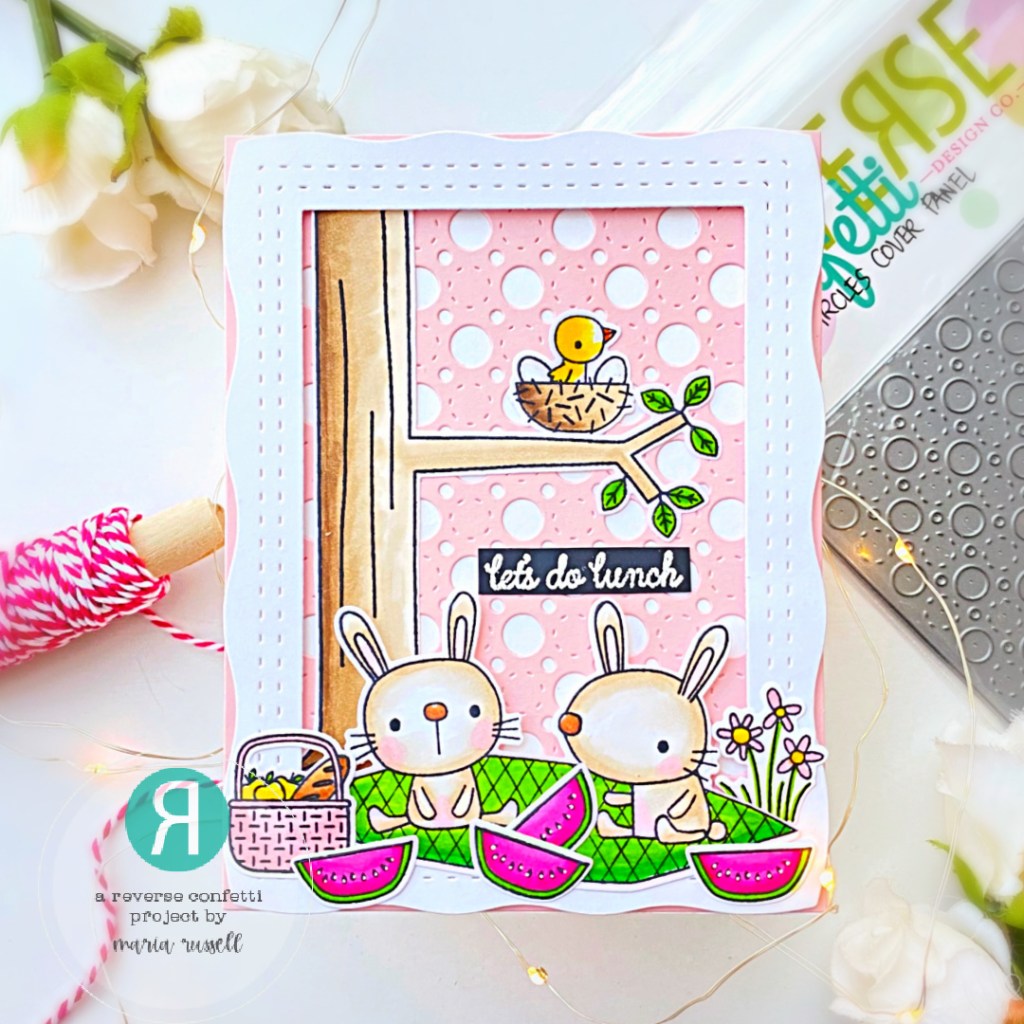
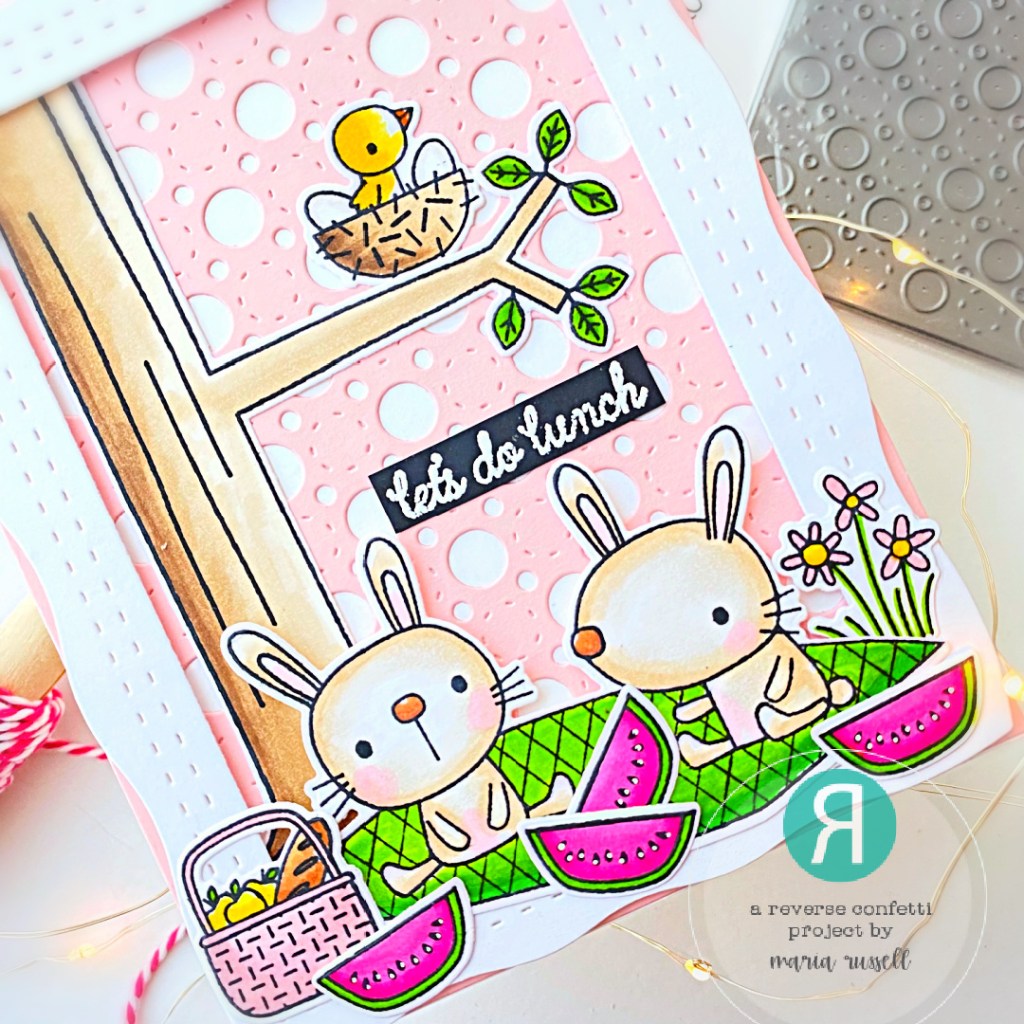
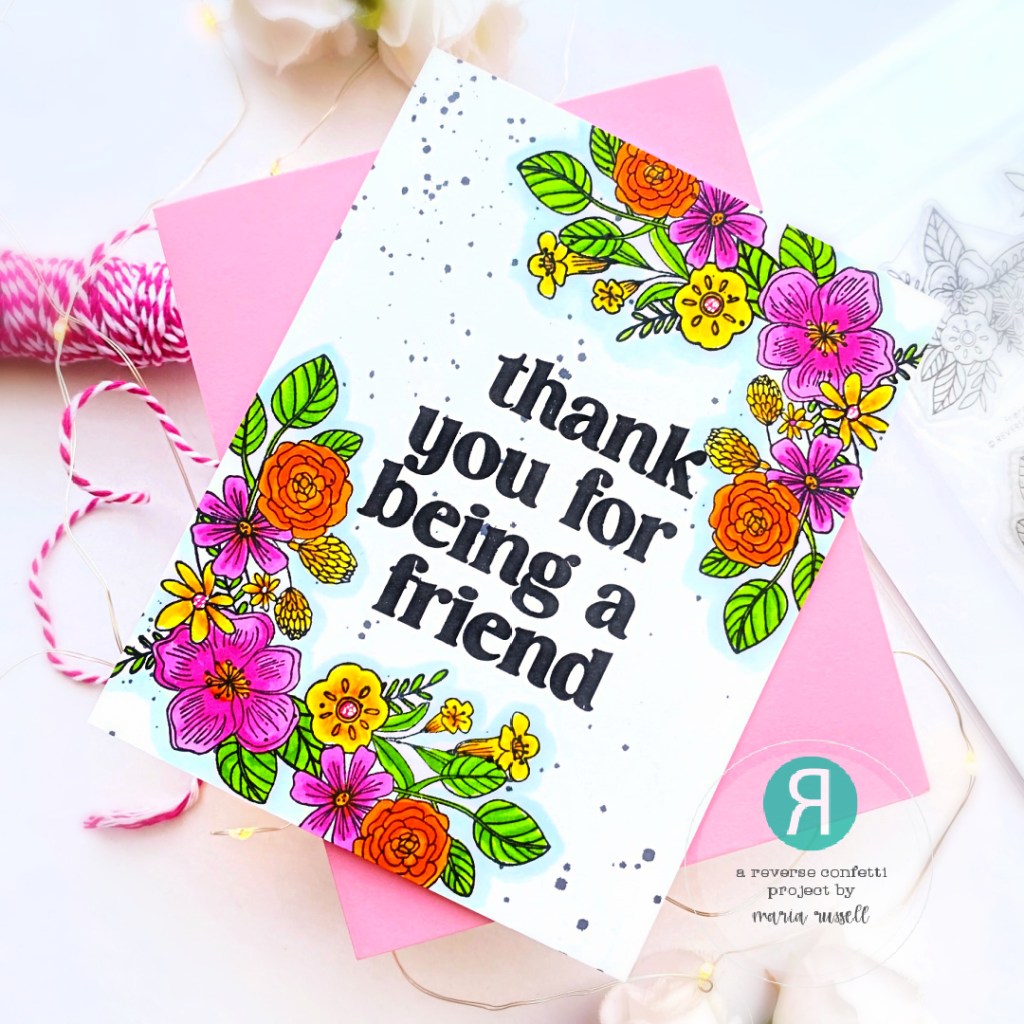
I wanted to showcase the stamp set so beautifully so I decided to create a simple card.
I stamped the images on some A2-size Neenah solar white panel with Memento Tuxedo Black Ink and colored the images in with alcohol markers. I adhered the panel on an A2-size Notecard.
I masked off the images and used my watercolor brush and splattered some black watercolor to the panel for added texture. I finished the card design by stamping the sentiment a few times to get a good impression. Here’s another look:
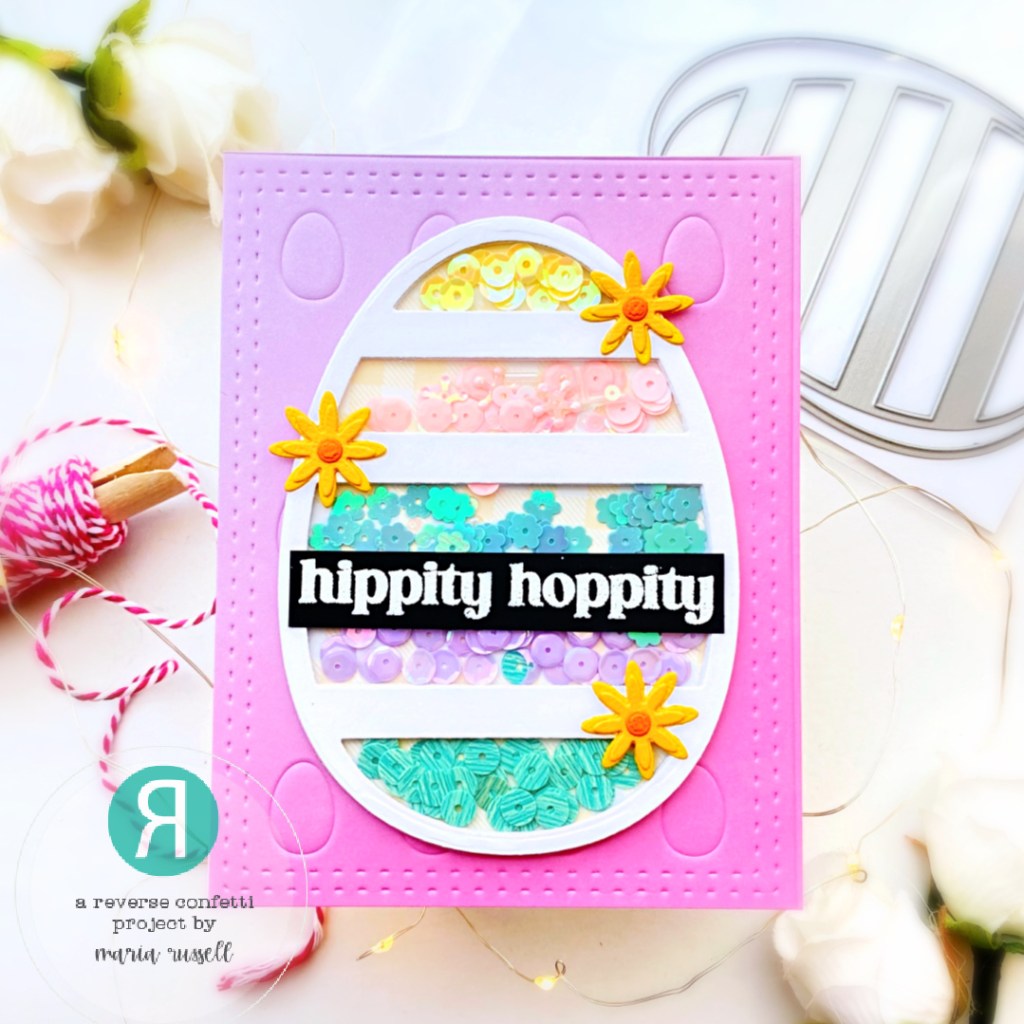
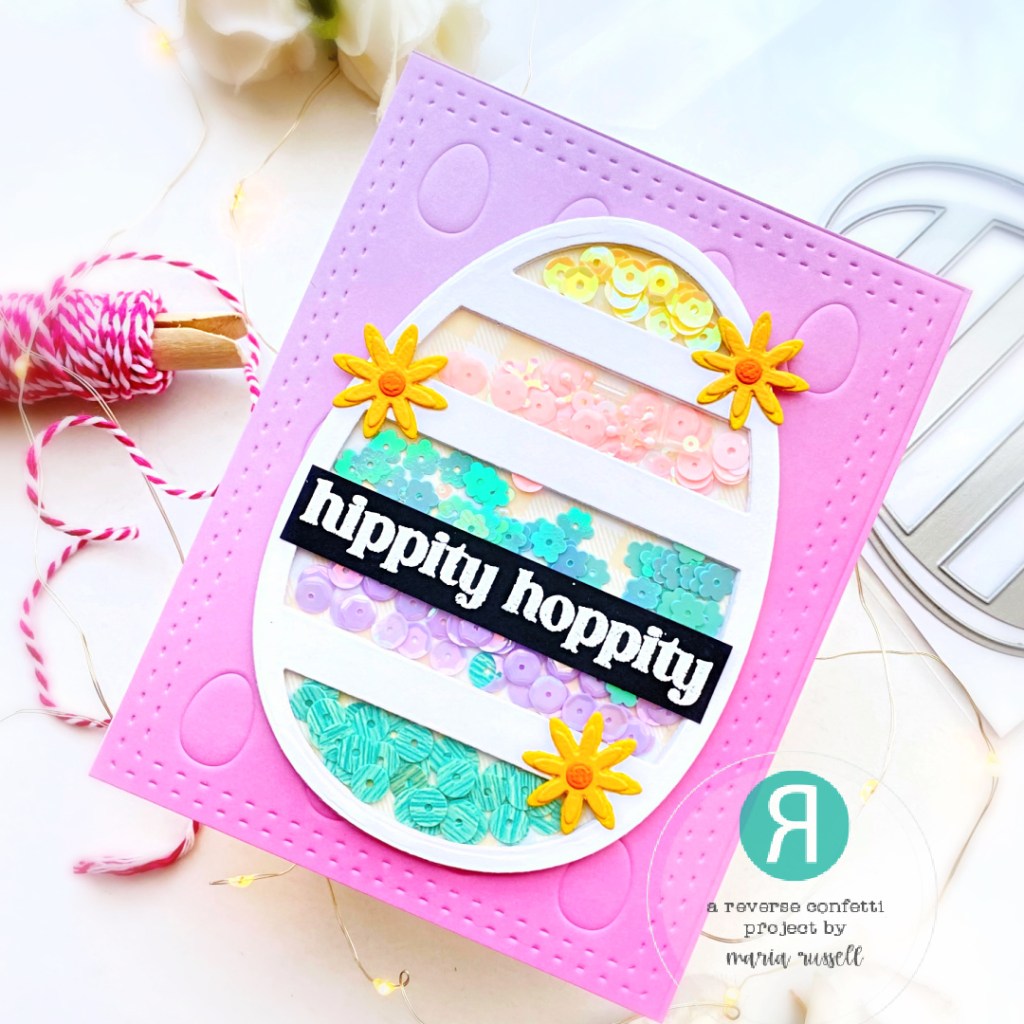
I started by die-cutting the background using the Eggstra Cover Panel on some patterned paper and adhered this background on an A2-size notecard.
Next, I created a fun shaker element by die-cutting the big egg using theBig Egg Cover Panel 7 times. I adhered them all together with liquid glue and added different colors of sequins as my shaker element. I closed the shaker by adhering some patterned paper.
I can’t wait to hop around and see what the other team members designed! Leave a comment by noon central on March 7th for a chance to win. There will be a $15 Gift Certificate for one blog commenter and also one FaceBook commenter. Make sure you pop over to the Reverse Confetti Blog for all the details!
I am pleased to join the Countdown to Confetti Day 1 by Reverse Confetti. We have lots to show you and there is also a giveaway so please read through the end of this post to find out how you can WIN!
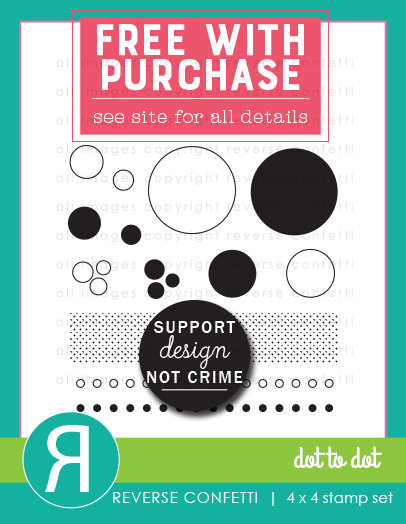
I have also used the Dot to Dot stamp set which is, incidentally, a free with $60 purchase.
I have two projects to show you today and I am so excited to share them with you.
Here’s how I made this project:
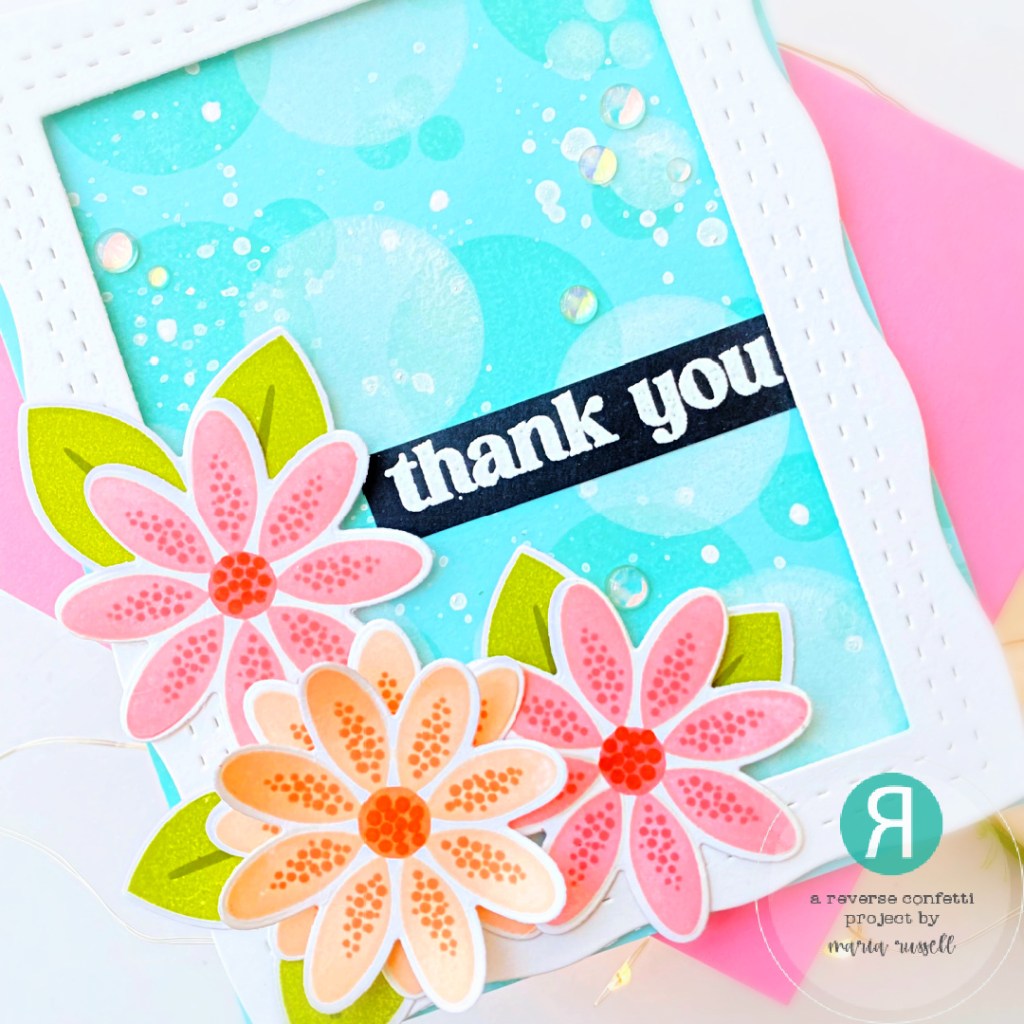
Stamp the images on some Neenah solar white card stock using layering dye inks.
Use the coordinating dies to cut them out. Set this aside for now and prepare the background panel.
Cut some A2-size panel of some blue card stock and use the Dot-to-Dot stamp set to start randomly stamping the images on the panel with blue and white pigment inks. Let this panel dry and adhere on some A2-size note card.
Adhere the focal images using liquid glue. Add some foam adhesive to layer the flower.
Stamp the sentiment from the Sending Smiles stamp set on some black card stock with VersaMark ink and heat-set with the heating tool. Adhere the sentiment on the card and finish the design by adding some enamel dots.
I really LOVE the simplicity of the Sending Smiles stamp set. It’s so easy to stamp and layer! This stamp set is a must-have for sure!
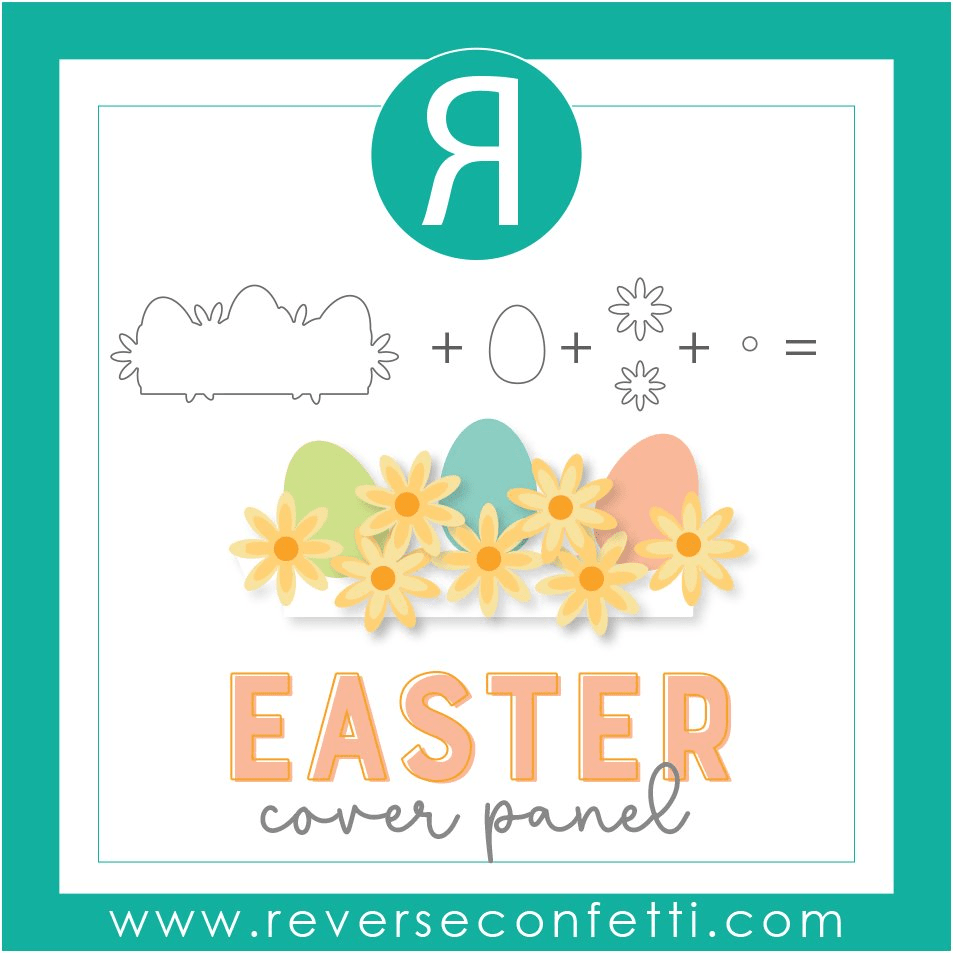
Die-cut the Easter Cover Panel with some pastel-color card stock and put it together by following the photo instruction below:
Adhere the egg die-cuts on the foreground with liquid glue and layer the flowers with foam adhesive for added dimension.
Ink-blend a panel of some Bristol smooth white card stock with some distress oxide inks.
Use the Happy Easter Confetti Cuts to die-cut the words and adhere on the card front with liquid glue.
Finish the design by using some white gel pen to add more interest to the words Happy Easter.
I can’t wait to hop around and see what the other team members designed! Leave a comment by noon central on March 7th for a chance to win. There will be a $15 Gift Certificate for one blog commenter and also one FaceBook commenter. Winners will be announced on the Reverse Confetti Blog and FB Group on March 7th at 5 PM CST. Make sure you pop over to the Reverse Confetti Blog for all the details!
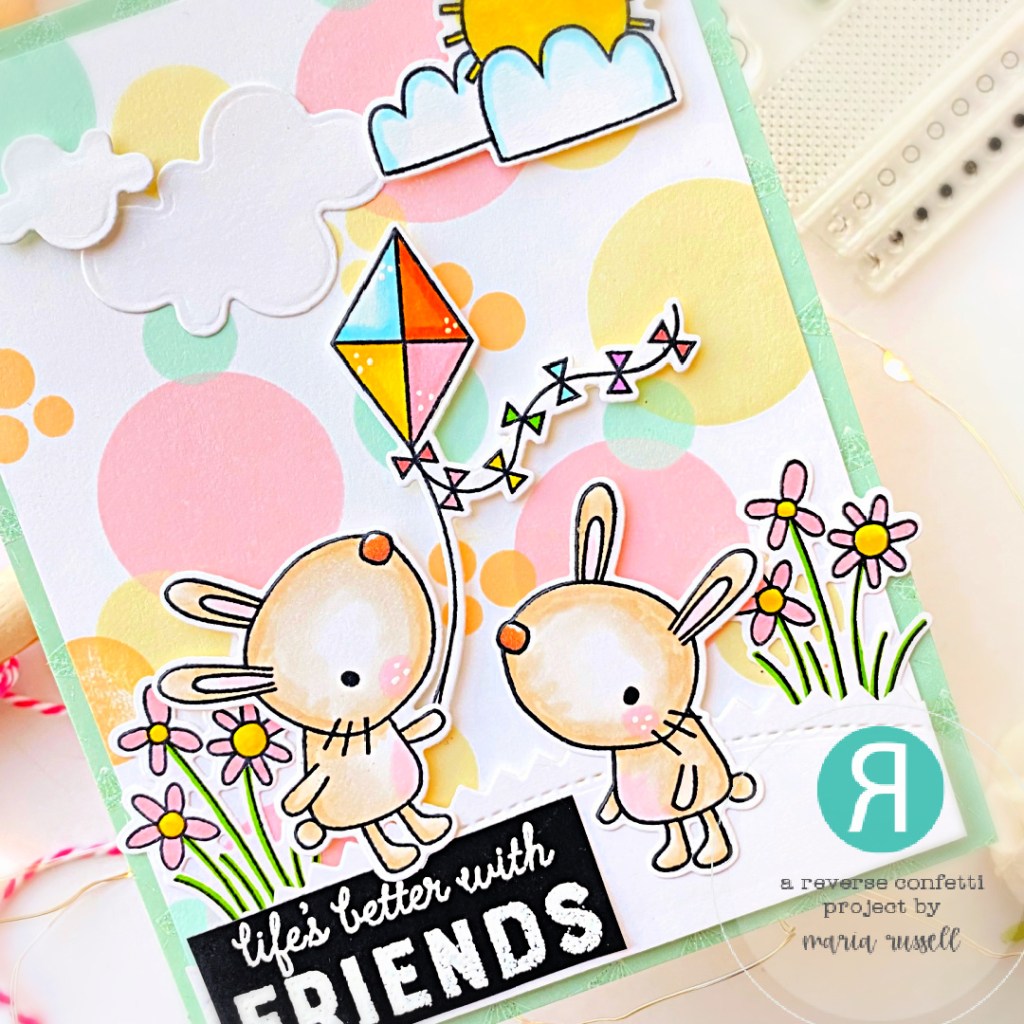
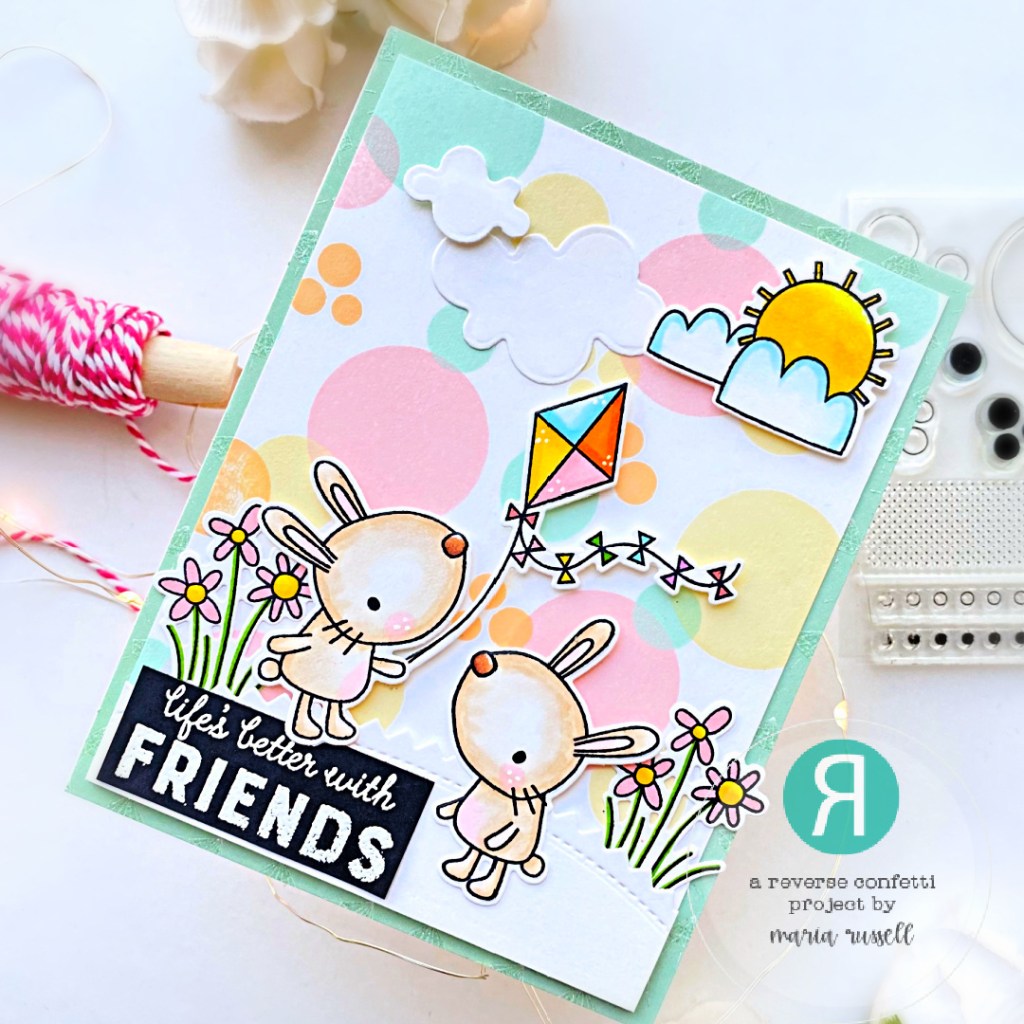
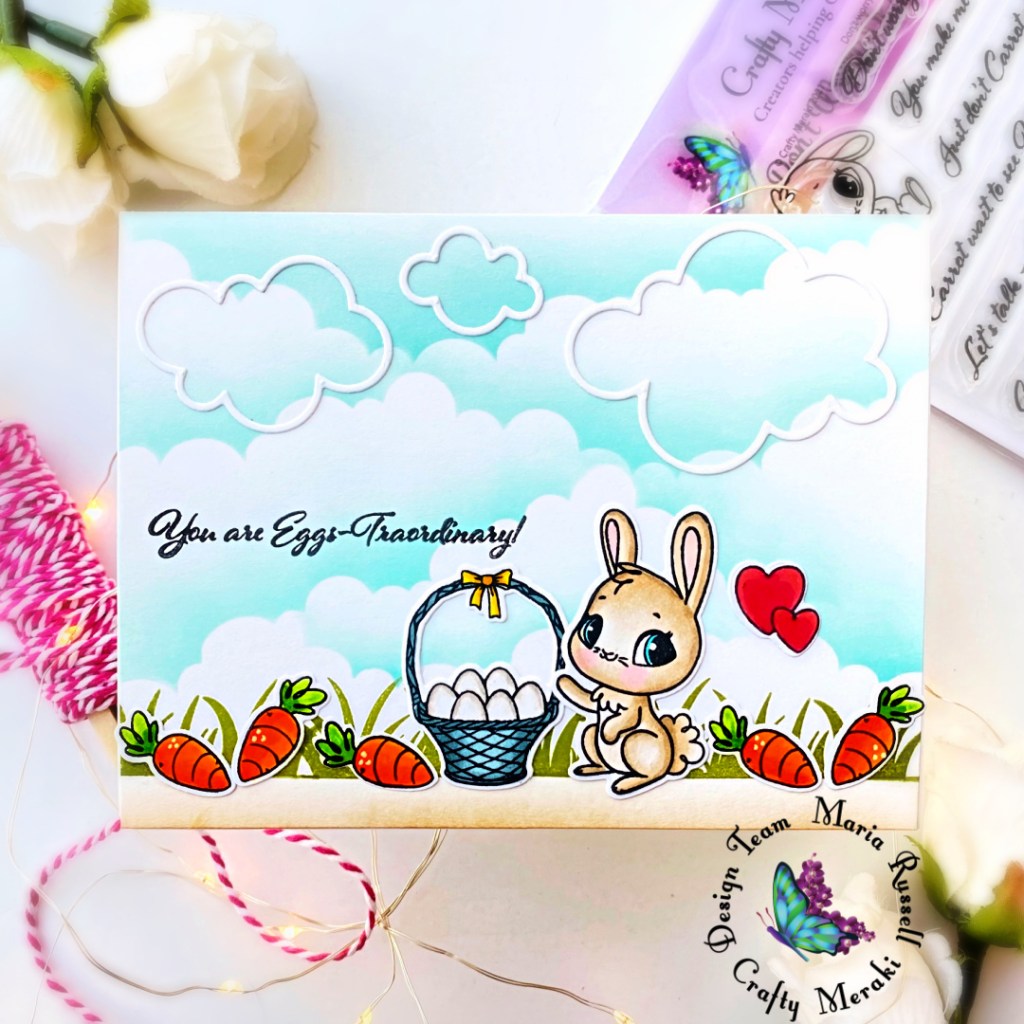
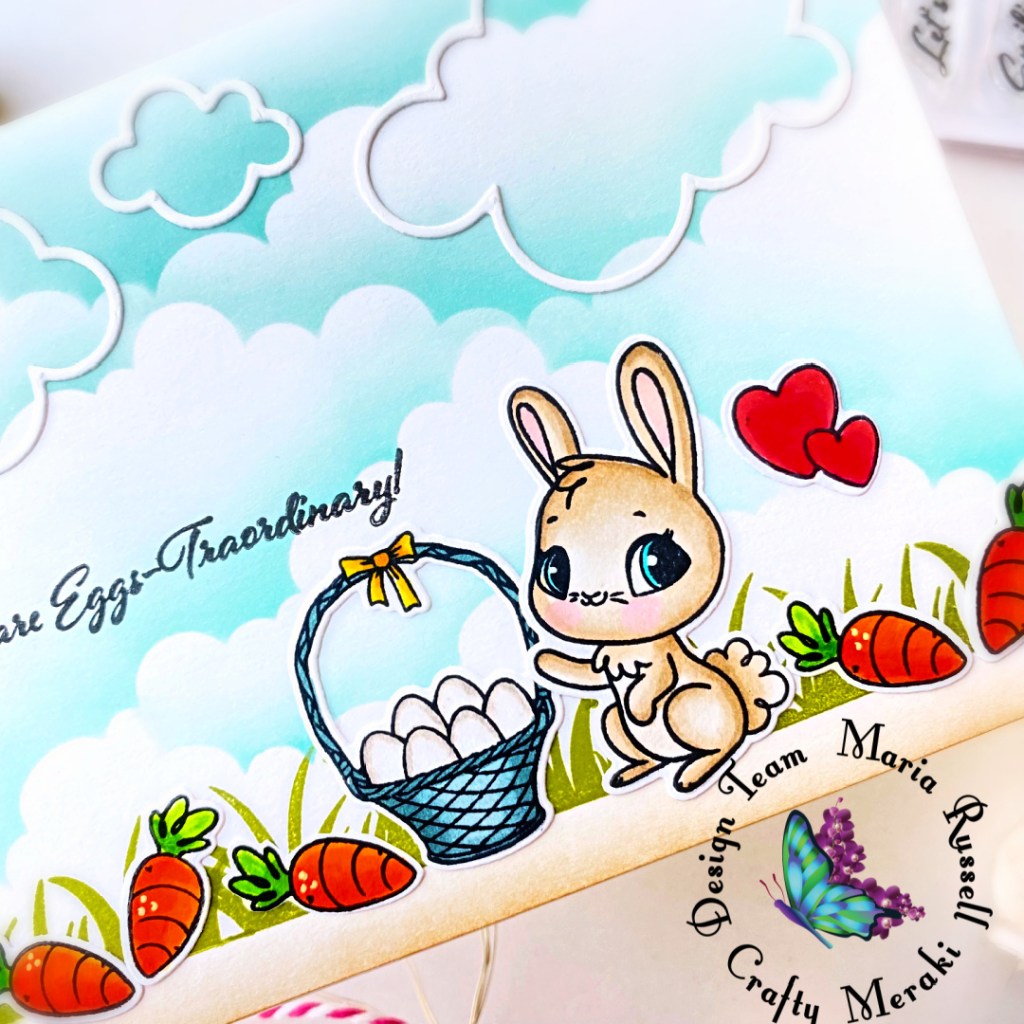
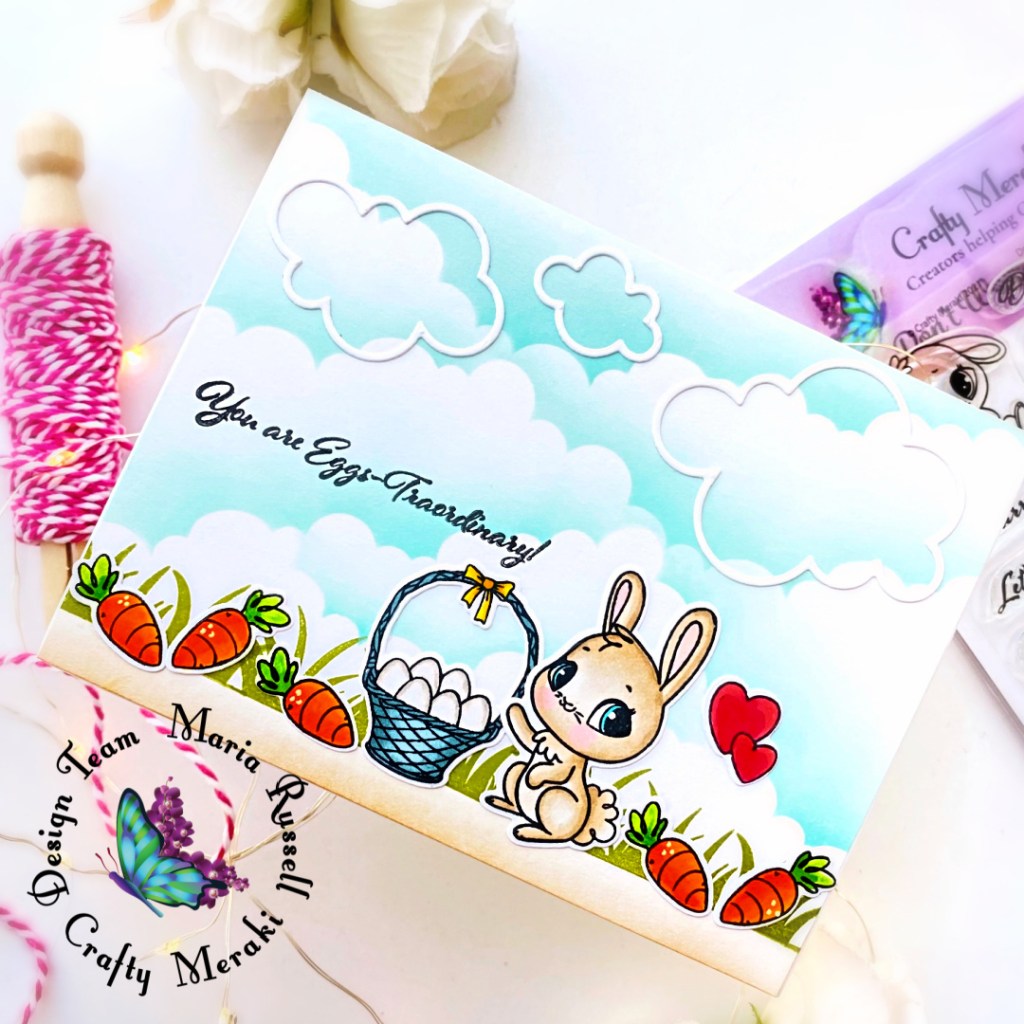
I started by stamping the images on some X-Press It Blending Card Stock and colored the images in with alcohol markers. I die-cut the images using the Don’t Worry Be Hoppy Para-dies.
The background was ink-blended using a clouds stencil with Salvaged Patina and Vintage Photo Distress Oxide inks. I stamped the grass images a few times on the background with some green dye ink and adhered this panel on some A2-size notecard.
Next, I die-cut the clouds using a die from my collection and adhered those and the rest of the images on the focal panel. I finished the design by using some white gel pen to add texture and interest to the images. Here’s another look:
I hope you like my simple card today. The supplies I used are listed and linked below. Thanks for stopping by and have a great weekend!
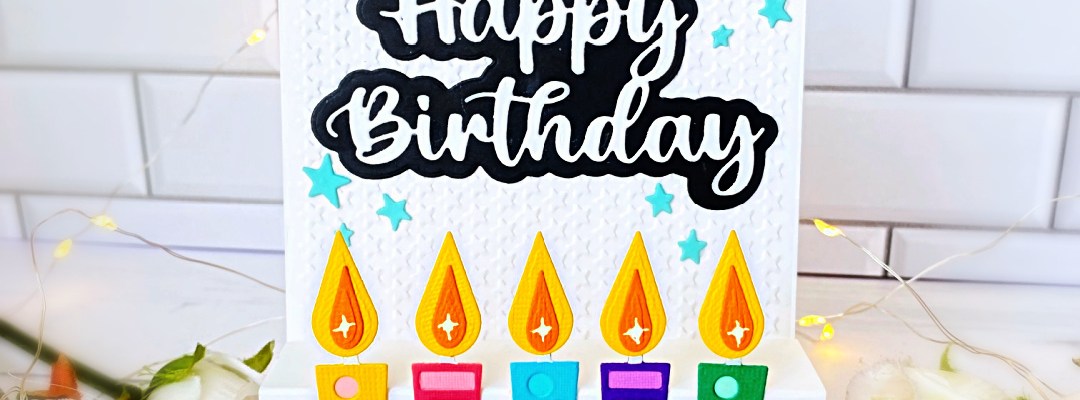
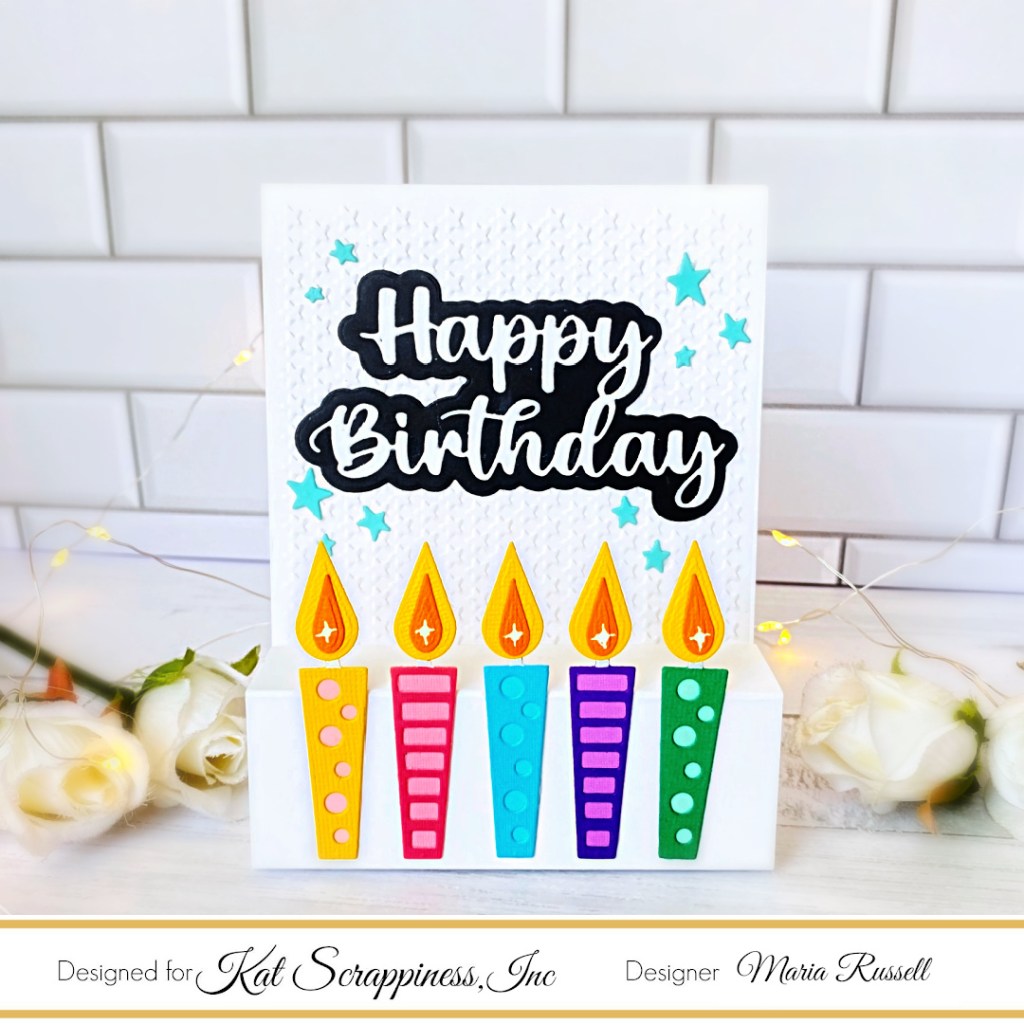
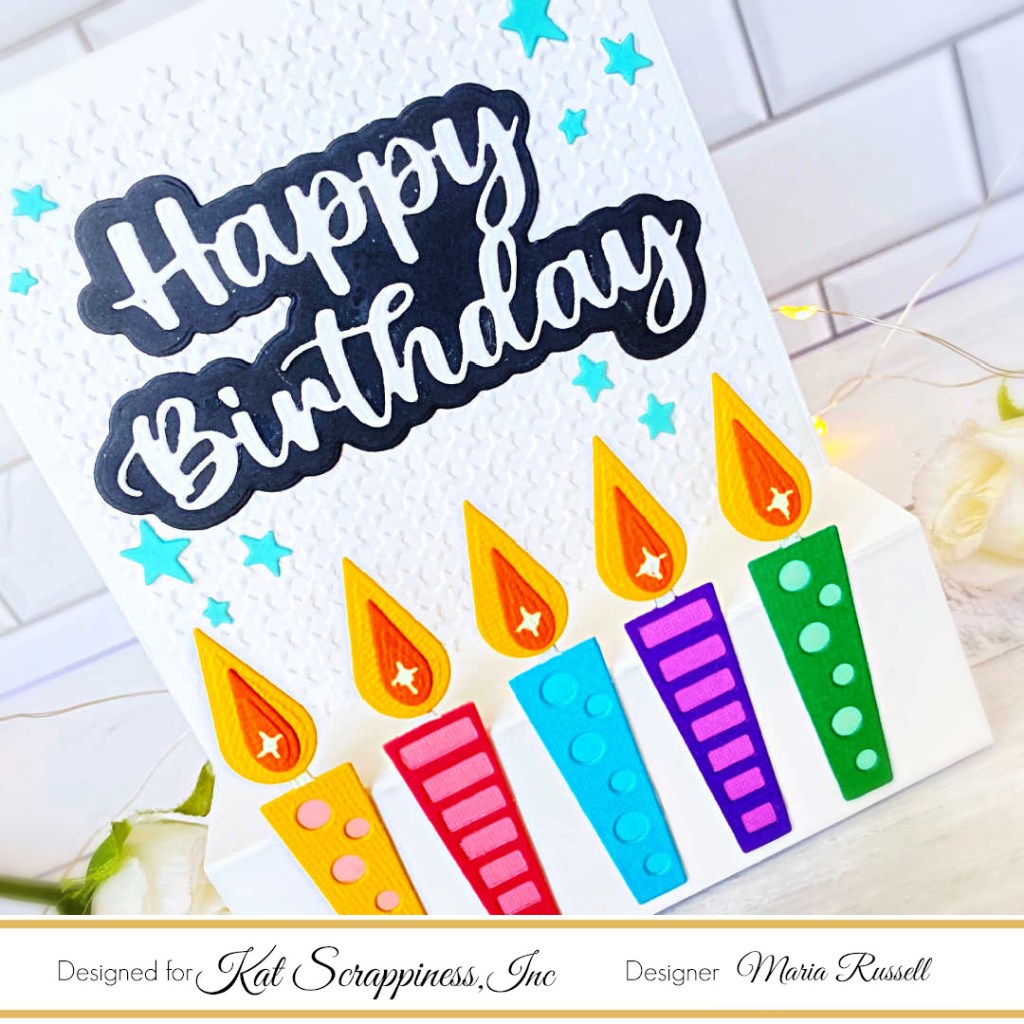
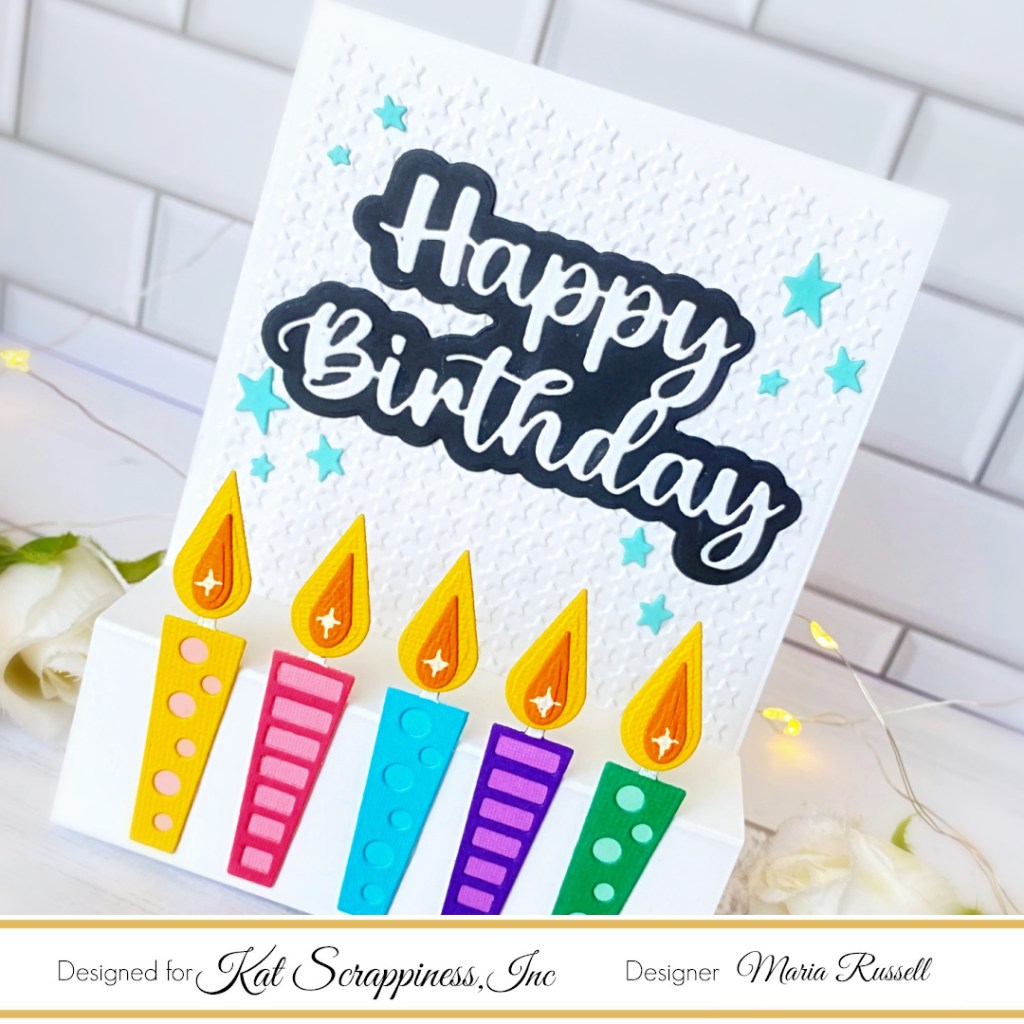
Dry-emboss an A2-size panel using an embossing folder from your stash. Adhere this panel on an A2-size notecard.
Prepare the pop-up feature by following Jennifer McGuire’s tutorial, cutting some white card stock measuring 4 1/4 x 5. Score the card stock at 3/4, 1 3/4. 3 1/4 and 4 1/4. Adhere this panel on the front of the card.
Adhere the candles on the pop-up panel with liquid glue.
Use white gel pen to draw some starbursts to the candle’s flame for added texture.
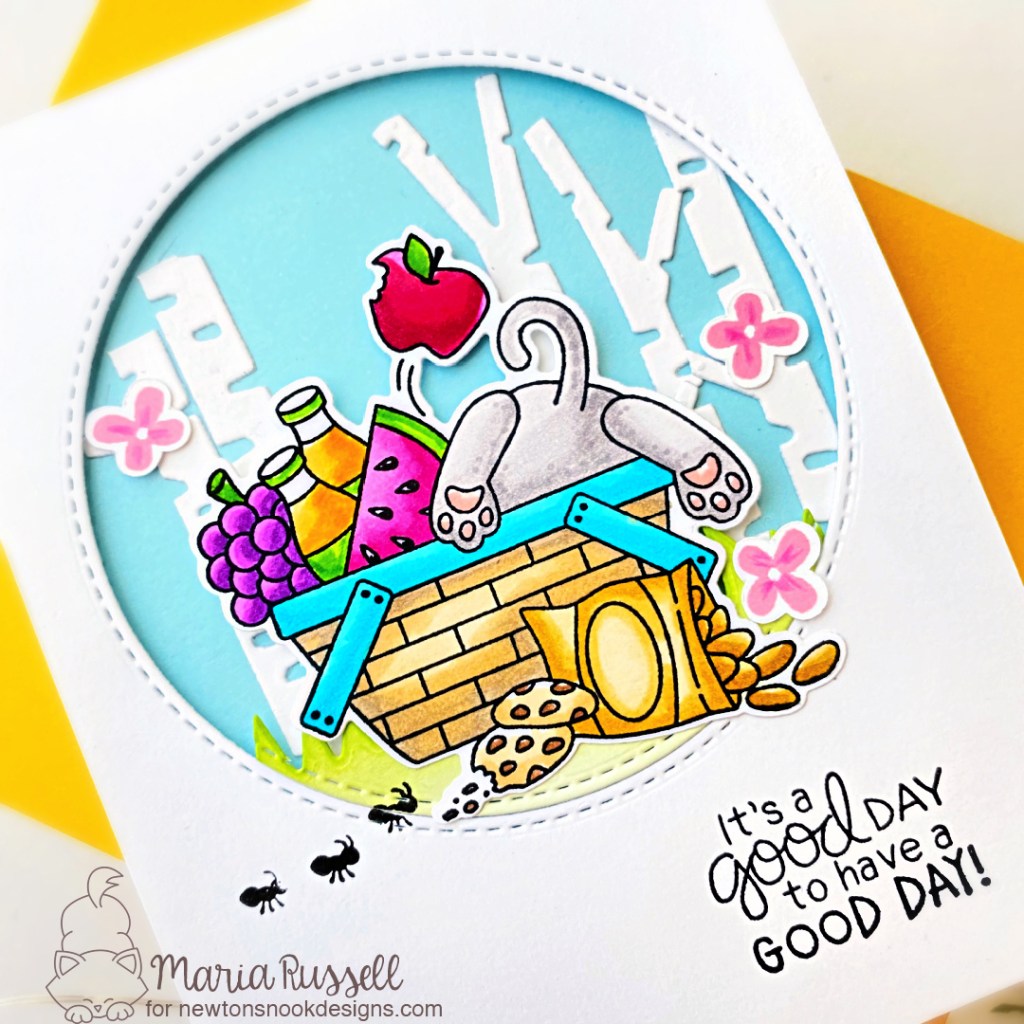
To create the grass, I used the same circle die and the Land Borders Die Set. I ink-blended this panel with some distress ink and foam-mounted to the card.
Adhere the focal image on the card with foam adhesive for dimension.
Stamp the little “ants” with some black ink.
Finish the card design by stamping the sentiment and adding some flowers for more texture and interest.
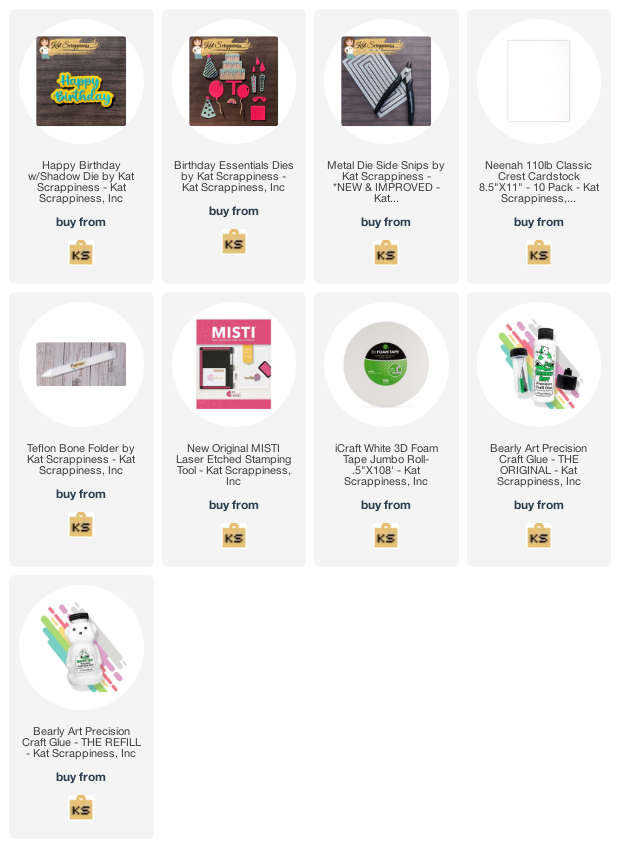
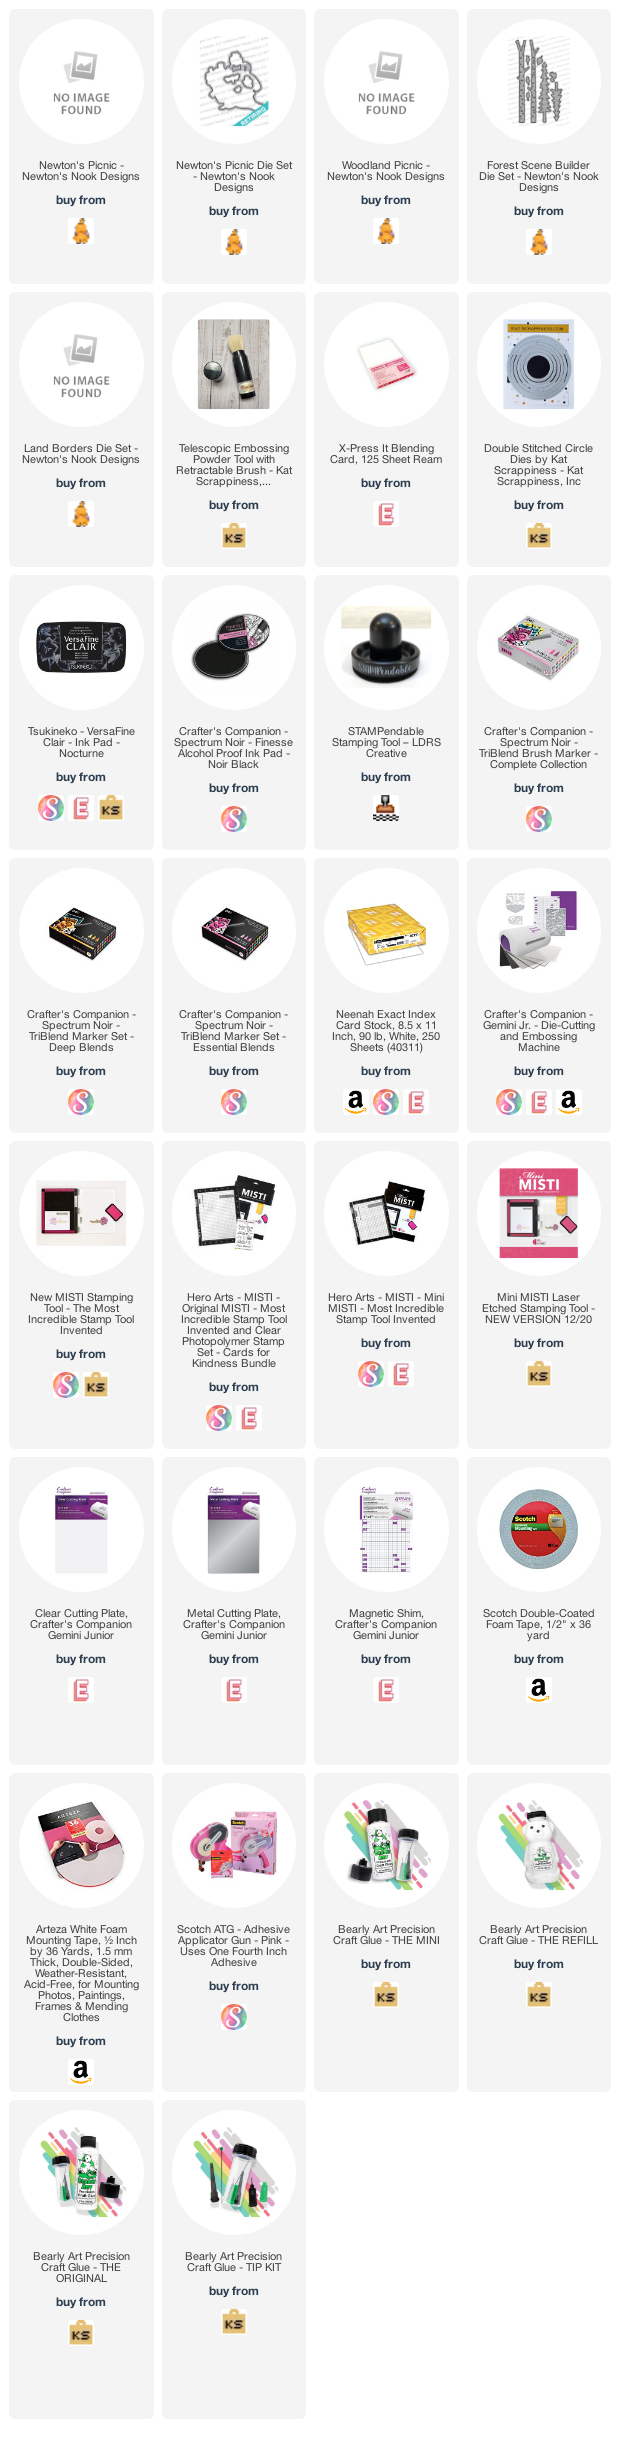
I hope you like my project today. Don’t forget to check out all the retiring products on the Newton’s Nook online store to get your favorites before they are gone for good. The supplies I used are listed and linked below. Thanks so much!























 Maria Russell Designs