
It’s Countdown to Confetti Day 3 and I am super excited to share with you my projects today! Don’t forget that there’s a giveaway so read through the end of this post to find out how you can WIN.
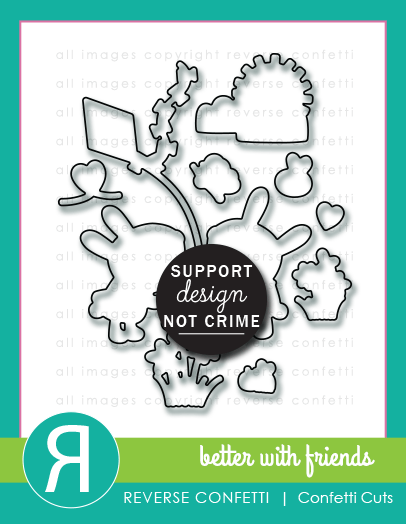
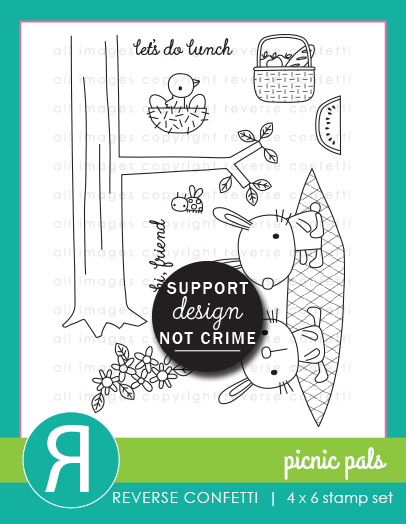
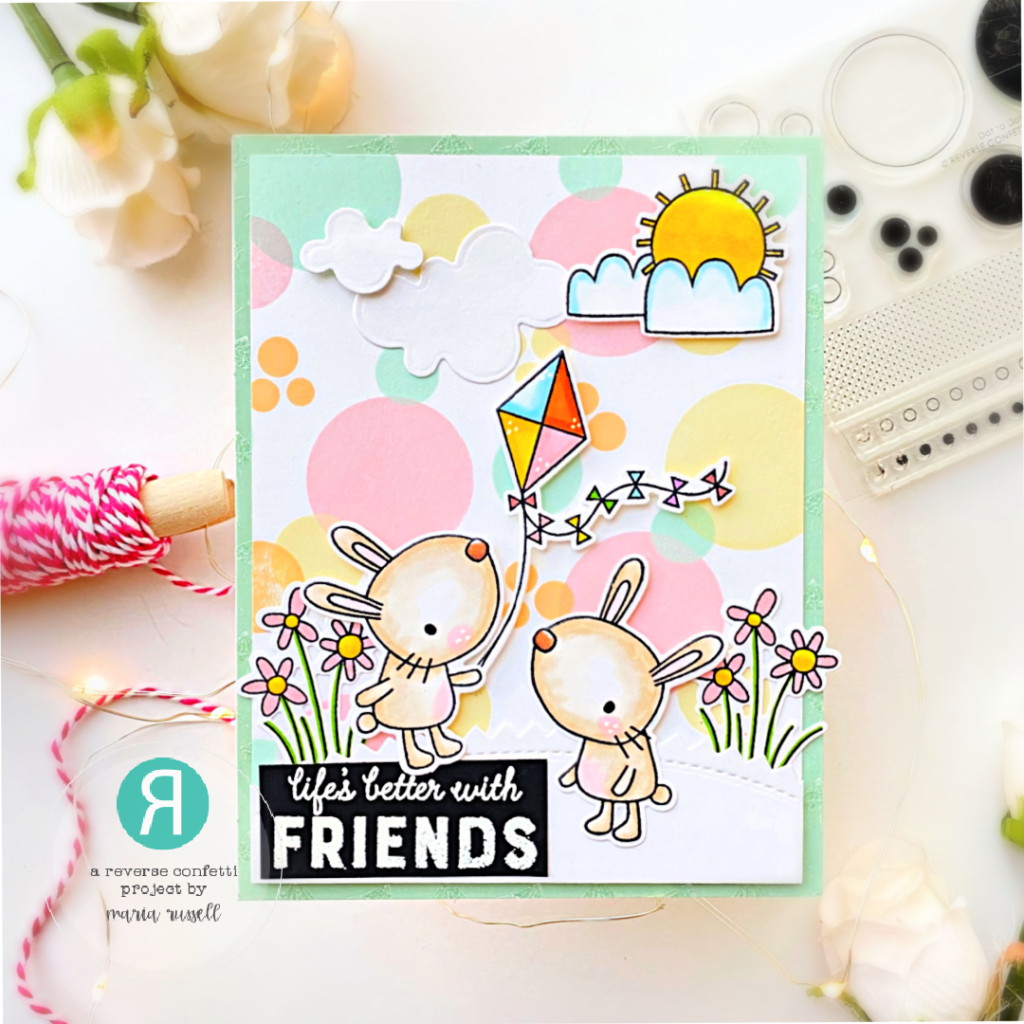
For today’s reveal, we are showcasing the Better with Friends stamp set and coordinating confetti cuts with the Picnic Pals stamp set & coordinating confetti cuts.
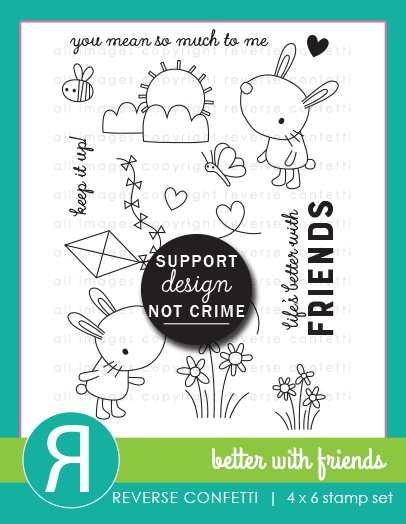
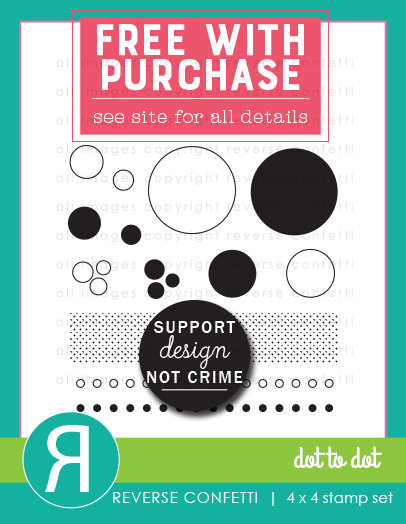
For my first project, I also used the Dot to Dot stamp set.
Here’s how I made this card:
- Stamp the images on some X-press it paper and color the images in with alcohol markers.
- Use the coordinating confetti cuts to cut them out.
- Use the Dot-to-Dot stamp set and randomly stamp the images with different dye inks on some A2-size panel of Neenah solar white card stock.
- Matt this background panel with some mint pattern paper and adhere on an A2-size notecard.
- Use a die from your stash to die-cut the grass panel. Since the background is already busy, I opted for white card stock and foam-mounted this panel.

- Adhere the rest of the images on the card with both liquid and foam adhesive for added dimension.
- Use some white gel pen to add more details to the images for texture.
- Stamp the sentiment on some black card stock with VersaMark ink. Sprinkle some white embossing powder and heat-set with heating tool.
- Finish the card design by adhering the sentiment.
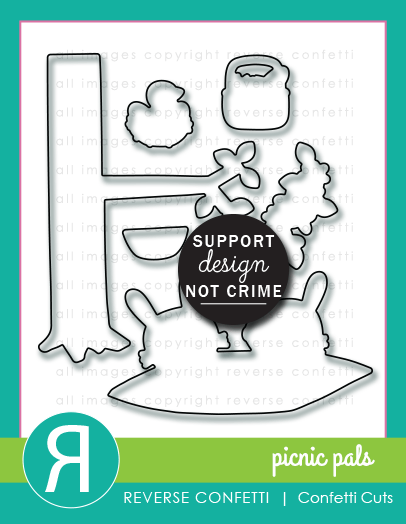
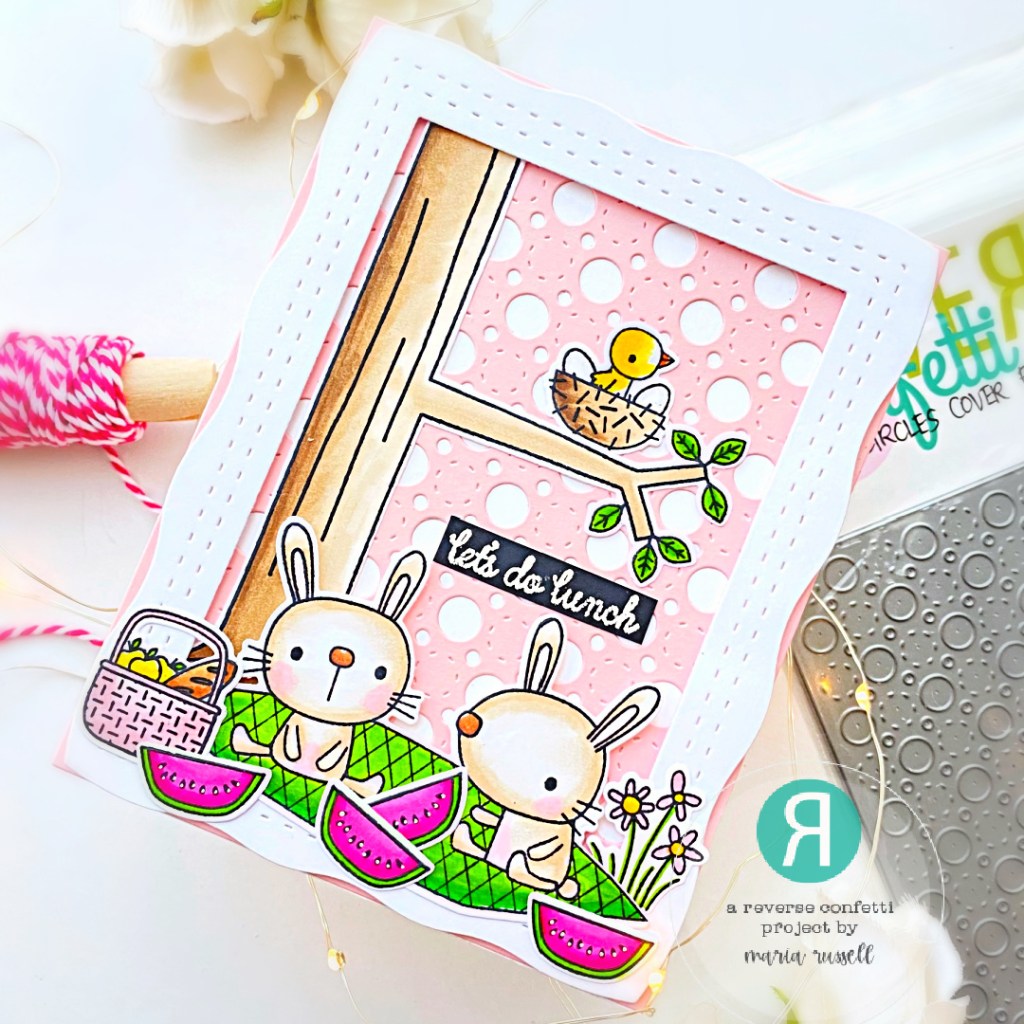
For my second project, I am showcasing the Picnic Pals stamp set & coordinating confetti cuts with the Layered Mom With Frame Confetti Cuts and (one of my all-time favorite die) the Stitched Circle Cover Panel Confetti Cuts.
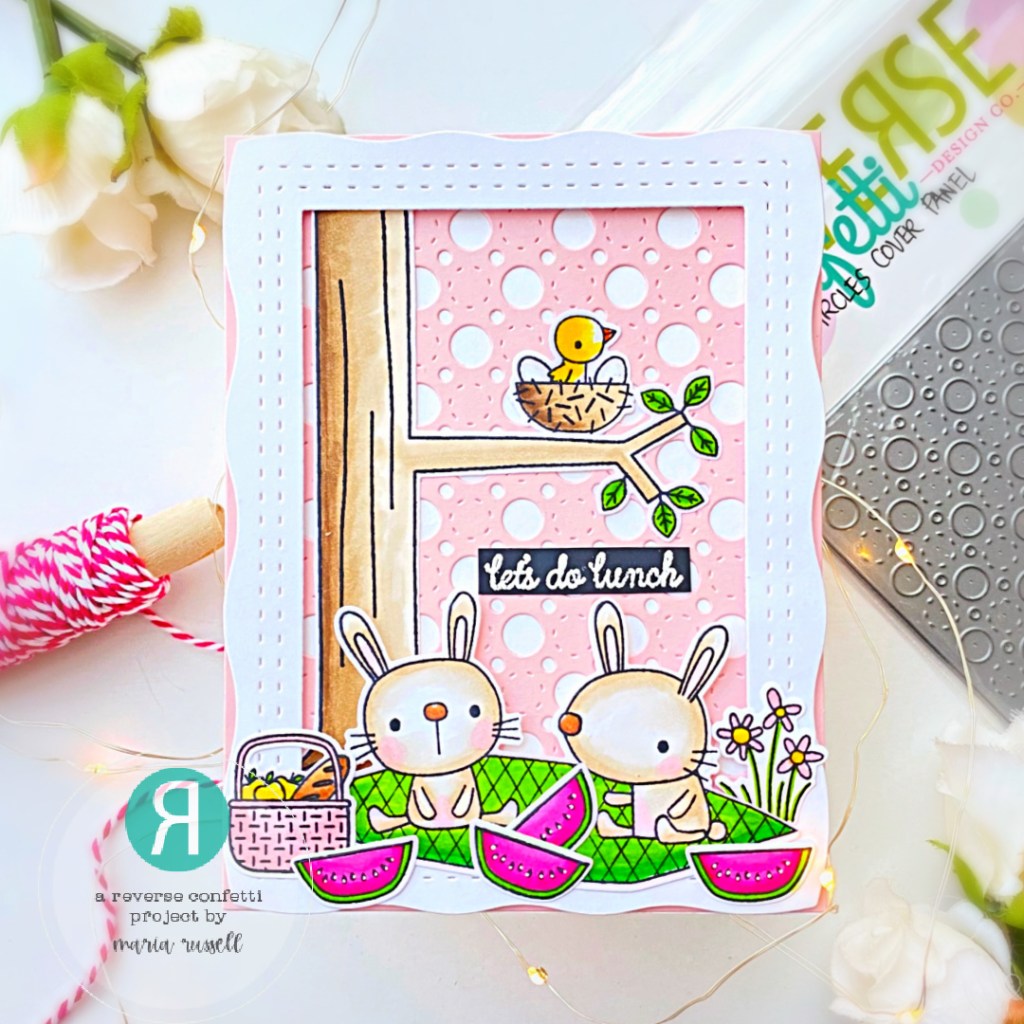
- Die-cut the pink background panel using the Stitched Circles Cover Panel Confetti Cuts and adhere this panel on some A2-size white notecard.
- Stamp the images on some X-press It card stock and color the images in with alcohol markers.
- Use the coordinating dies to cut the images.
- Die-cut the Frame from the Layered Mom with Frame Confetti Cuts and adhere with foam adhesive for added dimension.
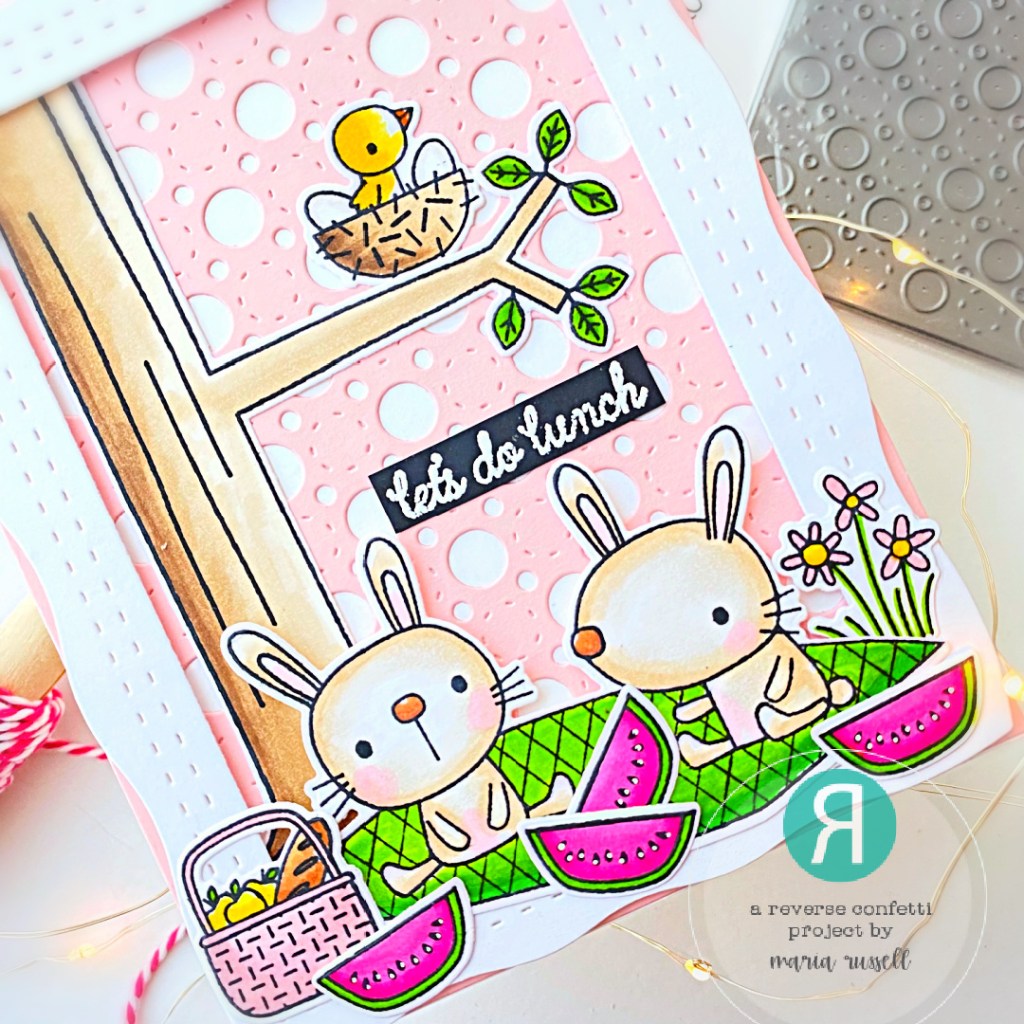
- Assemble the card by adhering the images with liquid and foam adhesive for added dimension.
- Finish the card design by adding the sentiment that was stamped on black card stock and heat-set with heating tool.
I can’t wait to hop around and see all the wonderful projects prepared by the entire team! Leave a comment by noon central on March 7th for a chance to win. There will be a $15 Gift Certificate for one blog commenter and also one FaceBook commenter. Make sure you pop over to the Reverse Confetti Blog for all the details!
Hop Listing

adorable Maria!
LikeLiked by 1 person
The bunnies are darling! LOVE your scenes! Great backgrounds!
LikeLiked by 1 person
These are such cute little scenes!
LikeLiked by 1 person
Such cute little scenes! Adorable
LikeLiked by 1 person
I really like the stenciled dots sky. What a great, imaginative look!!
LikeLiked by 1 person
Love the bubbles of color in the background
of the first card. The die cut in the second
is fantastic. Wonderful cards. thanks for
sharing. txmlhl(at)yahoo(dot)com
LikeLiked by 1 person
Adorable bunnies and fun backgrounds! Love your color combos and the darling cards you created!
LikeLiked by 1 person
I like the circle backgrounds and colors on these cute scenes.
LikeLiked by 1 person