Paw-sing to Send You A Happy Hello with Newton’s Nook Designs

I have a really cute card to share with you today that is so simple to make that you can ass-produce to send to your friends. For the project below, I am showcasing the new Birdhouse Greeting Stamp Set & Dies with the Smitten Kitten Stamp Set & Coordinating Dies by Newton’s Nook Designs.

Here’s how I made this card:

I hope you like this card today and got inspired. The supplies I used are highlighted and linked within the context of this blog post. Where available, I use compensated affiliate links at no extra cost to you. Your support helps me to keep bringing you new projects and inspiration. Thank you for stopping by, and have an amazing day!

So Glad You’re My Mom with LDRS Creative

Mother’s Day is almost here and I have a beautiful card to share with you, showcasing theĀ Cherry Blossom Layering Dies, along with theĀ Special Occasions Stamp Set.

I started by die-cutting the leaves and flowers using the Cherry Blossom Layering Dies with different colors of scrap card stock.  I assembled the leaves and flowers using liquid glue and set it aside to let it dry for a few minutes.

The background was made byĀ foiling the A2 Toner Frames Paper (retired) with some gold foil.Ā  I trimmed this panel for 4 x 5 1/4 inches and adhered onto some top-folding notecard.

I stamped the sentiment from theĀ Special Occasions Stamp SetĀ withĀ Raven Hybrid inkĀ and finished the design by adding someĀ Watercolor Enamel DotsĀ for added texture and interest.Ā  Here’sĀ anotherĀ look at the card:

I hope you like this card today and got inspired. The supplies I used are highlighted and linked within the context of this blog post. Where available, I use compensated affiliate links at no extra cost to you. Your support helps me to keep bringing you new projects and inspiration. Thank you for stopping by, and have an amazing day!

Seas the Day with Newton’s Nook Designs

I am so happy that you are here today and I’m also on the Newton’s Nook Designs blog sharing this card today, showcasing some of my favorite retiring stamps and dies. They are selling really fast so grab them while you can.

For my project today, I am showcasing the Manatee-rific Stamp Set along with the Tranquil Tides Stamp Set and Coordinating Dies.

Here’s how I made this card:

    • prepare the background panel by die-cutting some masking paper with a circle die from your stash. Adhere this on some Bristol smooth white card stock measuring 4 x 5 1/4 inches.
    • ink-blend this panel with Squeezed Lemonade, Salvaged Patina and Shaded Lilac Distress Oxide Inks until the colors blended really well.
    • use the splashes and bubble stamps from the Tranquil Tides Stamp Set and stamp it randomly on the background using some dye inks that are similar in color with the background. [Designer tip: by using similar colors, this will create a seamless design.]
    • adhere the focal images on the card with liquid glue.
    • stamp the sentiment using black ink.
    • finish the card design by adding some light pink pearls for added texture.

    I hope you like this card today and got inspired. Don’t forget to check out all of the retiring stamps, dies and stencils by Newton’s Nook Designs. The supplies I used are highlighted and linked within the context of this blog post. Where available, I use compensated affiliate links at no extra cost to you. Your support helps me to keep bringing you new projectsĀ and inspiration. Thank you for stopping by, and have an amazing day!

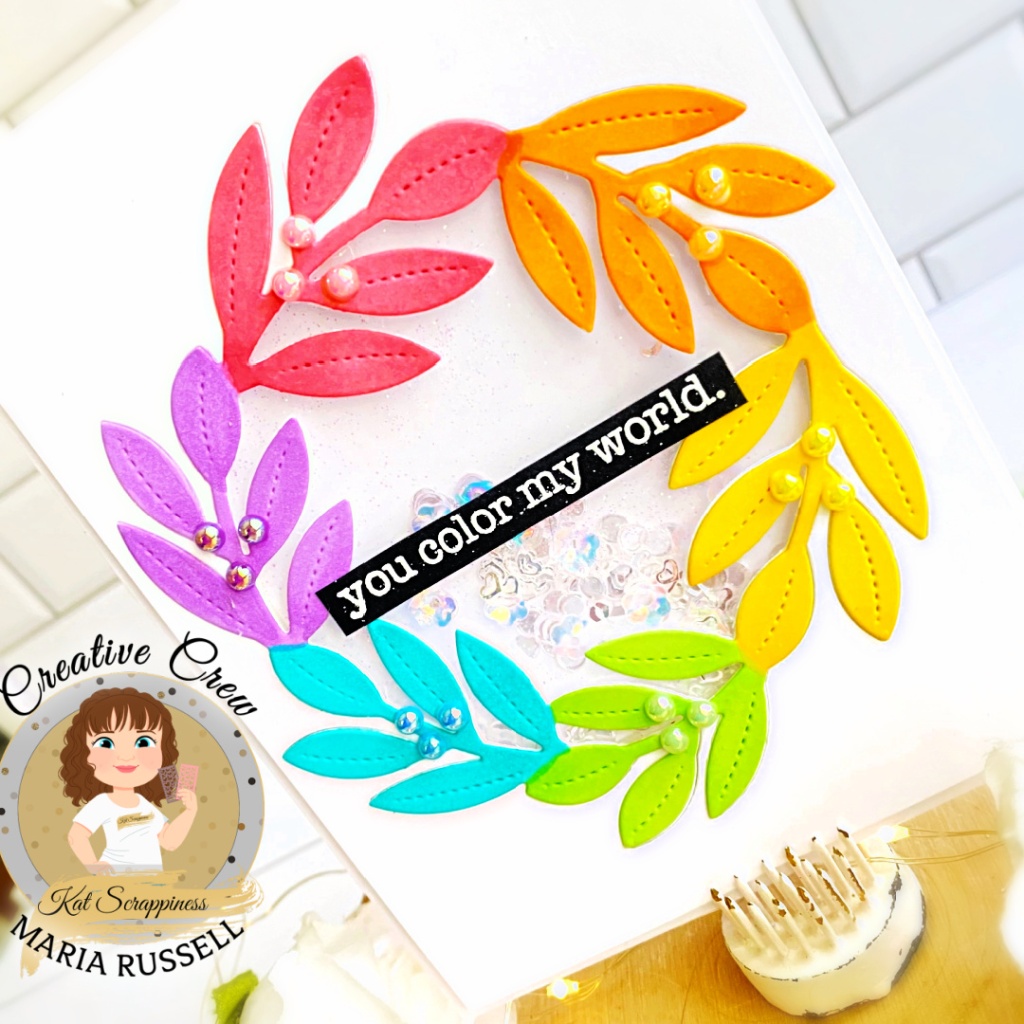
    You Color My World with Kat Scrappiness

    I am so glad that you joined me today! It feels like spring is just around the corner and I can already see some pops of color in my garden.

    For my project today, I am showcasing the Wreath Die, Everyday Brush Strokes Stamp Set and the Pearl Mixes by Kat Scrappiness [Ballerina, Peach, Bumble Bee, Mint Green, Caribbean Blue and Frosted Grape].

    Here’s how I made this card:

    Simple yet classy! I hope you like this card today and got inspired. The supplies I’ve used have been linked on each product name as highlighted above. Where available, I use compensated affiliate links at no extra cost to you. Your support helps me to keep bringing you new projectsĀ and inspiration. Thank you for stopping by, and have an amazing day!

    Doodle Flowers with LDRS Creative

    Is anyone else excited for Spring?! I am back today to share yet another just-because card, featuring products by LDRS Creative.

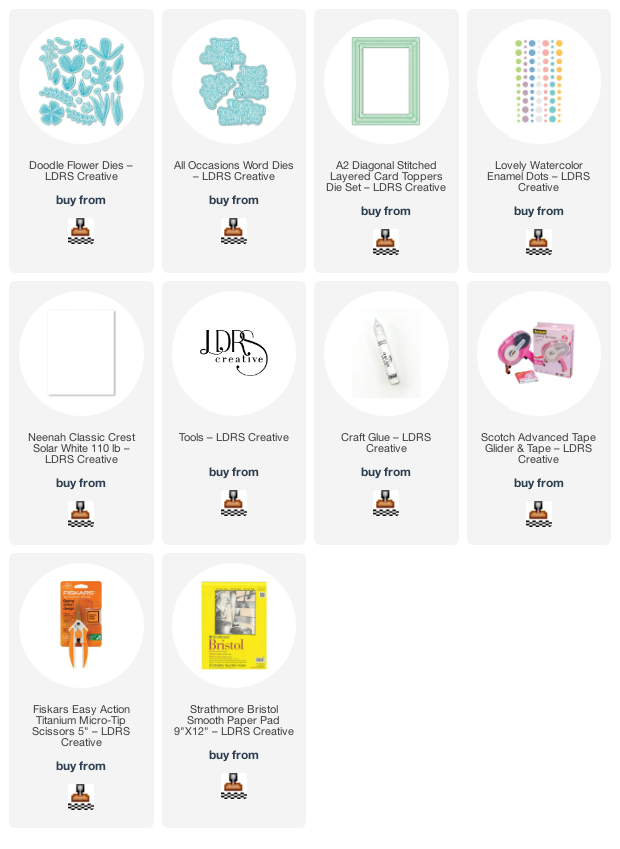
    I am so happy that I got to play with the beautifulĀ Doodle Flower Dies, along with theĀ All Occasions Word DiesĀ from the November release.

    I don’t know what it is but even thoughĀ LDRS CreativeĀ has a ton of flower dies released in the past, each set has an amazing array of floral and greenery that are soĀ uniqueĀ andĀ beautiful, I just can’t get enough of them!Ā  ThisĀ Doodle Flower Die SetĀ isĀ another example!Ā  I love that you can look at the back of the packaging too and see how you can just put them together!Ā  Even a beginner paper-crafter will have no issues assembling the flowers!

    I started by die-cutting the flowers and greenery using theĀ Doodle Flower Die SetĀ with a bunch of scraps that I already have in my stash.Ā  I adhered and assembled the flowers together with liquid glue and set them all aside to dry while I work on the card background.

    The card background was made by die-cutting the gold card stock first, using the medium die from the A2 Diagonal Stitched Layered Card Toppers and adhered on some A2 size notecard with liquid glue.  I also used the smaller die from the same A2 Diagonal Stitched Layered Card Toppers to die-cut the Lily Toner Collection paper pad.  I foam-mounted this on top of the gold background for added dimension.

    Adhering the floral pieces were easy as I only used liquid glue to layer them up.Ā  Lastly, the sentiment was die-cut using theĀ All Occasions Word DiesĀ on some black and white card stock, and adhered on the card with glue.Ā  I finished the card design by adheringĀ someĀ Lovely Watercolor Enamel DotsĀ for added interest.Ā  Here’sĀ anotherĀ look:

    I hope you like this card today and got inspired. Below, you will find links to the supplies used to create this project. Where available, I use compensated affiliate links at no extra cost to you. Your support helps me to keep bringing you new projects and inspiration. Thank you for stopping by, and have an amazing day!

    ———-SUPPLIES———- 

    Thinking of You with LDRS Creative

    I have been enjoying creating clean and simple cards and today’s project is super easy, you can create this in less than 30 minutes!

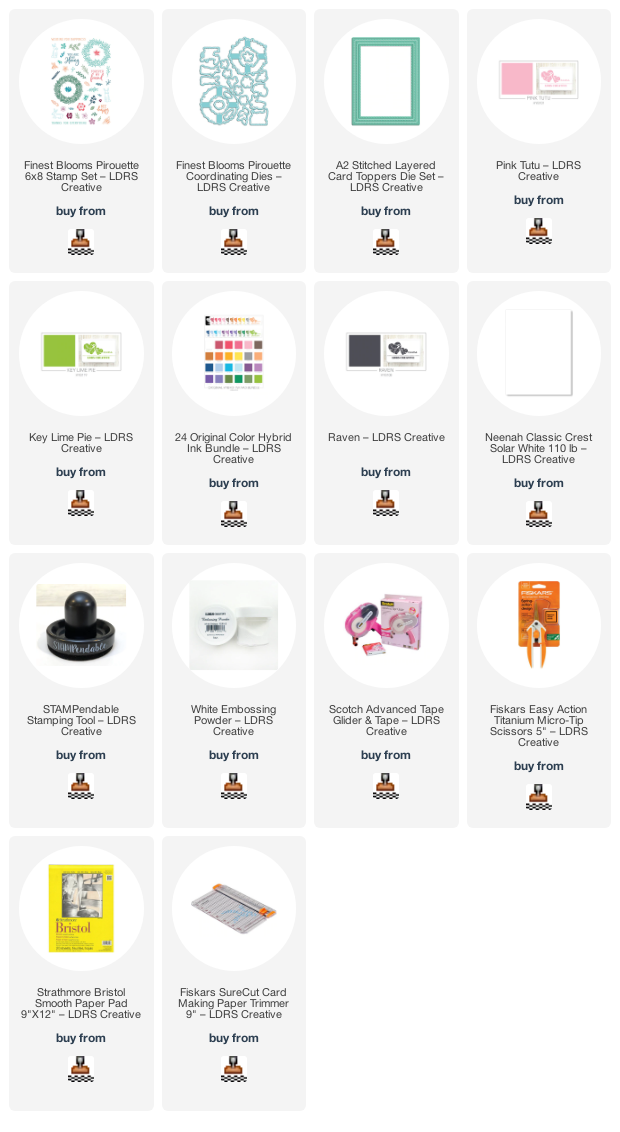
    For today’s card, I am showcasing theĀ Finest Blooms Pirouette Stamp SetĀ andĀ Finest Blooms Pirouette Coordinating Dies, along with theĀ A2 Stitched Layered Card Toppers Die SetĀ with the following Hybrid Inks –>Ā Pink Tutu,Ā Key Lime PieĀ andĀ Raven.

    I started by die-cutting some Beige, Pink and White card stock using theĀ A2 Stitched Layered Card Toppers Die Set.Ā  I adhered the layers on an A2-size notecard, and foam-mounted the white card stock for added dimension.

    Next, I stamped the images with Raven Hybrid Ink on some Neenah Solar White Card Stock and colored the images in with alcohol markers.  I used the Finest Blooms Pirouette Coordinating Dies to cut them all out.  The leaves and flowers were stamped using Pink Tutu and Key Lime Pie Hybrid Inks.

    I finished my design by foam-mounting the images on the card for added dimension and stamping the sentiment withĀ Raven Hybrid ink.Ā  Here’s another look:

    I hope you like my project today and got inspired!  Below, you will find links to the supplies used to create this project(s). Where available, I use compensated affiliate links at no extra cost to you. Your support helps me to keep bringing you new projects and inspiration. Thank you for stopping by, and have an amazing day!

    ———SUPPLIES———

    Thinking of You Card with Newton’s Nook Designs

    I have been building up my stash of “just-because” cards and today’s project features the Lilac Stamp Set and Coordinating Dies with the A7 Frames and Banners Die Set by Newton’s Nook Designs.

    Here’s how I made this card:

    • stamp the images on some Neenah Classic Crest Solar white card stock.
    • color images in with alcohol markers (or any medium of your choice).
    • die-cut the images using the coordinating die.
    • die-cut some pattern paper that compliments the color of the stamp images using the biggest die from the A7 Frames & Banners Die Set.
    • die-cut the frame (using the same die set above) on some Neenah solar white card stock. adhere some acetate sheet on this frame and add foam adhesive to create the shaker well.
    • add some iridescent sequins as the shaker element on top and close the shaker.
    • adhere the card front on an A7 card base.
    • add the focal images on each window with either liquid glue or tape runner.
    • use the banner die to die-cut some lilac card stock. stamp the sentiment on this piece using Versamark ink. Sprinkle some white embossing powder and heat set with heating tool.
    • adhere the sentiment on the middle of the card to finish the design.

    I hope you like this card today and got inspired. Below, you will find links to the supplies used to create this project(s). Where available, I use compensated affiliate links at no extra cost to you. Your support helps me to keep bringing you new projects and inspiration. Thank you for stopping by, and have an amazing day!

    ———SUPPLIES——-

    2 Cards Featuring Floral Toner Toppers & Sunny Meadow Stamp Set

    Hello LDRS Creative fans! Things are pretty busy here on my side of the world but I am throughly enjoying Spring! What about you?

    I also have beenĀ trying to build my stash of “just-because” cards to send to family and friends and so for today’s project, I have two cards to share with you using one pattern paper.Ā 

    While looking at all of myĀ LDRS paper pad collection, I decided to useĀ the beautifulĀ Floral Toner Toppers 6×6 Paper Pad, along with theĀ Lovely Watercolor Ephemera Pieces,Ā Sunny Meadow Petal Pusher Stamp SetĀ andĀ Sunny Meadow Petal Pushers coordinating diesĀ with the AMAZINGĀ LDRS Hybrid Inks.Ā  The black strips were die-cut using theĀ 1/8″ Slimline Background Strips.

    Both cards below are pretty much identical with the exception of the sentiments used.

    I started by stamping the images from the Sunny Meadow Petal Pusher Stamp Set on some Neenah solar white card stock.  I made sure I had enough images to create two cards. 

    The layering inks I used today are:Ā Ā Pink Tutu,Ā Lipstick Jungle,Ā Scarlet Rose,Ā Key Lime Pie,Ā Olive Branch,Ā Pistachios-A-Plenty,Ā Four Leaf,Ā La La LavenderĀ andĀ Grape Ape.

    Next, I cut the Floral Toner Toppers Paper to 4 1/4 x 5 1/2 then used my paper trimmer to cut it in half, diagonally.  I foam-mounted both pieces on some A2-size notecards.  I cut the black strips using the 1/8″ Slimline Background Strips Die Strips Die on some black card stock and adhered on the card with liquid glue.

    The next step was to adhere the floral images on the card with liquid glue and foam adhesive for added dimension.  I finished the card design by adding the sentiments on the card using the Lovely Watercolor Ephemera Pieces and You’re Simply The Best stamp set

    Here’s another look at both cards:

    I hope you like these cards today and much as I do!  Below, you will find links to the supplies used to create this project(s). Where available, I use compensated affiliate links at no extra cost to you. Your support helps me to keep bringing you new projects and inspiration. Thank you!

    ———–SUPPLIES———-

    THANK YOU FOR BEING SO AMAZING!

    Happy Tuesday! I know I’ve been sharing a lot of Mother’s Day cards lately but my card today can also be made for a friend, or just-because! This card features the Lovely Blooms Stamp Set and coordinating dies, with the Best Mom Oval Stamp Set and the Flower Trio Die Set.

    Here’s how I made this card:

    • stamp the images from Lovely Blooms Stamp Set and color them in with alcohol markers.
    • use the Lovely Blooms Coordinating Dies to cut them all out.
    • prepare the background by cutting using the Lovely Blooms Die to die-cut the window.
    • adhere acetate sheet on this panel and foam adhesive to create the shaker well.
    • add some confetti as the shaker element and adhere this on a pink A2-size notecard to close the shaker.
    • assemble the rest of the images on the focal panel with liquid and foam adhesive.
    • die-cut a few more leaves using the Flower Trio Die Set and adhere them on the card.
    • stamp the sentiment from the Best Mom Oval Stamp Set and color the letters with alcohol markers.
    • finish the card design by adding some pink gem stones for added interest.

    I hope you like this Mother’s Day card as much as I do! The supplies I used are listed and linked below. Thanks for stopping by!

    ———SUPPLIES———-