September Release and Instagram Hop Info with Reverse Confetti

t’s finally here! It’s the September release by Reverse Confetti and we are having an Instagram Hop! My Instagram Handle is–> @RPRMLR77 but I will be linking all of our Instagram info at the end of the post. It will be great if you can hop along with us and see the projects created by the design team and our special “Fetti” Friends!

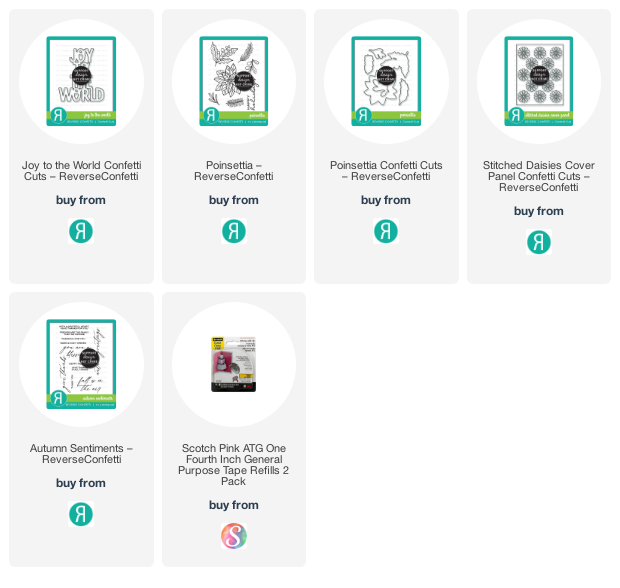
For my project today, I am showcasing the Poinsettia Stamp Set and Poinsettia Confetti Cuts along with the Joy to the World Confetti Cuts and the previously-released Stitched Daisies Cover Panel.

I decided to use the images that I stamped and heat-embossed from yesterday’s reveal. If you haven’t seen that project, I am going to tell you how I made them again.

Here’s how I made this project:

  • stamp the images a few times on some Bristol smooth white card stock with Versamark ink. Sprinkle some gold embossing powder and heat-set with the heating tool.
  • color the images in with Zig Clean Color Real Brush Markers (or any watercolor of your choice.
  • use the coordinating dies to cut them out.
  • die-cut the background panel using the Stitched Daisies Cover Panel on some pearlescent white card stock. Adhere this panel on some A2-size white notecard.
  • die-cut the Joy to the World Confetti Cuts on some gold card stock. Foam-mount the same to the card-front for added dimension.
  • adhere the images on the card with liquid glue.
  • finish the card design by adding some half-pearls for added texture and interest.

Here’s another look:

I hope you like this card today and got inspired. Below, you will find links to the supplies used to create this project(s). Where available, I use compensated affiliate links at no extra cost to you. Your support helps me to keep bringing you new projects and inspiration. Thank you for stopping by, and have an amazing day!

——SUPPLIES—–

Here’s the Instagram Hop Listing

Reverse Confetti

Audrey Tokach

Rachel Alvarado

Andrea Shell

Susan Wymer 

Emelie Hessler

Jenny Colacicco 

Maria Russell (that’s me!)

Heather Ruwe

Lisa Henke

Cheiron Brandon

Lien Leysen

Becky Roberts

Meg Brooks

Amy Kolling

Amy Rohl

Jennifer Kotas

Tricia Barber

Kelly Lunceford

Dana Kirby

Joy Baldwin

Michelle Short

Jeanne Jachna

April Antonio

Amy Tsuruta

Colleen Beamish

Countdown to Confetti September Release Day 3 – Poinsettia & Christmas Card Greetings + Giveaway Info

It’s the last day of the Countdown to Confetti Day by Reverse Confetti and we have some beautiful Christmas inspiration for you all today! TOMORROW IS RELEASE DAY and you can purchase everything you saw here on the countdown! There is also a GIVEAWAY so please read through the end of this post to find out how you can WIN!

For today’s reveal, the design team is showcasing the Poinsettia Stamp Set and Poinsettia Confetti Cuts along with the Christmas Card Greetings Stamp Set. I also used the Bag & Tags Creator Confetti Cuts.

I already started Christmas shopping and I thought the stamp set and dies will go perfectly well to decorate this present for a friend. The images are so beautiful and using these to accessorize the present will definitely give it a special personal touch.

Here’s how I made this project:

  • stamp the images a few times on some Bristol smooth white card stock with Versamark ink. Sprinkle some gold embossing powder and heat-set with the heating tool.
  • color the images in with Zig Clean Color Real Brush Markers (or any watercolor of your choice.
  • use the coordinating dies to cut them out.
  • die-cut the tags on some gold and pink card stock and stamp the sentiment from the Christmas Card Greetings Stamp Set with Versamark ink. Sprinkle some gold embossing powder and heat-set with the heating tool.
  • use some gold twine and loop through the tags.
  • wrap the present using some white wrapper.
  • use some gingham red & white ribbon first, then loop through the gold ribbon to finish wrapping the present.
  • add the pink and gold tags.
  • finish the present by adhering the stamped images on the box.

Here’s another closer look:

Hop along with us and see what the other team members have created! Leave a comment by noon central on September 15th for a chance to win. There are two $15 Gift Certificates up for grabs; one for a blog commenter and also one for a FaceBook commenter. Winners will be announced on the Reverse Confetti Blog and FB Group at 5 PM CST on September 15th (that is TODAY!). Make sure you pop over to the Reverse Confetti Blog for all the details!

Hop Listing

Reverse Confetti

Emelie Hessler

Maria Russell  (that’s me!)

Lisa Henke  

Meg Brooks  

Amy Kolling  

Jennifer Kotas   

Dana Kirby  

Jeanne Jachna  

Amy Tsuruta  

Colleen Beamish

Countdown to Confetti September Release Day 2 – Fall Foliage and Autumn Sentiments + Giveaway Info

I am pleased to join the Countdown to Confetti Day 2 by Reverse Confetti and we have autumn inspiration for you! There is also a GIVEAWAY so please read through the end of this post to find out how you can WIN!

For today’s reveal, the design team is showcasing the Fall Foliage Stamp Set with Fall Foliage Confetti Cuts. I have also used the beautiful Window Confetti Cuts with the Autumn Sentiments.

As soon as I saw these stamp set and dies, I knew I wanted to create this project today. I know you can’t really tell on the photo, but there is a battery-operated tea light inside that makes this card glow at night.

Here’s how I made this project:

  • stamp the images on some Bristol smooth white card stock with Versamark in. Sprinkle some white embossing powder and heat-set with the heating tool.
  • color the images in with Zig Clean Color Real Brush Markers (or any watercolor of your choice.
  • use the coordinating dies to cut them out.
  • adhere some blue plaid pattern paper on some A2-size top folding notecard.
  • open the card panel and die-cut the window using the Window Confetti Cuts. Use the same Window Confetti Cuts and die-cut some white card stock.
  • adhere some vellum on the open window then adhere the white window die-cut with liquid glue.
  • adhere the focal images on the card-front, making sure to alternate and layer the colors.
  • stamp the sentiment from the Autumn Sentiments on some Terracotta card stock with Versamark ink. Sprinkle some white embossing powder and heat-set with heating tool.
  • fussy-cut the sentiment and adhere on the card.

Hop along with us and see what the other team members have created! Leave a comment by noon central on September 15th for a chance to win. There are two $15 Gift Certificates up for grabs; one for a blog commenter and also one for a FaceBook commenter. Winners will be announced on the Reverse Confetti Blog and FB Group at 5 PM CST on September 15th. Make sure you pop over to the Reverse Confetti Blog for all the details!

Hop Listing

Reverse Confetti

Emelie Hessler

Maria Russell  (that’s me!)

Lisa Henke  

Meg Brooks  

Amy Kolling  

Jennifer Kotas   

Dana Kirby  

Jeanne Jachna  

Amy Tsuruta  

Colleen Beamish

Countdown to Confetti September Release Day 1 – Hello Bootiful + Giveaway Info

I am pleased to join the Countdown to Confetti Day 1 by Reverse Confetti. We have lots to show you and there is also a GIVEAWAY so please read through the end of this post to find out how you can WIN!

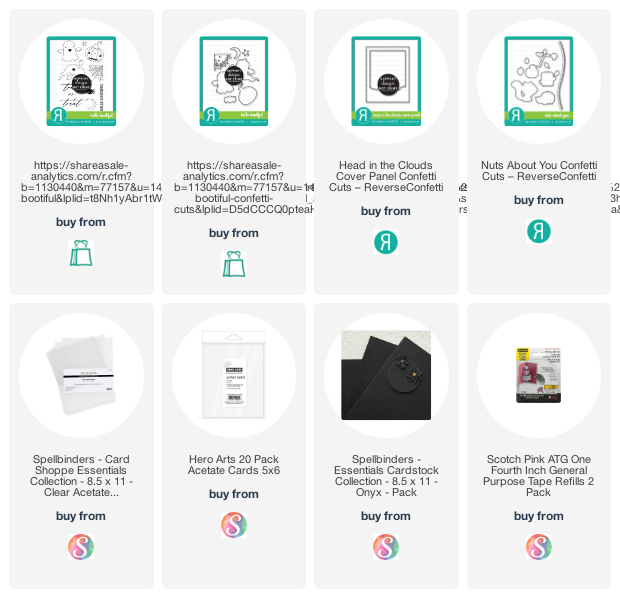
For today’s reveal, the design team is showcasing the Hello Bootiful Stamp Set and Hello Bootiful Confetti Cuts. I have also used the Head in the Clouds Confetti Cuts with the Nuts About You Confetti Cuts (grass panel).

I wanted something fun to also display on my mantle so I decided to create a see-through card. This is so much fun to make!

Here’s how I made this project:

  • stamp the images on some Neenah solar white card stock and color the images in with alcohol markers (or any medium of your choice).
  • use the coordinating dies to cut them out. Set these images aside for now and prepare the background panel.
  • on some A2-size top-folding black notecard, cut the front panel leaving about an inch of the fold. Adhere some A2-size acetate sheet on this panel.
  • die-cut another frame using the Head in the Clouds Confetti Cuts and adhere on the acetate sheet.
  • die-cut the grass panel twice using the Nuts About You Confetti Cuts on some black card stock and adhere the first grass on the card-front.
  • cut some pattern paper and adhere on the back panel using tape runner.
  • adhere the other grass panel on the back.
  • adhere the pumpkins to create the scene.
  • adhere the ghosts and stars on the focal panel.
  • stamp the sentiment on the front with Versamark ink. Sprinkle some white embossing powder and heat-set with heating tool.
  • finish the card design by adhering some yellow stars for added texture and interest.

I can’t wait to hop around and see what the other team members have created! Leave a comment by noon central on September 15th for a chance to win. There are two $15 Gift Certificates up for grabs; one for a blog commenter and also one for a FaceBook commenter. Winners will be announced on the Reverse Confetti Blog and FB Group at 5 PM CST on September 15th. Make sure you pop over to the Reverse Confetti Blog for all the details!

Hop Listing


Reverse Confetti

Emelie Hessler

Maria Russell  (that’s me!)

Lisa Henke  

Meg Brooks  

Amy Kolling  

Jennifer Kotas   

Dana Kirby  

Jeanne Jachna  

Amy Tsuruta  

Colleen Beamish

————SUPPLIES——–

August CREATIVE HOP WITH REVERSE CONFETTI

I am so happy to join Reverse Confetti’s Creative Hop where you’ll find a lot of AMAZING inspiration using products from the last release. Check out the hop listing below to see the wonderful projects prepared by the entire team.

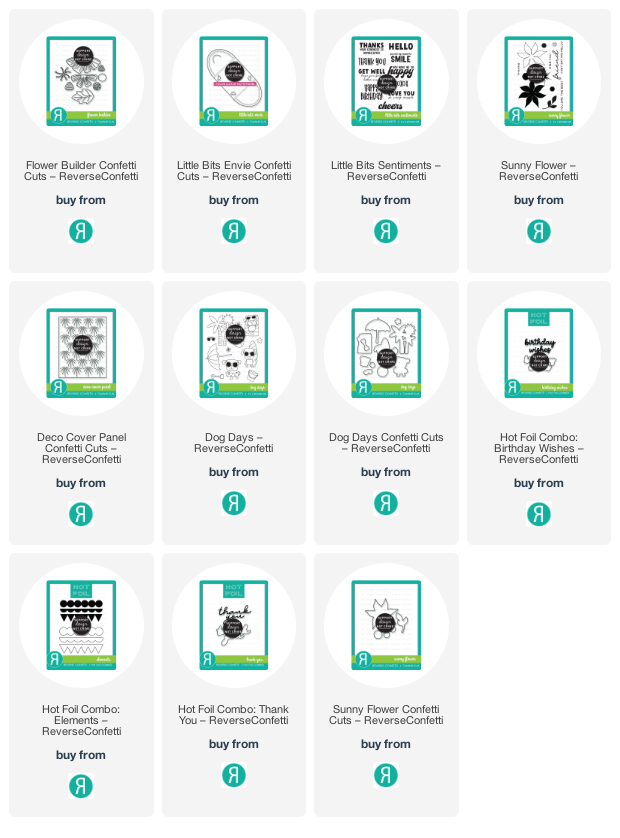
For my project today, I am showcasing the Flower Builder Confetti Cuts along with the Little Bits Envie Confetti Cuts, Sunny Flower Stamp Set and Little Bits Sentiment Stamp.

Here’s how I made this card:

  • die-cut the Little Envelope using the Little Bits Envie Confetti Cuts with some Neenah solar white card stock.
  • place the envelope inside your stamping tool and start stamping the dots from the Sunny Flower stamp set with some yellow dye ink.
  • cut the insert using some yellow card stock measuring 2 5/8 by 2 5/8. Place this piece inside the cut-out. [Designer tip: I didn’t stamp the inside as this is where I’ll write my note].
  • stamp the sentiment on the little envelope using the Little Bits Sentiment Stamp Set with some black ink. This stamp set is a must-have for sure!
  • die-cut the flower and leaves using the Flower Builder Confetti Cuts on some pink, yellow, orange and green card stock.
  • assemble the flowers and adhere on the little envelope with liquid glue. [Designer tip: make sure you are not adhering the flower covering the opening so that your recipient can open and close the envelope.]

I really LOVE the latest release by Reverse Confetti. I hope you like my project and got inspired! Below, you will find links to the supplies used to create this project(s). Where available, I use compensated affiliate links at no extra cost to you. Your support helps me to keep bringing you new projects and inspiration.

Remember that you will get a FREE STAMP SET on orders over $60.00!!!! Don’t forget to hop along and check out more inspiration from the entire team. Thanks for stopping by and have an amazing day!

Here’s the hop listing:

Reverse Confetti

Andrea Shell

Sandhya Iyer

Maria Russell (you are here)

Lisa Henke

Lien Leysen

Angela Simpson

Amy Kolling

Heather Ruwe

Tricia Barber

Dana Kirby

Joy Baldwin

Jeanne Jachna

April Antonio

Amy Tsuruta

Colleen Beamish

———SUPPLIES——–

Sunny Flower Stamp Set with Reverse Confetti

It’s Day 2 of my Reverse Confetti Release August inspiration! I hope you were able to check out yesterday’s post. If you haven’t seen the July release yet, head on over to the Reverse Confetti online store because they are AMAZING!

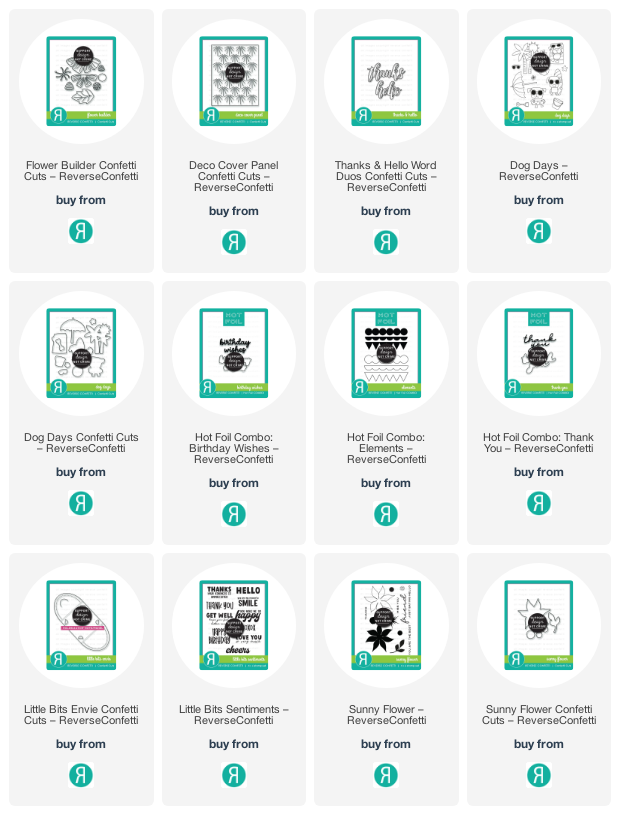
Today’s beautiful card features the Sunny Flower Stamp Set + coordinating dies, along with the Deco Cover Panel Confetti Cuts.

Here’s how I made this card:

  • using your paper trimmer, cut another A2-size white notecard panel diagonally.
  • stamp the dots randomly on this piece and foam-mount on the card for added dimension.
  • adhere the flowers and leaves with liquid glue.
  • use precision snips to cut the excess.
  • stamp the sentiment “thanks” on some black card stock and heat-set with heating tool. Adhere the sentiment on the card.
  • finish the card design by stamping the word “friend” with some dye ink.

The new Reverse Confetti July release is absolutely FABULOUS! Visit the shop before they sell out! I have also listed and linked them all below in case you’re interested. Remember that you will get a free stamp set for orders over $60 before shipping.

I hope you like this simple card today. Below, you will find links to the supplies used to create this project(s). Where available, I use compensated affiliate links at no extra cost to you. Your support helps me to keep bringing you new projects and inspiration. Thank you for stopping by, and have an amazing day!

——–SUPPLIES——–

Flower Builder Confetti Cuts with Reverse Confetti

Hello my crafty friends! I was not able to join the Reverse Confetti Release last month so I am dedicating a few days to feature these amazing products and give you more project inspiration. If you haven’t seen it yet, head on over to the Reverse Confetti online store because they are AMAZING!

Today’s beautiful card features the beautiful Flower Builder Confetti Cuts along with the Deco Cover Panel Confetti Cuts and Thanks Word Die.

Here’s how I made this card:

  • die-cut the flower pieces and leaves on some Bristol Smooth White card stock.
  • use distress oxide inks and blending brushes to add some color to the die-cut pieces. [Designer tip: make sure you are blending the colors well to create a smooth transition between the colors]
  • assemble the flowers with foam and liquid adhesive for added dimension.
  • use the Deco Cover Panel Confetti Cuts and die-cut some pattern paper.
  • dilute some white gouache paint with water and use the brush to splatter some color to the pattern paper and flowers for added texture. Adhere this panel on some A2-size top-folding notecard.
  • adhere the flowers with foam and liquid glue.
  • die-cut the word “thanks” twice on some black and white card stock. Adhere them together with liquid glue by offsetting it a little bit to create dimension.
  • finish the card design by adhering the sentiment.

The new Reverse Confetti July release is absolutely FABULOUS! Visit the shop before they sell out! I have also listed and linked them all below in case you’re interested. Remember that you will get a free stamp set for orders over $60 before shipping.

I hope you like this simple card today. Below, you will find links to the supplies used to create this project(s). Where available, I use compensated affiliate links at no extra cost to you. Your support helps me to keep bringing you new projects and inspiration. Thank you for stopping by, and have an amazing day!

——–SUPPLIES——–

JUNE CREATIVE HOP WITH REVERSE CONFETTI

I am so happy to join Reverse Confetti’s Creative Hop where you’ll find a lot of AMAZING inspiration using products from the last release. Check out the hop listing below to see the wonderful projects prepared by the entire team.

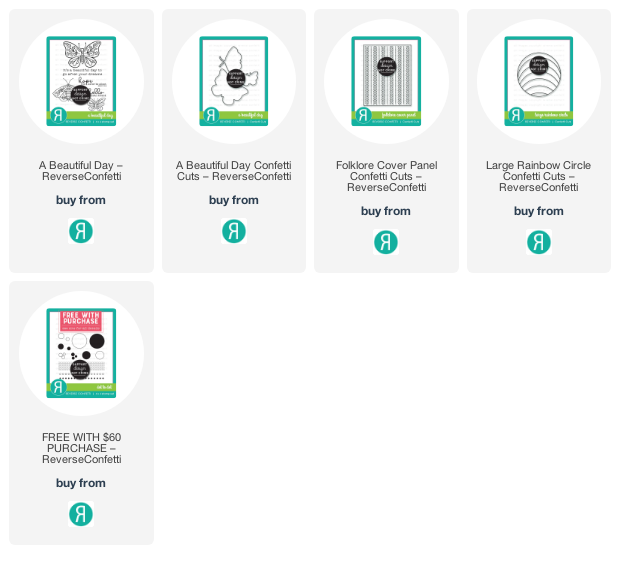
June is Pride Month so I am honoring this occasion by showcasing A Beautiful Day Stamp Set with Coordinating Confetti Cuts, along with the Folklore Cover Panel Confetti Cuts and Large Rainbow Circle Confetti Cuts.

Here’s how I made this card:

  • stamp the sentiment on some black card stock with Versamark ink. Sprinkle some white embossing powder and heat-set with heating tool.
  • use paper trimmer to trim the sentiment and adhere on the focal panel.
  • adhere the butterflies using tape runner.
  • finish the card design by adhering some gold pearls for added texture and interest.

I really LOVE the latest release by Reverse Confetti. I hope you like my project and got inspired! Below, you will find links to the supplies used to create this project(s). Where available, I use compensated affiliate links at no extra cost to you. Your support helps me to keep bringing you new projects and inspiration.

Remember that you will get a FREE STAMP SET on orders over $60.00!!!! Don’t forget to hop along and check out more inspiration from the entire team. Thanks for stopping by and have an amazing day!

Here’s the hop listing:

Reverse Confetti

Cheryl Espie

Heather Ruwe

April Antonio

Maria Russell (you are here)

Andrea Shell

Lisa Henke

Anita Madden

Lien Leysen

Amy Kolling

Dana Kirby

Tricia Barber

Jeanne Jachna

Joy Baldwin

Amy Tsuruta

Colleen Beamish

———SUPPLIES——–

REVERSE CONFETTI MAY RELEASE BLOG HOP

It’s finally here –> the Reverse Confetti’s May Release Blog Hop and the whole gang is here to show you all the amazing projects we’ve put together to encourage you to shop! Remember, all of the products are available today!

For my projects today, I am showcasing the Big Confetti Tag, Birthday Buddies Stamp Set and Coordinating Dies with the Birthday Banter Stamp Set, along with the Circle Gift Card Holder Confetti Cuts and Layered Friend Confetti Cuts and Large Rainbow Circle Confetti Cuts.

The first project is a gift tag that I made for a friend, showcasing the Big Confetti Tag. I used the Big Confetti Tag to die-cut some cute pattern paper and some 110 lb. Neenah card stock for stability.

I adhered the pattern paper on the card stock and added acetate sheet and foam-adhesive to create my shaker well. I die-cut the layered bits using the same Big Confetti Tag on different colors of card stock with some star confetti as my shaker elements. I adhered them together to close the shaker

I added the sentiment from the Birthday Banter Stamp Set and finished the design by adding the ribbon and baker’s twine.

For my next project, I decided to create and clean and simple card. I wanted to showcase the beautiful Large Rainbow Circle that I adhered on the Circle Gift Card Holder. The Rainbow Die-Cut perfectly covers the middle of the Circle Gift Card Holder that I adhered on a top-folding white card base.

The Large Rainbow Circle was used to die-cut some Neenah solar white card stock, and colored using alcohol markers. I adhered the pieces together using some wide packing tape and adhered on the card front.

Next, I die-cut the word “friend” using the Layered Friend Confetti Cuts and also added the sentiment “you are so loved”. I adhered both pieces with some liquid glue to finish the design. Here’s another look:

I hope you got inspired and like my projects this week! Hop along with us and see all the amazing projects prepared by the entire team with our special guest designers! Thanks for stopping by and have an amazing day!

Hop listing:


Reverse Confetti

Michelle Short

Cheryl Espie

Kelly Lunceford

Audrey Tokach

Joy Baldwin

Amy Rohl

Jennifer McGuire

Maria Russell (you are here)

Becky Roberts

Kavya

Andrea Shell

Lisa Henke

Cheiron Brandon

Anita Madden

Heather Ruwe

Amy Kolling

Jenny Colacicco

Lien Leysen

April Antonio

Dana Kirby

Susan Wymer

Jeanne Jachna

Rachel Alvarado

Tricia Barber

Brandi Mahon

Amy Tsuruta

Richard Breaks

Jeff Lindberg

Colleen Beamish

Ricky Burton – Romero

Joe Sysavath