
Hello stampers and crafters! Today is my turn to showcase my all-time favorite Brentwood stamp from www.jessicalynnoriginal.com. It is also JLO’s 11th year anniversary. Today’s post will be a little different. I will not be showing you a ton of card samples. My blog post will be all about my designing process. A little disclaimer, I am still a novice in card making. The tips I am sharing with you today are some of the things I have learned along the way being a paper crafter. I am still learning and trying to improve. However this is my own designing process so I hope you enjoy. I would love to receive your comment as well on what is yours. What inspires you to create cards or scrapbook layouts? Some of you guys are visual learners and would probably like to see some of it in action, so here’s a little YouTube video that I filmed and posted on my channel. This is my “happy” place.
First thing that I do is to make a good cup of coffee for myself. I then turn my iPod on to my favorite playlist so that I can play my favorite music while I work on the card. Lighting a great scented candle is always my go-to. I know that’s too much for some people but that is what I do for myself. I like to work in a peaceful and beautiful environment. Once the room is completely how I like it, I then start gathering my supplies.
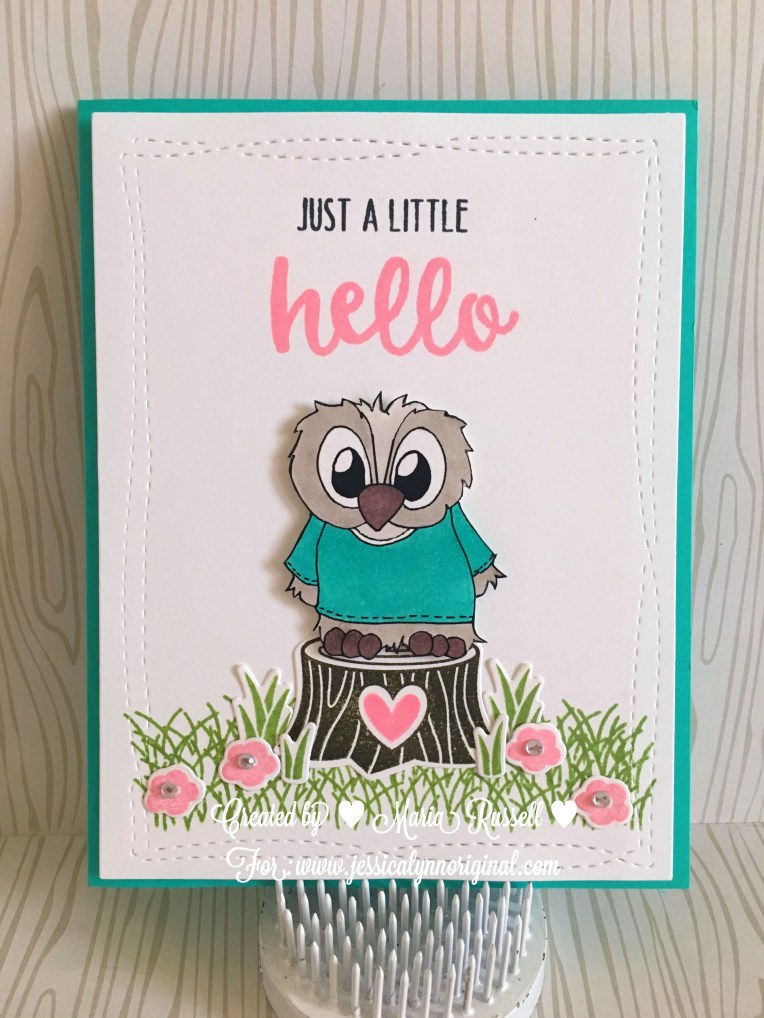
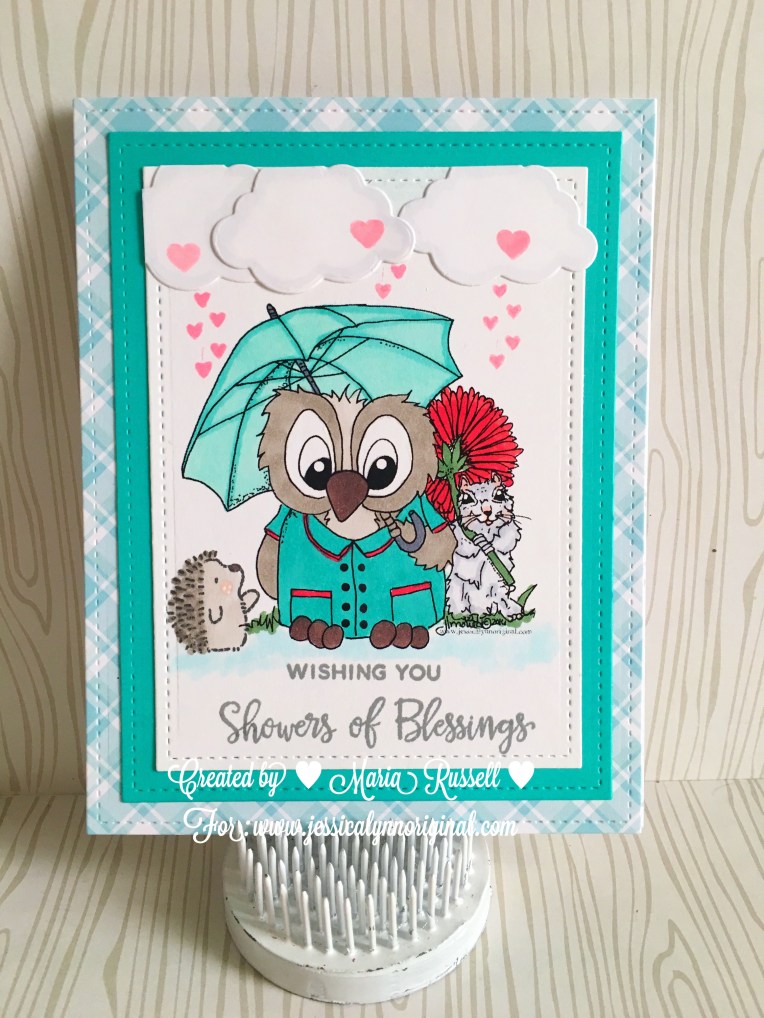
If I am using a clear stamp, my favorite tool to use for stamping is my MISTI or my stampoholic-Nano. This tool makes lining up the sentiments and stamping the images so much easier. If you didn’t stamp it correctly, you can always go back and stamp it again and make it look as perfect as you want it to be. However for the two cards you see below, I used my all-time favorite digital stamp from JLO and the free anniversary digital stamp now available for download until the end of this month. Here’s the link http://www.jessicalynnoriginal.com/limited-edition-instant-download-jessicalynnoriginal-coms-brentwood-owl-singing-in-the-rain-celebrating-our-11th-anniversary-digital-rubber-stamp/

From my experience, stamping the image a couple of times is always a good idea because if you somehow mess up the coloring on one image, then you can color another without having to go back and stamp again and again. Trust me, it will save you so much time! I use Memento Tuxedo black ink for Copic markers, or MFT Stamps Black Hybrid Ink. Now, Simon Says Stamp made the Intense Black Ink that is both good for Copic markers or watercolors. I switch between the three!
Before I die-cut the stamped images, I like to clean my stamps by using my all-time favorite cleaner, water and a chamois. Yes, a chamois! You know, the stuff that you use to wipe your car with? You can purchase one inexpensively at an auto-supply store, or order one from Amazon (where I got mine). You can reuse this a hundred times and it will clean the stamps nicely. I used to use baby wipes but they sometimes left some fibers on my stamps. I got this tip from a fellow stamper months ago at a Facebook group called Stamping Enablers. Lawn Fawn now has a stamp Shammy that they also sell in their online store.


Once the images are colored, I proceed to die-cut the images with the coordinating dies but if I don’t, I fuzzy-cut the image using my favorite Fiskars cutter-bee scissors. I also die-cut everything else that I need for my card. I like to use post-it tape to hold my dies in it’s place so it doesn’t shift when I run it through my die-cutting machine. The supplies you see on the photos are all of my favorite supplies in card making. One helpful TIP: I try to use as few colors as possible and also try to coordinate my patterned paper or card stock with the color of the images that I’m using for my card.

Have you ever noticed that popular card-makers always somehow create the most beautiful cards? Aside from using some great tools, this is the main reason why! However, this doesn’t always work for me. Sometimes, I don’t have the coordinating patterned paper or card stock but I try to minimize the colors that I use. At times, I get carried away over-embellishing my cards but then that’s what card-making is all about. Isn’t it? Sometimes I like to create simple cards, sometimes I don’t. It depends on my mood, I guess!
Once I finish the card, I then proceed to take a final photo so I can post it on my social media accounts, like Instagram, post on my Blog or use it as a thumbnail for my YouTube videos.
Another great tip: Lighting is the key to great photographs. I know it doesn’t always work but I will teach you a trick on how to edit your lighting! YOU DON’T NEED EXPENSIVE LIGHT BOXES TO MAKE THEM LOOK PROFESSIONAL!

For my cards, I use a white poster board that I lined up with a neutral patterned paper. Having a neutral color background will always make your images pop. I use a frog pin (purchased from a craft store) to hold my cards up. Once I am satisfied with the position, I take a few photos using my iPhone 6S.
If my lighting is really bad and the sun doesn’t want to cooperate, I use a photo-editor app to fix my lighting (Layout, RealBokeh, or Adobe Photoshop). However, there are a ton of free photo apps out there that can do this for you. You just need to find whatever works for you. Once I am happy with the lighting, I then use another app to put a watermark on my photos (Phonto). I started doing this now because I found that some of my card photos before were (stolen and) used to submit photos for an application to be published at a magazine. Yes, I know it is horrible and I really do not want to specify anymore because I try not to dwell on things and just move forward. I have learned my lesson the hard way. This is why I always have my watermark on my finished cards.
So I hope you guys found these tips and tricks very helpful. I would like to know your designing process and would be really grateful if you share your tips with me as well.
Here are my cards to celebrate Jessica Lynn Original’s 11th year anniversary! Please celebrate with us by going to Jessica’s Blog for more details; she will be giving away a HUGE prize at the end of the week. To participate, download the free digi-stamp and post your link at Jessica’s Blog. Here’s Jessica’s link: http://jessicalynnoriginalstamps.blogspot.com/2016/04/happy-11th-anniversary.html
Have an amazing week!

So sweet card! Love so much the colors💜💜💜
LikeLike
Thank you for sharing your design process, Maria! I especially love the tips on limiting the number of colors and your photo taking tips! Your photos always look amazing! (As do your cards!) Love the colors you chose for these projects. Thank you again for sharing!
LikeLike
Thank you so much Amanda! 💕
LikeLike
Thank you for visiting my Blog and leaving a lovely comment. Have an amazing week!
LikeLike