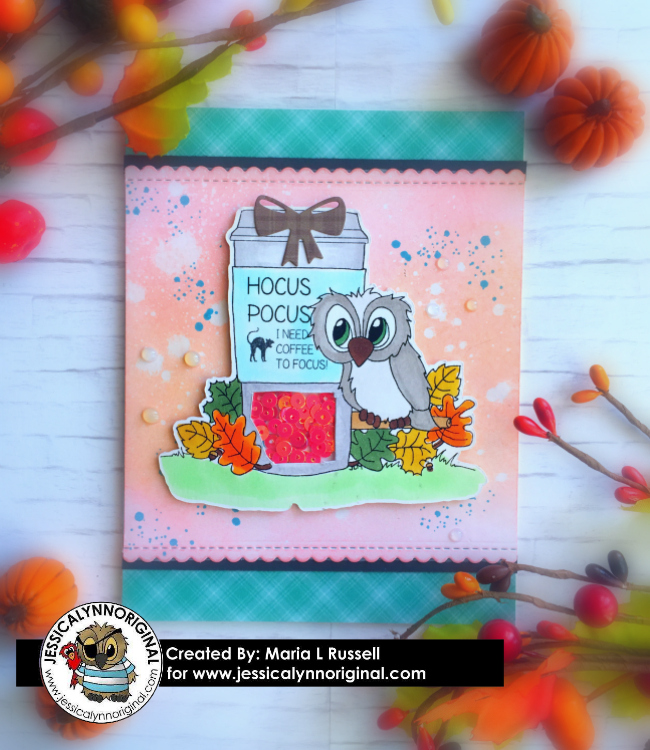
I am back guest-designing at www.jessicalynnoriginal.com and I am showcasing this limited-edition (free for download during the Coffee Lovers Blog Hop) digital stamp by Jessica Lynn Original. Please visit the Coffee Lovers Blog Hop post if you would like to join the hop and win some amazing prizes.
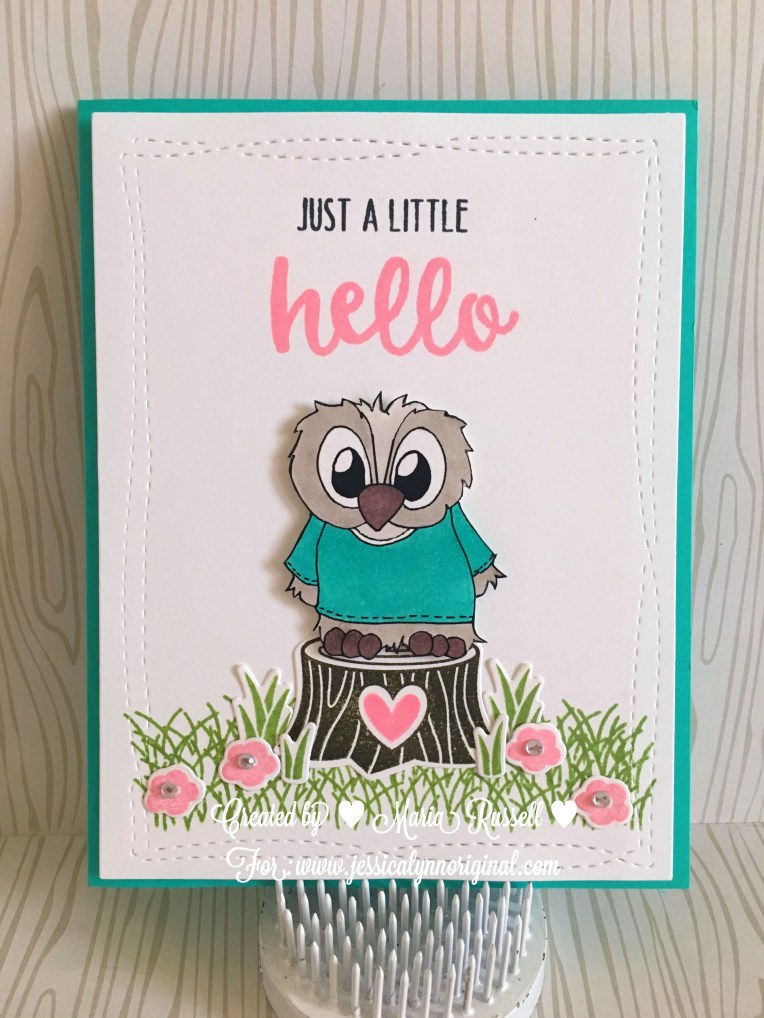
Hello again stampers and crafters! It’s my last day to share my guest design project showcasing this adorable Tiki Brentwood Owl Hawaiian Vacation by Jessica Lynn Original stamps. This stamp set is now available for pre-order and will ship for free until release day on Saturday, March 17th.
I will be sharing a total of 3 projects and today is my last post. This Tiki God is so cute, I wanted to create something really colorful. It has also been awhile since I made a shaker tag so here’s my project:
Don’t you just love the images on this stamp set? I hope you enjoyed all of the projects and hope you got inspired today.
Here are the links to all of JessicaLynnOriginal’s Design Team members as well as guest-designers. Everyone will be sharing her projects in the next few days until March 17th, 2017. Please check them out and get inspired! Have a wonderful day!
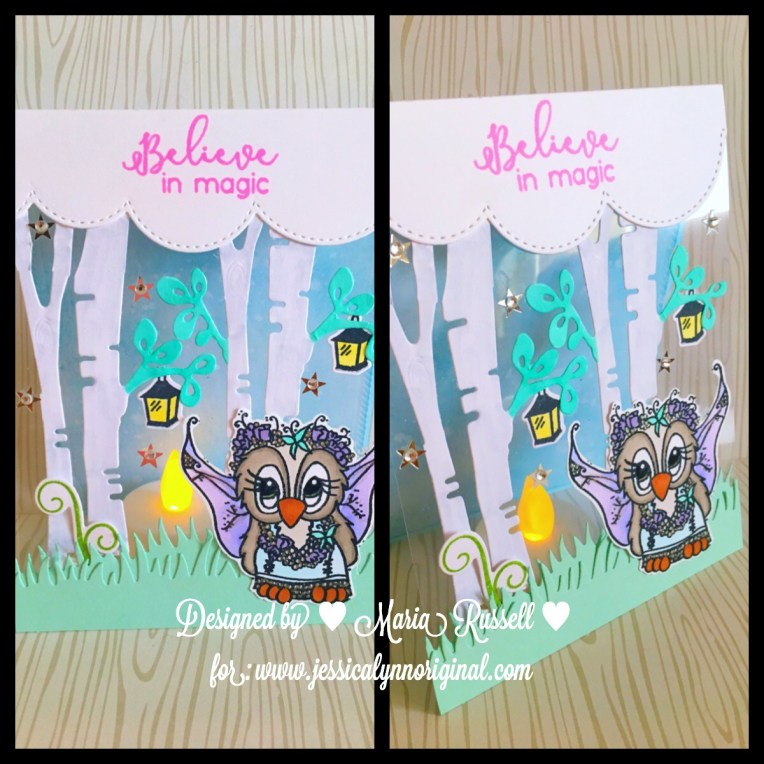
This is my second blog post for today and I apologize for that. It just so happens that today, we are launching two new beautiful stamp sets by www.jessicalynnoriginal.com, called “Operation Snowball Brentwood” and “Once Upon a Fairy Tale Brentwood”. These two new stamp sets are probably my favorite drawings by Jessica, thus far. I have created two samples for each stamp set.
Once Upon a Fairy Tale Brentwood:
Operation Snowball Brentwood:
The supplies are listed and linked below. Have a great weekend!
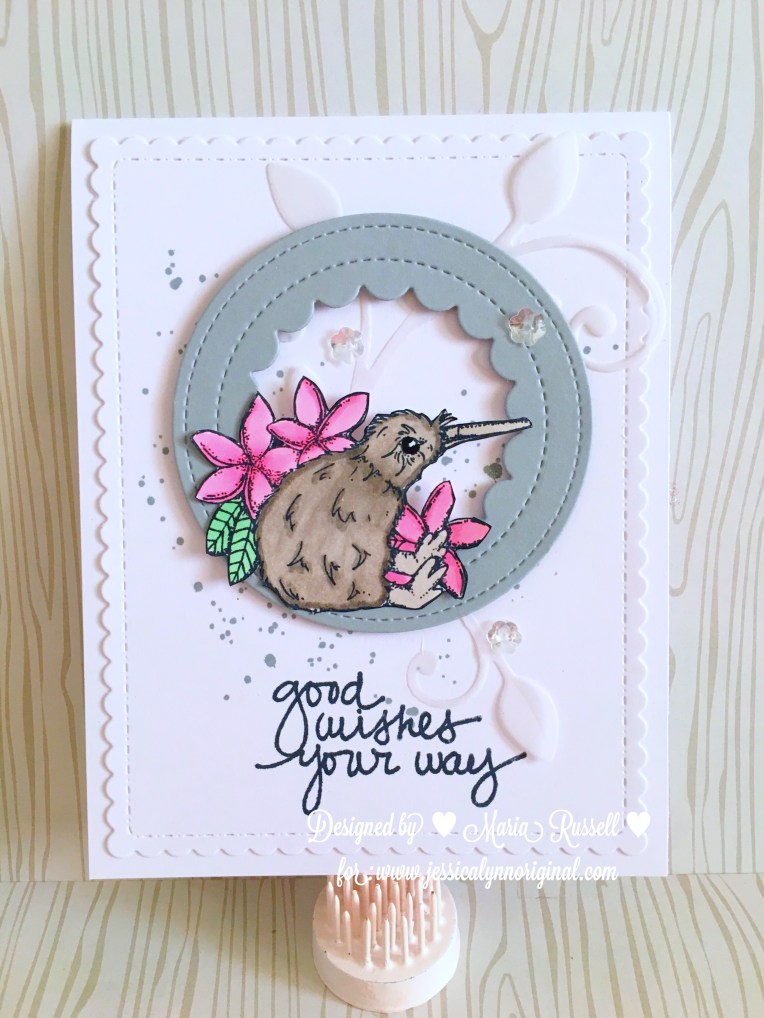
Today we are going to go “down under” to explore the beauty of Australia, through JessicaLynnOriginal’s new stamp set called Down Under-Australia Zoo. The images on this set are just beautiful! If I were not swamped with design team projects and an upcoming travel in a few days, I would have made more samples for you. However, I was able to make three:
This Koala Bear is just adorable!
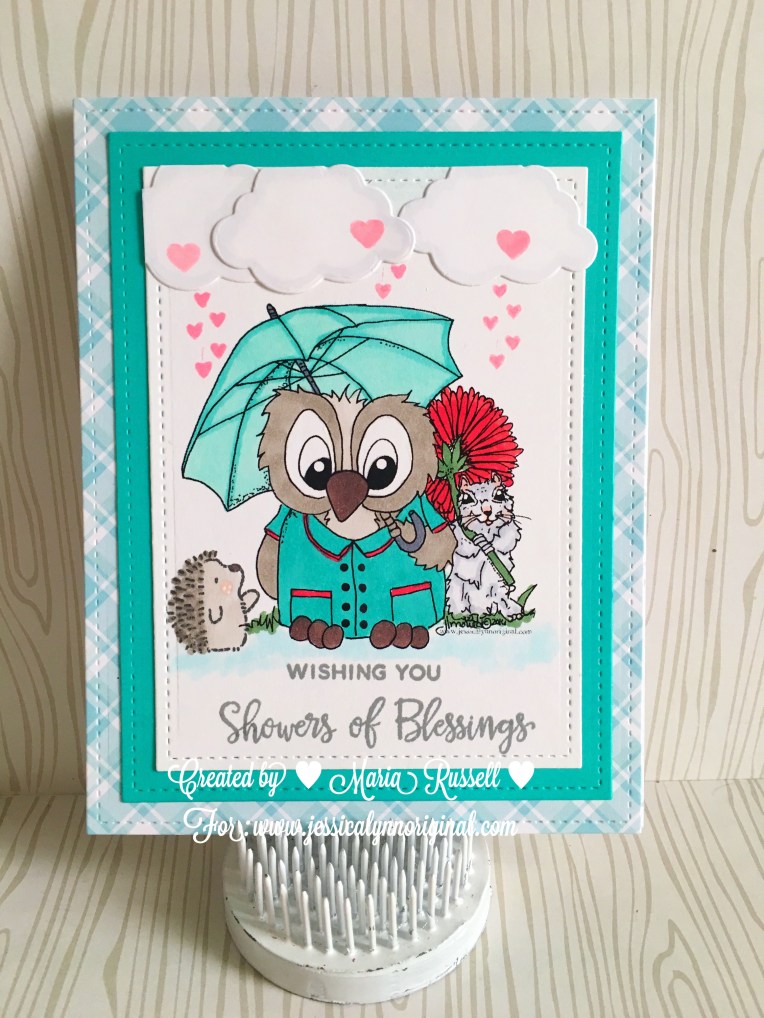
I love the sentiment that I used for the card below and paired it with a Brentwood digital stamp and my favorite Magnolia Doohickey Die called “Lovely Umbrella”.
The last card below is my favorite. I am currently addicted to layering white on white card stock. It is very clean and simple. I also added some vellum leaves and sparkling clear sequins to finish off the design. What do you all think?
As always, Jessica is giving away this stamp set to one (1) lucky winner. Please go to Jessica’s blog for more details: https://jessicalynnoriginal.net. This stamp set also is now available for purchase at http://www.jessicalynnoriginal.com/jessicalynnoriginal-down-under-australia-zoo-rubber-stamp-set-featuring-kangaroo-koala-and-a-kiwi/.
Be sure to check out the other designer’s blog and leave them some love. Here are the links:
Today marks the launch of the new Food and Fitness Planner Stamp Set by www.jessicalynnoriginal.com. This is the fourth planner stamp set by JLOriginal. I love these planner stamps and I use them all the time on my Erin Condren Planner.
Since this is our release day, Jessica is giving away this planner stamp set to one (1) lucky winner. All you have to do is check out all of the design team member’s posts and leave a comment on each blog. Jessica will be picking a winner tomorrow at 8:00 p.m. Central Standard time. She will announce the winner on her blog. Our design team will also show you ways on how we all use the stamp set. Please check it out:
Please don’t forget to visit the other team member’s blog and leave a comment to be able to enter Jessica’s giveaway. Good luck and have an amazing weekend!
The time has come to start the design team season with a bunch of digital stamps from JessicaLynnOriginal. Jessica (owner and artist) had drawn some amazing beautiful stamps for everyone to enjoy. Whether you are into cutesy designs, serious or just a nature-lover, Jessica has everything for you. For more details, please check out all of the new digital stamps at www.jessicalynnoriginal.com. For those of you who love to start creating Christmas cards early and getting it out of the way, you are in luck! Download it and keep your little ones busy by coloring and crafting with them. By the time summer is over you will not only be thankful that you started your cards early, but you would be creating some great memories with your children!
I honestly struggle designing realistic cards. I’ve always been a fun of cute stamps so I naturally picked the stamps that were more “my style”. Here are the 3 Christmas card samples I have for all of you. I hope you love them:
Scrooge
Sydney the Penguin with Friend
Christmas Snow Globe
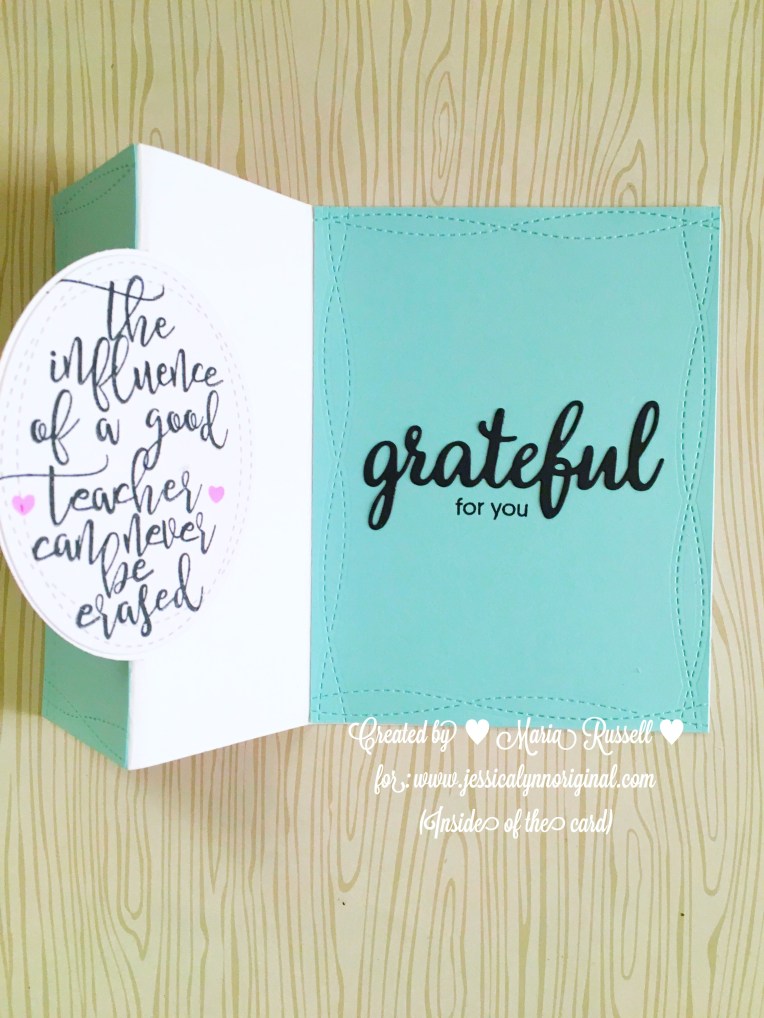
The last card inspired me to do a Thank You card for a teacher. My children were lucky enough to have had amazing teachers in the past. For me, teachers are super heroes. They do amazing work to sharpen the minds of our children and inspire them to do greater things and most often, they are completely unappreciated! If your child has or had a great teacher, show him or her how much you appreciate them. My daughter has a great relationship with her past teachers and is now finishing her degree in a year to become one.
Brentwood ABC – Front of the cardBrentwood ABC – Inside of the card
I am currently in London with my family by the time this post goes live. If you have any questions about the stamps or would like to know more about the upcoming events with JLO and the design team, please head on over to Jessica’s Blog (www.jessicalynnoriginal.net). Jessica is also offering special rates if you’d like to buy all of the digital stamps. Please also join the Facebook group to win prizes this weekend and tag a friend. 2 lucky winners will win a $15 gift certificate to Jessica’s store. Jessica will announce the winner on July 5th at 8:00 a.m.
The spring term for the design team for www.jessicalynnoriginal.com has officially ended, but that doesn’t stop me from creating and designing for JLO Stamps.
I love coloring! It is so relaxing to just sit on my comfy chair in my craft room, listen to my favorite music and color stamp images and bring them to life!
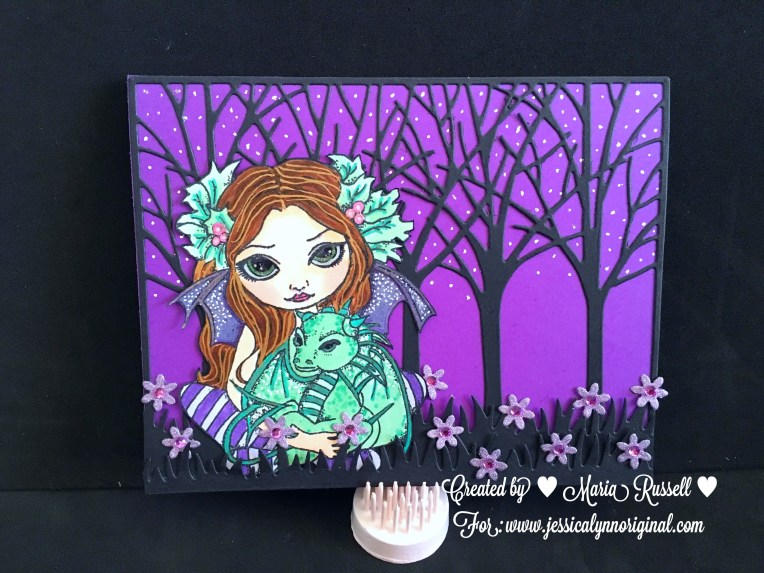
In honor of one my favorite TV shows, Game of Thrones, I decided to color this whimsical Jasmine Becket-Griffith/Jessica Lynn Original stamp called “Sienna Dragonling”.
I first colored the image using my Copic markers, Sakura gel pens, my wink of Stella brush markers, and glossy accents, to give Sienna a whimsical look! Since this image didn’t come with a die, I took my time to fuzzy-cut the image, and then proceeded to highlight the cut edge with my black memento marker to give it a finished look.
Here is the card:
Supplies I used:
Sienna Dragonling stamp set by Jessica Lynn Original
Recollections A2 size card base
Black Card Stock
DCWV Glittered card stock
Copic Markers – Face and Arm – E000, E00, R00
Copic Markers – Eyes – G17
Copic Markers – Hair – E50, E55, E57 and E59 with Sakura Gold Stardust gel pen
Copic Markers – Lips – R85
Copic Markers – Wings and dress – V22, V25, V28 with Sakura Silver stardust gel pen and Sakura white gel pen
Copic Markers –Dragon – G12 and G17 with silver stardust gel pen and white gel pen
1/8 inch. Scor-Tape
Lawn Fawn – Grass Border Die
Gina Marie Designs Tree Frame Die
Sizzix double-sided adhesive sheet (used to adhere the tree background)
Tombow Mono Adhesive
Mini Glue Dots
Flower punch
Recollections purple gemstones
I hope you like what I created today. Have an amazing Memorial Day weekend everybody!
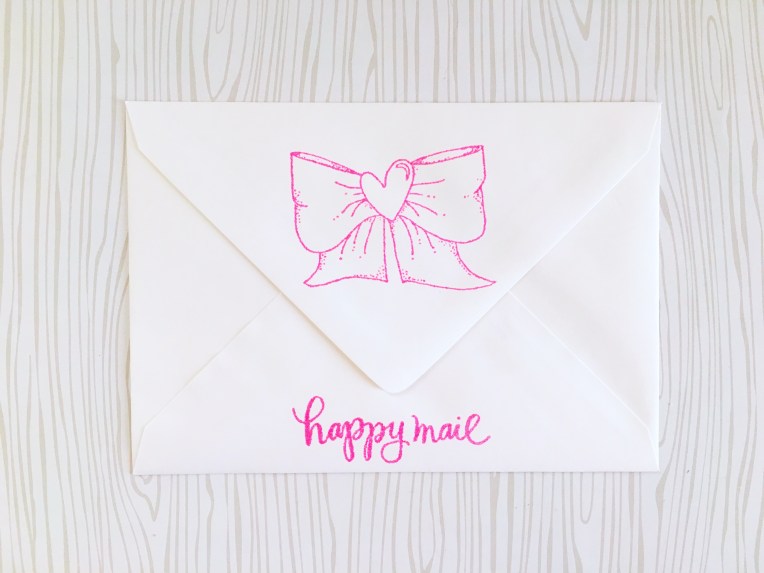
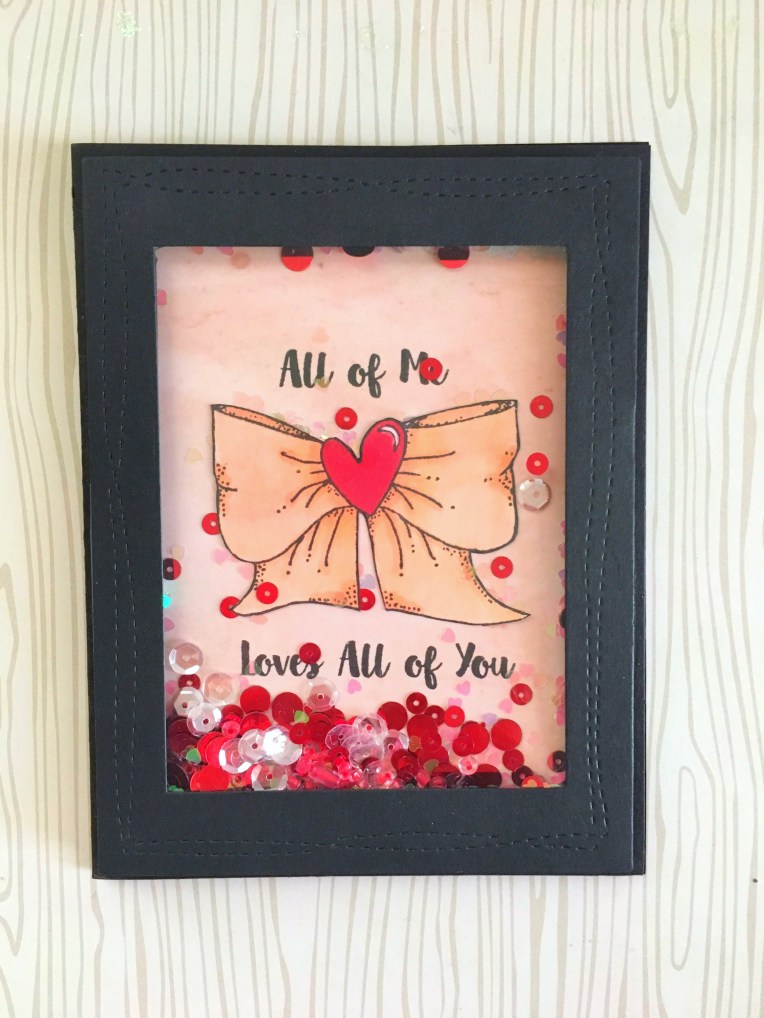
The time has finally come to end the Spring Design team season with a bang! Jessica wanted to give us something special to cherish forever. We were each given a choice to design our very own custom stamp. Since I love bows and hearts, I decided to incorporate both images to use as my custom stamp for my happy mail envelopes. Since I am a card-maker, I wanted my handmade cards to go with decorated envelopes.
My family and friends know that I love hearts and bows. The idea behind the stamp is that when people see their happy mail, they would immediately know who it’s from without even looking at the return address. I take a lot of time decorating my cards, and the envelopes should be the same.
I honestly pictured my custom stamp to be a lot smaller, so when I received it, I was bit surprised. However, now that I have stamped about 50 envelopes so far, I really like the size. Needless to say, the custom stamp is made of high-quality rubber and it stamps like a charm!
Here are some photos of how I used my custom stamp. I also decided to create a shaker card. It turned out really cute!
I also would like to take this opportunity to thank the Owner, Jessica Lynn Mould for being so generous and kind, as well as our DT Coordinator, Amanda Pollock, for having the patience with our schedules and blog hops; and to the rest of the design team, I had so much fun working with you all and admire your amazing creativity! I am looking forward to another great season!
Sharon is next on the hop. Please click on this link to get to Sharon, then hop along to the rest of the team’s blogs (Sharon: http://sharonshowcase.blogspot.com)
If you guys would like to check out the store and have your very own custom-stamp, please visit www.jessicalynnoriginal.com now. (The link will take you directly to the online store) You will not be disappointed!
In case you got lost, here is the full link for the hop:
Hello stampers and crafters! Today is my turn to showcase my all-time favorite Brentwood stamp from www.jessicalynnoriginal.com. It is also JLO’s 11th year anniversary. Today’s post will be a little different. I will not be showing you a ton of card samples. My blog post will be all about my designing process. A little disclaimer, I am still a novice in card making. The tips I am sharing with you today are some of the things I have learned along the way being a paper crafter. I am still learning and trying to improve. However this is my own designing process so I hope you enjoy. I would love to receive your comment as well on what is yours. What inspires you to create cards or scrapbook layouts? Some of you guys are visual learners and would probably like to see some of it in action, so here’s a little YouTube video that I filmed and posted on my channel. This is my “happy” place.
First thing that I do is to make a good cup of coffee for myself. I then turn my iPod on to my favorite playlist so that I can play my favorite music while I work on the card. Lighting a great scented candle is always my go-to. I know that’s too much for some people but that is what I do for myself. I like to work in a peaceful and beautiful environment. Once the room is completely how I like it, I then start gathering my supplies.
From my experience, stamping the image a couple of times is always a good idea because if you somehow mess up the coloring on one image, then you can color another without having to go back and stamp again and again. Trust me, it will save you so much time! I use Memento Tuxedo black ink for Copic markers, or MFT Stamps Black Hybrid Ink. Now, Simon Says Stamp made the Intense Black Ink that is both good for Copic markers or watercolors. I switch between the three!
Before I die-cut the stamped images, I like to clean my stamps by using my all-time favorite cleaner, water and a chamois. Yes, a chamois! You know, the stuff that you use to wipe your car with? You can purchase one inexpensively at an auto-supply store, or order one from Amazon (where I got mine). You can reuse this a hundred times and it will clean the stamps nicely. I used to use baby wipes but they sometimes left some fibers on my stamps. I got this tip from a fellow stamper months ago at a Facebook group called Stamping Enablers. Lawn Fawn now has a stamp Shammy that they also sell in their online store.
Once the images are colored, I proceed to die-cut the images with the coordinating dies but if I don’t, I fuzzy-cut the image using my favorite Fiskars cutter-bee scissors. I also die-cut everything else that I need for my card. I like to use post-it tape to hold my dies in it’s place so it doesn’t shift when I run it through my die-cutting machine. The supplies you see on the photos are all of my favorite supplies in card making. One helpful TIP: I try to use as few colors as possible and also try to coordinate my patterned paper or card stock with the color of the images that I’m using for my card.
Have you ever noticed that popular card-makers always somehow create the most beautiful cards? Aside from using some great tools, this is the main reason why! However, this doesn’t always work for me. Sometimes, I don’t have the coordinating patterned paper or card stock but I try to minimize the colors that I use. At times, I get carried away over-embellishing my cards but then that’s what card-making is all about. Isn’t it? Sometimes I like to create simple cards, sometimes I don’t. It depends on my mood, I guess!
Once I finish the card, I then proceed to take a final photo so I can post it on my social media accounts, like Instagram, post on my Blog or use it as a thumbnail for my YouTube videos.
Another great tip: Lighting is the key to great photographs. I know it doesn’t always work but I will teach you a trick on how to edit your lighting! YOU DON’T NEED EXPENSIVE LIGHT BOXES TO MAKE THEM LOOK PROFESSIONAL!
For my cards, I use a white poster board that I lined up with a neutral patterned paper. Having a neutral color background will always make your images pop. I use a frog pin (purchased from a craft store) to hold my cards up. Once I am satisfied with the position, I take a few photos using my iPhone 6S.
If my lighting is really bad and the sun doesn’t want to cooperate, I use a photo-editor app to fix my lighting (Layout, RealBokeh, or Adobe Photoshop). However, there are a ton of free photo apps out there that can do this for you. You just need to find whatever works for you. Once I am happy with the lighting, I then use another app to put a watermark on my photos (Phonto). I started doing this now because I found that some of my card photos before were (stolen and) used to submit photos for an application to be published at a magazine. Yes, I know it is horrible and I really do not want to specify anymore because I try not to dwell on things and just move forward. I have learned my lesson the hard way. This is why I always have my watermark on my finished cards.
So I hope you guys found these tips and tricks very helpful. I would like to know your designing process and would be really grateful if you share your tips with me as well.
Here are my cards to celebrate Jessica Lynn Original’s 11th year anniversary! Please celebrate with us by going to Jessica’s Blog for more details; she will be giving away a HUGE prize at the end of the week. To participate, download the free digi-stamp and post your link at Jessica’s Blog. Here’s Jessica’s link: http://jessicalynnoriginalstamps.blogspot.com/2016/04/happy-11th-anniversary.html