D.I.Y. Halloween Pet Bandana with Artesprix Sublimation Markers

Dress-up your pet this Halloween with this cute Bandana Project!

Learn how to create a one-of-a-kind Halloween Pet Bandana with your sublimation markers!

Hello Artesprix fans! It’s Maria Russell and it’s my turn today to share a really cute project, showcasing Artesprix’s sublimation markers and ink pad along with the Artesprix Pet Bandana in medium.

Here’s what you’ll need to create the project.

Materials:

Tools:

Artesprix Heat Press.

Step-by-Step Tutorial:

Step 1.

Type and print out your pet’s name on a plain piece of typing paper.

Step 2.

Flip your design and use your pencil to draw lines, making sure you are covering your pet’s name. If you have a light box, turn it on and place your design on top.

Step 3.

Use another plain typing paper and trace your pet’s name using a pencil. [Designer tip: this method will enable you to get a silhouette of your pet’s name]. Use Artesprix’s Black Sublimation Marker in Fine Point to trace the silhouette on your typing paper.

The pencil helped me get a slight shadow of my pet's name.  It made it easier for me to trace it using the sublimation marker.
The pencil helped me get a slight shadow of my pet’s name. It made it easier for me to trace it using the sublimation marker.

Step 4.

This is what it looks like when you are done tracing the name:

By using a pencil, it will be easier to trace your pets name to get a mirror image.
By using the pencil, it will be easier to trace your pet’s name to get a mirror image.

Step 5.

Add some cute images on your design. I used one of my favorite Halloween stamp set and stamped them using the Artesprix Sublimation Stamp Pad.

stamp additional images on your typing paper.
Stamp additional images on your typing paper.
This is what it looks like after stamping.

Step 6.

Color the images with Artesprix Sublimation Markers.

color images with Artesprix sublimation markers.

Step 7.

It is important to use a lint roller to remove any unnecessary particles on your blank before pressing. This will ensure a clean crisp design transfer to your Artesprix Pet Bandana.

Secure your design on your blank by using Artesprix Heat Tape. [Designer tip: I used my LED light box to make sure that my images are perfectly centered. ] If you are using the Artesprix Heat Press, you only need one on each side to hold it down. If you are using an iron, you will need more. Sometimes the iron will cause the image to slip and you will get a ghost image. [Only use Artesprix Heat Tape on the outer edge of the design (not over it).]

Position your design on top of your blank and secure it with the heat tape.

Step 8.

Turn your heat press on and set the temperature to 400 degrees Fahrenheit and the timer for 30 seconds.

Step 9.

Create your sublimation sandwich. Cut two pieces of Protective Paper to cover your project on the top and bottom. [Designer tip: Make sure that your design is facing the heat source before you heat press.] Place it inside the Heat Press and close the machine. The Heat Press will beep indicating that your project is finished!

Step 10.

While wearing protective gloves, lift the handle and take your sublimated Pet Bandana. Place the bandana on top of the Protective Project Mat and give it a few minutes to cool down. Gently remove the paper to reveal the design!

I had so much fun creating this D.I.Y Halloween Pet Bandana. The challenge for me now is to actually get my cat to wear it on Halloween!

Here’s a closer look:

I love the little ghost holding the candles and the lollipop! This design turned out to be cute and whimsical!

Join in the Iron-on-Ink Fun!

Love this D.I.Y Halloween Pet Bandanaproject? Join the Iron on Ink community on Facebook for more project ideas and to share your own creative iron-on ink projects.

Don’t forget to save this to Pinterest and share with all your friends!

If you like this project, you need to check out Ivy Rivera’s Artesprix Flocked Sublimation T-shirt project.

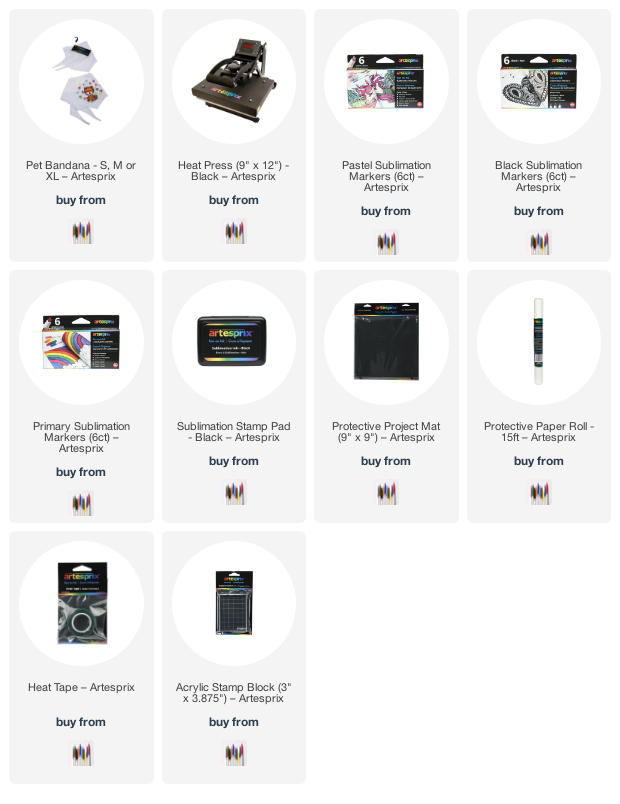
You will find all the blanks and other supplies available for purchase on the Artespix website. They are also listed and linked below. Thank you for stopping by and happy crafting!

**The links below are affiliate links. If you decide to make a purchase, you are supporting today’s post writer at no extra cost to you, thank you! These products are endorsed by the author and we hope you’ll love them, too.

———-SUPPLIES———-
Newton’s Nook Designs May Release Day 2 – Monarchs Stamp Set with Butterflies Stencil


It is the second day of the reveals by Newton’s Nook Designs.  I hope you were able to check out yesterday’s reveal.  You also have a chance to win the stamp set being revealed each day so please read through til the end of the blog post to find out more info.  [Just a little important note:  I know some of you had difficulties finding the comments section.  If you would like to leave a comment to participate in the giveaway, the “comments section” will only be ever visible when a single post on Word Press is being viewed. Please click on this particular blog post and you will be able to leave a comment below.  Thank you!]  


For day 2, we are showcasing the Monarchs stamp set and coordinating dies with the [Layering] Butterflies stencil.


As soon as I saw this stamp set, I already envisioned a card design in my head.  I knew a clean and simple look would make these butterflies stand out.


I stamped the butterflies on some Bristol smooth white card stock with Versamark ink.  I sprinkled some white embossing powder and used my heating tool to heat set the images.


I chose different colors of distress oxide inks and my mini-ink blending tools to ink blend the colors on the butterflies.  I used the coordinating dies to die-cut them out.


I used my guillotine to cut my patterned paper, measuring about 2 by 5 1/2 inches.  I adhered this piece on some A2 size card base.  I also added the black strip with some liquid glue.


I foam-mounted the butterflies following the colors on my patterned paper.  To finish my design, I stamped the sentiment with some Versafine onyx black ink and adhered the Sparkling Clear Droplets for added texture and dimension.


I really LOVE how simple and pretty this card turned out.  Here’s another look:


For my second card,  I used stencil no. 1 from the Butterflies stencil and and added some Deco Foil Transfer Gel with the Deco Foil stencil pal.  This makes it easier to spread the gel evenly on the card.  I set this panel aside to dry for about half an hour.


Once the gel turns transparent you know that they are ready to be foiled.  I cut some silver foil and placed it on top of the card.  I used the transfer sheet to run this through my laminating machine to foil the card.


To add the second color to the butterflies, I used stencil no. 2 and applied some Deco Foil Transfer Gel on top of the foiled butterflies.  I waited for another half an hour for this piece to dry and placed a rainbow foil on top of the card.  I used the transfer sheet again to run this through my laminator.  I didn’t realize it is possible to foil the images twice but it worked out just fine and I love the result.


I used my guillotine to cut the foiled panel diagonally.  I adhered some white die-cut panel on an A2 size white card base, and added the foiled diagonal panel with some liquid glue.  I adhered some silver strip to the card also with liquid glue and added the sentiment die-cut using a die from my collection.


Here’s another look:


Would you like to win the “Monarchs”  Stamp Set?  This stamp set will be given away to ONE lucky winner!


Here’s how to win: 

Comment on the NND blog and Design Team blogs (see list below)! The winner will be chosen at random from the collective reveal posts. Make sure to check out each of their blogs and comment for your chance to win. You will not know which blog has been chosen so the more you comment on the better your chances are of winning! You have until Thursday May 21st at 9pm EST to comment  — winners will be announced on the blog post on Friday, May 22nd.


Check out all the awesome Design Team Blogs below to enter:

Newton’s Nook Designs

Ellen Haxelmans

Larissa Heskett

Samantha Mann

Zsofia Molnar

Naki Rager

Maria Russell

Andrea Shell

Tina Smith

Tatiana Trafimovich

Amanda Wilcox

————SUPPLIES—————


Coloring with Spectrum Noir Illustrator Markers

Hello my crafty peeps!  I hope everyone’s doing well.  I am back today to inspire you to do some coloring using your Spectrum Noir Artist Illustrator Markers.   Coloring images for me is very therapeutic and having the right markers and card stock makes it more fun! 


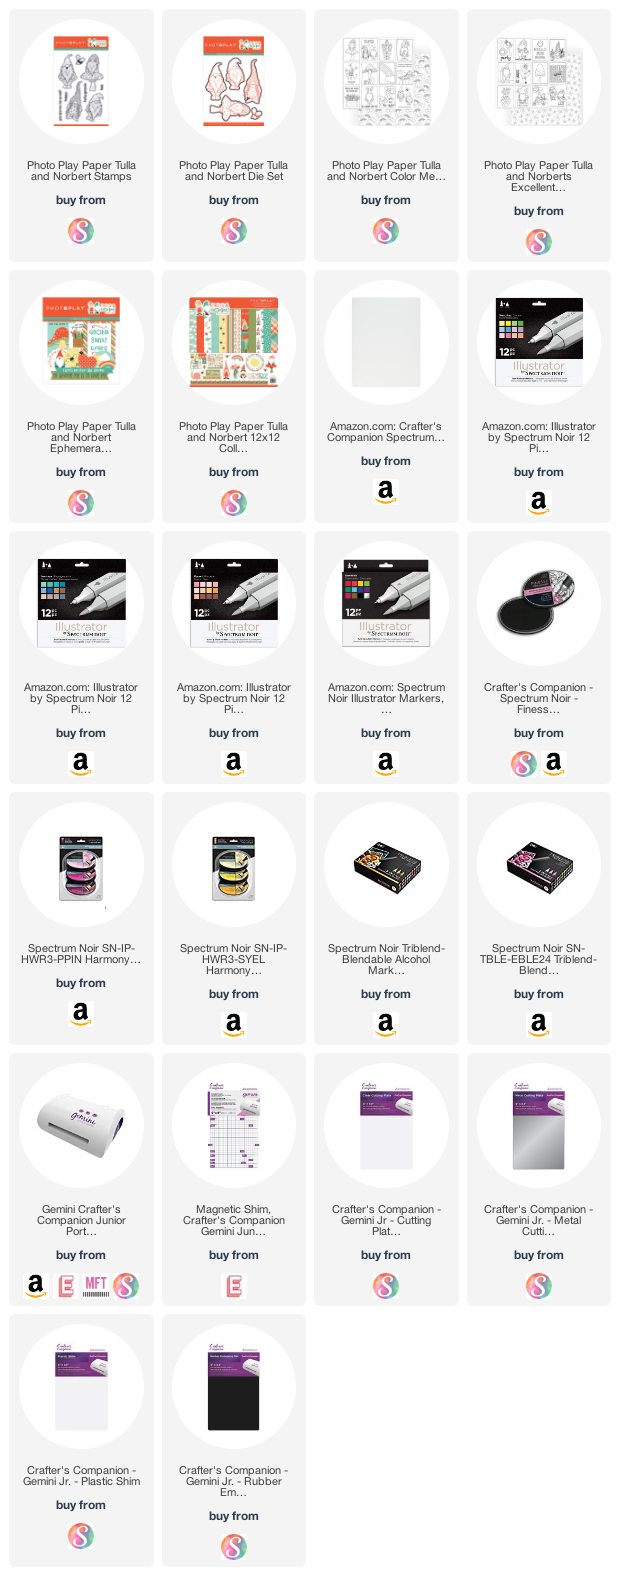
For my project today, I am showcasing the SN Artist Markers and SN Harmony Water Reactive Inks.  The stamp and die set that I am featuring today is called Tulla and Norbert Stamp and die set collection by Photo Play Paper.


Begin by stamping images on Spectrum Noir Premium Ultra Smooth card stock using SN Alcohol Proof Dye Ink in Black.  Color images using Spectrum Noir Illustrator markers and die-cut using the coordinating dies.   


Here are the colors I used for the Gnome sitting on top of the mushroom:

BeardBG1, BG2 and Blender

Hat and ClothesBT3, BT4, BT5 and GB1, GB3 and GB5

MushroomOR1, OR2, OR3 and BG5, BG6, BG7 and Blender

BeeCT2, CT3, GY3 and WingsIB1 and Blender


Die-cut an A2 size piece of Bristol Smooth white card stock and ink-blend this panel using SN Water Reactive inks in Fuchsia and Honey Pot.


Die-cut the rest of the elements needed to create the card.   Adhere the die-cut panel on the ink-blended background with foam adhesive.  Adhere the main focal image in the middle with liquid glue.


Stamp the sentiment using Spectrum Noir Finesse ink in Black. 


Finish the design by adding some crystal jewels.  Add “stickles” to the bee’s wings and glossy accents to the Gnome’s nose.


I really LOVE how this card turned out.  Here’s another look:


I hope you got inspired today.  The supplies I used are listed and linked below.  Thanks for stopping by and happy coloring!


———–SUPPLIES————

Newton’s Nook Designs February Release Day 2 – Bitty Bibs & Sky Scene Builder Die Set


It is the second day of the reveals by Newton’s Nook Designs  and I hope you were able to check out yesterday’s reveal.  You also have a chance to win each stamp set during release week so check out the details I have indicated at the end of this blog post.  [Just a little important note:  I know some of you had difficulties finding the comments section.  If you would like to leave a comment to participate in the giveaway, the “comments section” will only be ever visible when a single post on Word Press is being viewed. Please click on this particular blog post and you will be able to leave a comment below.  Thank you!]  


For today’s reveal, we are showcasing the adorable Bitty Bibs stamp set and Baby Bibs coordinating dies with the Sky Scene Builder die set.


To create my card, I stamped the images on some Neenah solar white card stock and colored the images in with my Spectrum Noir TriBlend markers.  I fussy-cut the images using my  Honey Bee precision scissors.  I die-cut the scallop bibs using the Bitty Bibs die set and adhered the colored images on top of it with some liquid glue.


I die-cut the yellow background with some yellow card stock and used the new Petite Flowers stencil to add more depth and color.   I adhered this piece on an A2 size card base.  The wavy border frame was die-cut using a die from my stash and foam-mounted on the card.  I also foam mounted the colored bibs for stability.


The sentiment was stamped on some black card stock with versamark ink and heat-embossed with my heating tool.


To finish my design, I added the hearts that were stamped and colored using the What A Hoot stamp set.  I absolutely LOVE all the colors on this card.  The bright yellow background made the images pop!  Here’s a closer look:


To finish my design, I stamped the sentiment with Versamark ink and sprinkled some embossing powder, then heat-set using my heating tool.  I added some white heart sprinkles to adorn the card and glossy accents to the heart for more texture and dimension.  Here’s a closer look:


Would you like to win the “Bitty Bibs” Stamp Set? This stamp set will be given away to ONE lucky winner!


Here’s how to win: Comment on the NND blog and Design Team blogs (see list below)! The winner will be chosen at random from the collective reveal posts. Make sure to check out each of their blogs and comment for your chance to win. You will not know which blog has been chosen so the more you comment on the better your chances are of winning! You have until Thursday February 20th at 9pm EST to comment  — winners will be announced on the blog post on Friday, February 21st.


Check out all the awesome Design Team Blogs below to enter:

Newton’s Nook Designs

Ellen Haxelmans

Larissa Heskett

Samantha Mann

Zsofia Molnar

Naki Rager

Maria Russell

Andrea Shell

Tina Smith

Tatiana Trafimovich

Amanda Wilcox

————SUPPLIES—————


Newton’s Nook Designs January Release Day 2 – Love Quarry

It is the second day of the January reveals by Newton’s Nook Designs.   I hope you were able to check out yesterday’s reveal.  You also have a chance to win each stamp set during release week so check out the details I have indicated at the end of this blog post.  [Just a little important note:  I know some of you had difficulties finding the comments section.  If you would like to leave a comment to participate in the giveaway, the “comments section” will only be ever visible when a single post on Word Press is being viewed. Please click on this particular blog post and you will be able to leave a comment below.  Thank you!]  


For the second day of the reveals, we are showcasing the Love Quarry stamp set + coordinating dies.


To create this card, I started by stamping my images on some Neenah solar white card stock and used my alcohol markers to color the images. I die-cut the images using the coordinating dies.


I want my scene to look like these tractors are moving those hearts back and forth so I decided to cut my card stock four times using the land border die.   I ink-blended some of the die-cuts with Tumbled Glass distress oxide inks with my mini ink blending tools.


I adhered the die-cut pieces on an A2-size sidefold card base using either foam or liquid adhesives.  After adhering my images on the card, I realized I was still missing something so I decided to add the clouds using a die from my stash.   Lastly, I stamped the sentiment using some lobster ink.  Here’s the card:


I finished my design by adding glossy accents to the tractors.  I know you can’t see it on the photo but they look like glass.  Here’s a closer look:


Would you like to win the “Love Quarry” Stamp Set?  This stamp set will be given away to ONE lucky winner!


Here’s how to win: 

Comment on the NND blog and Design Team blogs (see list below)! The winner will be chosen at random from the collective reveal posts. Make sure to check out each of their blogs and comment for your chance to win. You will not know which blog has been chosen so the more you comment on the better your chances are of winning! You have until Thursday January 23rd at 9pm EST to comment  — winners will be announced on the blog post on Friday, January 24th.


Check out all the awesome Design Team Blogs below to enter:

Newton’s Nook Designs

Ellen Haxelmans

Larissa Heskett

Samantha Mann

Zsofia Molnar

Naki Rager

Maria Russell

Andrea Shell

Tina Smith

Tatiana Trafimovich

Amanda Wilcox

————SUPPLIES—————


Newton’s Nook Designs November Release Day 2 – Newton’s Toboggan & Mountains Stencil


It is the second day of the November reveals by Newton’s Nook Designs.   I hope you were able to check out yesterday’s reveal.  You also have a chance to win each stamp set during release week so check out the details I have indicated at the end of this blog post.  [Just a little important note:  I know some of you had difficulties finding the comments section.  If you would like to leave a comment to participate in the giveaway, the “comments section” will only be ever visible when a single post on Word Press is being viewed. Please click on this particular blog post and you will be able to leave a comment below.  Thank you!]  


For today’s release, the design team is showcasing the Newton’s Toboggan stamp set and coordinating dies with the Mountains Stencil.


To begin, I stamped my image on some Neenah solar white card stock.   I colored the images in with my Spectrum Noir Alcohol markers and die-cut the image using the coordinating dies.


I cut some Bristol smooth white card stock measuring 4 1/4 X 8 1/2.  I ink-blended my background with some distress oxide ink.  I also used the Mountains Stencil to create my snowy-mountains on the background.  I used Gina K Glitz Glitter Gel in White to create the snow and set this piece aside for about half an hour until it dried.  I adhered this piece on a 4 1/4 x 8 1/2 slimline card base.


I stamped the trees using the Winter Memories stamp set with some Noble Fir and Celery Stick inks.  I used the Hills and Grass stencil to create my snowbank and adhered my focal image on the foreground.


I used some white Copic Opaque paint to splatter it all over my card to create the snowy look for added texture, and stamped the snowflakes using some Mermaid ink.


Lastly, I stamped the sentiment from the winter Memories stamp set with some Lobster ink.


I know you can’t really tell on the photo but the Glitz Glitter Gel that I added really made the snow pop!  It’s so pretty in real life.  Here’s a closer look:


Would you like to win the “Newton’s Toboggan” Stamp Set? This stamp set will be given away to ONE lucky winner!  Here’s how to win:


Comment on the NND blog and Design Team blogs (see list below)! The winner will be chosen at random from the collective reveal posts. Make sure to check out each of their blogs and comment for your chance to win. You will not know which blog has been chosen so the more you comment on the better your chances are of winning! You have until Thursday November 14th at 9pm EST to comment  — winners will be announced on the blog post on Friday, November 15th.


Check out all the awesome Design Team Blogs below to enter:

Newton’s Nook Designs

Holly Endress

Ellen Haxelmans

Larissa Heskett

Samantha Mann

Zsofia Molnar

Naki Rager

Maria Russell

Andrea Shell

Tatiana Trafimovich


————SUPPLIES—————


Newton’s Nook Designs October Release Day 2 – Festive Fawns


It is the second day of the October reveals by Newton’s Nook Designs.   I hope you were able to check out yesterday’s reveal.  You also have a chance to win each stamp set during release week so check out the details I have indicated at the end of this blog post.  [Just a little important note:  I know some of you had difficulties finding the comments section.  If you would like to leave a comment to participate in the giveaway, the “comments section” will only be ever visible when a single post on Word Press is being viewed. Please click on this particular blog post and you will be able to leave a comment below.  Thank you!]  


For today’s release, the design team is showcasing the Festive Fawns stamp set and coordinating dies.


To begin, I stamped my images on some Neenah solar white card stock.  I also stamped the peppermints from the Newton’s Candy Cane stamp set.  I colored the images in with my Spectrum Noir Alcohol markers and die-cut the images using the coordinating dies.


I die-cut the trees from the Forest Scene Builder die set.  I inked up some Bristol smooth white card stock with distress oxide inks and used a die from my stash to create my scene.  I foam-mounted this piece on an A2 size card base.  I adhered the trees with some liquid adhesive and foam-mounted the deer and the peppermints.


Lastly, I added some Crystal Nuvo drops on the peppermints for some added texture and shine, and stamped the sentiment on my card.  Here’s a little close-up:


Would you like to win the “Festive Fawns” Stamp Set?  This stamp set will be given away to ONE lucky winner!  Here’s how to win:


Comment on the NND blog and Design Team blogs (see list below)! The winner will be chosen at random from the collective reveal posts.  Make sure to check out each of their blogs and comment for your chance to win.  You will not know which blog has been chosen so the more you comment on the better your chances are of winning!  You have until Thursday October 17th at 9pm EST to comment  — winners will be announced on the blog post on Friday, October 18th.


Check out all the awesome Design Team Blogs below to enter:


Newton’s Nook Designs

Holly Endress

Ellen Haxelmans

Larissa Heskett

Samantha Mann

Zsofia Molnar

Naki Rager

Maria Russell

Andrea Shell

Tatiana Trafimovich


————SUPPLIES—————


STAMPtember Collaboration with Simon Says Stamp and Newton’s Nook Designs

Today Newton’s Nook Designs is featured on the Simon Says Stamp site with an EXCLUSIVE stamp set that was designed just for the 2019 STAMPtember celebration!  You can purchase the new Let’s Party stamps and coordinating die set today at Simon Says Stamp.  Remember, these items are ONLY available through Simon Says Stamp while supplies last!
Today, I am sharing a birthday card showcasing the Let’s Party stamp set.  I started by stamping my images on some Neenah solar white 110 lb. card stock and colored my images in using some Spectrum Noir alcohol markers.  I die-cut the images using the coordinating dies.
I inked up an A-2 size piece of Bristol smooth white card stock with Peacock Feathers distress oxide ink.  To add more texture, I added some gold splatters on the colored background using my Sakura watercolor and my watercolor brush.  I waited for about half an hour for this to dry, and adhered this piece on an A2 size card base.
I die-cut the words “Happy Birthday” a few times on white card stock using a die from Mama Elephant.  I inked up the top piece with some Dusty Concord distress oxide ink.
I foam-mounted the die-cut panel on my colored background.  This frame piece was die-cut using the Gift Box cover up die-namics from My Favorite things.  I adhered the Happy Birthday die-cut on the foreground and added my cute critters.  Here’s my card:
To finish my design, I added some glossy accents to the balloon for added texture and dimension and also adhered the little gift boxes between the two dogs.  Here’s a little close-up:
I hope you like my projects today.  Please visit Simon Says Stamp to purchase this exclusive stamp set.  Thank you for stopping by and happy stamping!
70df8-maria2brussell2bsignature2blogo

Newton’s Nook Designs August Release Day 4- Witchy Newton, Happy Howl-oween & Ghost Stencil


It is the last day of the August reveals by Newton’s Nook Designs and I always get a little bummed.  Were you able to check out the three of the reveals?  Which one is your favorite so far?   You also have a chance to win each stamp set during release week so check out the details I have indicated at the end of this blog post.  [Just a little important note:  I know some of you had difficulties finding the comments section.  If you would like to leave a comment to participate in the giveaway, the “comments section” will only be ever visible when a single post on Word Press is being viewed. Please click on this particular blog post and you will be able to leave a comment below.  Thank you!]  


Today’s reveal will get you in the mood for Halloween and we are showcasing a lot of products –> the Witchy Newton stamp set and coordinating dies, Happy Howl-oween stamp set and coordinating dies and the Ghosts stencil.


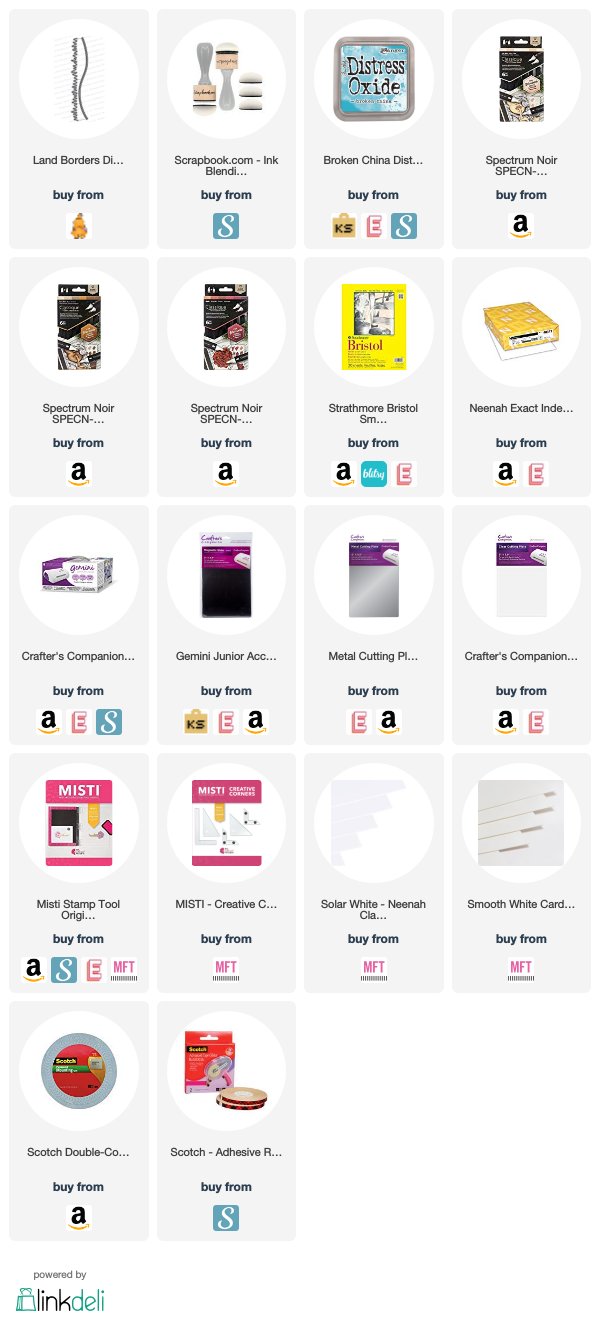
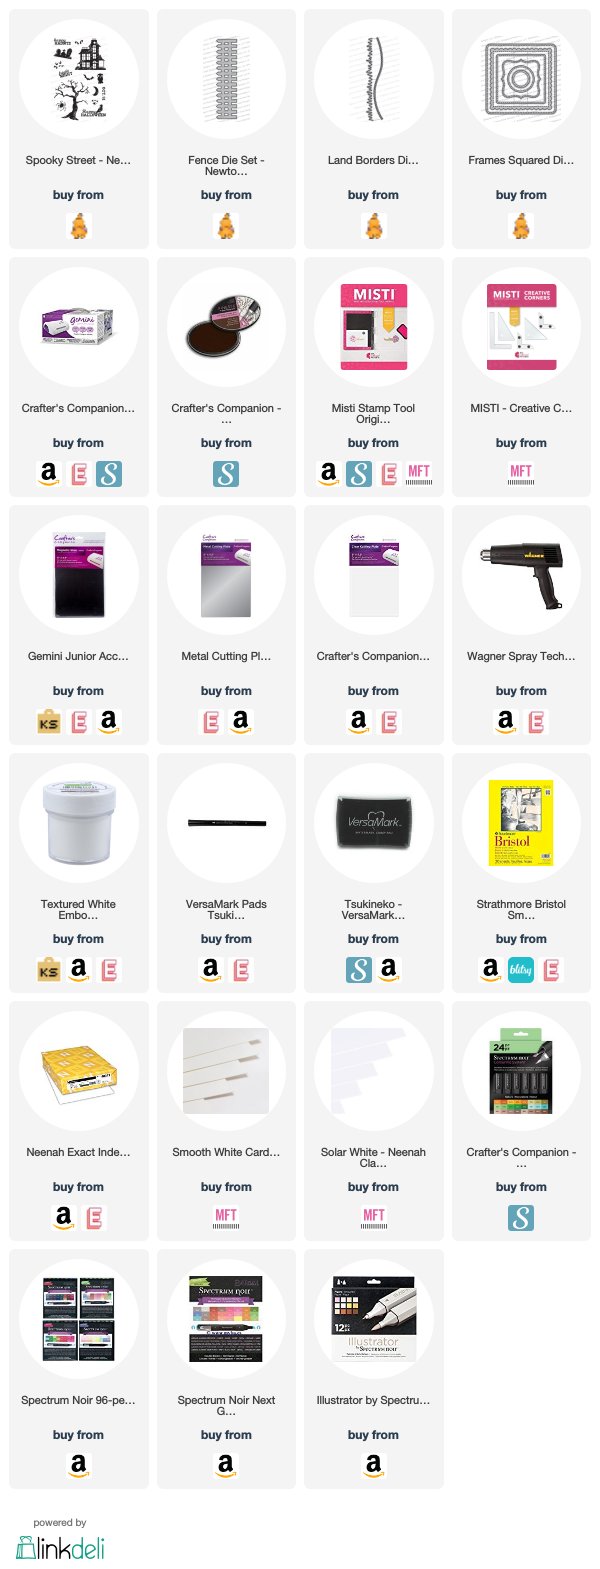
For my first card, I also used the Spooky Halloween stamp set and the Land Border die set.


I ink-blended my background with some distress oxide inks and die-cut the other elements that I needed to create my scene.   I stamped and colored my images with Spectrum Noir alcohol markers and used the dies to die-cut the images.  I foam-mounted the image on my card and finished my design by stamping my sentiment with Versamark ink and heat-set this with my heating tool.  Here’s a closer look:


For my second card, I masked my Bristol smooth white card stock with masking paper and ink-blended this piece with some distress oxide inks.  I adhered this piece on some A2 size black card base.


I used the Picket Fence die for the picket fence and the Land Border die set for the grass with some black card stock.  I assembled the card by adhering all of the pieces that I needed for my Halloween scene.


I added the ghosts using the Ghosts stencil on my card by slightly tracing the images with my Versamark pen.  I sprinkled some white embossing powder and heat-set this with my heating tool.  I did the same thing for my sentiment.  I finished the design by stamping the bats.  Here’s a closer look:


Are you now in the mood for Halloween?  I love all of the stamps, dies and stencil that we revealed this week!  Jennifer is truly an AMAZING artist!


Would you like to win the “Witchy Newton”or the “Happy Howl-Oween” Stamp Set? This stamp set will be given away to ONE lucky winner!  Here’s how to win:


Comment on the NND blog and Design Team blogs (see list below)! The winner will be chosen at random from the collective reveal posts. Make sure to check out each of their blogs and comment for your chance to win. You will not know which blog has been chosen so the more you comment on the better your chances are of winning! You have until Thursday August 22nd at 9pm EST to comment  — winners will be announced on the blog post on Friday, August 23rd.


Check out all the awesome Design Team Blogs below to enter:

Newton’s Nook Designs

Amanda Bodine

Holly Endress

Ellen Haxelmans

Larissa Heskett

Samantha Mann

Zsofia Molnar

Naki Rager

Maria Russell

Andrea Shell

Tatiana Trafimovich

————SUPPLIES————-