Hello and welcome to the release hop. We are so excited for you to join us as we present to you our May release. The whole design team will be sharing projects featuring the Caffeinated Dino stamp set with the new Sassy Sentiments stamp set. We also have a GIVEAWAY so please be sure to scroll at the end of this blog post to find out how you can WIN. Don’t forget to visit the participating blogs (links are indicated below) and leave us some crafty love.
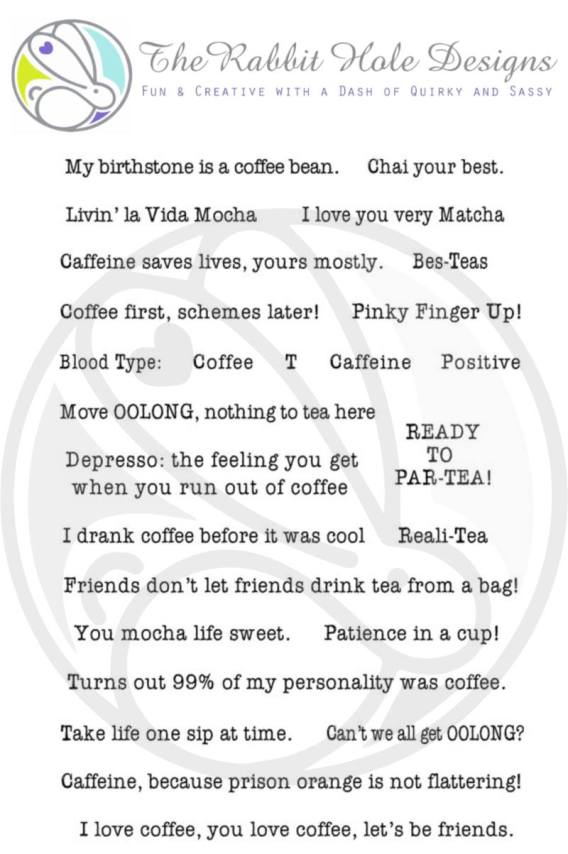
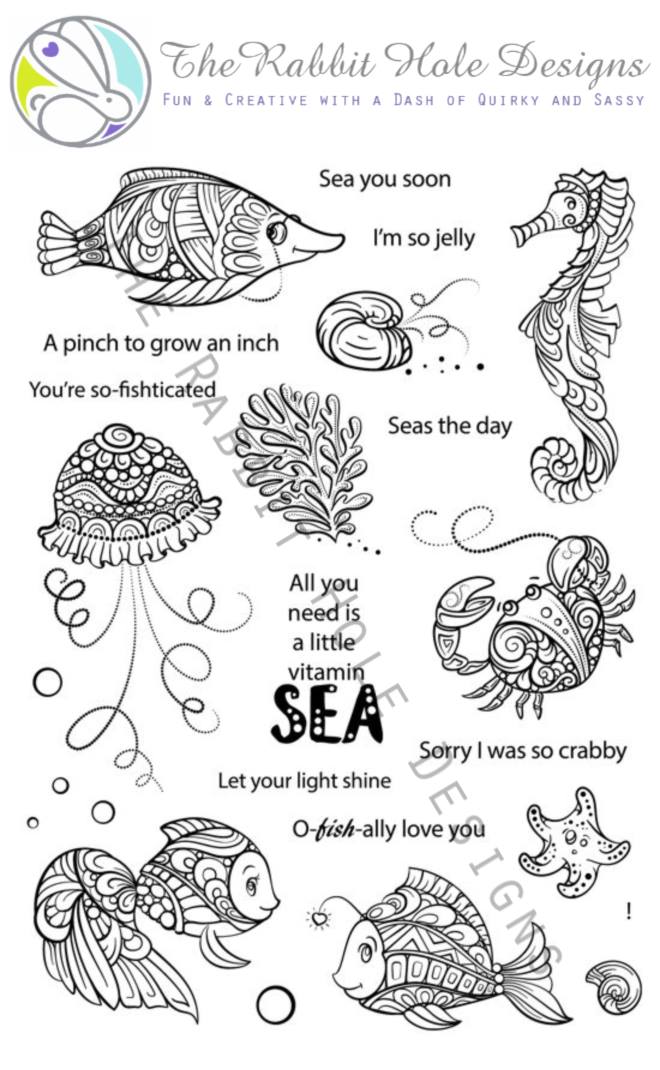
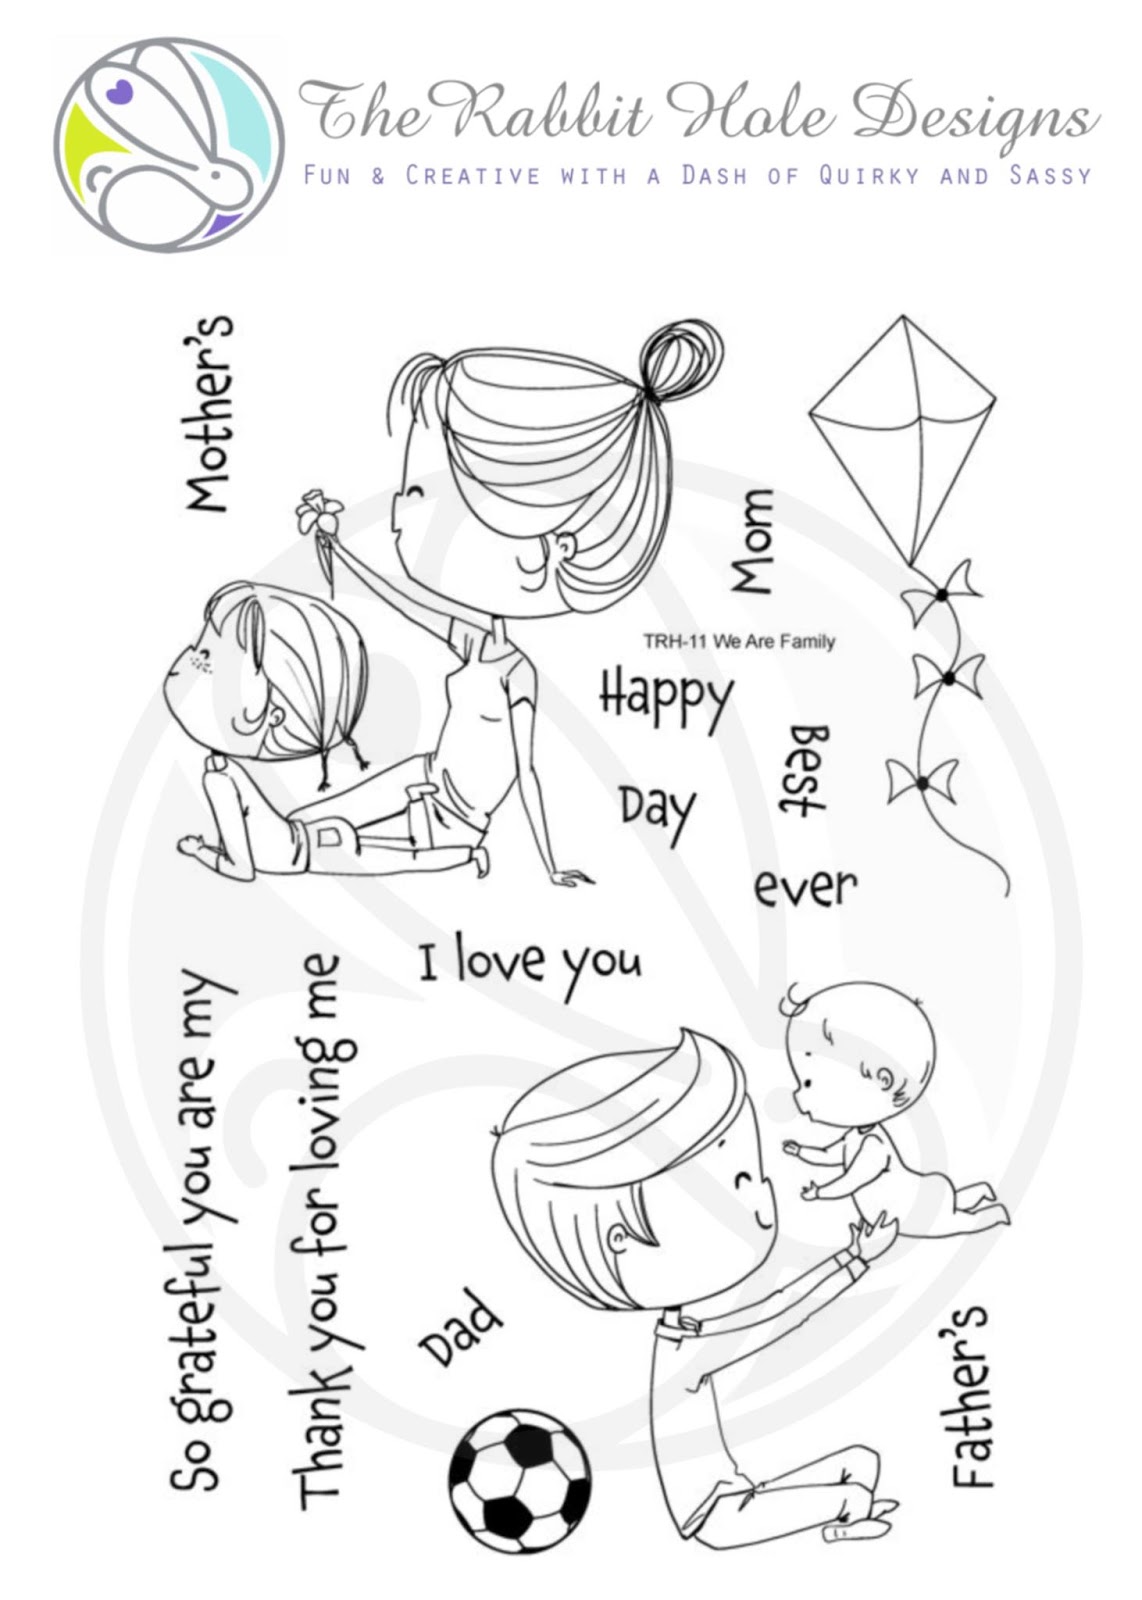
Here’s what the stamp set look like:

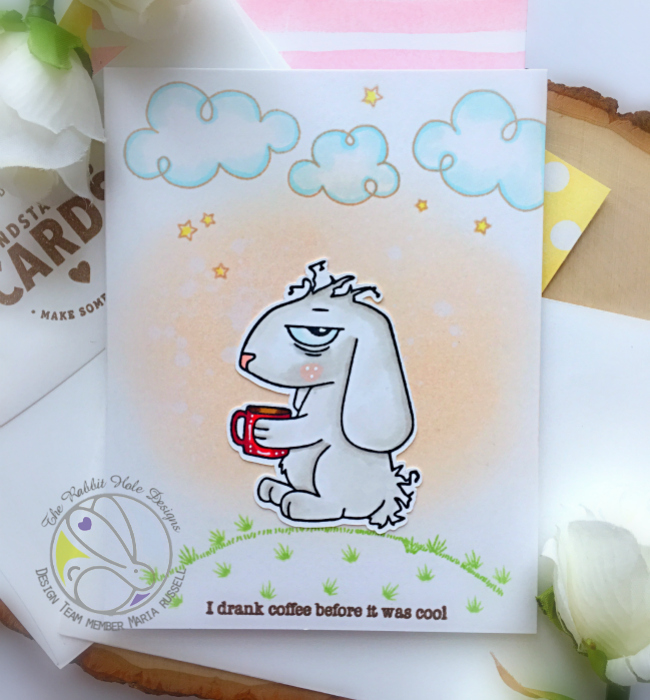
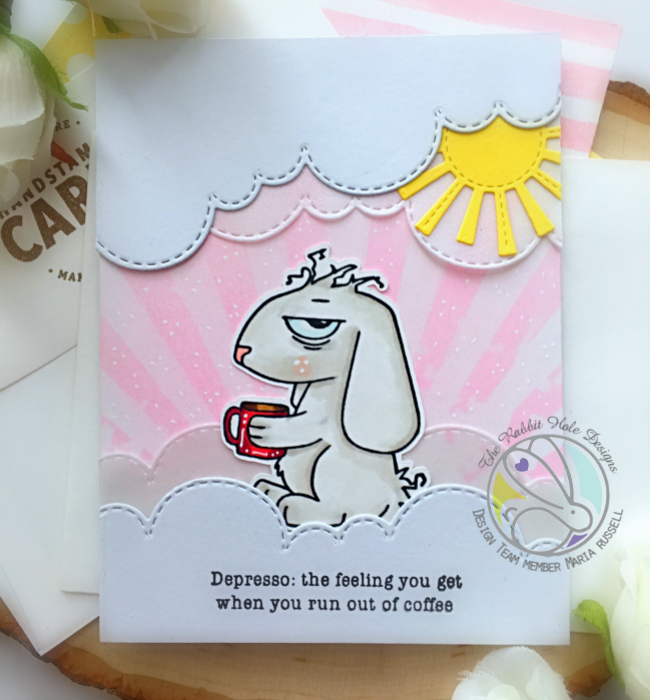
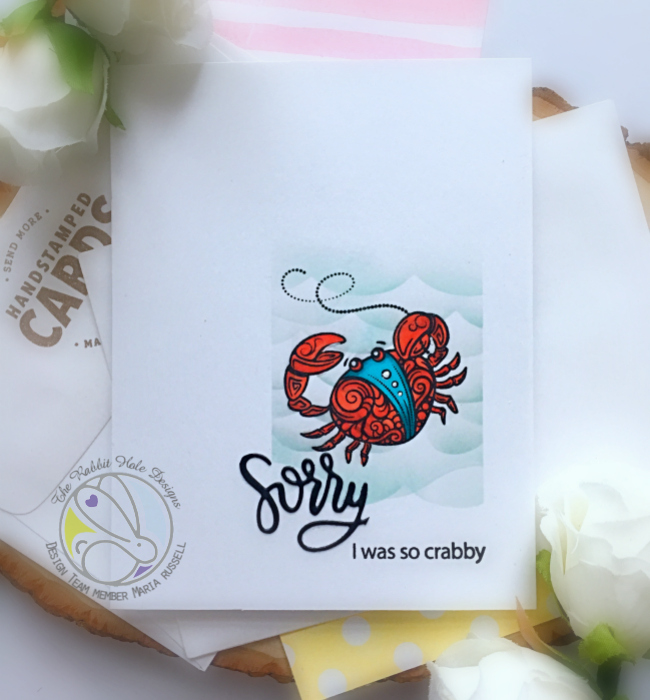
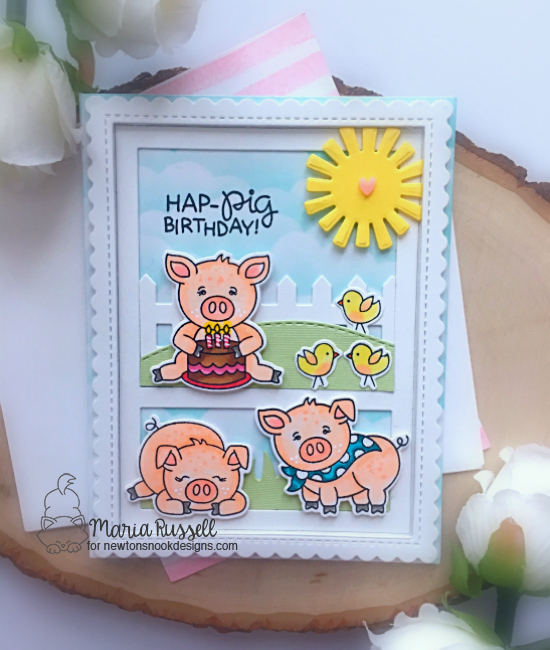
Here’s is my first card:

Card recipe:
- stamp the Caffeinated Dino image on some Neenah classic crest solar white card stock and color him in with alcohol markers (or any medium of your choice).
- die-cut the image using Brother Scan N Cut 2 machine.
- die-cut an A2 size Neenah solar white card stock using the cross stitch die.
- use a stamp set to stamp the floor image.
- use the coffee molecule stamp from the Caffeinated Dino stamp set and stamp it with Memento desert storm ink.
- stamp the bubbles from the Sofishticated stamp using the same ink and color with alcohol markers.
- adhere the dinosaur image onto the foreground to finish the design.
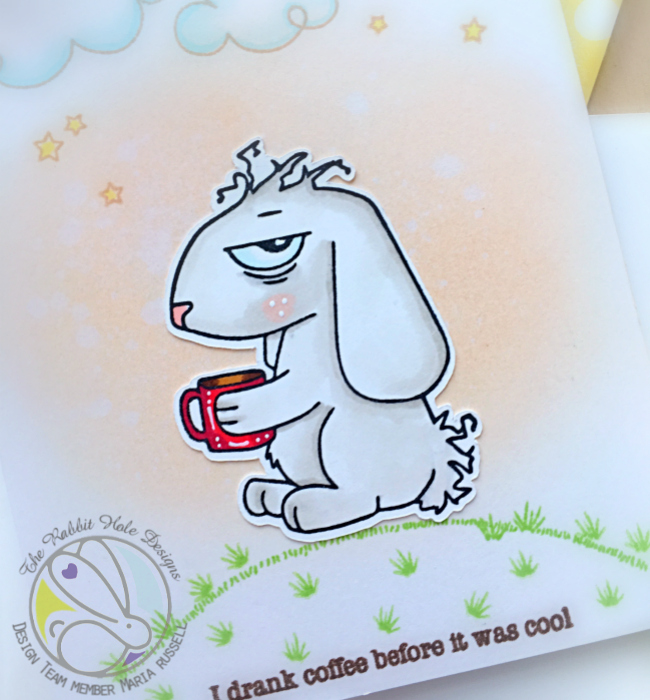
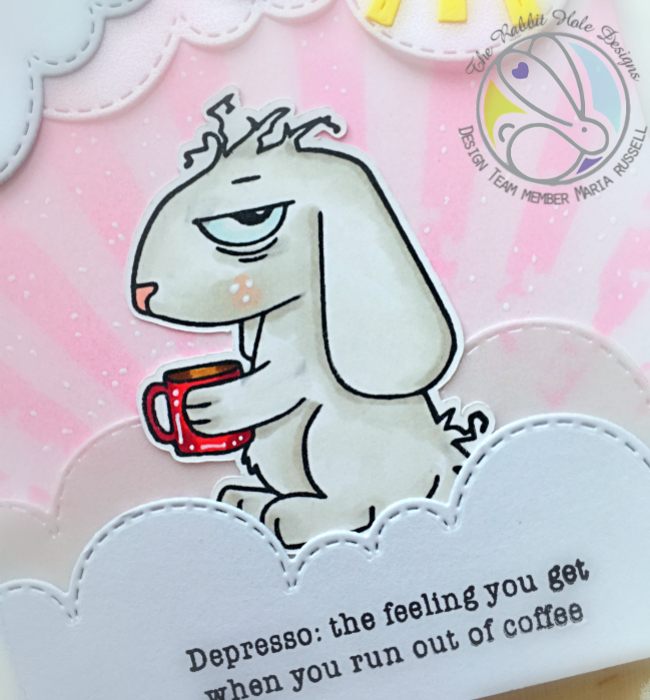
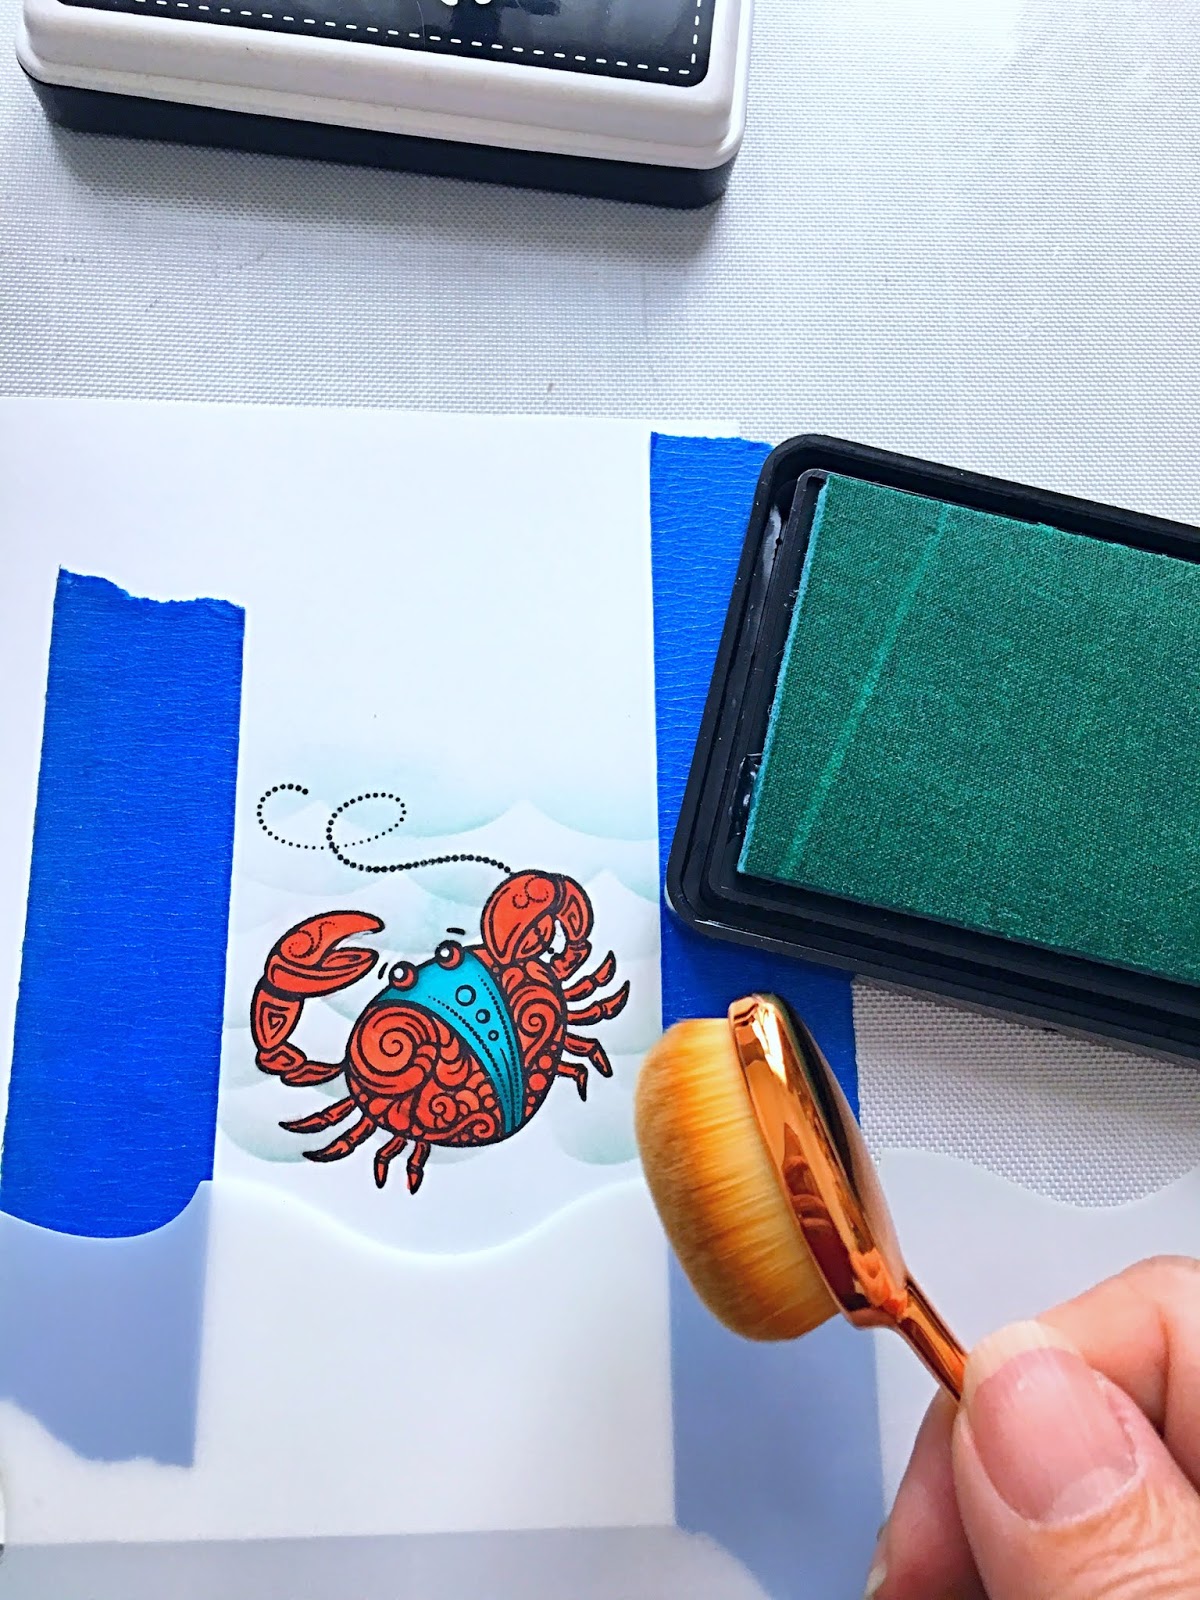
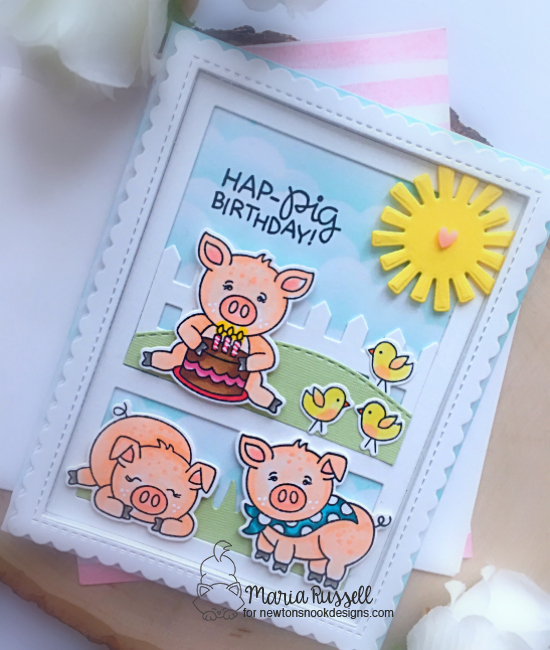
Here’s a closer look:

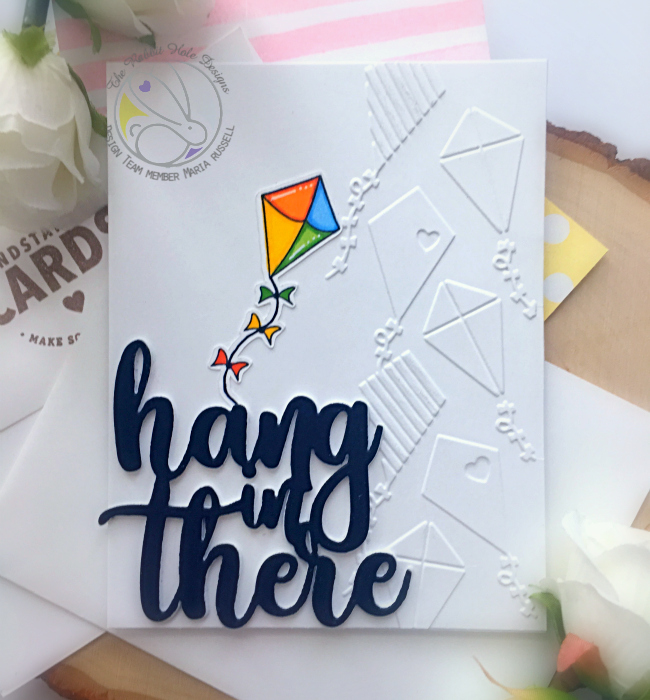
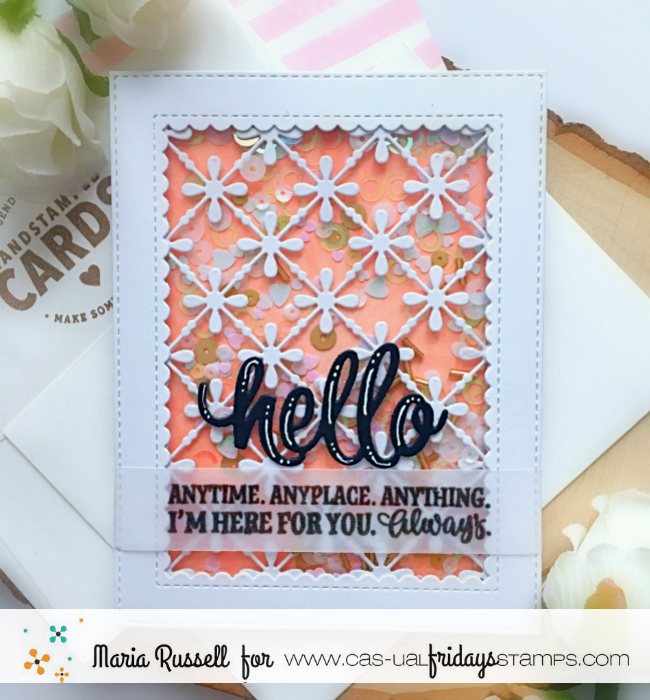
For my second project, I only used the new Sassy Sentiments stamp set with some dies from my stash.

- start with an A2 size panel of Bristol smooth white card stock.
- use rainbow-colored distress oxide inks with the mini ink blending tools to color the background.
- use distress sprayer to spray water on the background and pick it up with some paper towel.
- use a hearts stencil and the moonstone glimmer past to add from dimension to the colored background. Let it dry for about half an hour.
- adhere this background on an A2 size card base.
- die-cut the banner strip using a banner strip die and stamp the sentiment.
- adhere the banner strips with foam tape on the card.
- die-cut the “Friend” sentiment on some black card stock (3 times) and adhered them together. Add this piece to the card.
Here’s a little close-up:

I just absolutely ADORE this stamp set! So many cute sentiments to choose from for your everyday cards.
Just to let you know, there will be free shipping on orders of $25.00 or more before taxes and shipping (US Orders Only). No code necessary, exclusions apply. Free Shipping ends May 10, 2019.
Here’s the order of the hop:
The Rabbit Hole Designs Blog
Katie Brooks
Maria Russell – (you are here)
Lynnea Hollendonner
Amanda Stevens
Martha Lucia Gomez
Lisa Golzbein
MaryAnn Samuelson
For more inspiration, updates, and news make sure to check out these places.
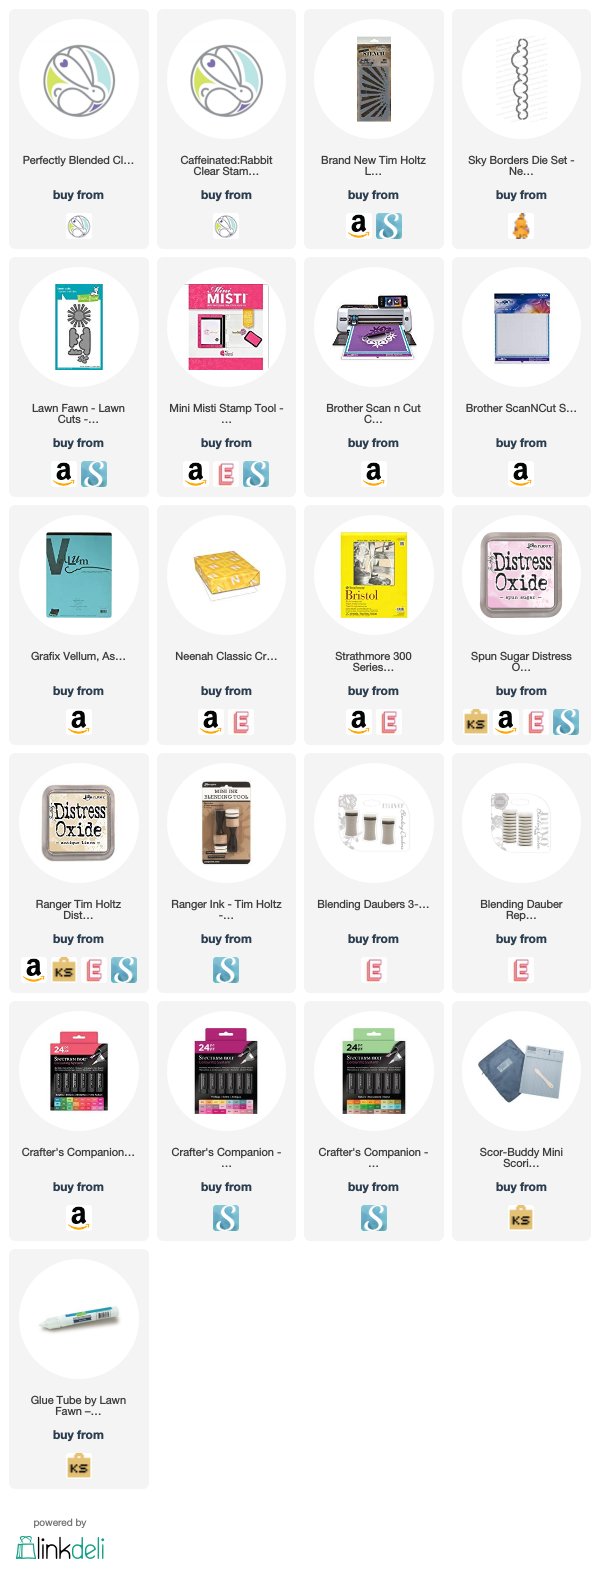
—————-SUPPLIES———–