It’s a Good Day to Have a Good Day

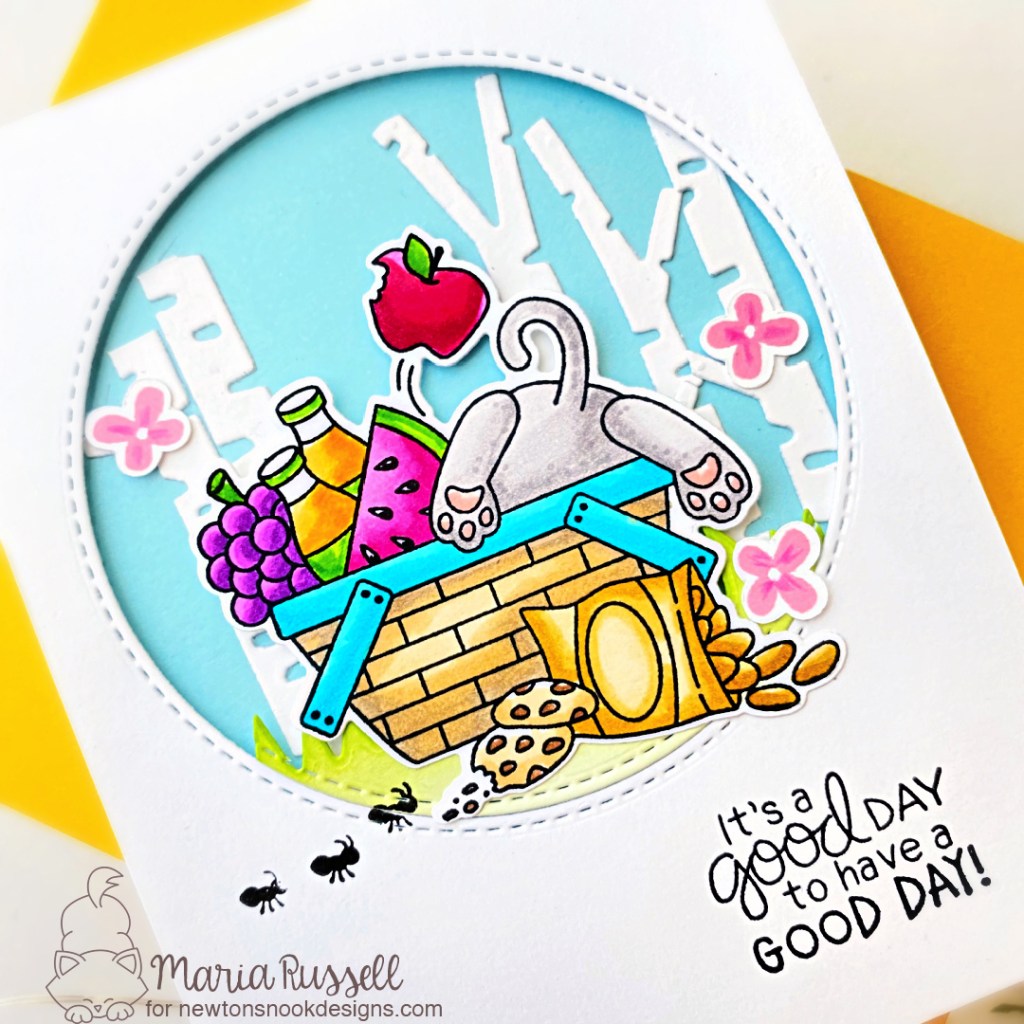
Hello Newton’s Nook fans! Have you seen the projects made by the design team for Retiring Products Feature week? Today, I am sharing another cute project using one of my favorites called Newton’s Picnic stamp set and coordinating die with the Woodland Picnic stamp set. I also used the Forest Scene Builder Die set and the Land Borders Die Set for the grass (not retiring, thank God!) to create my scene.

How I made this card:

  • Stamp the image on some X-Press It Blending card and color the images in with alcohol markers. I colored the cat to look like my cat, Phoebe!
  • Use the coordinating die to cut it out.
  • Use a circle die to die-cut a window on some A2-size white panel.
  • Adhere some blue card stock on an A2-size notecard and foam-mount the A2 panel on the card for added dimension.
  • Die-cut the birch trees using the Forest Scene Builder die set and adhere on the card panel with liquid glue.
  • To create the grass, I used the same circle die and the Land Borders Die Set. I ink-blended this panel with some distress ink and foam-mounted to the card.
  • Adhere the focal image on the card with foam adhesive for dimension.
  • Stamp the little “ants” with some black ink.
  • Finish the card design by stamping the sentiment and adding some flowers for more texture and interest.

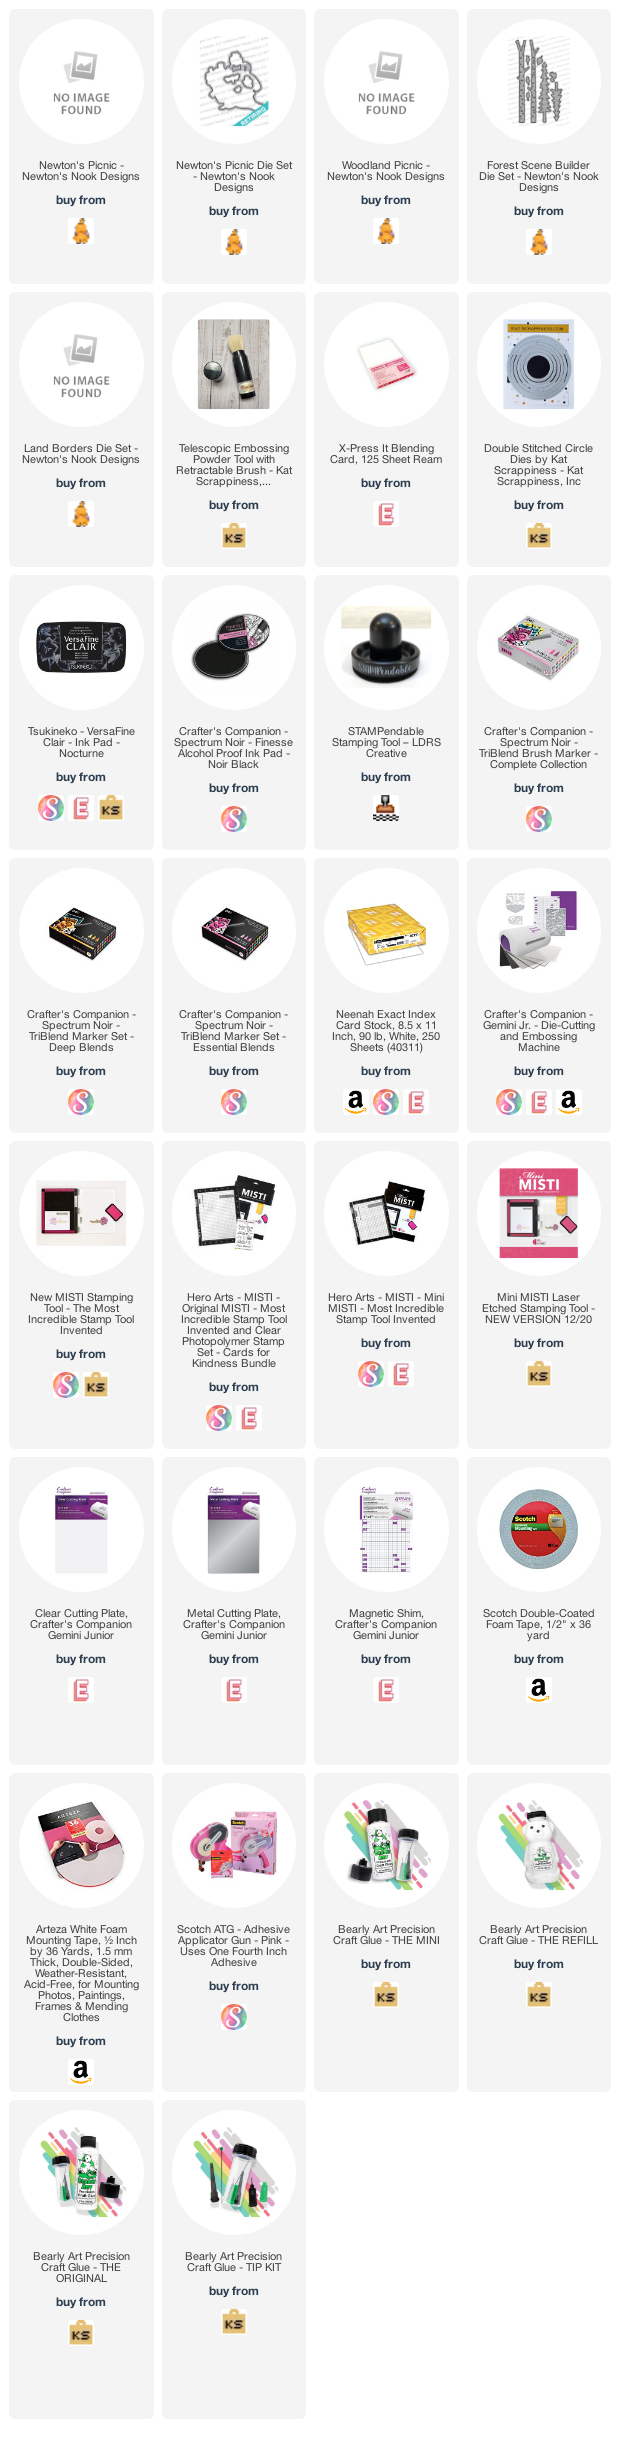
I hope you like my project today. Don’t forget to check out all the retiring products on the Newton’s Nook online store to get your favorites before they are gone for good. The supplies I used are listed and linked below. Thanks so much!

——–SUPPLIES——-

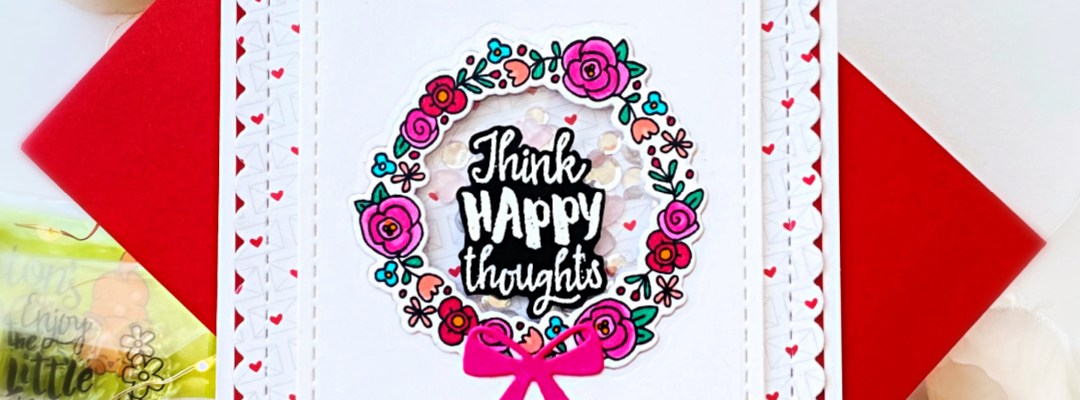
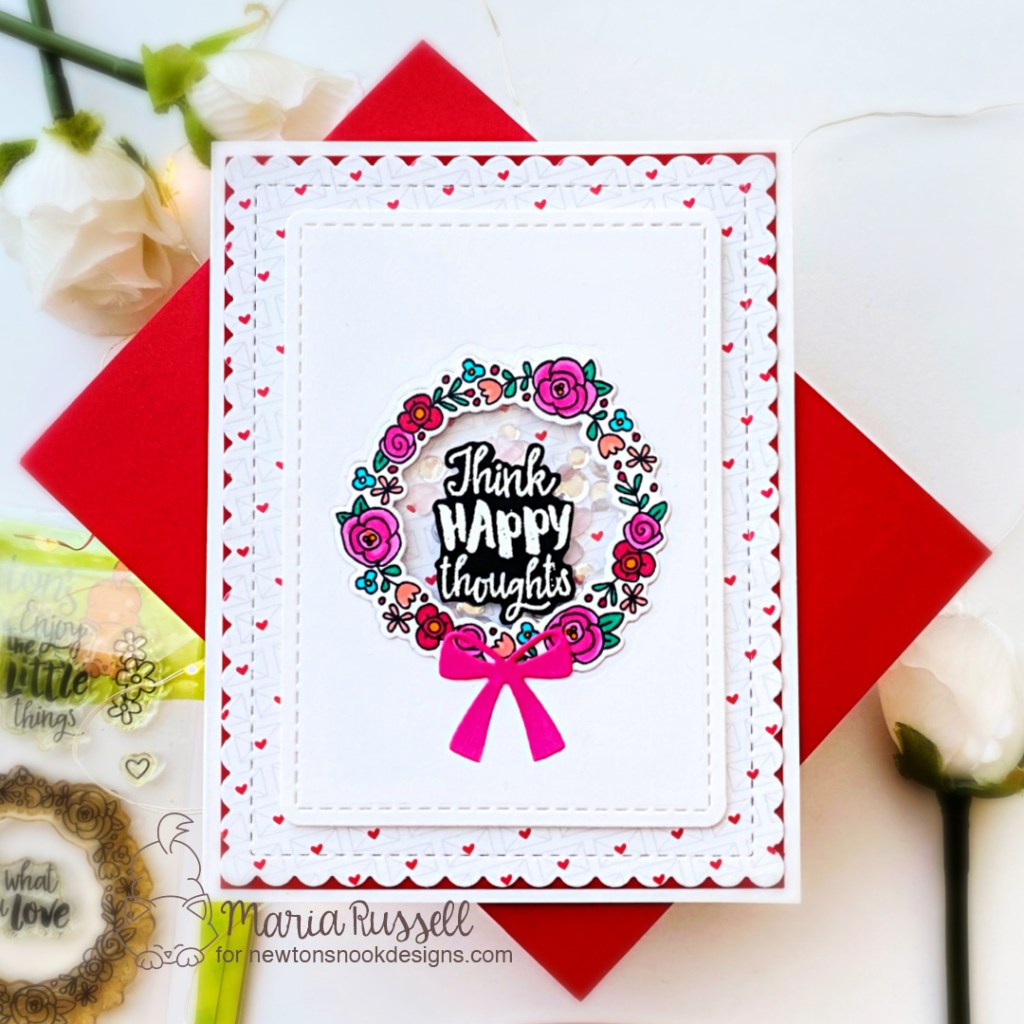
Retiring Products Feature Week with Newton’s Nook Designs – HAPPY LITTLE THOUGHTS

Hello and Happy Valentine’s Day everyone! Did you see that Newton’s Nook Designs is having a retiring sale on their website? It’s time to make room for new products so they are retiring select designs! These designs are available at up to 40% off while supplies last so hurry and get your favorites before they’re gone for good!

All throughout this week, the NND Design Team will be sharing inspiration using some of our favorite products from the retiring list!  Check out what I created today and don’t forget to check the NND Blog each day this week for more fun inspiration! Take advantage of this sale because there’s a TON of AMAZING products right now that you can purchase with a huge discount.

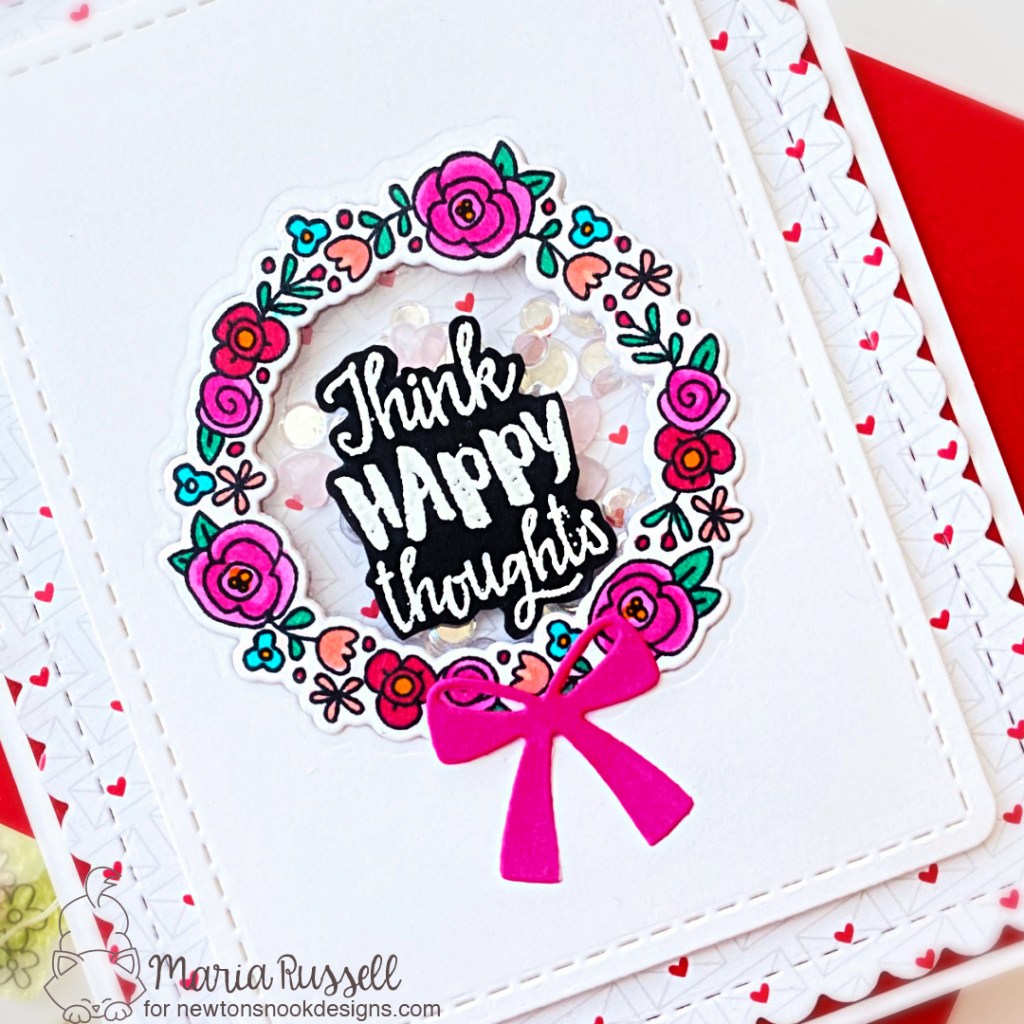
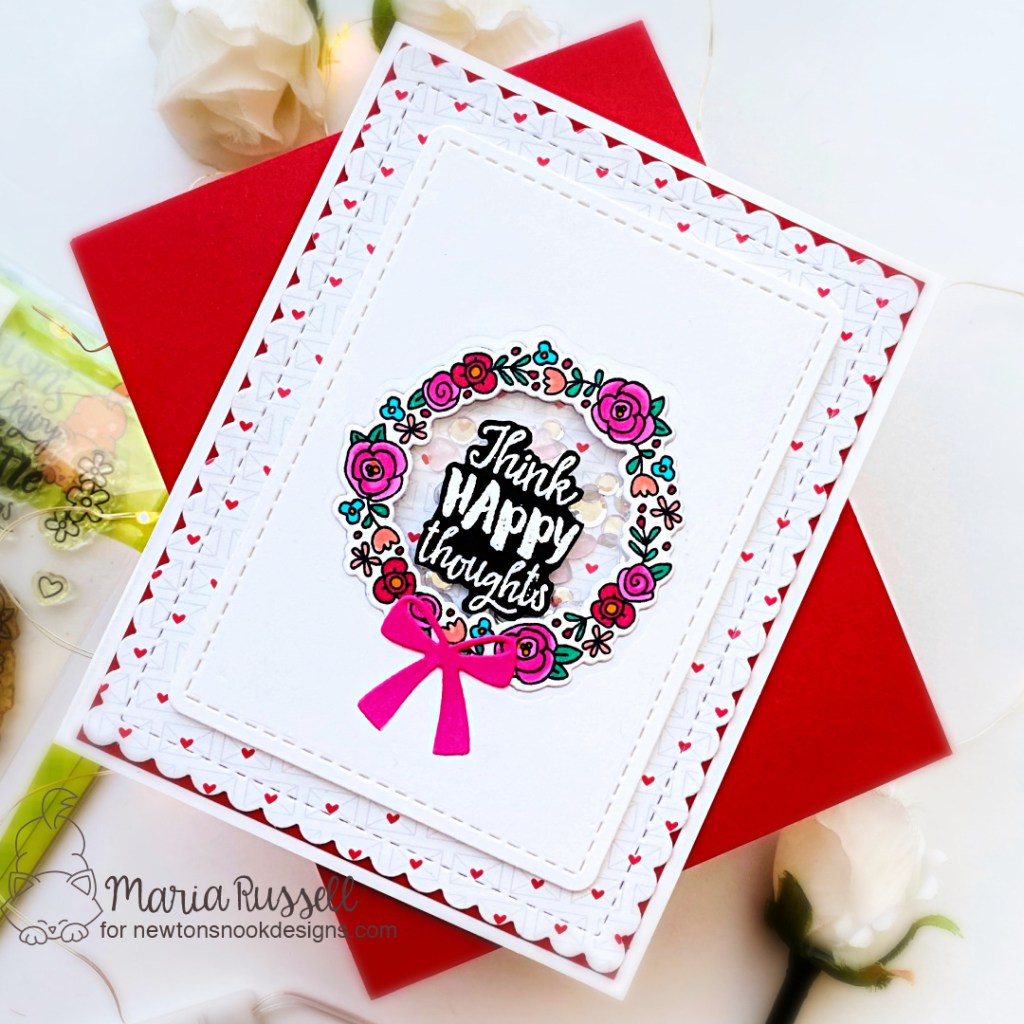
For my project today, I am showcasing the Happy Little Thoughts Stamp Set and Happy Little Thoughts Coordinating Dies. The background pattern paper is from the Love & Meows 6×6 Paper Pad that was die-cut using the scallop from the Frames & Flags Die Set.

Here’s how I made this card:

  • stamp the images on some Neenah solar white card stock and color the images in with alcohol markers.
  • die-cut the images using the coordinating dies.
  • die-cut the background panel using the scallop die from the Frames & Flags Die Set and Love & Meows 6×6 Paper Pad. Matt this piece with some red card stock for a little dimension and adhere on an A2-size notecard.
  • die-cut the small rectangle using the die from the Frames & Flags Die Set and Happy Little Thoughts Coordinating Dies.
  • adhere some acetate sheet behind this panel and add foam adhesive to create the shaker well.
  • in-lay the colored image on this panel with liquid glue.
  • add some clear sequins with a few heart enamels as the shaker element and adhere this panel on the card front.
  • stamp the sentiment on some black card stock with versamark ink and sprinkle with white embossing powder. Use heating tool to heat-set the sentiment.
  • fussy-cut the sentiment with precision snips and adhere on the card.
  • finish the design by adding the bow (die-cut using the bow die from the Baby Bib Die Set) with liquid glue.

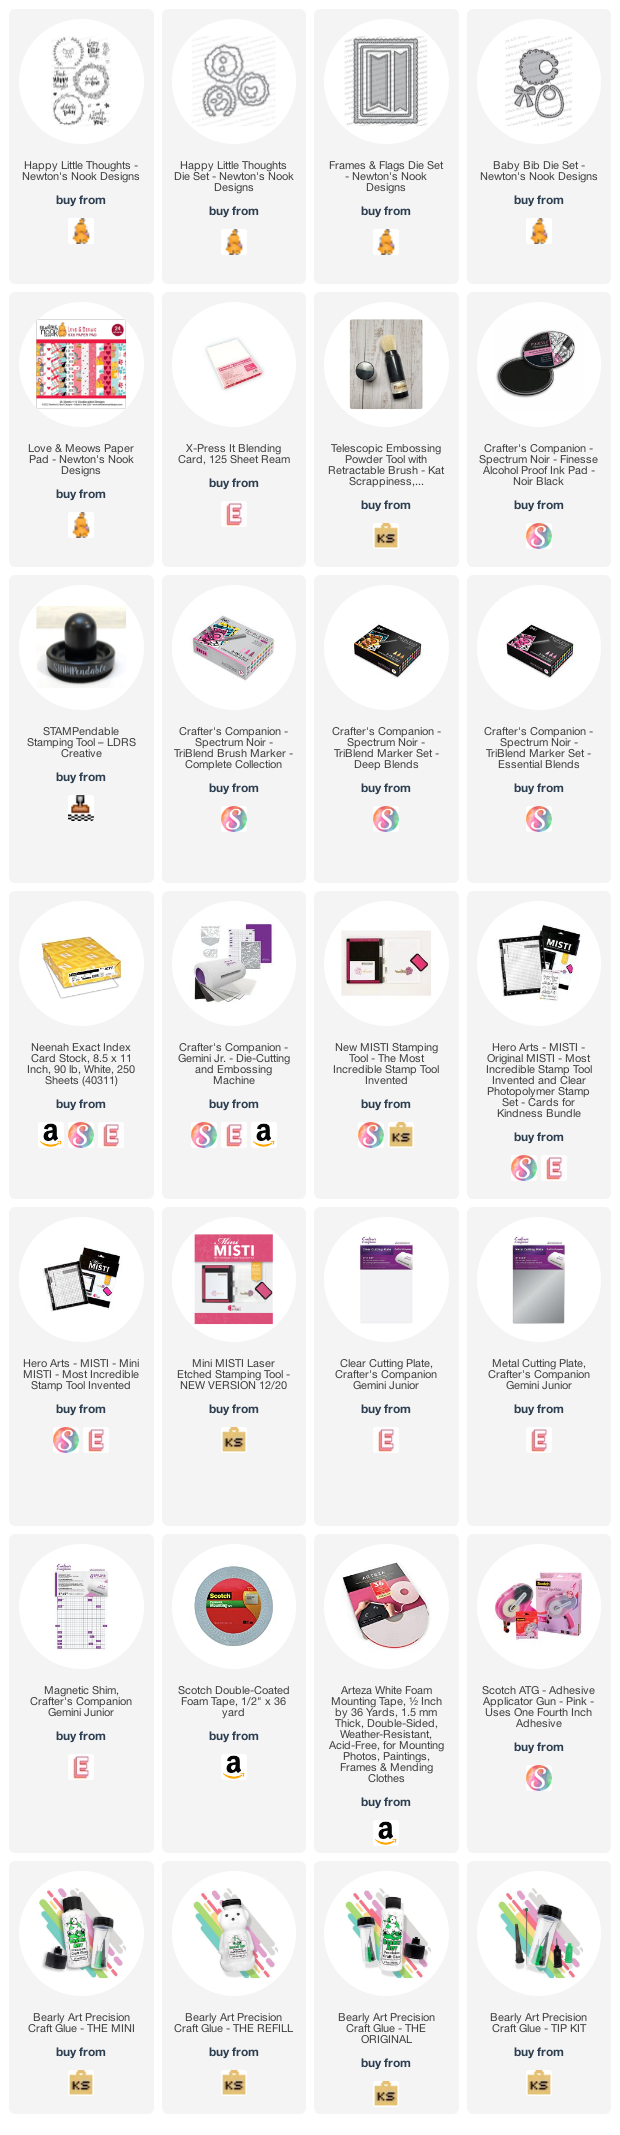
I am super bummed that this stamp set is retiring. Don’t forget to check out all the Retiring Products Category by Newton’s Nook to see what is going away and grab your favorites now before they are gone for good!  Here is a direct link to the retiring products page: http://bit.ly/NNDretiringProducts. The supplies I used are also listed and linked below. Thanks for stopping by and I hope you like my project!

————–SUPPLIES————-

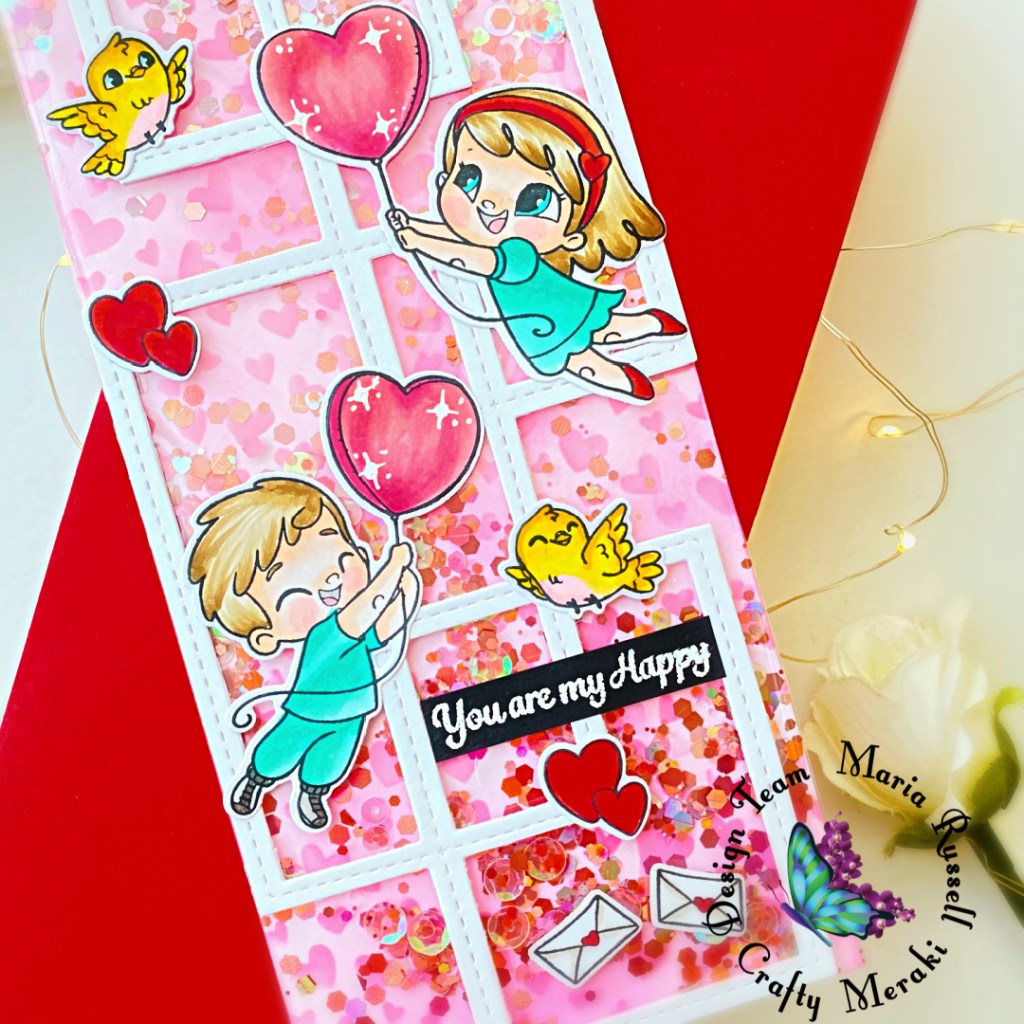
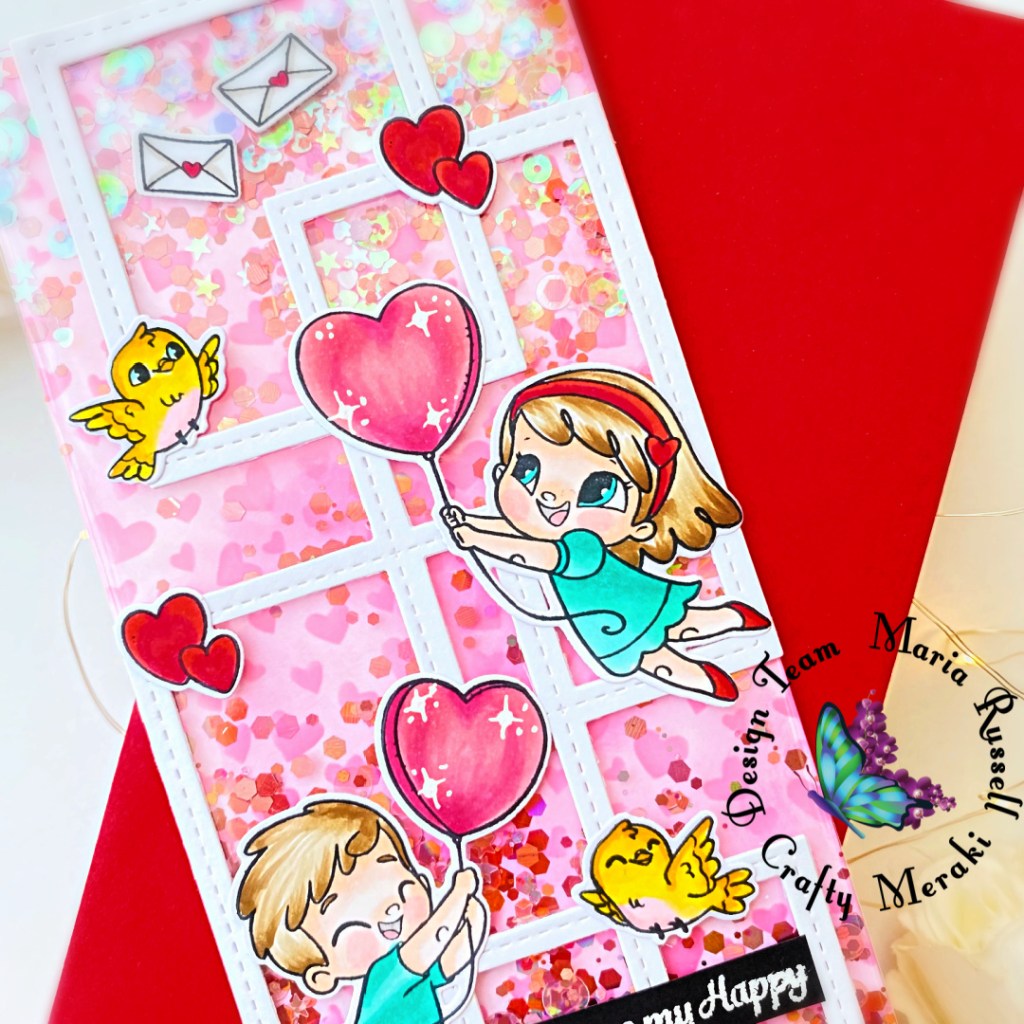
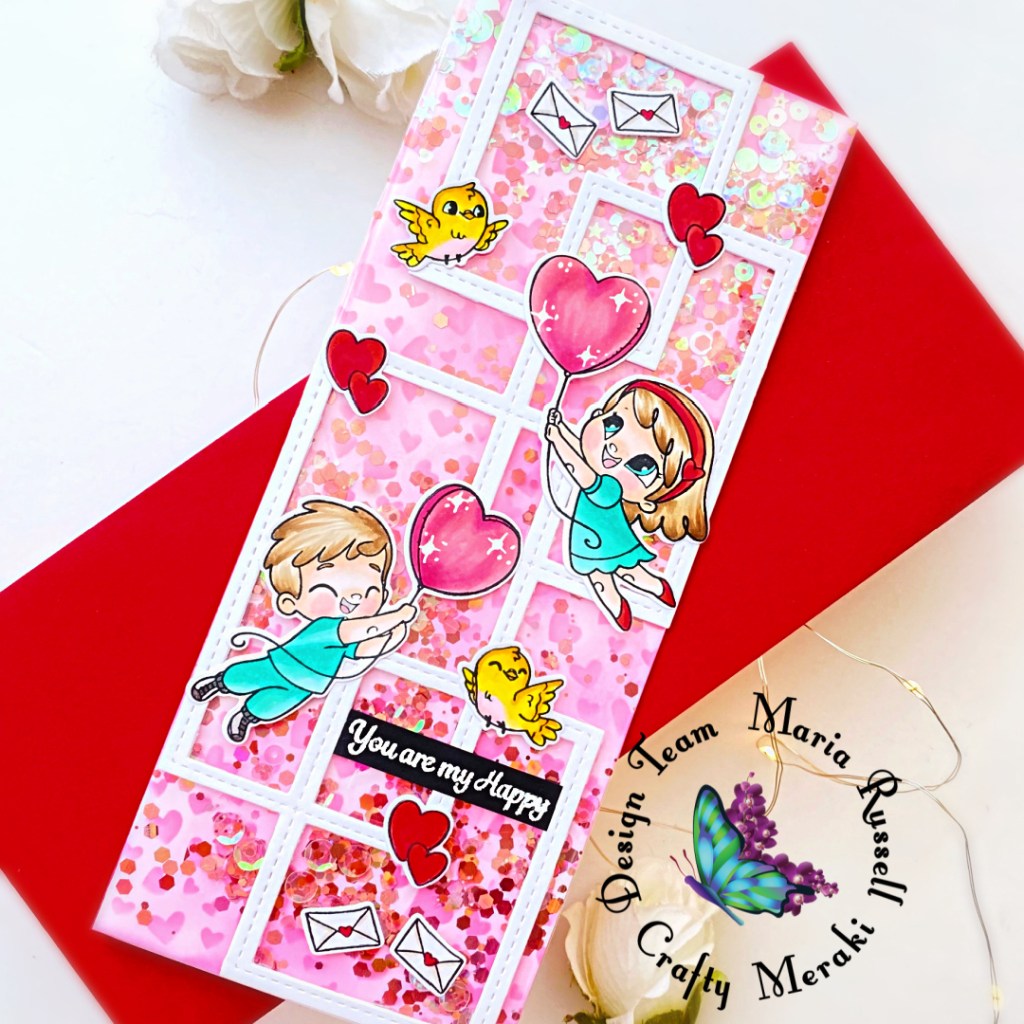
You Are My Happy with Crafty Meraki

Hello everyone!  I am super excited to share my very first blog post here as a member of the Crafty Meraki design team!  Since Valentine’s Day is fast-approaching, I figured it’s only appropriate to share a fun Valentine’s Day Card!

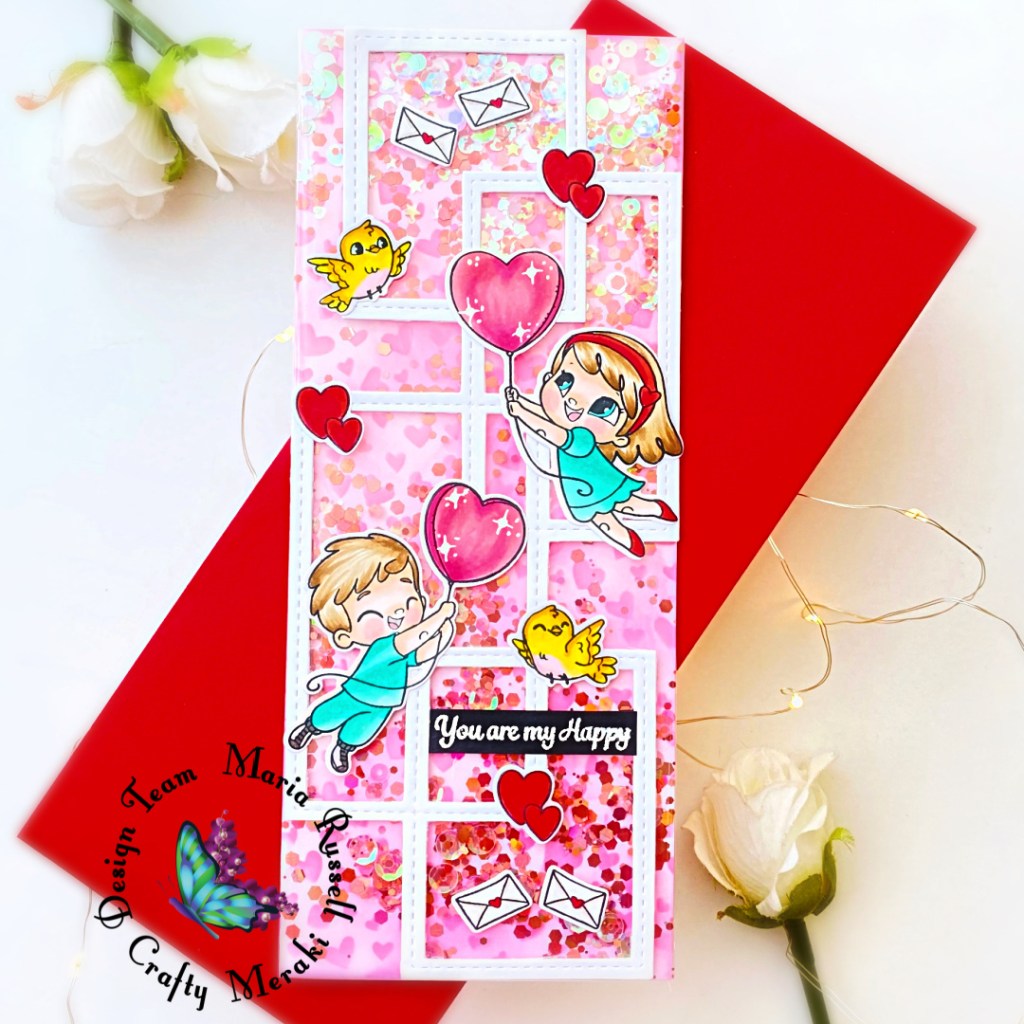
For my card today, I am showcasing the CM Valentine Stamp set and CM Valentine Coordinating Dies along with the Outside the Box Slimline Die. 

To make the card, I started by stamping the images on some Neenah Solar White Card Stock. I colored the images in with alcohol markers and used the coordinating dies to cut them all out.

Next, I prepared the slimline background panel by inking up some Strathmore Bristol smooth white card stock with distress oxide inks.  I also used a stencil from my stash for added interest.  I cut some leftover stamp packaging and added some tape on all sides and adhered the 3 sides first to create a pocket.  I added some confetti as my shaker element and adhered the top to close the shaker.  I love that even though this is a flat shaker card, the shaker bits inside move freely creating a fun, interactive element.

I die-cut the Outside the Box Slimline Die on some Neenah solar white card stock and adhered on the focal panel with foam tape.  I added the colored images on the foreground with liquid glue.

The sentiment was stamped with Versamark ink on some black card stock that I heat-set with my heating tool.  I finished the design  by using some white gel pen to add some dots and stars for added texture and interest.  Here’s another look at the card:

I hope you like my card today and got inspired!  To be able to purchase the items I featured today, click on the “highlighted” products to take you to the online store . Thanks for stopping by!

BIRTHDAY ESSENTIALS RELEASE WITH KAT SCRAPPINESS

Hello Everyone! I am super excited to introduce the Birthday Essentials Release by Kat Scrappiness and I have two cards to share with you today!

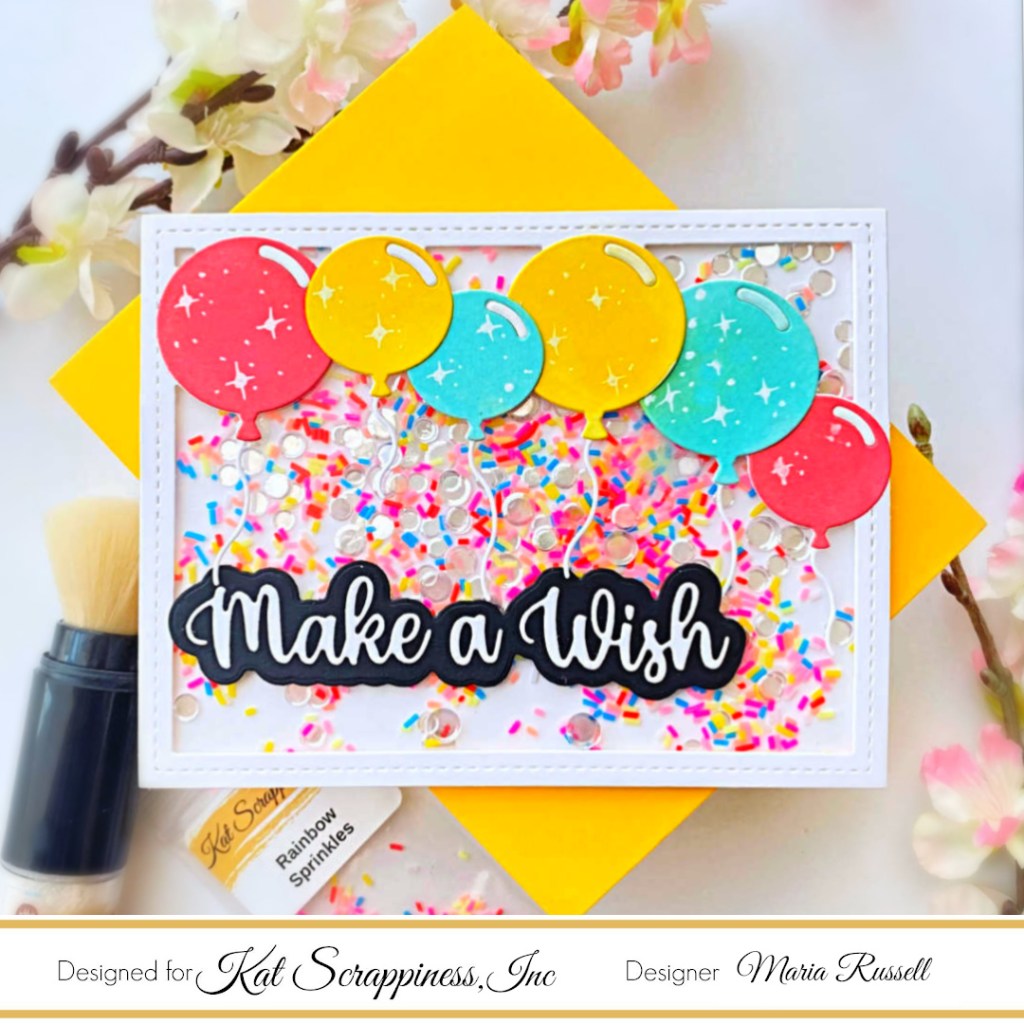
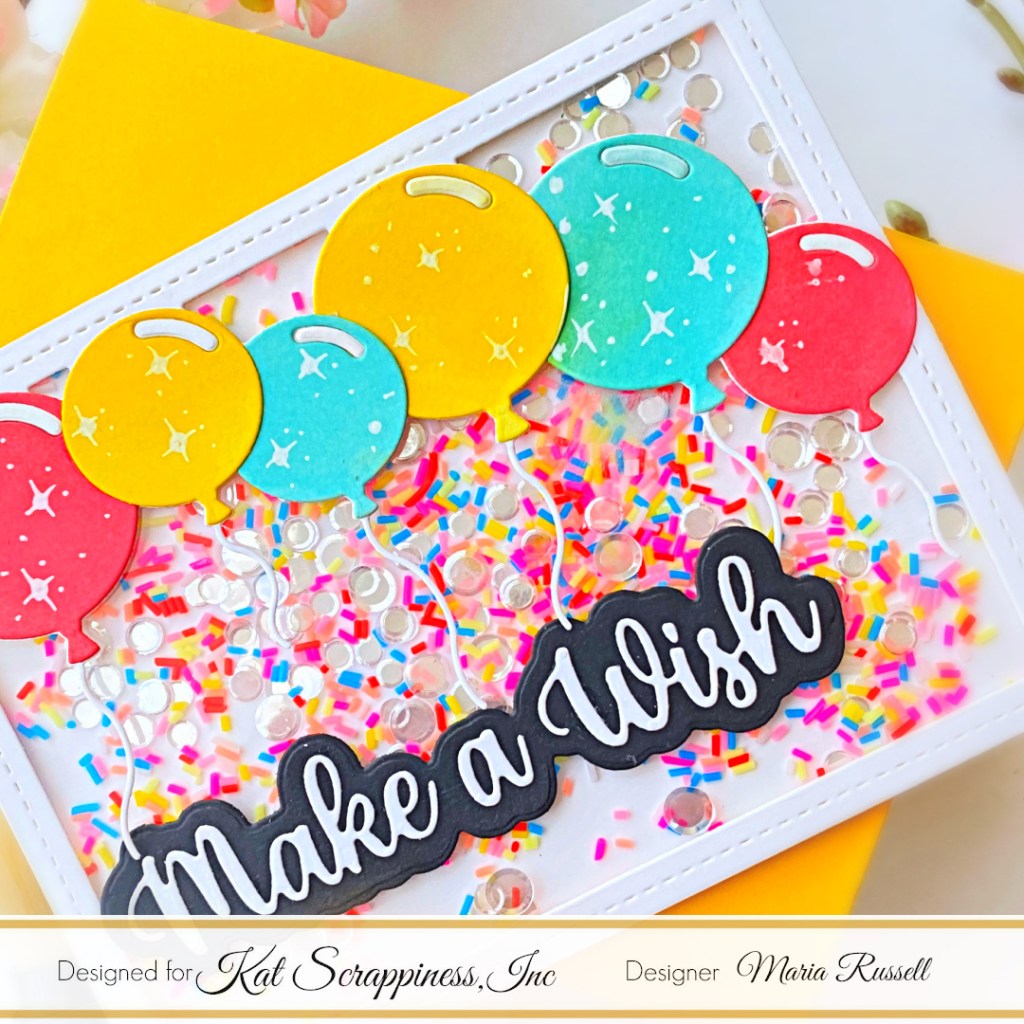
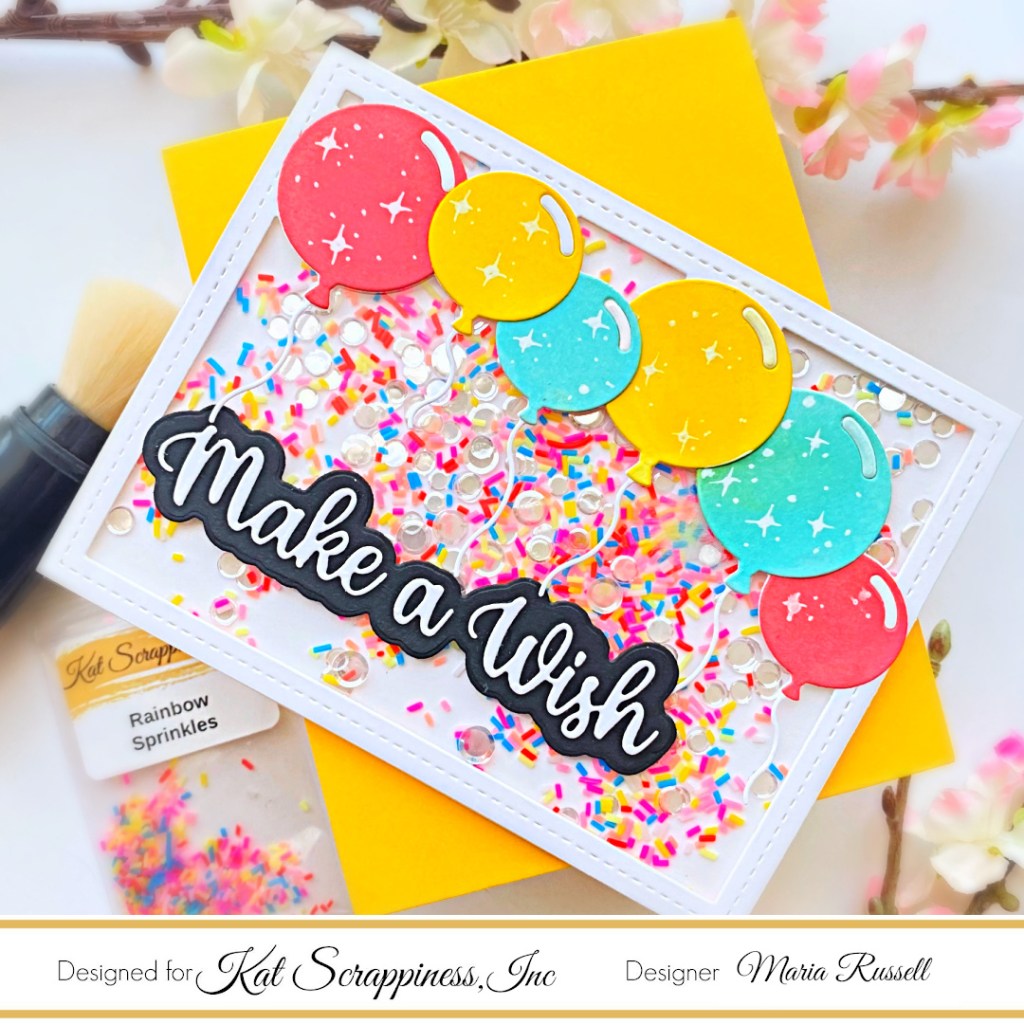
For my first card, I am showcasing the Layered Balloon Coverplate Die with the Make a Wish With Shadow Die.

I started by die-cutting the cover panel using the Layered Balloon Coverplate Die on some Neenah solar white card stock. I also die cut the balloons included in the Layered Balloon Coverplate Die set on some Bristol smooth white card stock and used some distress oxide ink to ink-blend the die-cuts.

I adhere the balloons with liquid glue and created a shaker well, by adding acetate sheet to the back of the die-cut panel and foam adhesive. I used the rainbow sprinkles as my shaker element and adhered the panel on some A2 size notecard.

I die-cut the words Make A Wish on some white and black card stock and added to the focal panel with liquid glue. I finished my card design by adding some stars and dots to the balloons using white gel pen.

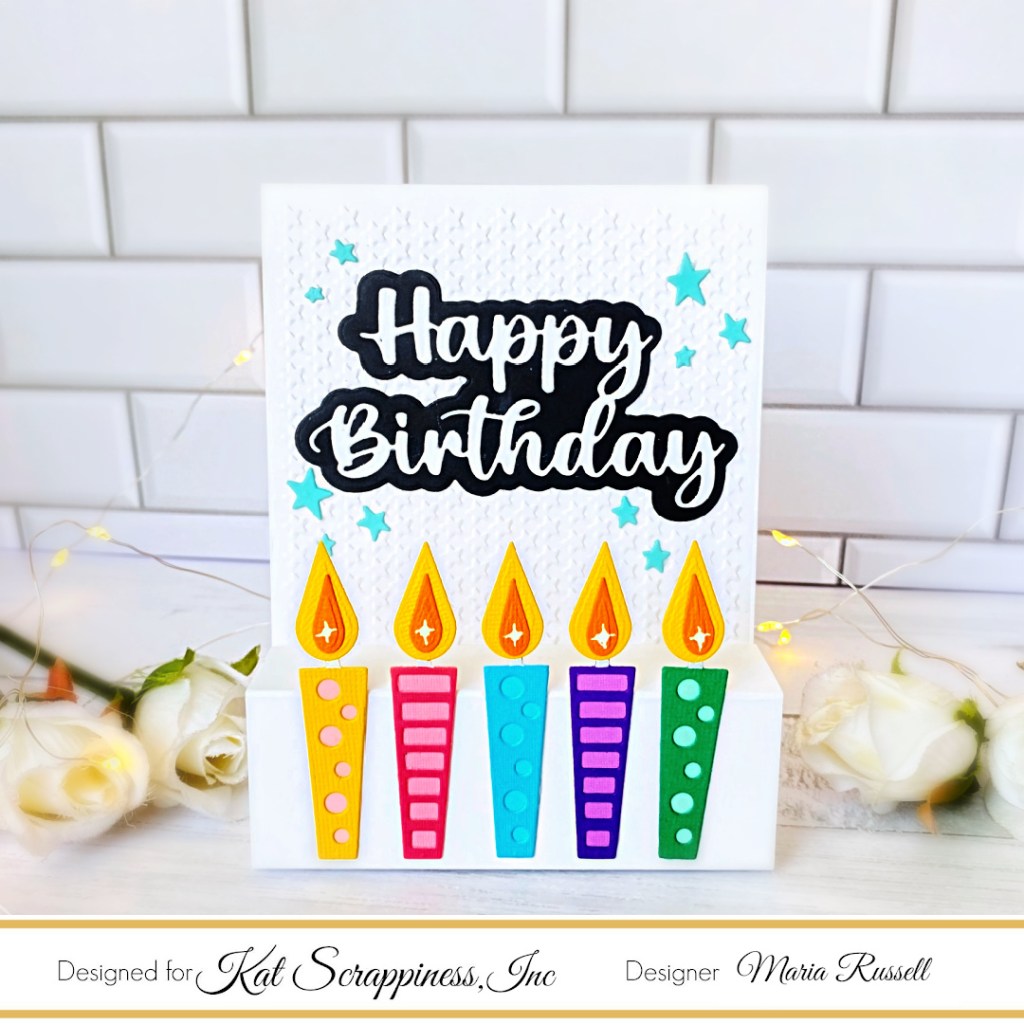
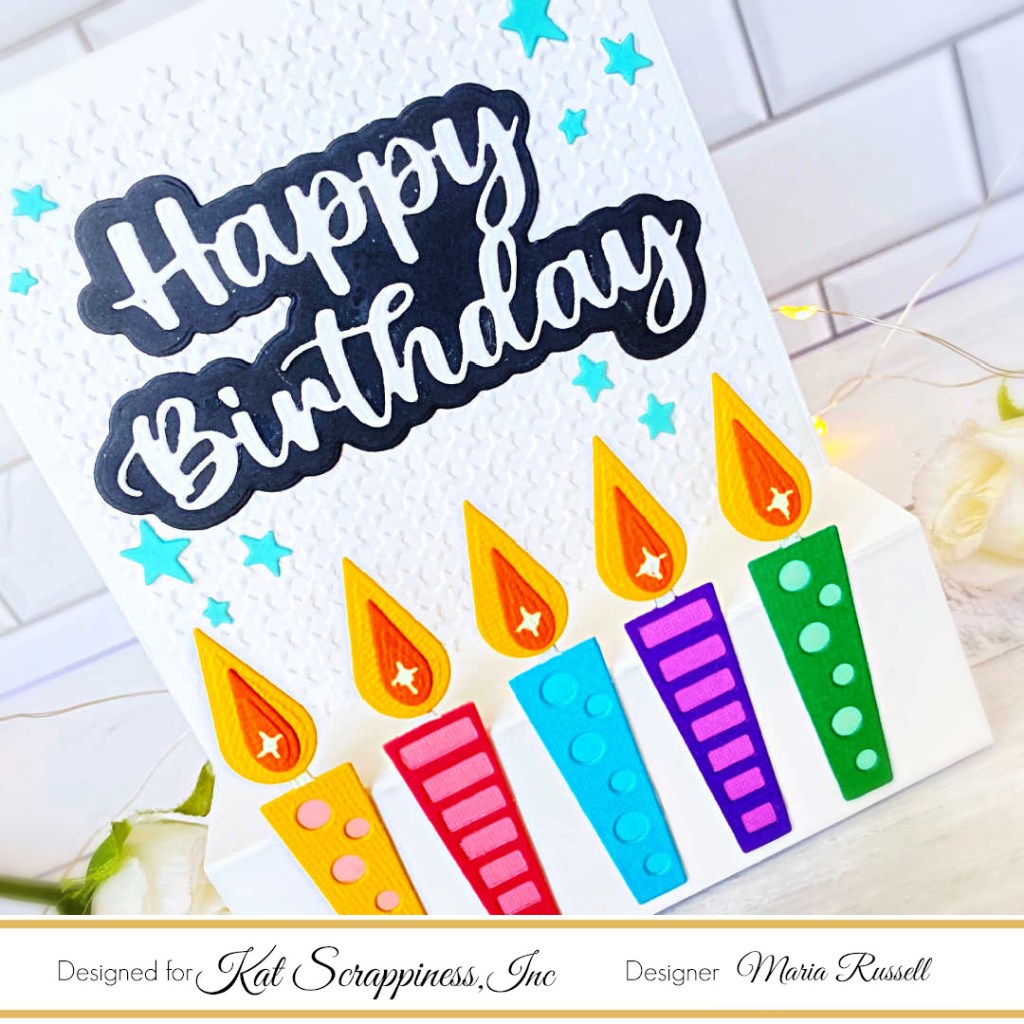
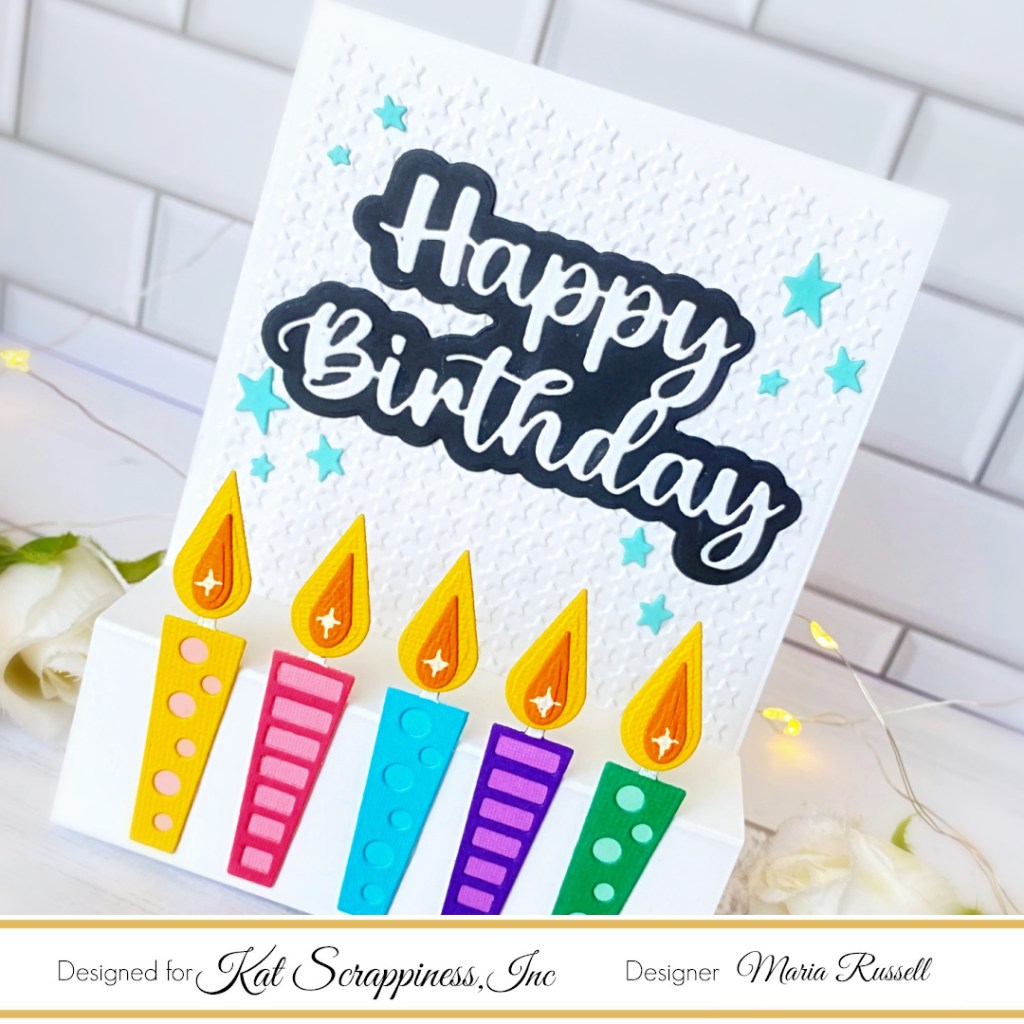
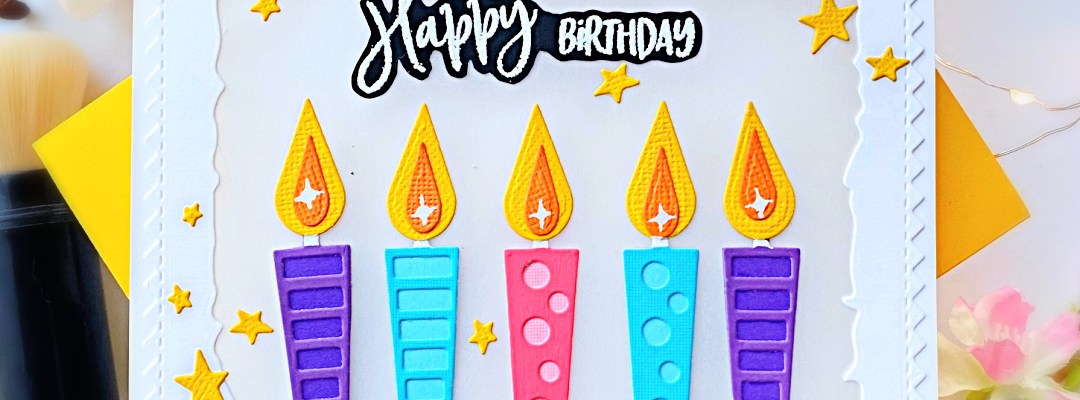
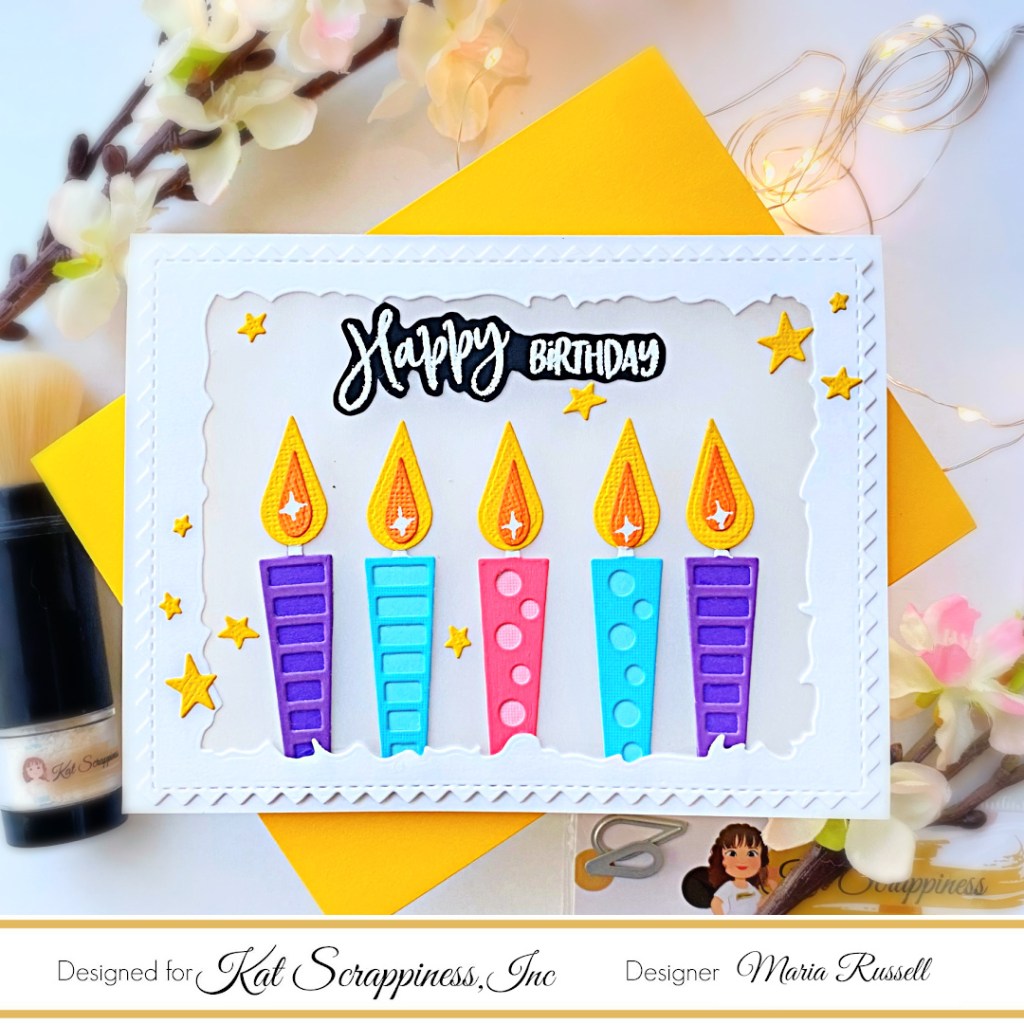
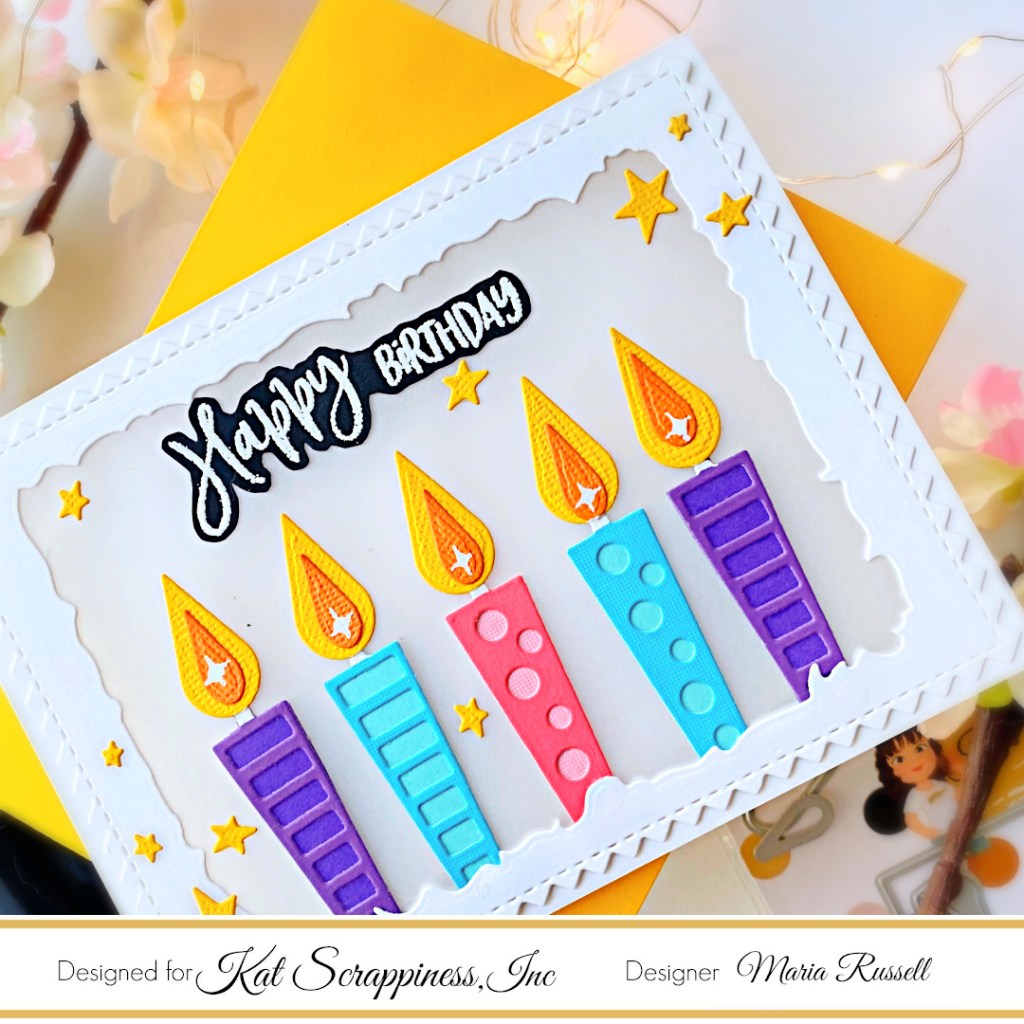
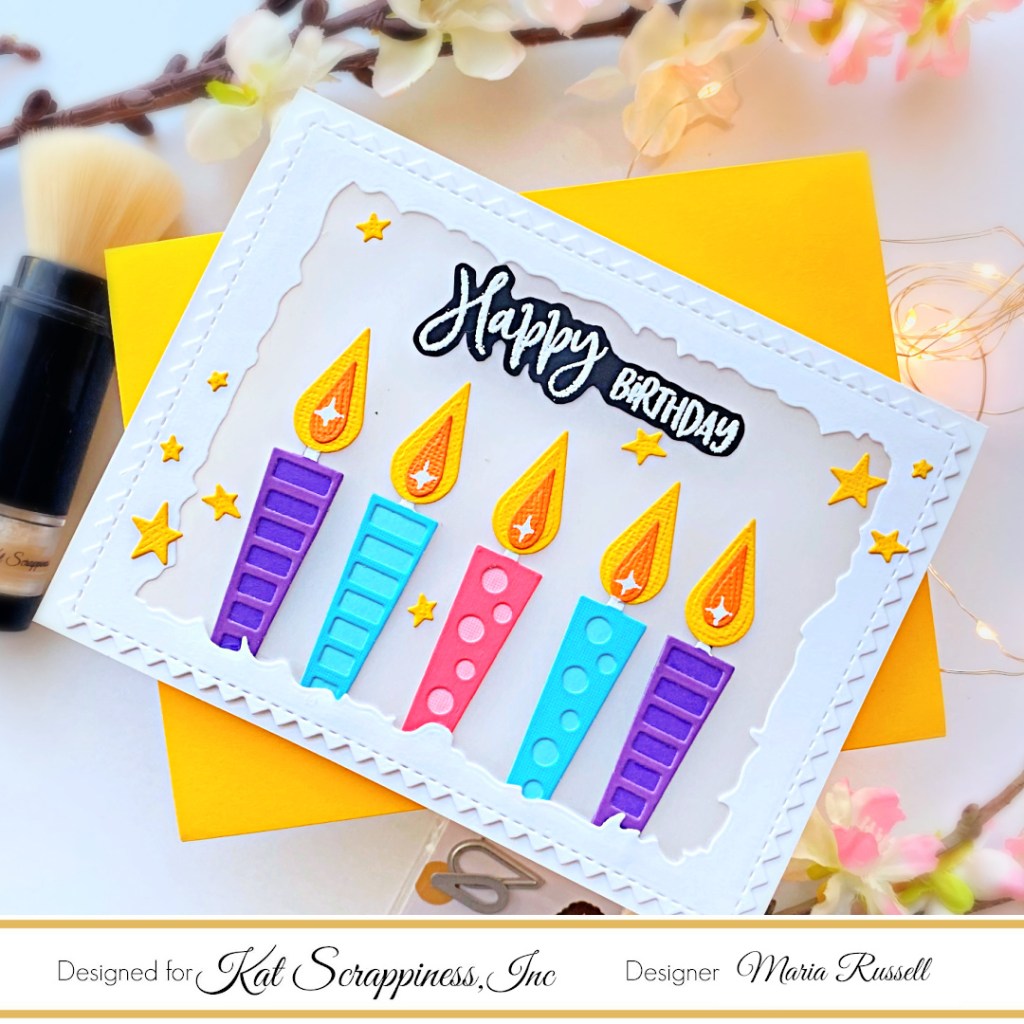
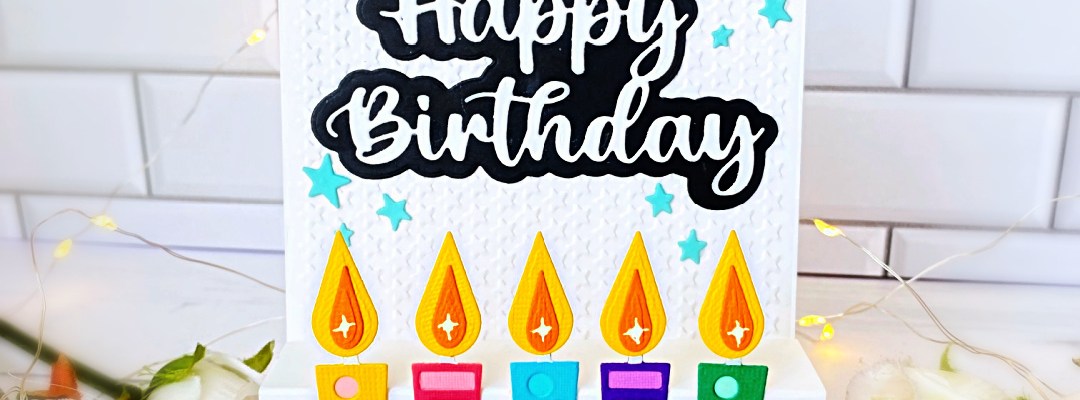
My second card features the Birthday Essentials Die Set with the Happy Day Stamp Set, Zig Zag Rectangle Die and Distressed Edge Rectangle Dies.

I die-cut the Zig Zag Rectangle Die on some Neenah solar white card stock and used the Distressed Edge Rectangle Dies to cut the window. I also used the same Distressed Edge Rectangle Die to cut the notecard so that when I adhered both panels together, it would create the window. I added some acetate sheet on the back.

The candles were die-cut in different colors or card stock and adhered together with liquid glue. I finished the design by adding the sentiment and yellow stars for interest and texture.

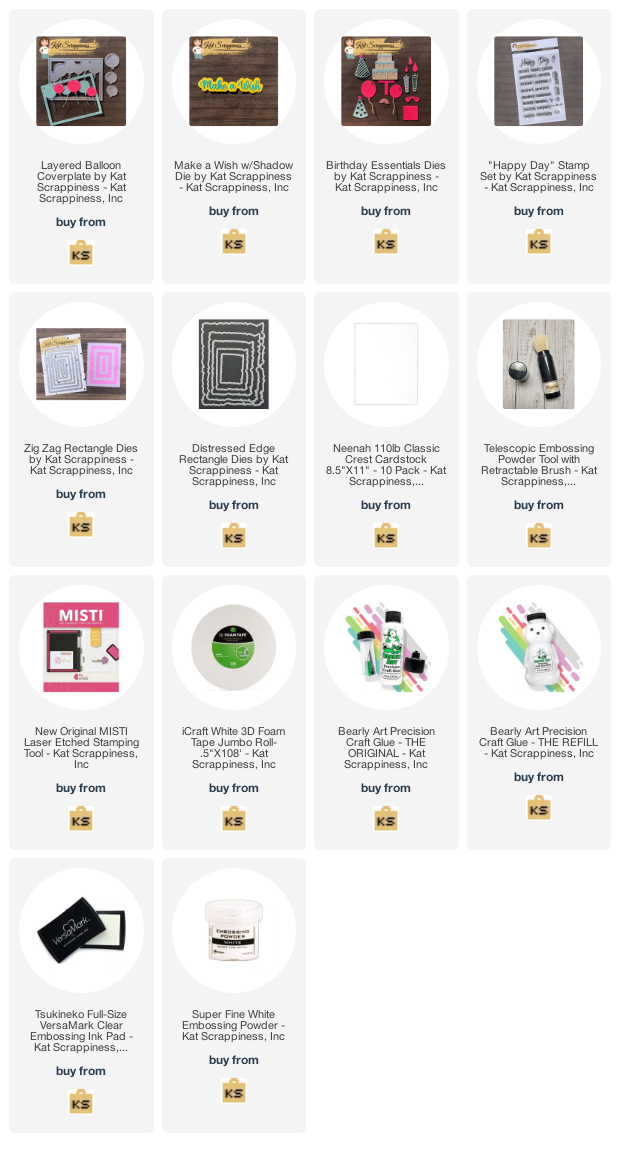
I hope you like my cards today. The supplies I used are listed and linked below. Thanks for stopping by!

———SUPPLIES———

Valentine Card with Layered Chocolate Bar Stamp Set by Kat scrappiness

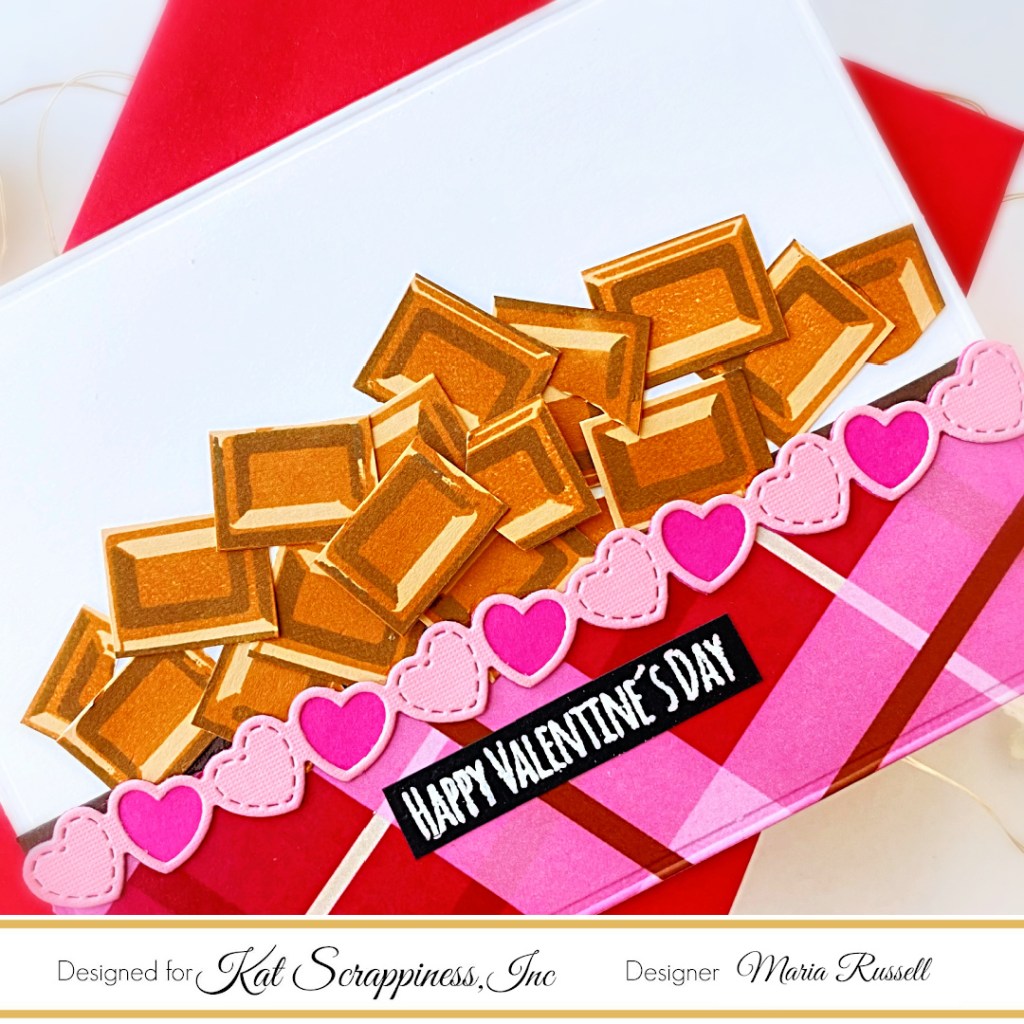
Hello Kat Scrappiness fans! I am loving all the pinks and reds this month and today, I am also featuring one of my favorite stamp set by Kat Scrappiness called the Layered Chocolate Bar and I am pairing it up with the Embossed Edge Rectangle Dies, Heartfelt Wishes SL Paper Pad and the Lawn Fawn Valentine Hearts Border Die Set.

Here’s how I made this card:

  • Adhere the focal images on the card with liquid and foam adhesive for added dimension.
  • Die cut some dark and light pink card stock using the Lawn Fawn Valentine Hearts Border Die Set. Adhere them together and add on the card with liquid glue.
  • Stamp the sentiment from the Valentine Quokka Stamp Set on some black card stock with Versamark Ink and heat-set with the heating tool.
  • Finish the card design by adhering the sentiment.

The images look so realistic, don’t you think? This is honestly one of my favorite layering stamp set of all time! It is so easy to layer and the result is just fantastic! Check out my older project photos of the Layered Chocolate Stamp Set on the website for more samples.

I hope you like my card today. The supplies I used are listed and linked below. Thanks for stopping by today and have an amazing day!

————SUPPLIES———

You Make Me Happy – CREATIVE TEAM INSPIRATION DAY 2 with LDRS Creative

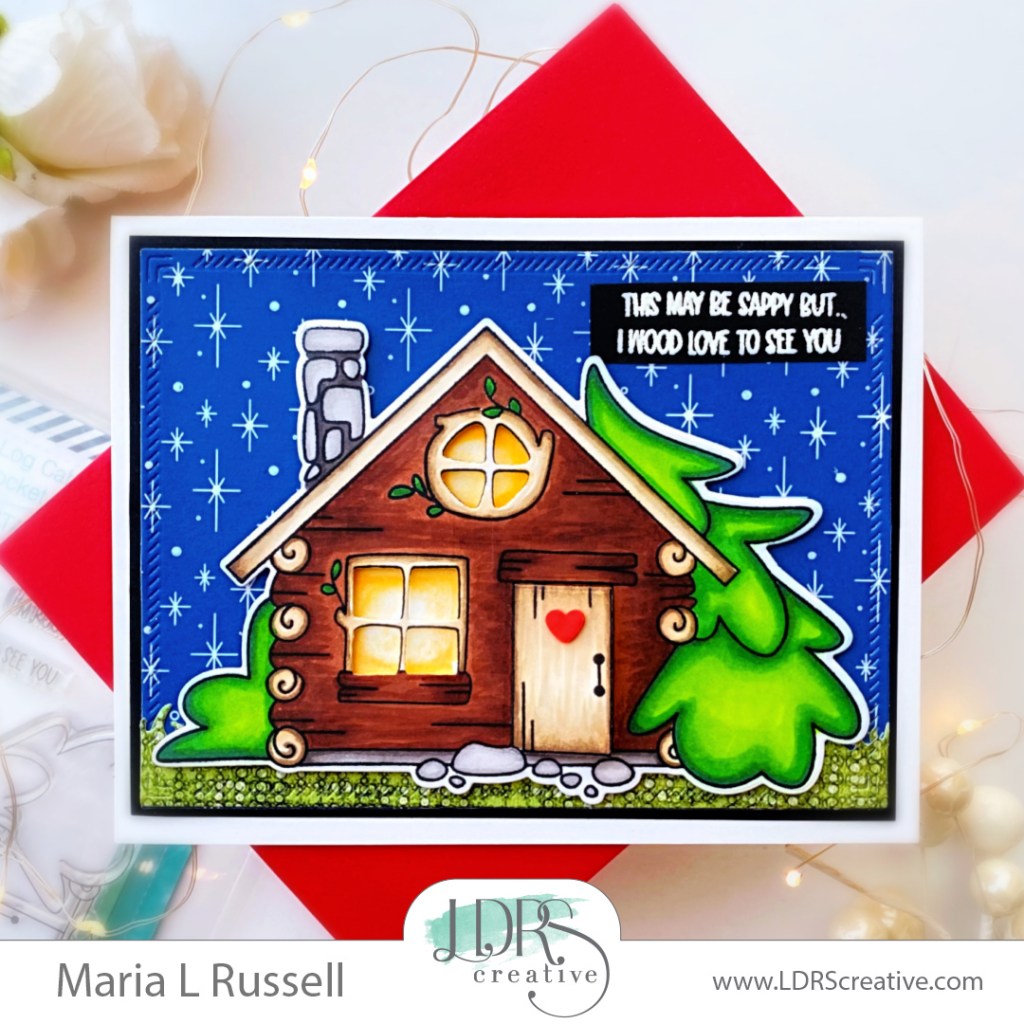
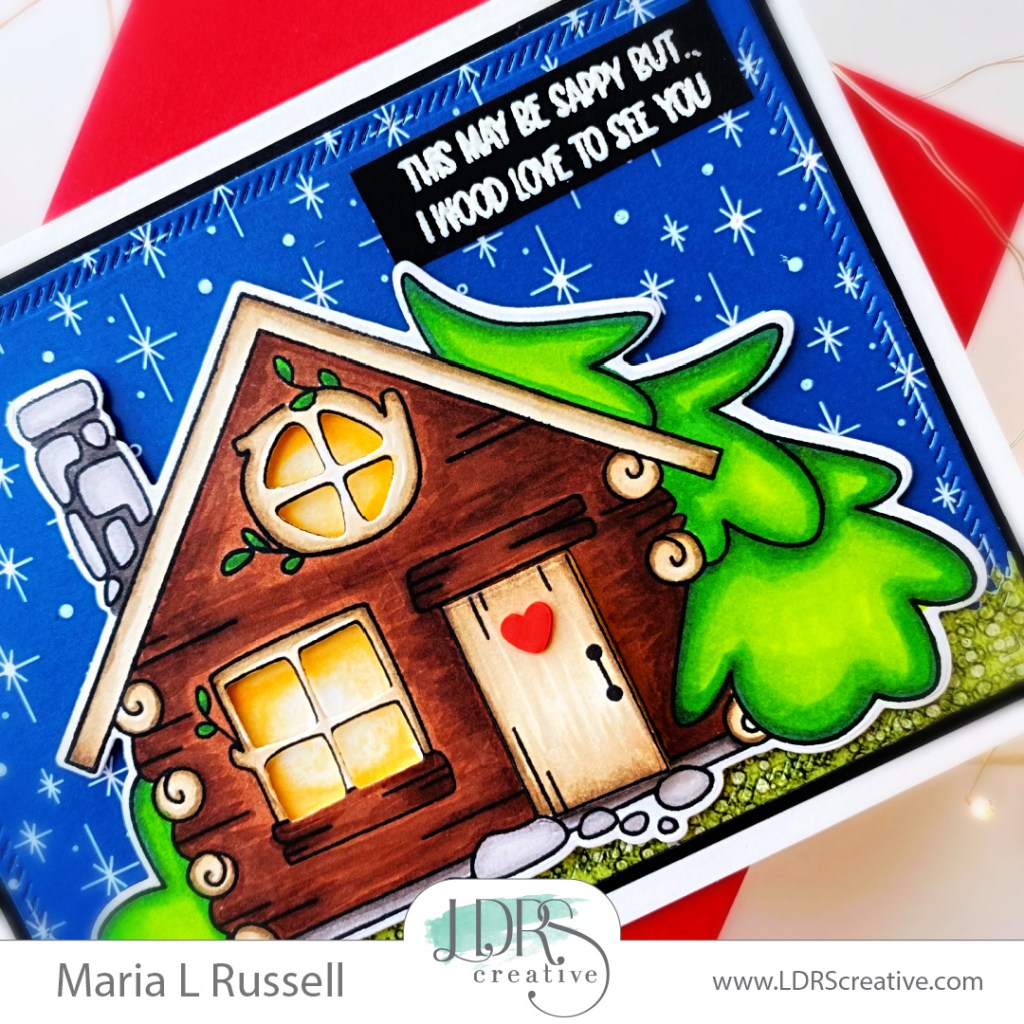
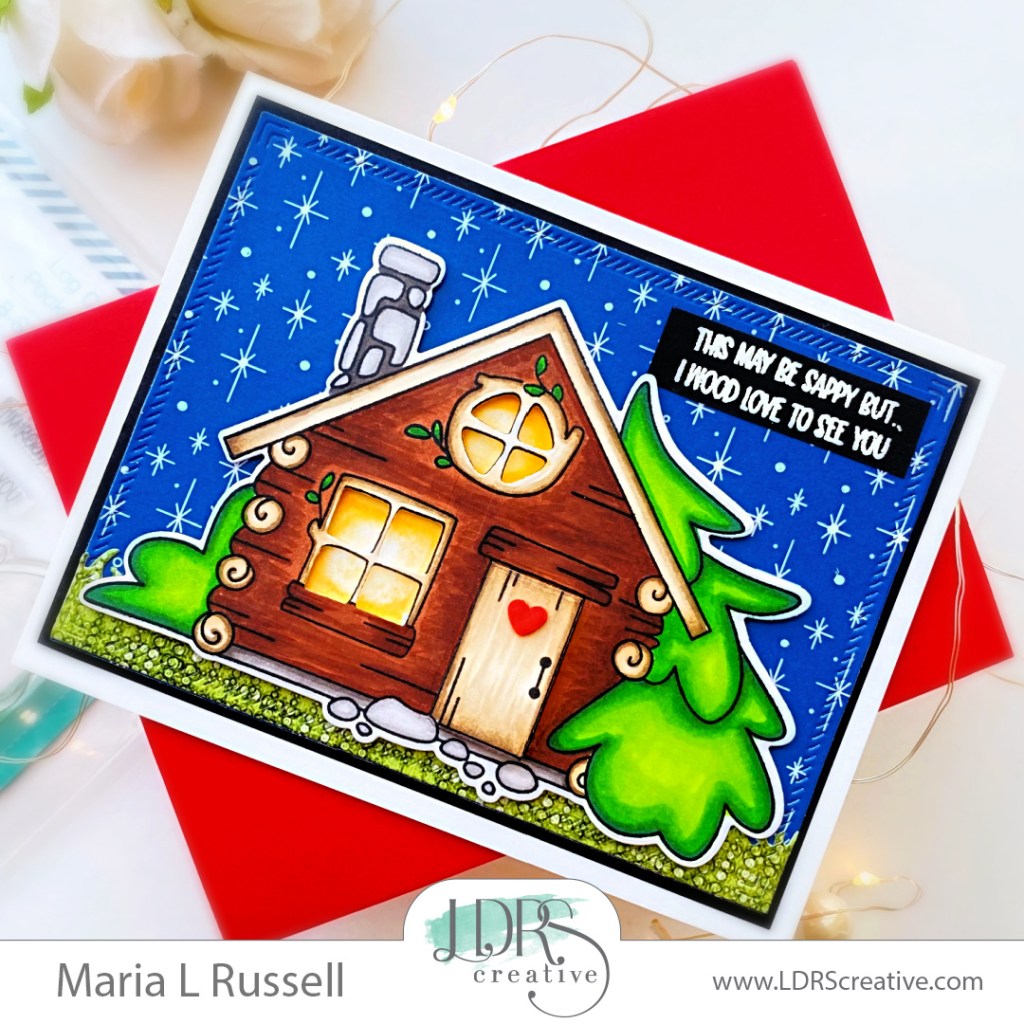
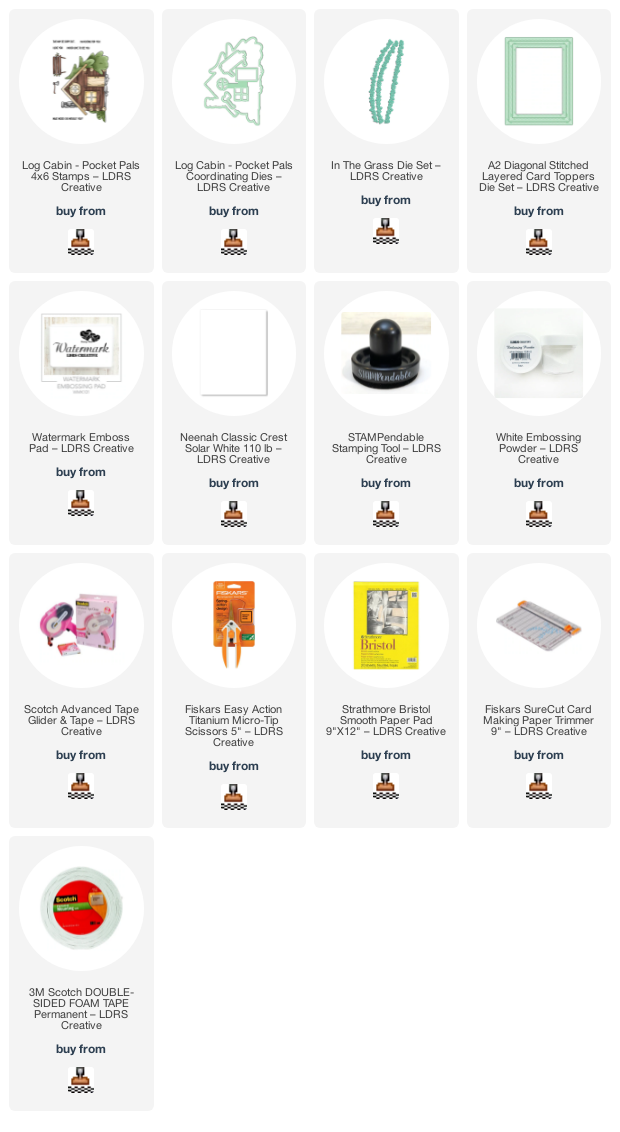
It’s inspiration day 2 at LDRS Creative and the entire design team is showing off a few of our favorites from the winter release. For today’s card, I am featuring the Log Cabin Pocket Pals stamp set and Log Cabin Pocket Pals Coordinating Dies with the A2 Diagonal Stitched Layered Card Toppers and In the Grass Die Set.

Here’s how I made this card:

  • Stamp the sentiment on some black card stock with watermark ink. Sprinkle some white embossing powder and heat-set with heating tool.
  • Adhere the sentiment on the focal panel and use some white gel pen to add dots to the background.

Don’t you just love that it looks “glowing” from the inside? I am so happy how this card turned out. I hope you love this card too and got inspired. The supplies I used are listed and linked below. Thanks for stopping by!

———SUPPLIES———-

You Make Me Happy – CREATIVE TEAM INSPIRATION DAY 1 with LDRS Creative

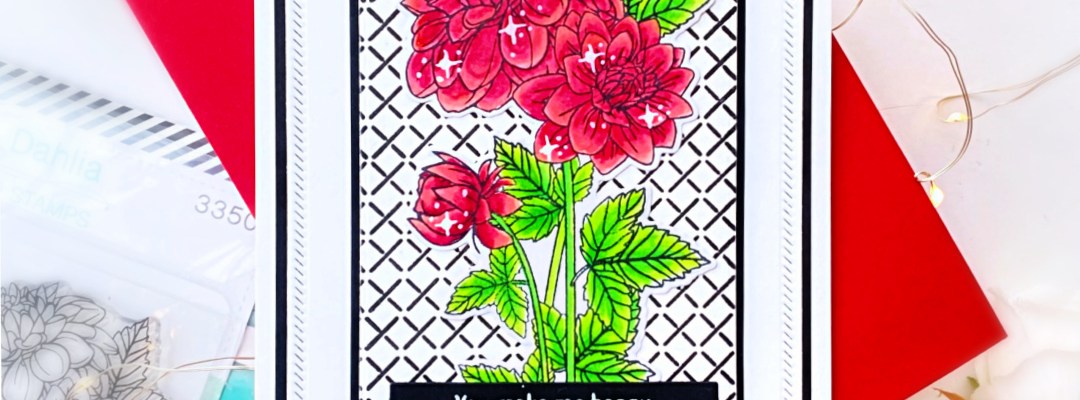
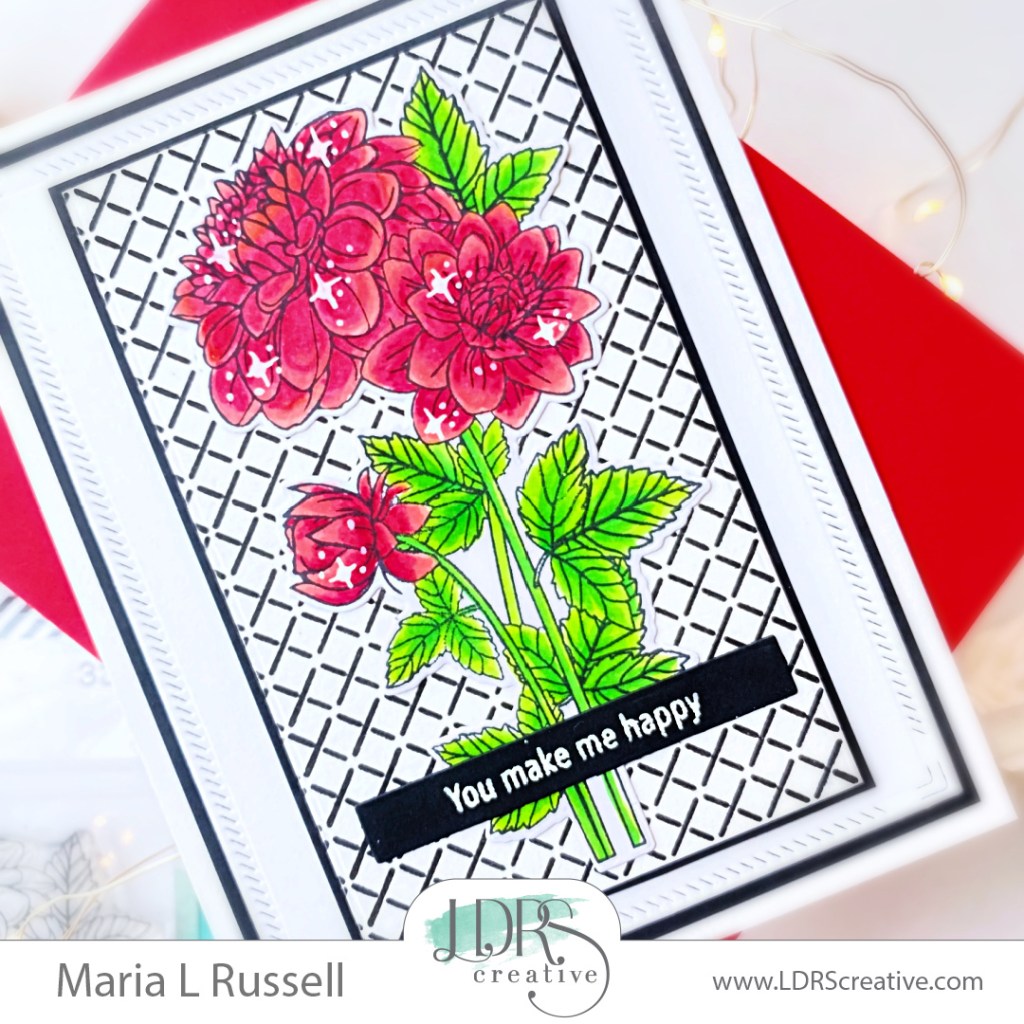
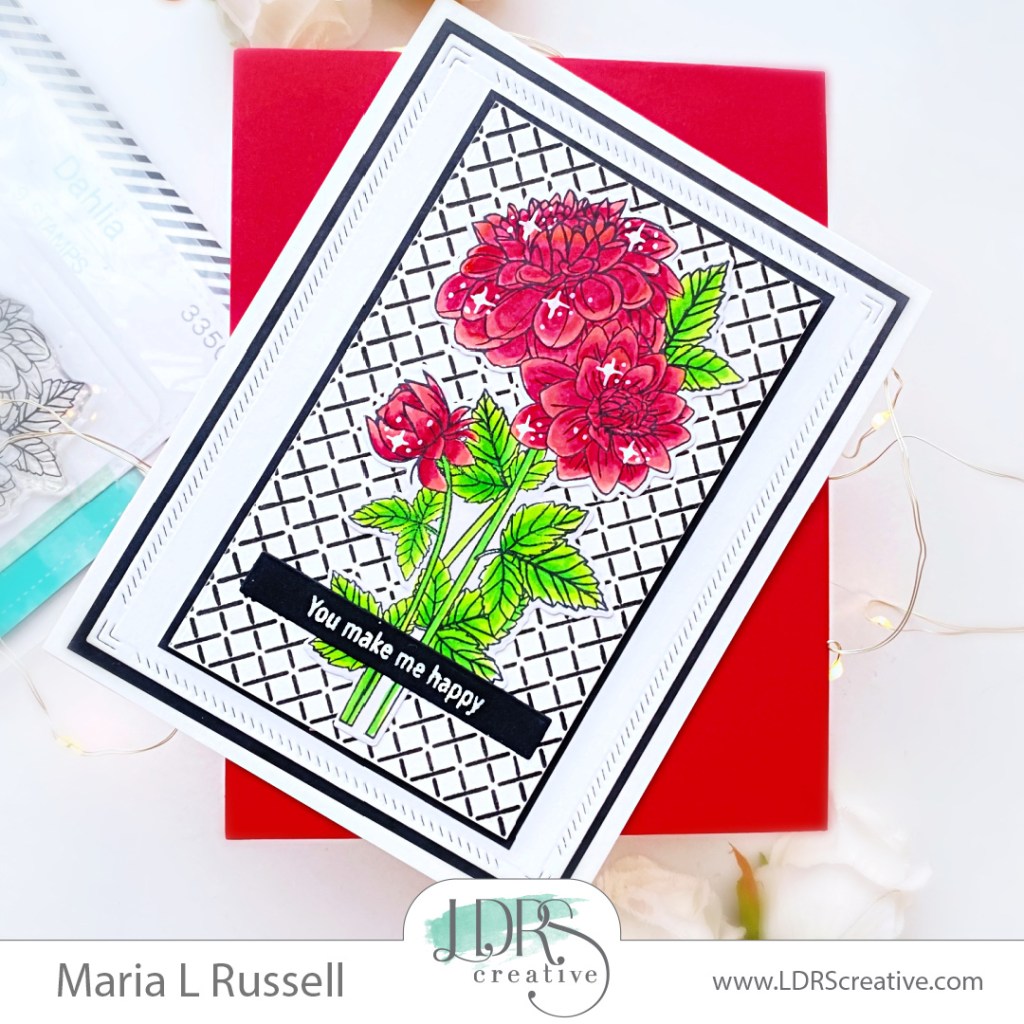
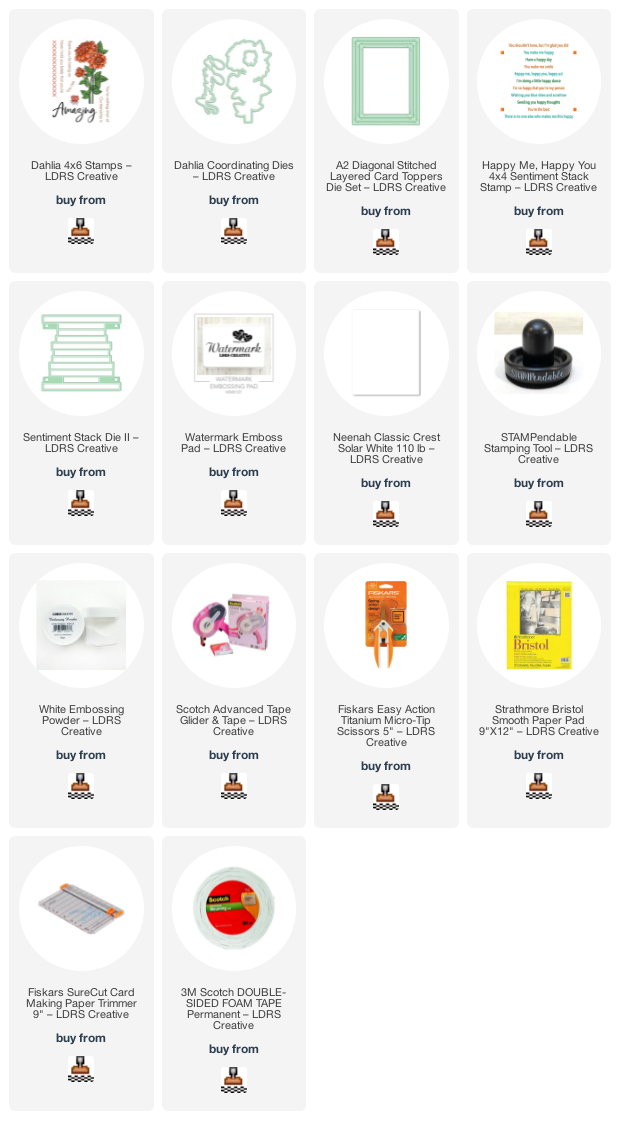
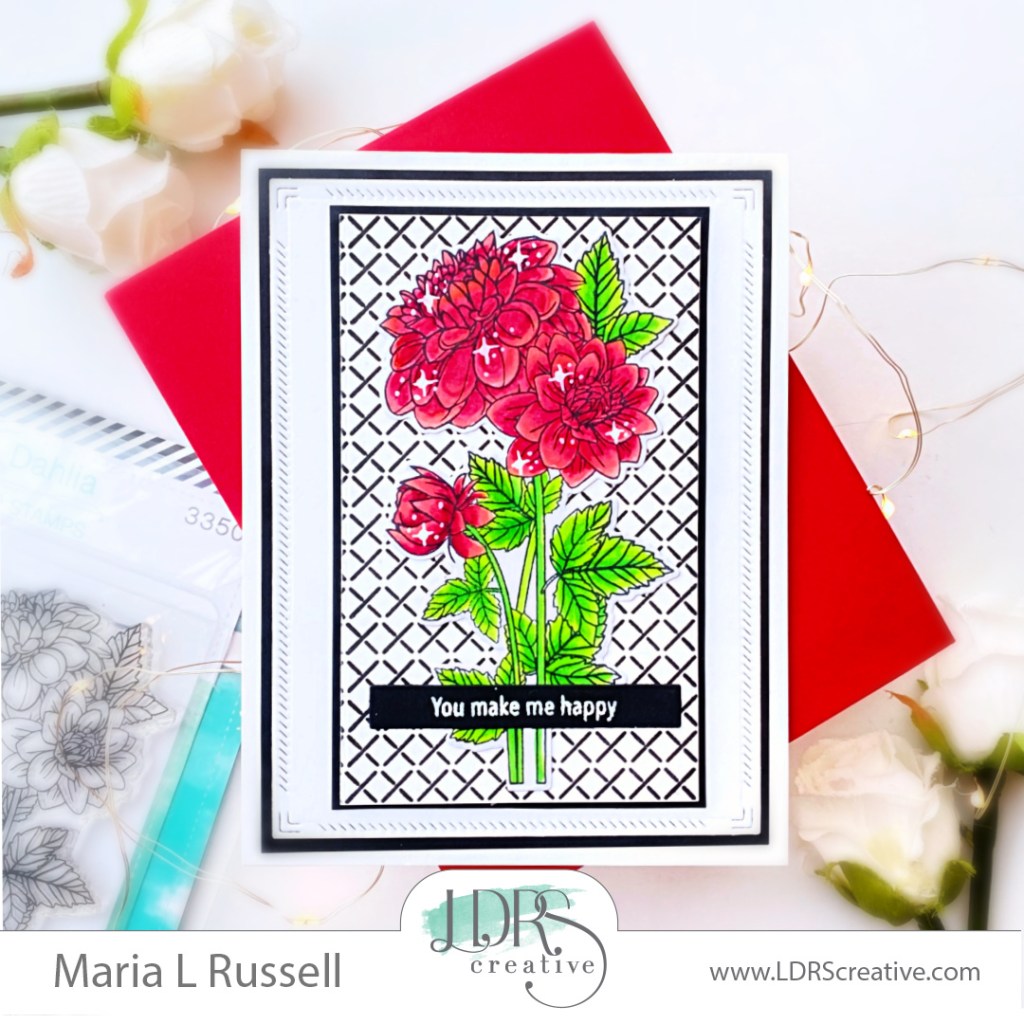
It’s inspiration day 1 at LDRS Creative and the entire design team is showing off a few of our favorites from the winter release. For today’s card, I am featuring the Dahlia stamp set and coordinating dies, with the A2 Diagonal Layered Stitched Card Toppers Die Set, Happy Me Happy You stamp set and the Sentiment Stack II Die.

Here’s how I made this card:

  • Adhere the focal image on the card.
  • Stamp the sentiments from the Happy Me Happy You stamp set and use the Sentiment Stack II Die to cut them all out. I really LOVE these type of stamp & die combo as you get to stamp a few sentiments and die cut all at once.
  • Adhere the sentiment “You Make Me Happy” on the card.
  • Finish the design by using white gel pen to add some dots and stars to the flowers for added texture.

Stay tuned for Day 2 as we bring you more inspiration tomorrow. I hope you like my card today. The supplies I used are listed and linked below. Thanks for stopping by!

———SUPPLIES———-
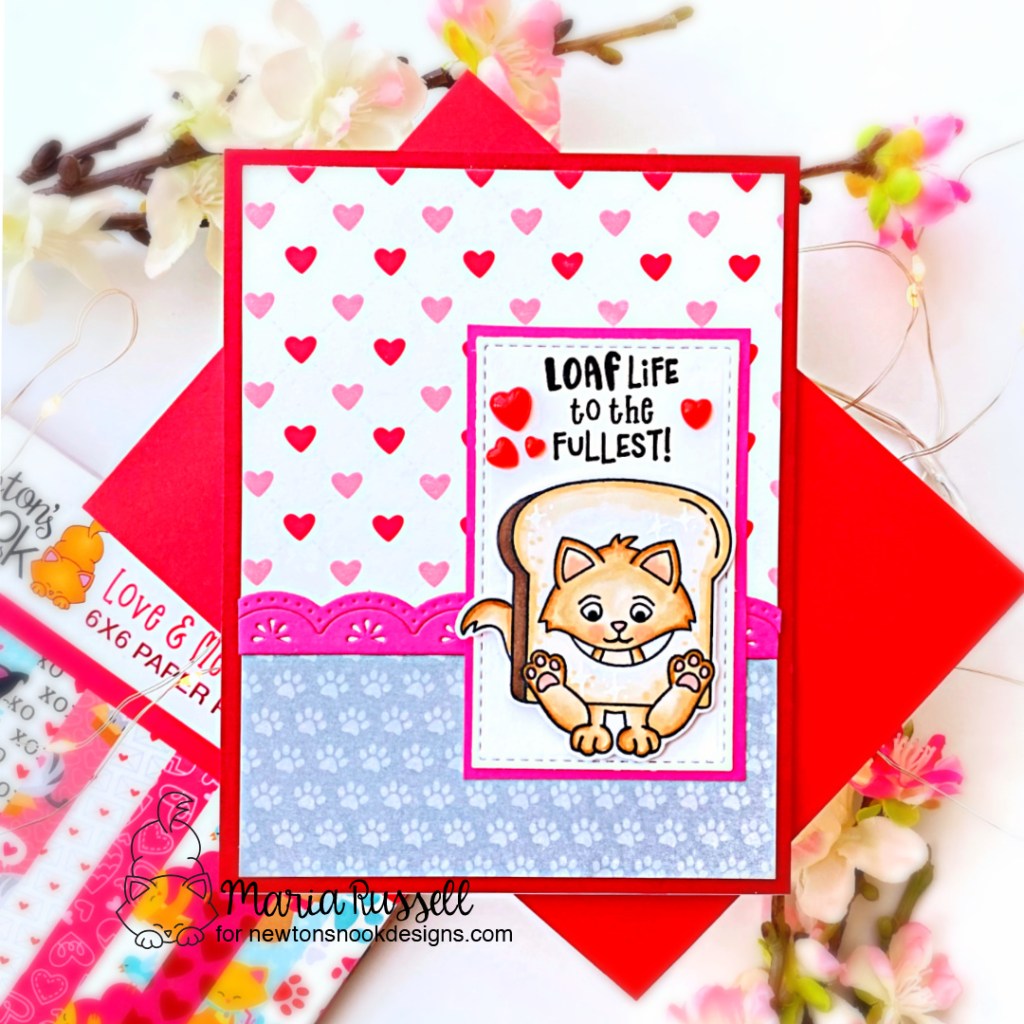
Love & Meows SKETCH CARD

Love is in the air and I am busy creating Valentine’s Day Cards. What have you all been up to? If you haven’t seen the new release by Newton’s Nook Designs, y’all need to head on over there and check out all the new products, including the new Love & Meows Paper Pad.

I found a few card sketches while browsing on Pinterest so I thought I’d give it a try today. I don’t normally create sketch cards because mixing patterns is not my thing; but when you have a really cute pattern paper such as the Love & Meows Paper Pad, you can’t help but show it off!

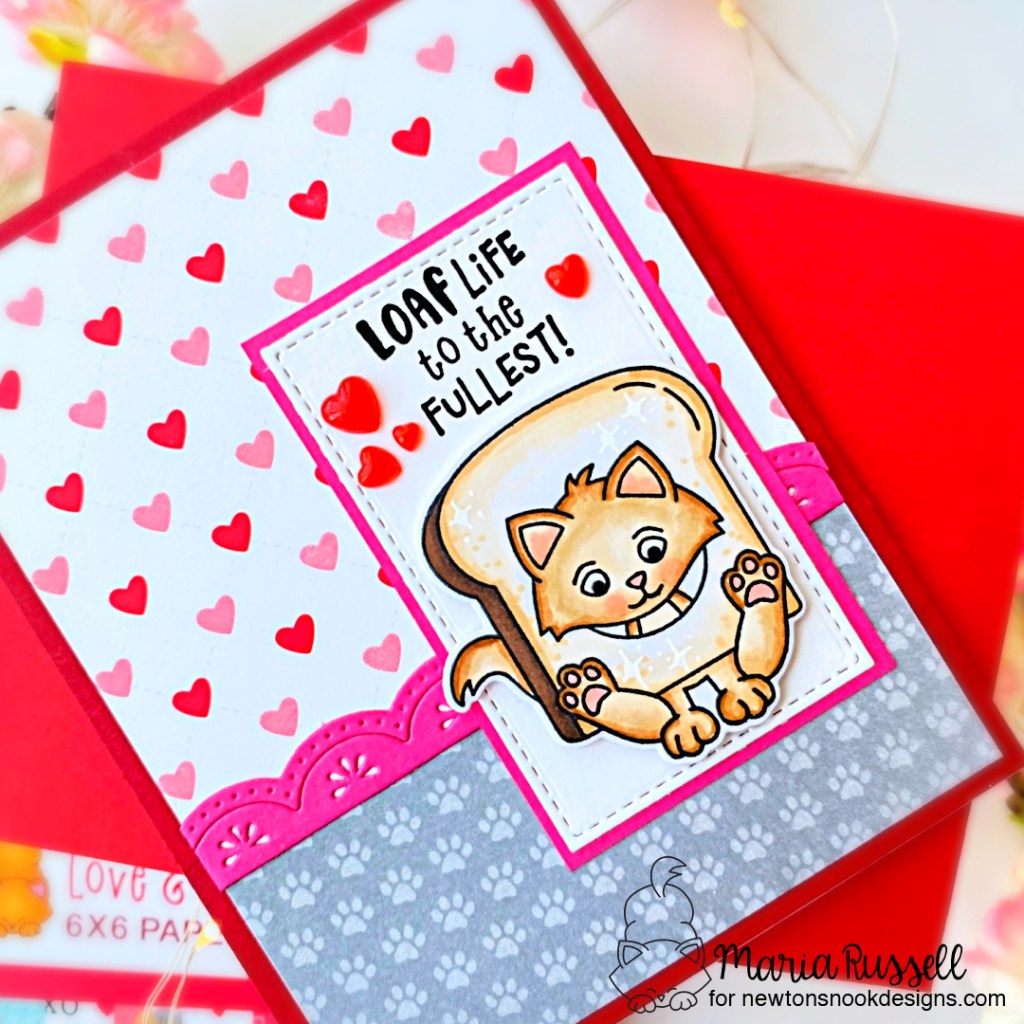
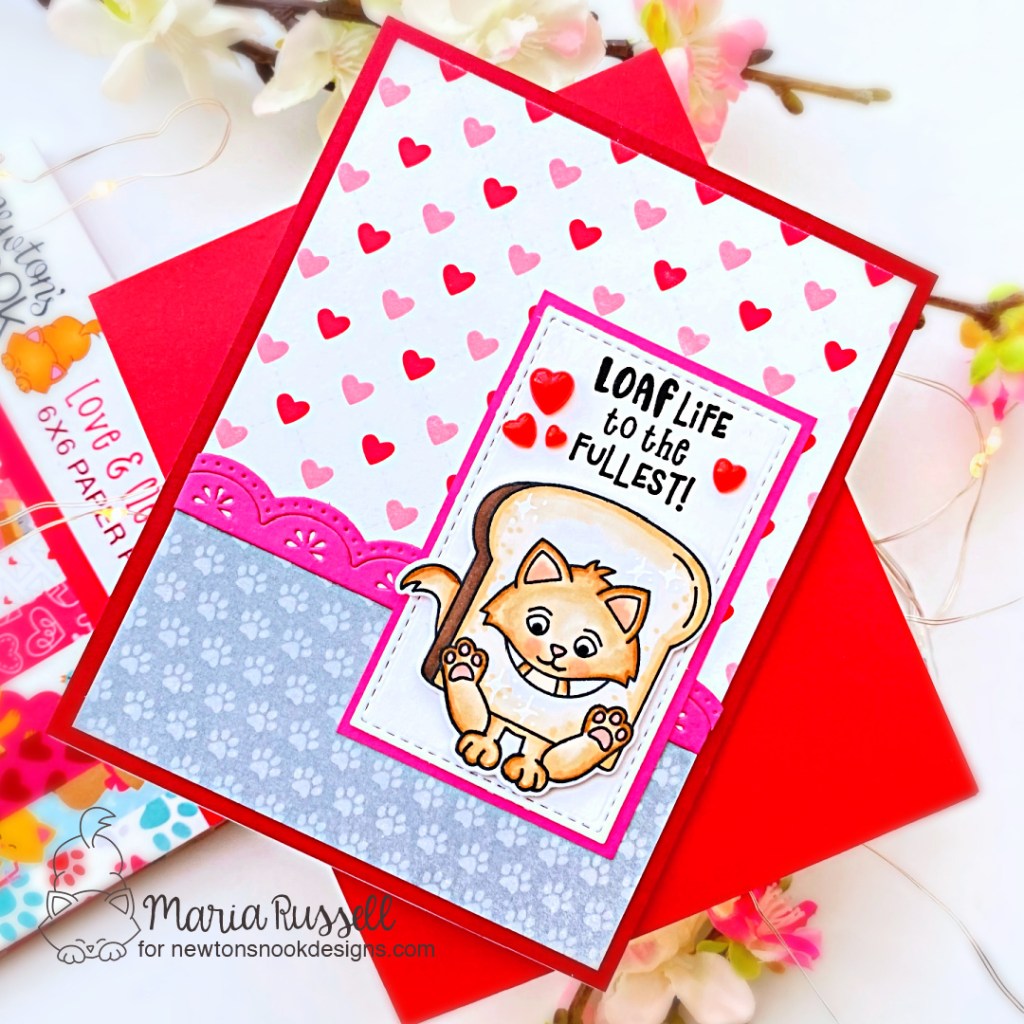
Here’s how I made this card:

  • Stamp the image from the Knead Kittens stamp set on some X-Press It Blending Card and color the image in with alcohol markers.
  • Use the Knead Kittens coordinating die to cut the image.
  • Cut some red card stock measuring 4 1/4 X 5 1/2 and adhere on an A2-size notecard.
  • Cut a few pieces of pattern paper from the Love & Meows Paper Pad and adhere to the card.
  • Use a scallop border from your collection and die-cut some dark pink card stock. [Designer tip: this will create a smooth transition between the patterns.]
  • Die-cut a small stitched rectangle with some Neenah solar white card stock. Matt this piece on some dark pink card stock that matches the scallop border. Adhere this panel on the card front.
  • Adhere the focal image on the card for added dimension.
  • Stamp the sentiment with VersaFine Clair ink in Black
  • Finish the card design by adding some heart enamel dots with liquid glue.

This card is easy, peasy! I may have to start making sketch cards more often since this took about less than 30 minutes, and it can easily be mass-produced! What do you think?

I hope I’ve given you some great inspiration today using the new products from the January release by Newton’s Nook Designs. The supplies I used are listed and linked below. Thanks for stopping by!

———-SUPPLIES——-
(insert here)

You’re A-GlazE-ing!

Hello KS fans! I’m back today sharing another Valentine’s inspiration, showcasing the Heart Donut Builder Dies, along with the For the Love of Donuts Stamp Set, Distressed Edge Nesting Slimline Dies and the Heartfelt Wishes Slimline Paper Pad. I am also excited to be on the Kat Scrappiness Blog.

Here’s how I made the card:

  • Use the Heart Donuts Builder Dies and die-cut different colors of card stock.
  • Create texture to the heart shaped-glaze by using an embossing folder and dry-emboss all of them.
  • Assemble the donuts by adhering them with liquid glue.
  • Use one of the heart dies and die-cut the sprinkles on some dark pink card stock.
  • Adhere the sprinkles on the donuts with liquid glue.
  • Die-cut the pattern paper from the Heartfelt Wishes Slimline Paper Pad. Adhere the same on some slimline card base measuring 8 1/2 by 7 (folded on the 7 inches side).
  • Cut some Neenah solar white card stock measuring 8 1/2 by 3 1/2. Create the white frame by using the second biggest die from the Distressed Edge Nesting Slimline Dies.
  • Add foam adhesive to all sides and adhere on the slimline card base for added dimension.
  • Foam-mount the middle donut on the card and adhere the rest with liquid glue.  [Designer tip: make sure you are not covering the frame]
  • Before stamping the sentiments, use the Telescopic Embossing Powder Tool with Retractable Brushto get rid of static.  I do this even when I don’t need to emboss my sentiments.
  • Stamp the sentiments on the frame using the For the Love of Donuts Stamp Set with Black ink and stamp the little hearts with red and pink dye inks.
  • Finish the card design by using the white gel pen and add some dots and stars to the donuts for added interest.

Who’s getting excited for Valentine’s Day?!  Have you decorated yet?  I hope you like my card today and got inspired.  The supplies I used are listed and linked below.  Thanks for stopping by today and happy crafting!

———–SUPPLIES———–