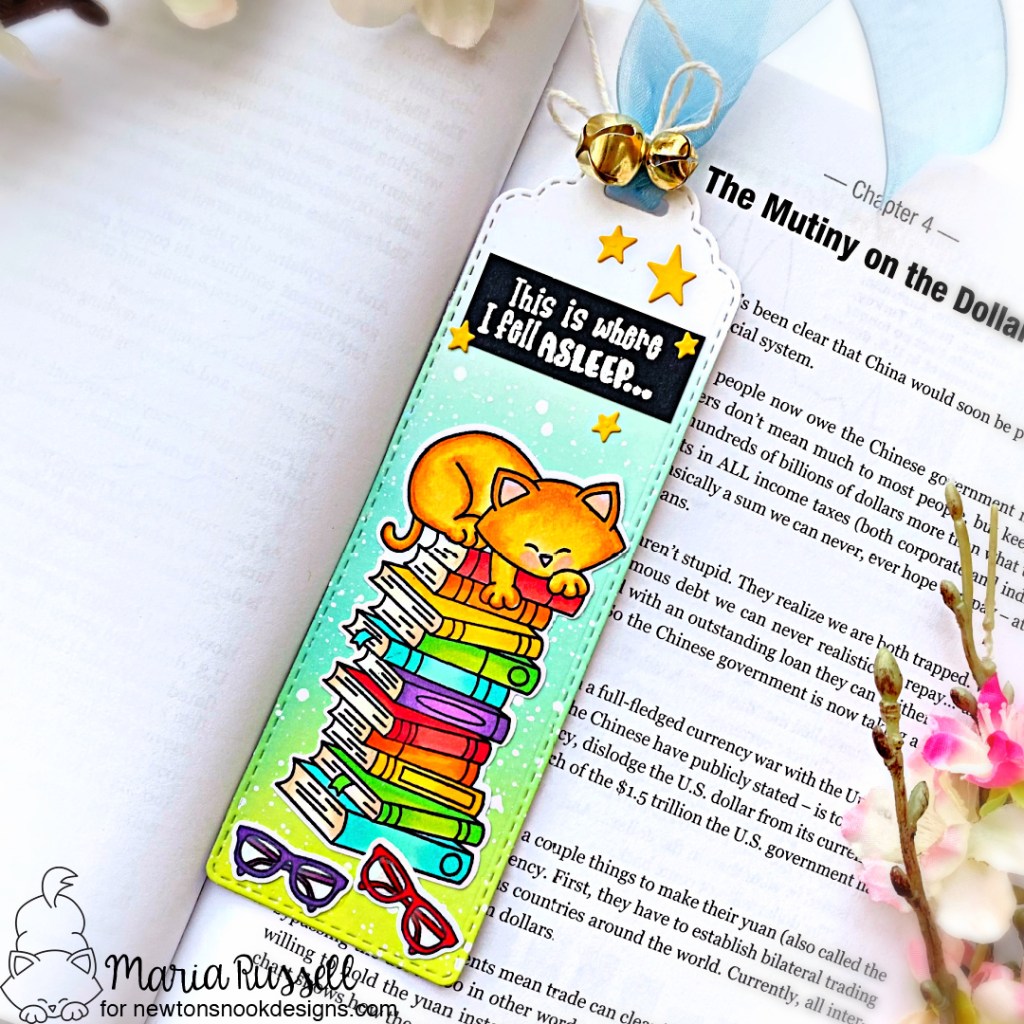
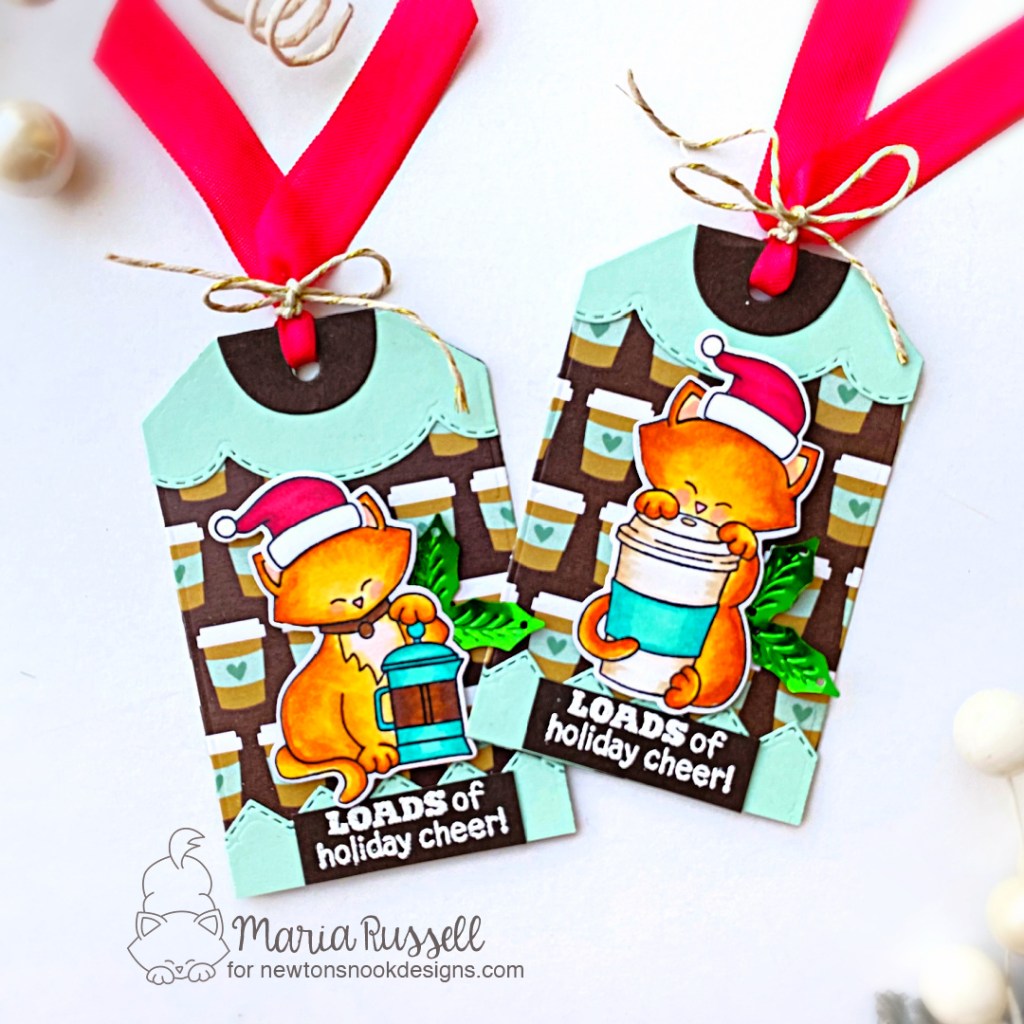
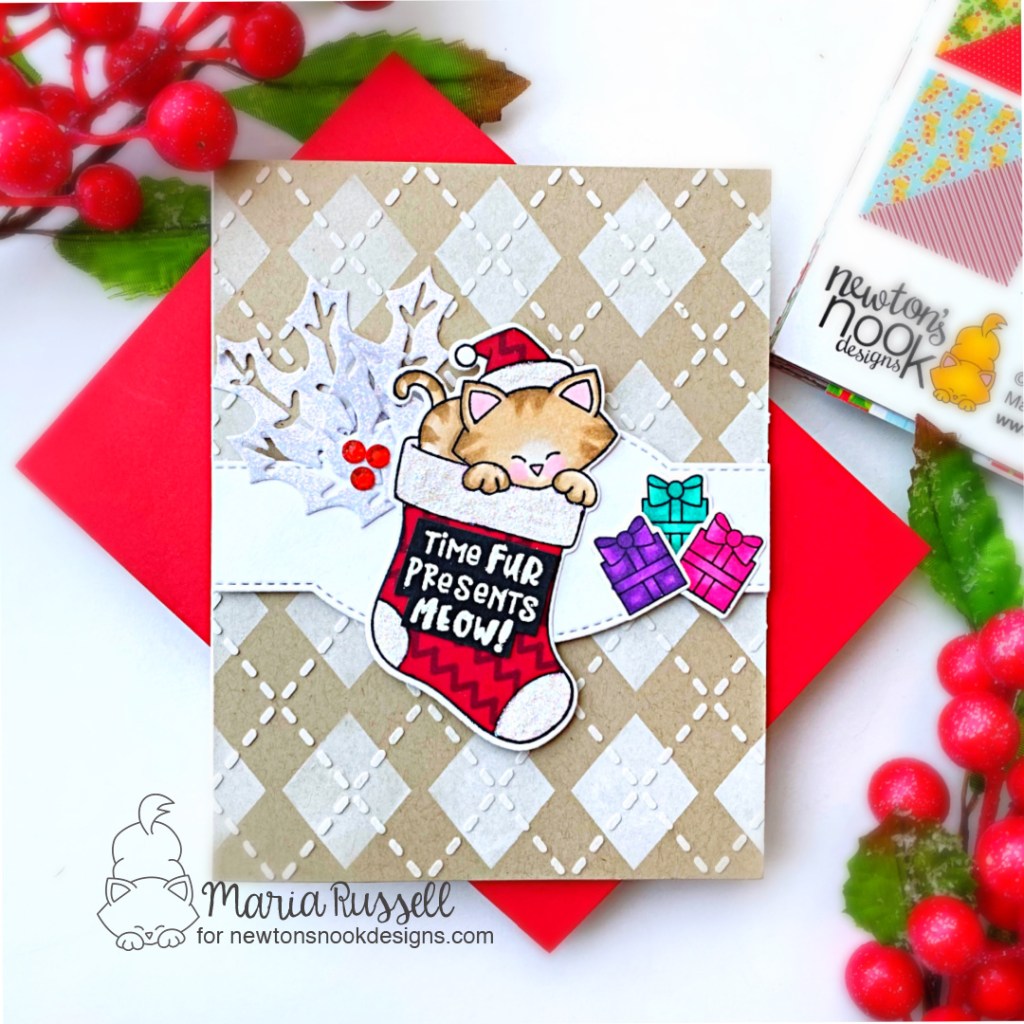
For today’s project, I’m showcasing the Woodland Reindeer Die set, along with the Happy Day Stamp Set and Stitched Slimline Hills. Thanksgiving is a great time to be with family and friends and after the feast is over, get some quality time and start creating Christmas cards (if you haven’t done so already). On my next few posts here, I will be giving you some inspiration to use your older Kat Scrappiness dies you’ve had from your stash for awhile and give them some love.
 Here’s what I did to create the card:
- Use the Woodland Reindeer Die set to die-cut two panels on some Neenah solar white card stock.
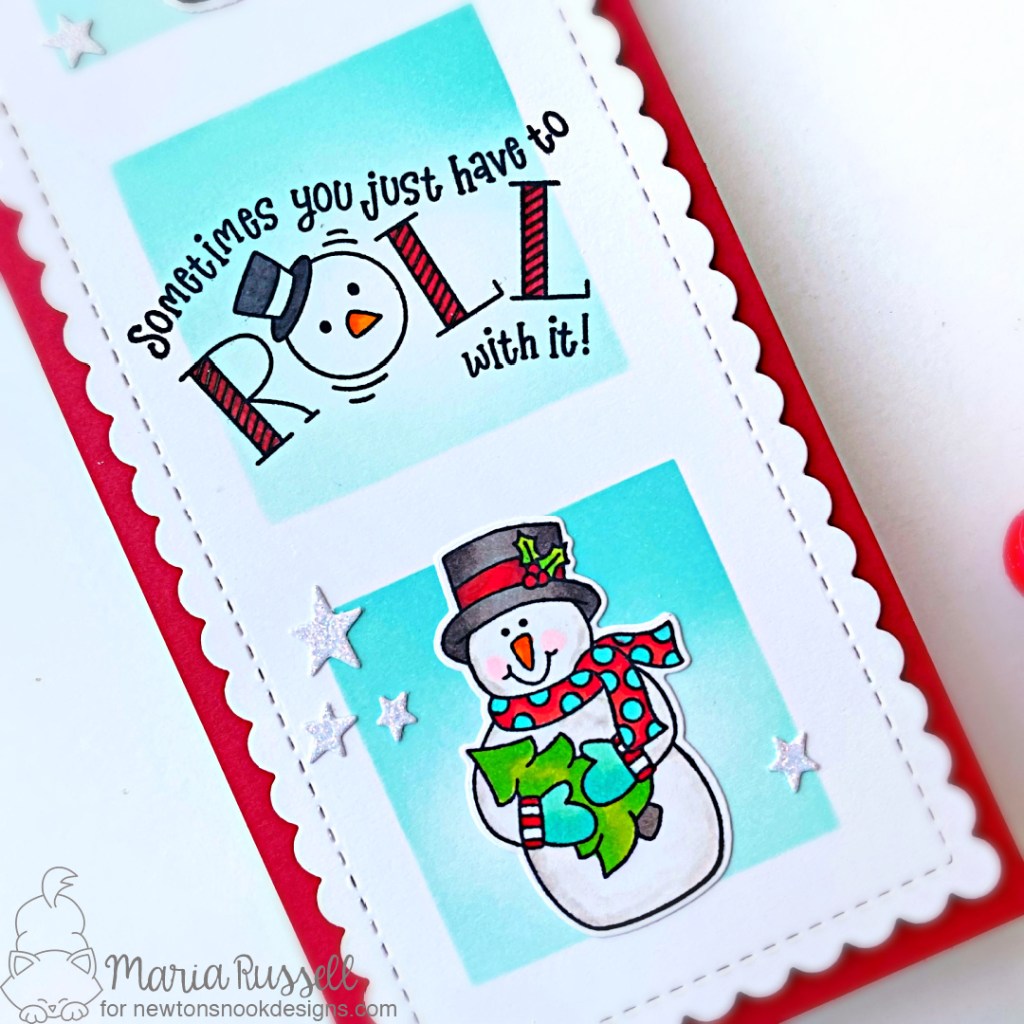
- Color the the first die-cut piece with alcohol markers.
- Ink-blend the second piece with some light blue dye ink.
- Adhere the colored piece on the ink-blended die-cut for added texture and interest.
- Die-cut the snowbanks using the Stitched Slimline Hills die on Neenah solar white card stock. Set these aside while you work on the background panel.

- Cut out a panel of Bristol Smooth white card stock measuring 5 1/2 x 4 1/4 inches. This is the best card stock to use when using distress inks.
- Ink-blend the panel using distress oxide inks and mini-ink blending tools with Wilted Violet, Picked Raspberry and Dried Marigold.
- Add texture to the background by using a Starfield Stencil and texture paste. Spread the paste evenly with the help of Therm-O-Web’s Stencil Pal. Let this panel dry for at least half an hour.
- Adhere the background panel on some A2-size notecard.
- Add the snowbanks with Bearly Art Liquid Glue.
- Adhere the Woodland Reindeer Die set with foam adhesive (and liquid glue) for added dimension.
- Add stickles to the snow for added texture and interest.
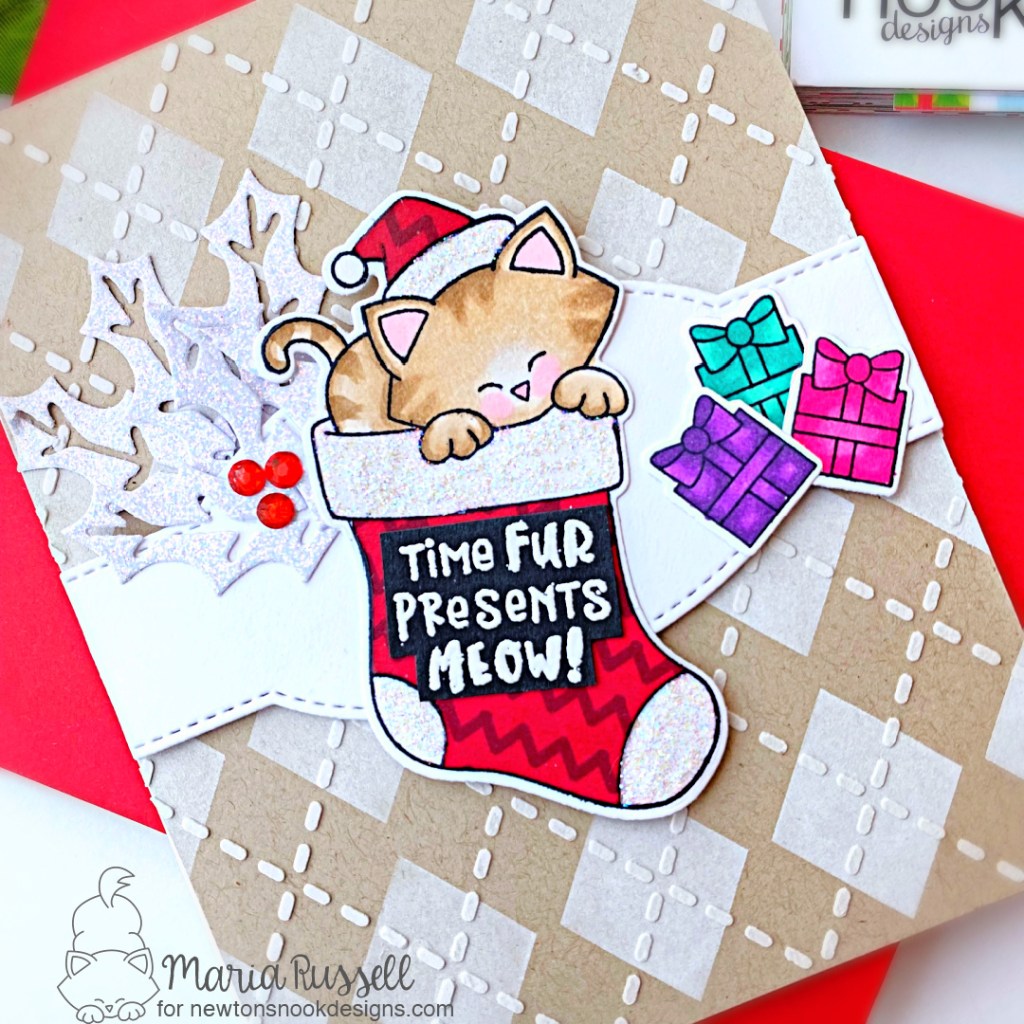
- Finish the design by stamping the sentiment “Happy Holidays” using the Happy Day stamp set with Versafine Claire Ink in Nocturne.
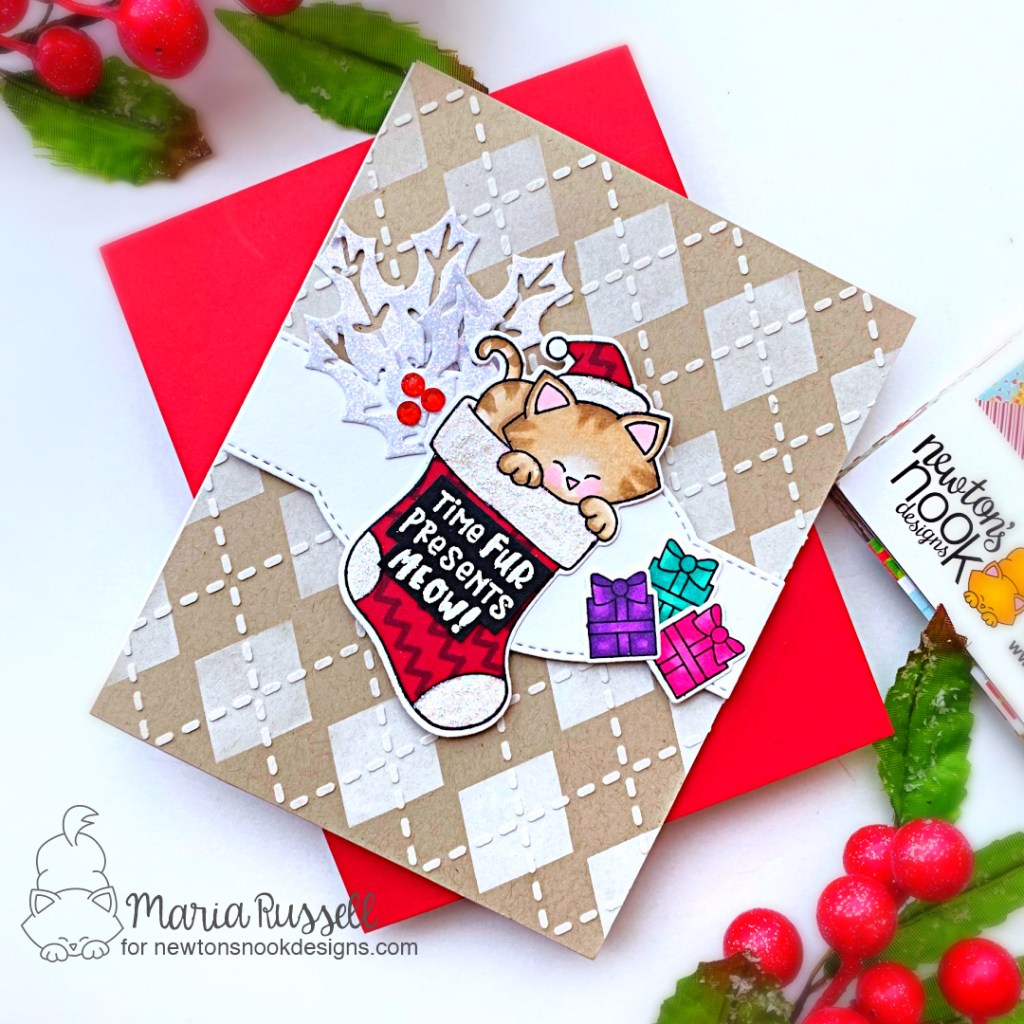
 I hope you like my card today and got inspired! The supplies I used are listed and linked below. Don’t forget to use the coupon code “CHRISTMAS2021” to get 20% off your order. Thanks for stopping by today and have an amazing Thanksgiving weekend!
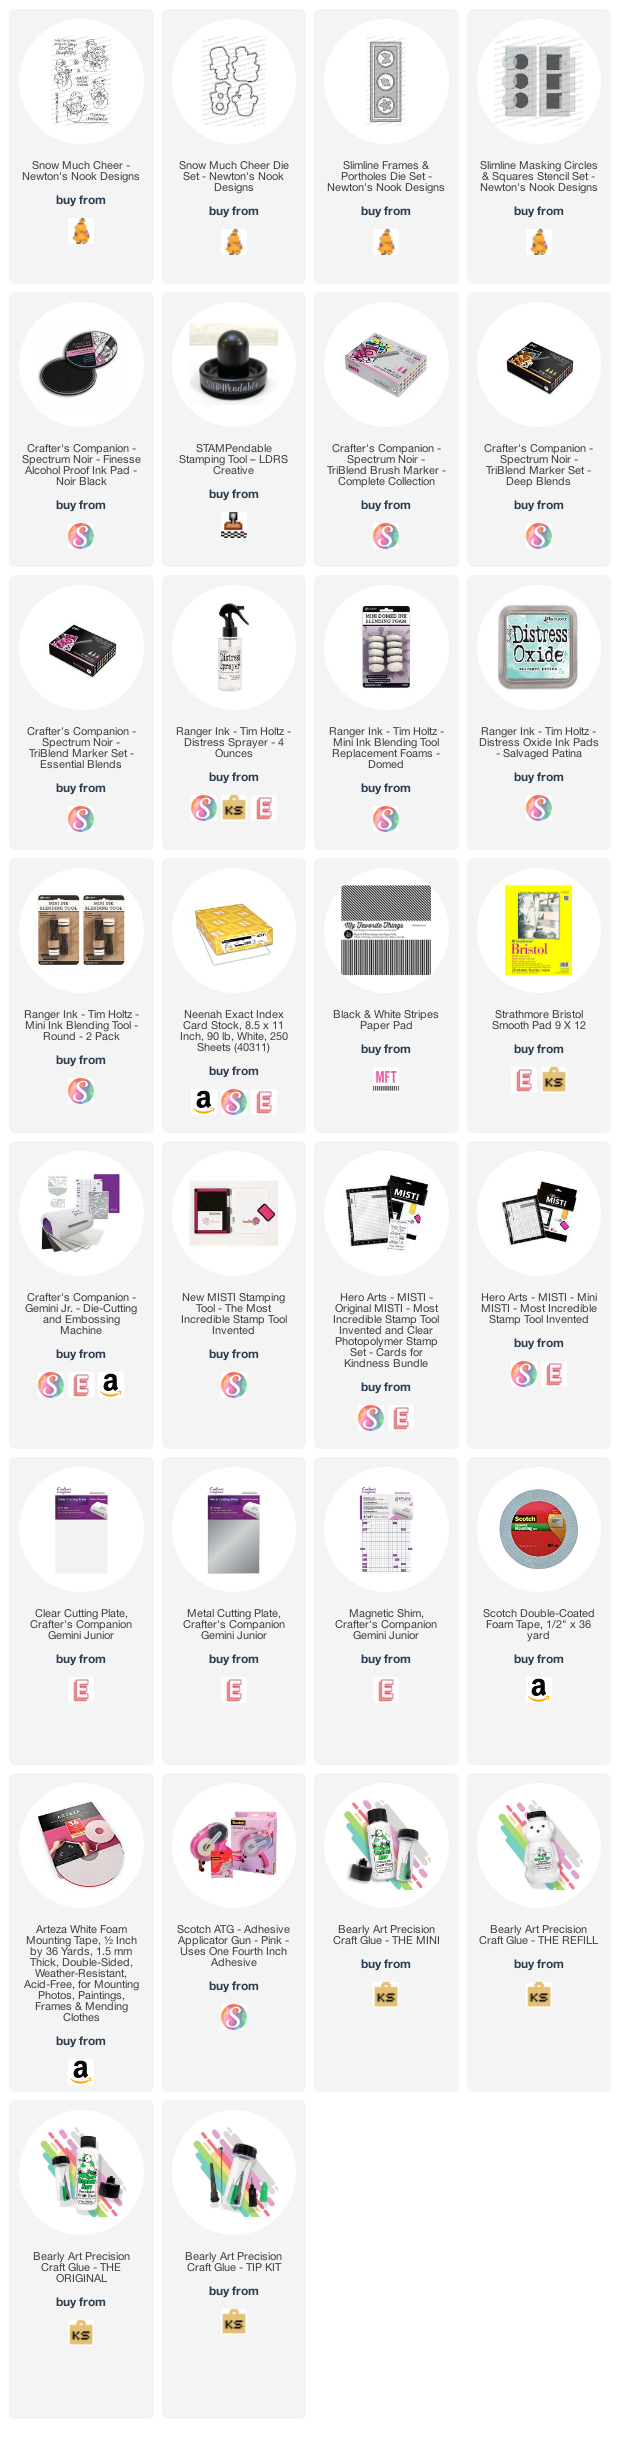
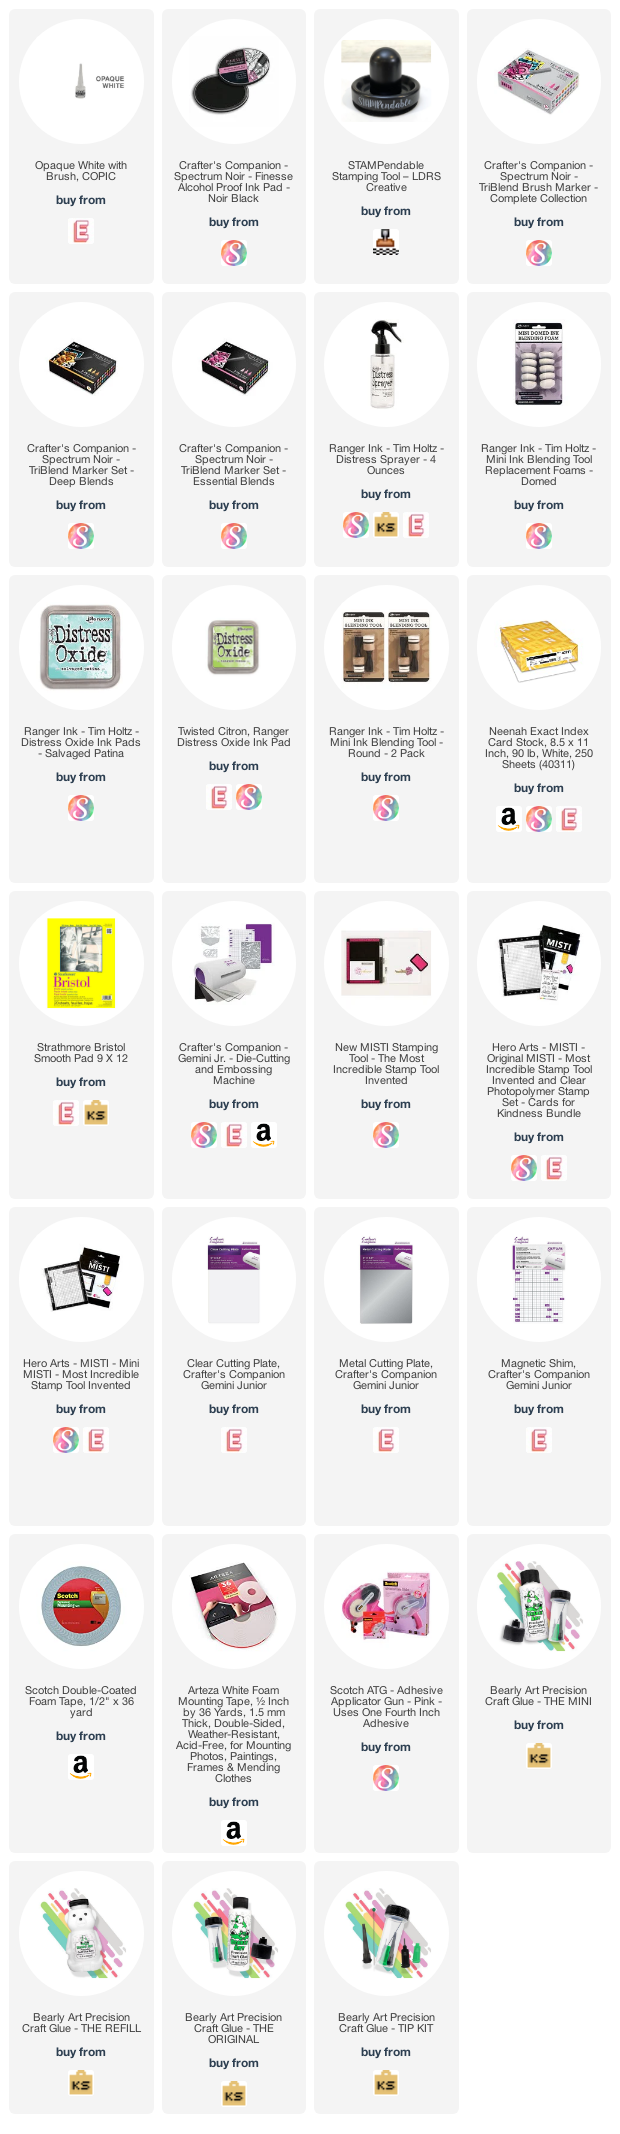
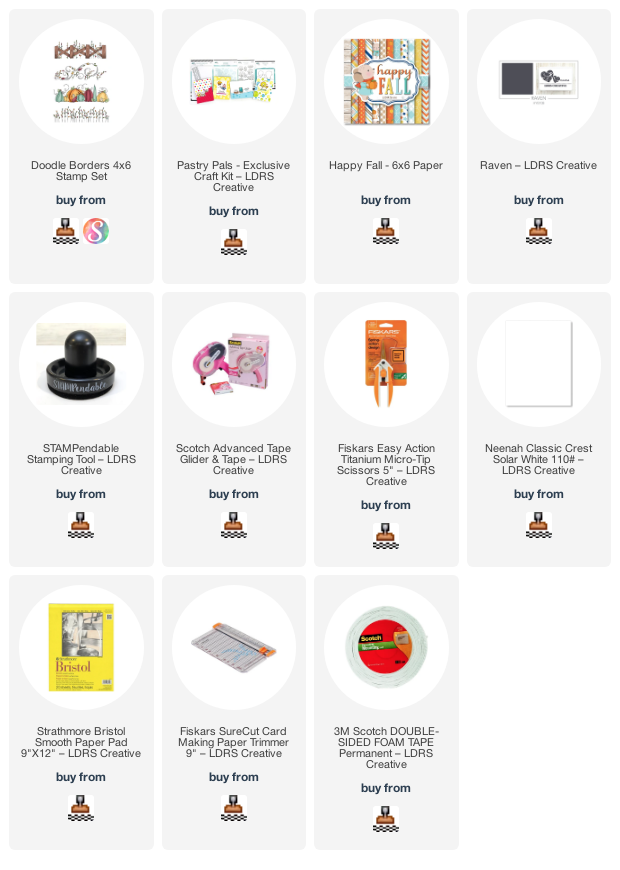
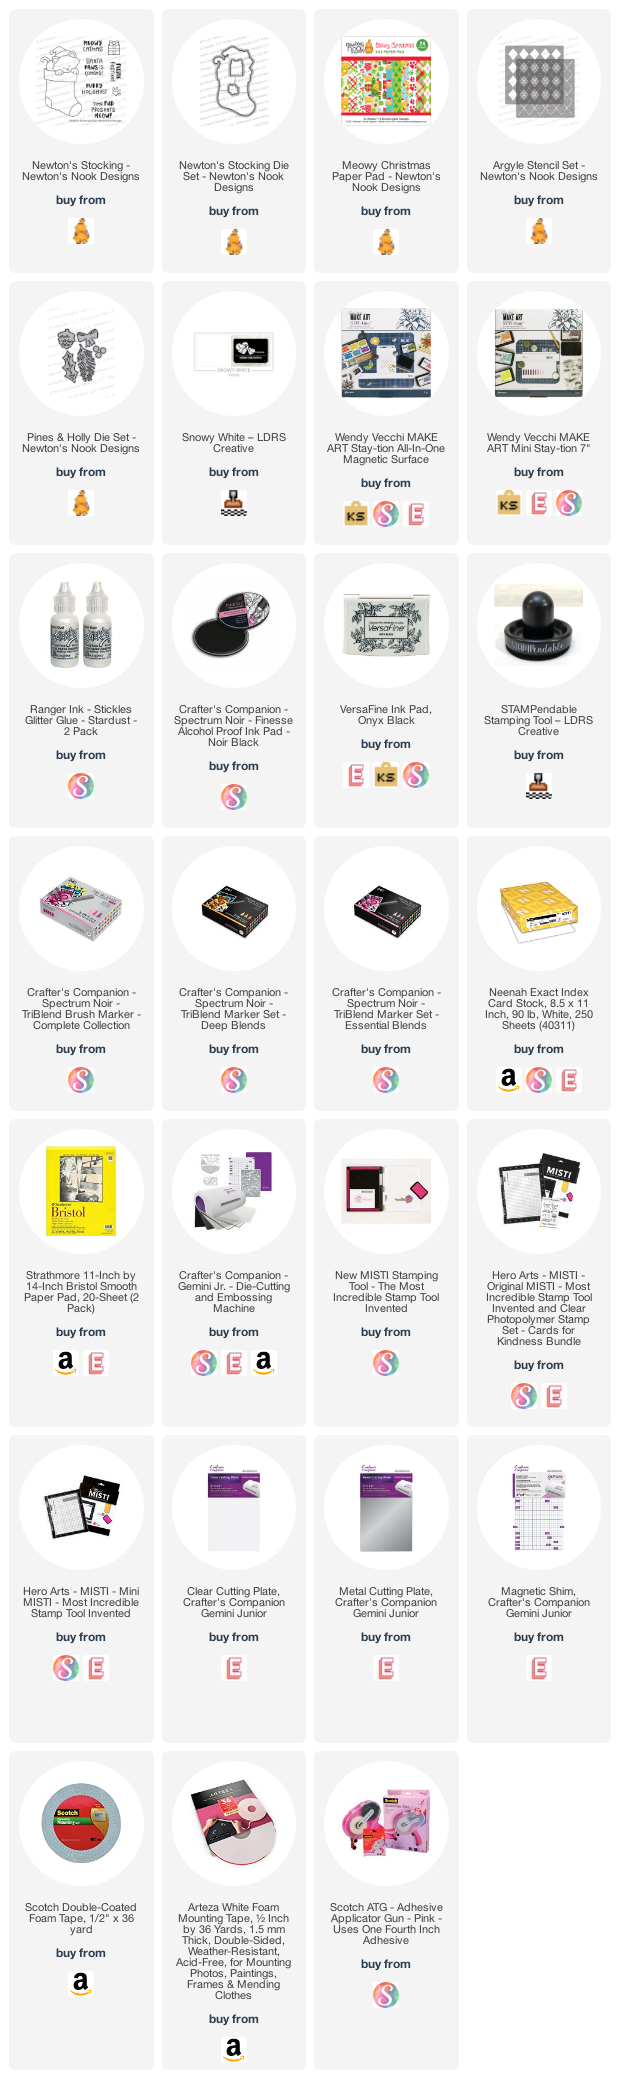
————SUPPLIES———-