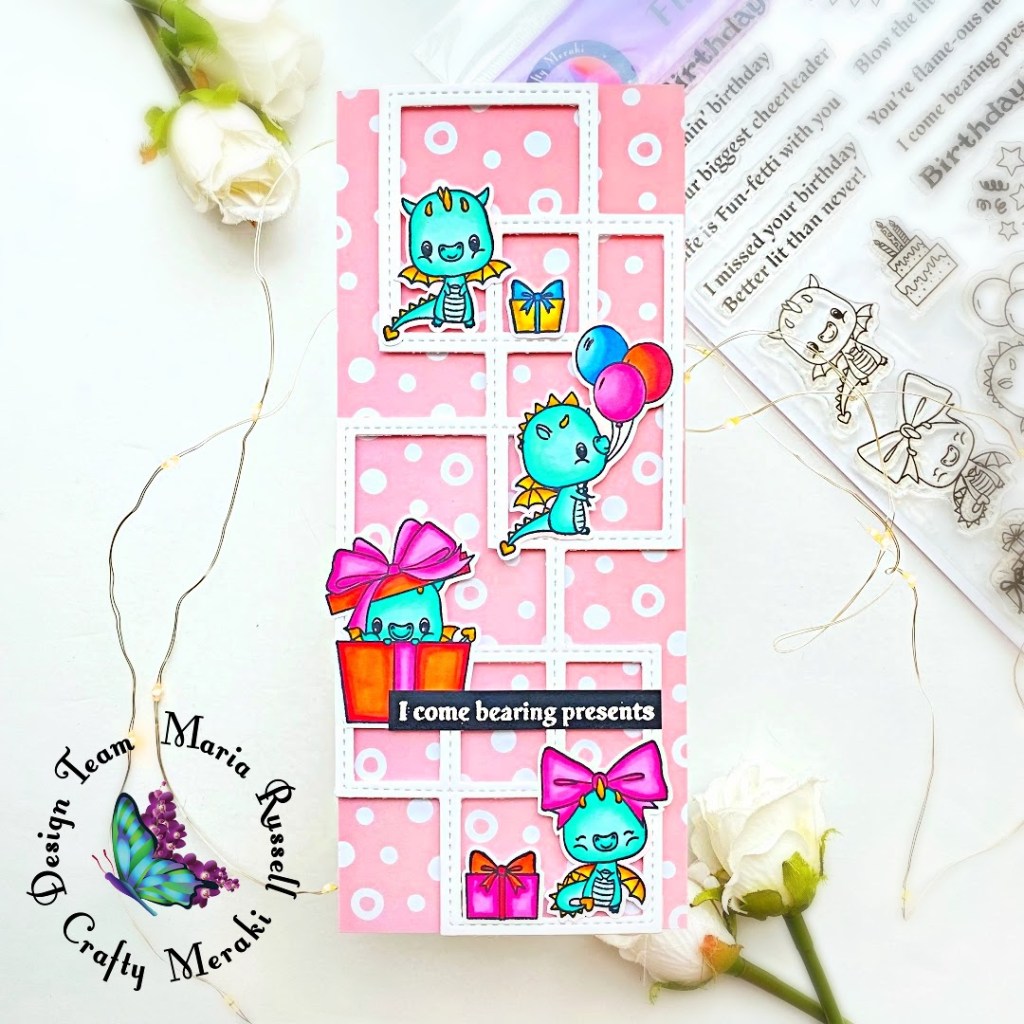
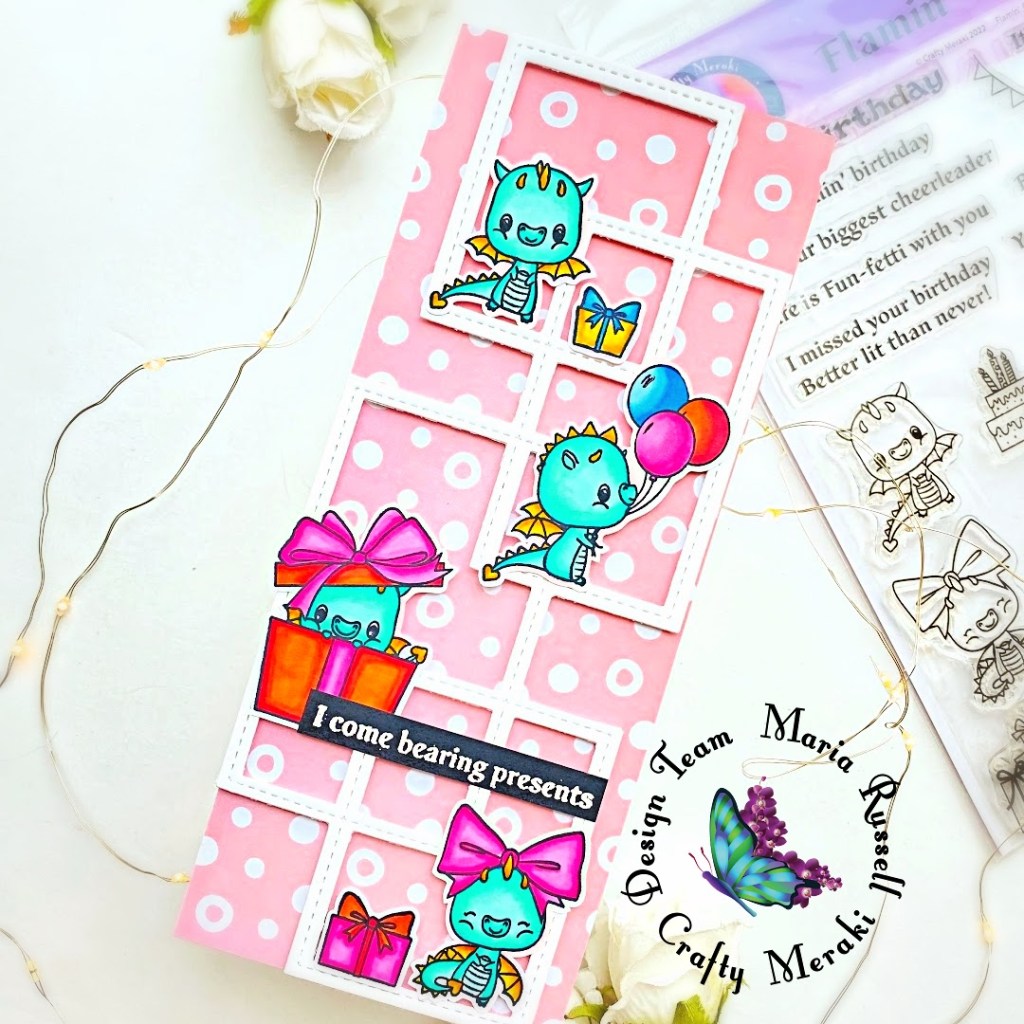
I started by stamping the images on some Neenah solar white card stock using some alcohol-friendly ink. I colored the images in with alcohol markers and used the coordinating dies to cut them all out.
Next, I adhered some patterned paper onto a slimline card base. I die-cut the white frame using the Outside the Box slimline die and foam-mounted this onto the card panel for added dimension.
The colored images were then added to the focal panel with foam adhesive. I finished the card design by adding the sentiment that I stamped and heat-set on some black card stock.
These cute little dragons are one of my favorite from the latest release. The images are so ADORABLE, don’t you think?! Below, you will find links to the supplies used to create this project(s). Where available, I use compensated affiliate links at no extra cost to you. Your support helps me to keep bringing you new projects and inspiration. Thanks for stopping by today and happy stamping!
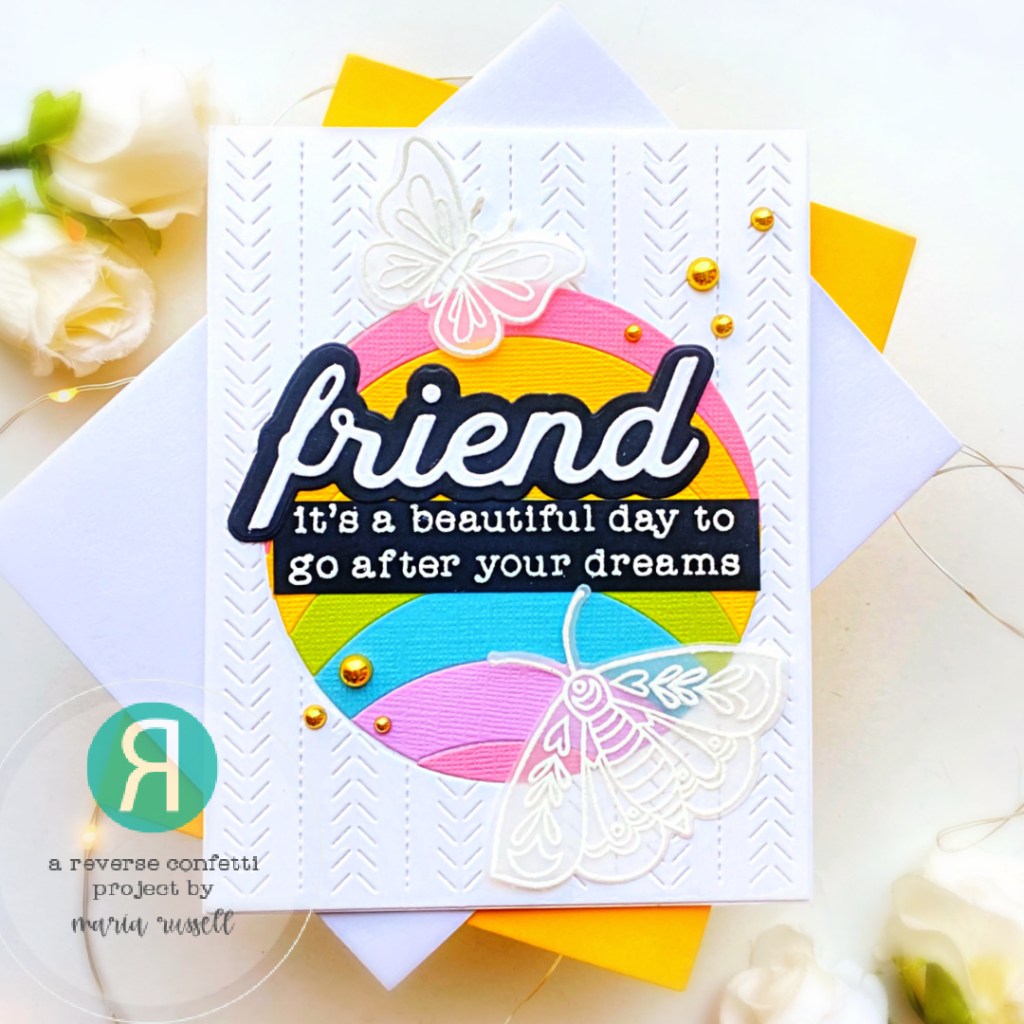
I am so happy to join Reverse Confetti’s Creative Hop where you’ll find a lot of AMAZING inspiration using products from the last release. Check out the hop listing below to see the wonderful projects prepared by the entire team.
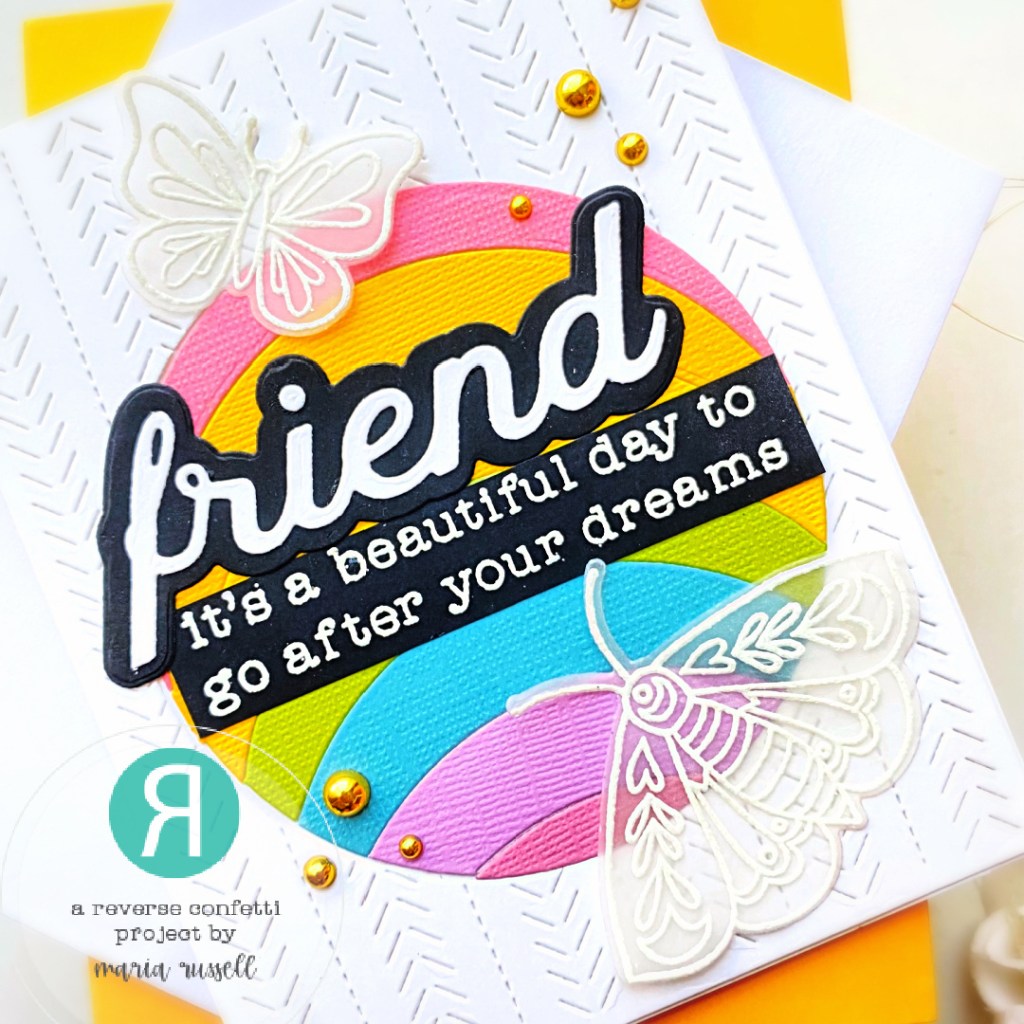
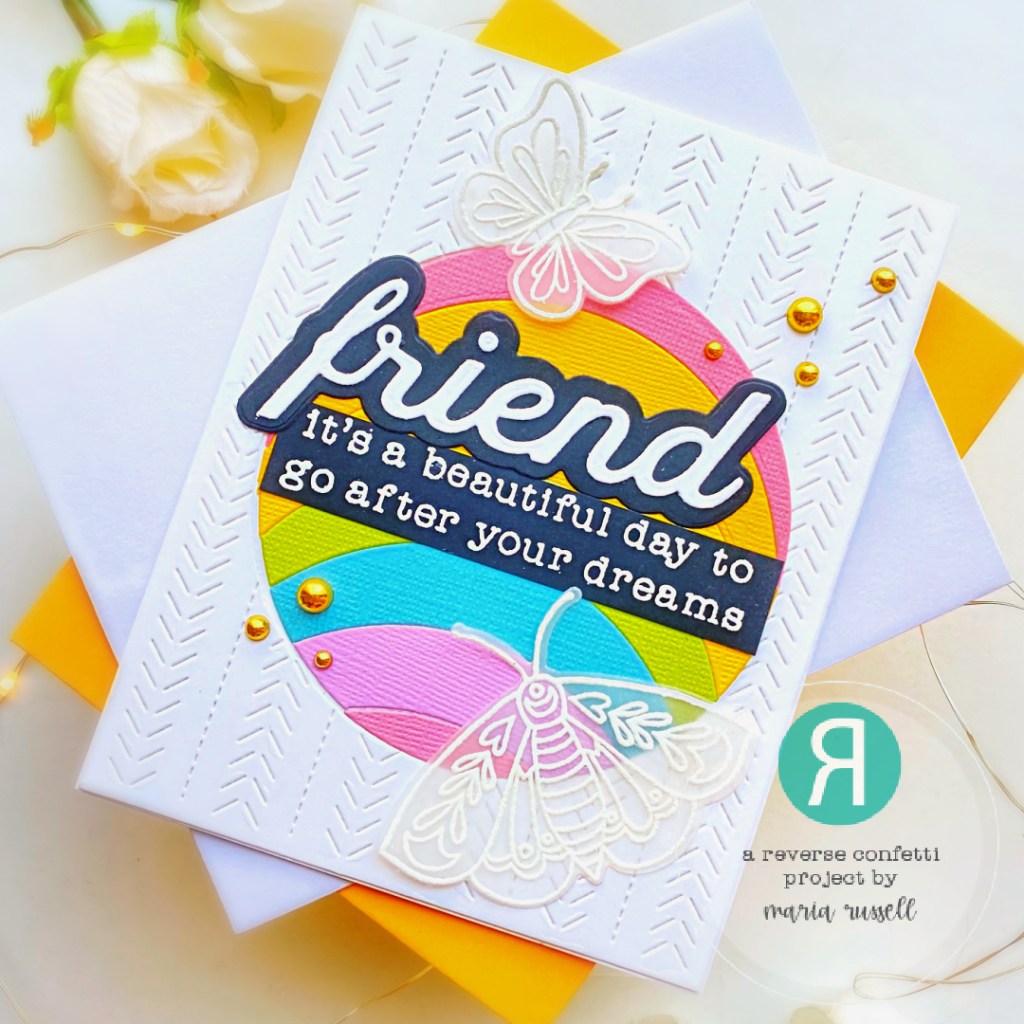
prepare the background by die-cutting some Neenah Solar White Card Stock using the Folklore Cover Panel. Die-cut the circle in the middle using the Large Rainbow Circle Confetti Cuts. Adhere the cover panel on some A2-size notecard.
use the same Large Rainbow Circle Confetti Cuts and die-cut a few colored card stock to create the rainbow. Adhere the die-cut pieces on the card with liquid glue.
die-cut the Layered Friend on some black and white card stock. Adhere with liquid glue.
stamp the sentiment on some black card stock with Versamark ink. Sprinkle some white embossing powder and heat-set with heating tool.
use paper trimmer to trim the sentiment and adhere on the focal panel.
adhere the butterflies using tape runner.
finish the card design by adhering some gold pearls for added texture and interest.
I really LOVE the latest release by Reverse Confetti. I hope you like my project and got inspired! Below, you will find links to the supplies used to create this project(s). Where available, I use compensated affiliate links at no extra cost to you. Your support helps me to keep bringing you new projects and inspiration.
Remember that you will get a FREE STAMP SET on orders over $60.00!!!! Don’t forget to hop along and check out more inspiration from the entire team. Thanks for stopping by and have an amazing day!
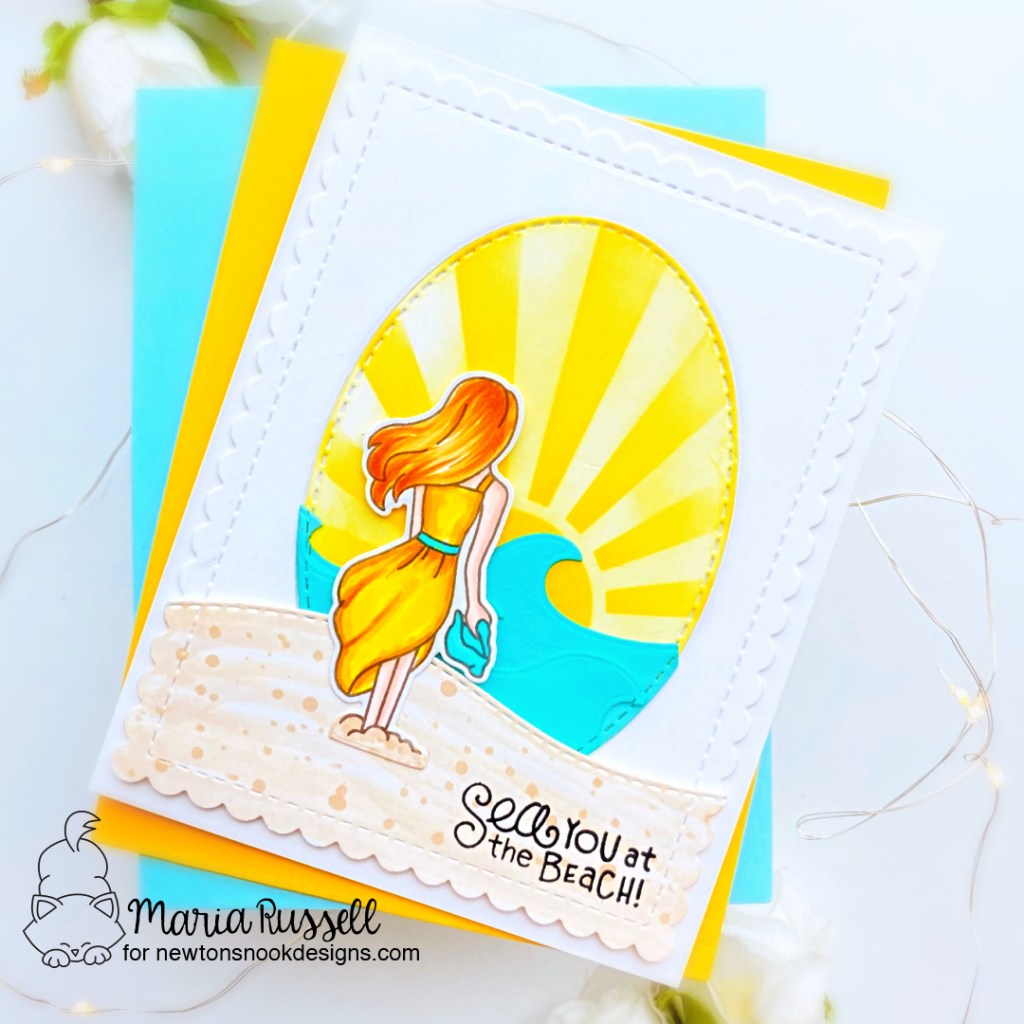
stamp the image(s) on some Neenah Classic Crest Solar white card stock.
color images in with alcohol markers (or any medium of your choice).
die-cut the image(s) using the coordinating die.
die-cut the scallop frame twice using the Frames & Flags die set. Use the Land Border Die to die-cut the sand hill and color this piece using alcohol markers. Draw some dots for added texture and interest.
use the oval die from the Oval Frames die set to die-cut the window. Use the same Oval die and the Sea Borders to die-cut the waves on some blue card stock. I did this twice and adhered them together with liquid glue.
adhere the scallop panel on some A2-size notecard.
ink-blend the oval die-cut using some distress ink and the Sunscape Stencil. Adhere the waves with liquid glue. Adhere this piece on the card.
foam-mount the sand hill and the stamp image(s) on the card for added dimension.
finish the card design by stamping the sentiment with Versafine Onyx Black ink. Here’s another look at the card:
I hope you like this card today and got inspired. Below, you will find links to the supplies used to create this project(s). Where available, I use compensated affiliate links at no extra cost to you. Your support helps me to keep bringing you new projects and inspiration. Thank you for stopping by, and have an amazing day!
Prepare the background by ink-blending a panel of Bristol Smooth White Card Stock measuring 4 1/4 x 5 1/2 inches with Scattered Straw, Cracked Pistachio and Peacock Feathers Distress Oxide Inks using small ink blending tools. Adhere this panel on some A2-size notecard.
Die-cut the pink frame using the Layered Balloons Coverplate Die on some 110 lb. Neenah Solar White Card Stock. Adhere this frame on the ink-blended panel with foam adhesive for added dimension.
Use the Laminator and Deco Foil Toner Sheets with Deco Foil Transfer Sheet in Shattered Glass to foil this panel.
Use the balloon dies from the Layered Balloons Coverplate Die to die-cut the balloons. Foam-mount the pieces on the card panel for added dimension.
Foam-mount the frame on the card for added dimension.
Die cut the words “Happy Birthday” using the Happy Birthday Word Die with Shadow on some Black and white card stock. Adhere them together with liquid glue.
Finish the card design by adhering the sentiment on the card.
I hope you like this simple birthday card today. Below, you will find links to the supplies used to create this project(s). Where available, I use compensated affiliate links at no extra cost to you. Your support helps me to keep bringing you new projects and inspiration. Thank you for stopping by, and have an amazing day!
Maria here on the blog with you and I hope everyone’s looking forward to the weekend!
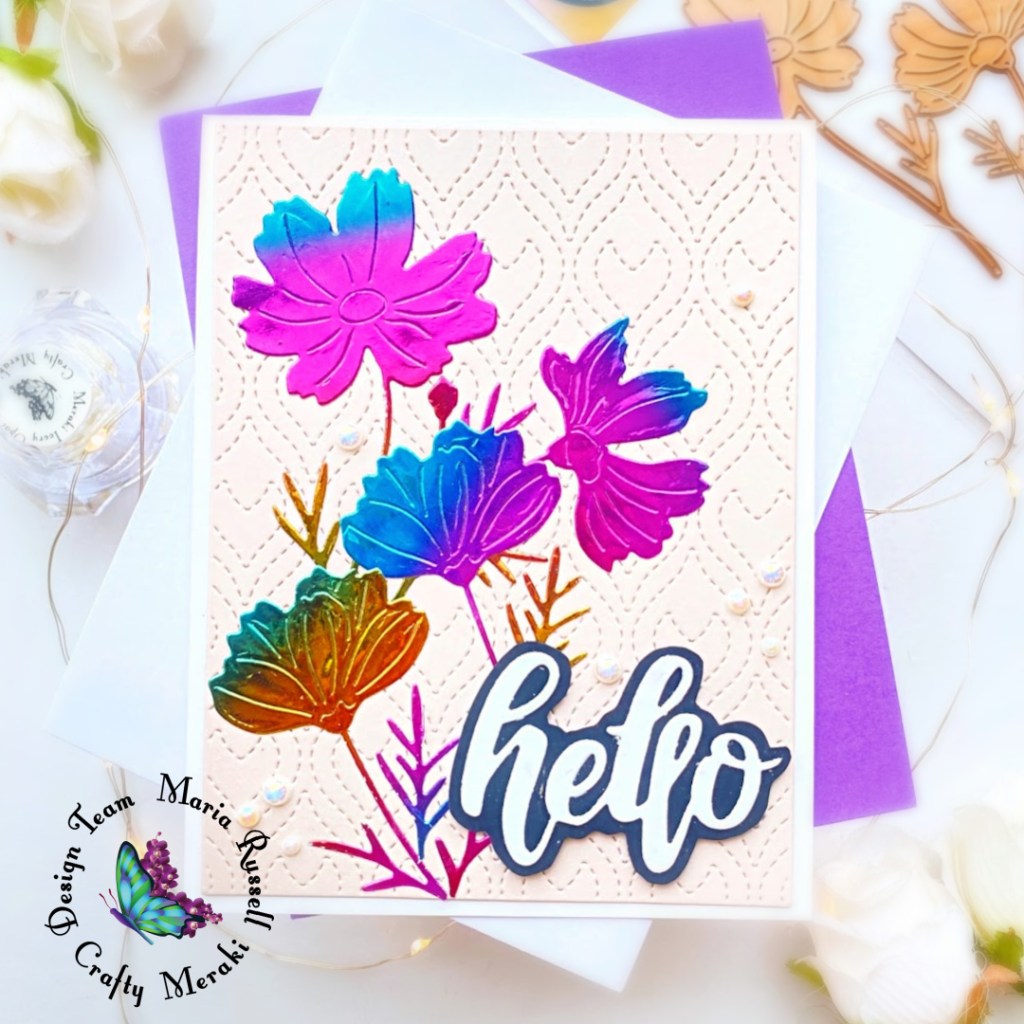
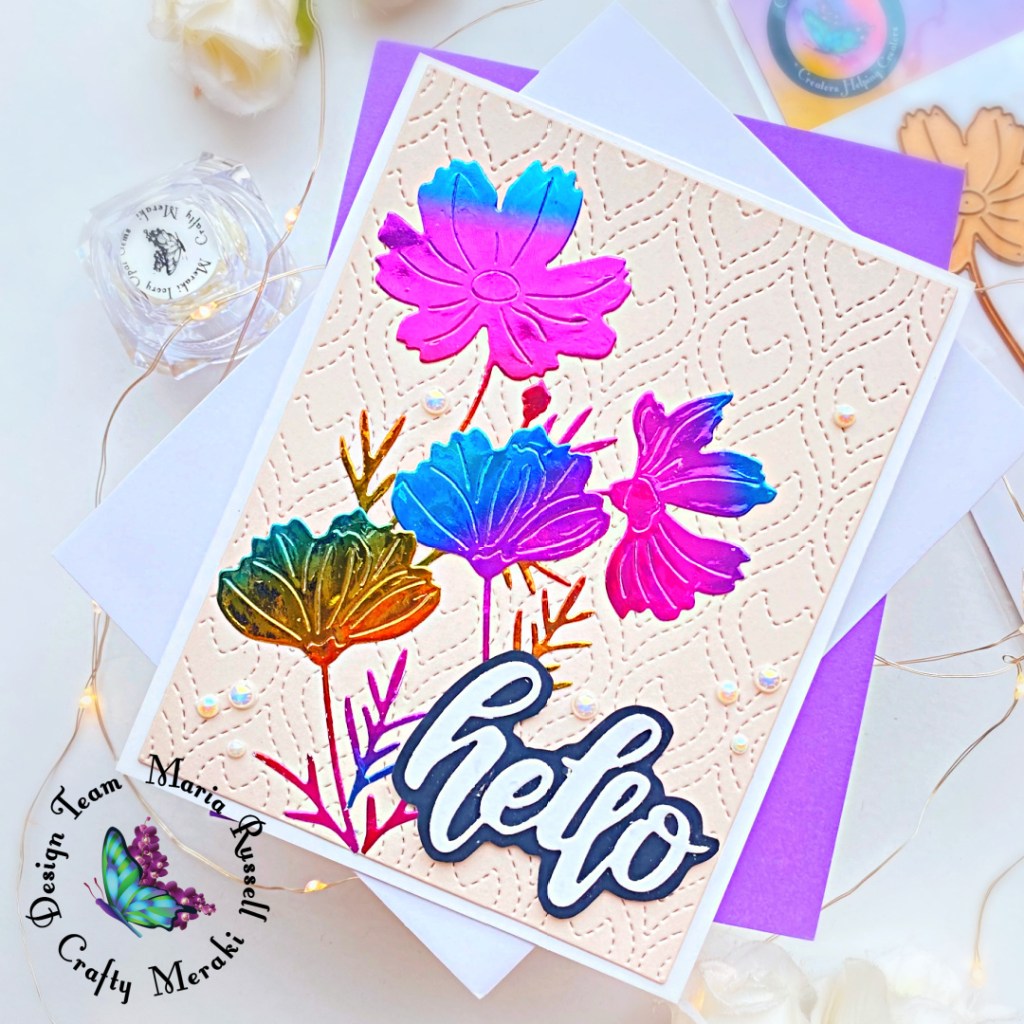
Have you ever looked at your beautiful dies and thought “I really need to make these die-cuts extra special!” so instead of ink-blending them, I thought I’d do some foiling and make them extra sparkly!
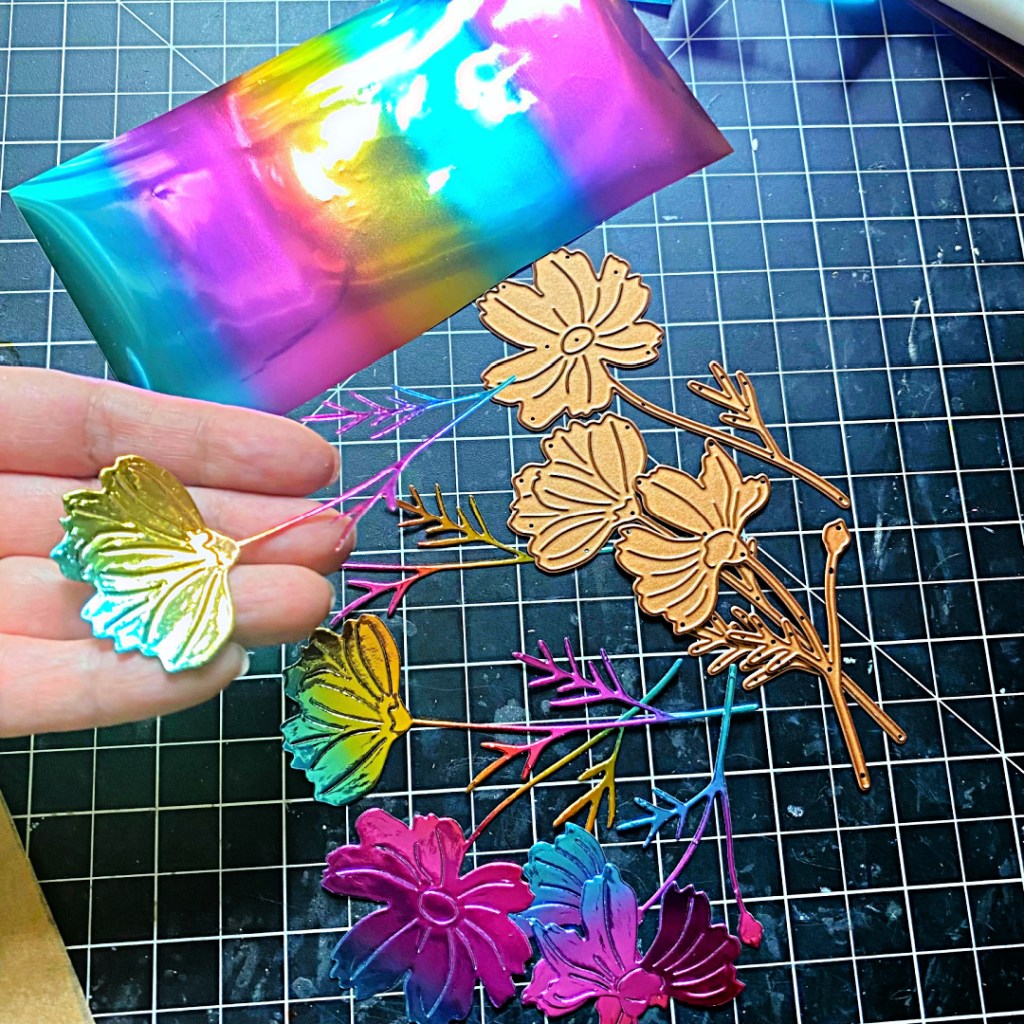
I started by cutting some DecoFoil Toner Sheets measuring 8 1/2 by 5 1/2 inches and also cut DecoFoil Transfer Sheet in Mystic Rainbow. I placed the foil on top of the toner sheet and run it through my laminator.
Next, I die-cut the foiled panel a few times using the Mila Meraki Flora Para-Dies. The photos can’t even justify how beautiful they really look in person!
I die-cut the background panel using the CM Pagoni Mania Background A2 Para-Dies with some Creamy Rose Card Stock. I adhered this panel on some A2-size, top-folding notecard. I also die-cut the word “hello” using a die from my collection.
I adhered the foiled flowers onto the focal panel with liquid glue and foam-mounted the “hello” sentiment for added dimension. I finished the card design by adhering some CM Ivory Opal Gems for added texture and interest. Here’s another look at the card:
I hope you like this card today as much as I do. Check out the new and exclusive Crafty Meraki Dies available now at the shop. Below, you will find links to the supplies used to create this project(s). Where available, I use compensated affiliate links at no extra cost to you. Your support helps me to keep bringing you new projects and inspiration. Thank you for stopping by, and have an amazing day!
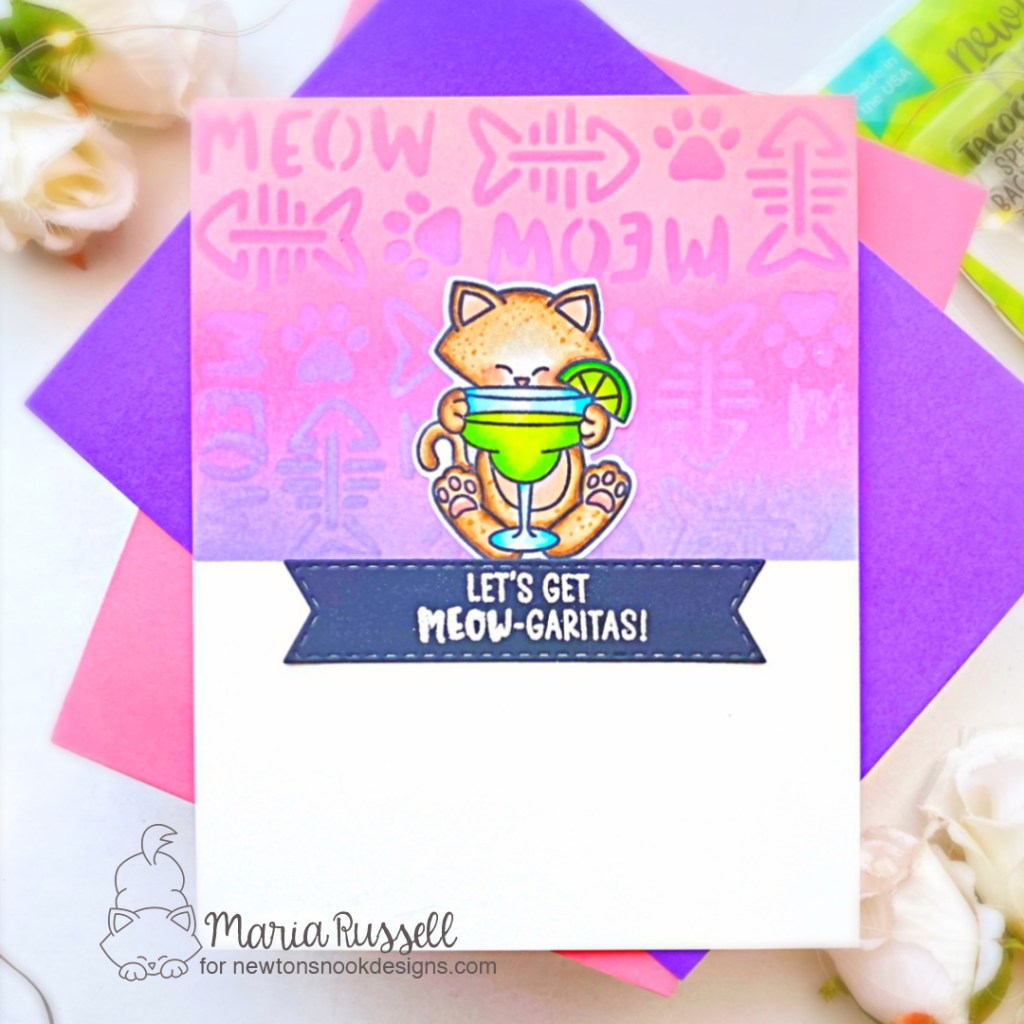
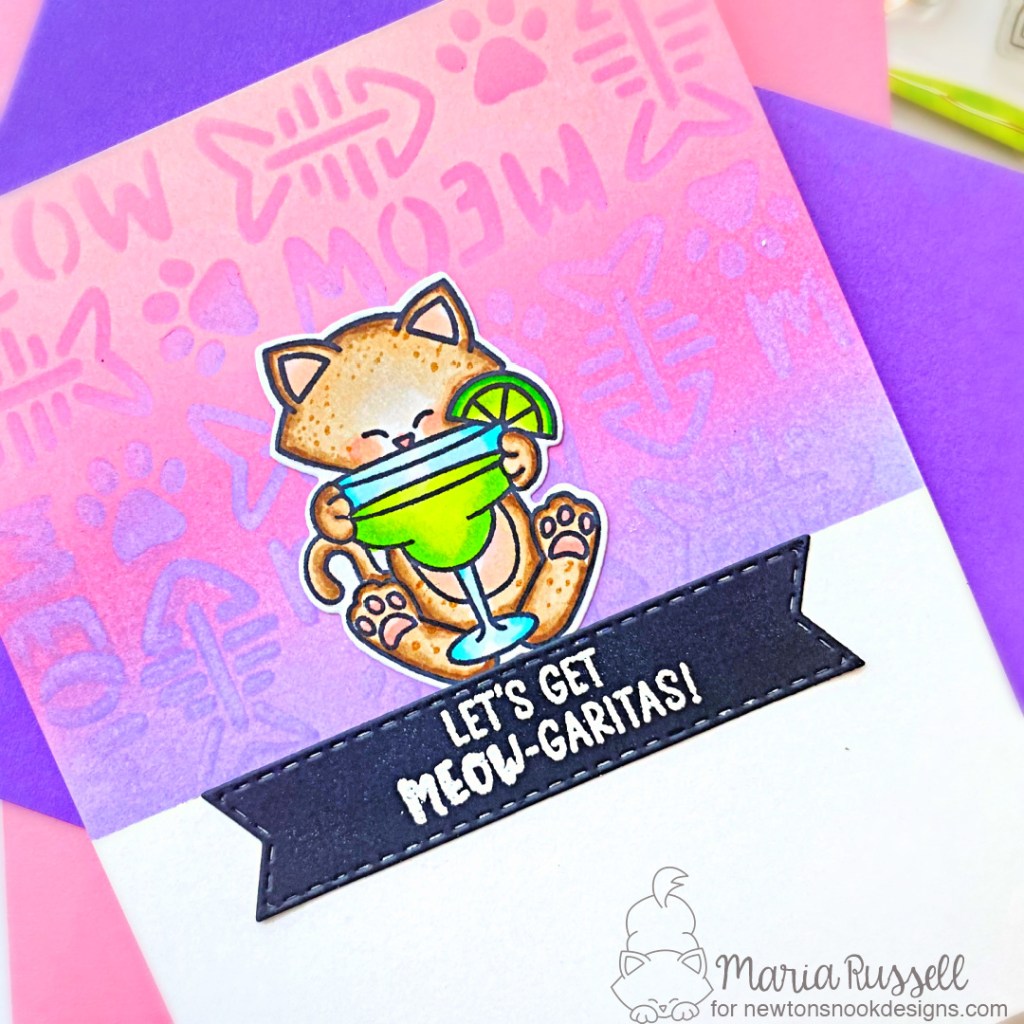
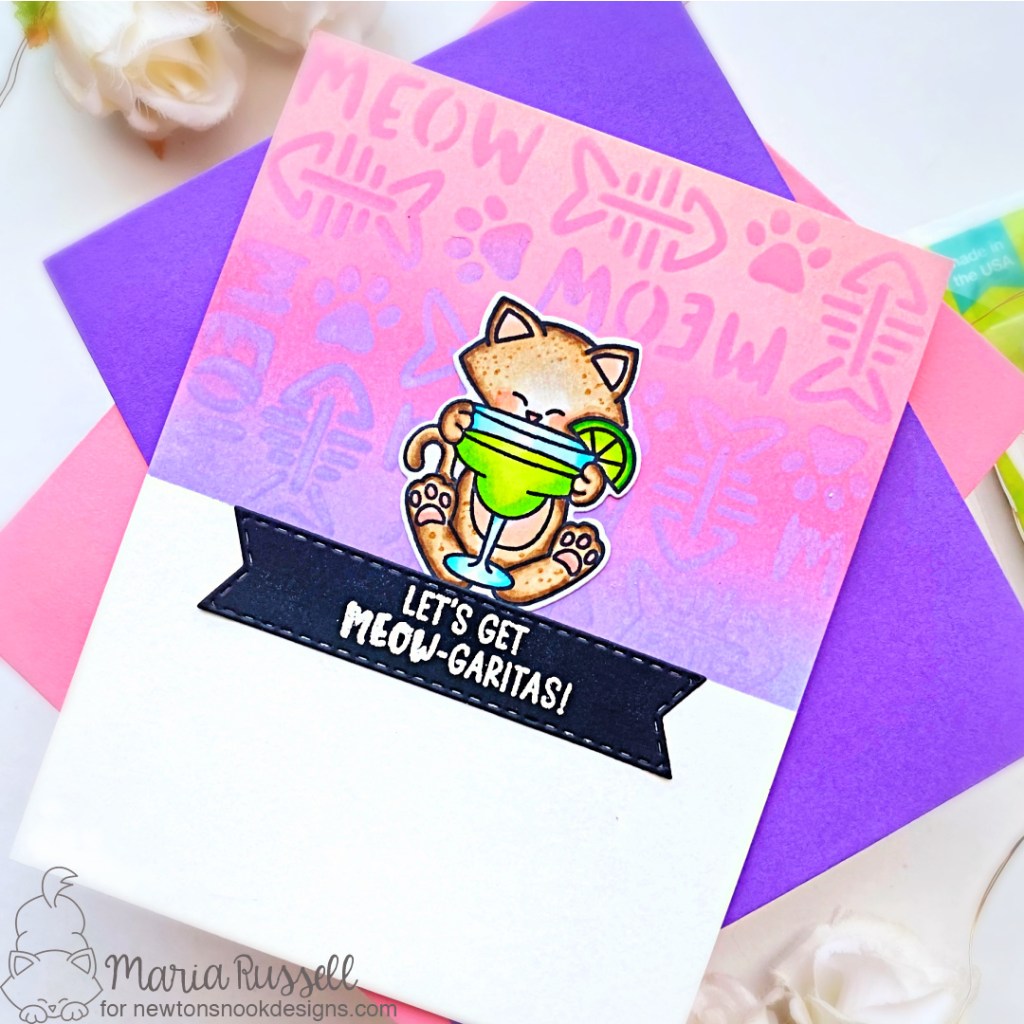
I started by stamping the image on some X-Press It Blending Card and colored the image in with alcohol markers. I used the coordinating dies to cut it out.
Next, I prepared the background by inking it up with distress oxide inks in Shaded Lilac, Worn Lipstick and Spun Sugar, I used the Meow Stencil to add some interest and texture to the background. I adhered this panel on some A2-size top-folding card base.
I added the focal image on the card panel with liquid glue. The last thing to do was to add the sentiment. I die-cut the sentiment strip using one of the dies from the Banner Trio Die Set and stamped the sentiment with Versamark ink. I sprinkled some white embossing powder and heat-set with the heating tool. I adhered the sentiment with liquid glue.
Easy, peasy, isn’t it? I love creating clean and simple cards! Below, you will find links to the supplies used to create this project(s). Where available, I use compensated affiliate links at no extra cost to you. Your support helps me to keep bringing you new projects and inspiration. Thank you for stopping by, and have an amazing day!
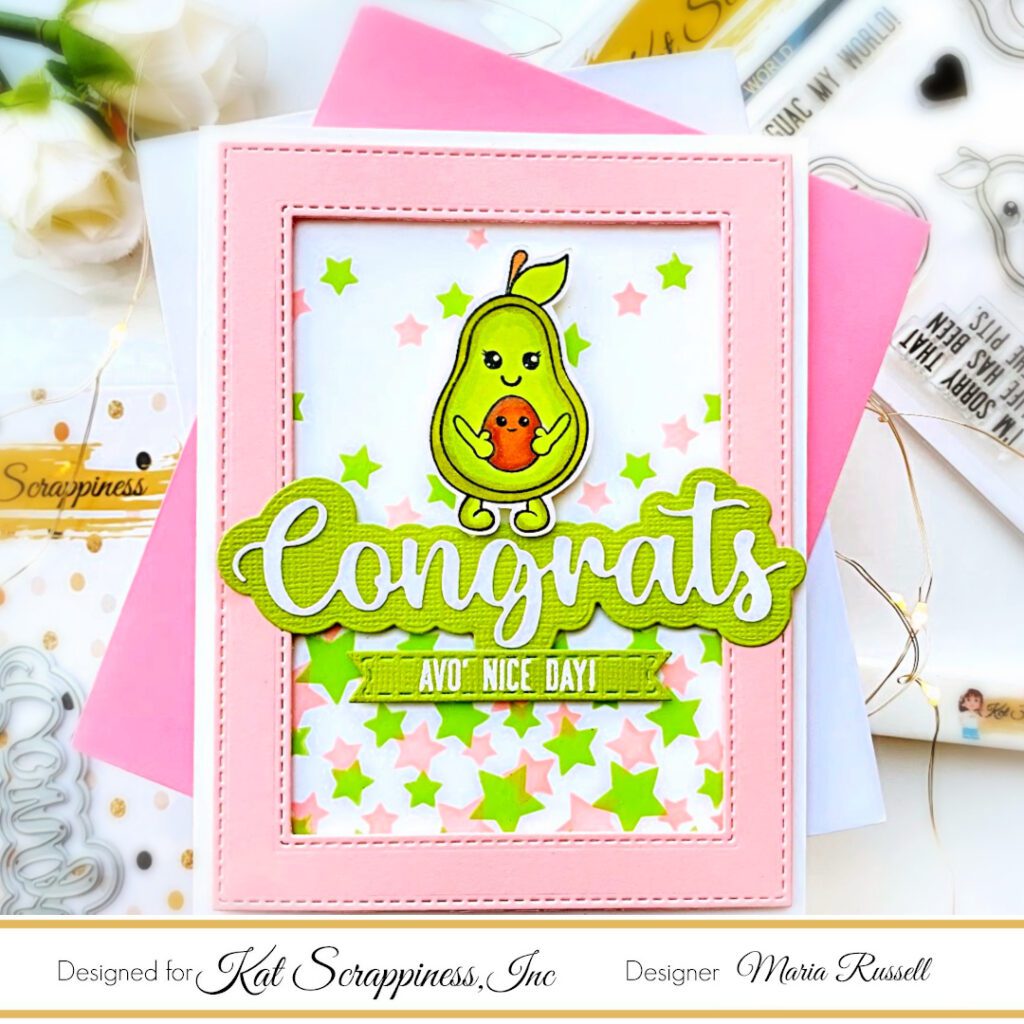
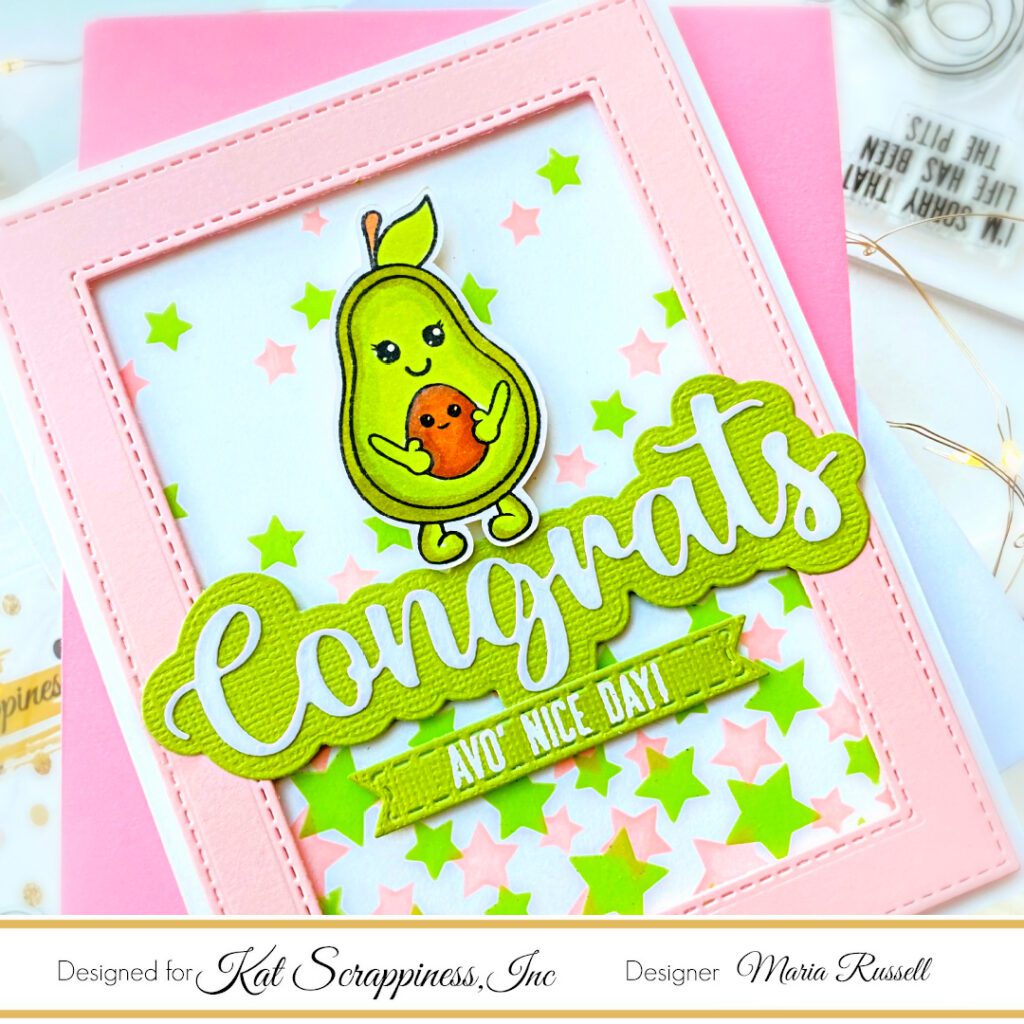
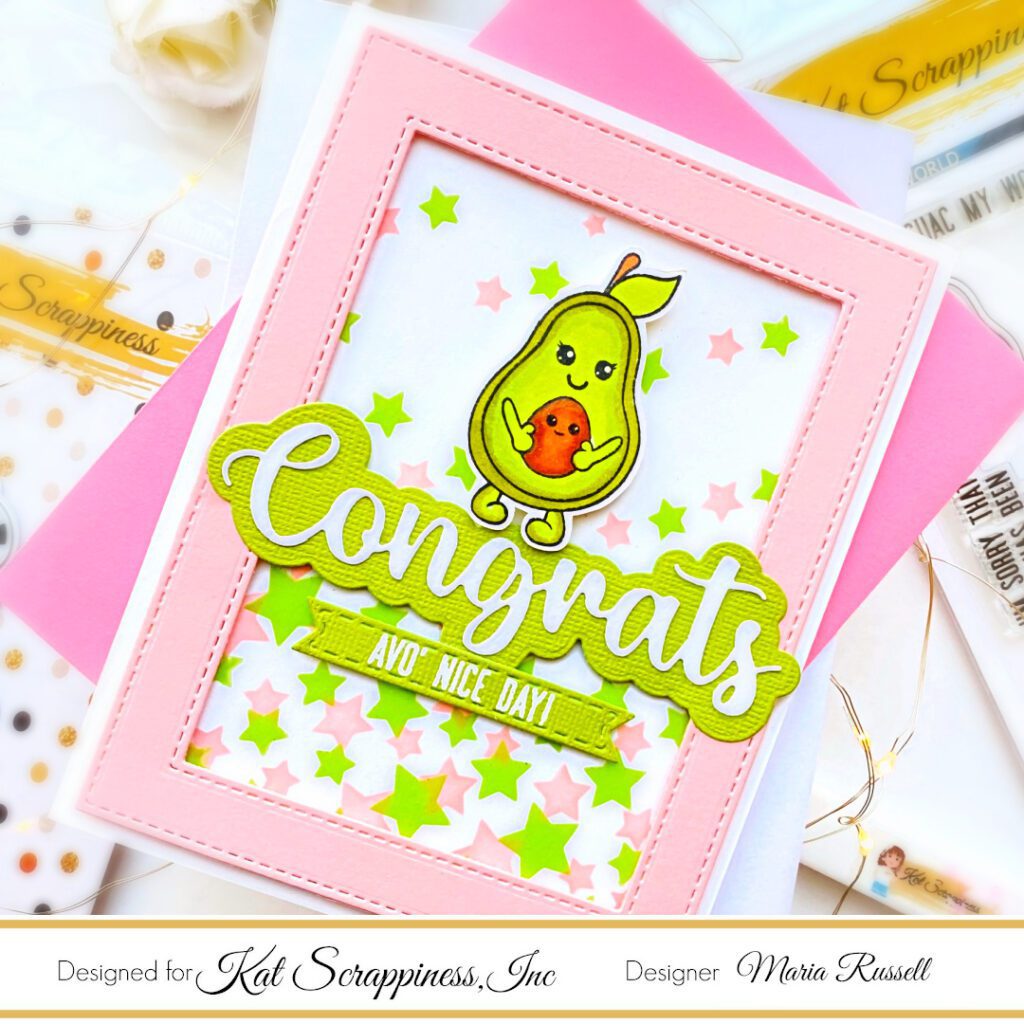
Using the same stencil, apply some Lime Chroma Glaze and Stencil Pal to spread the paste all over the background. Set this aside to let it dry for about 2 hours.
Stamp the image on some Neenah solar white card stock and color the images in with alcohol markers. Use Brother Scan N Cut machine or precision snips to cut the image out.
Once the background panel is dry, adhere the same on some A2-size notecard.
Foam-mount the frame on the card for added dimension.
Die cut the word “Congrats” on some Apple Green and White card stock using the Congrats Word Die with Shadow. Adhere them together with liquid glue.
Foam-mount the Congrats die-cut onto the card so that it is the same height with the frame.
Adhere the focal image using foam adhesive.
Add glossy accents to the Avocado image.
Die-cut some Apple Green Card Stock using the smallest die from the Fishtail Banner Die Set. Stamp the sentiment on this piece with Versamark ink and heat-set with heating tool.
Foam-mount the sentiment strip on the card to finish the design.
I hope you like this simple card today and got inspired. Below, you will find links to the supplies used to create this project(s). Where available, I use compensated affiliate links at no extra cost to you. Your support helps me to keep bringing you new projects and inspiration. Thank you for stopping by, and have an amazing day!
Welcome to Therm-O-Web and Newton’s Nook Designs collaboration. This week, NND and TOW are partnering for a fabulous inspiration week! All week long, both design teams will be sharing ways to use Therm O Web products with Newton’s Nook Designs stamps! There are prizes too! Read all the way to the end of this post to find out how you can win!
I am super excited to share a few cards with you today! I was able to use all of the products without wasting the negative foil pieces and they are amazing!
NOTE: The Cat Silhouettes and Dog Silhouettes Die Sets are temporarily out of stock but Newton’s Nook Designs will be getting more in very soon! If you’d like to be notified when they are back in stock, just sign up on the product pages to be notified!
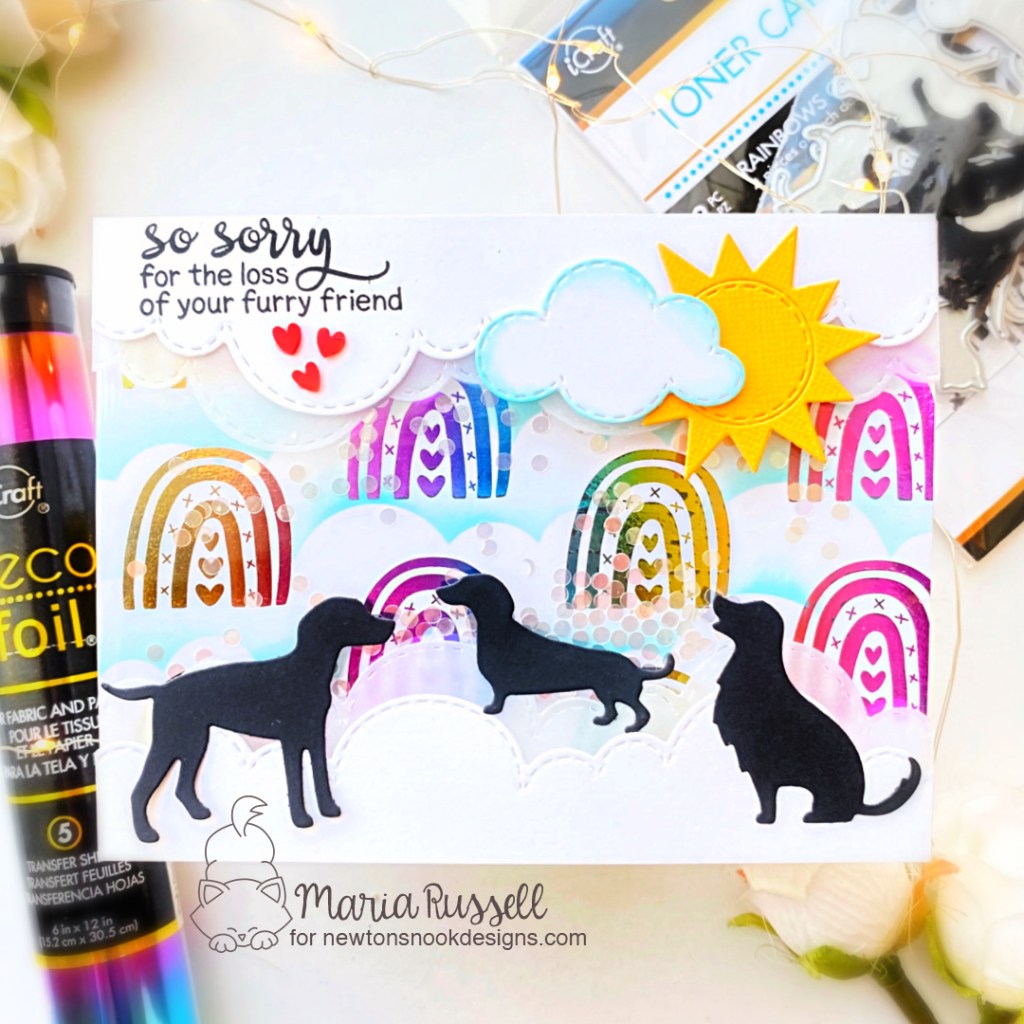
The first and second card are pretty much identical in design but I changed the silhouettes and the sentiment. Here’s how I made the card:
die-cut the clouds border using the Sky Borders Die Set a few times on some Vellum and Neenah Solar White Card Stock.
die-cut cloud and sun using the Sky Scene Builder Die Set. Use ink blending tool and some light blue dye ink to sponge the edges of the cloud for added texture.
ink-up the foiled backgrounds using some dye inks and the Clouds Stencil.
cut some leftover stamp packaging to create the shaker well and use adhesive to close all three sides of the flaps, then add the shaker element, and close the fourth flap using adhesive.
adhere the foiled shaker background onto an A2-size notecard.
adhere both white and vellum cloud border die-cuts with liquid glue and foam-mount the die-cuts onto the card for added dimension.
adhere the the rest of the die-cuts onto the card with liquid glue.
stamp the sentiment using black ink.
finish the card design by adhering some red hearts for added interest.
Since I have two negative foil pieces from the cards above, I did not want to waste them so I used the iCraft Easy-Cut Adhesive Sheets and added them to some A2-size Neenah Classic Crest Solar White Card Stock. I die-cut both backgrounds using the scallop die from the Frames and Flags Die Set and adhered the same on some black A2-size notecards.
I die-cut the paw prints using the Pawprints Shaker Die Set with some black and white card stock and foam-mounted these pieces on the card for added dimension. I finished the card design by stamping the sentiment on the card.
I am so happy that I was able to make a few cards without wasting any foil. Have you tried doing the same technique? I hope you like my cards today and got inspired.
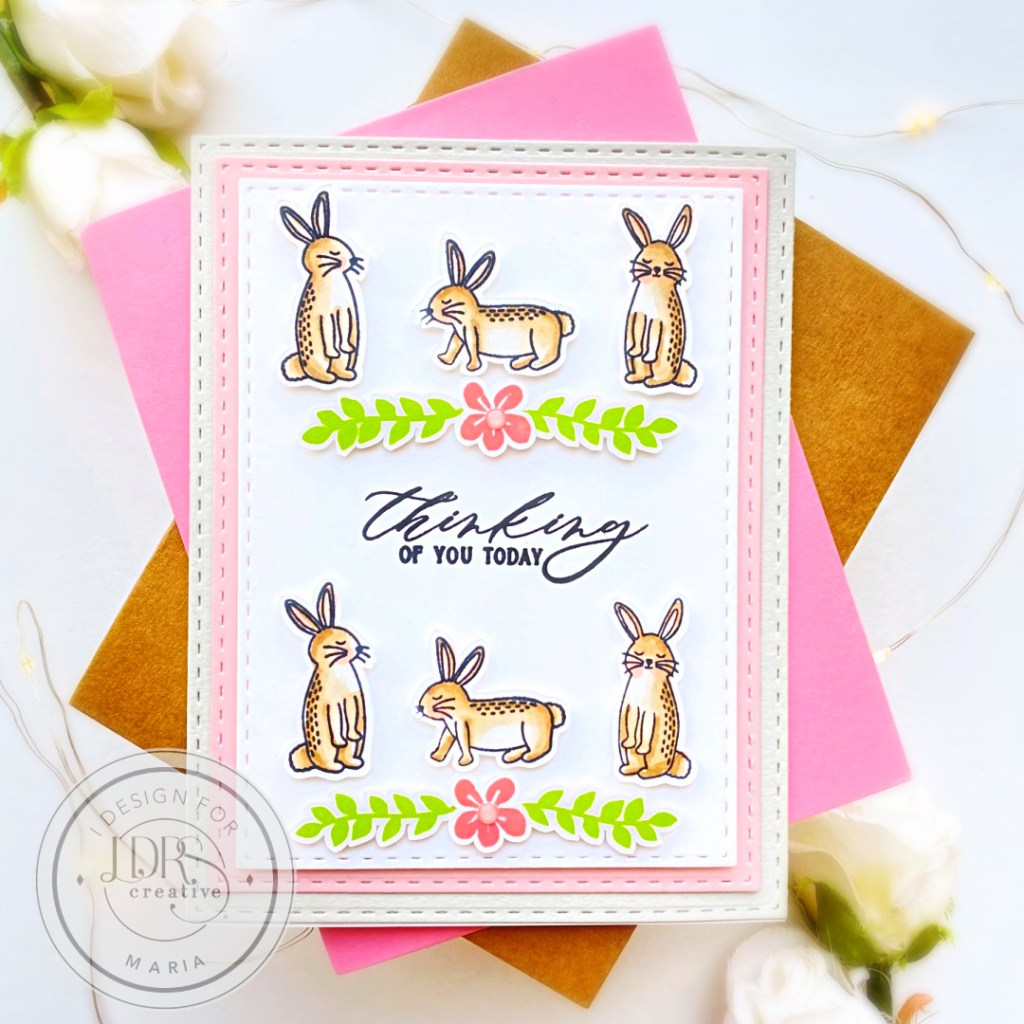
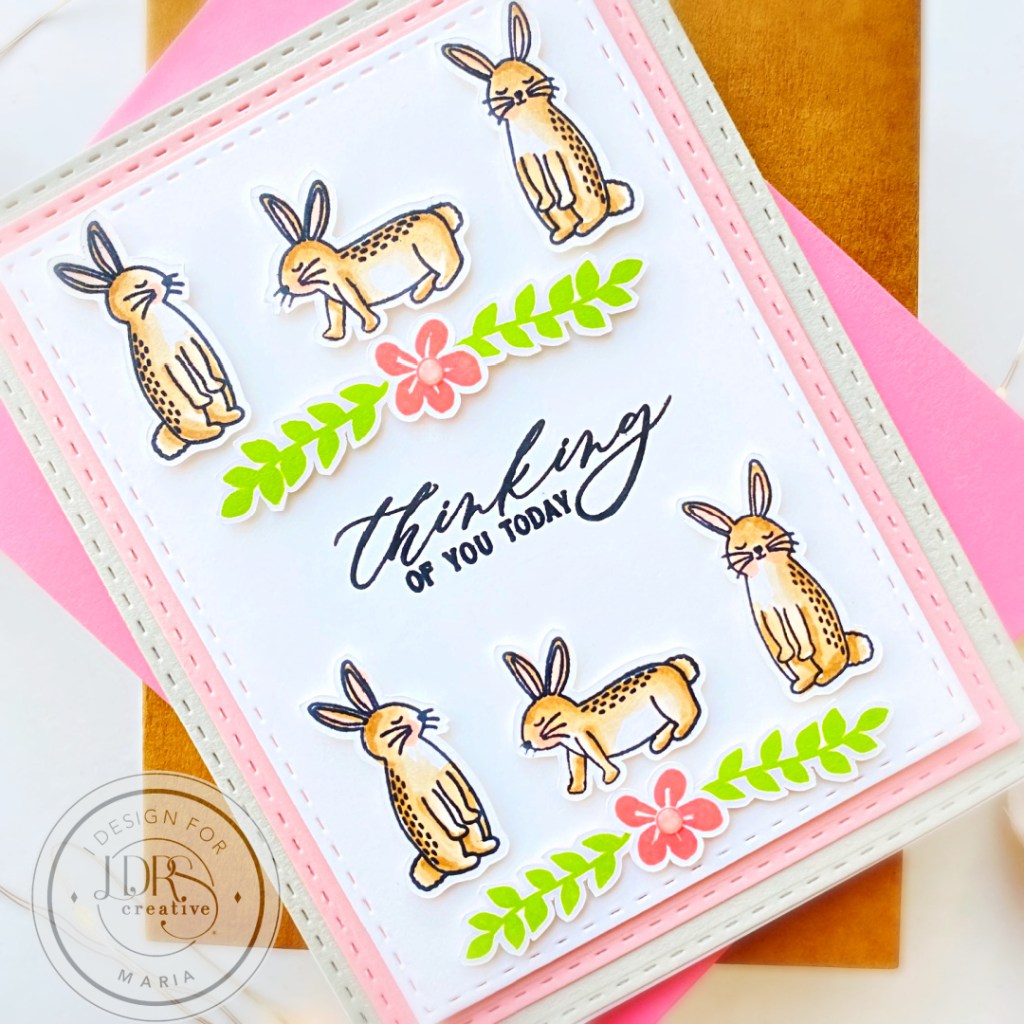
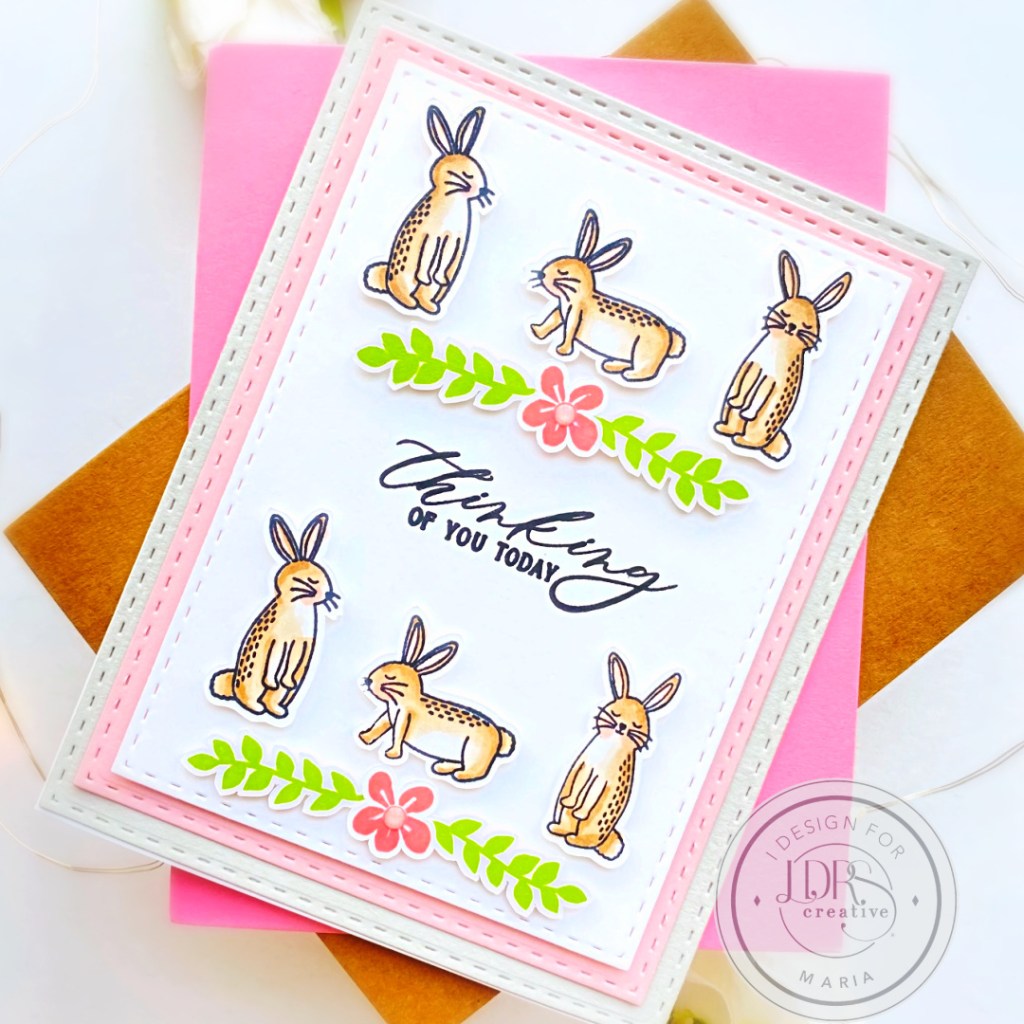
I started by die-cutting some Beige, Pink and White card stock using the A2 Stitched Layered Card Toppers Die Set. I adhered the layers on an A2-size notecard, and foam-mounted the white card stock for added dimension.
I finished my design by foam-mounting the images on the card for added dimension and stamping the sentiment with Raven Hybrid ink. Here’s another look:
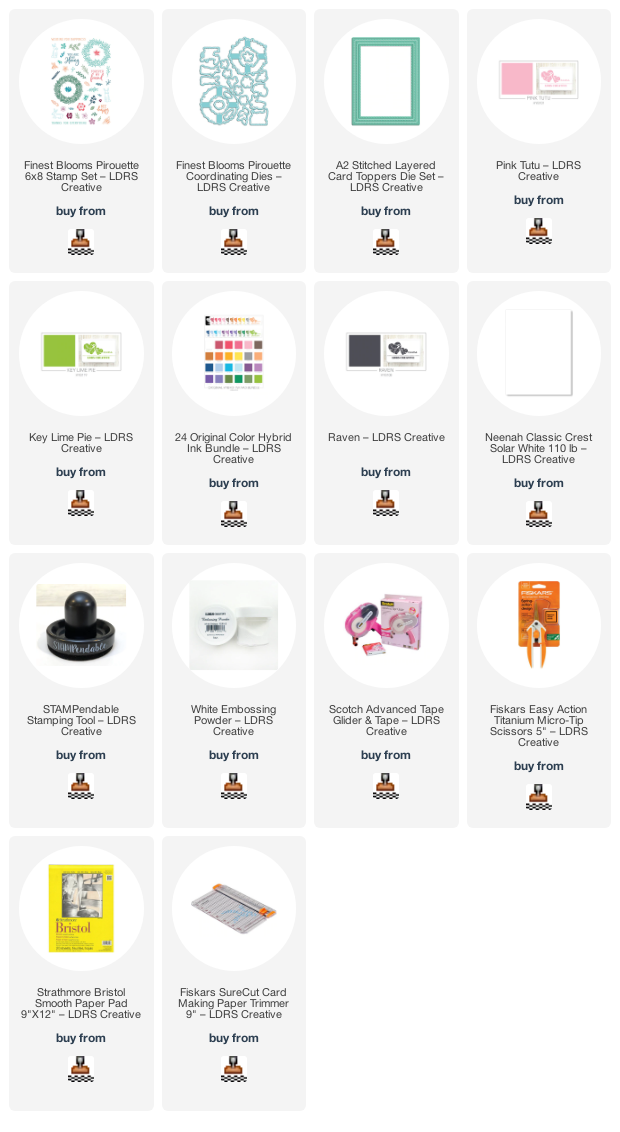
I hope you like my project today and got inspired! Below, you will find links to the supplies used to create this project(s). Where available, I use compensated affiliate links at no extra cost to you. Your support helps me to keep bringing you new projects and inspiration. Thank you for stopping by, and have an amazing day!