Hello my crafty friends! I hope everyone’s excited for the weekend!
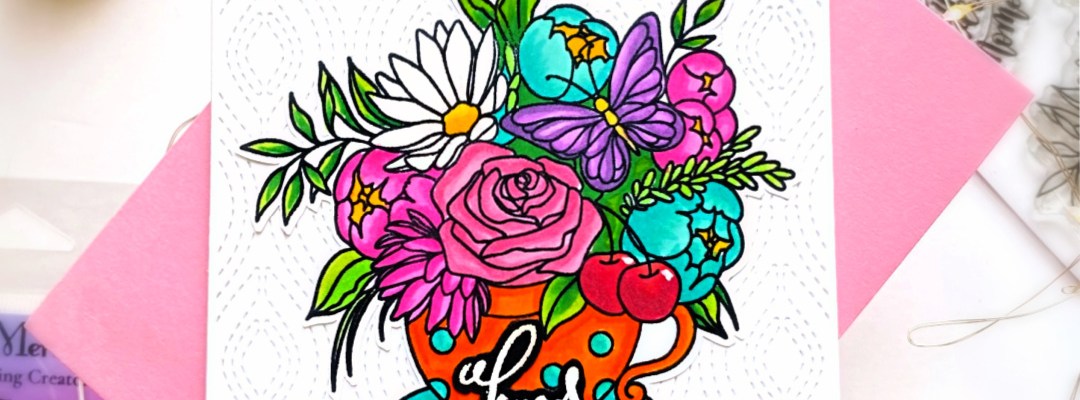
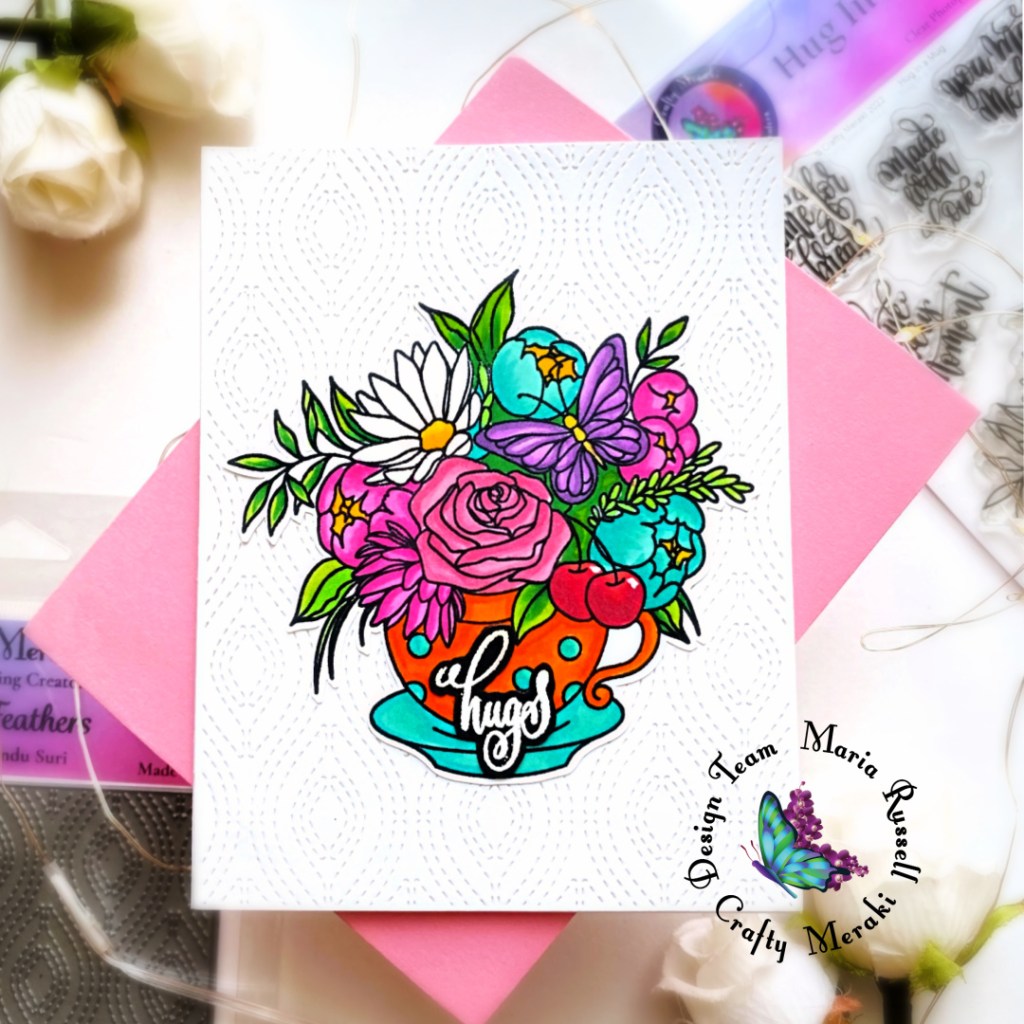
Sometimes, creating a clean and simple card is just what I needed to relax and get rid of stress. Coloring is very therapeutic and the perfect stamp set to color today is the Hug in a Mug stamp set that I am pairing with the Dancing Feathers Background A2 Die.
I started by stamping the images on some X-Press It Blending Card and colored the images in with alcohol markers. I used my precision snips to cut the image out since I didn’t have the coordinating die.
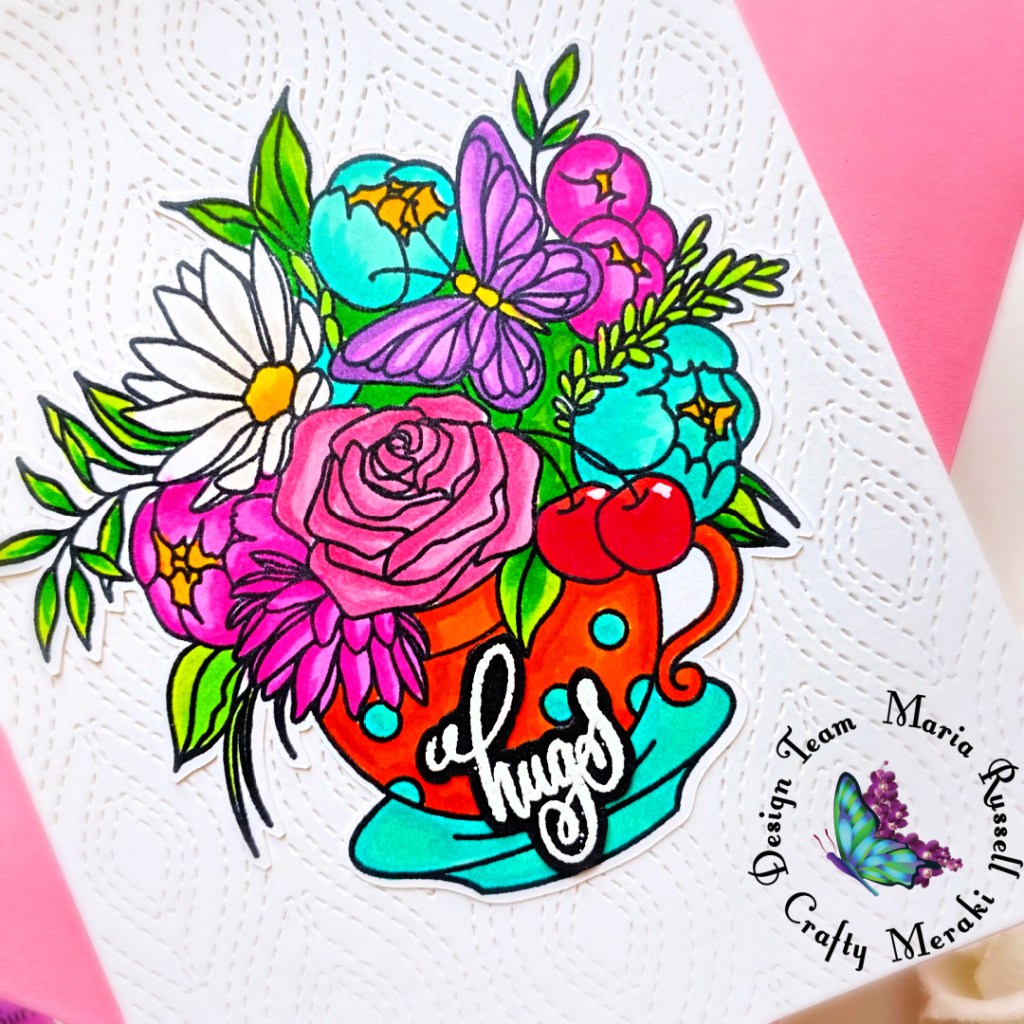
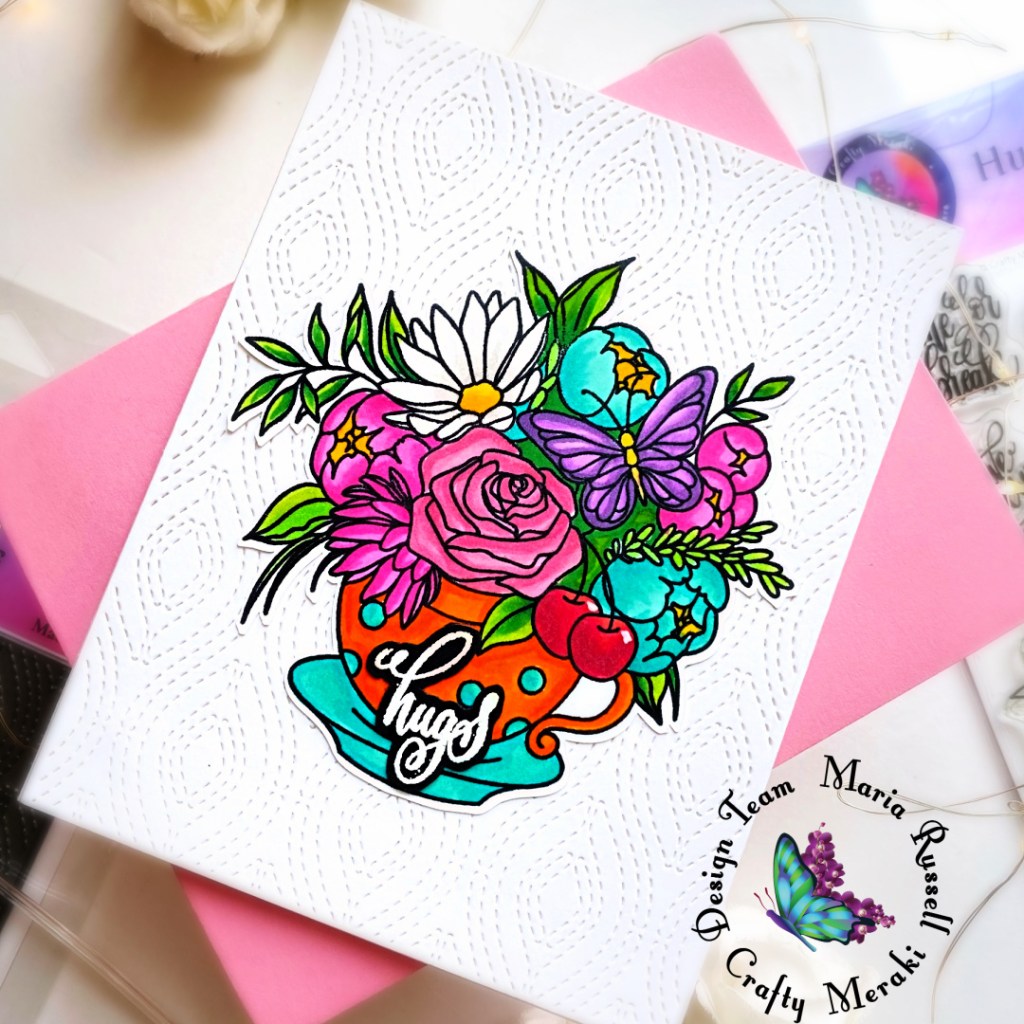
I wanted some texture to the background so I die-cut some Neenah Classic Crest card stock using the Dancing Feathers Background A2 Die. I adhered this panel on some A2-size notecard and added the focal image with liquid glue. I finished the design by adding the sentiment that I heat-set with my heating tool. Here’s another look at the card:
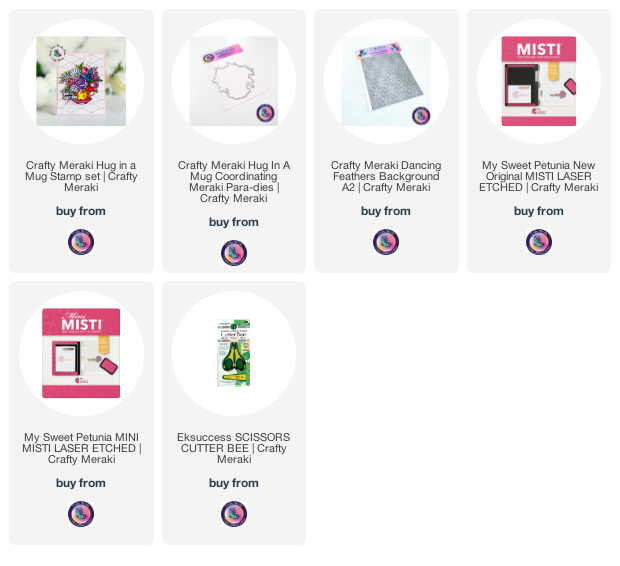
I know this card is really simple, but I love how this turned out. I hope you like it too. Below, you will find links to the supplies used to create this project(s). Where available, I use compensated affiliate links at no extra cost to you. Your support helps me to keep bringing you new projects and inspiration. Thank you for stopping by, and have an amazing day!
It’s finally here –> the Reverse Confetti’sMay Release Blog Hop and the whole gang is here to show you all the amazing projects we’ve put together to encourage you to shop! Remember, all of the products are available today!
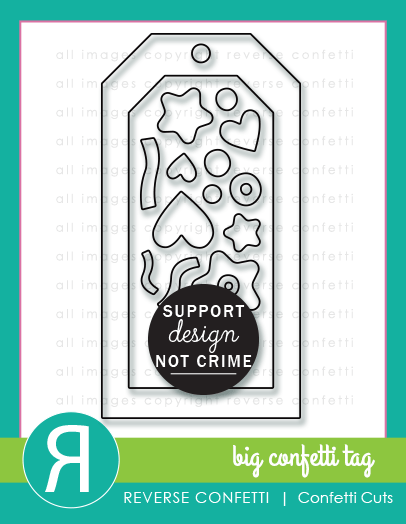
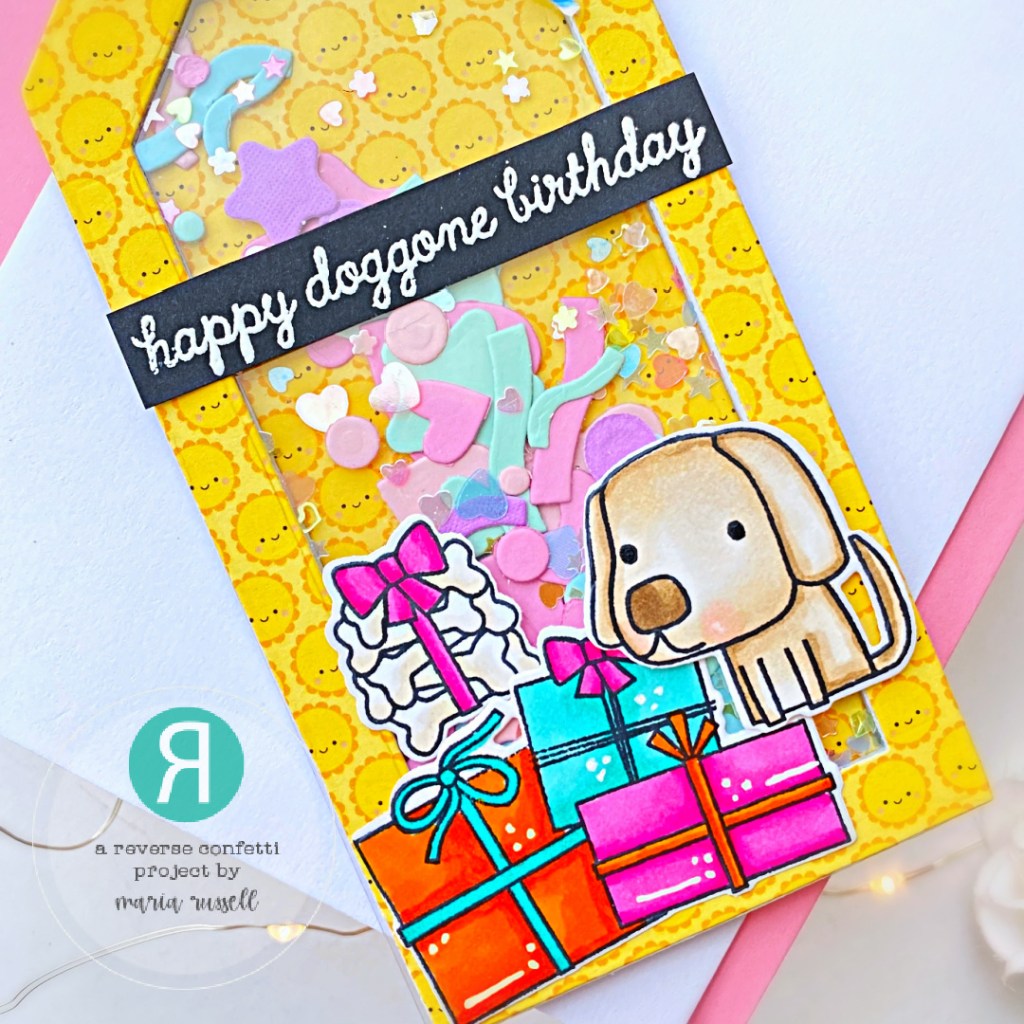
The first project is a gift tag that I made for a friend, showcasing the Big Confetti Tag. I used the Big Confetti Tag to die-cut some cute pattern paper and some 110 lb. Neenah card stock for stability.
I adhered the pattern paper on the card stock and added acetate sheet and foam-adhesive to create my shaker well. I die-cut the layered bits using the same Big Confetti Tag on different colors of card stock with some star confetti as my shaker elements. I adhered them together to close the shaker
I added the sentiment from the Birthday Banter Stamp Set and finished the design by adding the ribbon and baker’s twine.
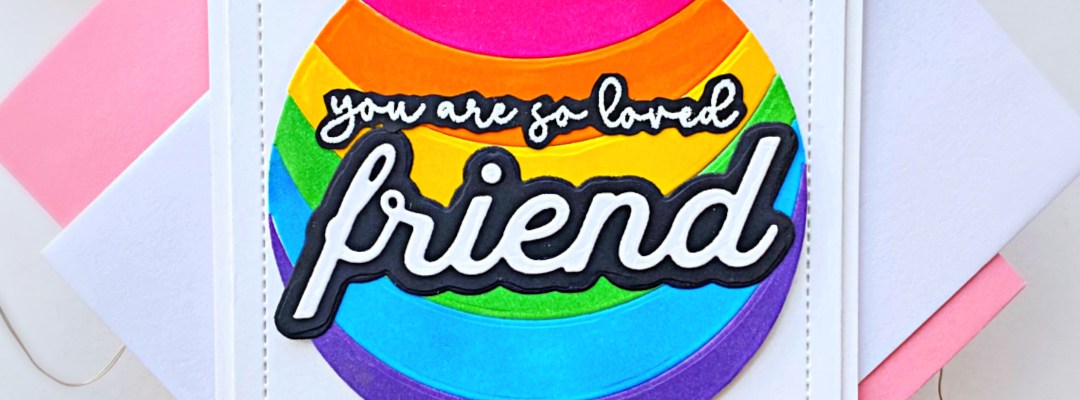
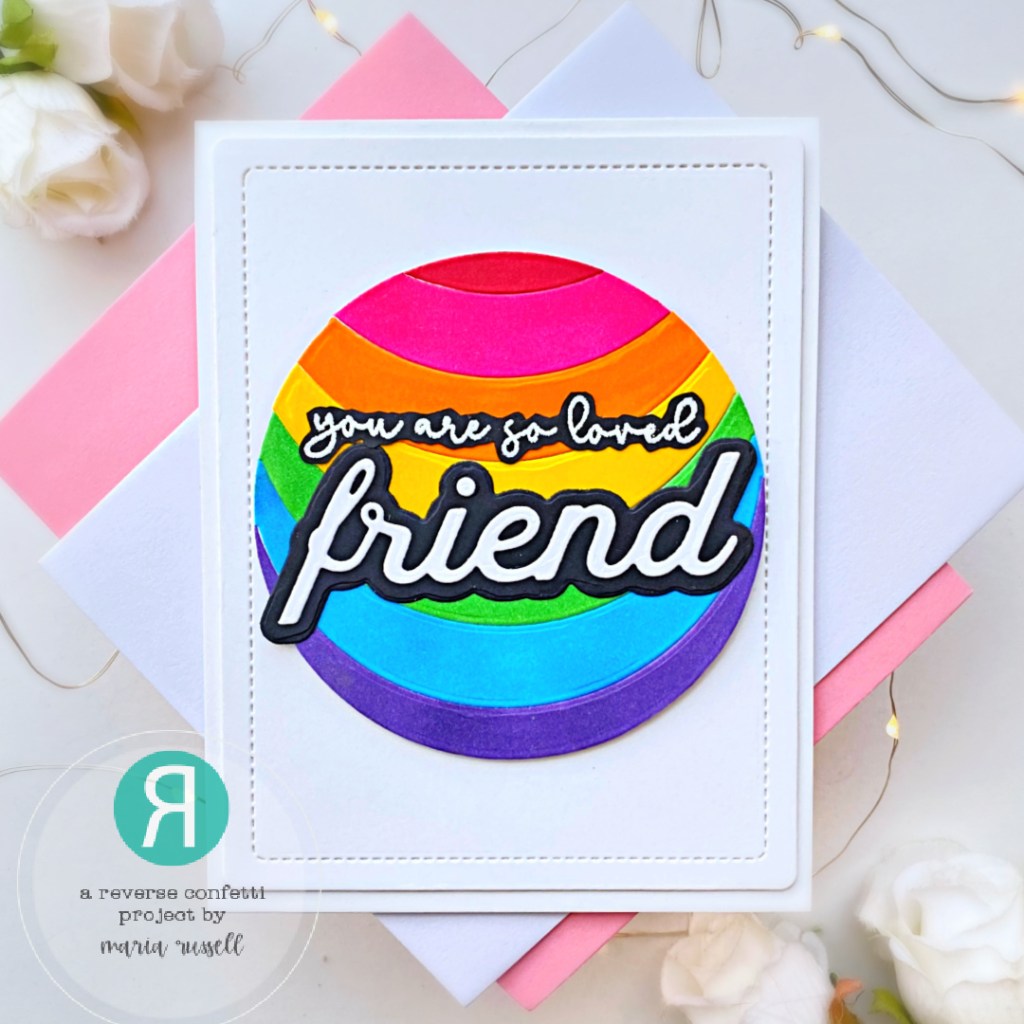
The Large Rainbow Circle was used to die-cut some Neenah solar white card stock, and colored using alcohol markers. I adhered the pieces together using some wide packing tape and adhered on the card front.
Next, I die-cut the word “friend” using the Layered Friend Confetti Cuts and also added the sentiment “you are so loved”. I adhered both pieces with some liquid glue to finish the design. Here’s another look:
I hope you got inspired and like my projects this week! Hop along with us and see all the amazing projects prepared by the entire team with our special guest designers! Thanks for stopping by and have an amazing day!
Thank you for stopping by today and joining me for the Countdown to Confetti Day 3 by Reverse Confetti. We have lots to show you and there is also a GIVEAWAY so please read through the end of this post to find out how you can WIN!
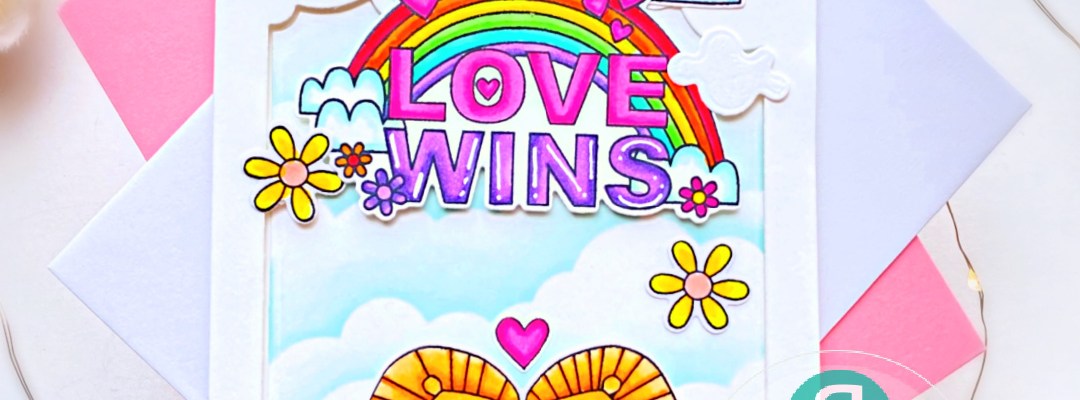
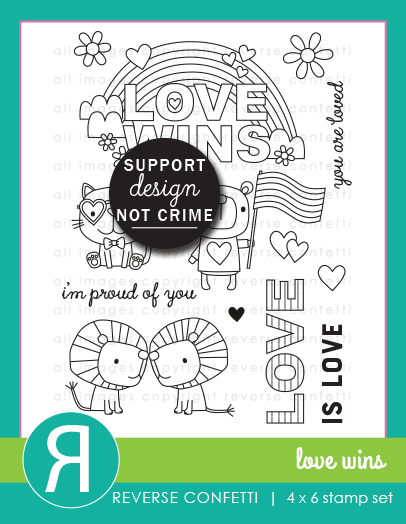
This is one of my favorite stamp sets from the latest release. I think it’s really beautifully-illustrated and is another must-have for any stamper/card-maker.
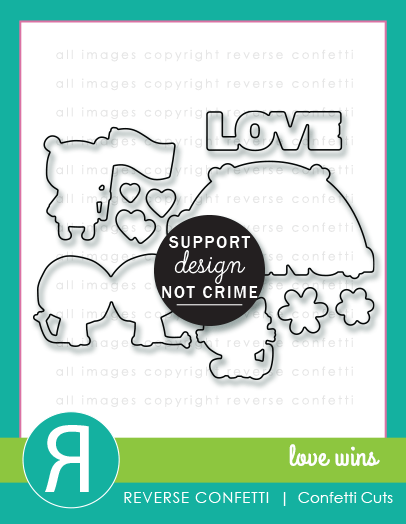
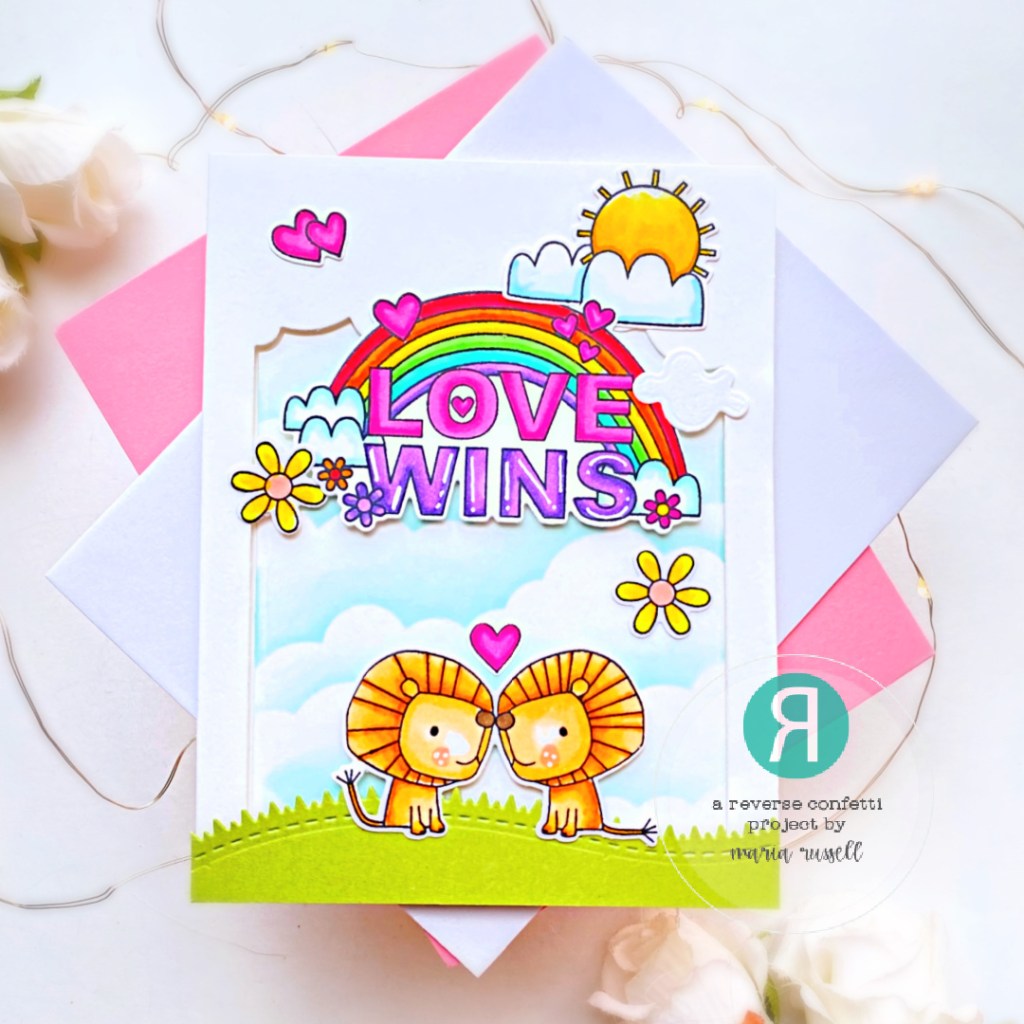
The images from the Love Wins Stamp Set were stamped on some X-Press It blending card stock and colored with alcohol markers. I die-cut the images using the Love Wins coordinating dies.
Next, I prepared the background panel by using the Head in the Clouds Cover Panel to die-cut some 110 lb. Neenah Solar White Card Stock. I foam-mounted the positive die-cut on some A2-size notecard and ink-blended the negative using some clouds stencil and light blue dye ink. I adhered this panel with liquid glue.
I die-cut the grass border panel using the Nuts About You Confetti Cuts (retiring) and foam-mounted to the card for added dimension. I adhered the colored images with either foam adhesive and liquid glue. Here’s another look:
Don’t forget to come back tomorrow as we showcase more products from the May release! I have more in store for you!
I can’t wait to hop around and see what the other team members designed! Leave a comment by noon central on May 7th for a chance to win. There will be a $25 Gift Certificate for one blog commenter and also one FaceBook commenter. Make sure you pop over to the Reverse Confetti Blog for all the details!
Thank you for stopping by today and joining me for the Countdown to Confetti Day 2 by Reverse Confetti. We have lots to show you and there is also a GIVEAWAY so please read through the end of this post to find out how you can WIN!
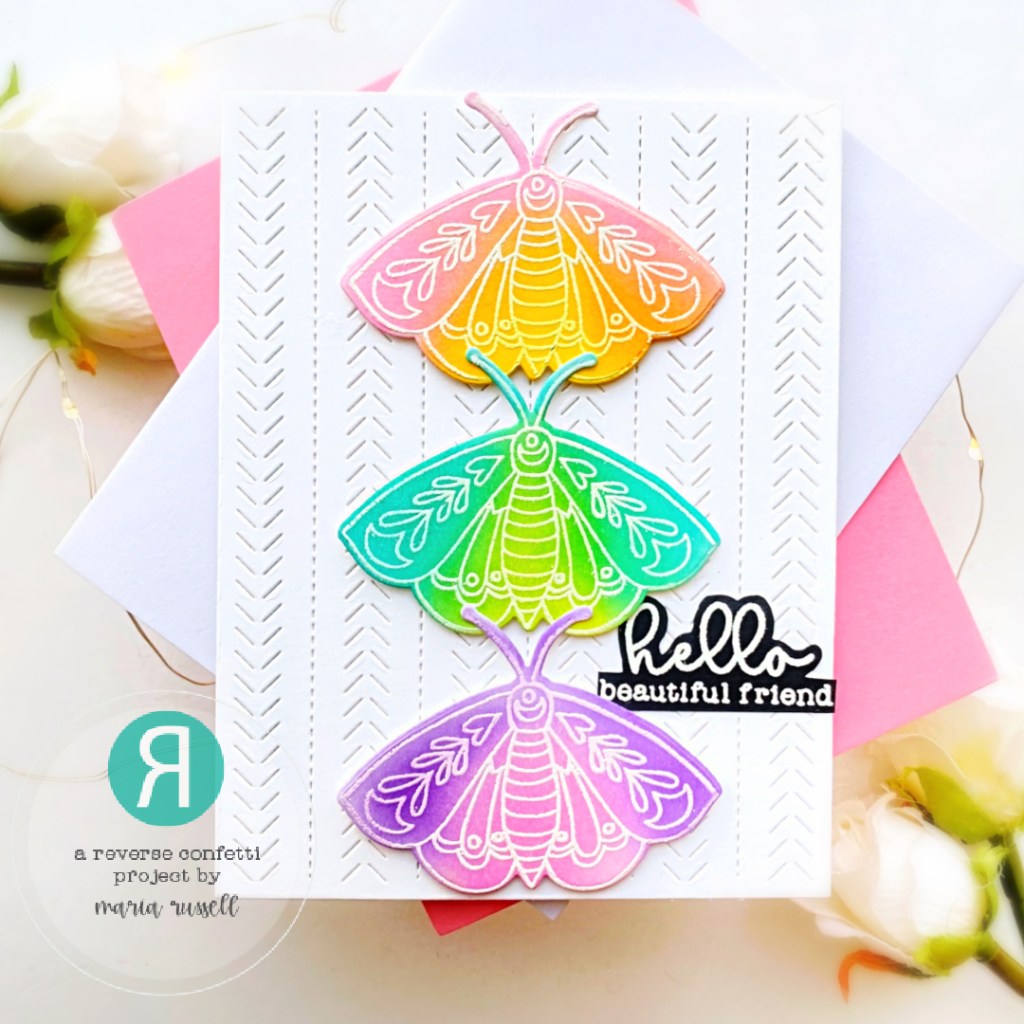
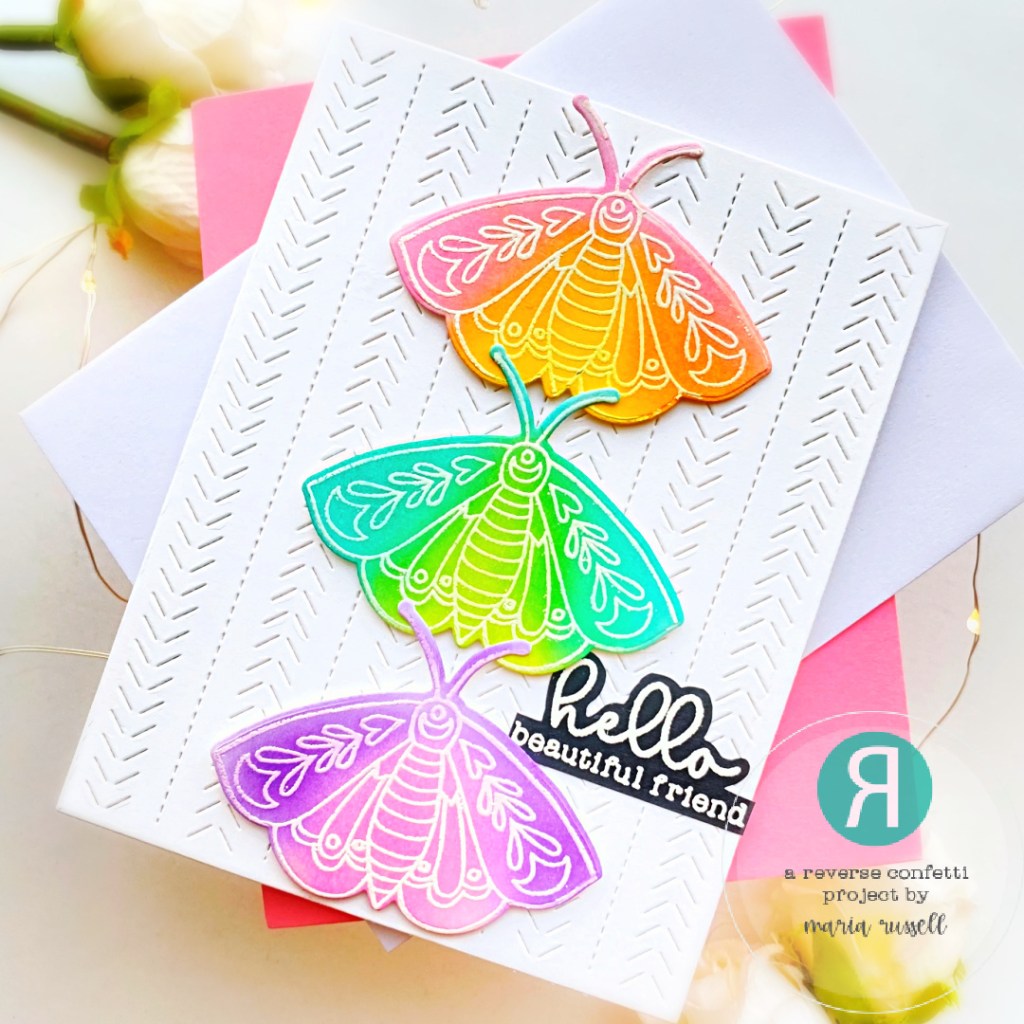
Simplicity is the key component for this first project. The background was die-cut using the Folklore Cover Panel Confetti Cuts and adhered on a top-folding notecard.
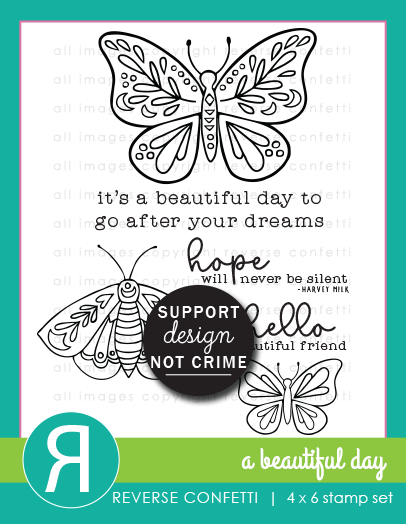
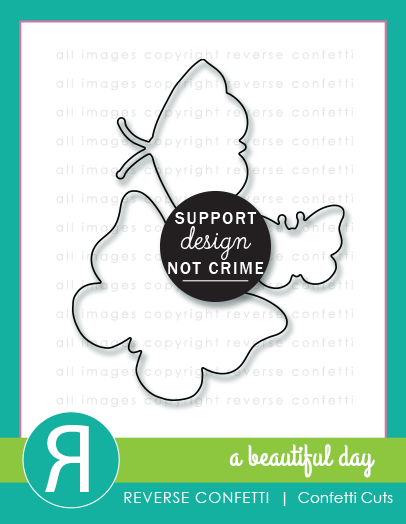
The images from the A Beautiful Day Stamp Set were stamped on some Bristol Smooth White card stock with Versamark ink, and heat-set with heating tool. I used some distress oxide inks to blend the colors on each butterfly, then used the A Beautiful Day Coordinating Confetti Cuts to die-cut the images.
I foam-mounted the die-cut images on the card panel for added dimension and finished the design by adhering the sentiment that was heat-embossed on some black card stock.
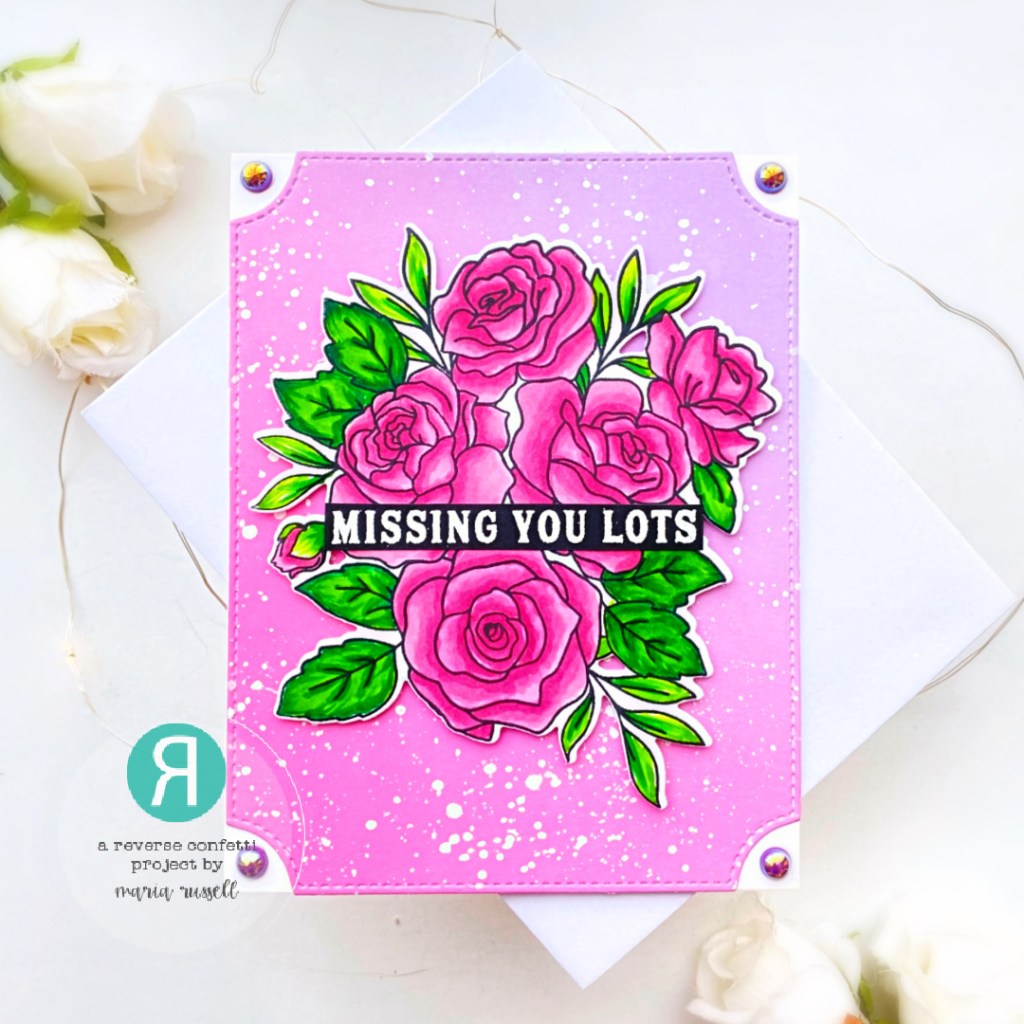
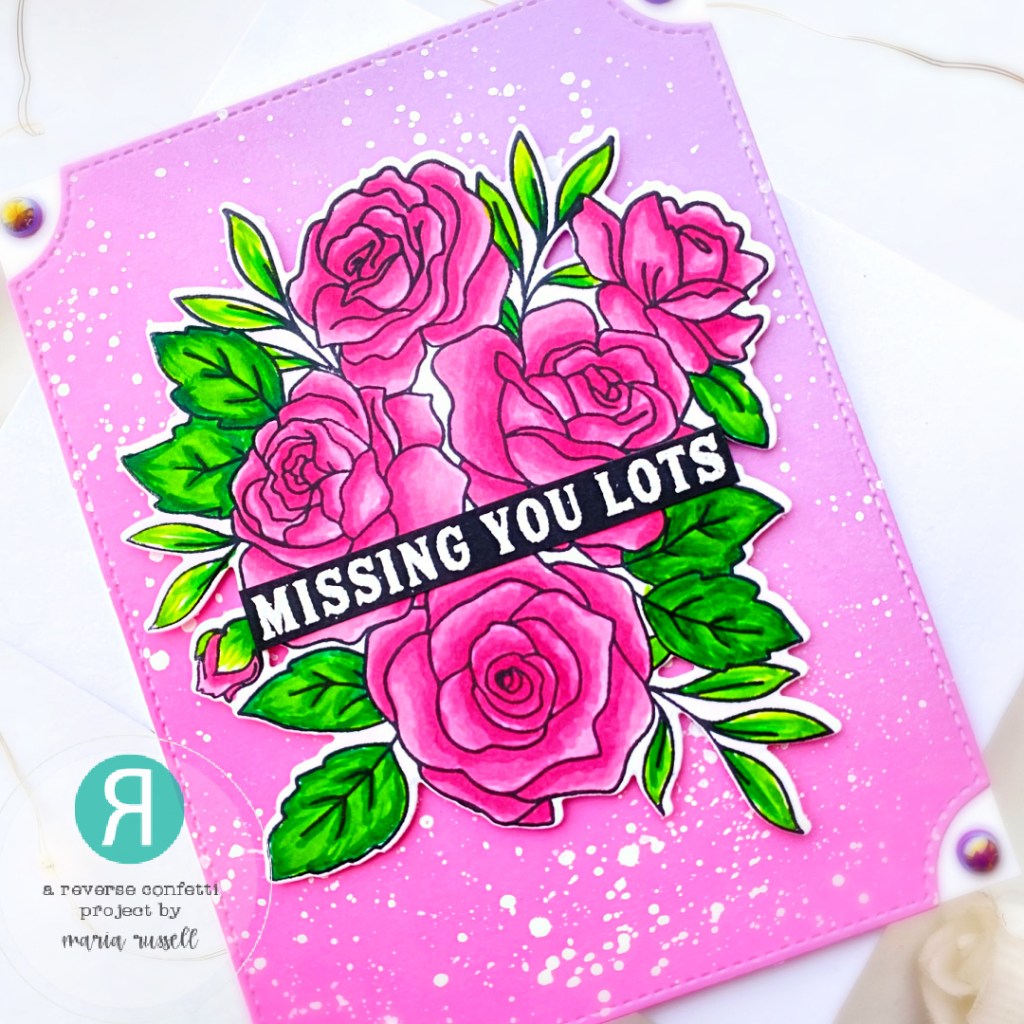
I die-cut the background panel using the Roses Confetti Cuts with some pattern paper. I adhered this panel with liquid glue on some top-folding notecard. I watered down some white paint and used the brush to splatter some on the background panel for added interest.
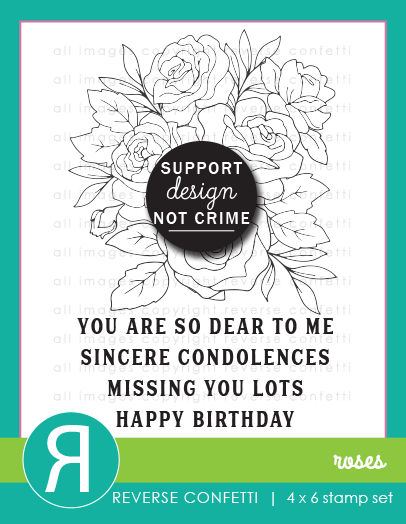
The images from the Roses Stamp Set were stamped on some X-Press It Blending Card and colored with alcohol markers. I used the coordinating die to cut it out and adhered on the card front with foam adhesive for added dimension. I finished the design by adding the sentiment strip. Here’s another look:
I die-cut the some Neenah solar white card stock using the Outlined Framed Cover Panel and adhered this on some blue top-folding notecard.
Next, I stamped the images from the Wildflowers Stamp Set on some X-Press it Blending card and colored the images in with alcohol markers. I used the Wildflowers Coordinating Die to die-cut the image and adhered on the card with liquid glue.
I finished the card design by stamping the sentiment and used some white gel pen to draw dots to the images for added texture. Here’s another look:
I can’t wait to hop around and see what the other team members designed! Leave a comment by noon central on May 7th for a chance to win. There will be a $25 Gift Certificate for one blog commenter and also one FaceBook commenter. Make sure you pop over to the Reverse Confetti Blog for all the details!
I am pleased to join the Countdown to Confetti Day 1 by Reverse Confetti. We have lots to show you and there is also a GIVEAWAY so please read through the end of this post to find out how you can WIN!
Ink-up this panel using a stencil and some Distress Oxide Inks.
Adhere this panel on a top-folding notecard halfway through so that it can be lifted up when opened by the recipient (see photo below)
Stamp the sentiment from the Birthday Buddies Banter Stamp Set on some black card stock with VersaMark ink and heat-set with the heating tool. Adhere the sentiment on the card with foam-adhesive so that when the card is opened, the main panel can stand up on its own.
finish the design by using some white gel pen to for added interest to the images.
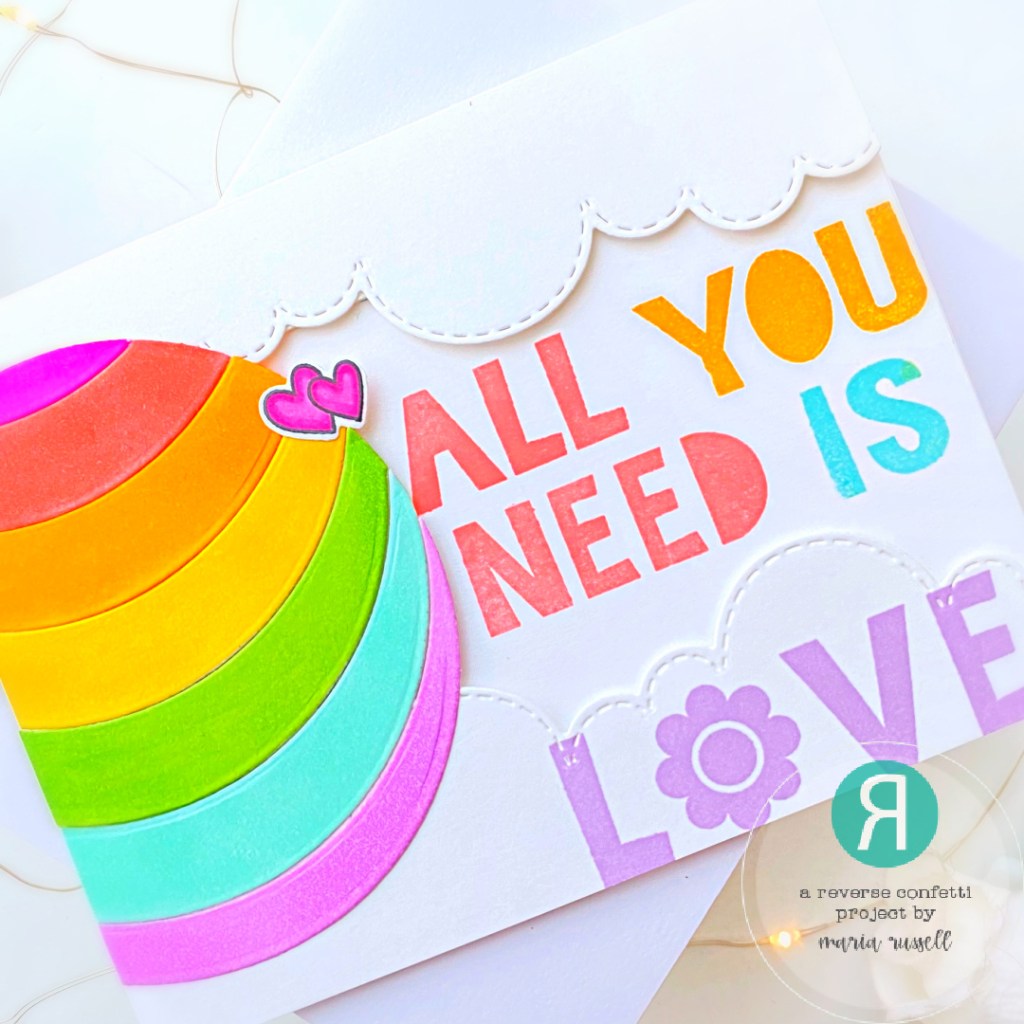
I decided to create a very colorful card design! I love Rainbows and I think this card is so cheerful, it will make anyone’s day!
Prepare the background panel by die-cutting some Neenah Solar White Card stock using some clouds border die from your collection. Foam-mount both die-cuts on some A2-size white notecard.
Use the Large Rainbow Circle Confetti Cuts to die-cut some Neenah solar white card stock. Color each die-cut using some alcohol markers and adhere them all together using a wide-packing tape.
Foam-mount the Large Rainbow Circle die-cut to the card front and use your paper trimmer to trim off the excess.
I can’t wait to hop around and see what the other team members designed! Leave a comment by noon central on May 7th for a chance to win. Since this is Reverse Confetti’s 9th Birthday, there will be a $25 Gift Certificate for one blog commenter and also one FaceBook commenter. Winners will be announced on the Reverse Confetti Blog and FB Group at 5 PM CST on May 7th. Make sure you pop over to the Reverse Confetti Blog for all the details!
stamp the images on some Neenah Classic Crest Solar white card stock.
color images in with alcohol markers (or any medium of your choice).
die-cut the images using the coordinating die.
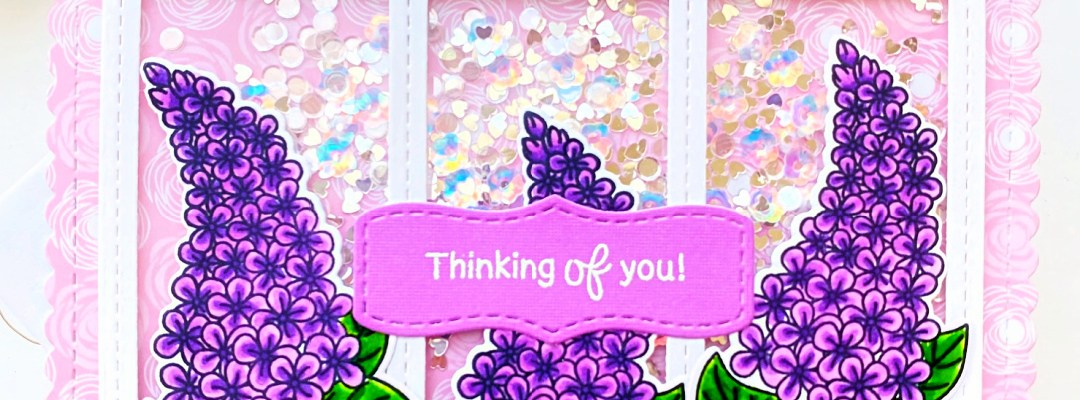
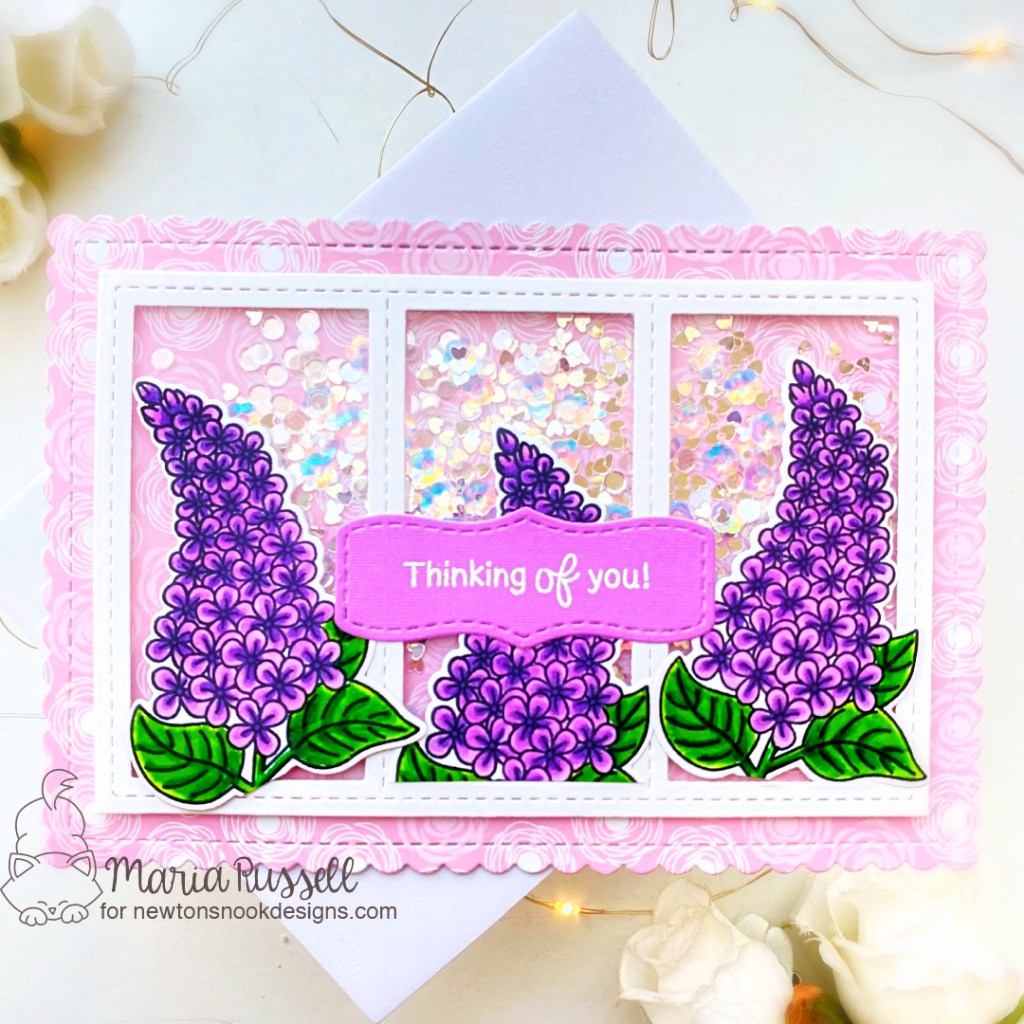
die-cut some pattern paper that compliments the color of the stamp images using the biggest die from the A7 Frames & Banners Die Set.
die-cut the frame (using the same die set above) on some Neenah solar white card stock. adhere some acetate sheet on this frame and add foam adhesive to create the shaker well.
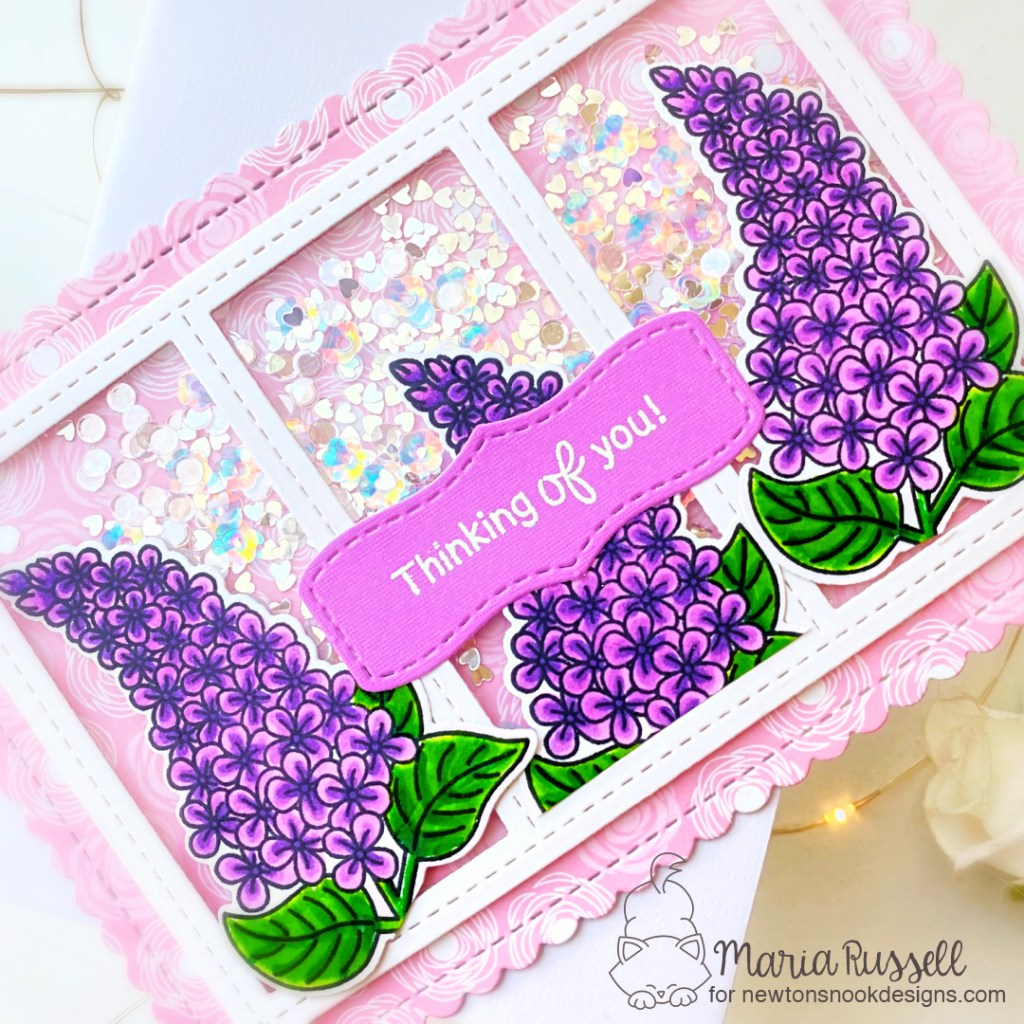
add some iridescent sequins as the shaker element on top and close the shaker.
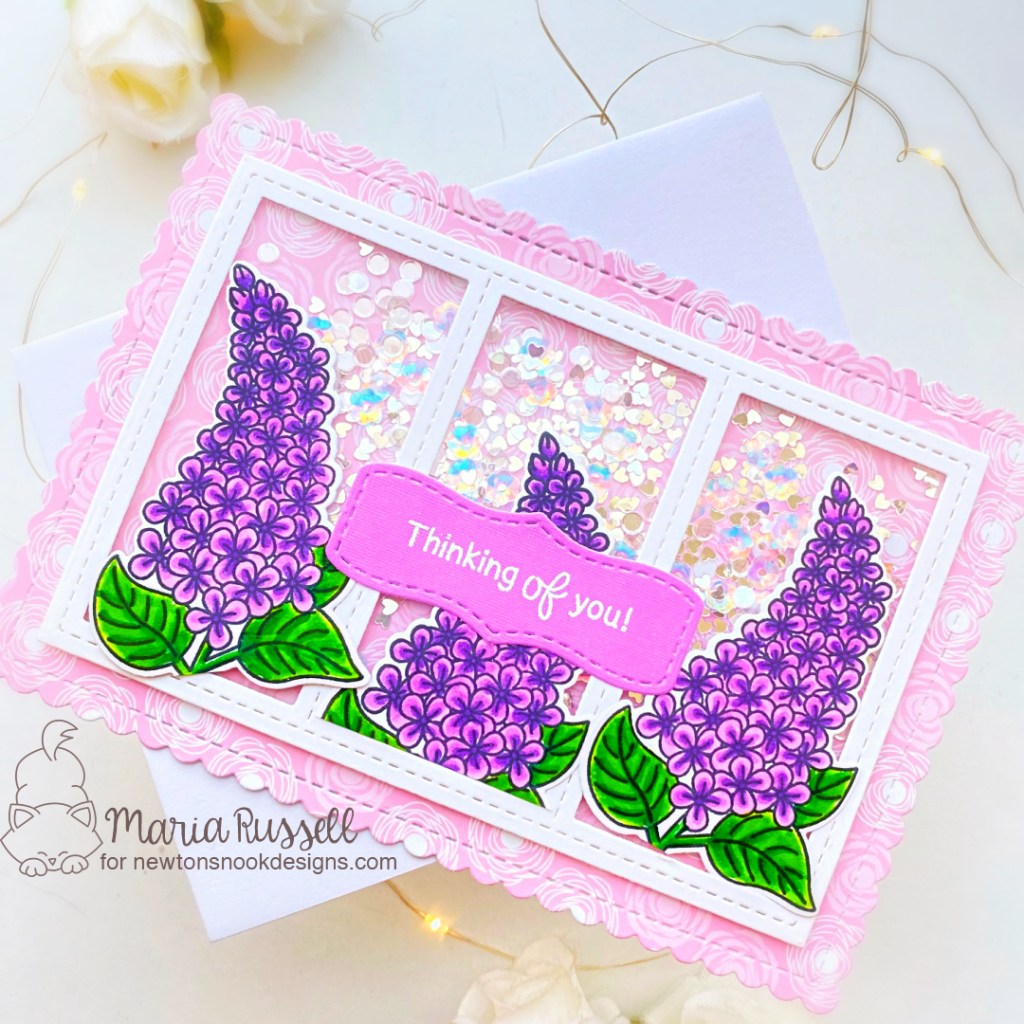
adhere the card front on an A7 card base.
add the focal images on each window with either liquid glue or tape runner.
use the banner die to die-cut some lilac card stock. stamp the sentiment on this piece using Versamark ink. Sprinkle some white embossing powder and heat set with heating tool.
adhere the sentiment on the middle of the card to finish the design.
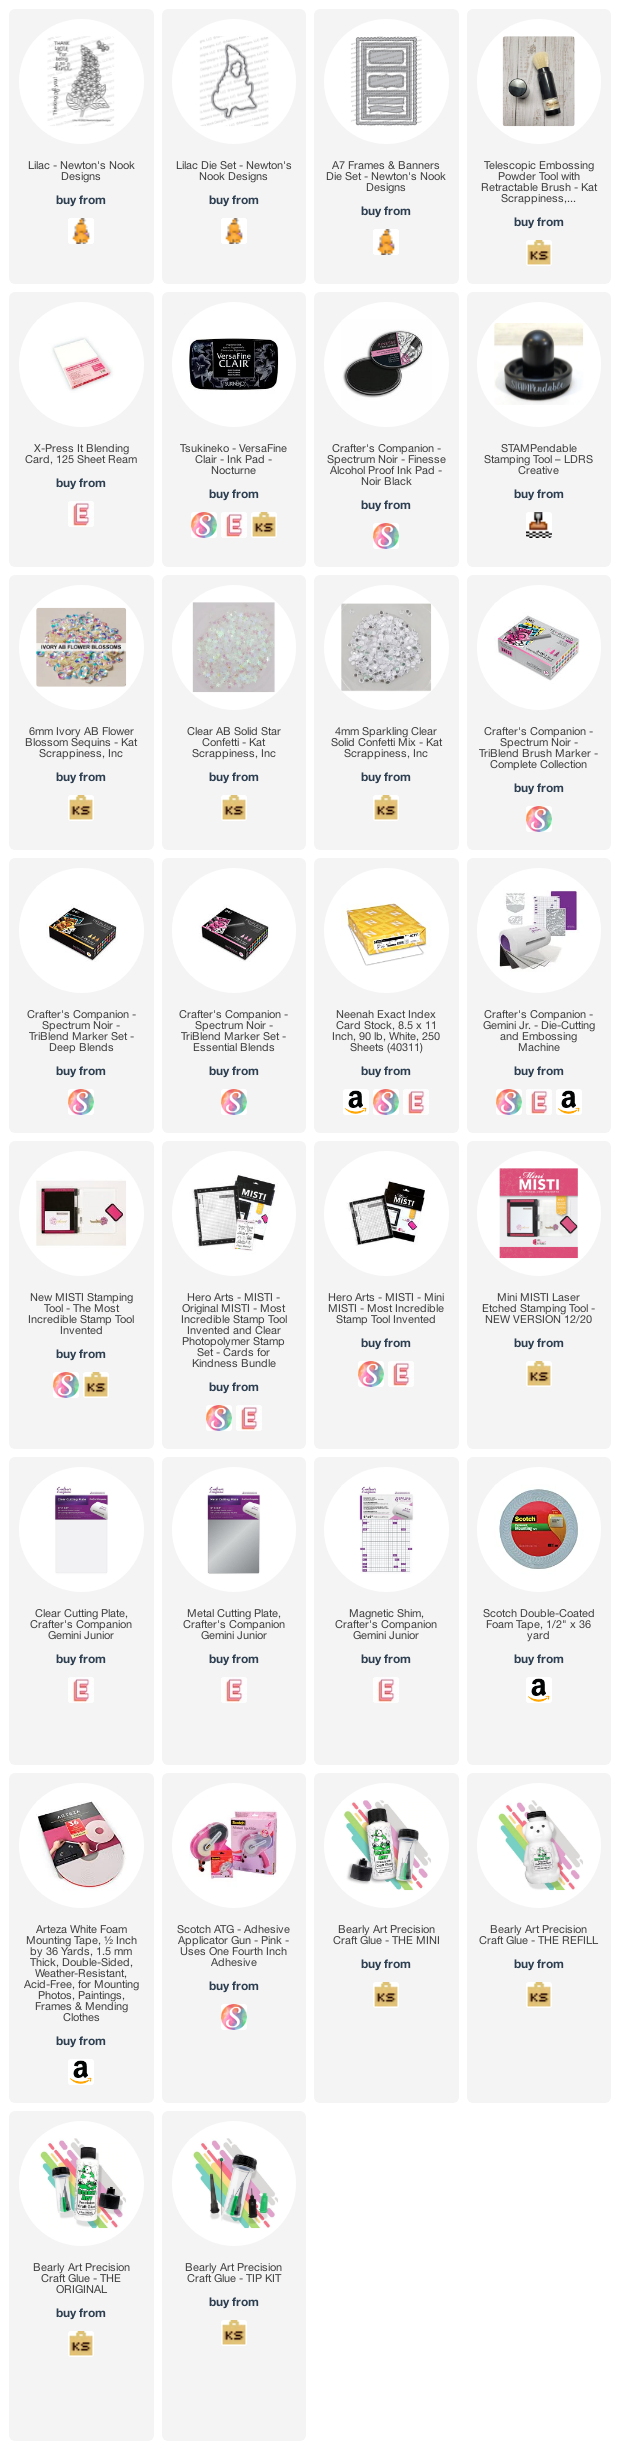
I hope you like this card today and got inspired. Below, you will find links to the supplies used to create this project(s). Where available, I use compensated affiliate links at no extra cost to you. Your support helps me to keep bringing you new projects and inspiration. Thank you for stopping by, and have an amazing day!
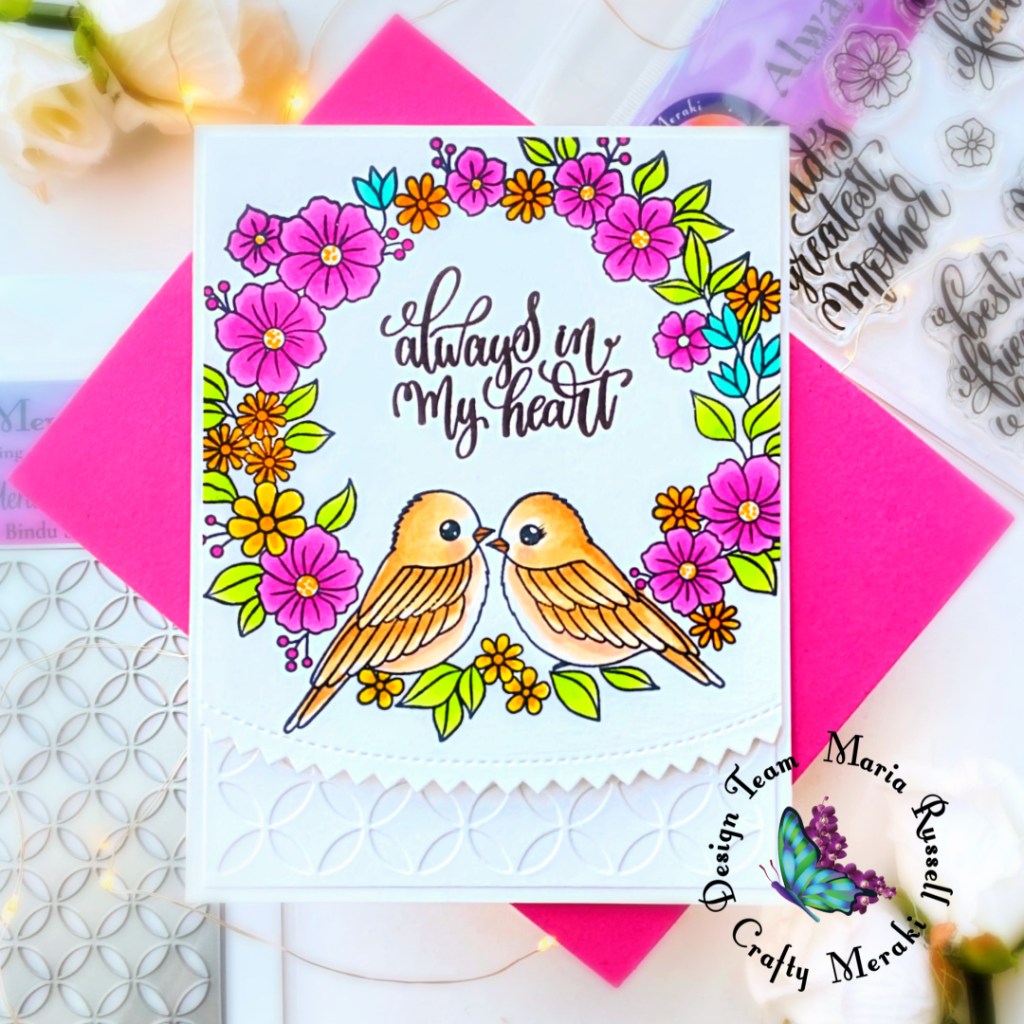
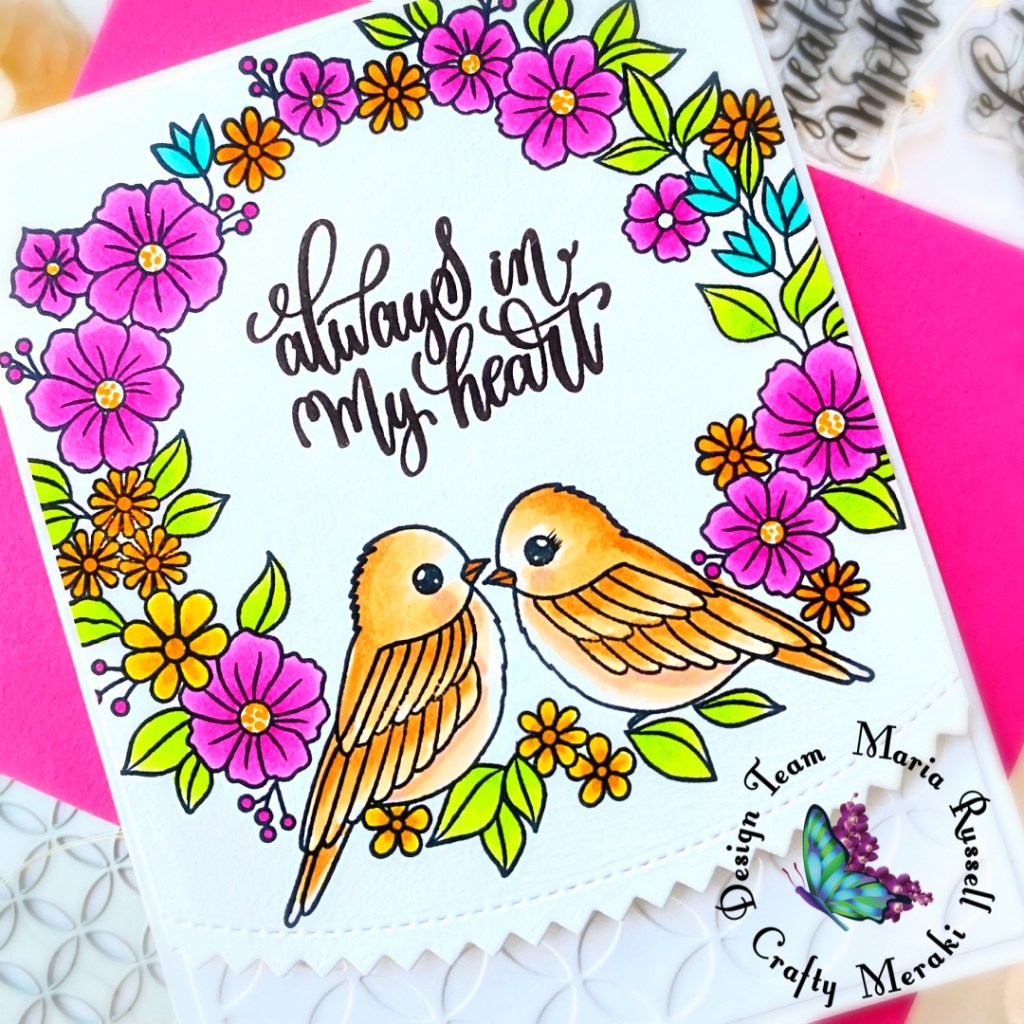
I die-cut a panel of some 110 lb. Neenah Solar White Card Stock using a border die from my collection. I placed this panel inside my Misti Stamping Tool and stamped the images from the Always in My Heart Stamp Set. I colored the images in with alcohol markers and foam-mounted this panel on the Craft-A-Round A2 Die-cut that I previously adhered on some A2-size notecard.
I finished the sentiment in the middle of the card front. Here’s another look:
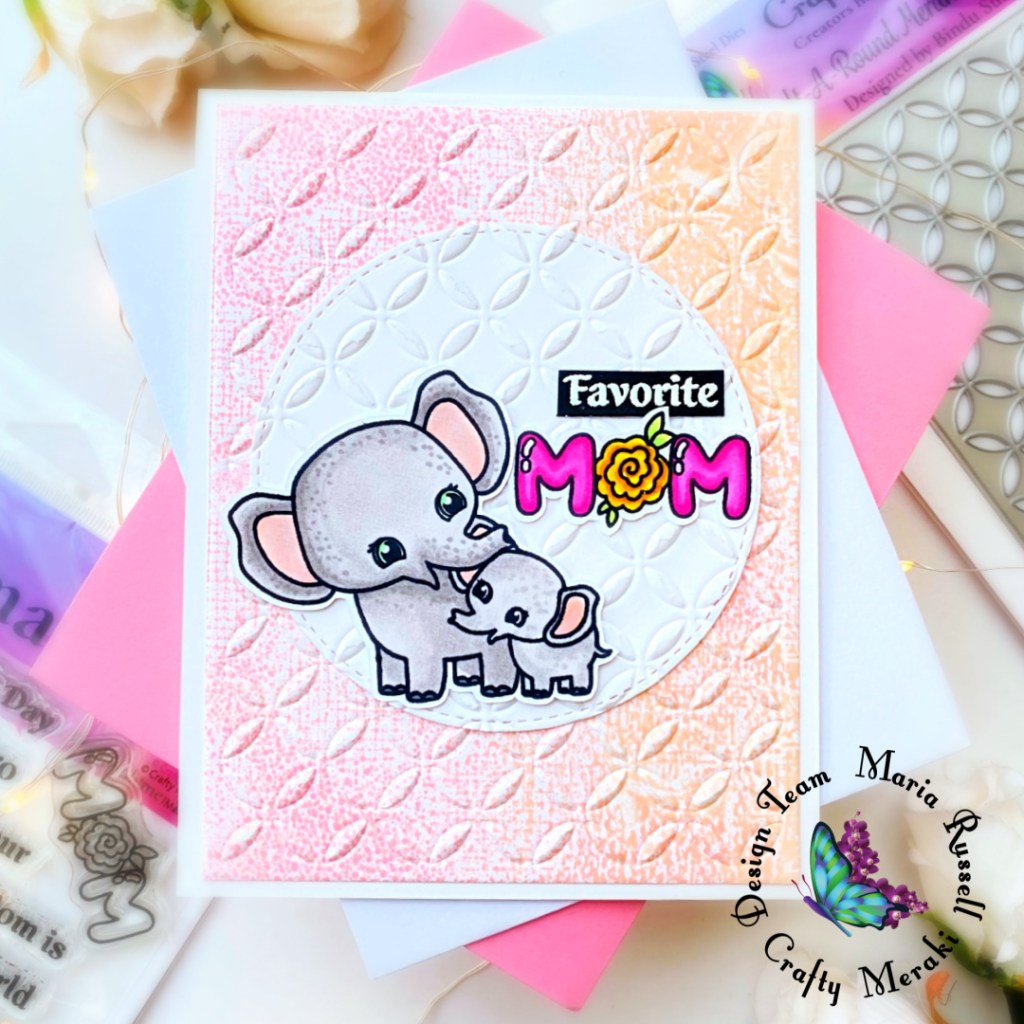
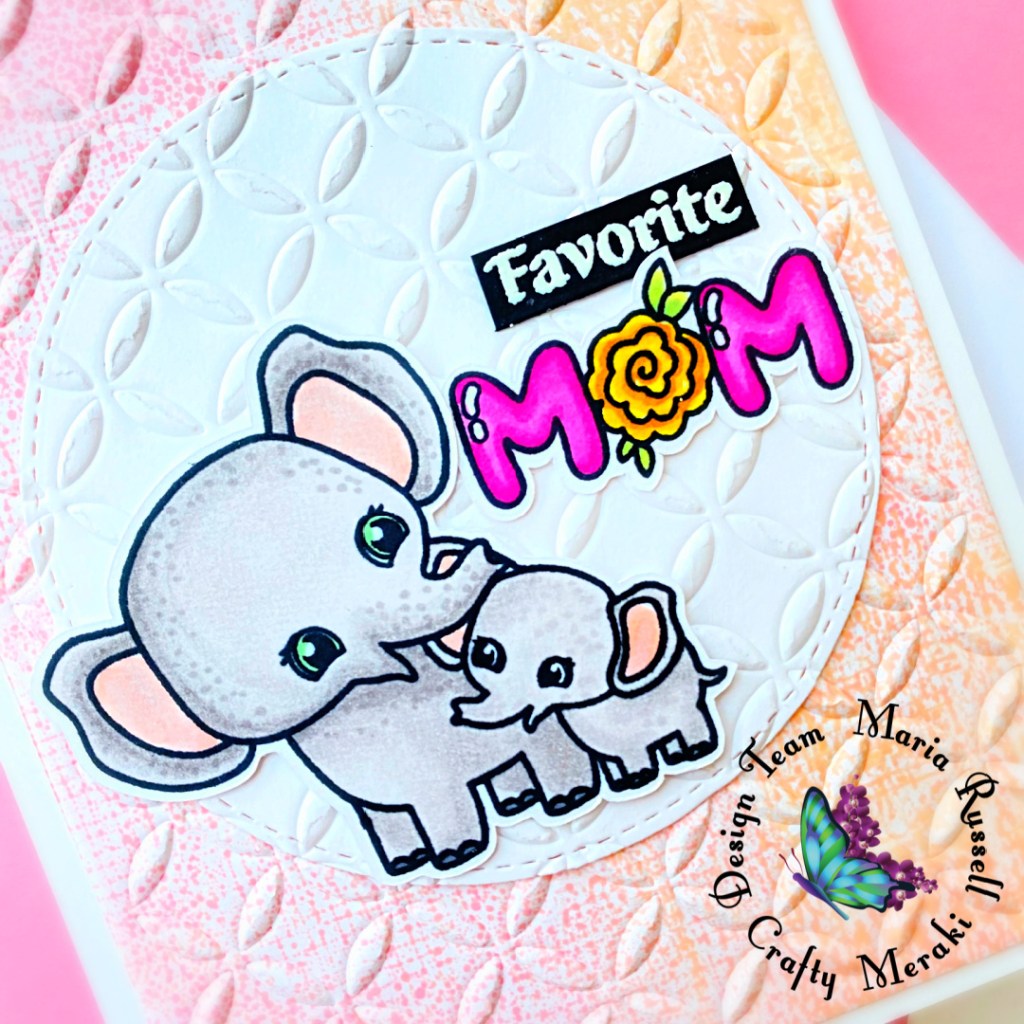
I stamped the images on some Neenah solar white card stock and used the Mama Bear Coordinating Dies to cut them all out. I prepared the background panel by inking up some Bristol smooth white card stock with oxide inks. I set this panel aside to let it dry for about half an hour and used my embossing mat to dry-emboss the background. I adhered this panel on some A2-size notecard.
I die-cut the circle and used the same embossing Mat to dry-emboss this piece and adhered on the card front with liquid glue. I finished the design by adhering the images on the card. Here’s a closer look:
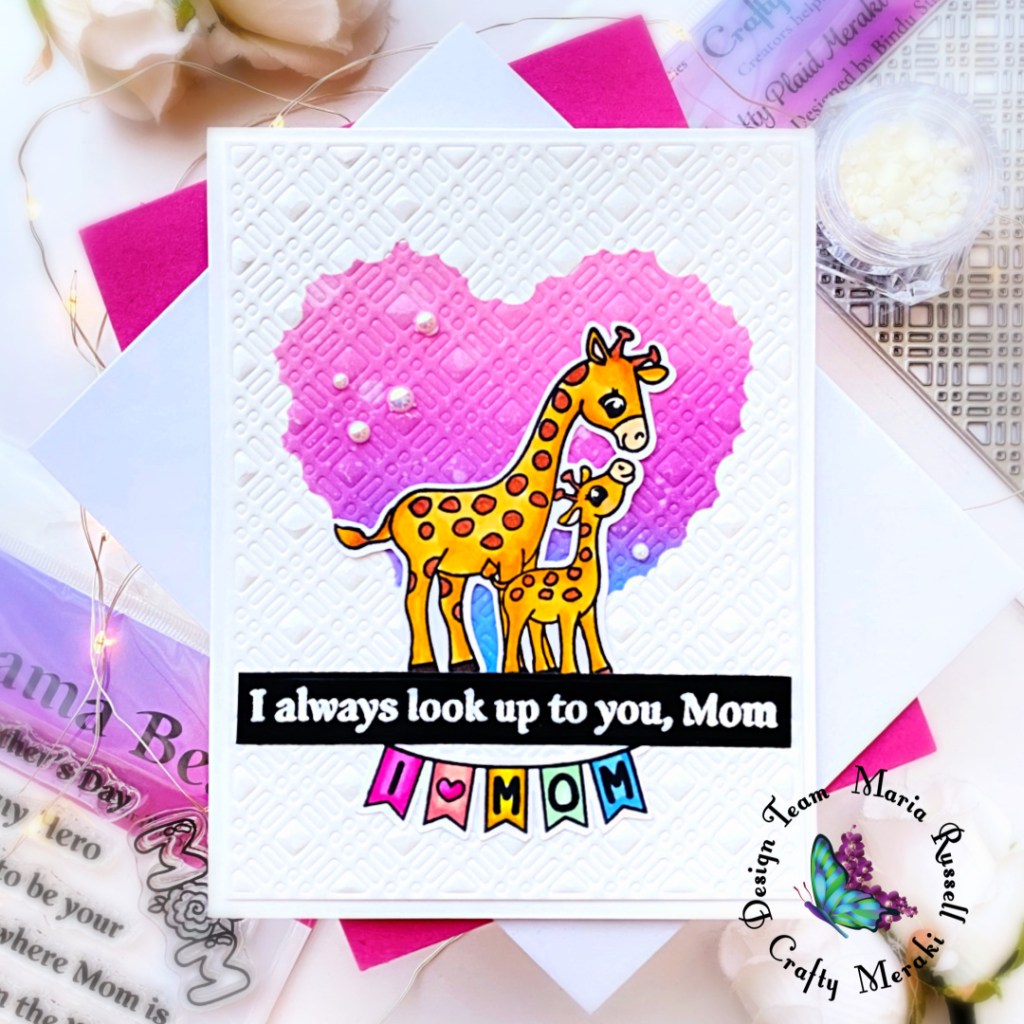
The next card, is probably one of my favorite cards of all time. The simplicity of the background and the sentiment are the perfect combo to cheer up your mom for Mother’s Day.
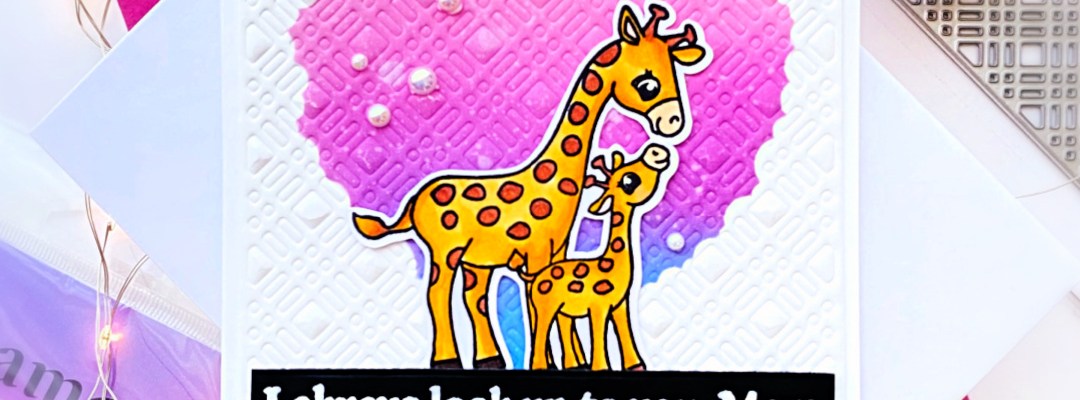
I inked-up a panel of some Bristol smooth white card stock using distress oxide inks and a heart stencil from my collection. I used the Crafty Plaid A2 Background Die and my embossing mat to dry-emboss the panel for added interest. I adhered the card front with liquid glue on some A2-size top-folding notecard.
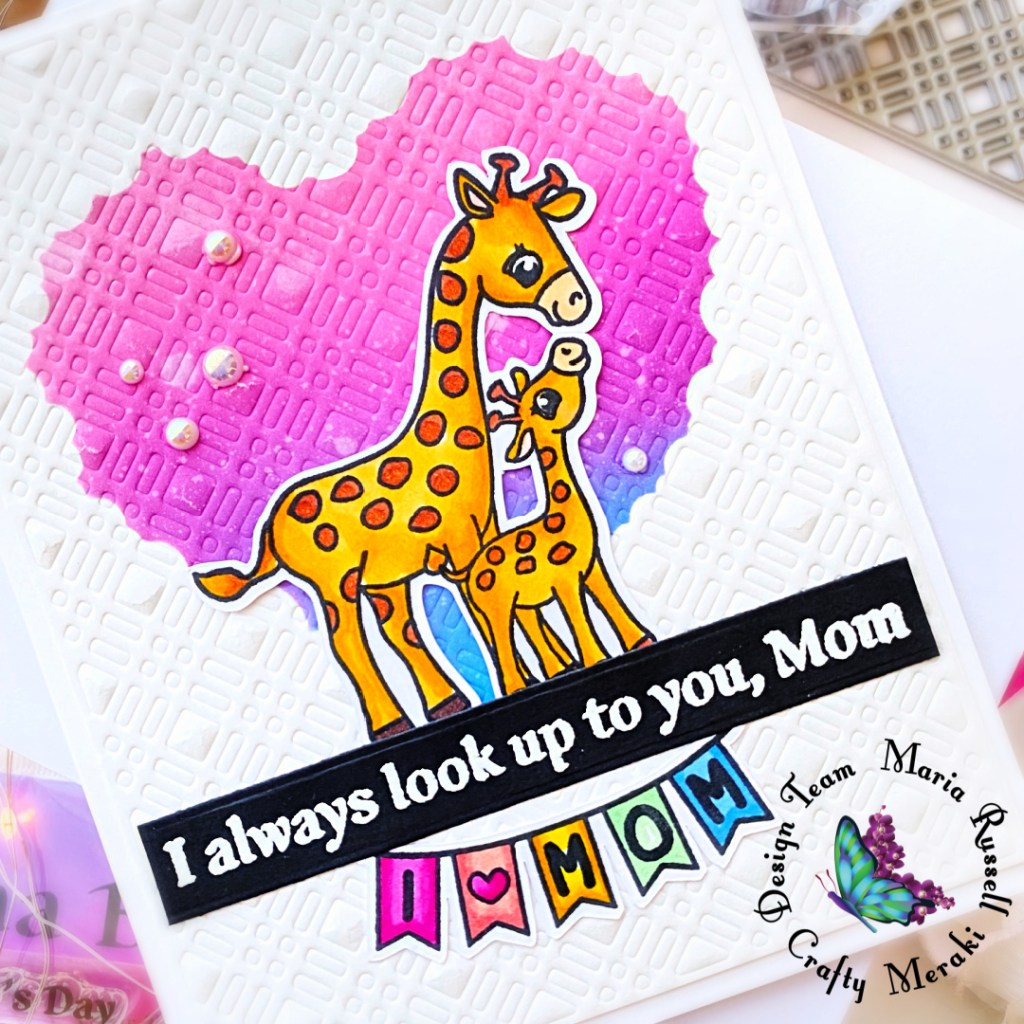
The images were stamped and colored with alcohol markers. I die-cut them all out using the Mama Bear Coordinating Dies and adhered on the panel with liquid glue. I finished the card design by adding the sentiment strip and adhering some Meraki Ivory Opal Gems for added interest. Here’s a closer look:
I hope you like the cards that I shared today and got inspired. Below, you will find links to the supplies used to create this project(s). Where available, I use compensated affiliate links at no extra cost to you. Your support helps me to keep bringing you new projects and inspiration. Thank you for stopping by, and have an amazing day!
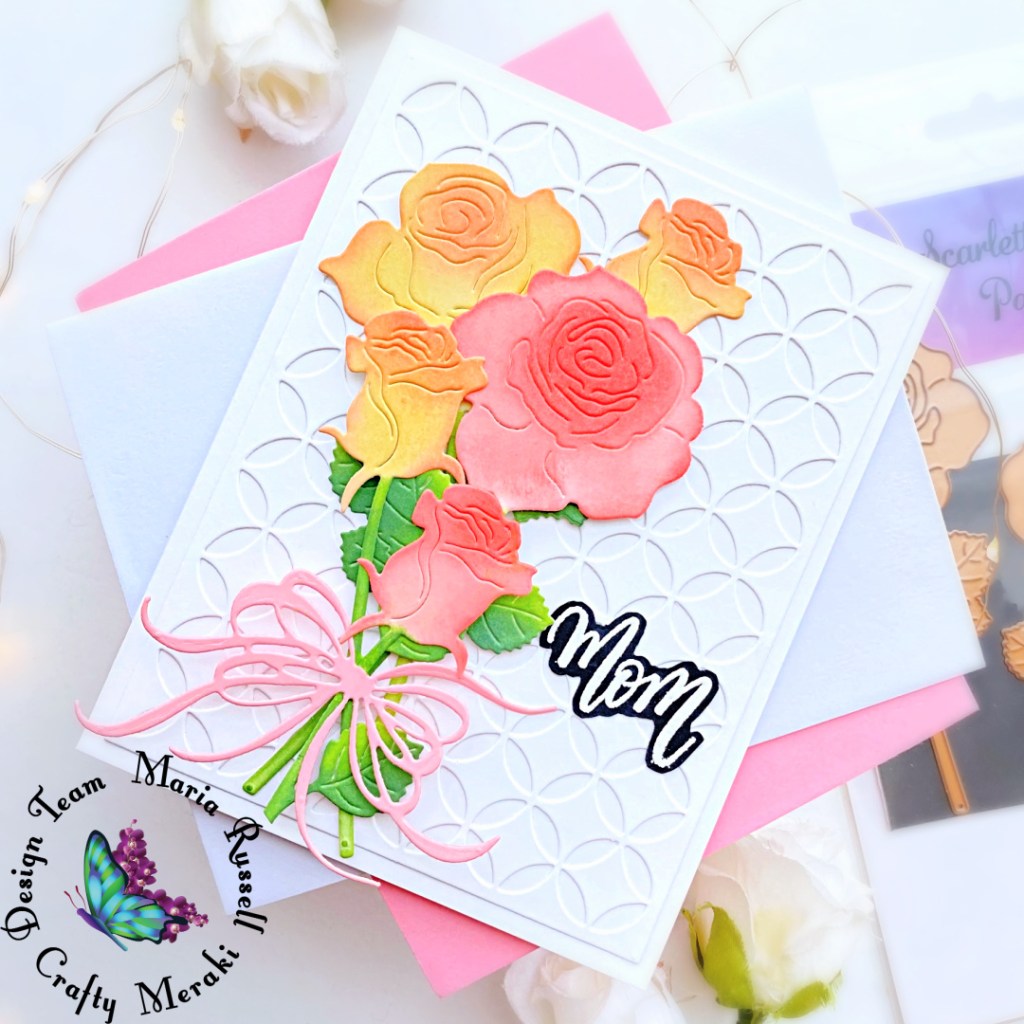
Hello, Crafty Meraki fans! It’s the weekend and time for some crafty inspiration from the latest release! For today’s card, I am showcasing the Scarlett Meraki Flora Para-Dies, along with the Craft-A-Round Meraki Para-Dies and Always in My Heart Stamp Set.
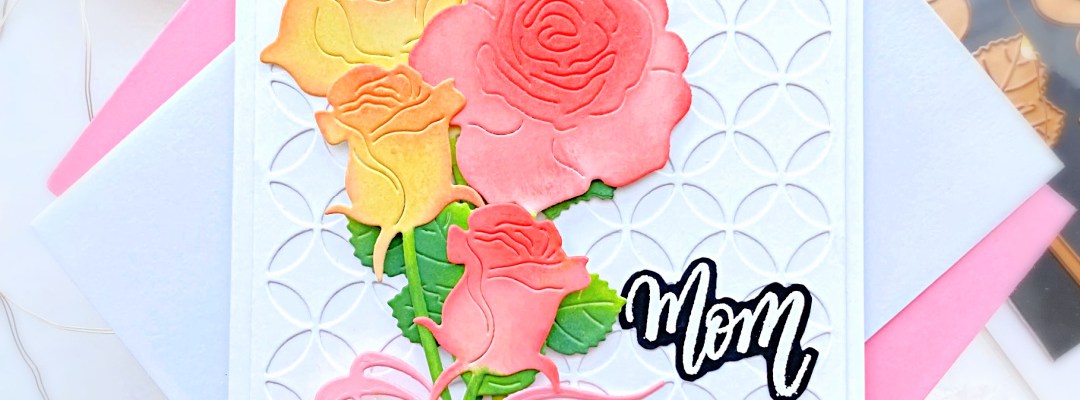
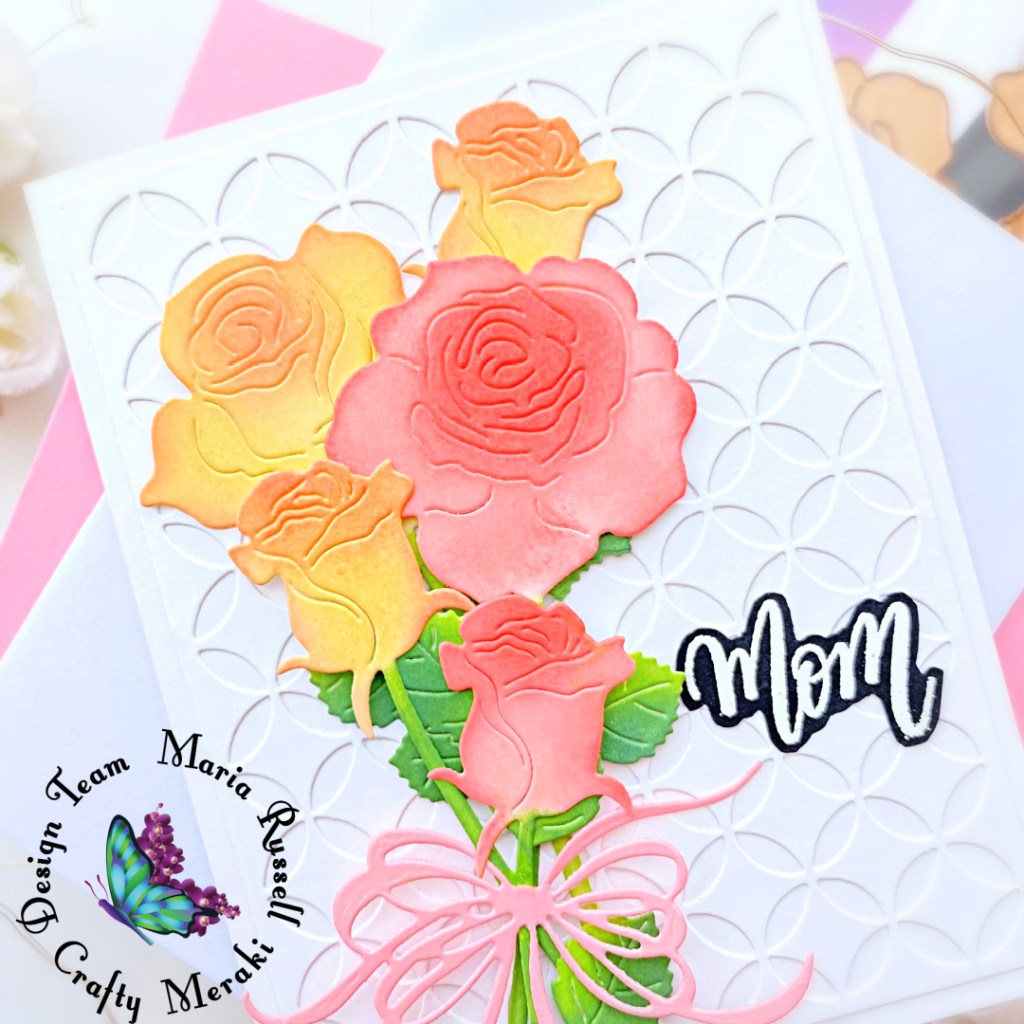
I started by die-cutting the roses on some Strathmore Bristol Smooth White Card Stock using the Scarlett Meraki Flora Para-Dies. I used some mini sponge daubers to add color to the die-cuts with Distress Oxide inks in Abandoned Coral, Saltwater Taffy, Scattered Straw, Mowed Lawn Rustic Wilderness. The stencil mat is the perfect tool to use while ink-blending the die-cuts.
Next, I die-cut the background using the Craft-A-Round Meraki Para-Dies on some Neenah Solar White Card Stock. I adhered this panel on some A2-size notecard with liquid glue. I added the roses on the card with liquid glue and foam adhesive for dimension. A bow was also added for interest and finished the design by adhering the word “mom” that I heat-embossed on black card stock. Here’s another look:
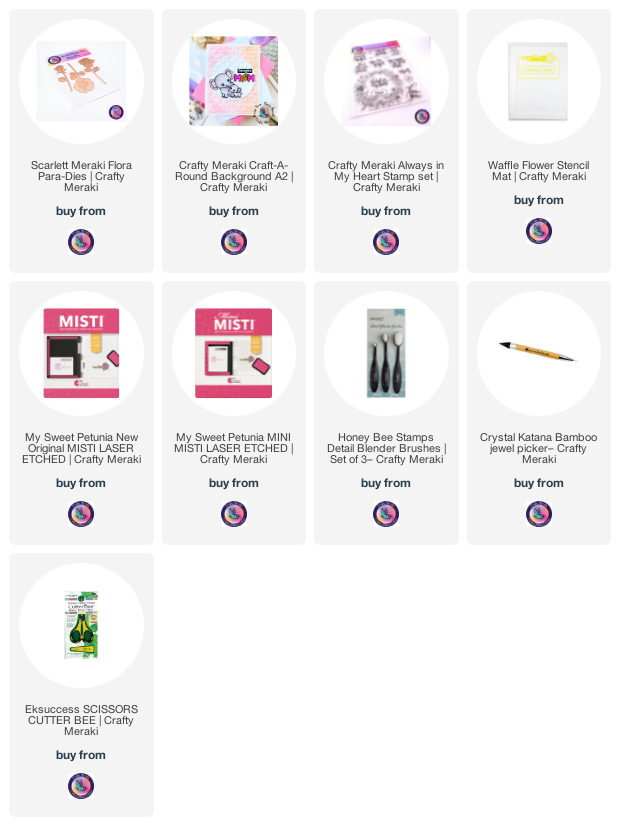
I hope you enjoyed today’s inspiration. Below, you will find links to the supplies used to create this project(s). Where available, I use compensated affiliate links at no extra cost to you. Your support helps me to keep bringing you new projects and inspiration. Thank you for stopping by, and have an amazing day!
I am a bit bummed because it’s the last day of the April reveals by Newton’s Nook Designs! Were you able to hop along with us for the first three days? Which one is your favorite so far? Remember that you have a chance to win the stamp set being revealed each day so please read through til the end of the blog post to find out more info. [Just a little important note: I know some of you had difficulties finding the comments section. If you would like to leave a comment to participate in the giveaway, the “comments section” will only be ever visible when a single post on Word Press is being viewed. Please click on this particular blog post and you will be able to leave a comment below. Thank you!]
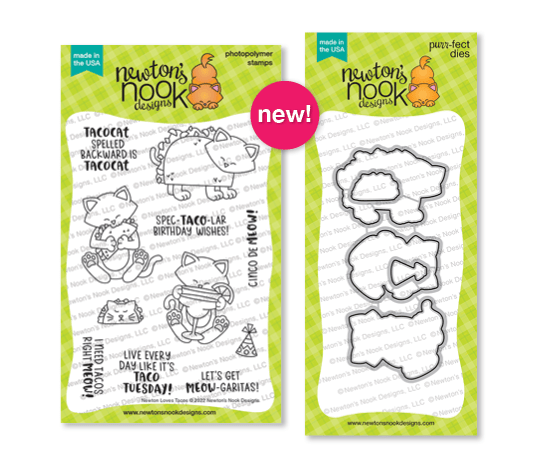
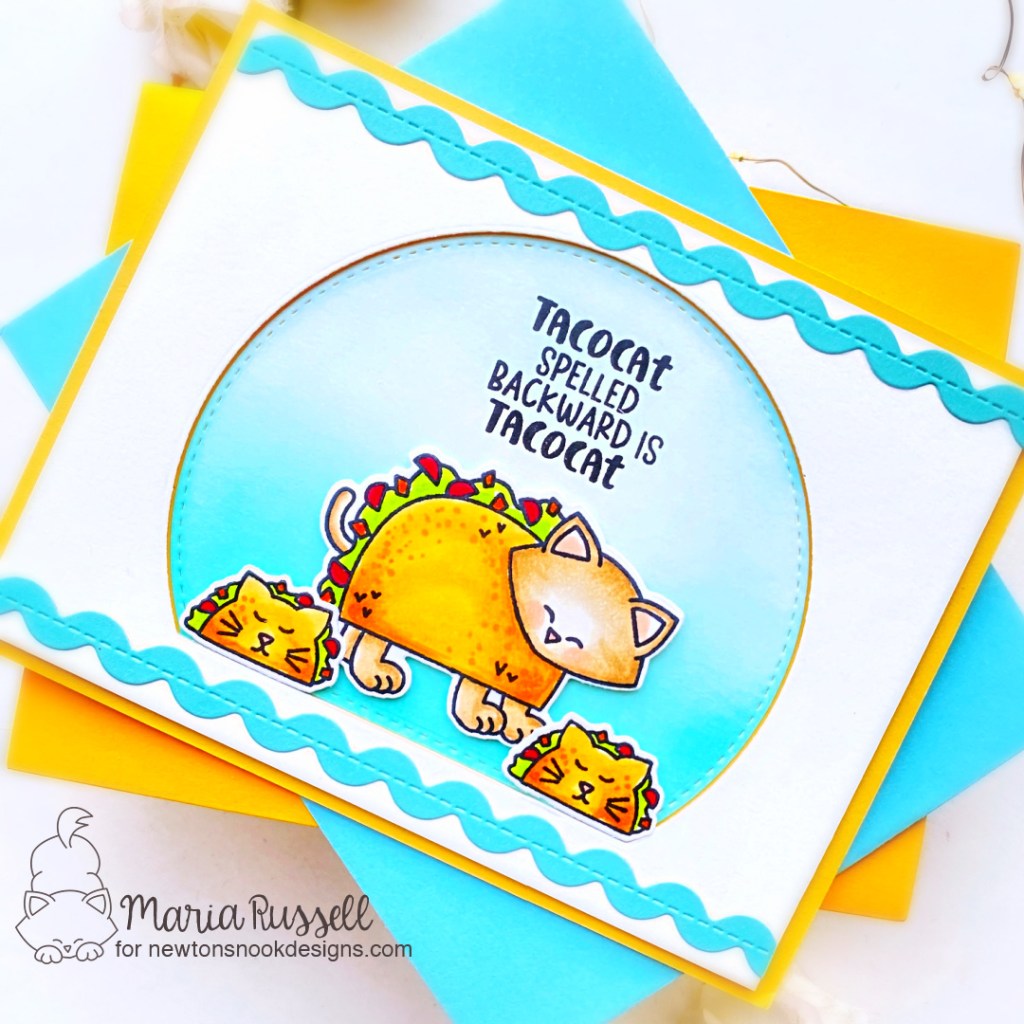
For today’s reveal, we are showcasing the ADORABLE Newton Loves Tacos stamp set + coordinating dies.
Isn’t this stamp set sooo adorable?! The sentiments are so much fun and you can use this stamp set all-year round!
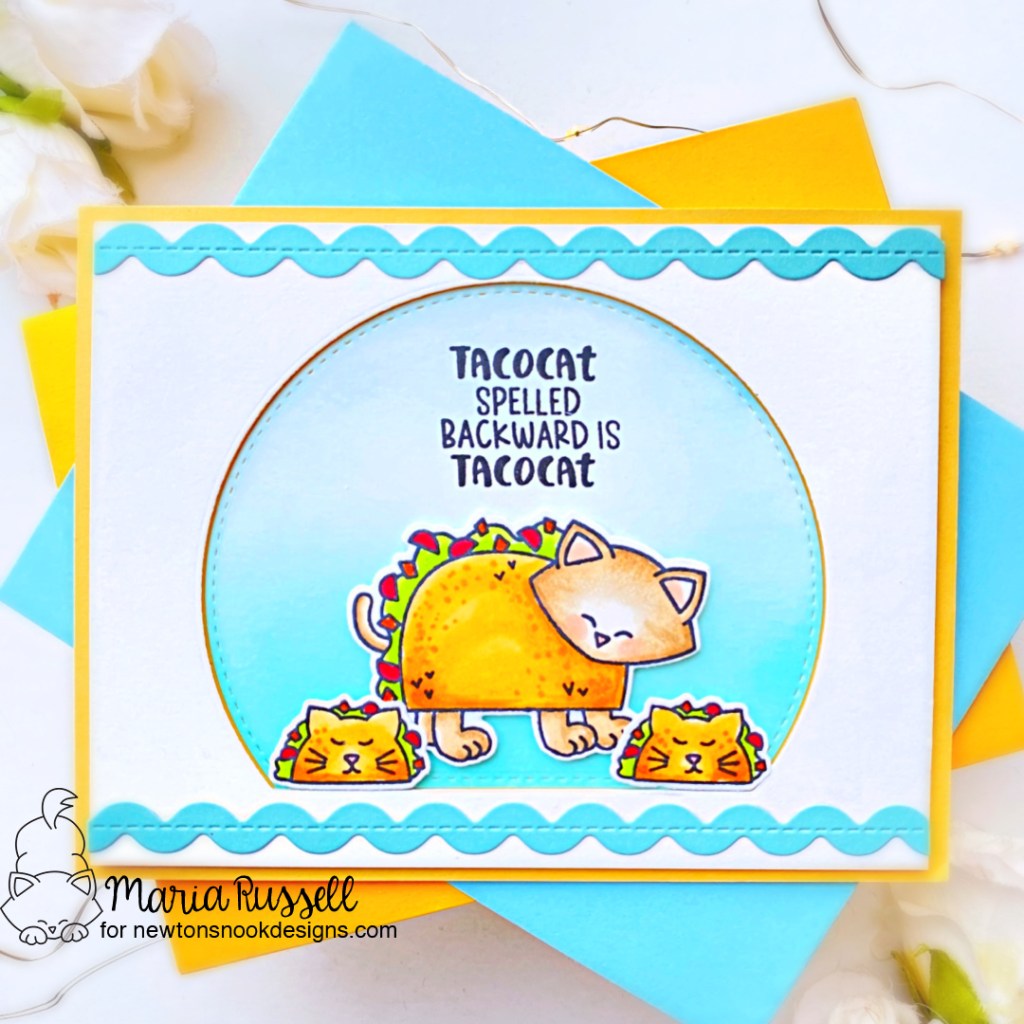
My card is pretty simple but I love how it turned out. I started by stamping the images on some X-Press It Blending Card and colored the images in with alcohol markers. I used the coordinating dies to cut them all out.
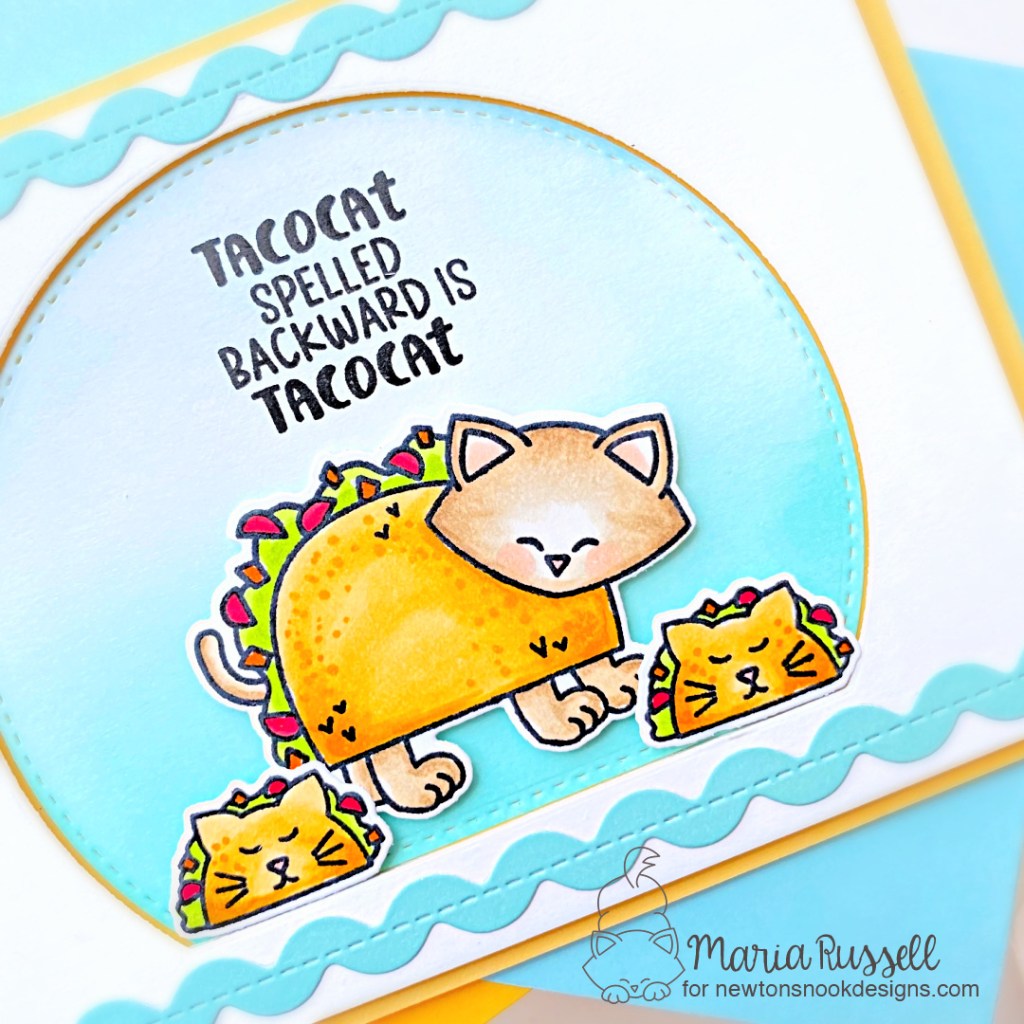
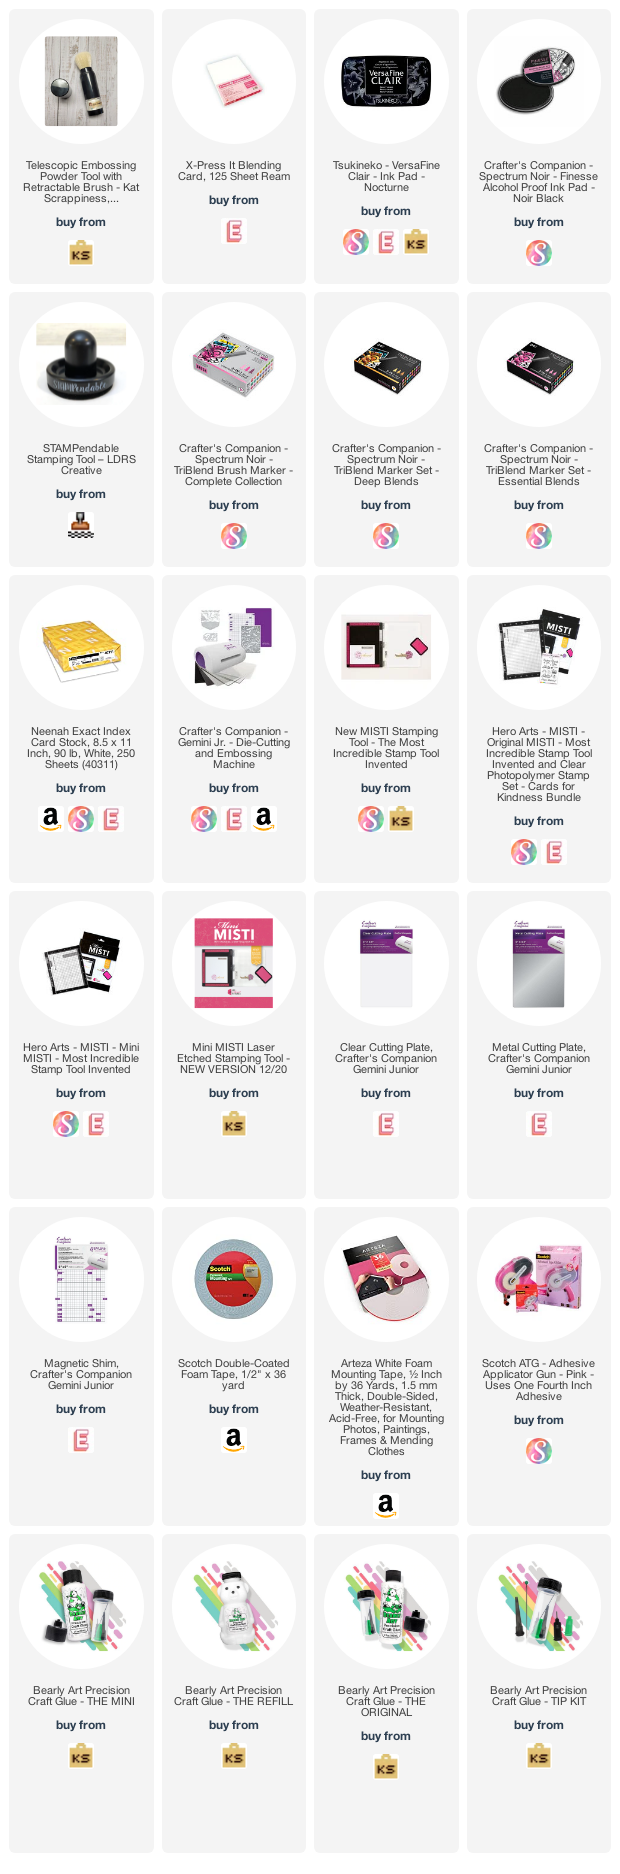
Next, I die-cut the window using a die from my collection and ink-blended this panel with some dye ink. I foam-mounted the negative to a yellow notecard for added dimension and adhered the ink-blended panel with liquid glue. I also adhered the images with foam-adhesive then stamped the sentiment with some Versafine Claire Nocturne ink.
I finished the design by adding the ric-rac die-cuts for added interest. Here’s another look:
Would you like to win the “Newton Loves Tacos” Stamp Set? We will choose ONE lucky winner for each stamp set!
Here’s how to win: Comment on the NND blog and Design Team blogs (see list below)! Thewinner will be chosen at random from the collective reveal posts. Make sure to check out each of their blogs and comment for your chance to win. You will not know which blog has been chosen so the more you comment on the better your chances are of winning! You have until Thursday April 21st at 9pm ET to comment — winners will be announced on the blog post on Friday April 22nd.
Check out all the awesome Design Team Blogs below to enter:



















 Maria Russell Designs