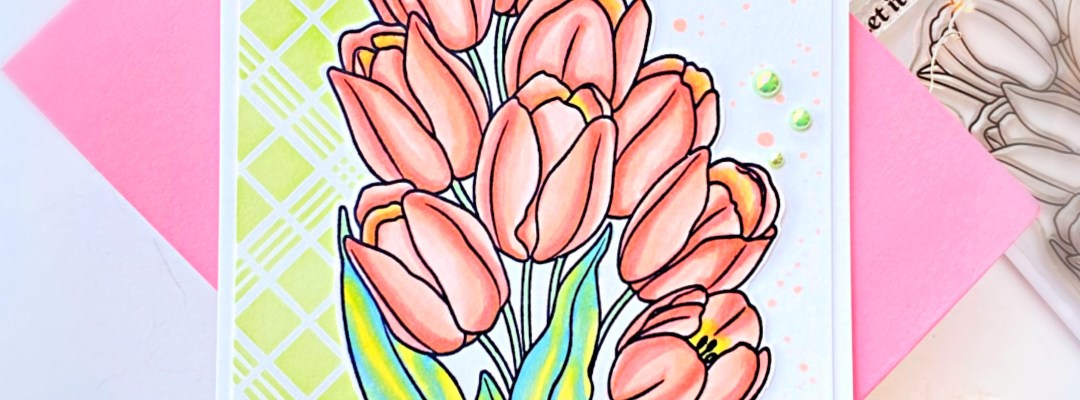
Spring is one of my favorite season because of Tulips! There’s just something about having a bouquet of fresh tulips on the mantle that brightens my day! When I saw this Spring Blooms stamp set, I knew I just had to have it.
I started by preparing the background by inking up some Bristol Smooth white panel using some blending brush and a stencil from my collection with Celery Dye Ink. The blending is so much easier when using a stencil mat. I then cut this panel to 4 inches x 5 1/4 inches and adhered on some A2 size notecard.
I placed my Neenah solar white card panel inside the Misti Stamping Tool and stamped the images from the Spring Blooms stamp set. I colored the images in using alcohol markers and since I didn’t have the coordinating die, I used my Cutterbee precision snips to fussy-cut the image.
The colored image was then adhered to the card panel with liquid glue. I used the same pink alcohol markers to add some random dots on the background and finished the card design by adhering some Peridot Opal Gems for added interest and texture. Here’s another look at the card:
I hope you like this card today. The supplies I used are listed and linked below. Thanks for stopping by and happy crafting!
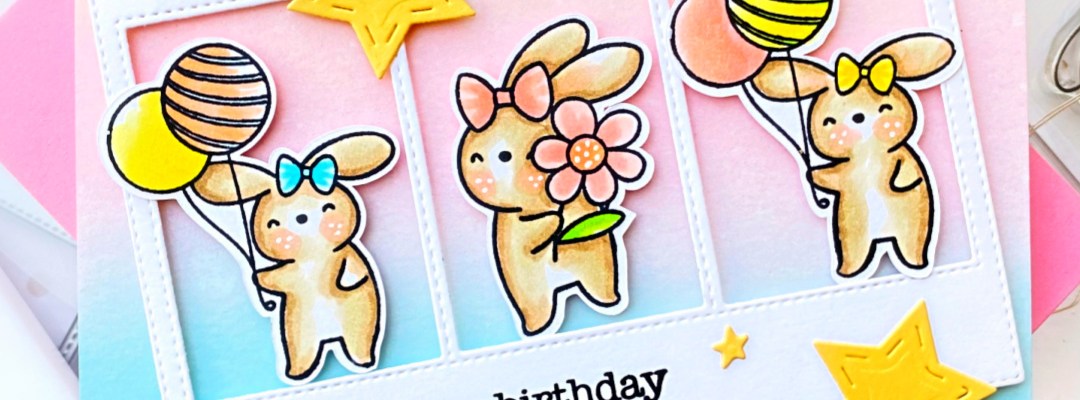
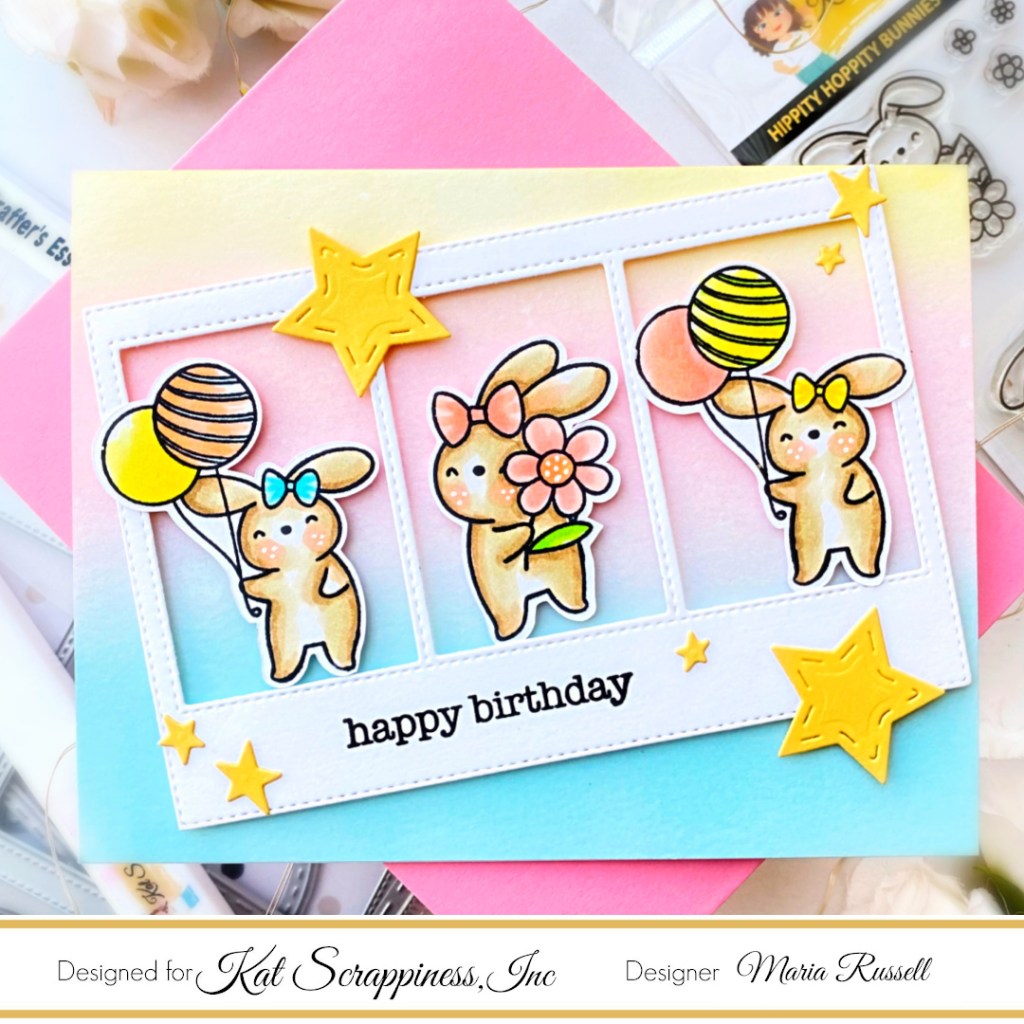
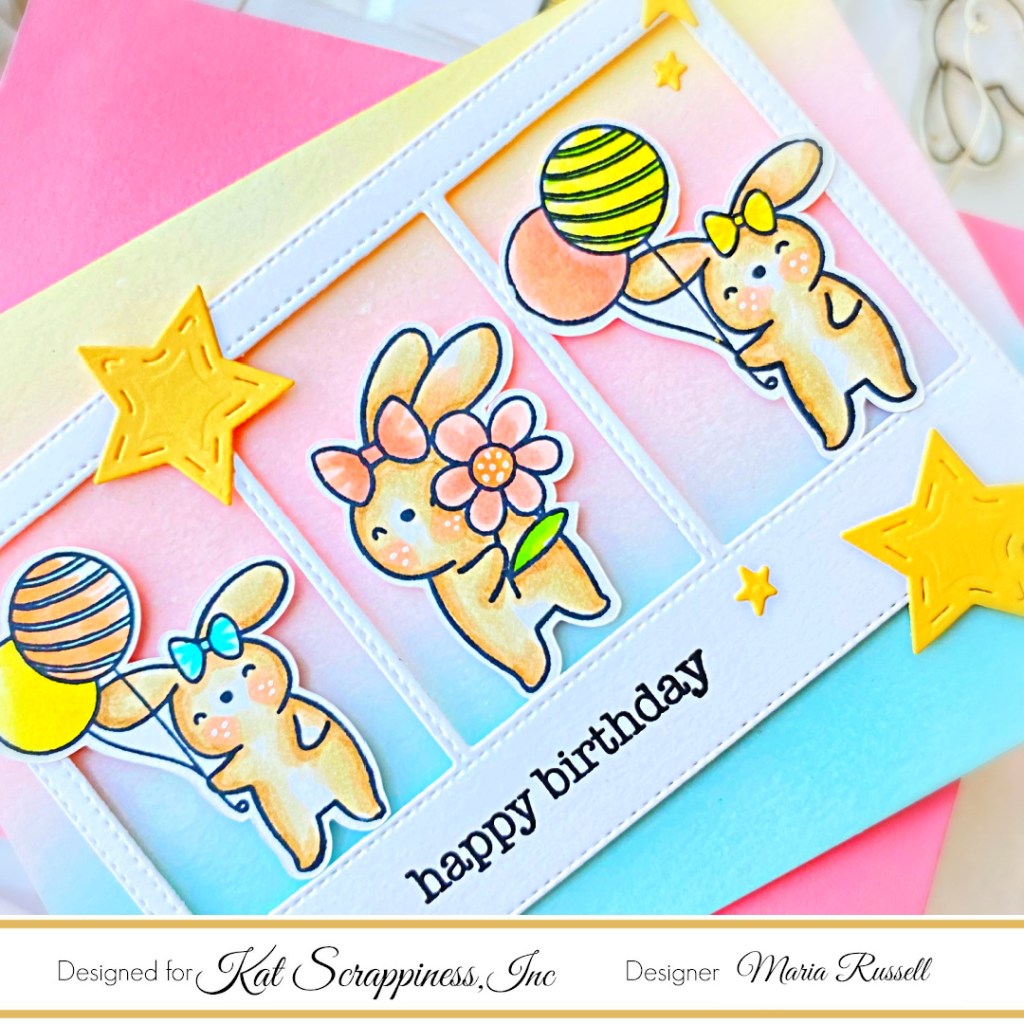
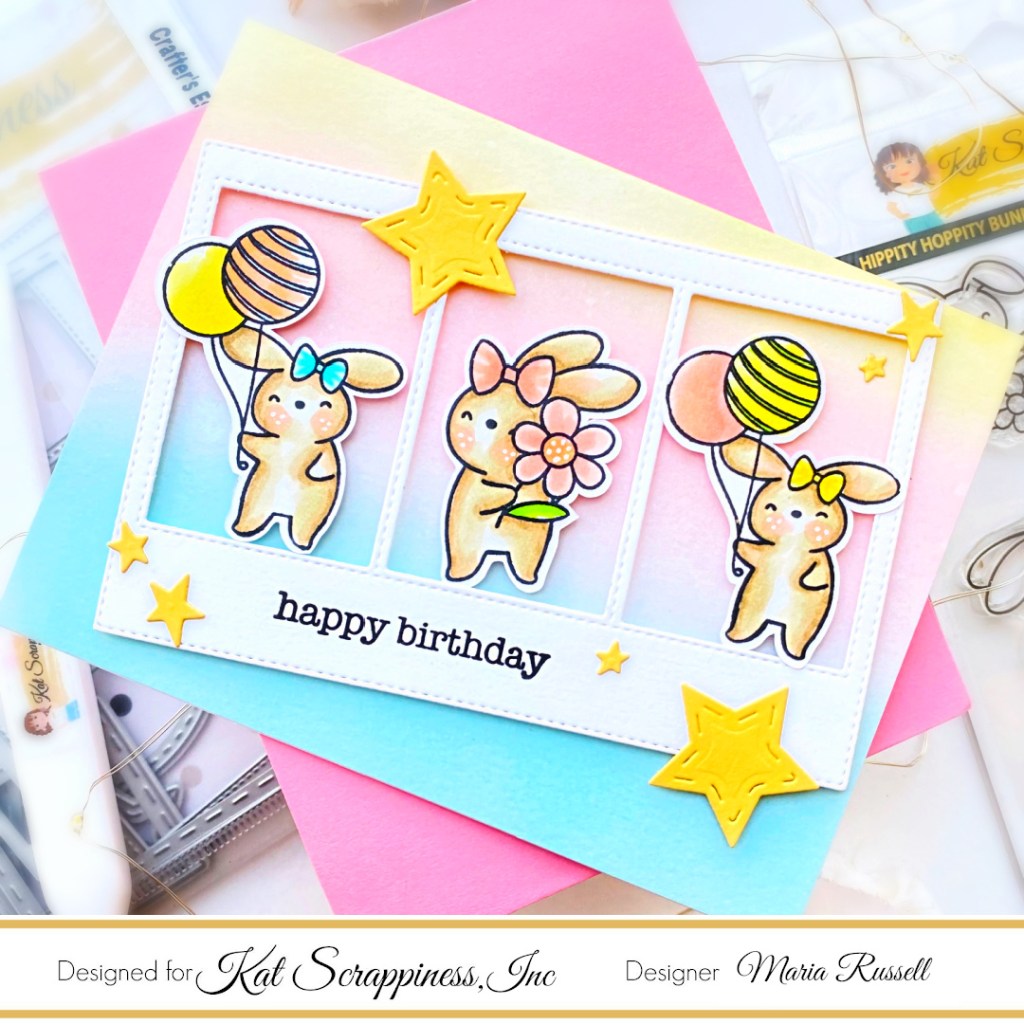
Spring is here and not only am I loving all the pastel colors, but it is also time to celebrate birthdays! I am back today to share another card with you, showcasing the Hippity Hoppity Bunnies stamp set that I paired up with one of my all-time favorite dies by Kat Scrappiness called, Crafter’s Essentials I Die Set.
Here’s how I made this card:
Ink-up a panel of some Strathmore Bristol Smooth white card stock measuring 4 1/4 x 5 1/2 with some Distress Oxide inks. For this card, I used Tumbled Glass, Spun Sugar and Scattered Straw.
Use Distress Sprayer to spray some water on the ink-blended panel and pick up the excess water with some paper towel and adhere on an A2-size notecard.
I love mixing and matching old and new from products from the Kat Scrappiness store. The Crafter’s Essentials I Die Set is a definite must-have for any paper crafter!
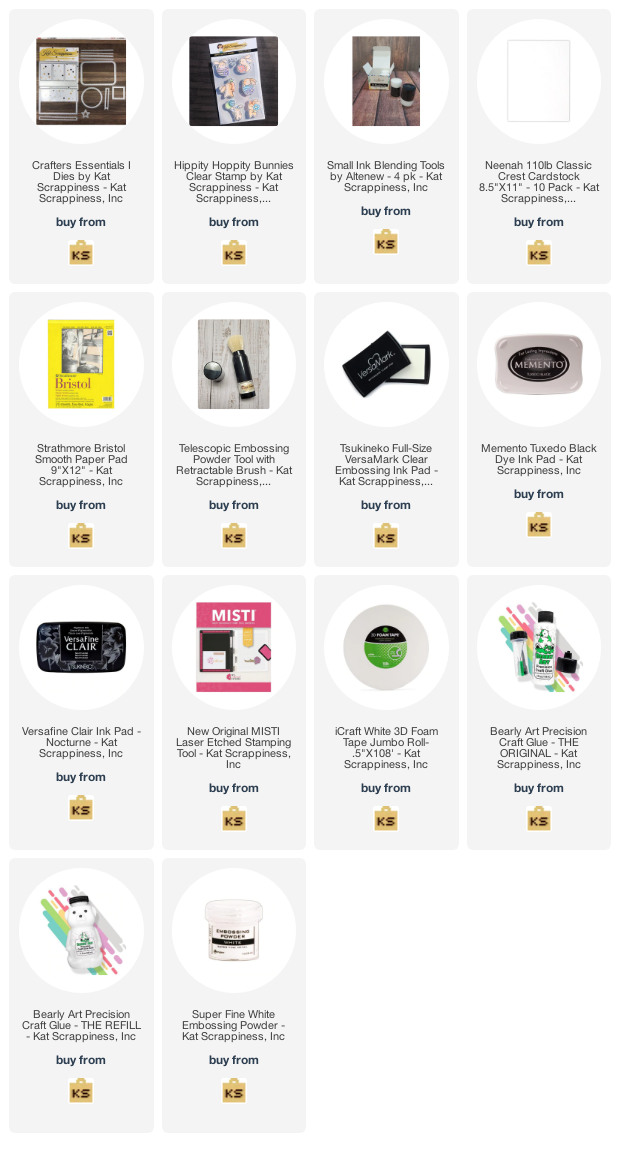
I hope you like this card today and got inspired! The supplies I used are listed and linked below. Thanks for stopping by today and happy stamping!
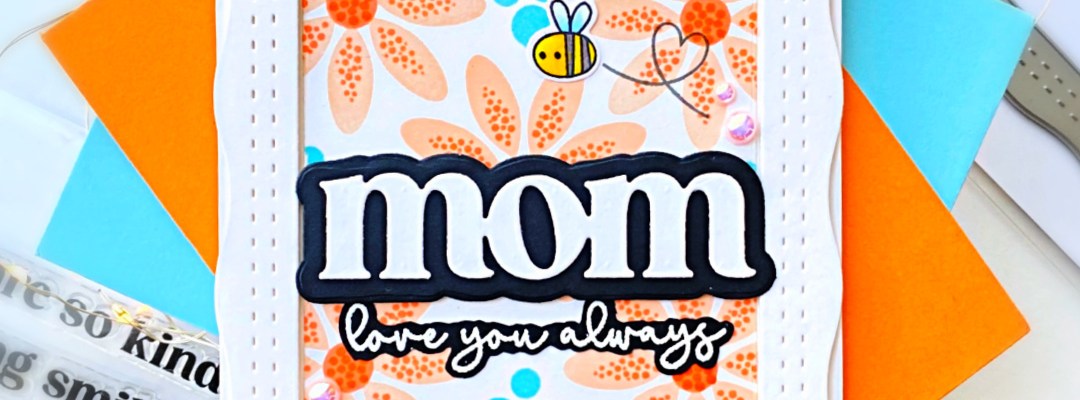
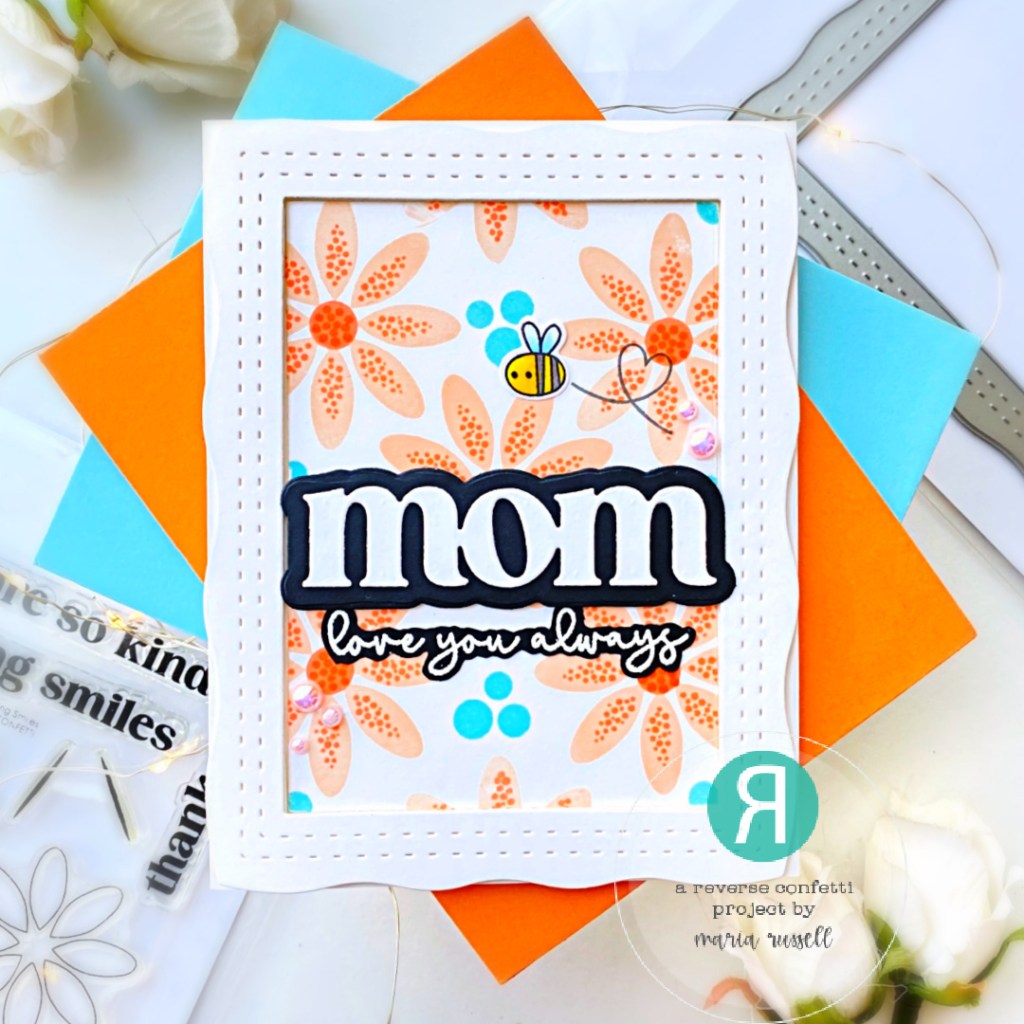
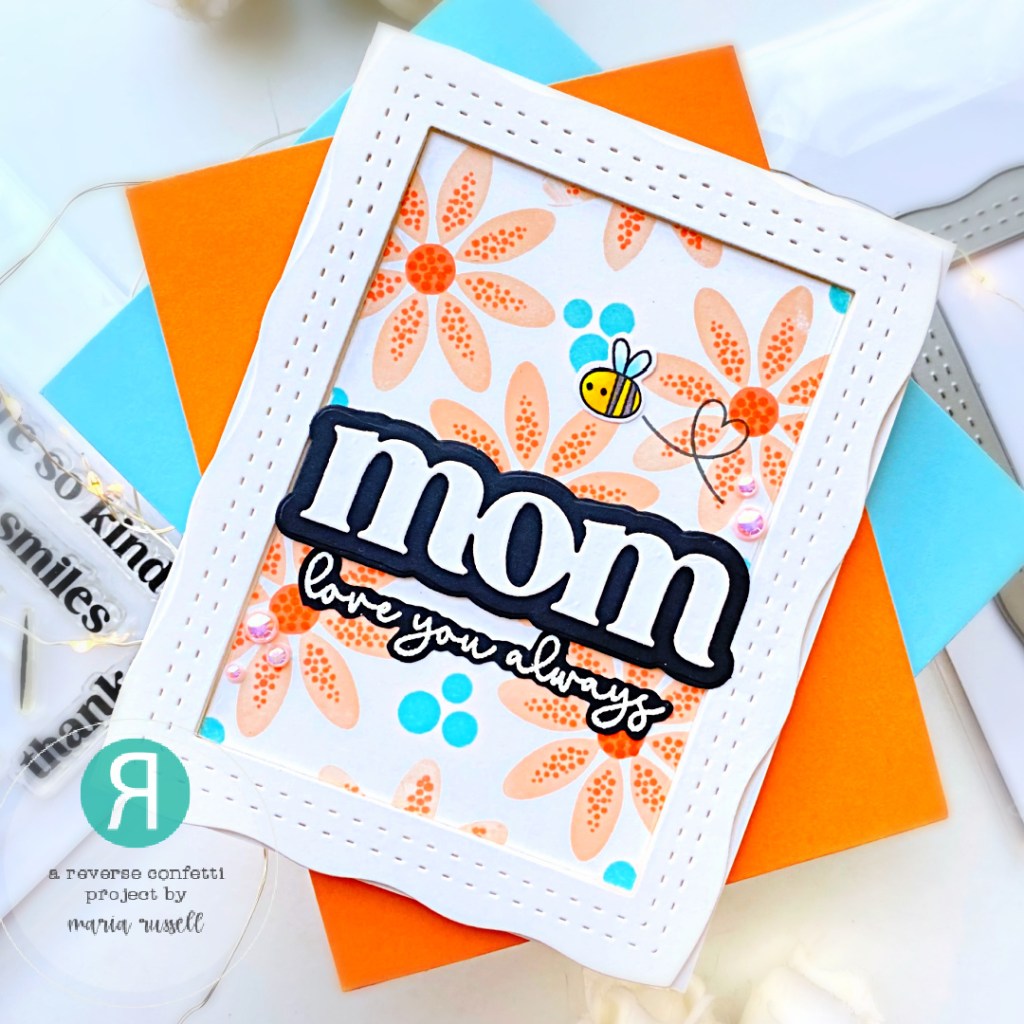
Hello my crafty friends! Happy April Fool’s Day! The weekend is here and it is time to get inky and join Reverse Confetti’s Stock Your Stash Challenge and this month’s theme is “MOMS, DADS AND GRADS.”
The Stock Your Stash Challenge link list will be open from the 1st of the month until noon CST on the 29th of the month. Click the “Play Along...” button on our Reverse Confetti’s sidebar to go to the current link list post. Reverse Confetti stamps and/or Confetti Cuts are required to win. This is a way we get to thank their customers for using their stamps. Anyone is welcome to play, though! You may enter as many times as you wish.Use #SYSChallenge when playing along with this challenge.There will be a random winner selected each month and that person will receive a $20 gift certificate to the Reverse Confetti store. The winner of challenge will be posted on the Reverse Confetti blog at the end of the month.
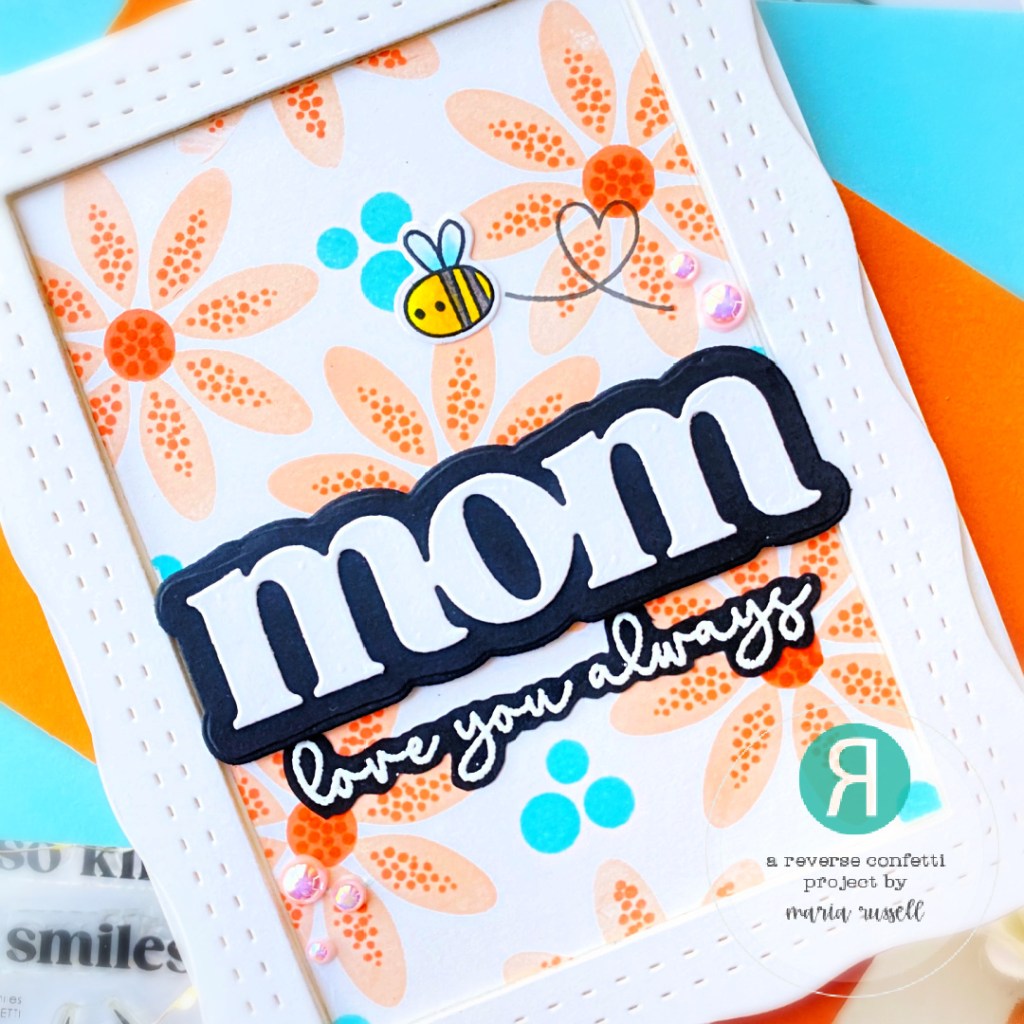
Adhere this on the card front with foam-adhesive for added dimension.
Stamp the sentiment from the Valentine Sentiment Stamp Set on some black card stock with Versamark Ink. Heat-set with the heating tool and adhere on the card panel.
Finish the card design by adding some pink gems for added interest.
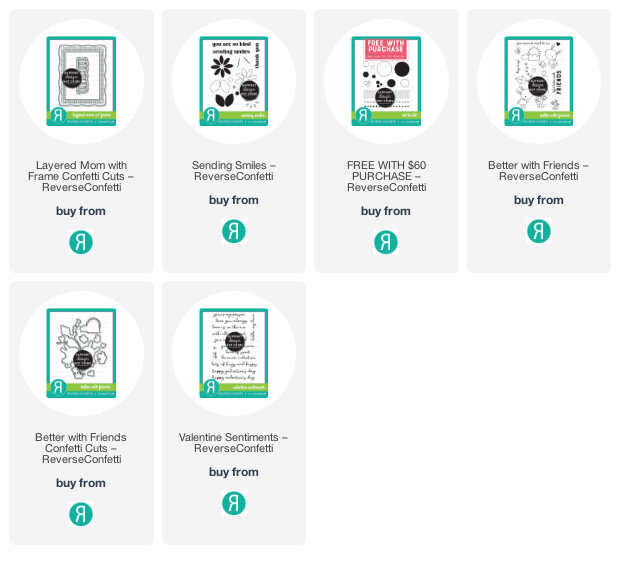
I hope you like my project today and will play along. The supplies are listed and linked below for your convenience. Thanks for stopping by today!
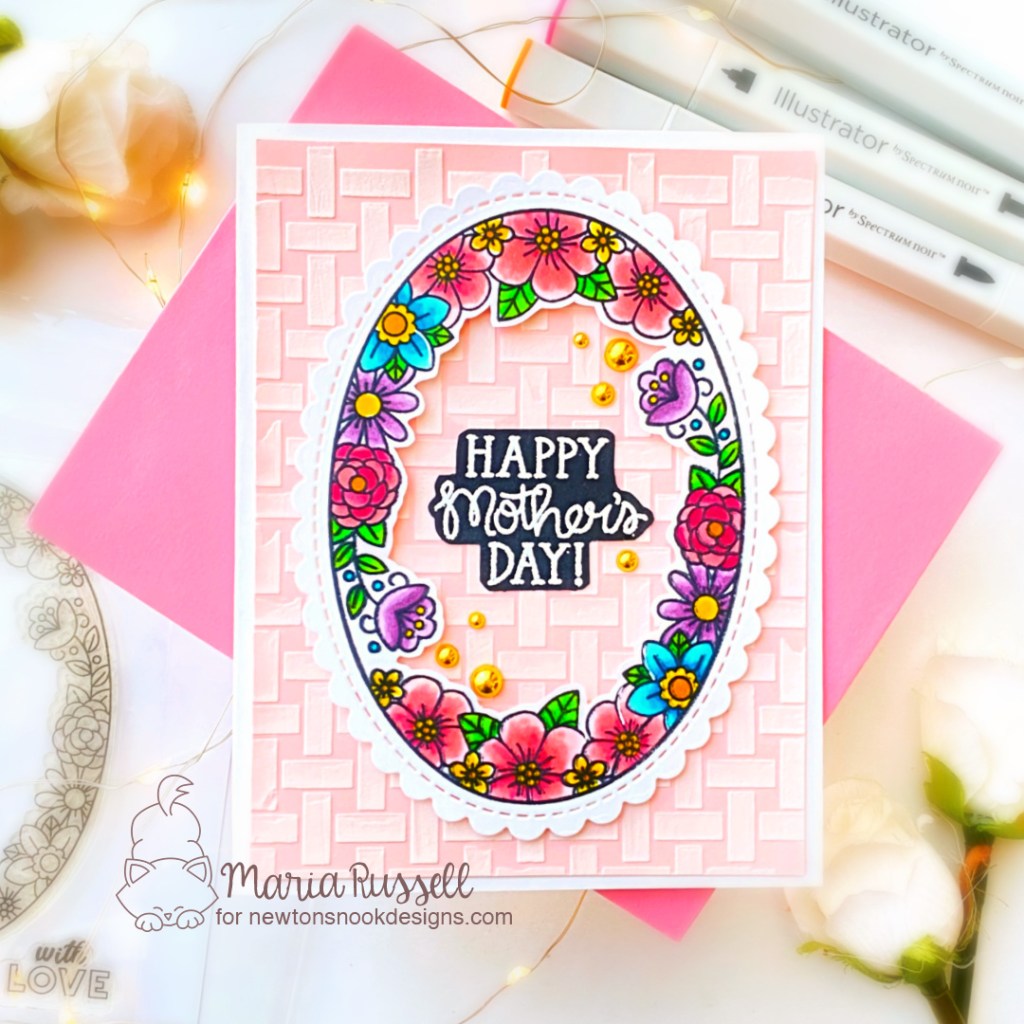
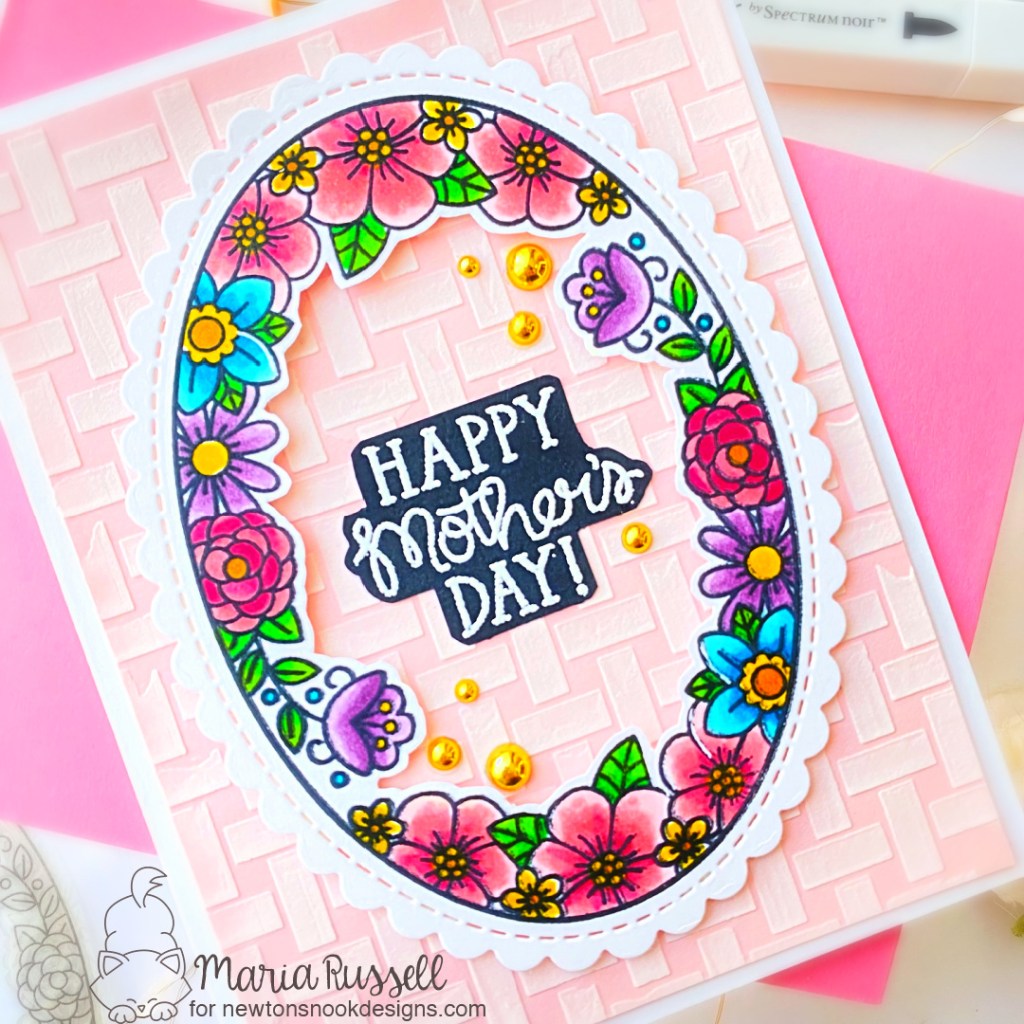
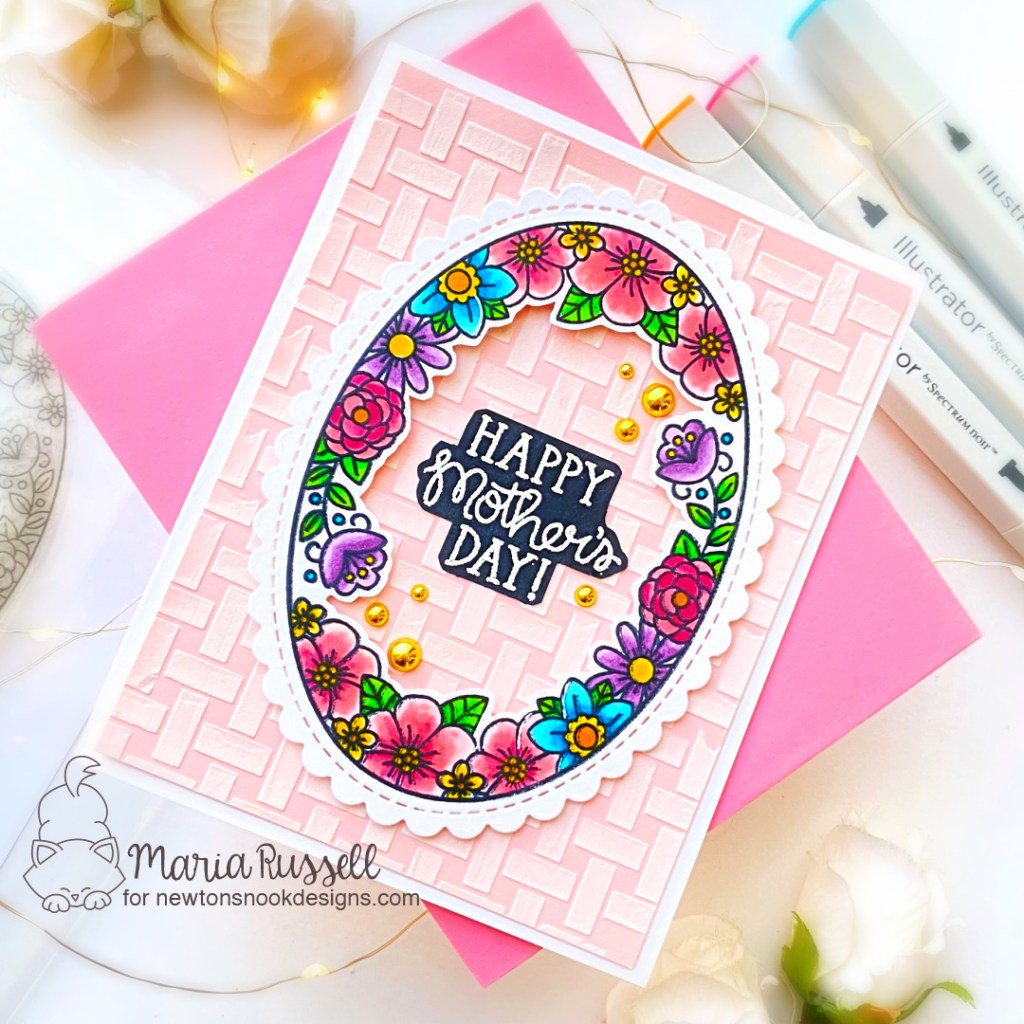
Add foam-adhesive and foam-mount this panel on the card for added dimension.
Stamp the sentiment on some black card stock with VersaMark ink and sprinkle some white embossing powder. Use heating tool to heat-set the sentiment.
Use the Cutter Bee Precision Snips again to fussy-cut the image and adhere on the card front with liquid glue.
Finish the card design by adding some KS Gold Pearl Mix for added texture.
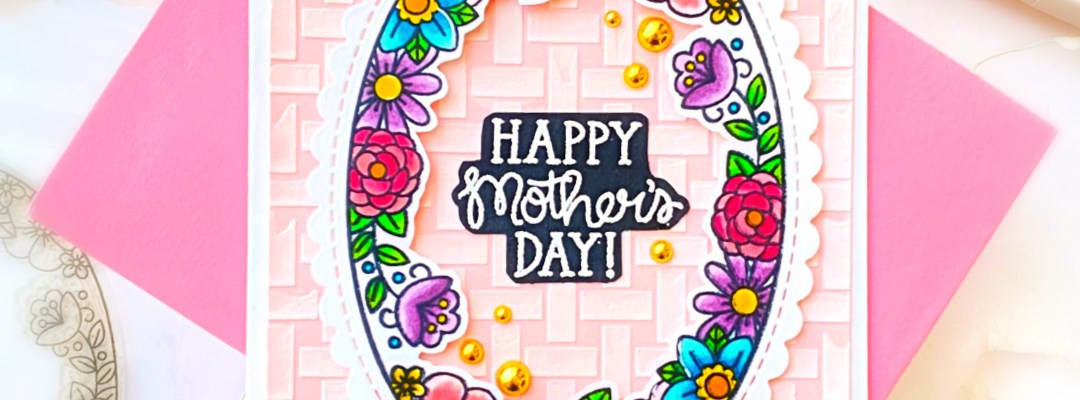
I really love the texture behind the floral image on this card! I think this card is perfectly feminine and beautiful and I really LOVE how this turned out! I hope you like it too and got inspired! The supplies I used are listed and linked below. Thanks for stopping by today!
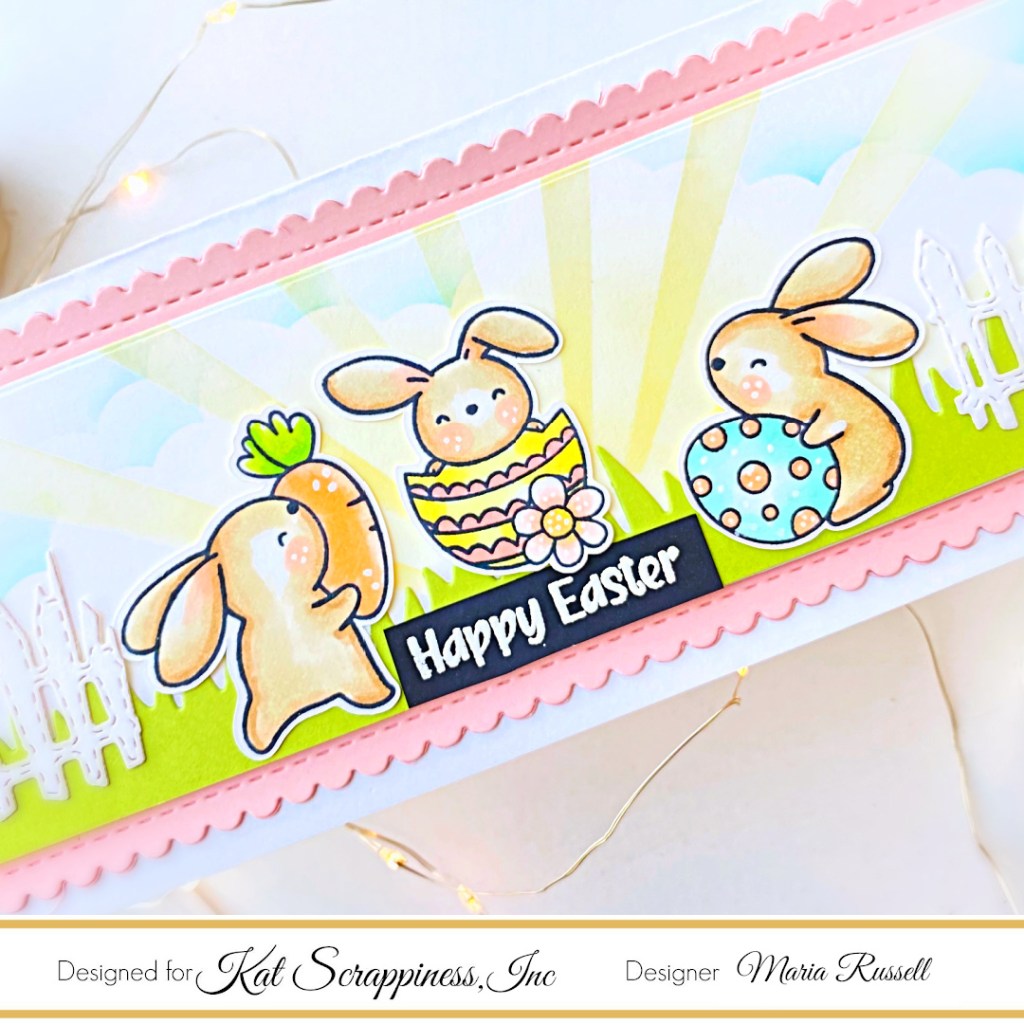
Stamp the sentiment from the Hippity Hoppity Sentiment Stamp Set with Versamark ink on some black card stock. Sprinkle some white embossing powder and heat-set with your heating tool.
Adhere the sentiment on the card.
Finish the design by using some white gel pen to add more interest to the card.
I simply ADORE these bunnies from the Hippity Hoppity Stamp Set. This Easter-scene was so much fun to create! I do hope you like this card and got inspired by my project today. The supplies I used are listed and linked below for your convenience. Thanks for stopping by!
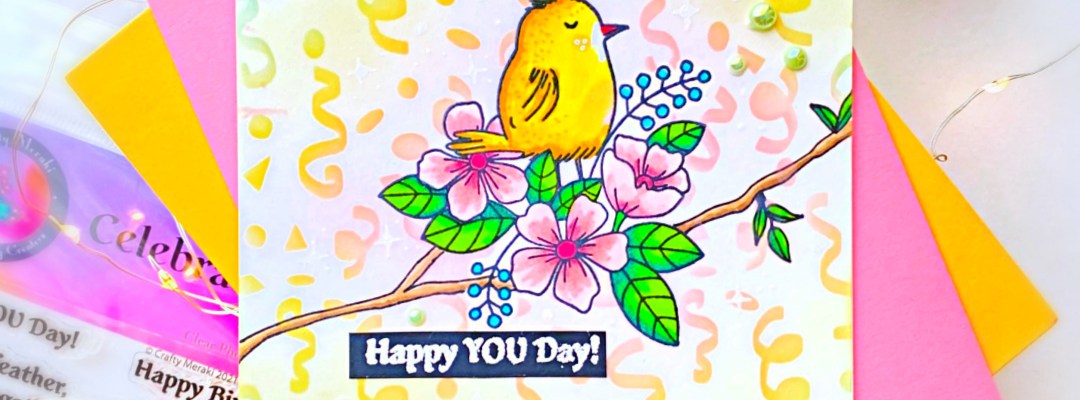
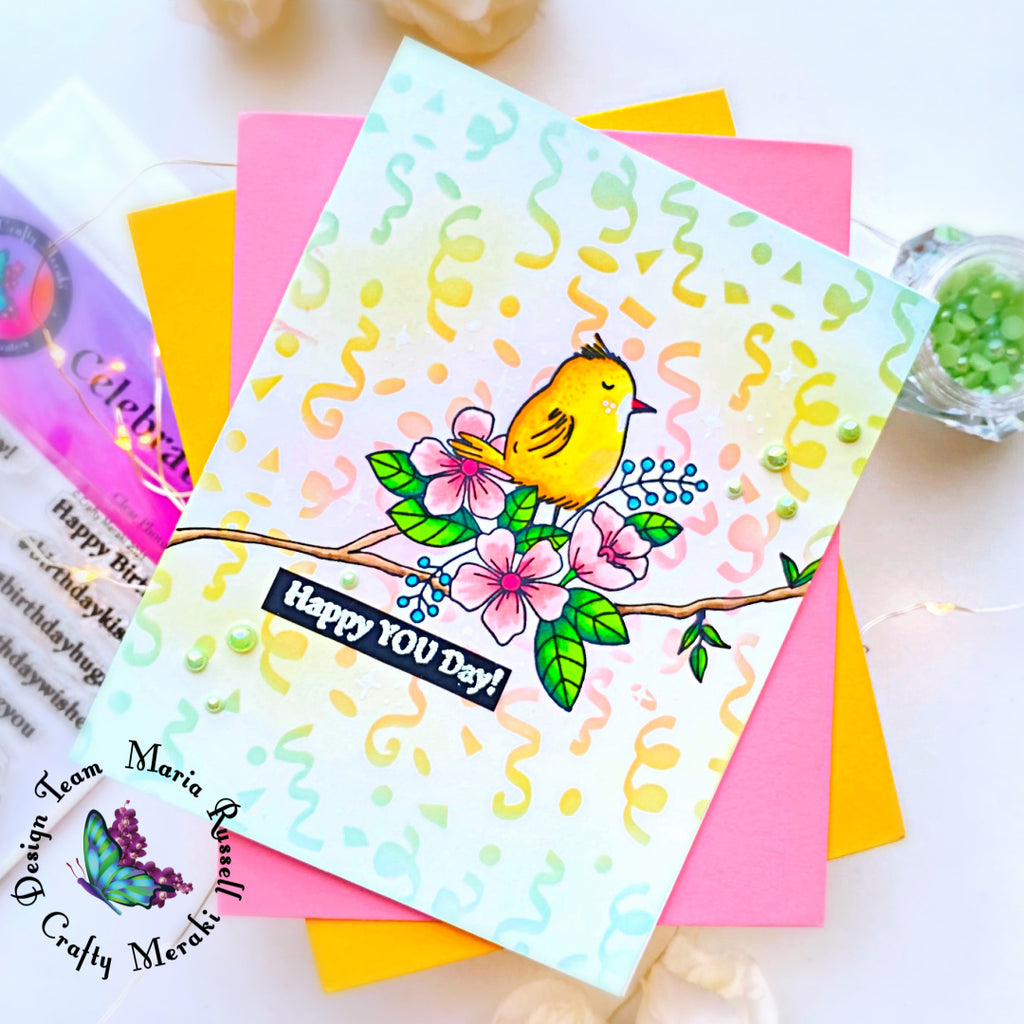
Place the Celebrate You stamp image inside the MISTI Stamping Tool and stamp a few times on some Neenah Solar White Card Stock measuring 4 1/4 by 5 1/2.
Use Copic Multi-liner to draw the branch and a few leaves. [Designer tip: I drew the branch and leaves so that the image did not look like it was floating in the air!]
Color the images in with Spectrum Noir TriBlend Brush Markers.
Stamp the same image on some masking paper and fussy-cut with precision snips. Adhere on the card panel.
Prepare the Party Time 6×6 Stencil by spraying some Pixie Spray and let it dry for about half an hour.
Place the stencil on top of the colored panel.
Use some blending brushes and a few dye inks to ink-up the panel. I listed all the inks on the supply list below for ease of reference.
Use the same blending brushes and the same dye inks to add up more color to the front panel. [Designer tip: make sure you are applying the colors gently so that you would have a smooth blend of colors.]
Use some tweezers to remove the masking paper.
Stamp the sentiment on some black card stock with Versamark ink. Sprinkle some white embossing powder and heat-set using the heating tool.
Finish the card design by adhering some Peridot Opal Gems to the card and use some white gel pen to add some stars and dots for added interest and texture.
I hope you like the card today and got inspired. The supplies I used are listed and linked for your convenience. Thanks for stopping by today, and happy stamping!
Since I was traveling for the past three weeks, I was not able to join the March release last week! I hope you were able to check out the new products and shopped til you dropped!
Here’s how I made this card:
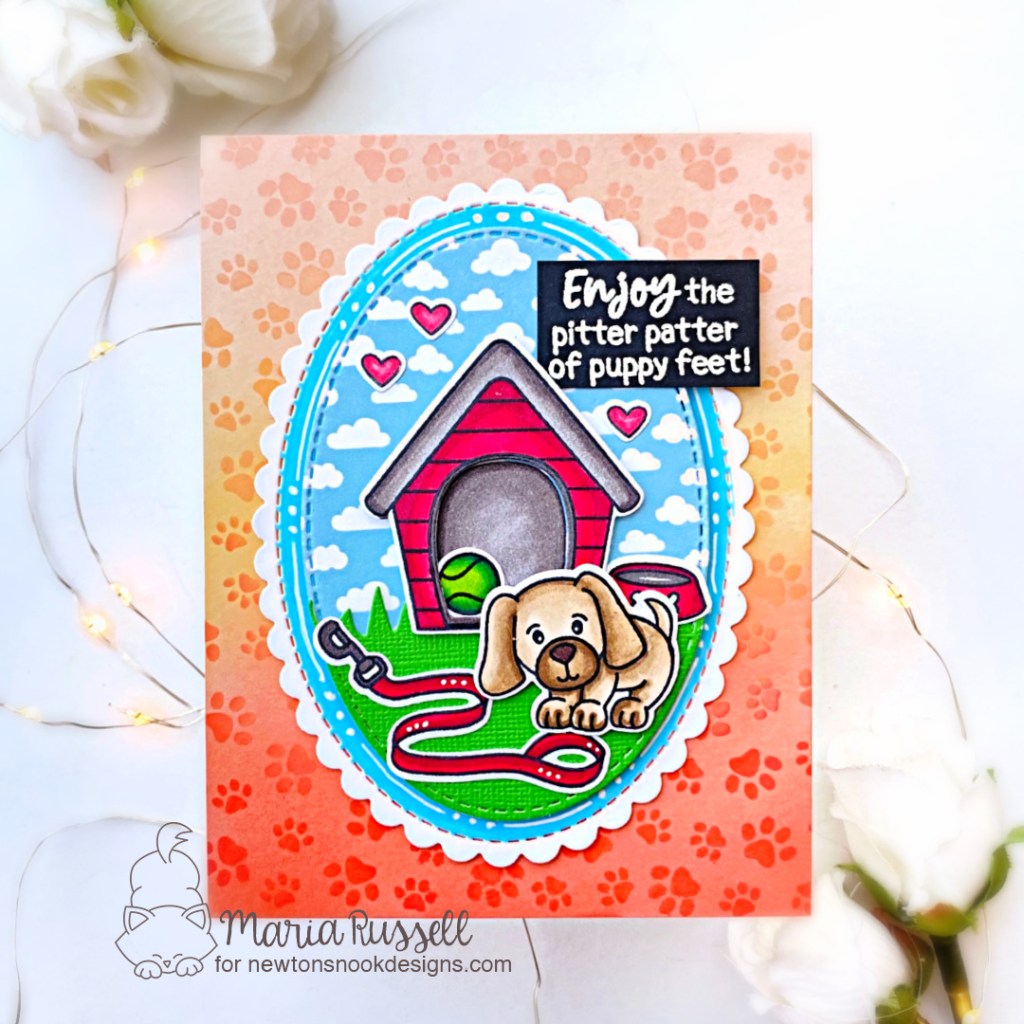
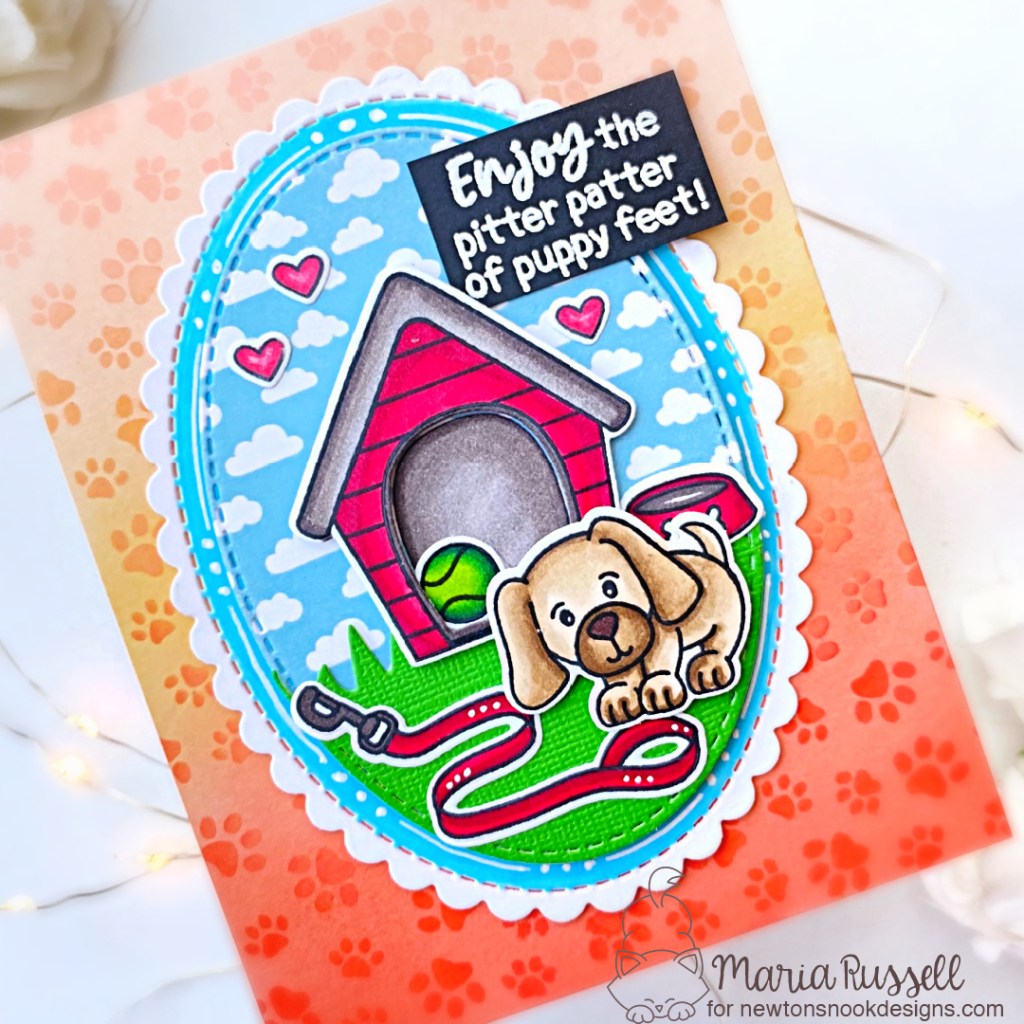
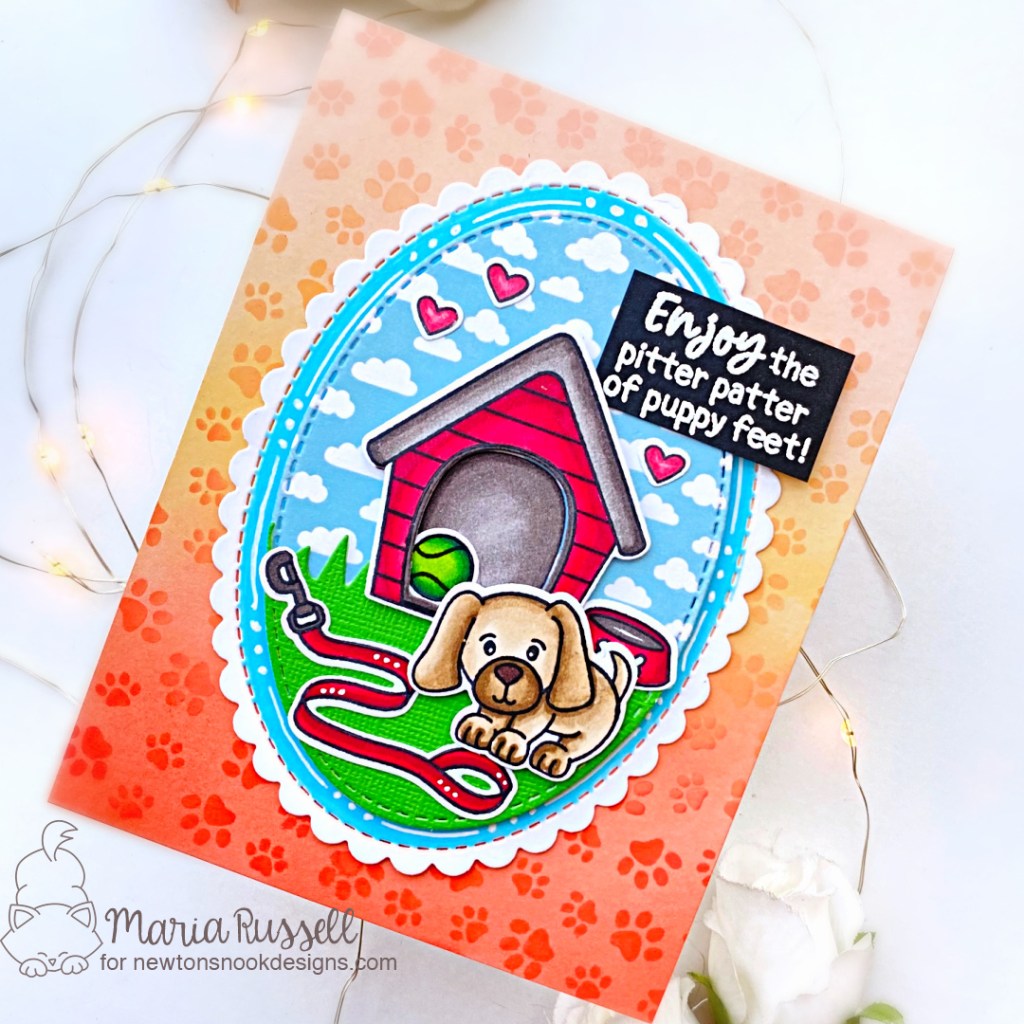
Ink-blend a panel of Strathmore Bristol Smooth White Card Stock with Distress Oxide inks. I used Tattered Rose, Dried Marigold and Abandoned Coral.
Use Pixie Spray and spray the back of the Petite Paw Prints Stencil to add some light tack so that the stencil doesn’t shirt while you’re ink-blending the colors.
Adhere the ink-blended panel on some A2-size note card.
Use the second die from the Oval Frames Die Set to die-cut the scallop panel and use alcohol marker to color the sides. Adhere this panel on the card with tape runner
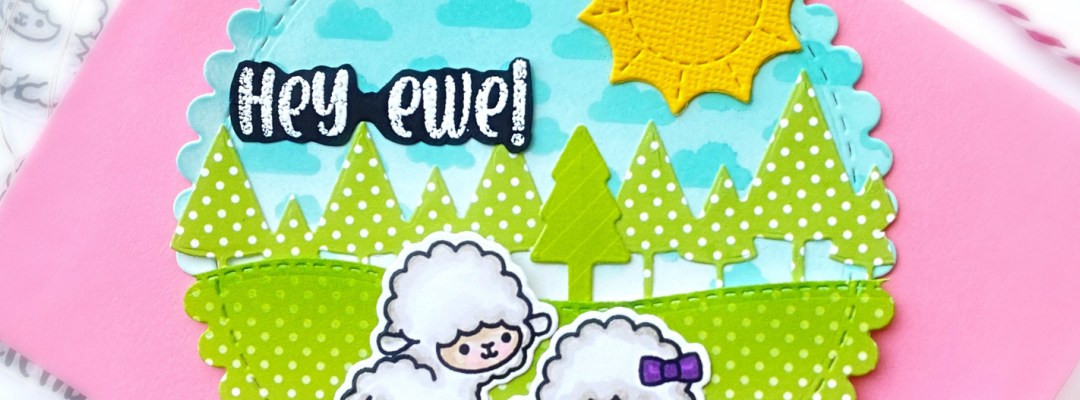
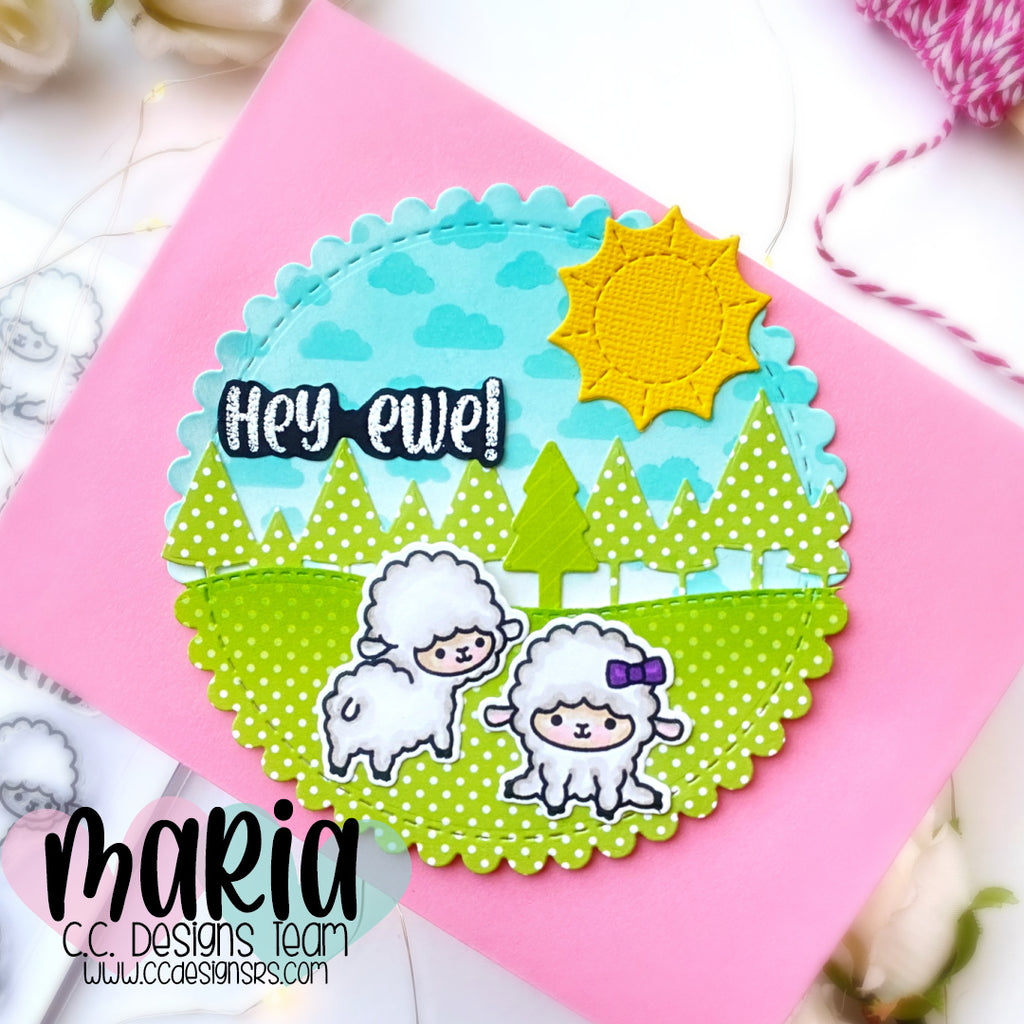
I started by stamping the images on some Neenah solar white card stock and colored the images in with alcohol markers. I used the Sheeps Outline Die to cut them all out.
The background was made by using the scallop die from the Circle Metal Die Set to die-cut some Strathmore Bristol Smooth white card stock that was ink-blended with distress oxide ink and some clouds stencil. I used the same scallop die to die-cut some patterned paper and also used the Winter Border Metal Die Set to die-cut the grass hill and the trees.
Now that I have all of the components for my card, I am ready to assemble the circular card. The background was adhered onto a circular card using tape runner. I foam-mounted the grassy hill for added dimension and adhered the trees with liquid glue. I also adhered the colored images and the sun to finish my scene.
To finish the card design, I stamped the sentiment on some black card stock with Versamark ink. I sprinkled some white embossing powder and heat-set with my heating tool. I fussy-cut the sentiment and adhered it onto the card panel with liquid glue. Here’s another look at the card:
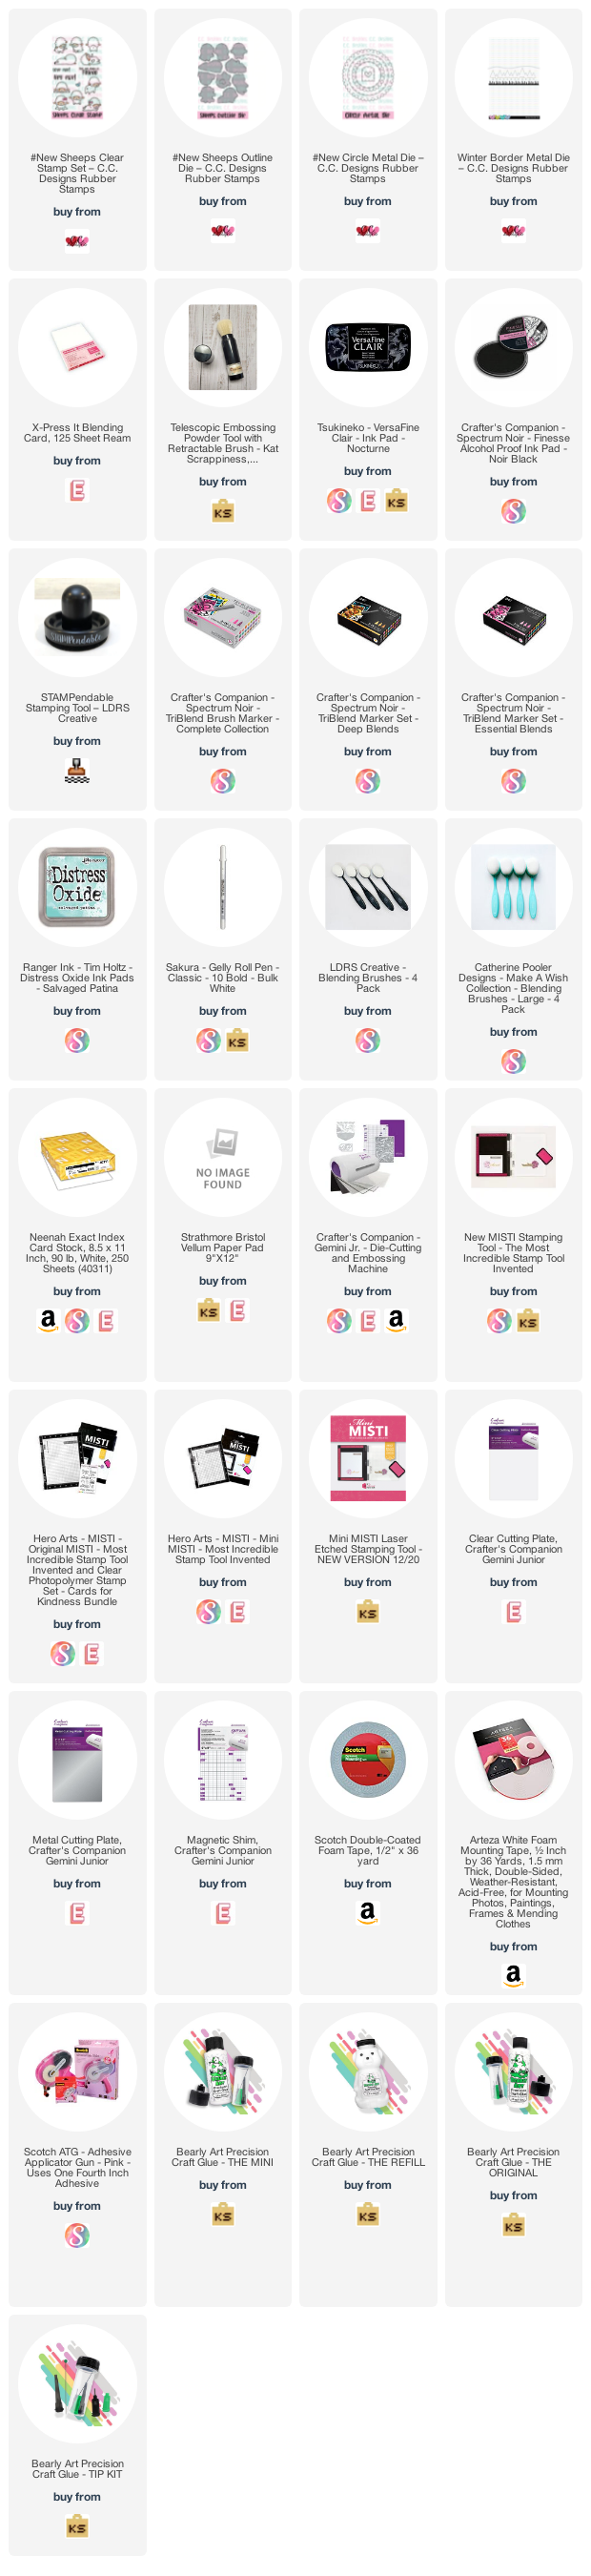
I hope you like this card today. The supplies I used are listed and linked below. Thanks for stopping by!
The new LDRS release is to die for! I honestly didn’t know which stamp set to feature for my cards today since they are all AMAZING, but since Easter is coming soon, I figured I’d share some Easter-themed cards!
I started by stamping the images on some Neenah Solar White card stock with Raven Hybrid Ink. I colored the images in with alcohol markers and used the coordinating dies to cut them out. I also die-cut another panel of Neenah solar white using the smallest die from the Diagonal Stitched Layered Frames and stamped the images from the Hoppy Egg Hunt (eggs) and A Day in the Park (tree) using Raven Hybrid Ink. I colored them using alcohol markers and adhered the cute little chick to finish the scene. I matted this panel with some black card stock that I die-cut using the Diagonal Stitched Layered Frames.
First, I prepared the background that I matted with some black card stock. I stamped the images randomly from the Finest Blooms Pirouette stamp set using the hybrid inks I mentioned above. I had so much fun mixing and matching the beautiful colors!
I in-laid the wreath with foam-adhesive for added dimension and adhered the center die-cut with liquid glue. I also adhered the cute little chick in the middle from the Easter Pirouette stamp set. I adhered the card front on some A2-size notecard.
To finish my design, I stamped the sentiment from the Easter Pirouette Stamp Set using Watermark Ink on some black card stock. I sprinkled some White Embossing Powder and used my heating tool to heat-set the sentiment. I love that the sentiment also has a coordinating die to cut it out perfectly! It really is worth the investment! I added some foam adhesive and liquid glue on the sentiment and adhered on the card panel. Here’s another look:
I hope you like my cards today and got inspired to shop the new LDRS Spring Release! The supplies I used are listed and linked below for your convenience. Thanks for stopping by today, and happy stamping!