COUNTDOWN TO CONFETTI – DAY 1 – Birthday Buddies & Birthday Buddies Banter

I am pleased to join the Countdown to Confetti Day 1 by Reverse Confetti. We have lots to show you and there is also a GIVEAWAY so please read through the end of this post to find out how you can WIN!

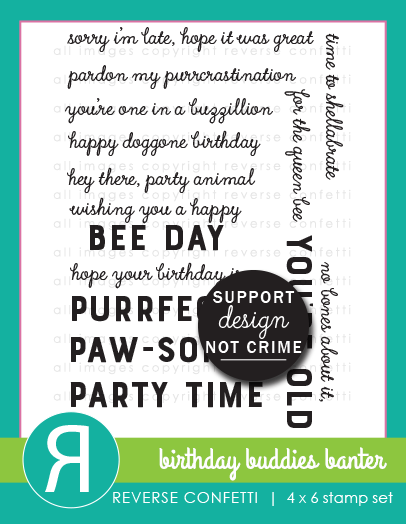
For my first project, I am showcasing the Birthday Buddies Stamp Set and Coordinating Confetti Cuts along with the Circle Gift Card Holder Confetti Cuts (a must-have!) and Birthday Buddies Banter stamp set with the Circle Gift Card Holder Confetti Cuts.

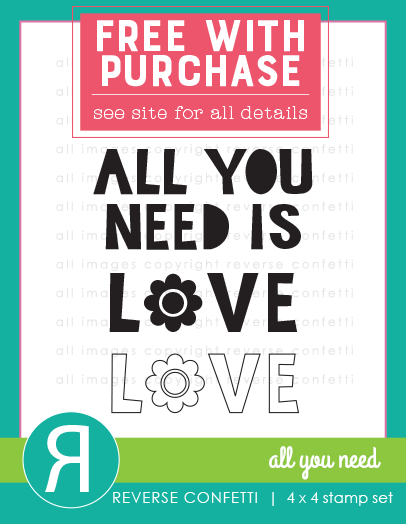
I have also used the All You Need Is Love Stamp Set which is, incidentally, a free with $60 purchase.

I am so excited to share TWO projects today, showcasing the above-mentioned products. First is this gift card holder:

Here’s how I made this project:

  • Stamp the images on some Neenah solar white card stock and color the images in with alcohol markers (or any medium of your choice).
  • Use the coordinating dies to cut them out. Set this aside for now and prepare the background panel.
  • Use the Circle Gift Card Holder Confetti Cuts to die-cut some Strathmore Bristol Smooth White Card Stock.
  • Ink-up this panel using a stencil and some Distress Oxide Inks.
  • Adhere this panel on a top-folding notecard halfway through so that it can be lifted up when opened by the recipient (see photo below)
  • Stamp the sentiment from the Birthday Buddies Banter Stamp Set on some black card stock with VersaMark ink and heat-set with the heating tool. Adhere the sentiment on the card with foam-adhesive so that when the card is opened, the main panel can stand up on its own.
  • finish the design by using some white gel pen to for added interest to the images.

I really LOVE the Circle Gift Card Holder Confetti Cuts and this is a must-have for any card-maker! Also, the Birthday Buddies Stamp set have the cutest images and I love that the Coordinating Confetti Cuts makes it super easy to die-cut the inside portion of the balloon strings!

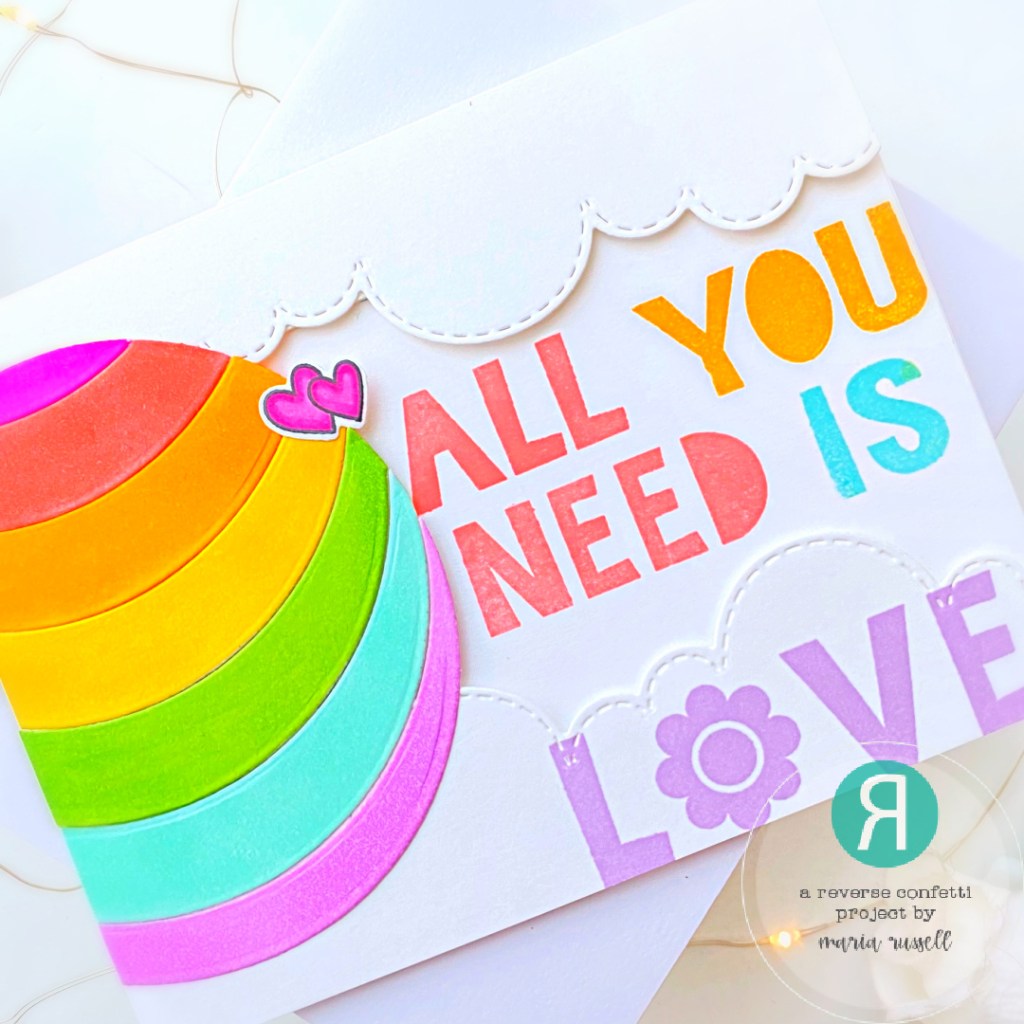
For my second project, I am showcasing the Free with 60 Stamp Set called All you Need is Love with the Large Rainbow Circle Confetti Cuts.

I decided to create a very colorful card design! I love Rainbows and I think this card is so cheerful, it will make anyone’s day!

  • Prepare the background panel by die-cutting some Neenah Solar White Card stock using some clouds border die from your collection. Foam-mount both die-cuts on some A2-size white notecard.
  • Stamp the sentiment from the “All You Need is Love” Stamp Set with different colors of dye inks.
  • Use the Large Rainbow Circle Confetti Cuts to die-cut some Neenah solar white card stock. Color each die-cut using some alcohol markers and adhere them all together using a wide-packing tape.
  • Foam-mount the Large Rainbow Circle die-cut to the card front and use your paper trimmer to trim off the excess.
  • Finish the card design by adhering the hearts on the Large Rainbow Circle.

I can’t wait to hop around and see what the other team members designed! Leave a comment by noon central on May 7th for a chance to win. Since this is Reverse Confetti’s 9th Birthday, there will be a $25 Gift Certificate for one blog commenter and also one FaceBook commenter. Winners will be announced on the Reverse Confetti Blog and FB Group at 5 PM CST on May 7th. Make sure you pop over to the Reverse Confetti Blog for all the details!

Hop Listing

Reverse Confetti

Cheryl Espie

Audrey Tokach

Maria Russell

Lisa Henke

Anita Madden

Amy Kolling

Dana Kirby

Jeanne Jachna

Amy Tsuruta

Colleen Beamish

Thinking of You Card with Newton’s Nook Designs

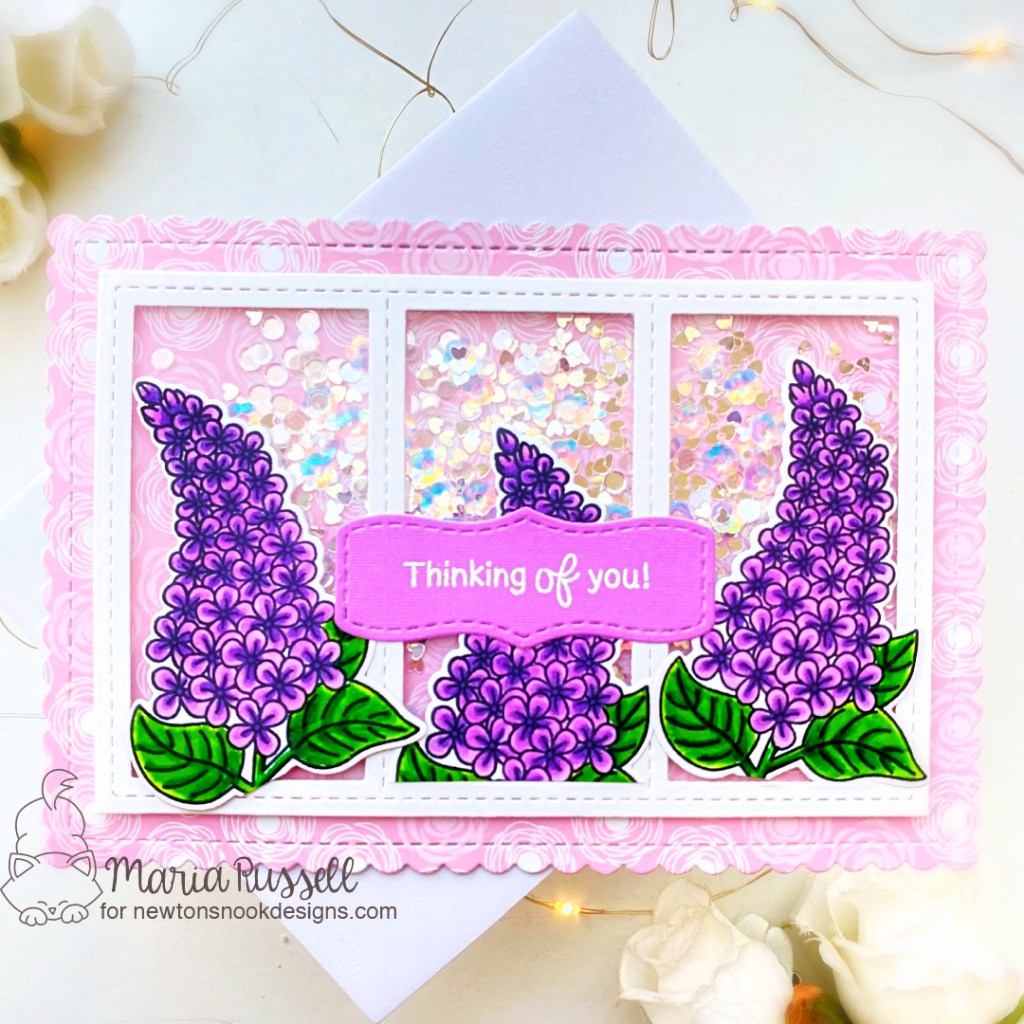
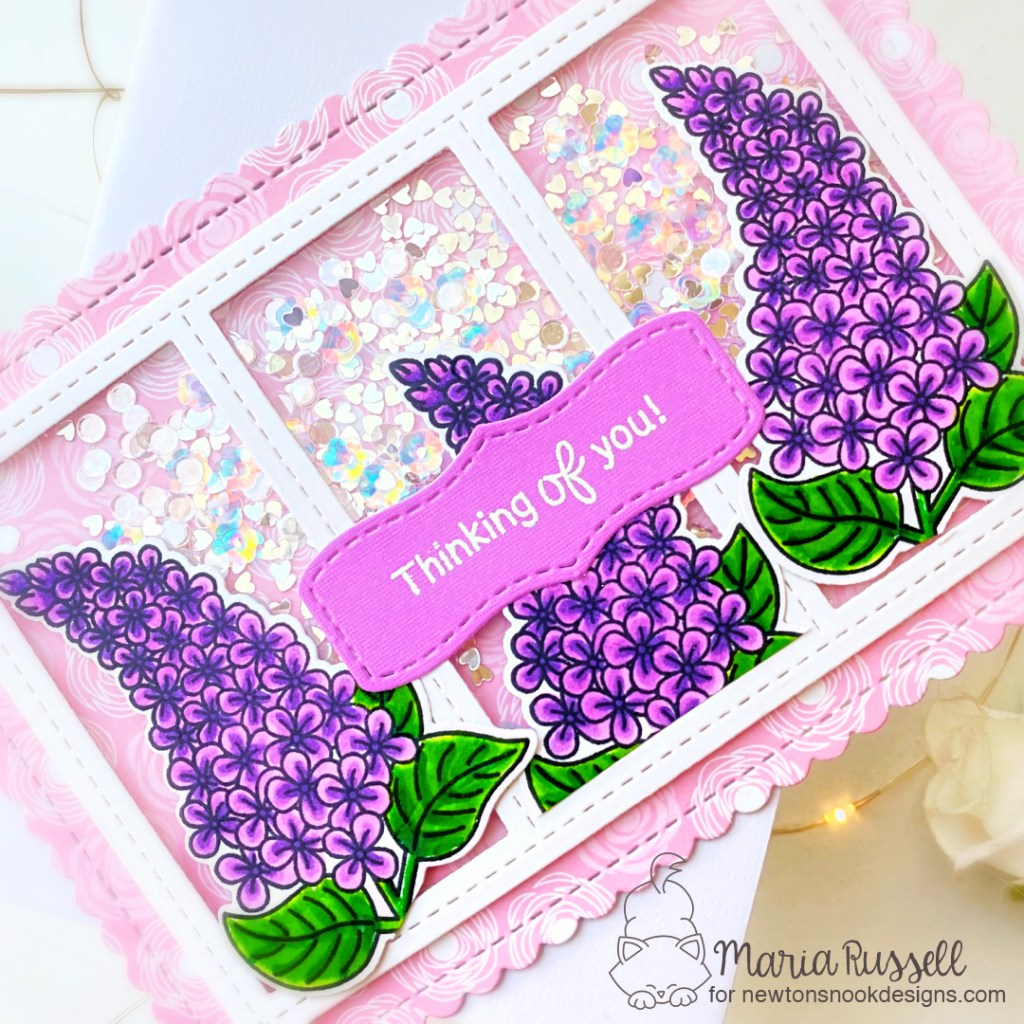
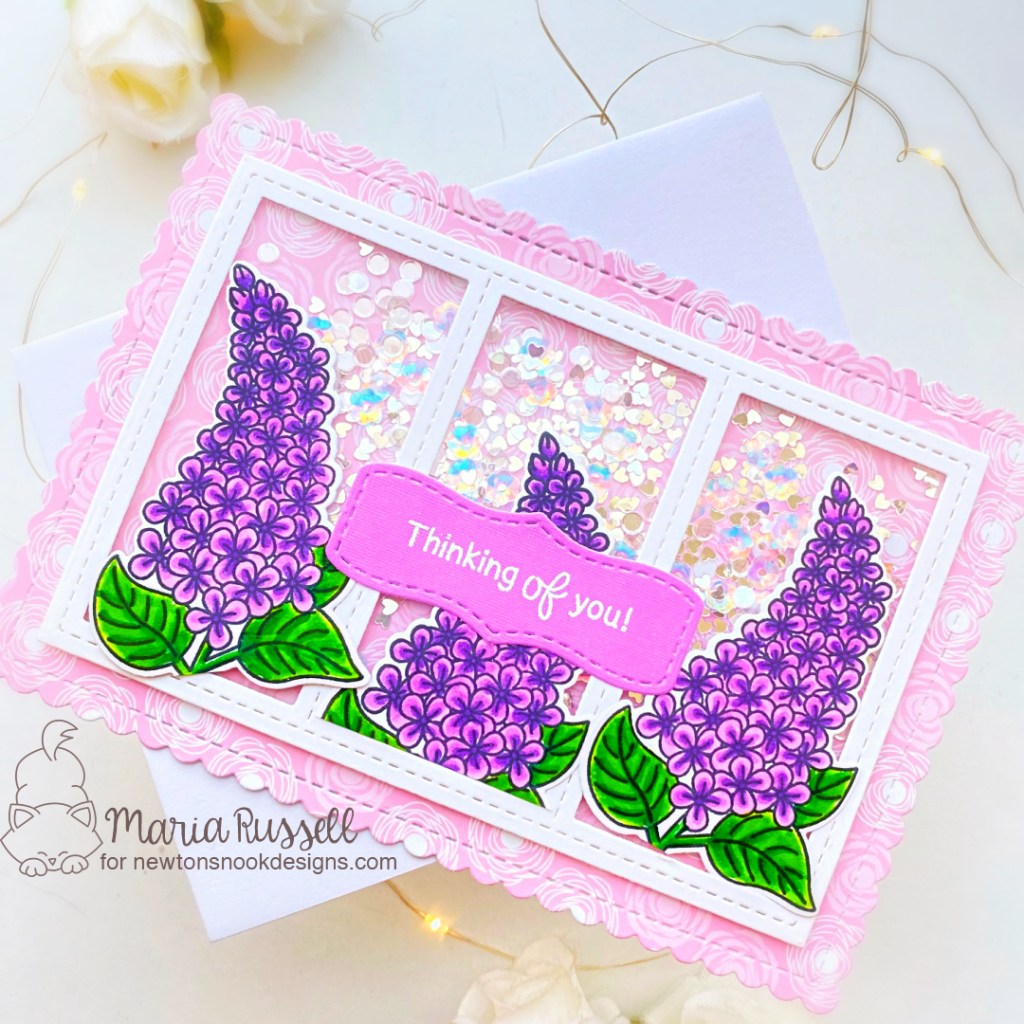
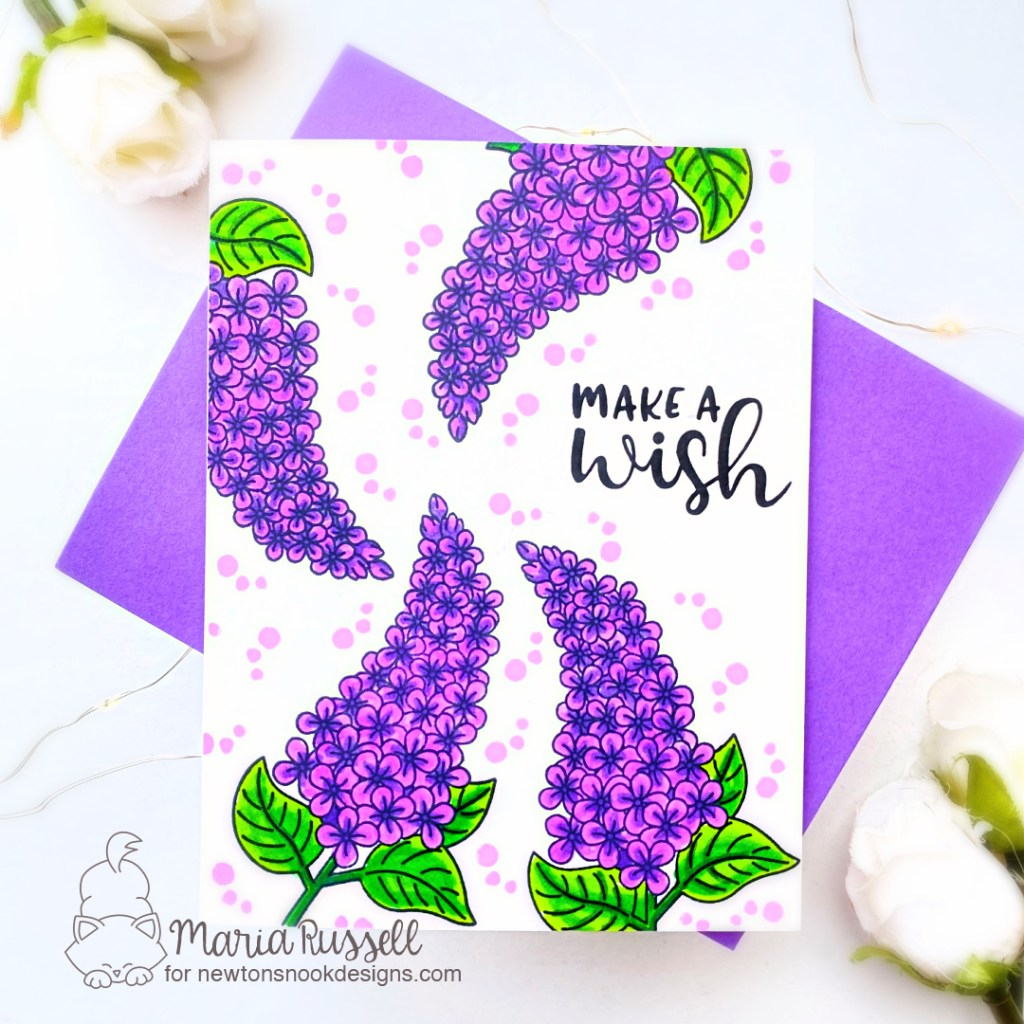
I have been building up my stash of “just-because” cards and today’s project features the Lilac Stamp Set and Coordinating Dies with the A7 Frames and Banners Die Set by Newton’s Nook Designs.

Here’s how I made this card:

  • stamp the images on some Neenah Classic Crest Solar white card stock.
  • color images in with alcohol markers (or any medium of your choice).
  • die-cut the images using the coordinating die.
  • die-cut some pattern paper that compliments the color of the stamp images using the biggest die from the A7 Frames & Banners Die Set.
  • die-cut the frame (using the same die set above) on some Neenah solar white card stock. adhere some acetate sheet on this frame and add foam adhesive to create the shaker well.
  • add some iridescent sequins as the shaker element on top and close the shaker.
  • adhere the card front on an A7 card base.
  • add the focal images on each window with either liquid glue or tape runner.
  • use the banner die to die-cut some lilac card stock. stamp the sentiment on this piece using Versamark ink. Sprinkle some white embossing powder and heat set with heating tool.
  • adhere the sentiment on the middle of the card to finish the design.

I hope you like this card today and got inspired. Below, you will find links to the supplies used to create this project(s). Where available, I use compensated affiliate links at no extra cost to you. Your support helps me to keep bringing you new projects and inspiration. Thank you for stopping by, and have an amazing day!

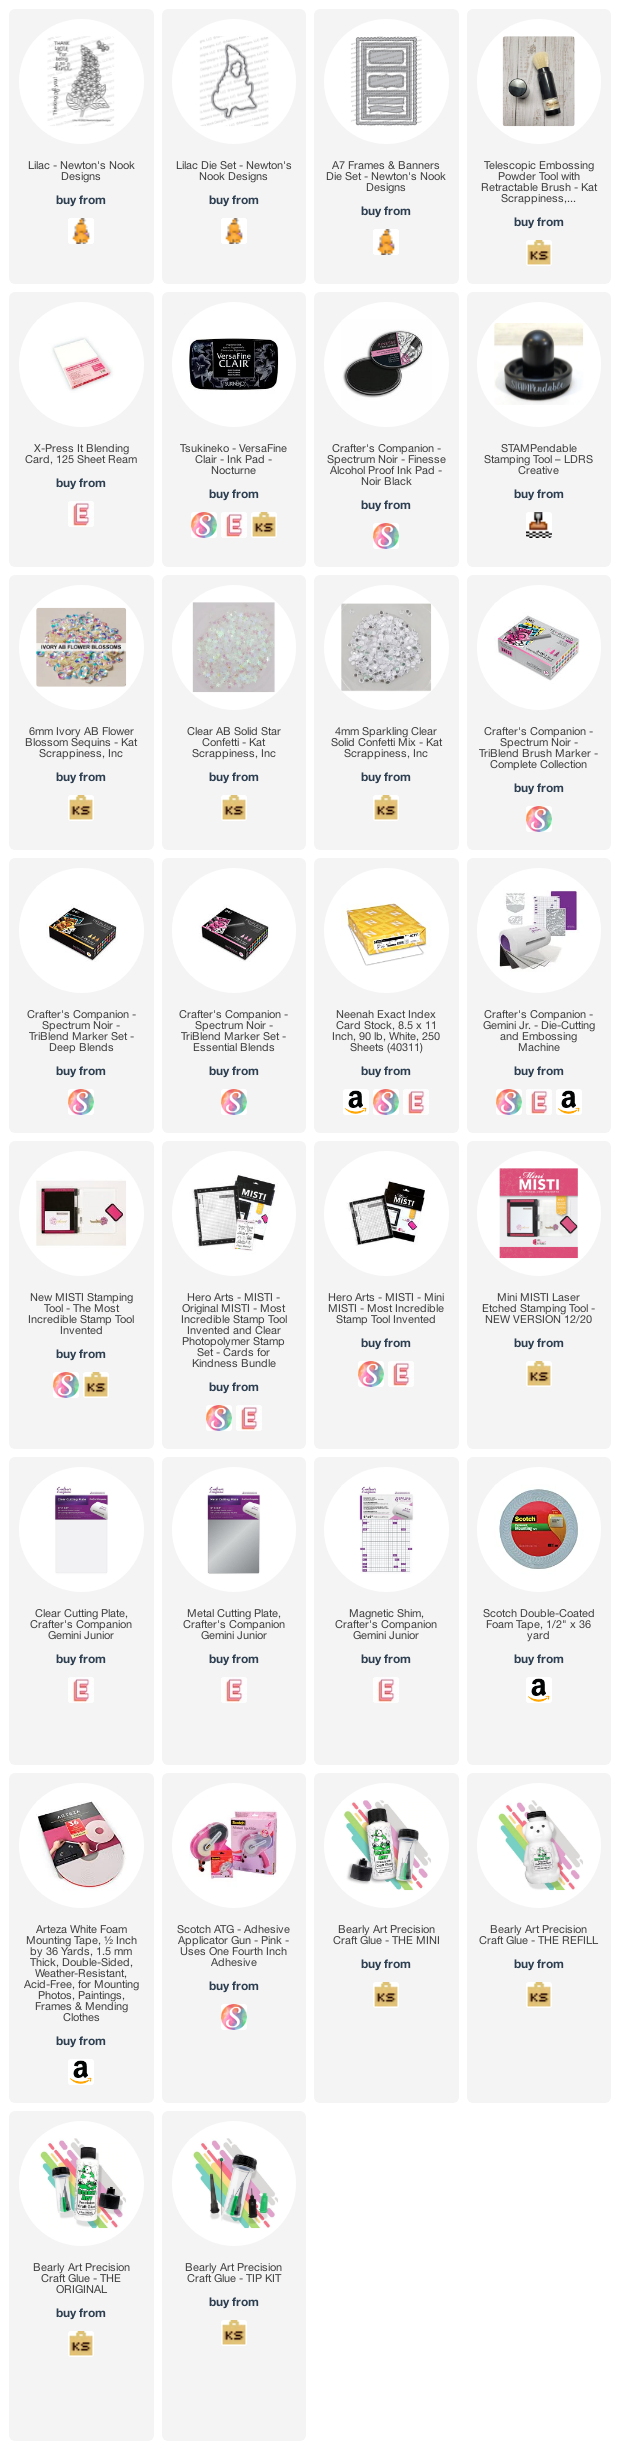
———SUPPLIES——-

NND APRIL Release Day 4 – Newton Love’s Tacos

I am a bit bummed because it’s the last day of the April reveals by Newton’s Nook Designs! Were you able to hop along with us for the first three days? Which one is your favorite so far? Remember that you have a chance to win the stamp set being revealed each day so please read through til the end of the blog post to find out more info.  [Just a little important note:  I know some of you had difficulties finding the comments section.  If you would like to leave a comment to participate in the giveaway, the “comments section” will only be ever visible when a single post on Word Press is being viewed. Please click on this particular blog post and you will be able to leave a comment below.  Thank you!]  

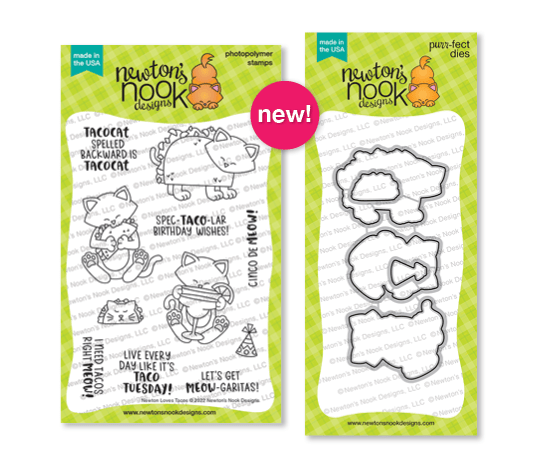
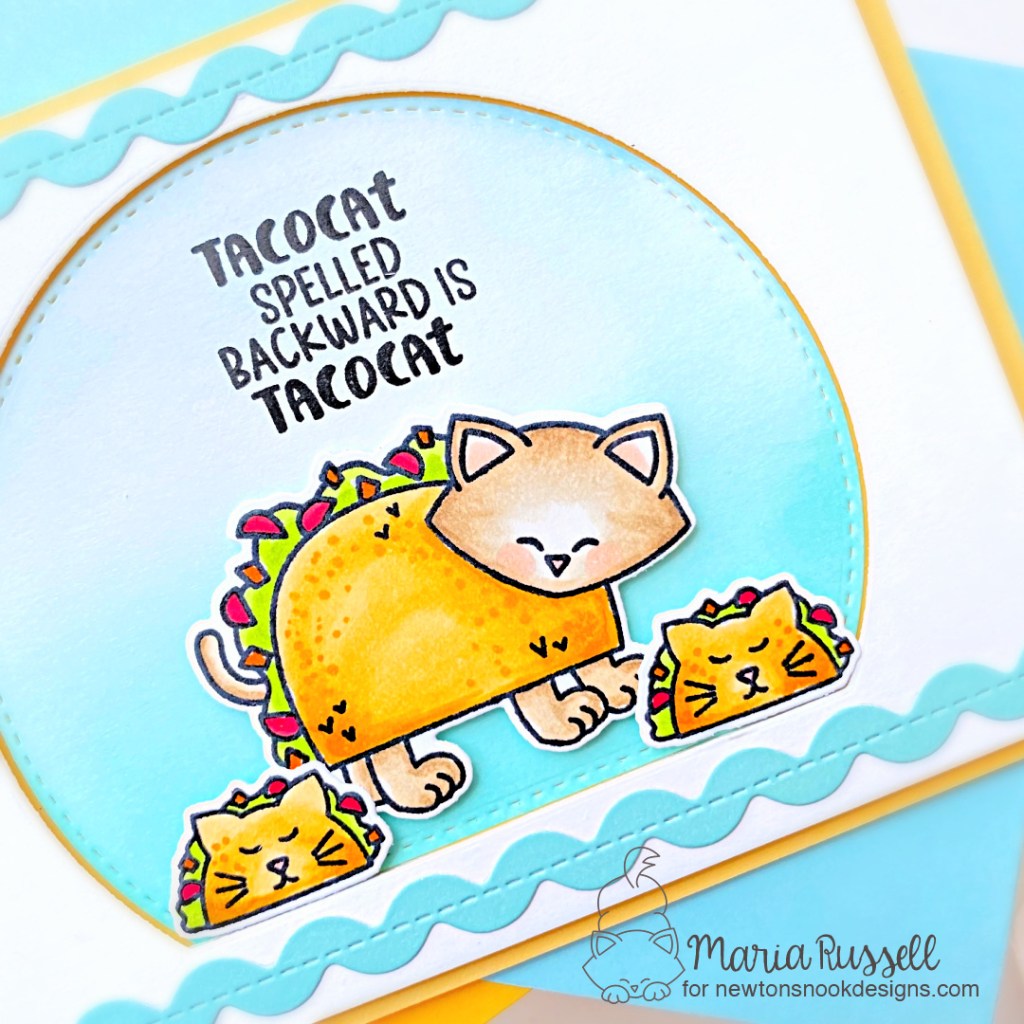
For today’s reveal, we are showcasing the ADORABLE Newton Loves Tacos stamp set + coordinating dies.

Isn’t this stamp set sooo adorable?! The sentiments are so much fun and you can use this stamp set all-year round!

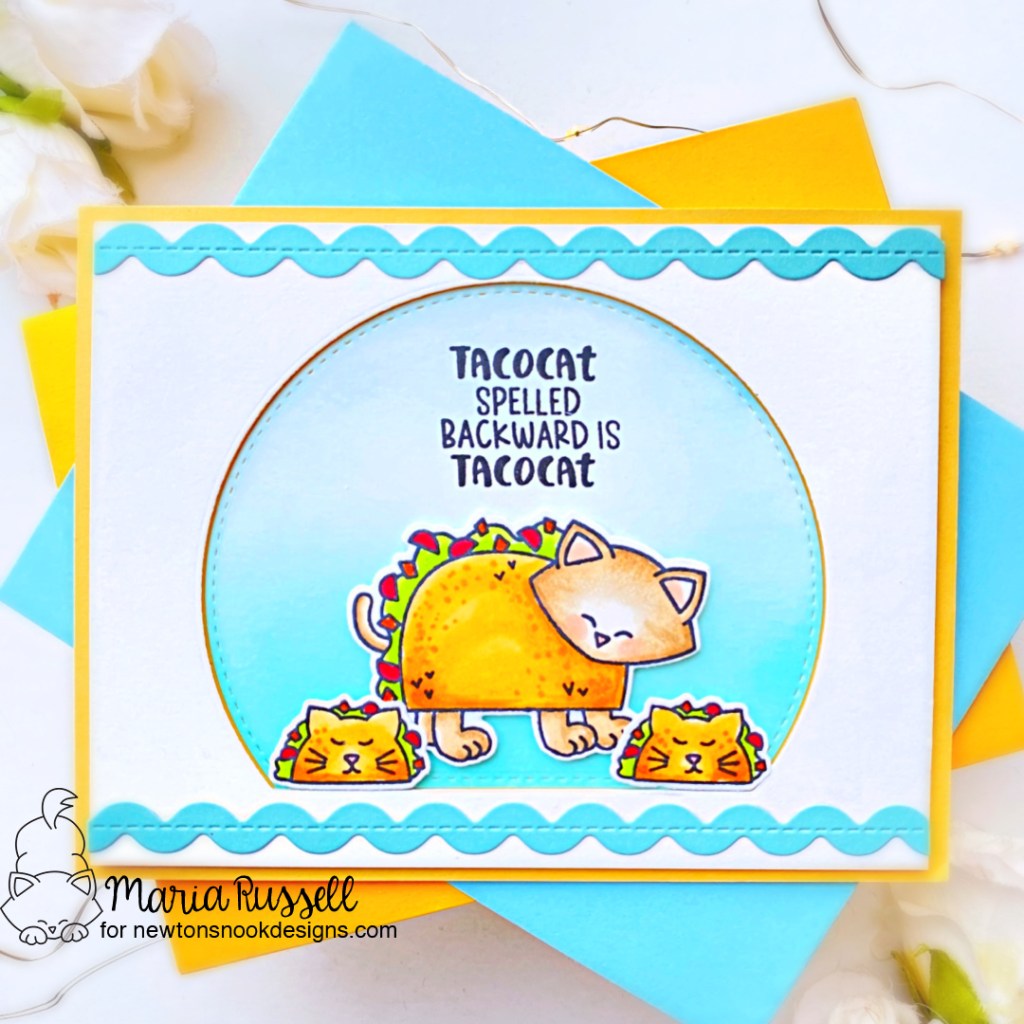
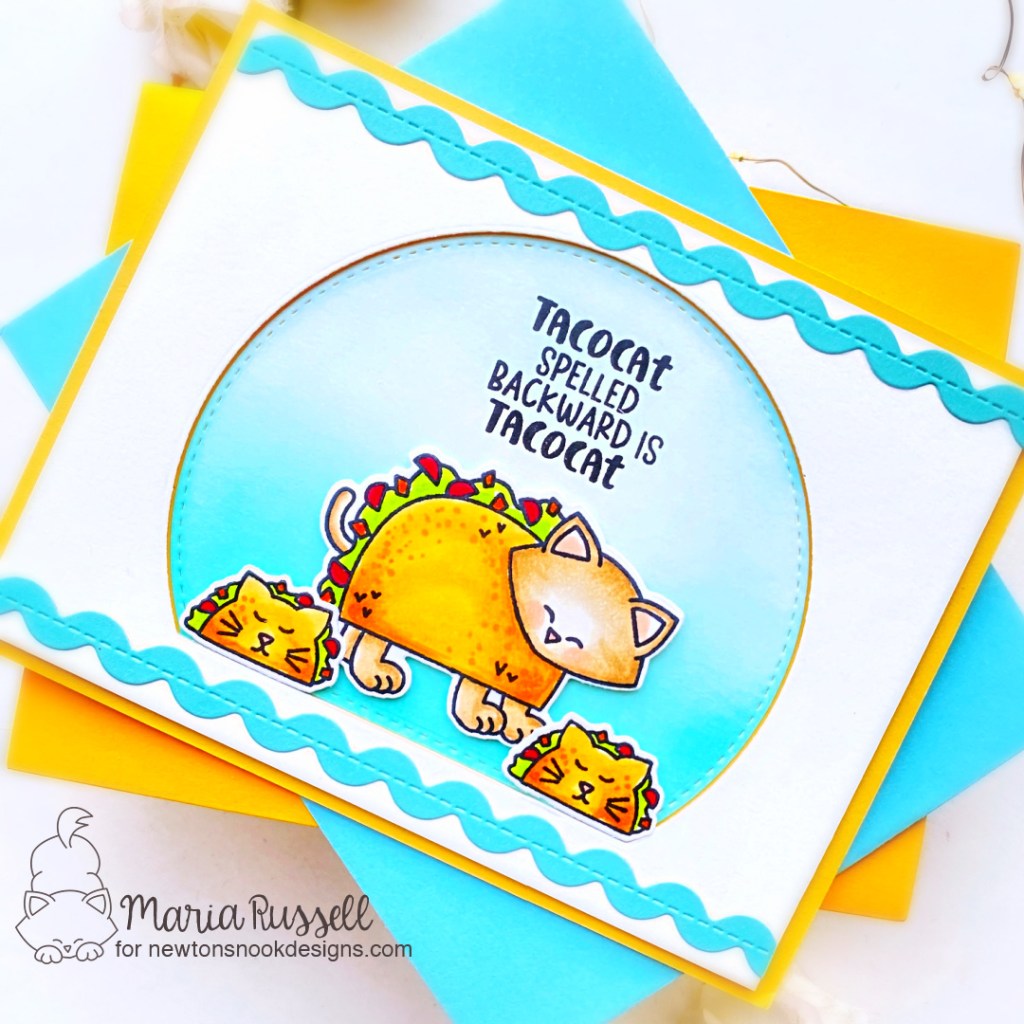
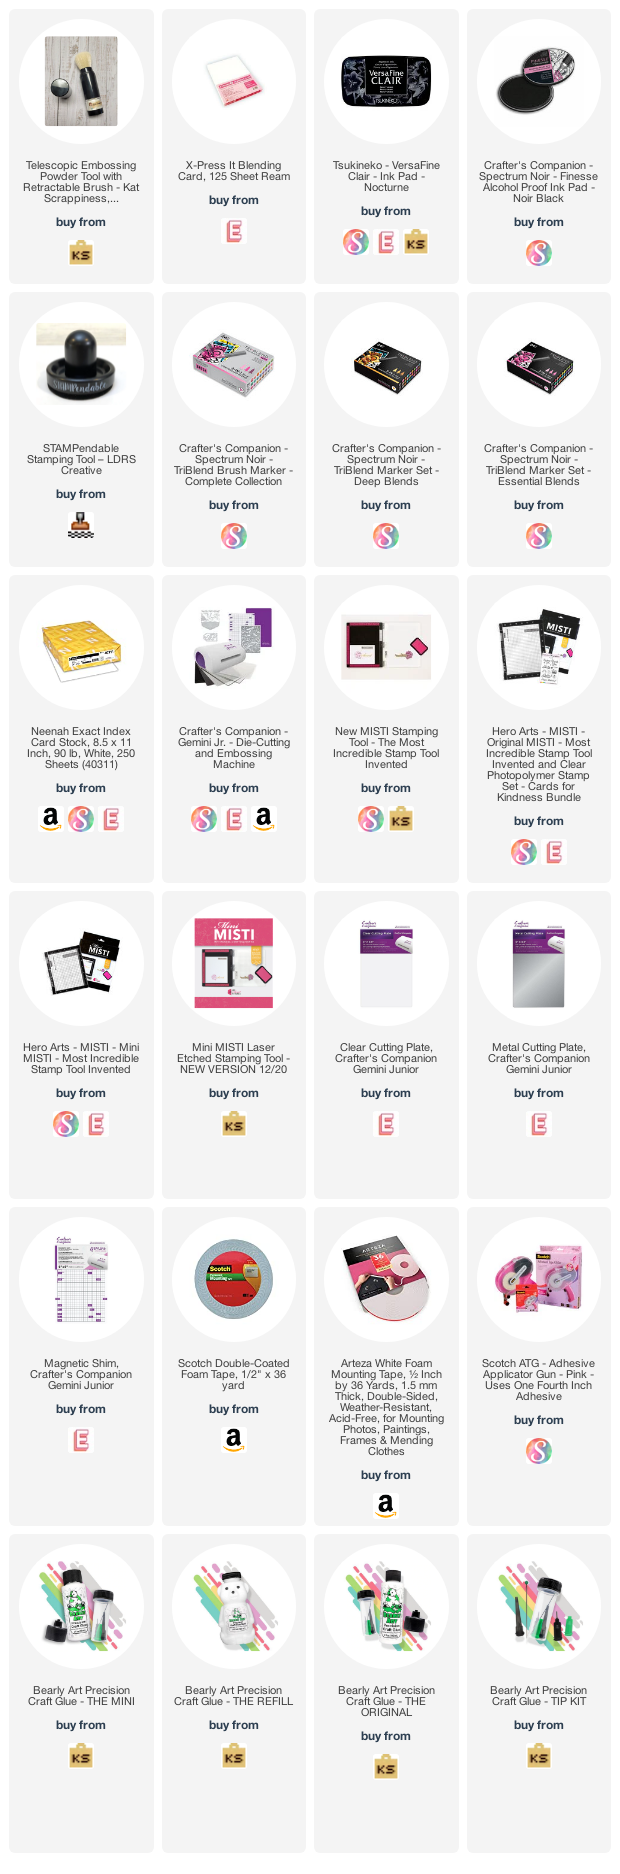
My card is pretty simple but I love how it turned out. I started by stamping the images on some X-Press It Blending Card and colored the images in with alcohol markers. I used the coordinating dies to cut them all out.

Next, I die-cut the window using a die from my collection and ink-blended this panel with some dye ink. I foam-mounted the negative to a yellow notecard for added dimension and adhered the ink-blended panel with liquid glue. I also adhered the images with foam-adhesive then stamped the sentiment with some Versafine Claire Nocturne ink.

I finished the design by adding the ric-rac die-cuts for added interest. Here’s another look:

Would you like to win the “Newton Loves Tacos” Stamp Set?  We will choose ONE lucky winner for each stamp set!

Here’s how to win:  Comment on the NND blog and Design Team blogs (see list below)! The winner will be chosen at random from the collective reveal posts. Make sure to check out each of their blogs and comment for your chance to win. You will not know which blog has been chosen so the more you comment on the better your chances are of winning!  You have until Thursday April 21st at 9pm ET to comment  — winners will be announced on the blog post on Friday April 22nd. 

Check out all the awesome Design Team Blogs below to enter:

Newton’s Nook Designs

Donna Idlet

Ellen Haxelmans

Tina Herbeck

Larissa Heskett

Samantha Mann

Zsofia Molnar

Maria Russell

Farhana Sarker

Tatiana Trafimovich

Amanda Wilcox

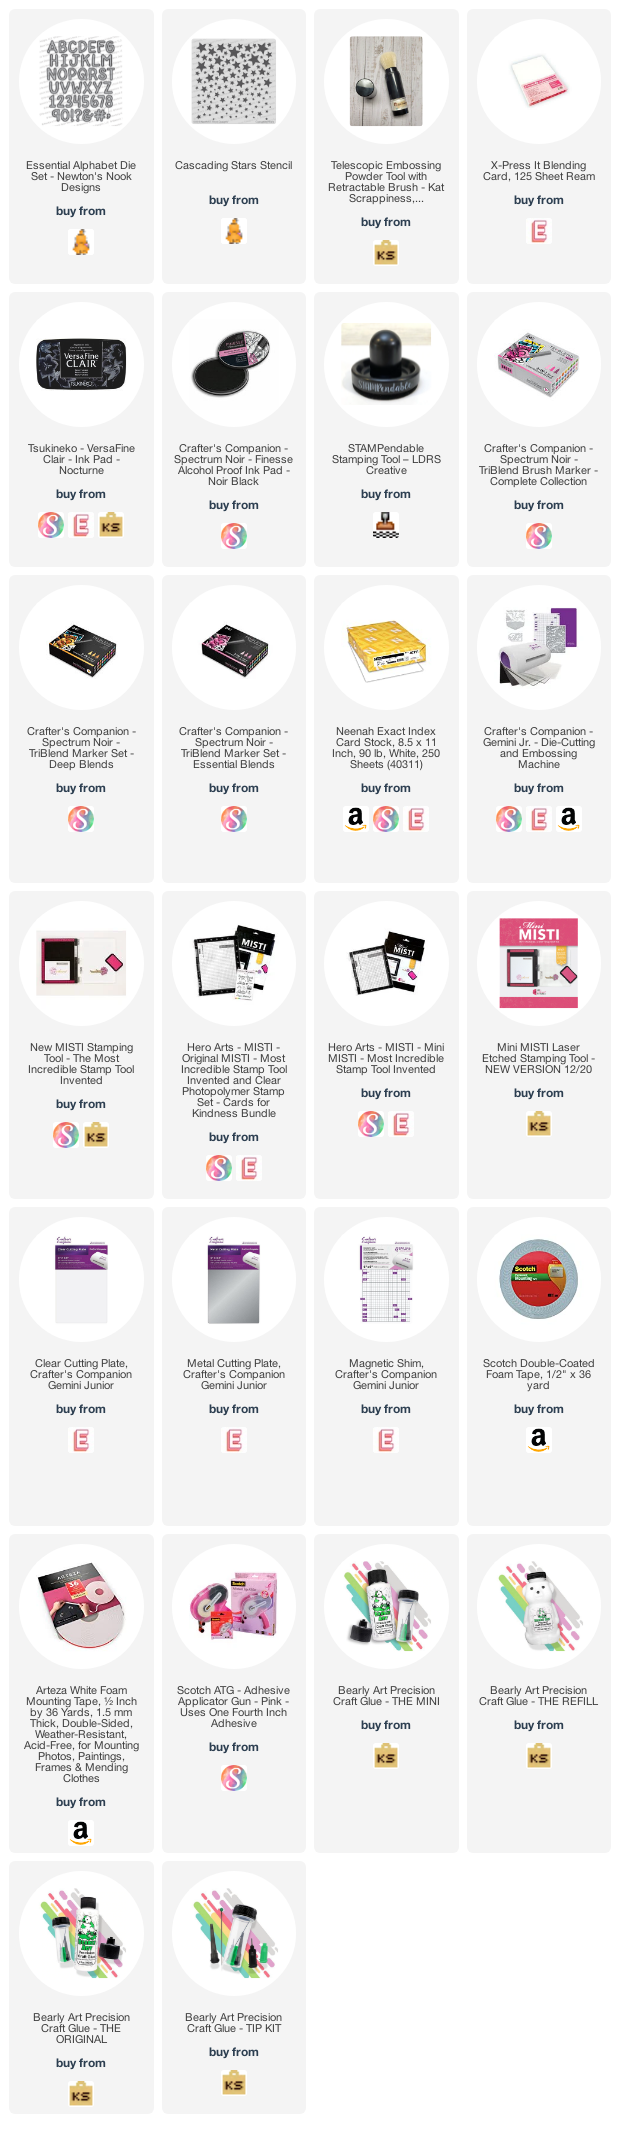
———-SUPPLIES———

NND APRIL Release Day 3 – Dad’s BBQ

It’s Day 3 of the April reveals by Newton’s Nook Designs! Are you enjoying the reveals so far? Remember that you have a chance to win the stamp set being revealed each day so please read through til the end of the blog post to find out more info.  [Just a little important note:  I know some of you had difficulties finding the comments section.  If you would like to leave a comment to participate in the giveaway, the “comments section” will only be ever visible when a single post on Word Press is being viewed. Please click on this particular blog post and you will be able to leave a comment below.  Thank you!]  

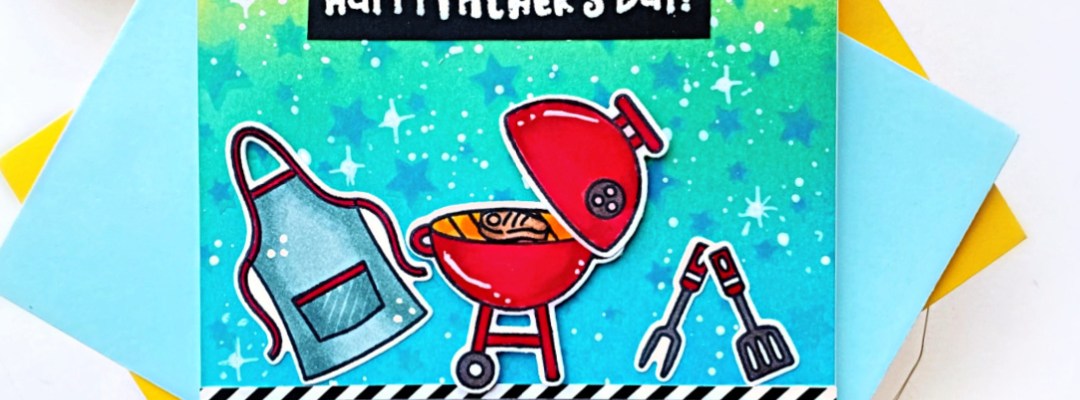
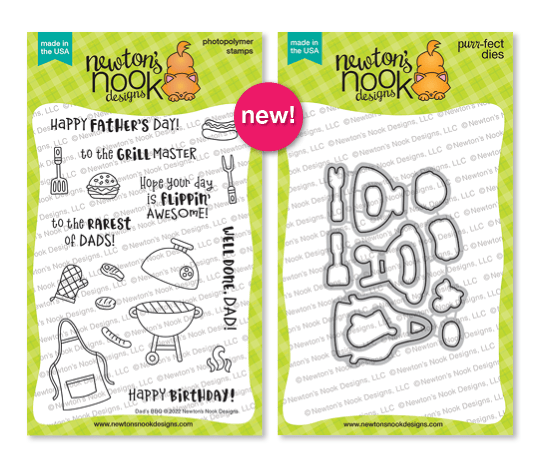
For today’s sneak peek, we are showcasing the Dad’s BBQ Stamp Set + coordinating dies.

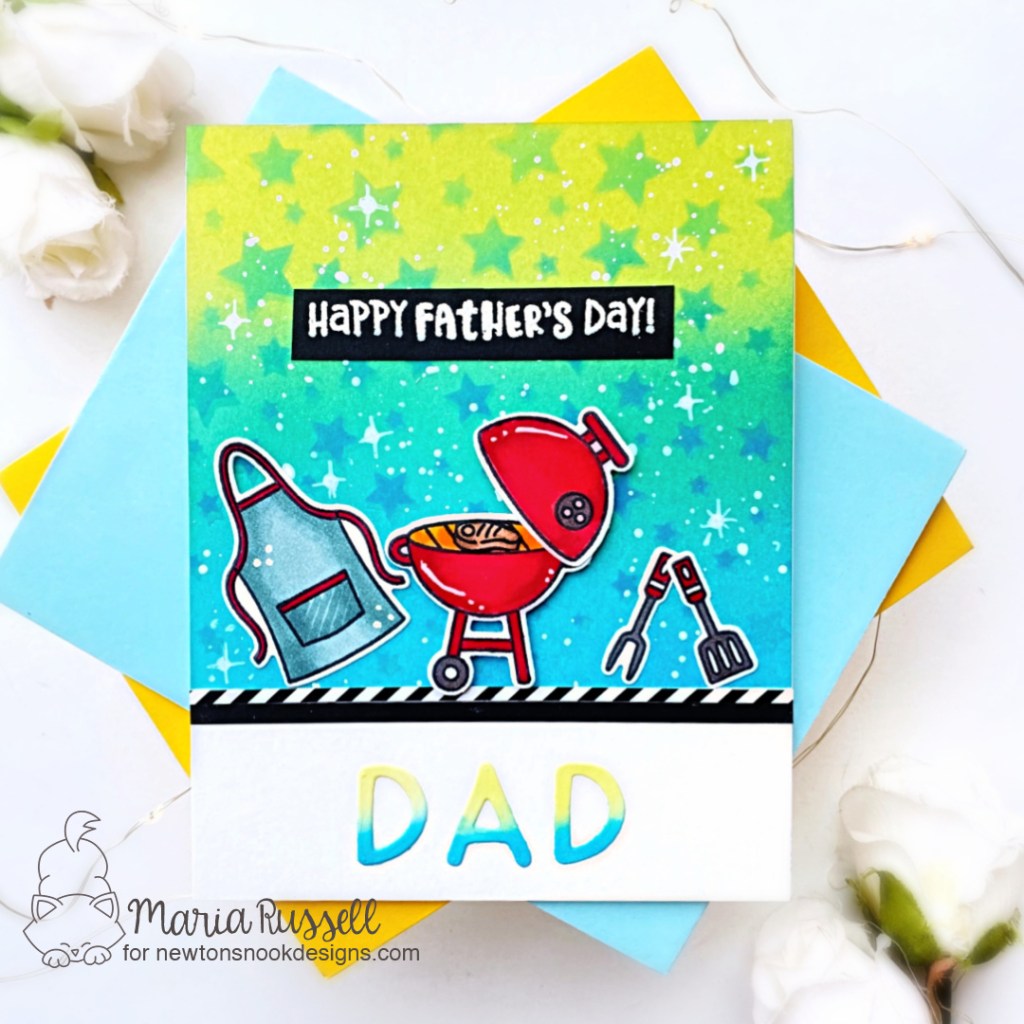
I have to admit that I struggle when it comes to creating masculine cards so I hope you like my card below.

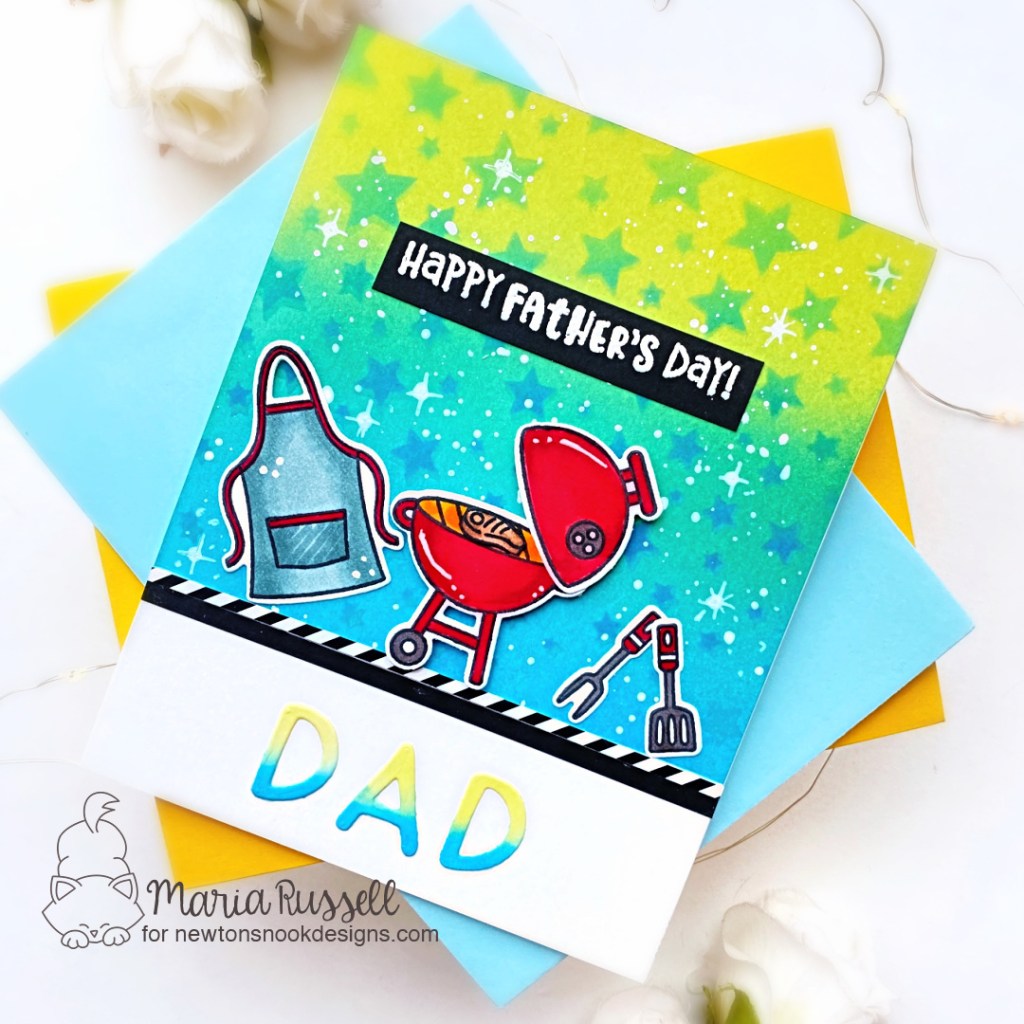
I started by masking off a panel of Bristol Smooth White Card Stock and inking up the background with some Distress Oxide Inks and the Cascading Stars stencil.

Next, I stamped the images on some Neenah Solar White Card Stock and colored the images in with alcohol markers. I used the coordinating dies to cut them all out. I also cut a few strips of black card stock and some pattern paper and adhered on the panel with liquid glue.

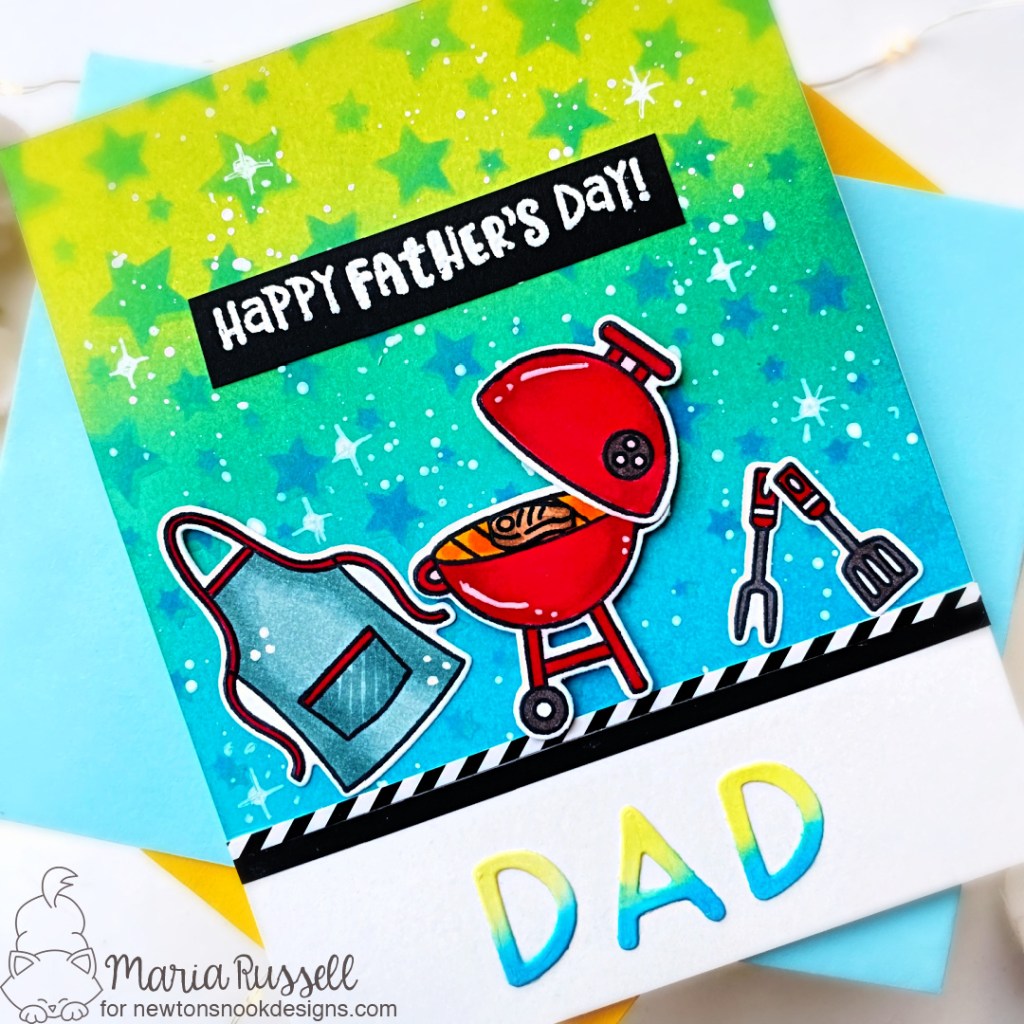
I foam-mounted the images on the focal panel for added dimension. I also die-cut the word “DAD” using the Essential Alphabet Die Set and ink-blended the letters to match the background. I adhered the letters on the card with liquid glue.

I finished the design by adding the sentiment that I heat-embossed and using some white gel pen to add some dots and stars for added interest. Here’s another look:

Would you like to win the “Dad’s BBQ” Stamp Set?  We will choose ONE lucky winner for each stamp set!

Here’s how to win:  Comment on the NND blog and Design Team blogs (see list below)! The winner will be chosen at random from the collective reveal posts. Make sure to check out each of their blogs and comment for your chance to win. You will not know which blog has been chosen so the more you comment on the better your chances are of winning!  You have until Thursday April 21st at 9pm ET to comment  — winners will be announced on the blog post on Friday April 22nd. 

Check out all the awesome Design Team Blogs below to enter:

Newton’s Nook Designs

Donna Idlet

Ellen Haxelmans

Tina Herbeck

Larissa Heskett

Samantha Mann

Zsofia Molnar

Maria Russell

Farhana Sarker

Tatiana Trafimovich

Amanda Wilcox

———-SUPPLIES———

NND APRIL Release Day 2 – Destination Love + Lilac Stamp Sets

It’s Day 2 of the April reveals by Newton’s Nook Designs! I hope you were able to check out yesterday’s reveal as well. You have a chance to win the stamp set being revealed each day so please read through til the end of the blog post to find out more info.  [Just a little important note:  I know some of you had difficulties finding the comments section.  If you would like to leave a comment to participate in the giveaway, the “comments section” will only be ever visible when a single post on Word Press is being viewed. Please click on this particular blog post and you will be able to leave a comment below.  Thank you!]  

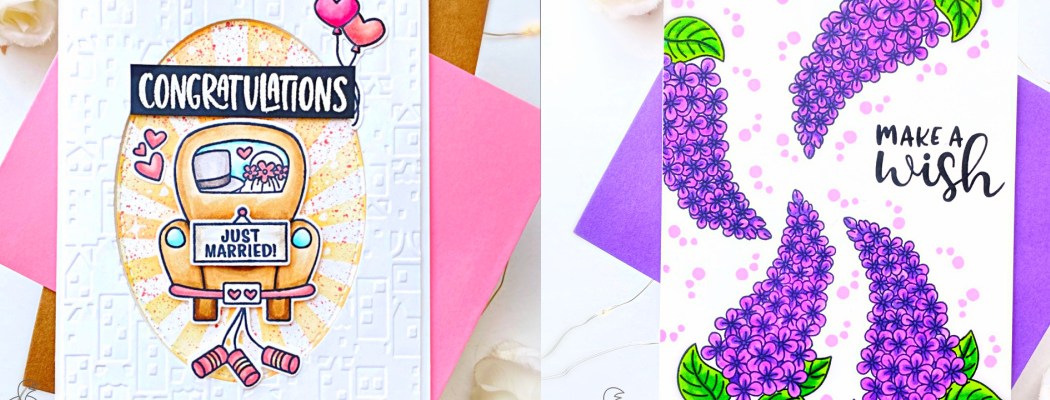
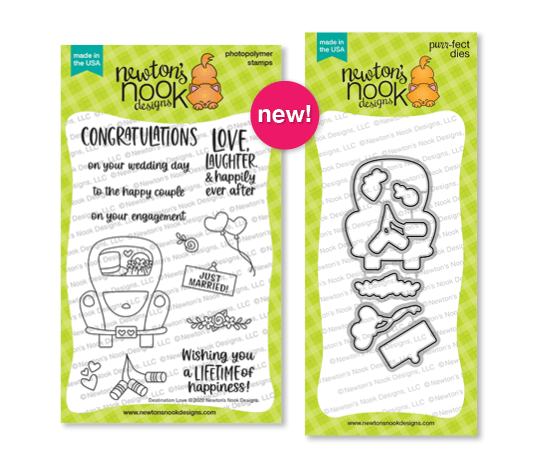
For today’s sneak peek, we are showcasing the Destination Love + coordinating dies with the Lilac Stamp Set + coordinating dies.

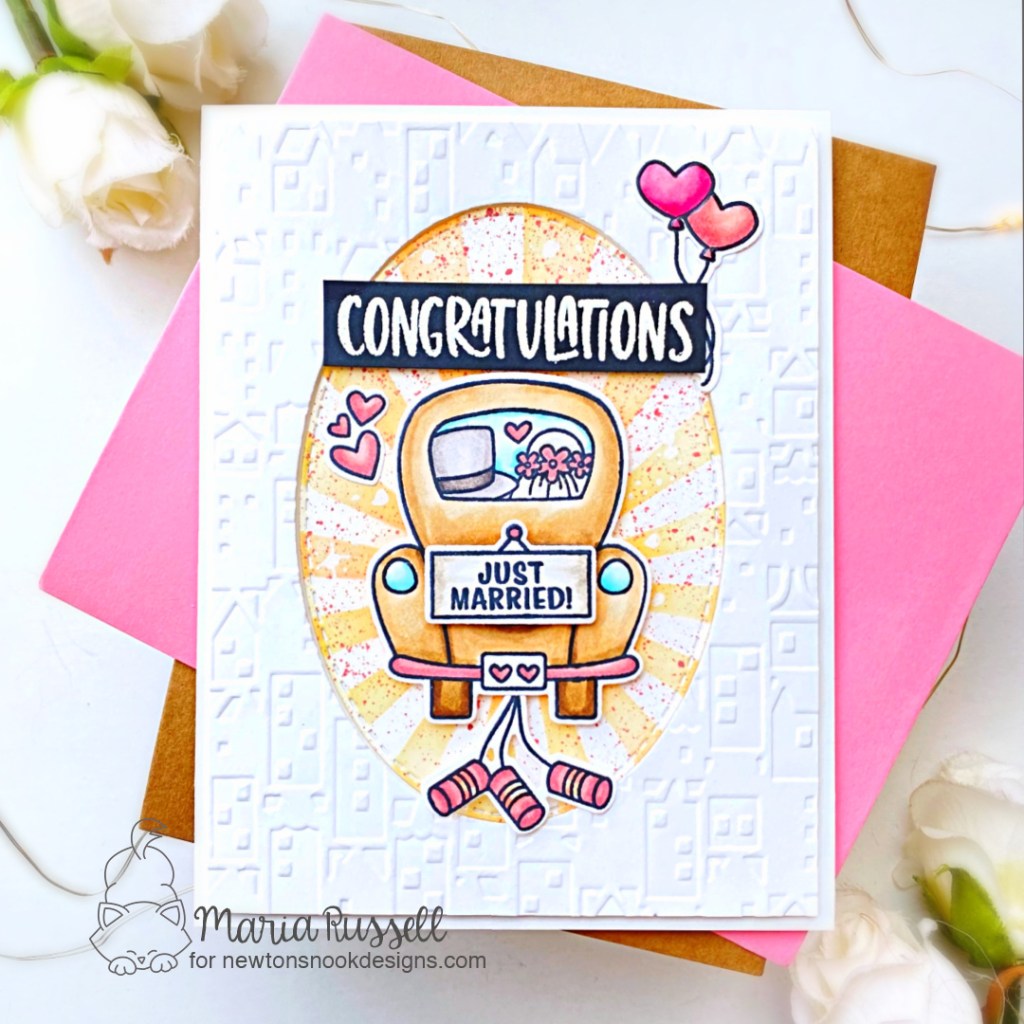
As soon as I saw the Destination Love stamp set, I immediately thought of this card design. I just didn’t know what colors would work well together so I tested a few markers and colored a few images. The one I picked stood out the most and I used the coordinating dies to die-cut the images.

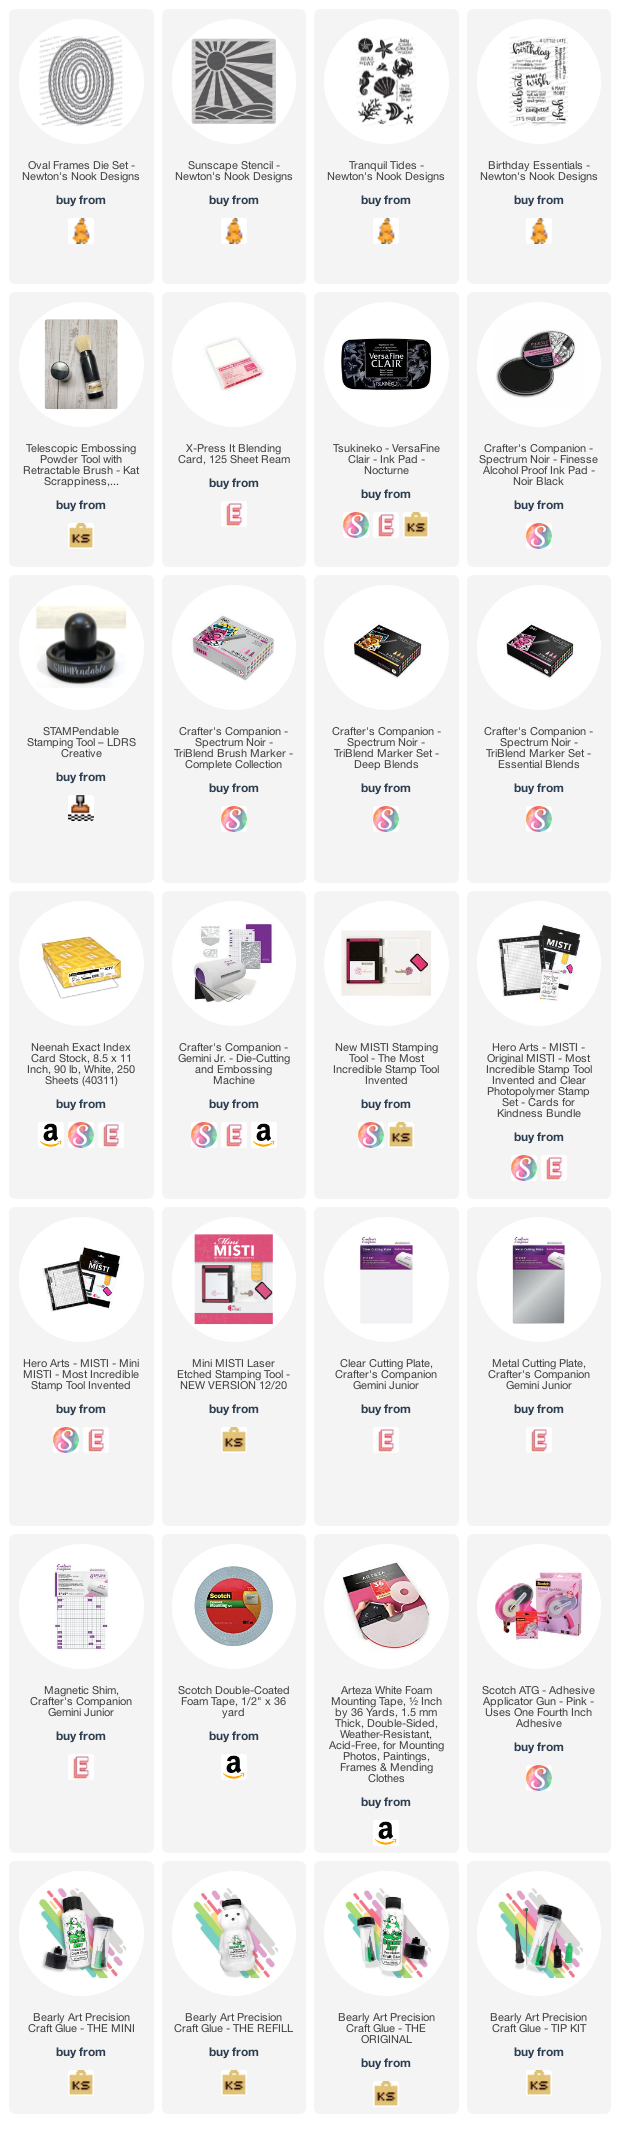
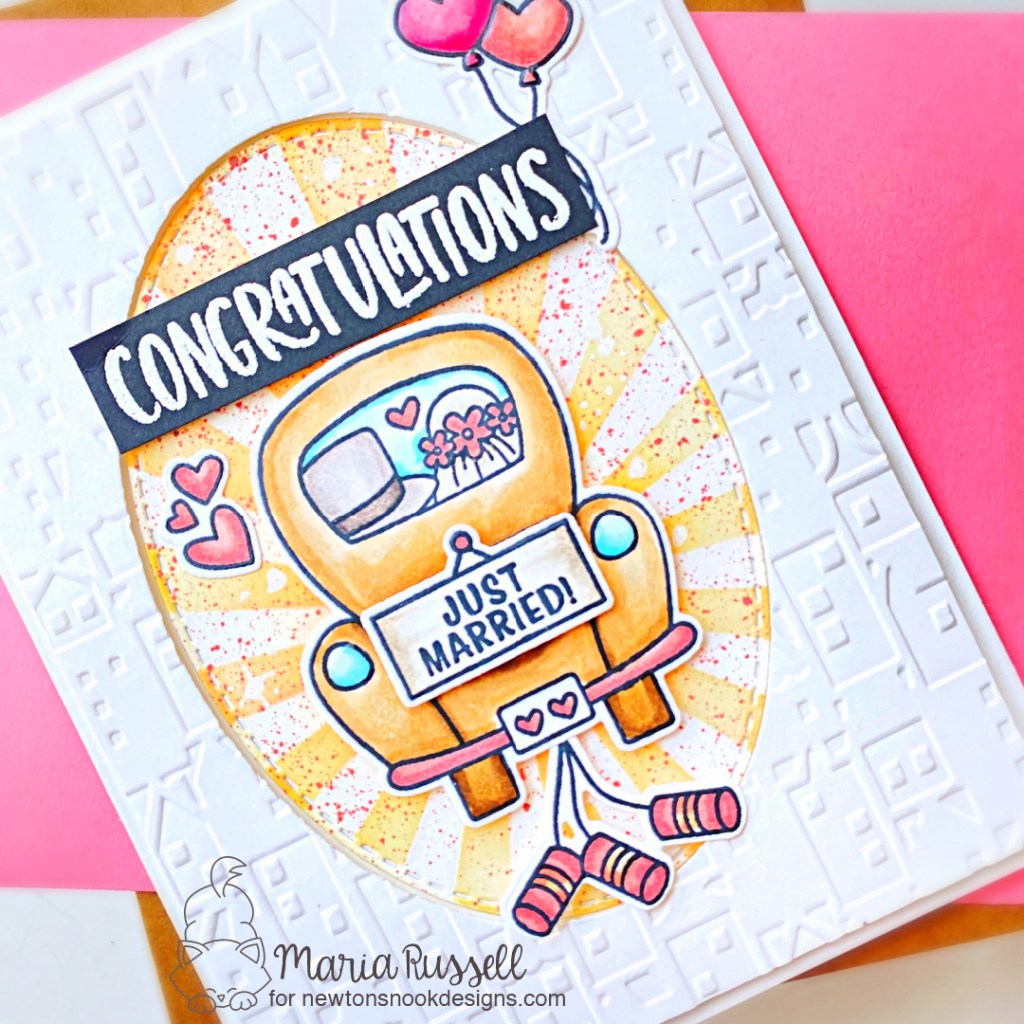
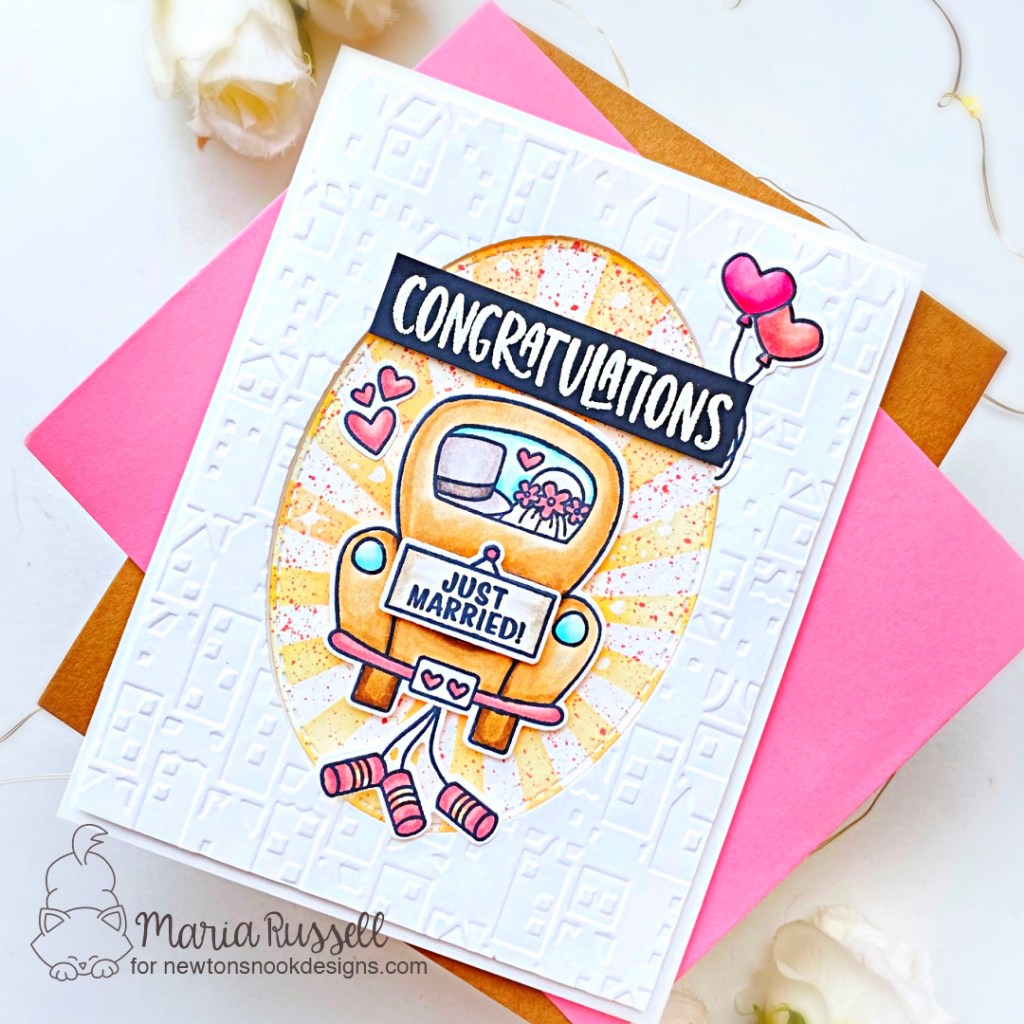
Next, I used the Oval Frame Die set to die-cut the oval frame on some white card stock. The oval die-cut was ink-blended with distress oxide inks and the Sunscape stencil. The negative die-cut was dry-embossed with an embossing folder for added interest.

I foam-mounted the images on the focal panel and finished the card design by adding the sentiment that I heat-embossed on some black card stock.
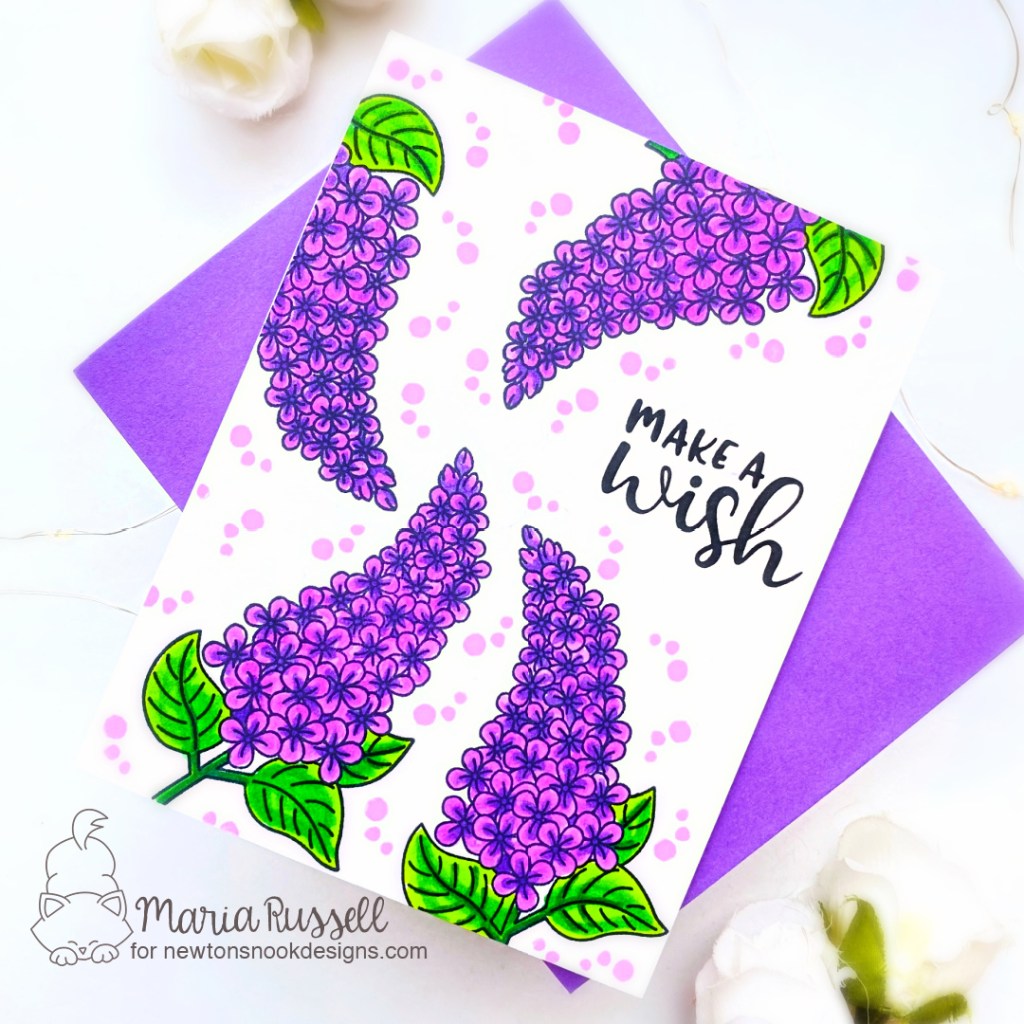
The next card is really simple. I stamped the images a few times on some A2-size panel and colored the images in with alcohol markers.

For added interest and texture, I stamped the dots a few times from the Tranquil Tides stamp set. I thought this added a whimsical touch to the overall card design.

I finished the design by stamping the sentiment from the Birthday Essentials stamp set. Here’s another look at the card:

Would you like to win the “Destination Love” or the “Lilac” Stamp Set? We will choose ONE lucky winner for each stamp set!

Here’s how to win:  Comment on the NND blog and Design Team blogs (see list below)! The winner will be chosen at random from the collective reveal posts. Make sure to check out each of their blogs and comment for your chance to win. You will not know which blog has been chosen so the more you comment on the better your chances are of winning!  You have until Thursday April 21st at 9pm ET to comment  — winners will be announced on the blog post on Friday April 22nd. 

Check out all the awesome Design Team Blogs below to enter:

Newton’s Nook Designs

Donna Idlet

Ellen Haxelmans

Tina Herbeck

Larissa Heskett

Samantha Mann

Zsofia Molnar

Maria Russell

Farhana Sarker

Tatiana Trafimovich

Amanda Wilcox

———-SUPPLIES———

NND APRIL Release Day 1 – Cycling Friends + Tree Line Stencil

Hello and Welcome to the Newton’s Nook April Release. I am so excited to show off the new products by Newton’s Nook Designs.  You also have a chance to win the stamp set being revealed each day so please read through til the end of the blog post to find out more info.  [Just a little important note:  I know some of you had difficulties finding the comments section.  If you would like to leave a comment to participate in the giveaway, the “comments section” will only be ever visible when a single post on Word Press is being viewed. Please click on this particular blog post and you will be able to leave a comment below.  Thank you!]  

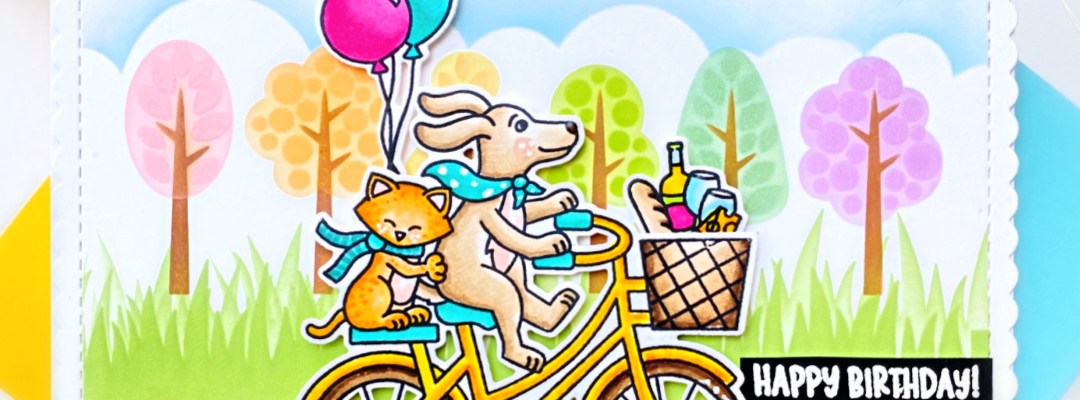
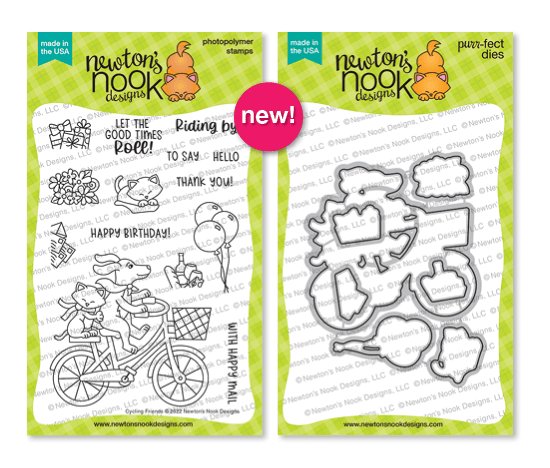
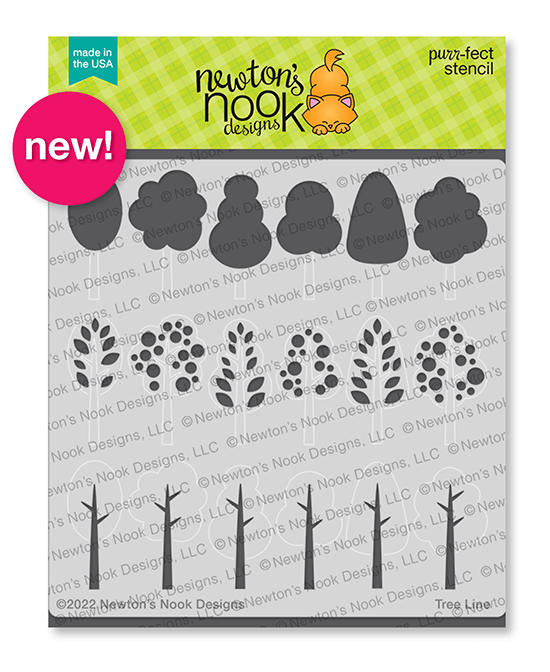
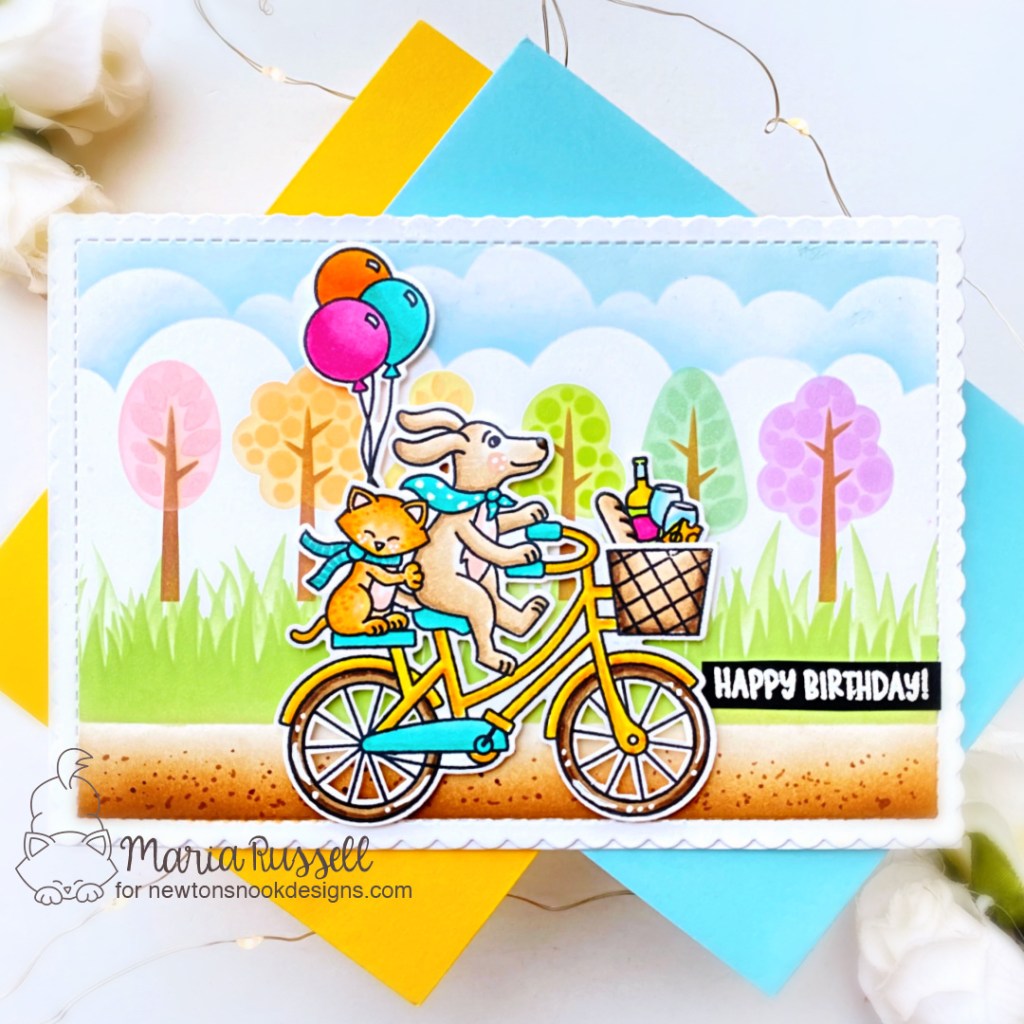
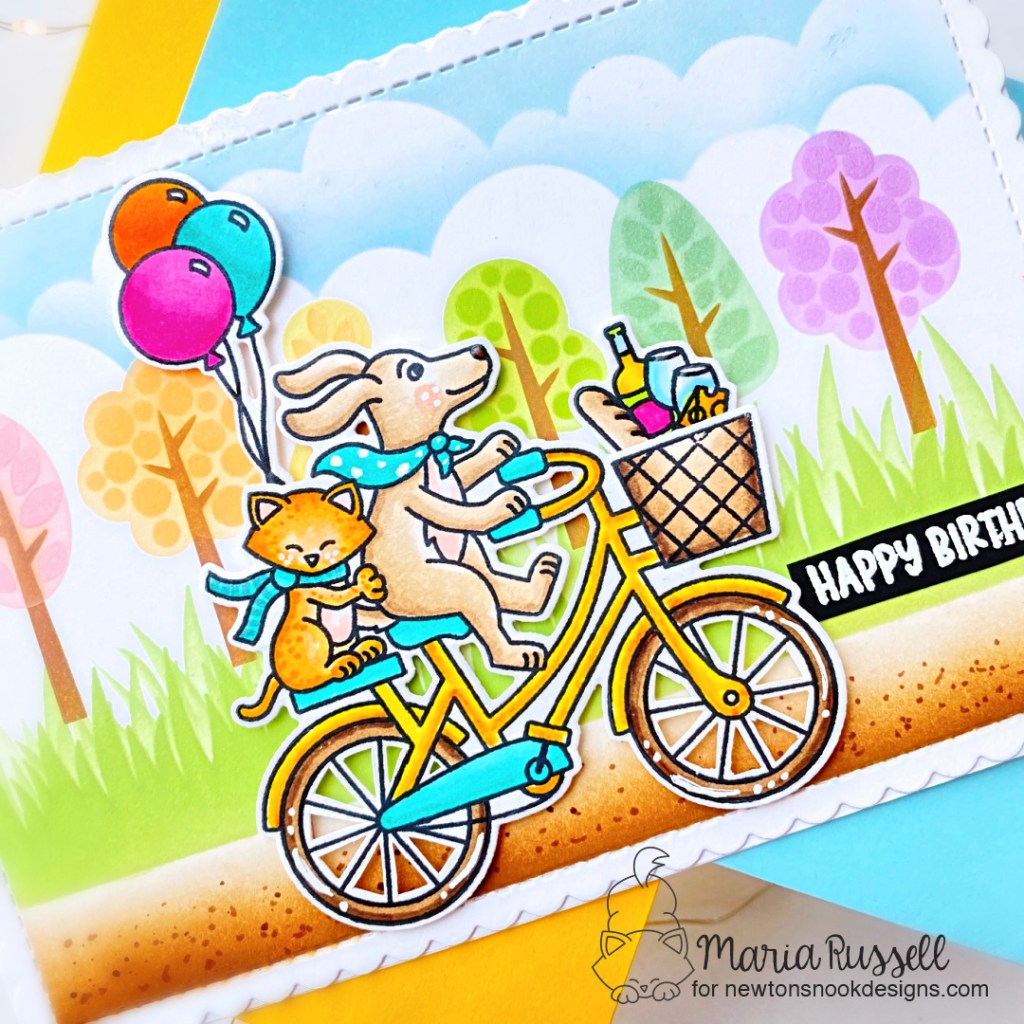
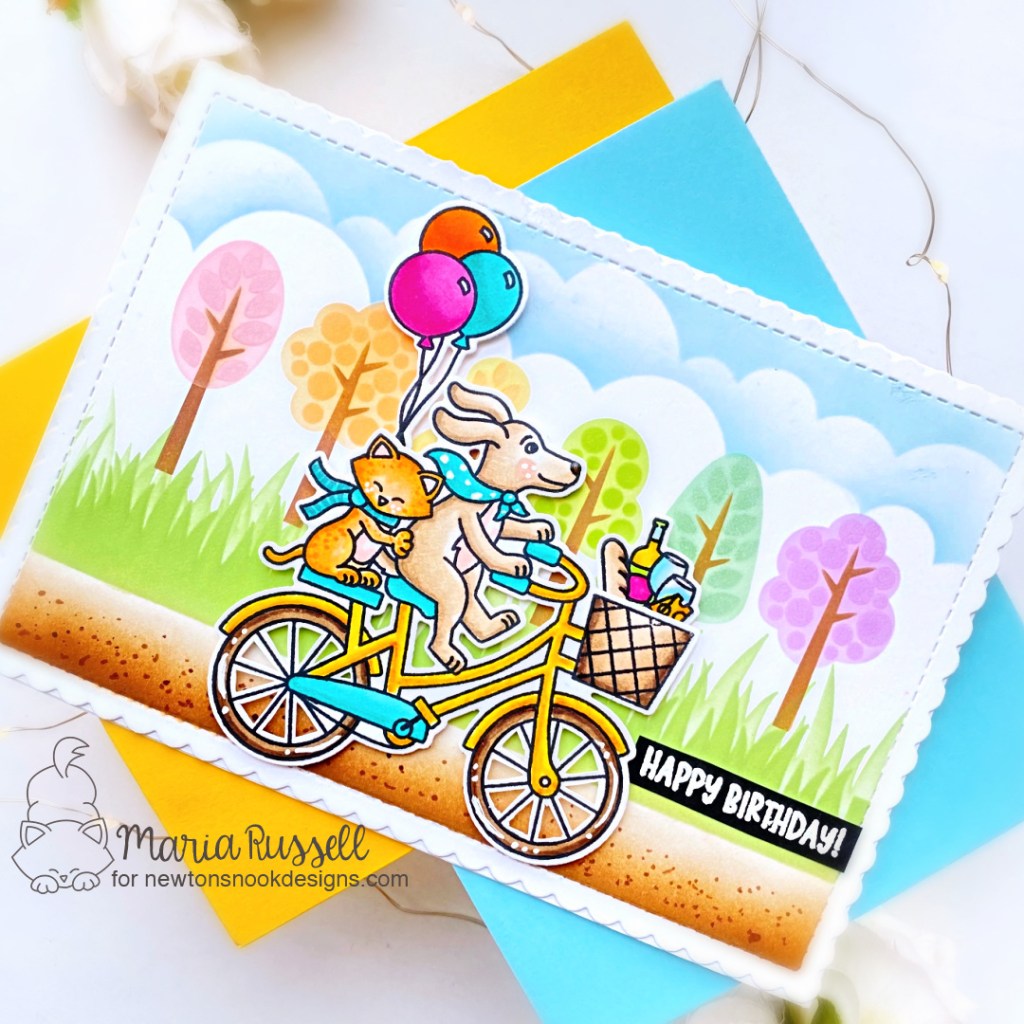
For Day 1 of the reveals, we are showcasing the Cycling Friends Stamp Set + Coordinating Dies along with the Tree Line Stencil. I also used the A7 Frames & Banner Die Set with the Clouds Stencil and the Hills & Grass Stencil.

I started by stamping my images on some X-Press It Blending Card and colored the images in with alcohol markers. I used the coordinating dies to cut them out.

Next, I die-cut the card background using the new A7 Frames & Banner Die Set on some Strathmore Bristol smooth white card stock. I used some masking tape to cover the scallop and used the Tree Line Stencil to create the “rainbow” trees first with different dye inks. I used the other stencils to ink-blend the panel.

I finished my design by foam-mounting the images and added the sentiment that was heat-embossed using white embossing powder. Here’s another look:

Would you like to win the “Cycling Friends” Stamp Set? This stamp set will be given away to ONE lucky winner!

Here’s how to win:  Comment on the NND blog and Design Team blogs (see list below)! The winner will be chosen at random from the collective reveal posts. Make sure to check out each of their blogs and comment for your chance to win. You will not know which blog has been chosen so the more you comment on the better your chances are of winning! You have until Thursday April 21st at 9pm ET to comment  — winners will be announced on the blog post on Friday April 22nd. 

Check out all the awesome Design Team Blogs below to enter:

Newton’s Nook Designs

Donna Idlet

Ellen Haxelmans

Tina Herbeck

Larissa Heskett

Samantha Mann

Zsofia Molnar

Maria Russell

Farhana Sarker

Tatiana Trafimovich

Amanda Wilcox

———-SUPPLIES———

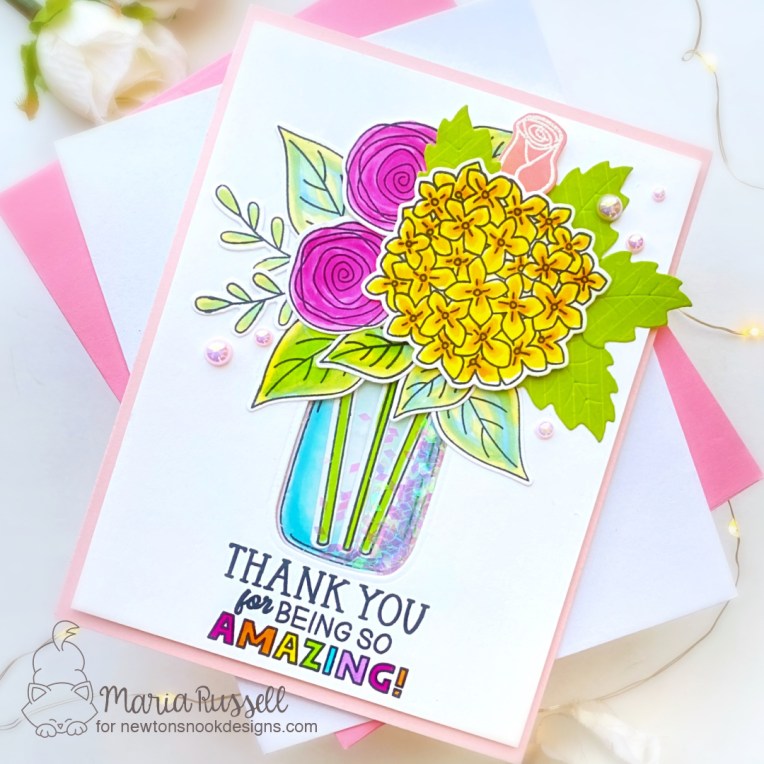
THANK YOU FOR BEING SO AMAZING!

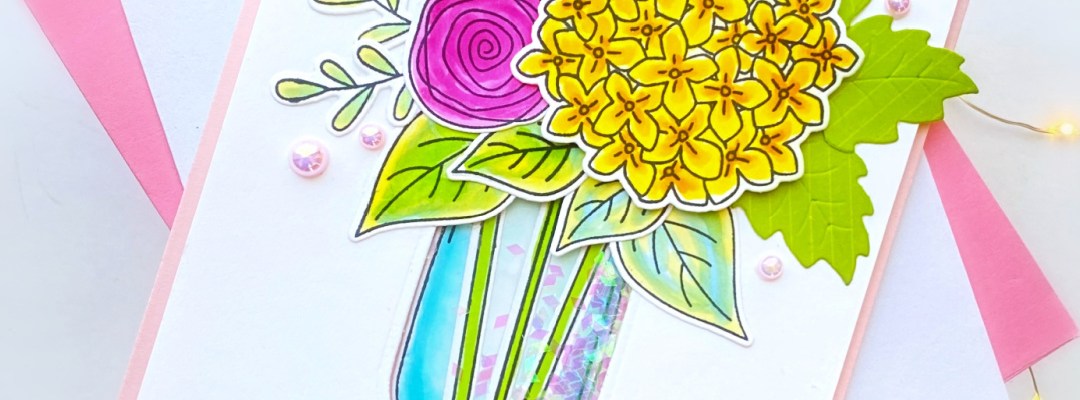
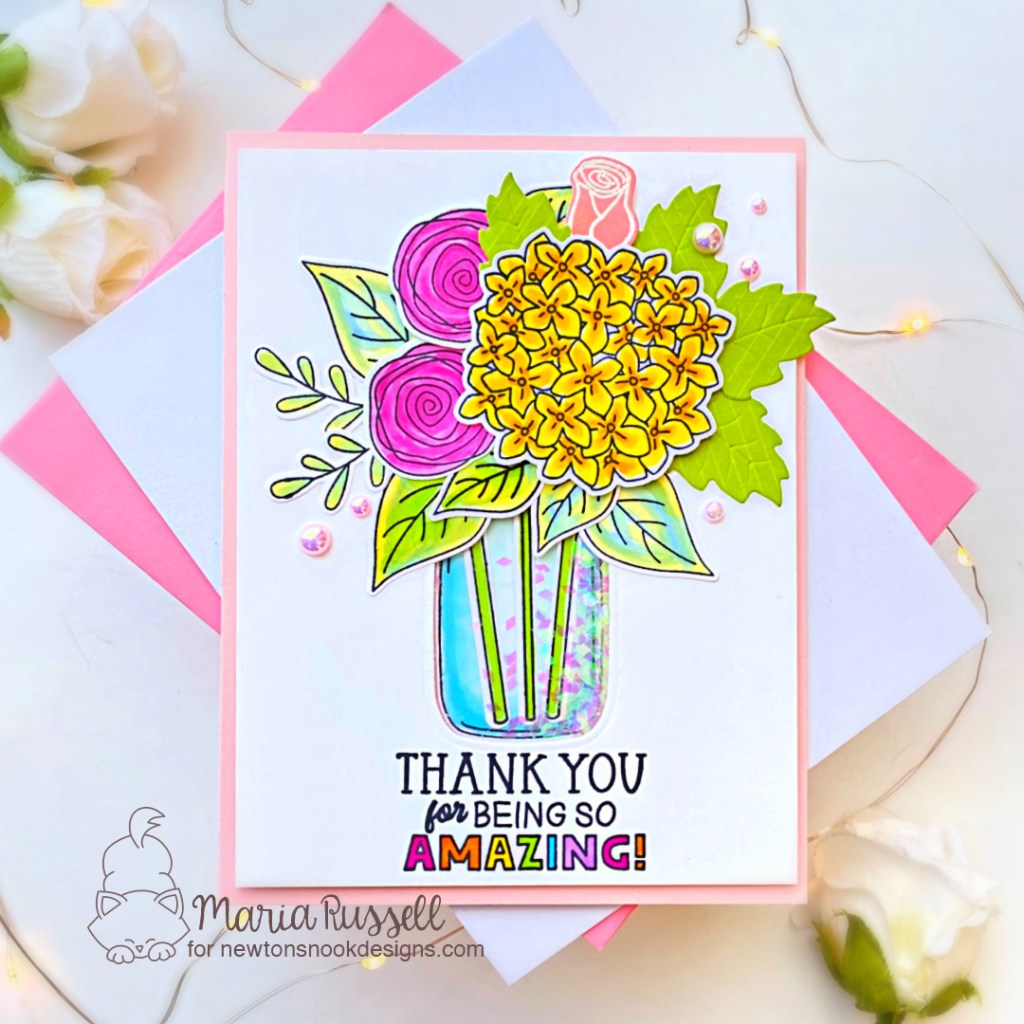
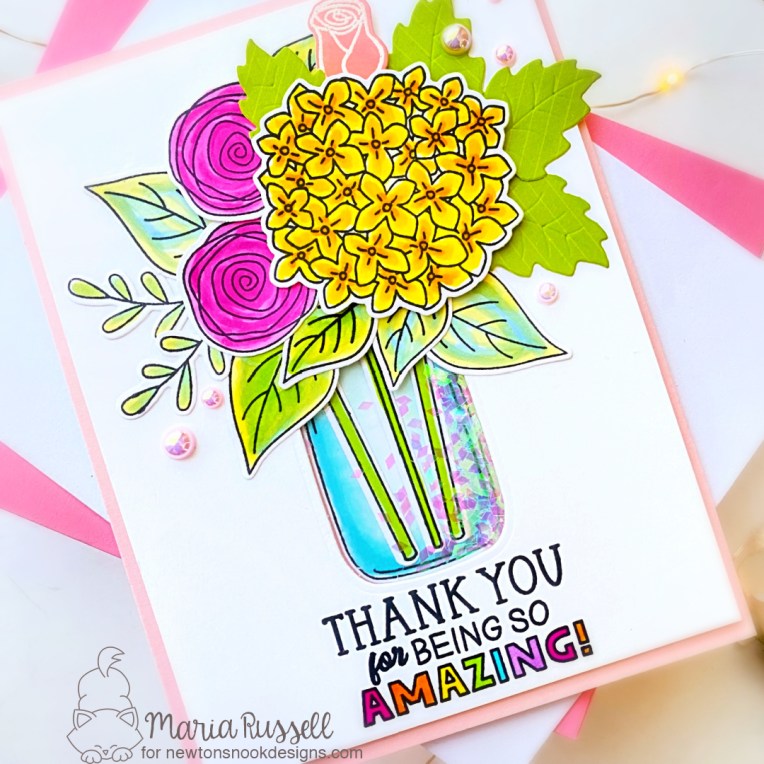
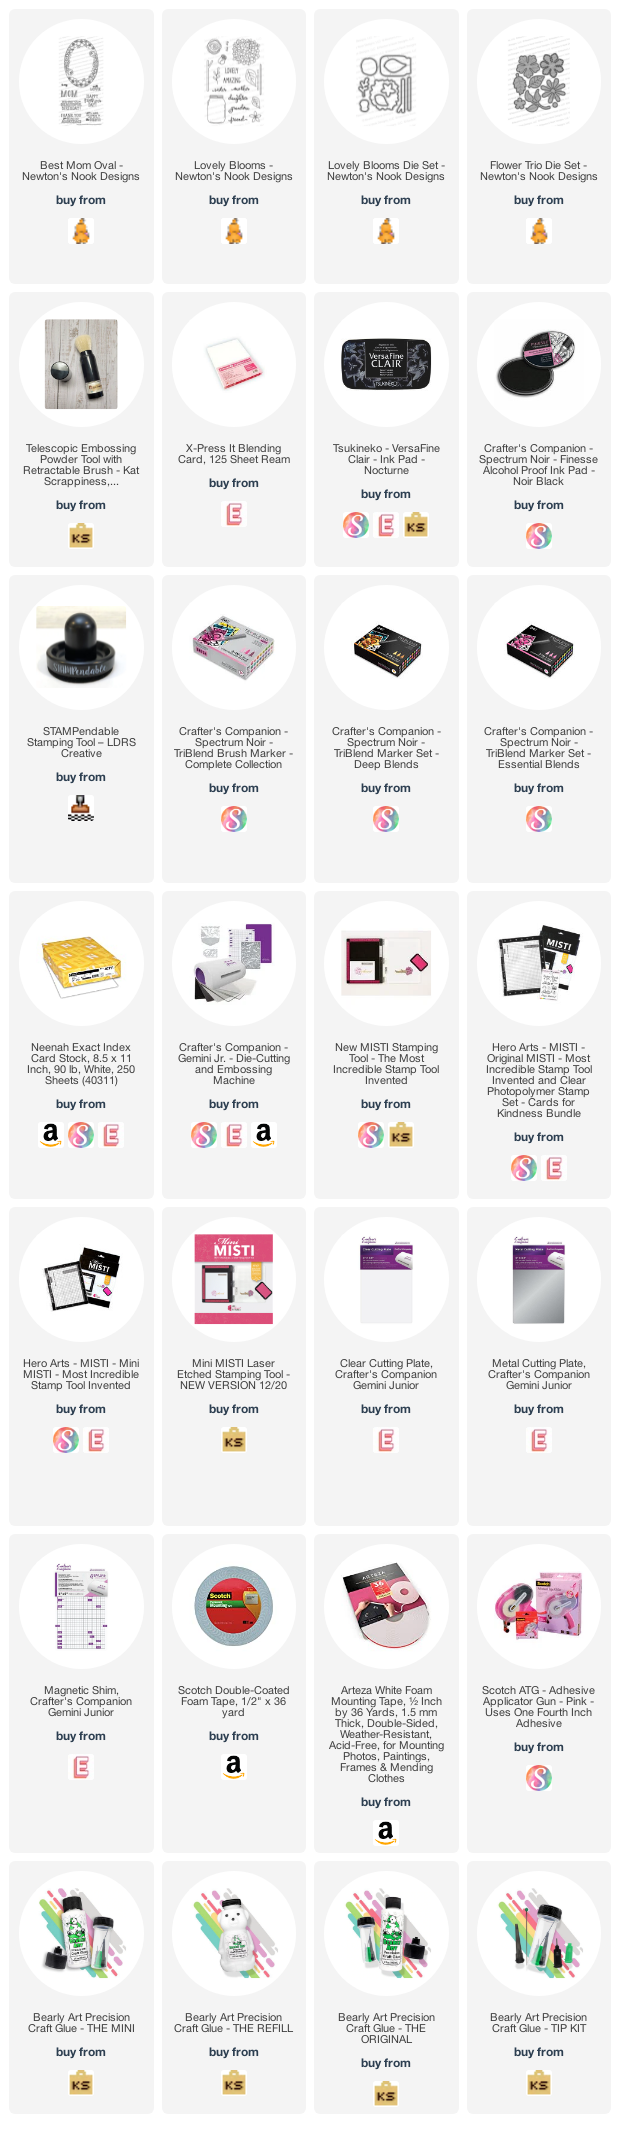
Happy Tuesday! I know I’ve been sharing a lot of Mother’s Day cards lately but my card today can also be made for a friend, or just-because! This card features the Lovely Blooms Stamp Set and coordinating dies, with the Best Mom Oval Stamp Set and the Flower Trio Die Set.

Here’s how I made this card:

  • stamp the images from Lovely Blooms Stamp Set and color them in with alcohol markers.
  • use the Lovely Blooms Coordinating Dies to cut them all out.
  • prepare the background by cutting using the Lovely Blooms Die to die-cut the window.
  • adhere acetate sheet on this panel and foam adhesive to create the shaker well.
  • add some confetti as the shaker element and adhere this on a pink A2-size notecard to close the shaker.
  • assemble the rest of the images on the focal panel with liquid and foam adhesive.
  • die-cut a few more leaves using the Flower Trio Die Set and adhere them on the card.
  • stamp the sentiment from the Best Mom Oval Stamp Set and color the letters with alcohol markers.
  • finish the card design by adding some pink gem stones for added interest.

I hope you like this Mother’s Day card as much as I do! The supplies I used are listed and linked below. Thanks for stopping by!

———SUPPLIES———-

CC Designs BIRTHDAY SOCIAL MEDIA HOP + GIVEAWAY

Welcome to the C.C Designs Birthday Social Media Hop! It’s our 15th Anniversary/Birthday and we are celebrating in a big way! Hop along for your chance to WIN one of two $15 G.C to the store! We will pull one from Instagram and one from the blog comments AND 4 lucky Instagram, YouTube, and Blog Subscribers will get our SPECIAL Cupcake Stamp Set for FREE so make sure you follow and subscribe. PLUS Use Code: 15BD for 15% off your order the entire month of April!

We are also celebrating the arrival of 3 NEW stamp sets. The Design Team has been giving you previews all week and now we are sharing our BEST creations to inspire you to shop and create with C.C Designs!

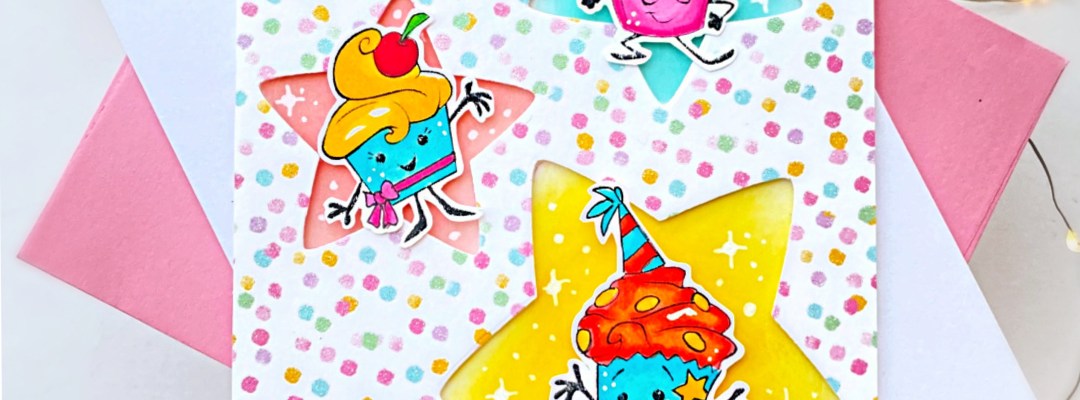
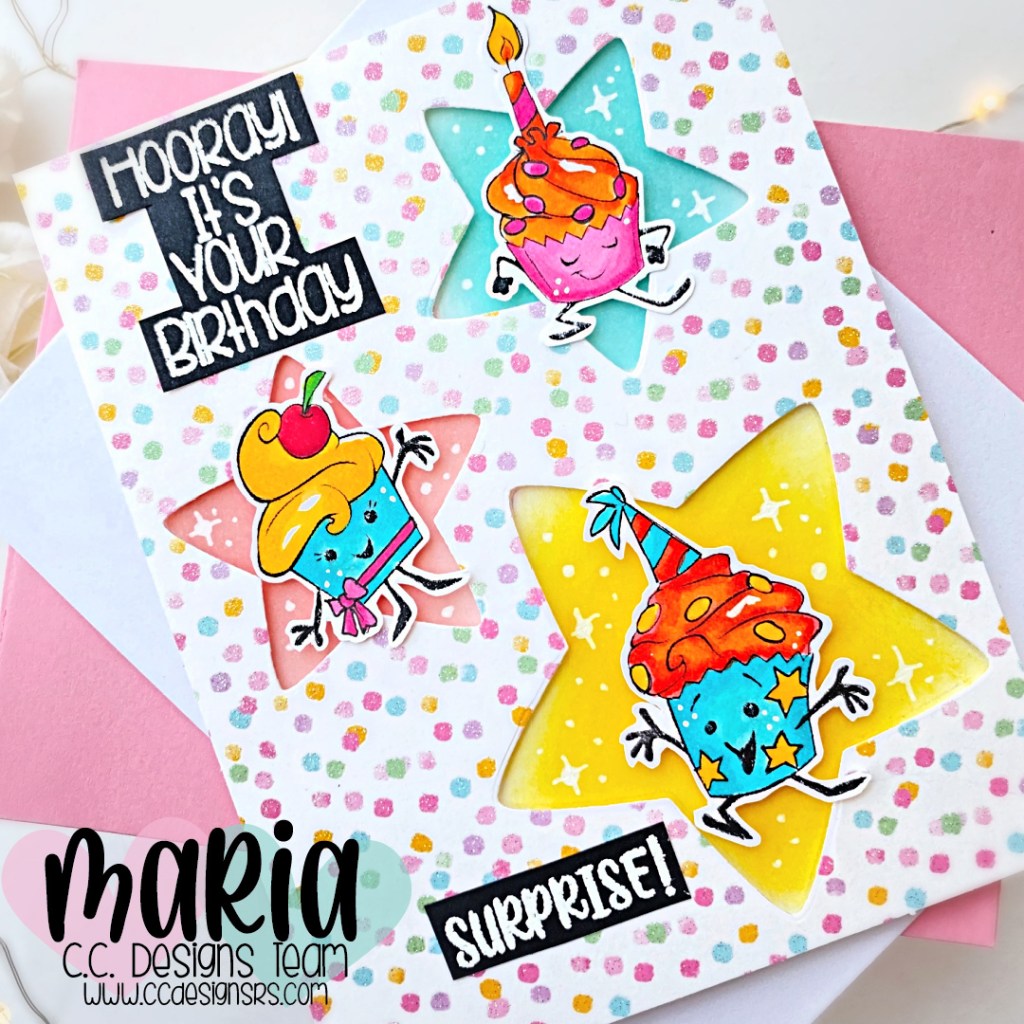
For my project today, I am showcasing the Cupcake Stamp Set that is perfect for any birthday-themed projects!

Here’s how I made the card:

  • stamp the images on some X-press It card stock and color the images in with alcohol markers
  • ink-blend an A2-size panel of Strathmore Bristol smooth white card stock with distress oxide inks in Salvaged Patina, Saltwater Taffy and Mustard Seed.
  • prepare the background by die-cutting the stars using some dies from your collection.
  • foam-mount this panel on the ink blended background and adhere on an A2-size notecard.
  • adhere the cute cupcakes with foam adhesive for added dimension.
  • stamp the sentiment on some black card stock with Versamark ink and heat-set with heating tool. Fussy cut the sentiments and adhere on the card.
  • finish the card design by using some white gel pen to add some dots and stars to the background.

These images are so adorable! I hope you like this birthday card today! Please don’t forget to hop along to WIN.

To enter the giveaway:

1. Subscribe to the Design Team Blogs, Instagram, & YouTube Channels

2. Leave a Comment

3. Tag your friends for bonus entries.

Entries will be accepted until Wednesday, February 9th. Winners will be announced on the C.C Designs Blog and FB Page on Friday February 11th.

Here is the full line up:

C.C Designs Blog

Meghan Kennihan

Emma Ireland

Maria Russell (that’s me!)

Cindy Beland

Tamara Potocnik

Kerri Boucher

Cristena Bagne

Cari Scharping

APRIL CREATIVE HOP WITH REVERSE CONFETTI

I am so happy to join Reverse Confetti’s Creative Hop where you’ll find a lot of AMAZING inspiration using products from the last release. Check out the hop listing below to see the wonderful projects prepared by the entire team. There is also a 20% off from today until the 10th so don’t forget to use the coupon code: SPRING to avail the discount.
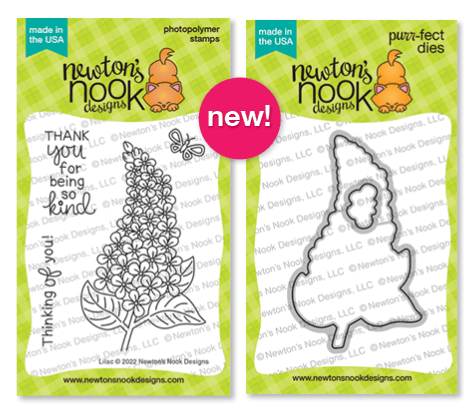
For my card below, I am showcasing the Better With Friends Stamp Set and coordinating dies, along with the Big Sun Confetti Cuts, Head In the Clouds Cover Panel and Over the Rainbow Confetti Cuts.
Here’s how I made this card:

  • stamp the images from Better with Friends stamp set and color them in with alcohol markers.
  • use the Better with Friends Confetti Cuts to cut them all out.
  • prepare the background by cutting a panel of Strathmore Bristol Smooth White Card Stock and ink-blend distress oxide colors with some blending brushes. [Designer tip: make sure you are blending the colors with the brushes to create a smooth blend]
  • use the Head In the Clouds Die and die-cut the ink-blended panel. Foam-mount the frame on an A2-size notecard for added dimension.
  • die-cut the Big Sun using the Big Sun Confetti Cuts and the clouds using the cloud dies from the Over the Rainbow Confetti Cuts.
  • use the grass die from the Nuts About You Confetti Cuts to die-cut the grass hill on some white card stock. Incidentally, this die-set is retired but still available at the shop so grab it before it’s gone!
  • start assembling the scene by adhering the negative die-cut in the middle. Foam-mount the Big Sun for added dimension and add the clouds with foam and liquid adhesive.
  • adhere the grass panel using tape runner.
  • adhere the focal images on on the card
  • finish the card design by using some white gel pen to add some stars and dots to the background for added interest.

I really LOVE mixing and matching old and new products by Reverse Confetti and I really like the design of this card. I hope you like it too and got inspired! The supplies I used are listed and linked below. Remember that you will get a FREE STAMP SET on orders over $60.00!!!!

Don’t forget to hop along and check out more inspiration from the entire team. Thanks for stopping by and have a great weekend!

Here’s the hop listing:

Reverse Confetti

Cheiron Brandon

Audrey Tokach

Maria Russell (you are here)

Lisa Henke

April Antonio

Amy Kolling

Joy Baldwin

Andrea Shell

Dana Kirby

Heather Ruwe

Amy Tsuruta

Tricia Barber

Jeanne Jachna

Lien Leysen

———-SUPPLIES———