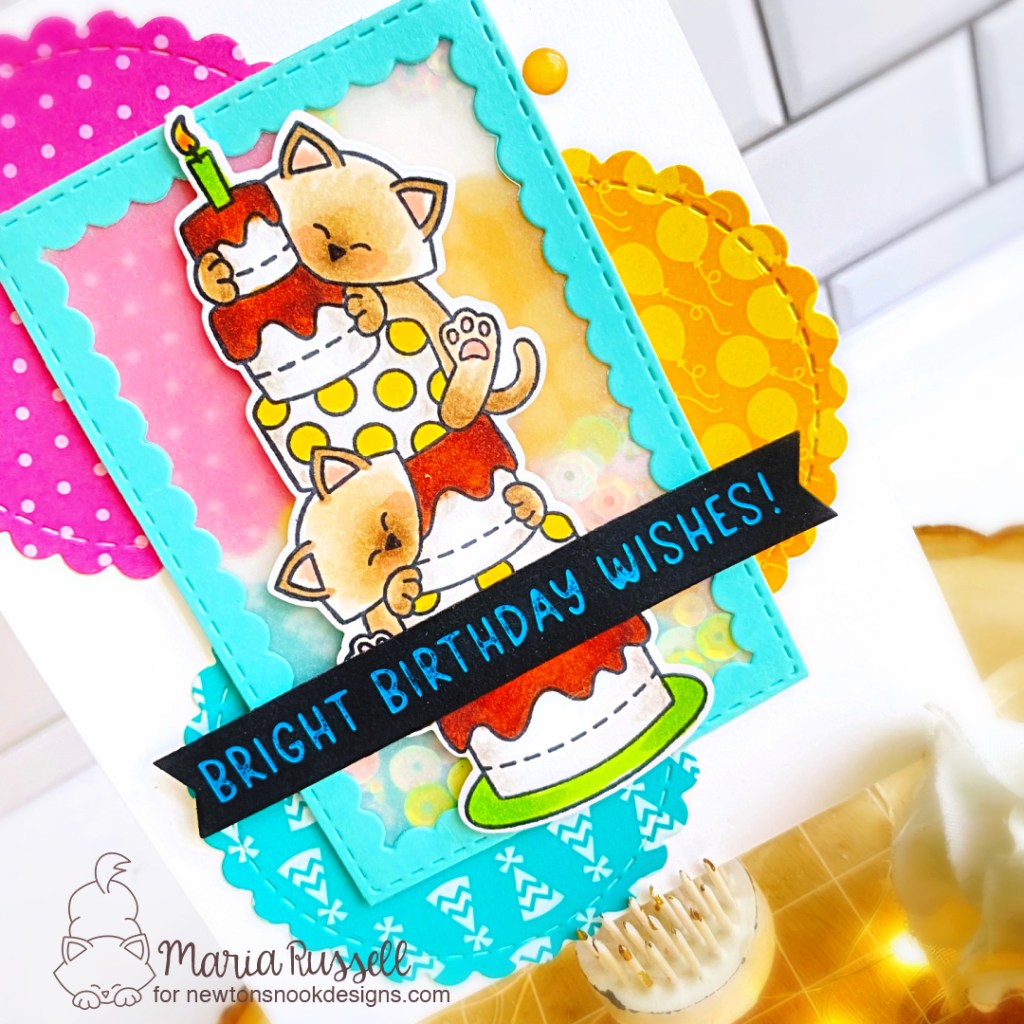
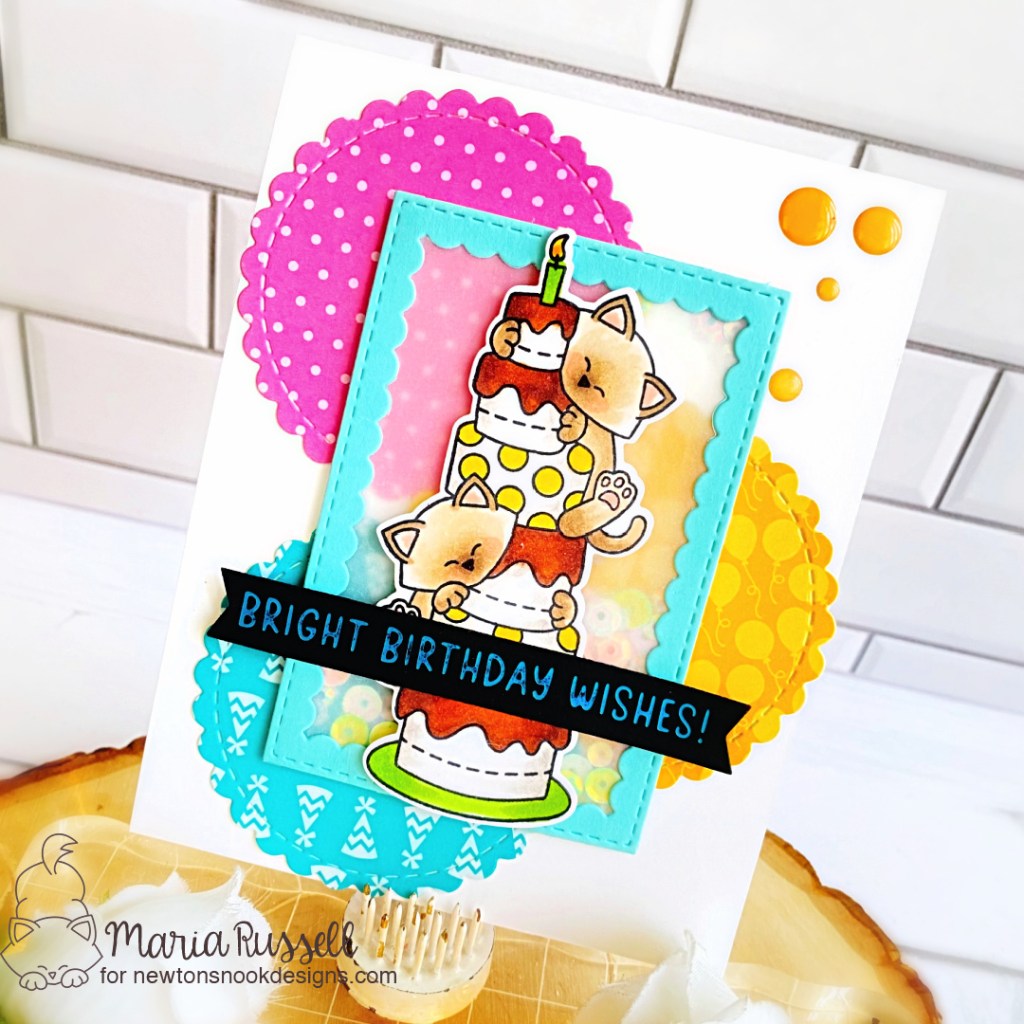
Hello LDRS Creative friends and family! I am here today, sharing yet another cute card showcasing the new Party Time Tails Stamp Set & Coordinating Dies from the Sweet Escape Collection Release.
Do you ever have a stack of unfinished card bases in your stash that you kept for a while? I do, and I always keep them in a plastic bin in my craft room, ready for my next project. Sometimes the simplest projects are the best to create, turning a ho-hum base into a beautiful card!
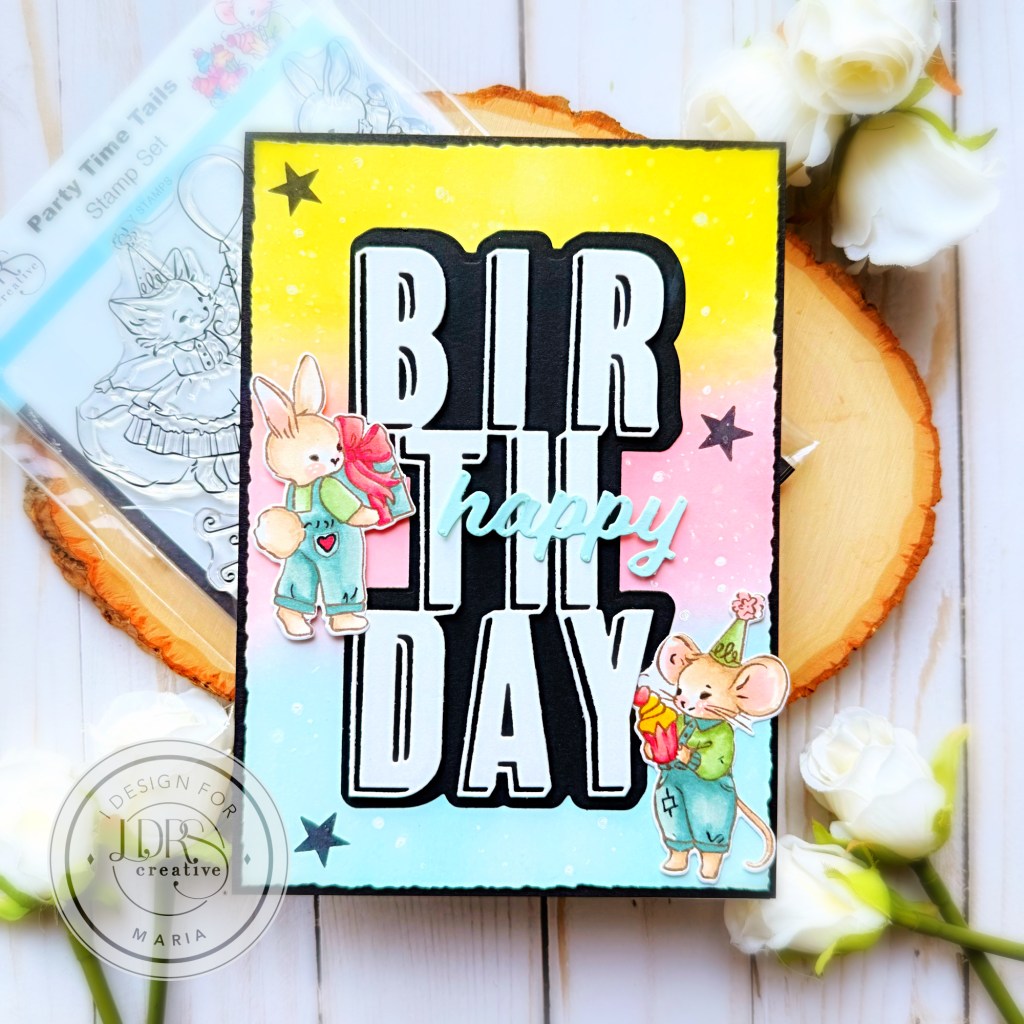
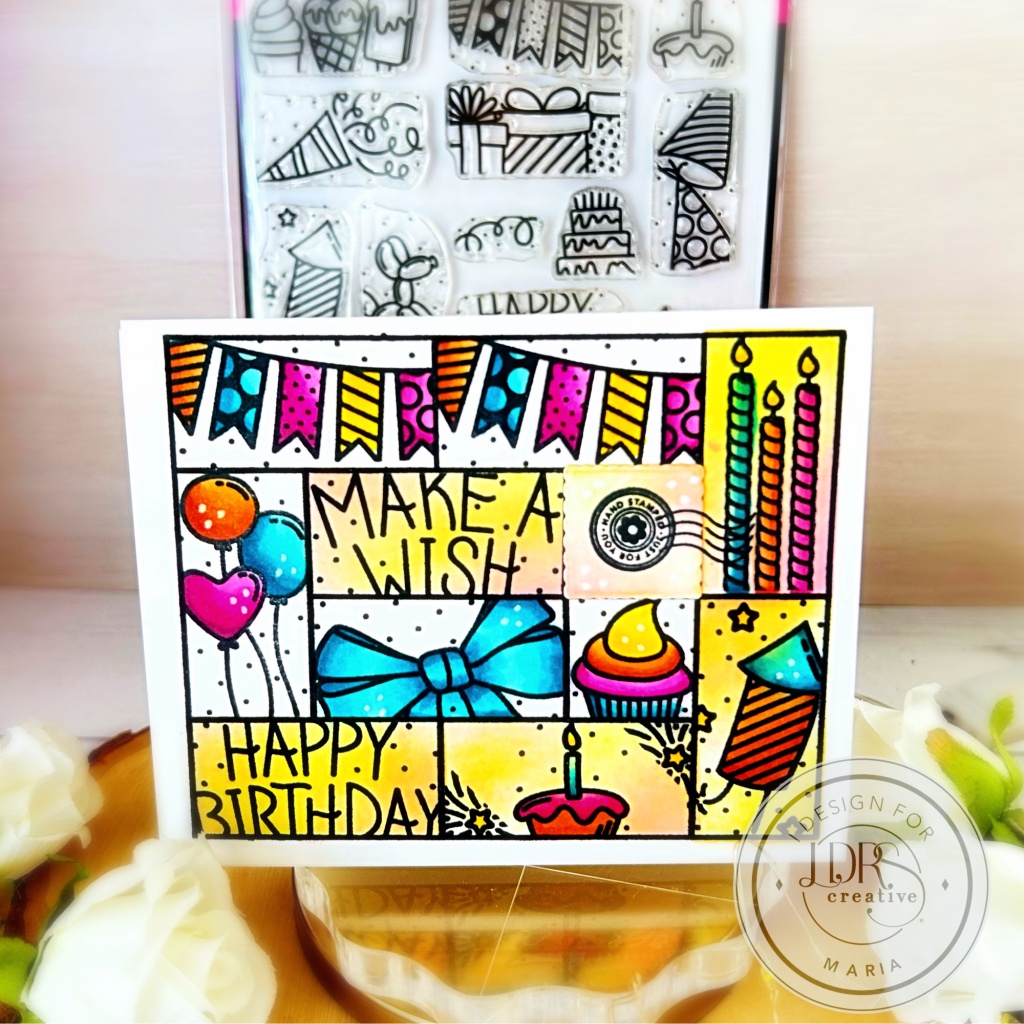
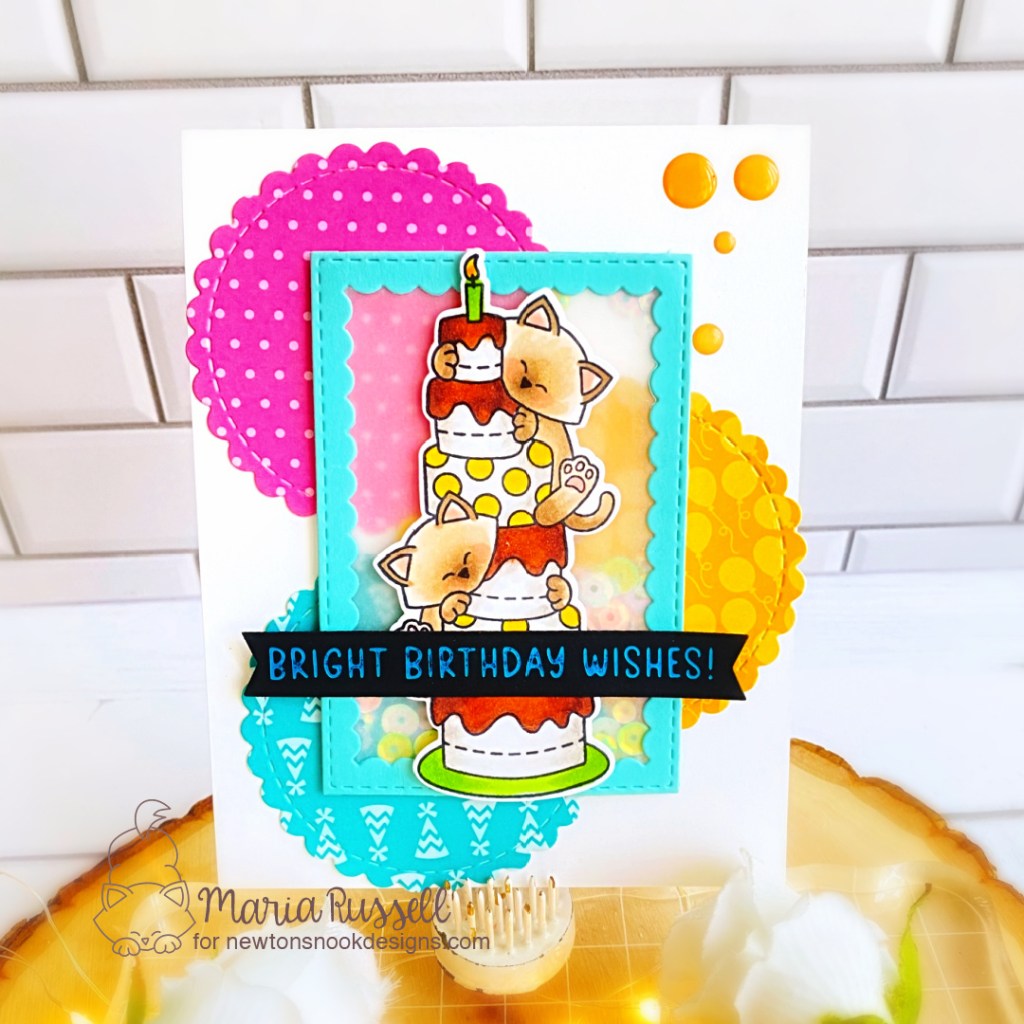
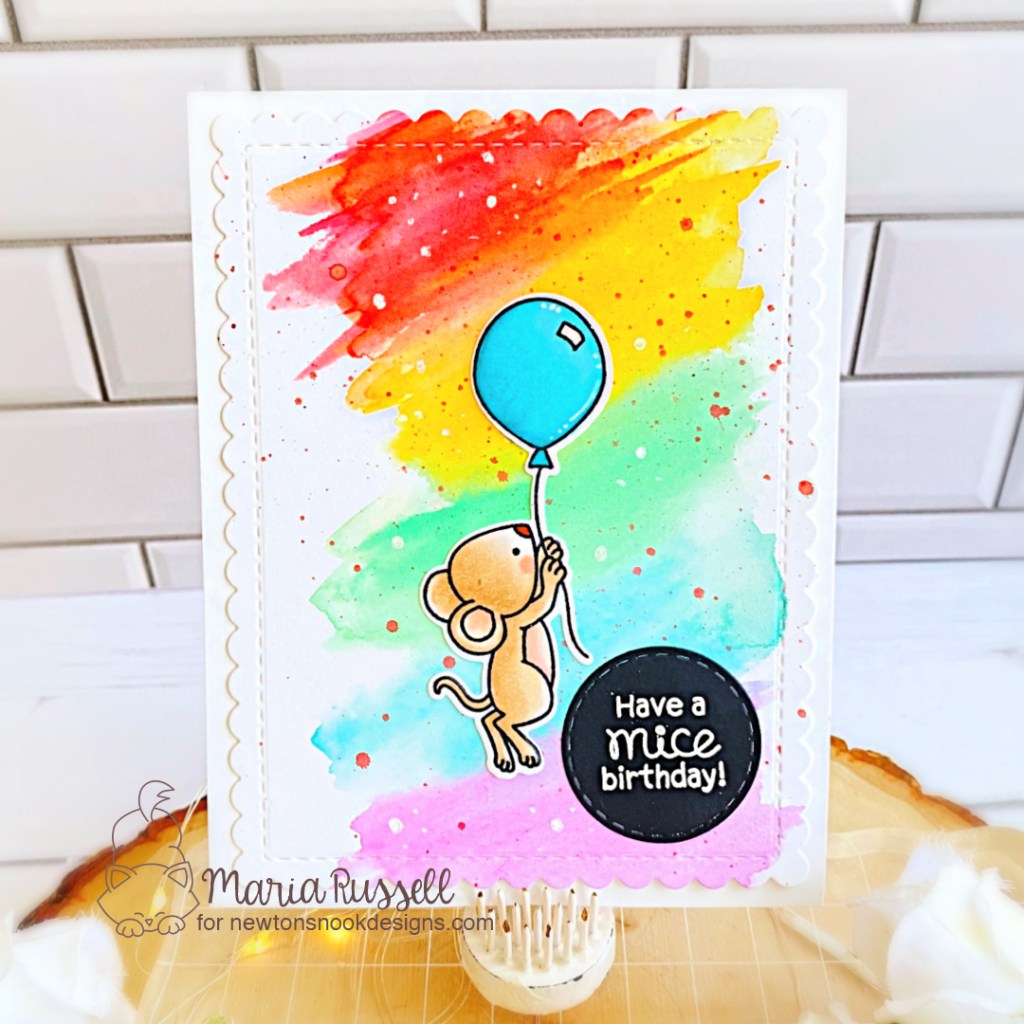
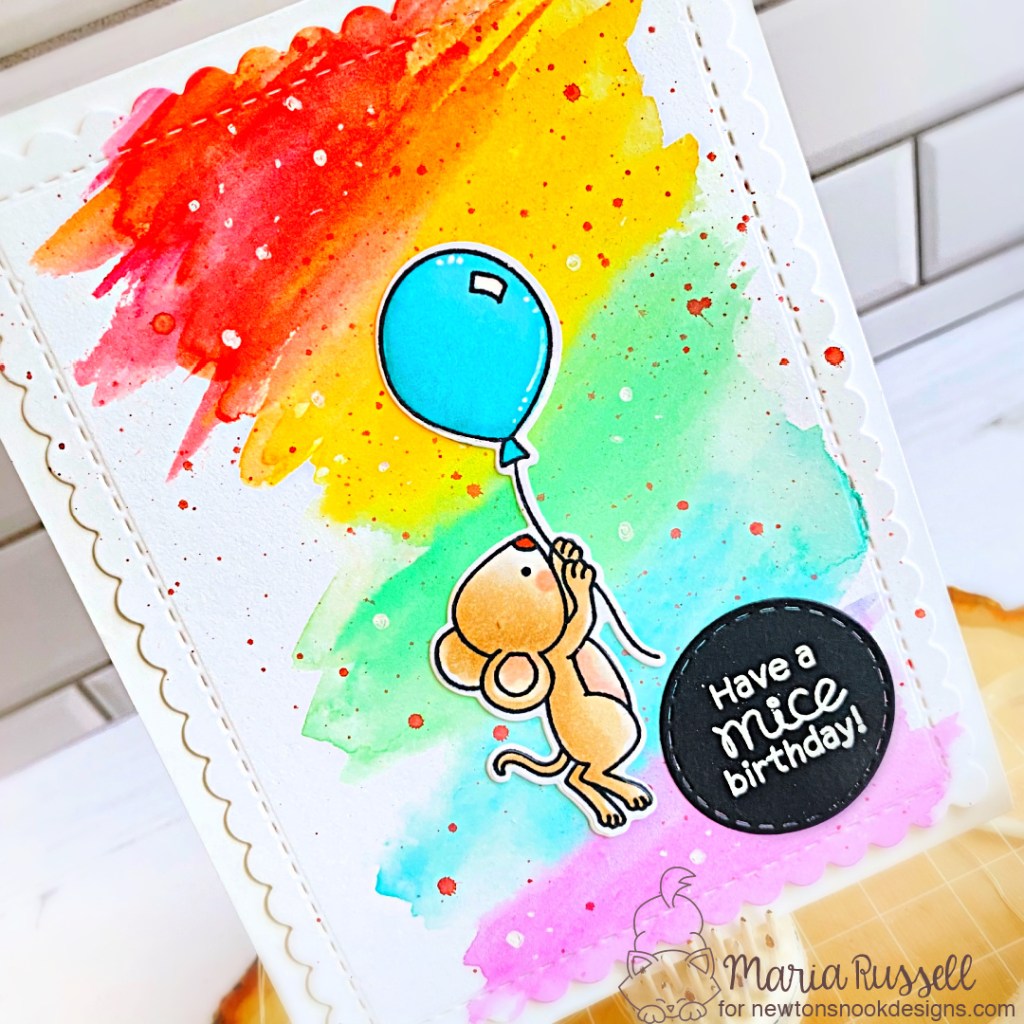
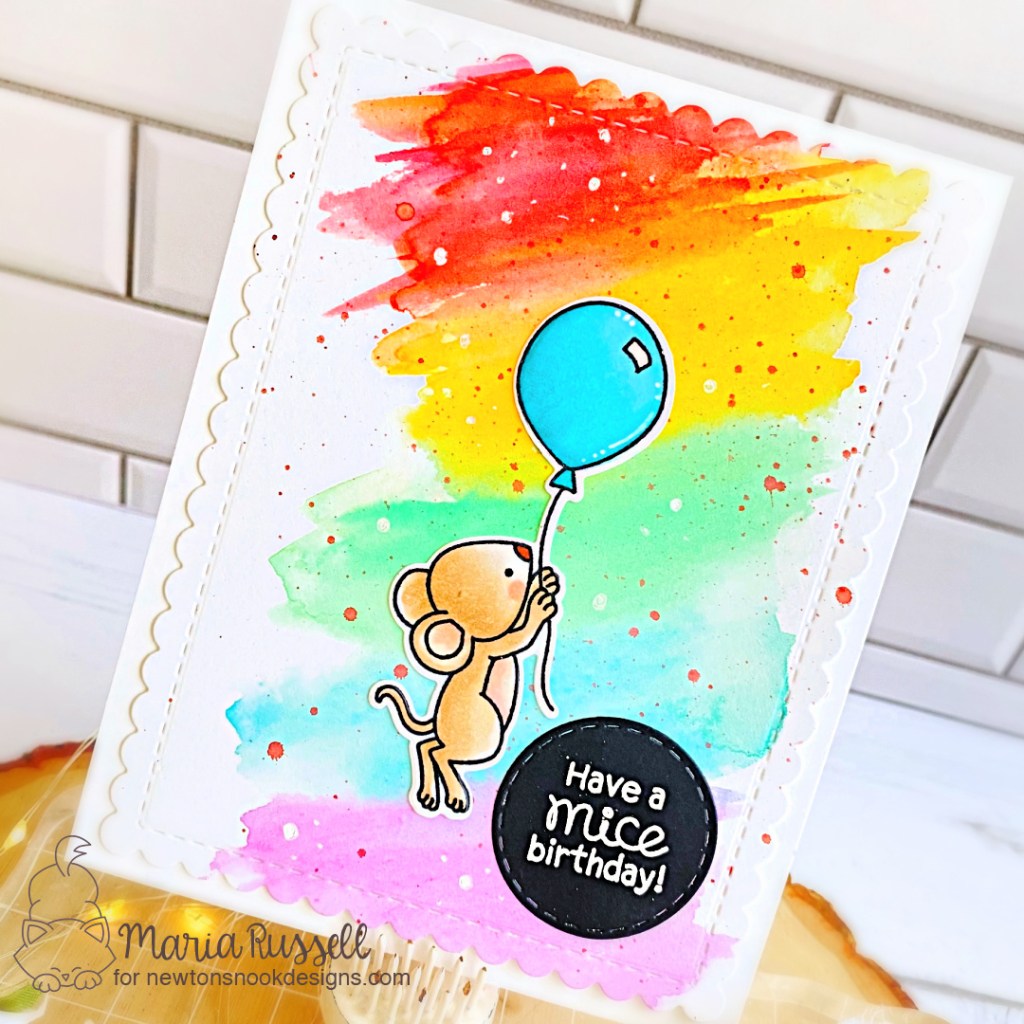
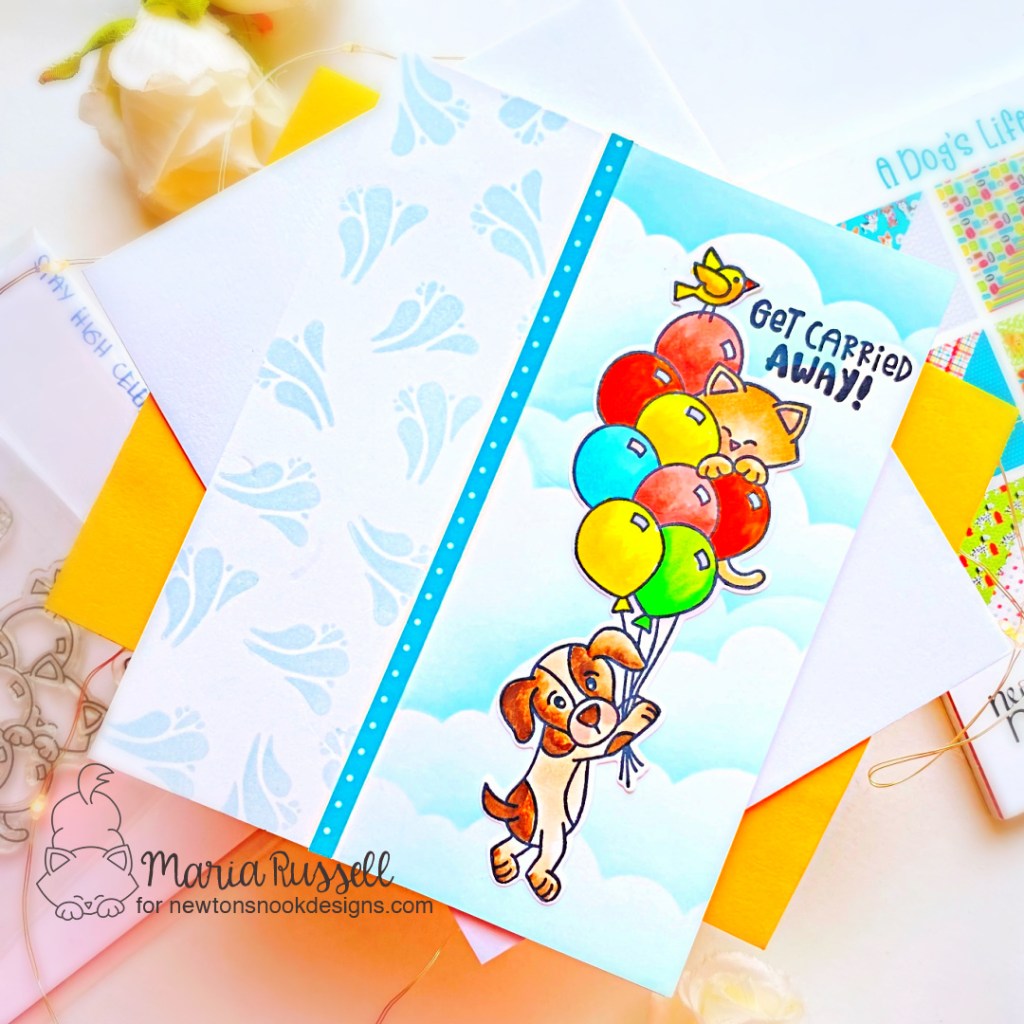
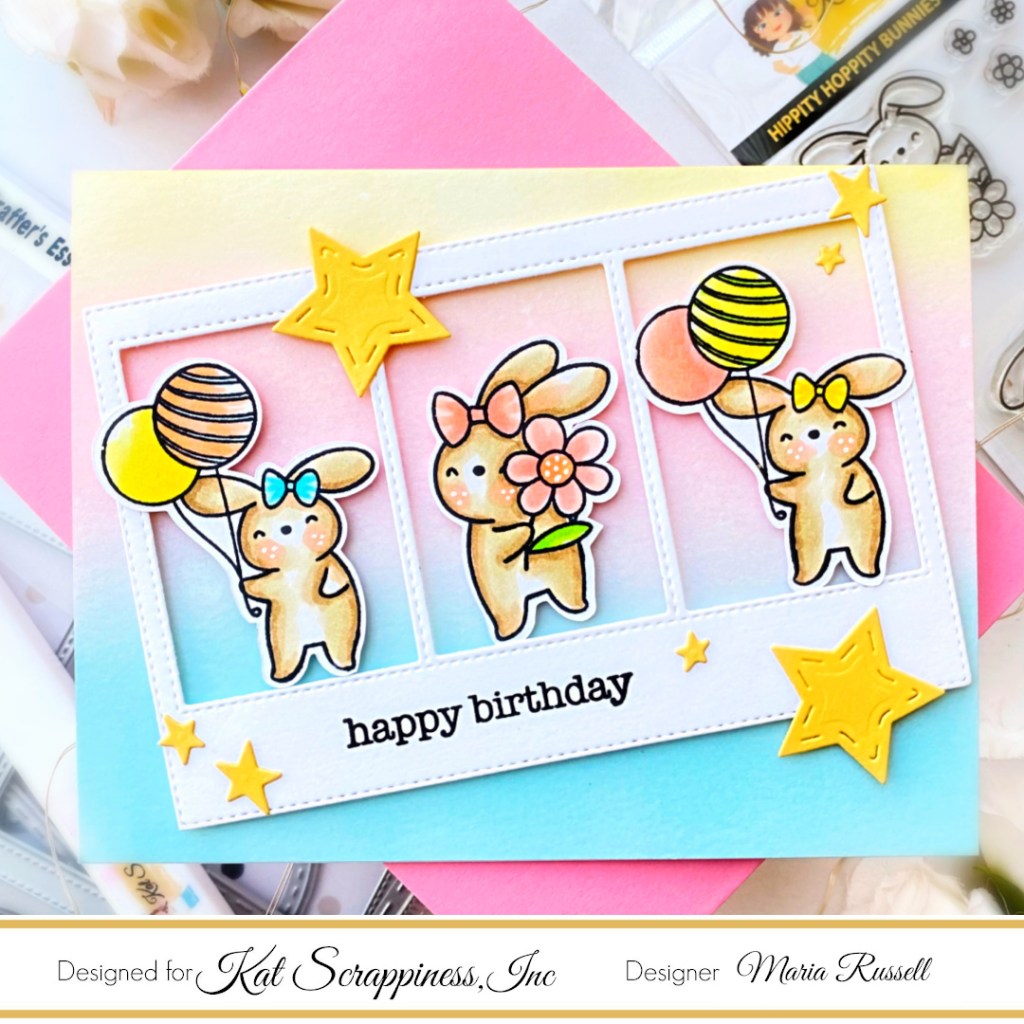
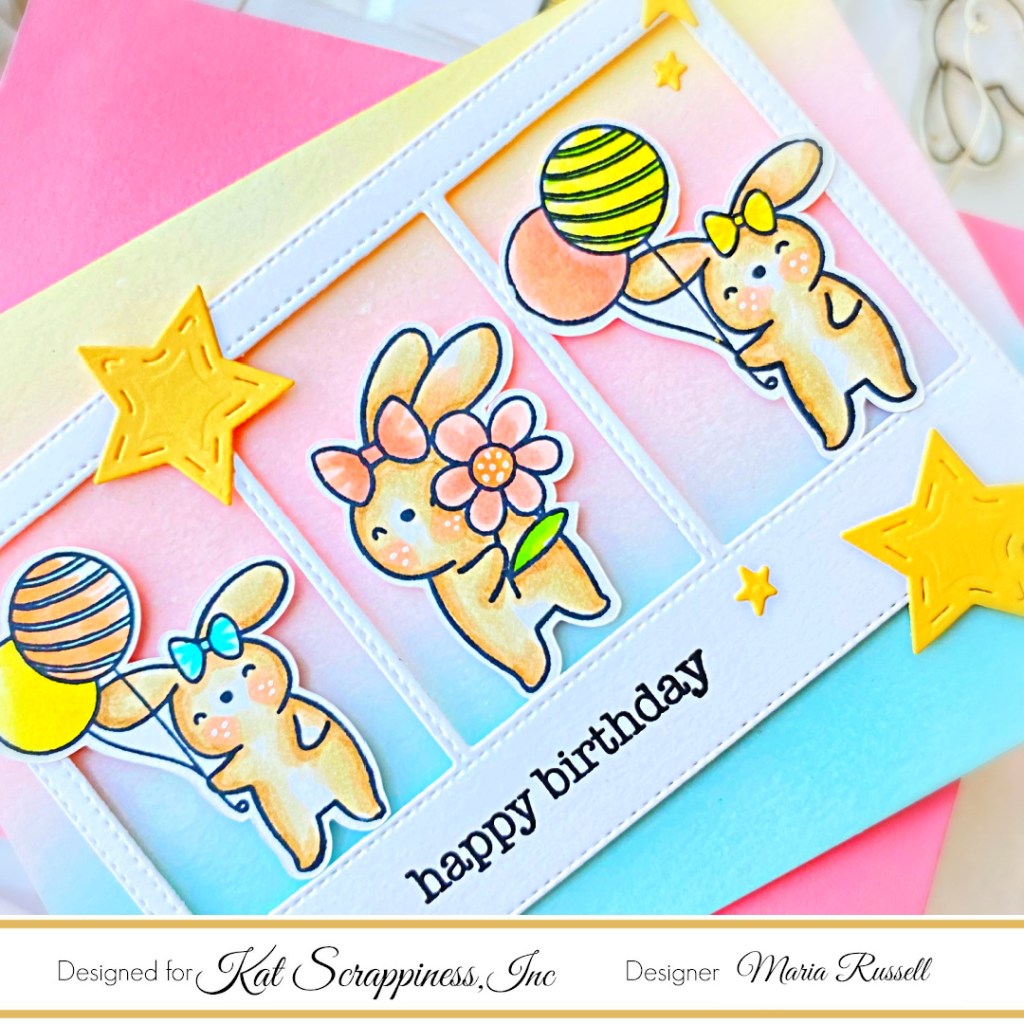
I started by stamping the Party Time Tails Stamp Set onto Neenah Solar White cardstock and colored with alcohol markers. I used the Party Time Tails Coordinating Dies to die-cut the images. Since I already have a 5×7 card base with an ink-blended background in my stash, I decided to add some texture by splattering it with some white watercolor.
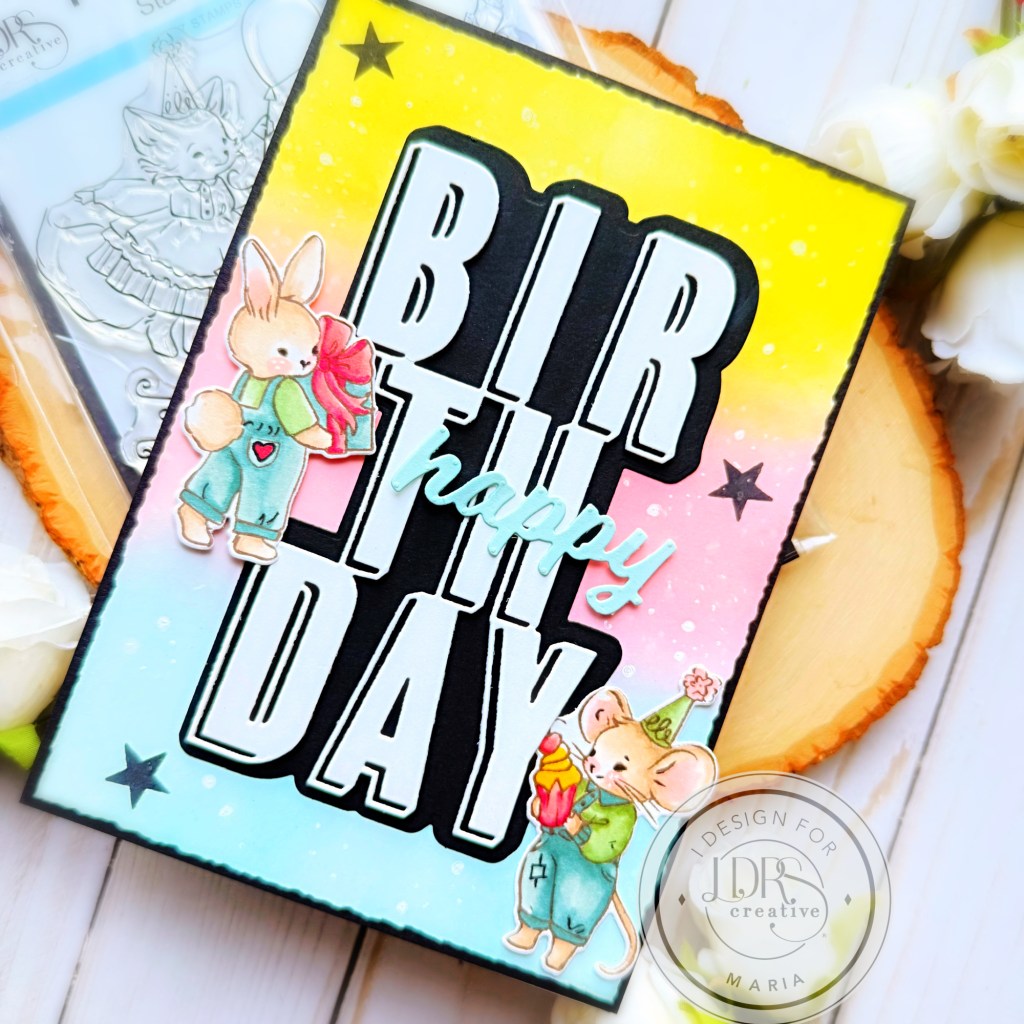
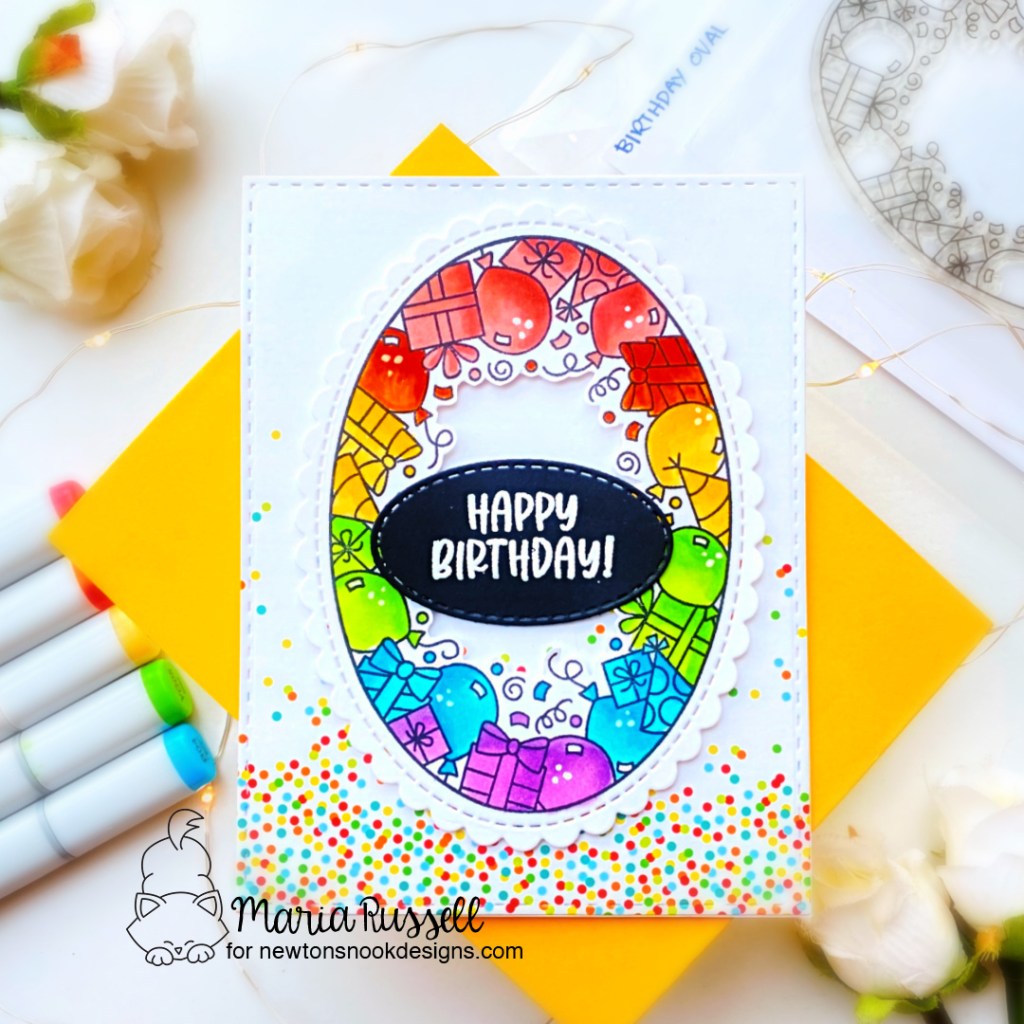
I wanted a big, bold sentiment to match my 5×7 birthday card, so I decided to use the Big Word Birthday Die. Once the sentiment is adhered to the card, I added the little cute mice and finished the design by stamping some black stars using the aLined Geos Stamp Set. Here’s another look at the finished project:

I hope I have given you some inspiration today to create beautiful projects with the new Sweet Escape Collection. We cannot wait to see what you create, and don’t forget to share it on social media!
Thanks for stopping by, and happy crafting!