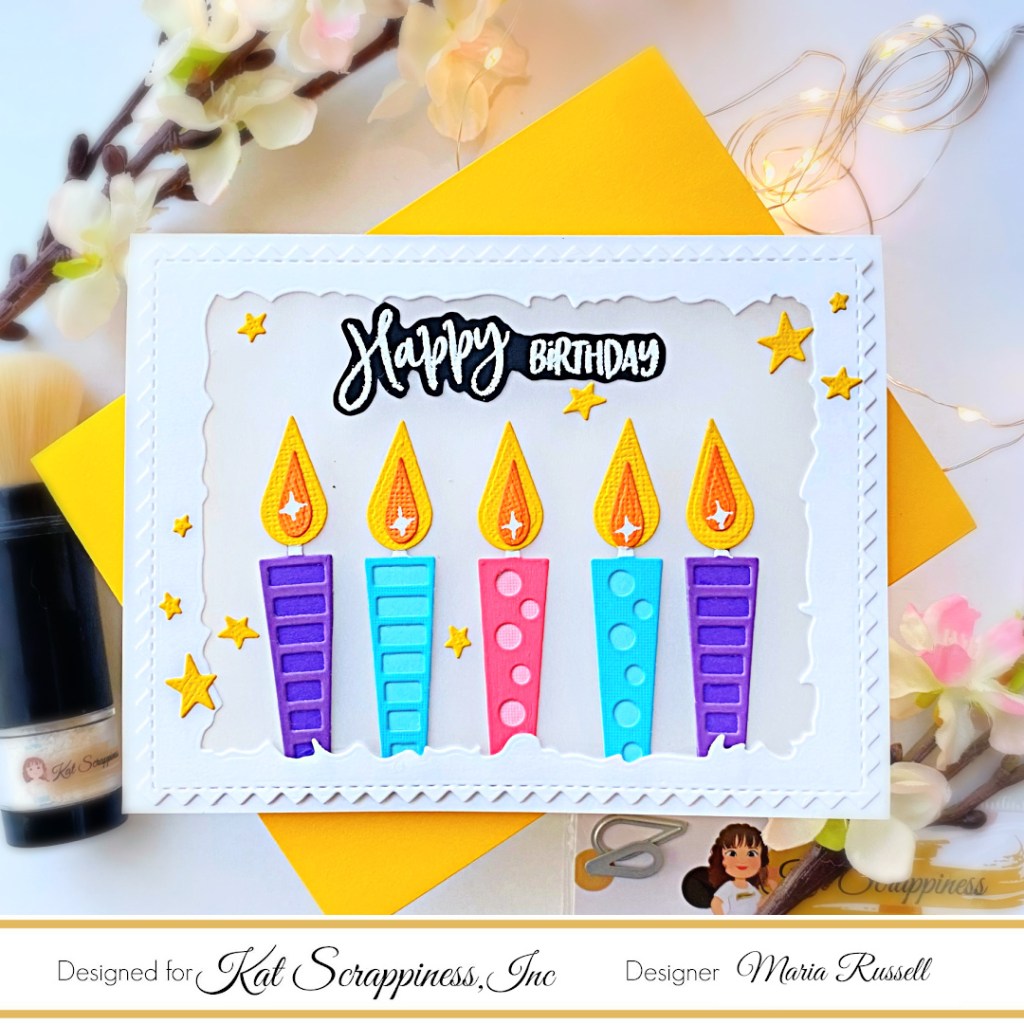
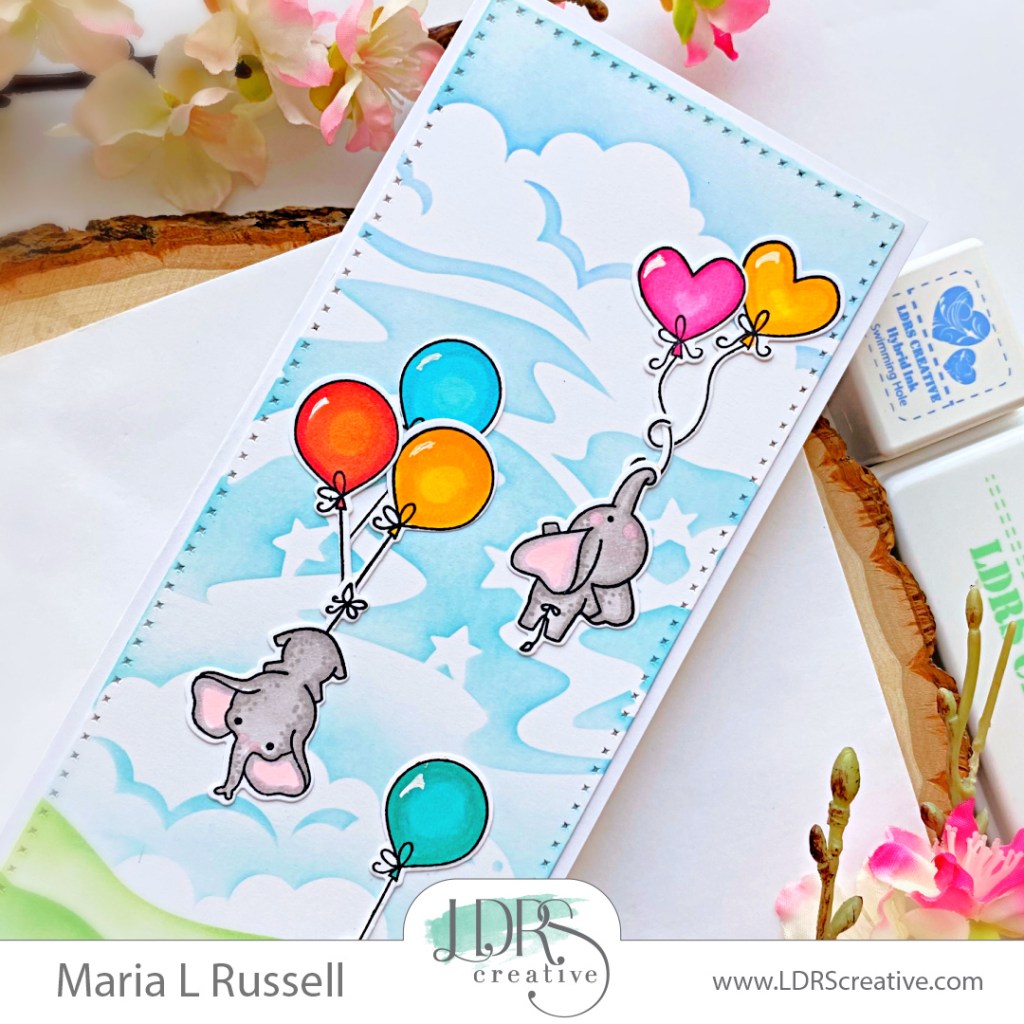
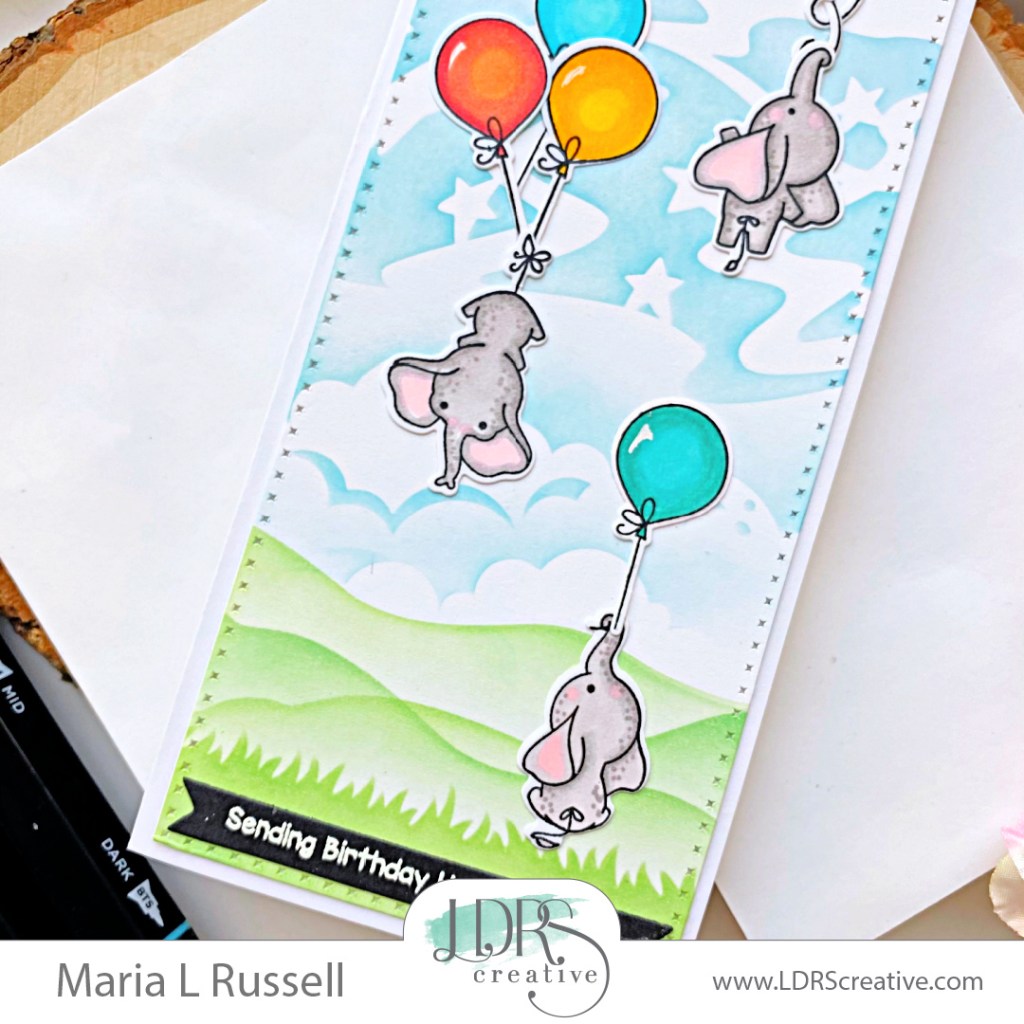
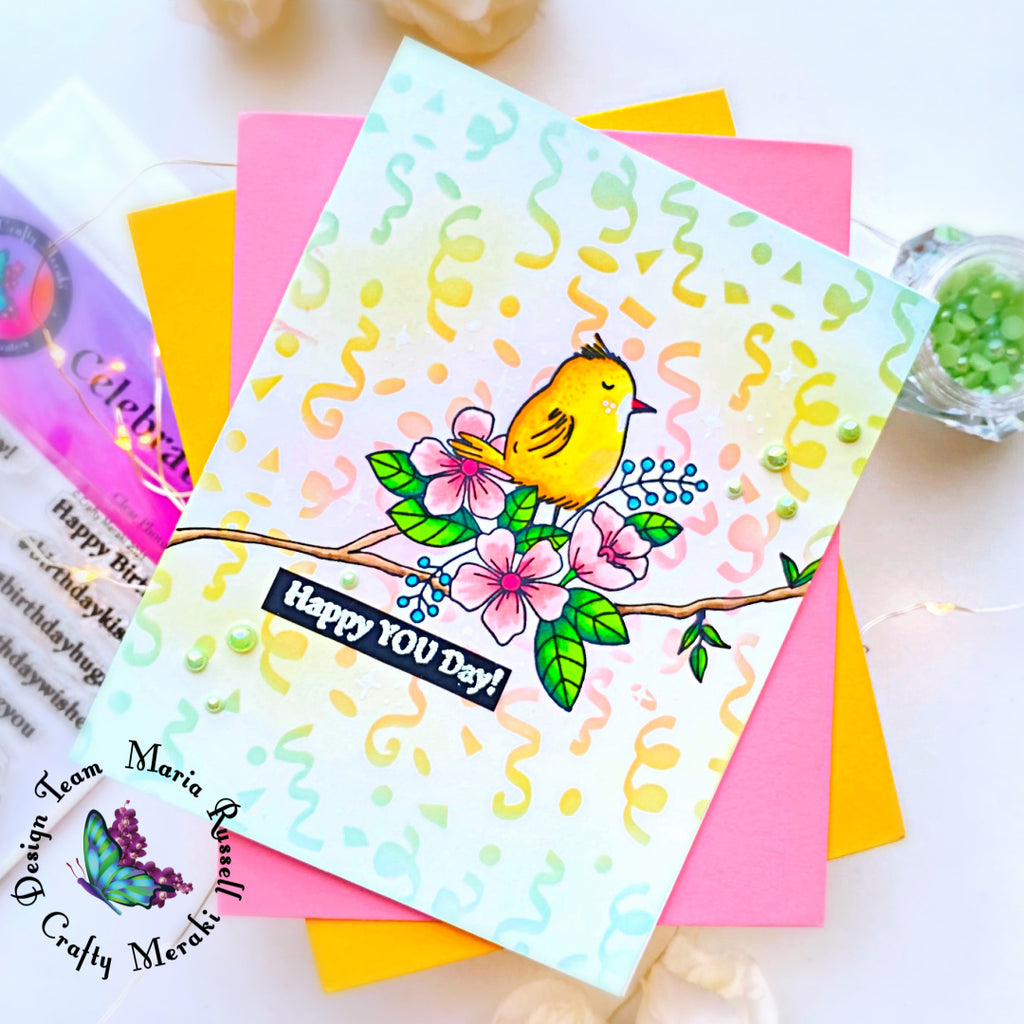
I am so excited to be on the Crafty Meraki blog and over here, sharing this cute Birthday Card, showcasing the Celebrate You Stamp Set along with the Party Time 6×6 Stencil and Peridot Opal Gems.

Here’s how I made the card:
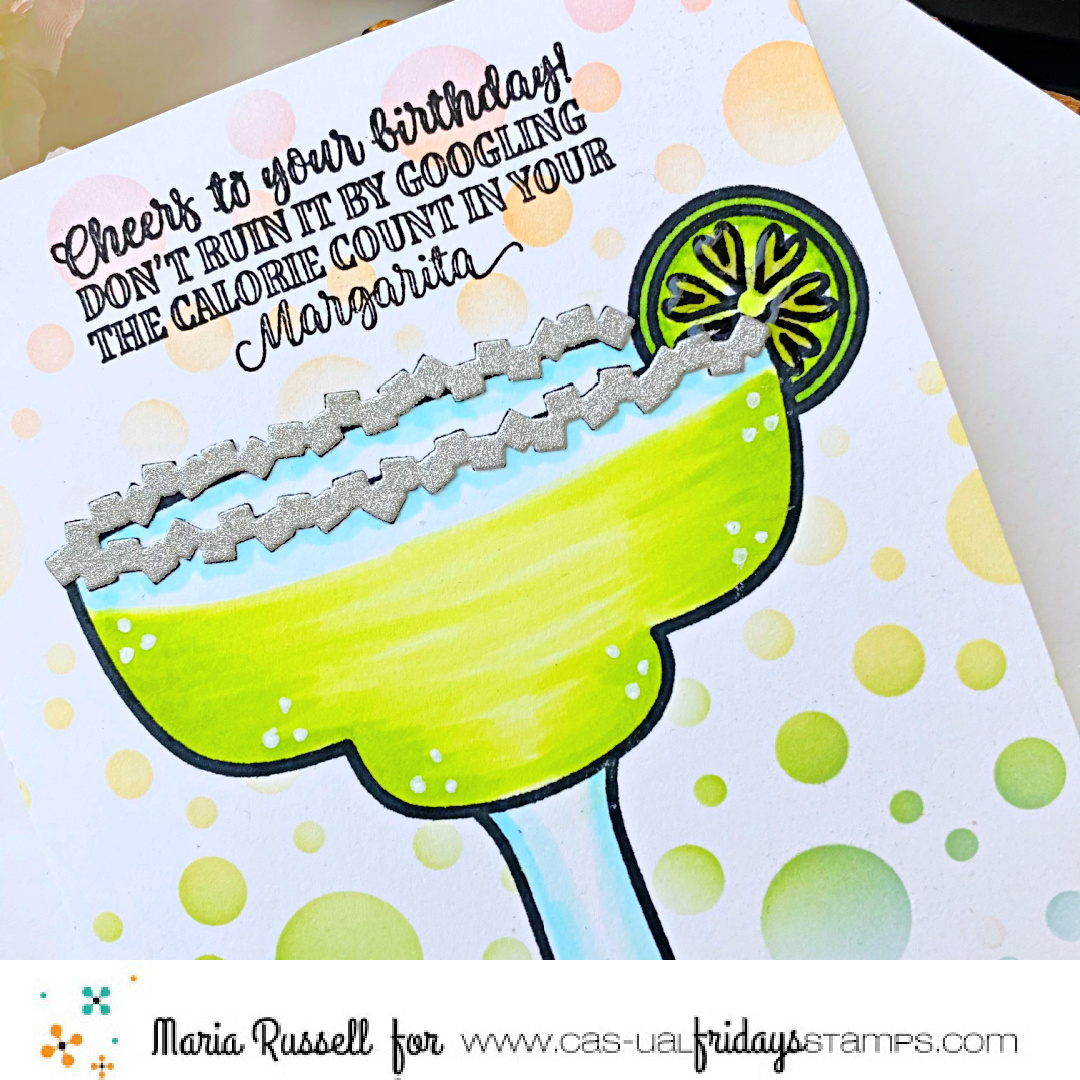
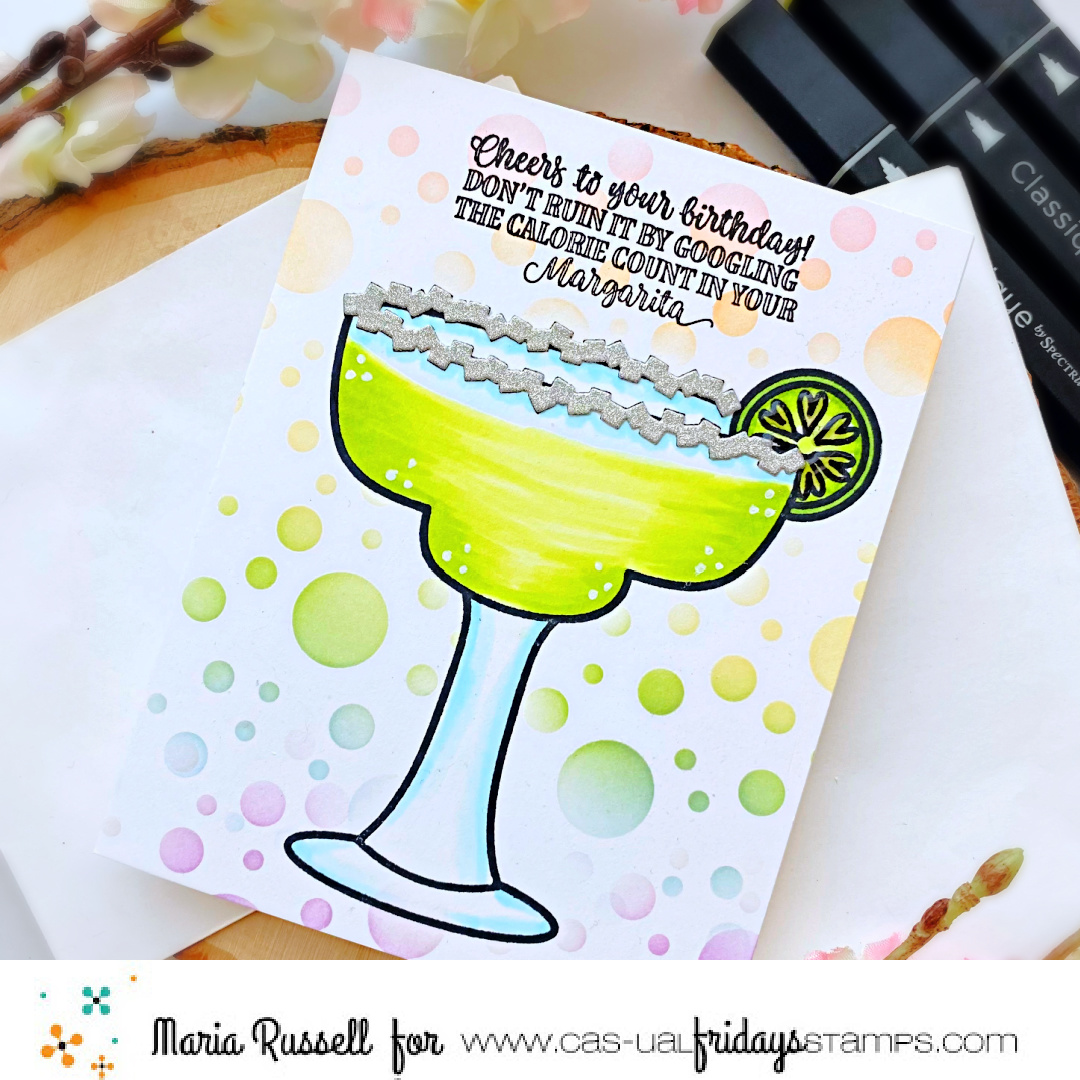
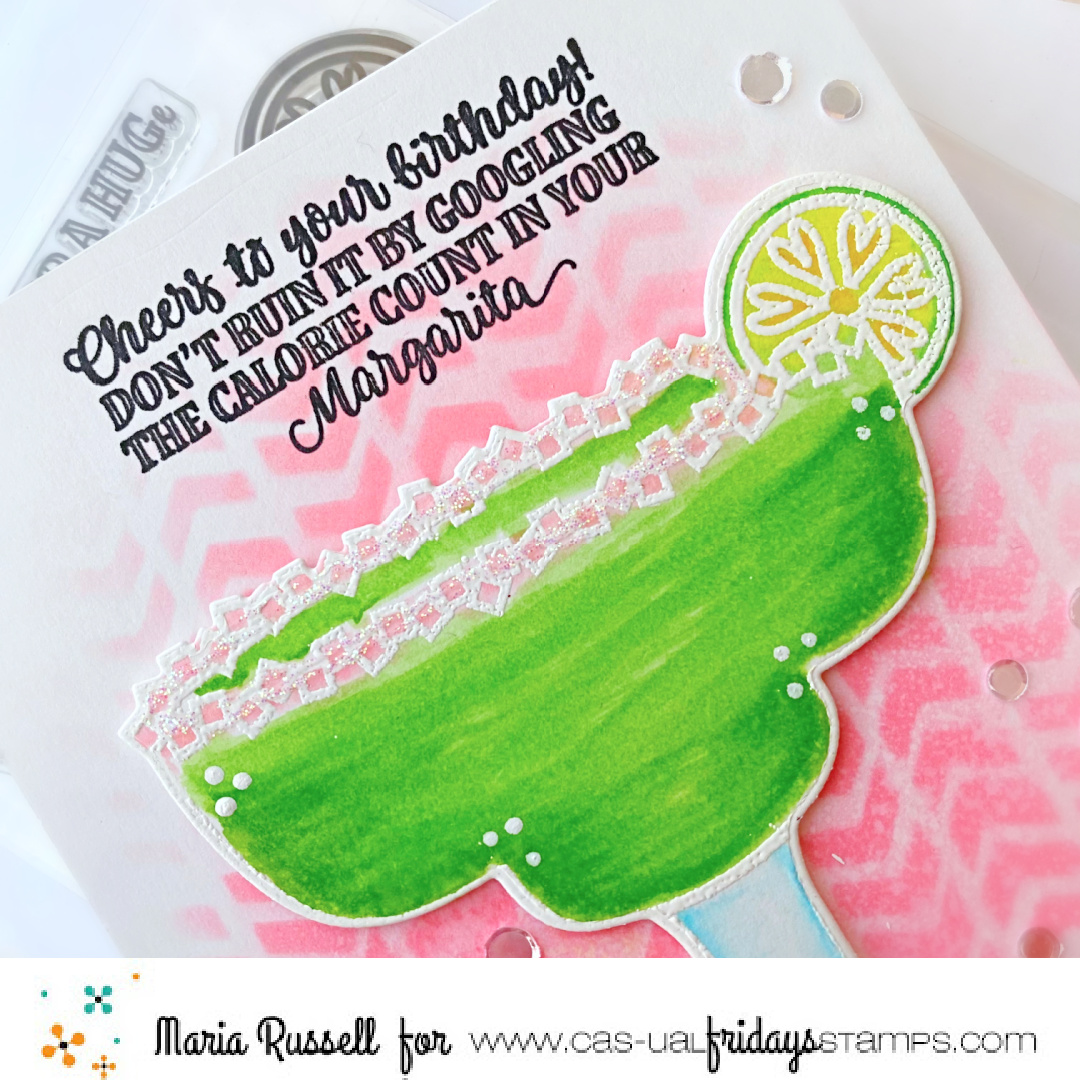
- Place the Celebrate You stamp image inside the MISTI Stamping Tool and stamp a few times on some Neenah Solar White Card Stock measuring 4 1/4 by 5 1/2.
- Use Copic Multi-liner to draw the branch and a few leaves. [Designer tip: I drew the branch and leaves so that the image did not look like it was floating in the air!]
- Color the images in with Spectrum Noir TriBlend Brush Markers.
- Stamp the same image on some masking paper and fussy-cut with precision snips. Adhere on the card panel.

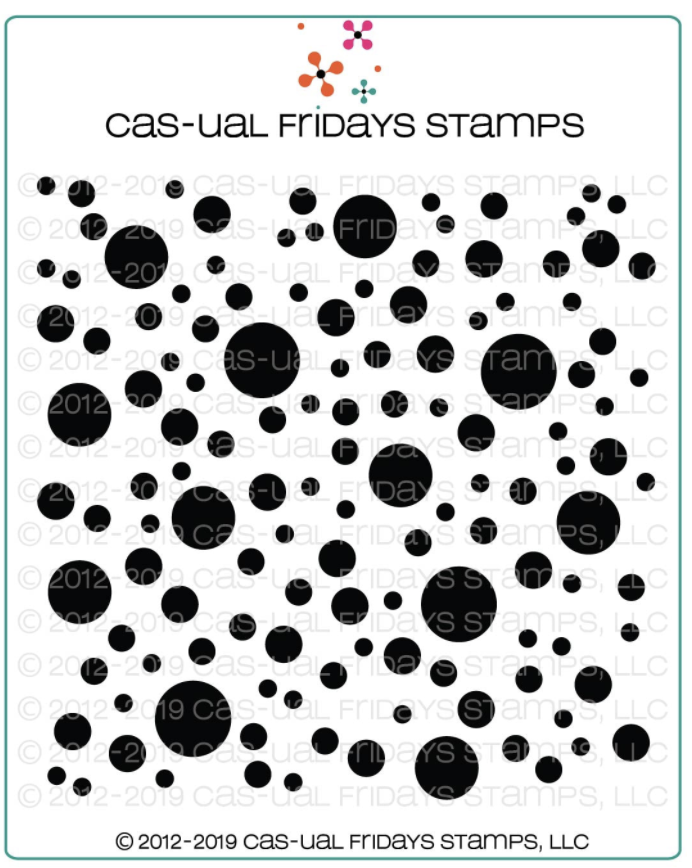
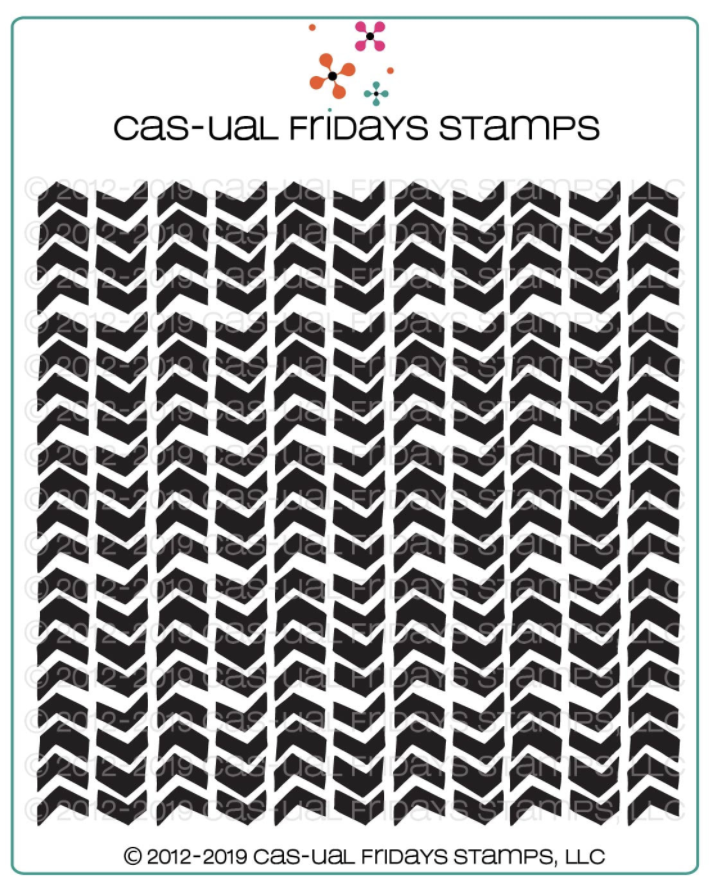
- Prepare the Party Time 6×6 Stencil by spraying some Pixie Spray and let it dry for about half an hour.
- Place the stencil on top of the colored panel.
- Use some blending brushes and a few dye inks to ink-up the panel. I listed all the inks on the supply list below for ease of reference.

- Use the same blending brushes and the same dye inks to add up more color to the front panel. [Designer tip: make sure you are applying the colors gently so that you would have a smooth blend of colors.]
- Use some tweezers to remove the masking paper.
- Stamp the sentiment on some black card stock with Versamark ink. Sprinkle some white embossing powder and heat-set using the heating tool.
- Finish the card design by adhering some Peridot Opal Gems to the card and use some white gel pen to add some stars and dots for added interest and texture.
I hope you like the card today and got inspired. The supplies I used are listed and linked for your convenience. Thanks for stopping by today, and happy stamping!
XOXO,
———-SUPPLIES———–