Retiring Products Feature Week with Newton’s Nook Designs – HAPPY LITTLE THOUGHTS

Hello and Happy Valentine’s Day everyone! Did you see that Newton’s Nook Designs is having a retiring sale on their website? It’s time to make room for new products so they are retiring select designs! These designs are available at up to 40% off while supplies last so hurry and get your favorites before they’re gone for good!

All throughout this week, the NND Design Team will be sharing inspiration using some of our favorite products from the retiring list!  Check out what I created today and don’t forget to check the NND Blog each day this week for more fun inspiration! Take advantage of this sale because there’s a TON of AMAZING products right now that you can purchase with a huge discount.

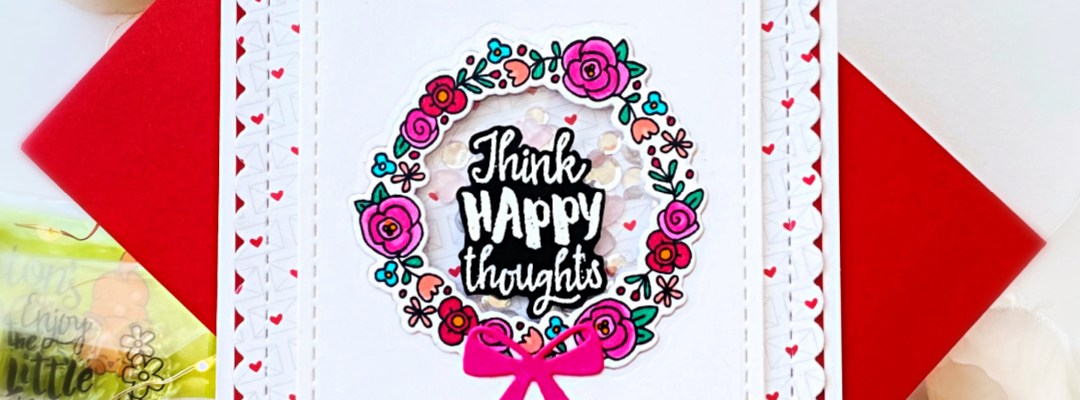
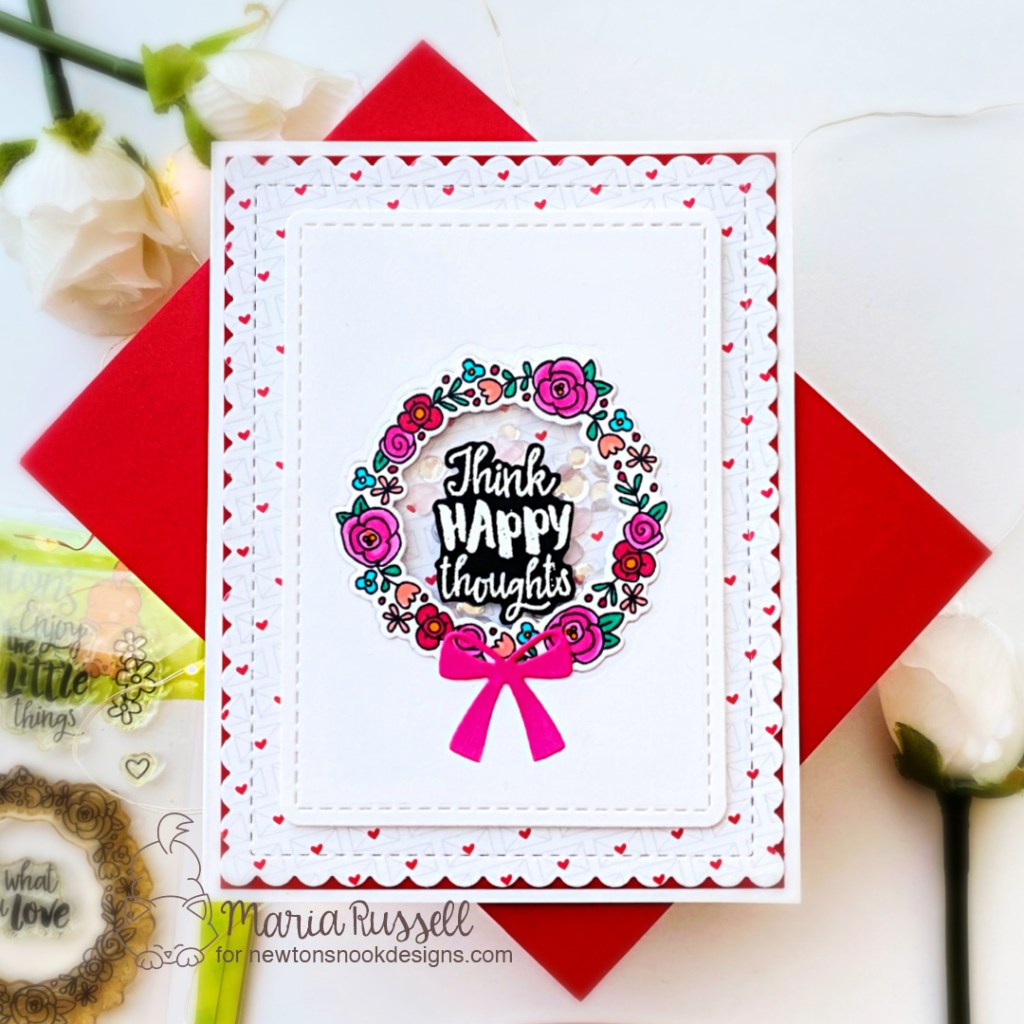
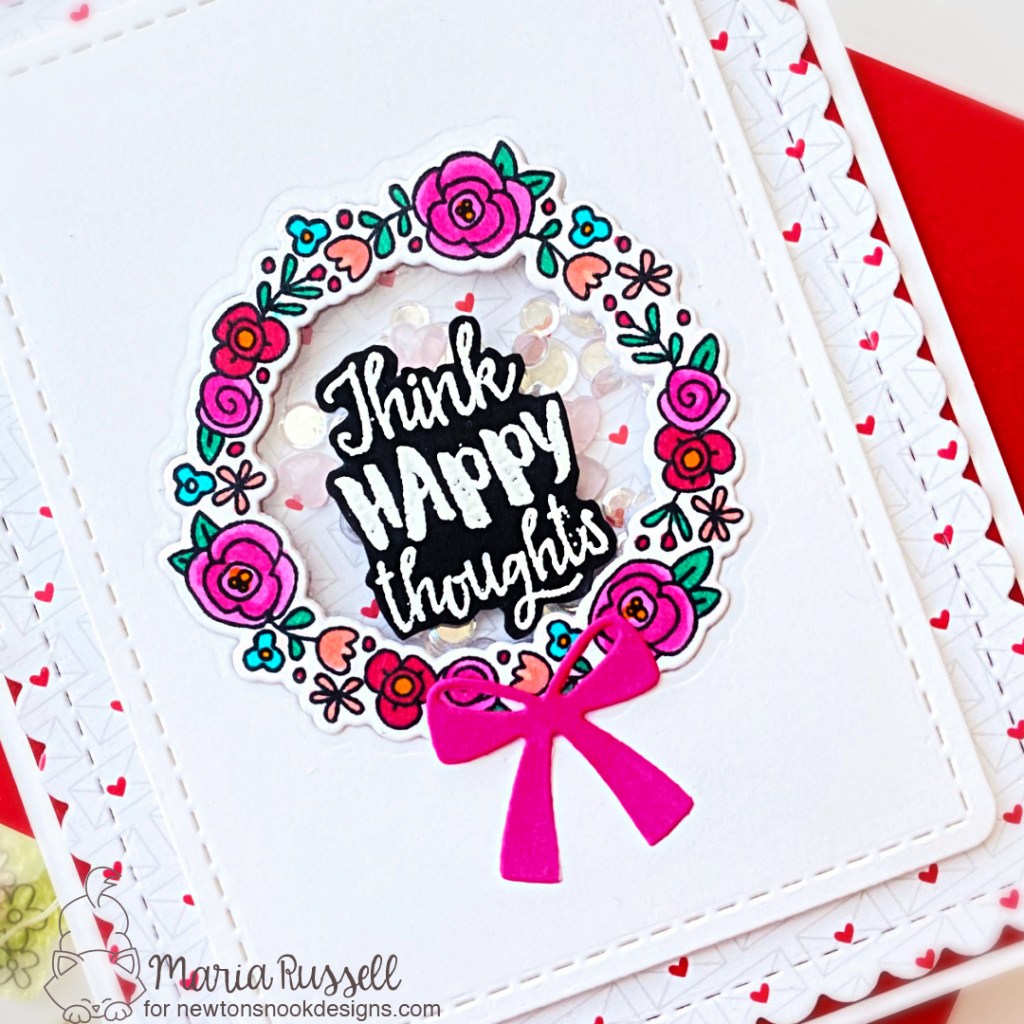
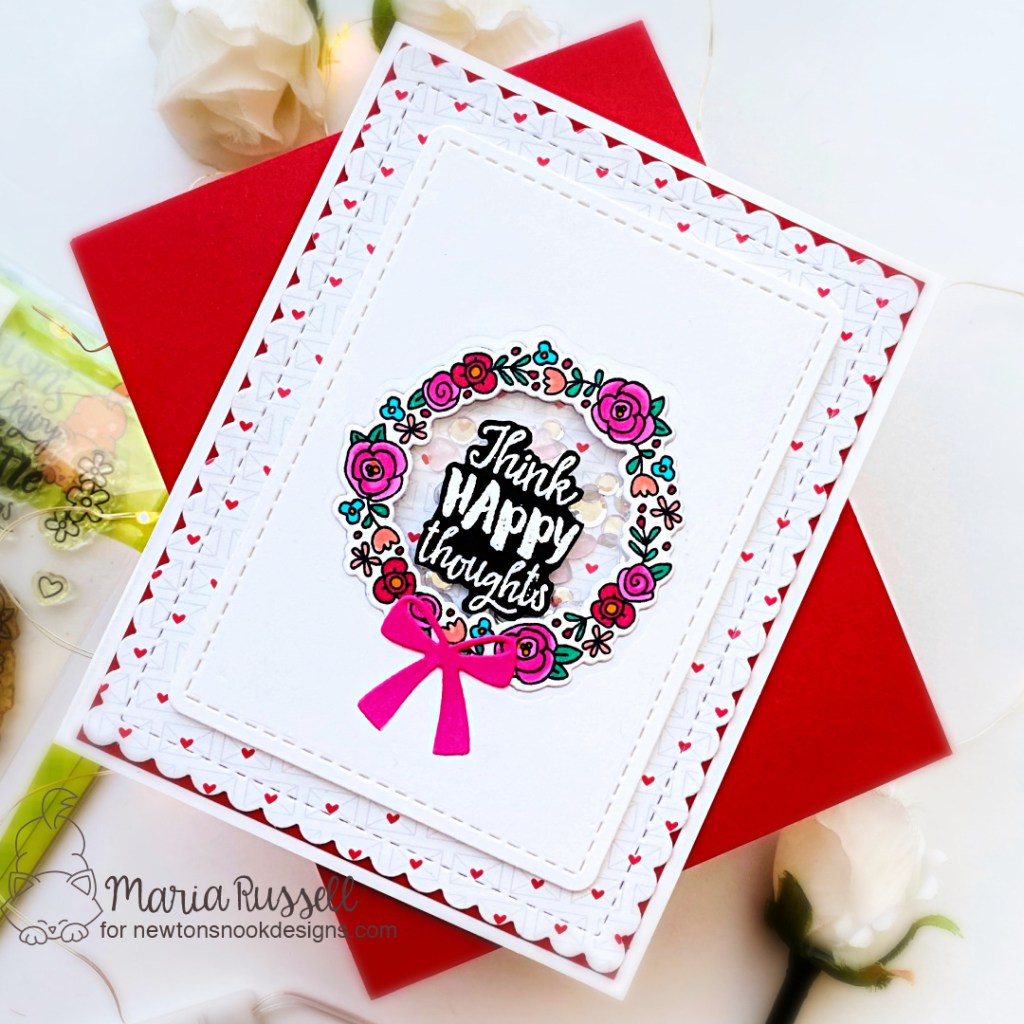
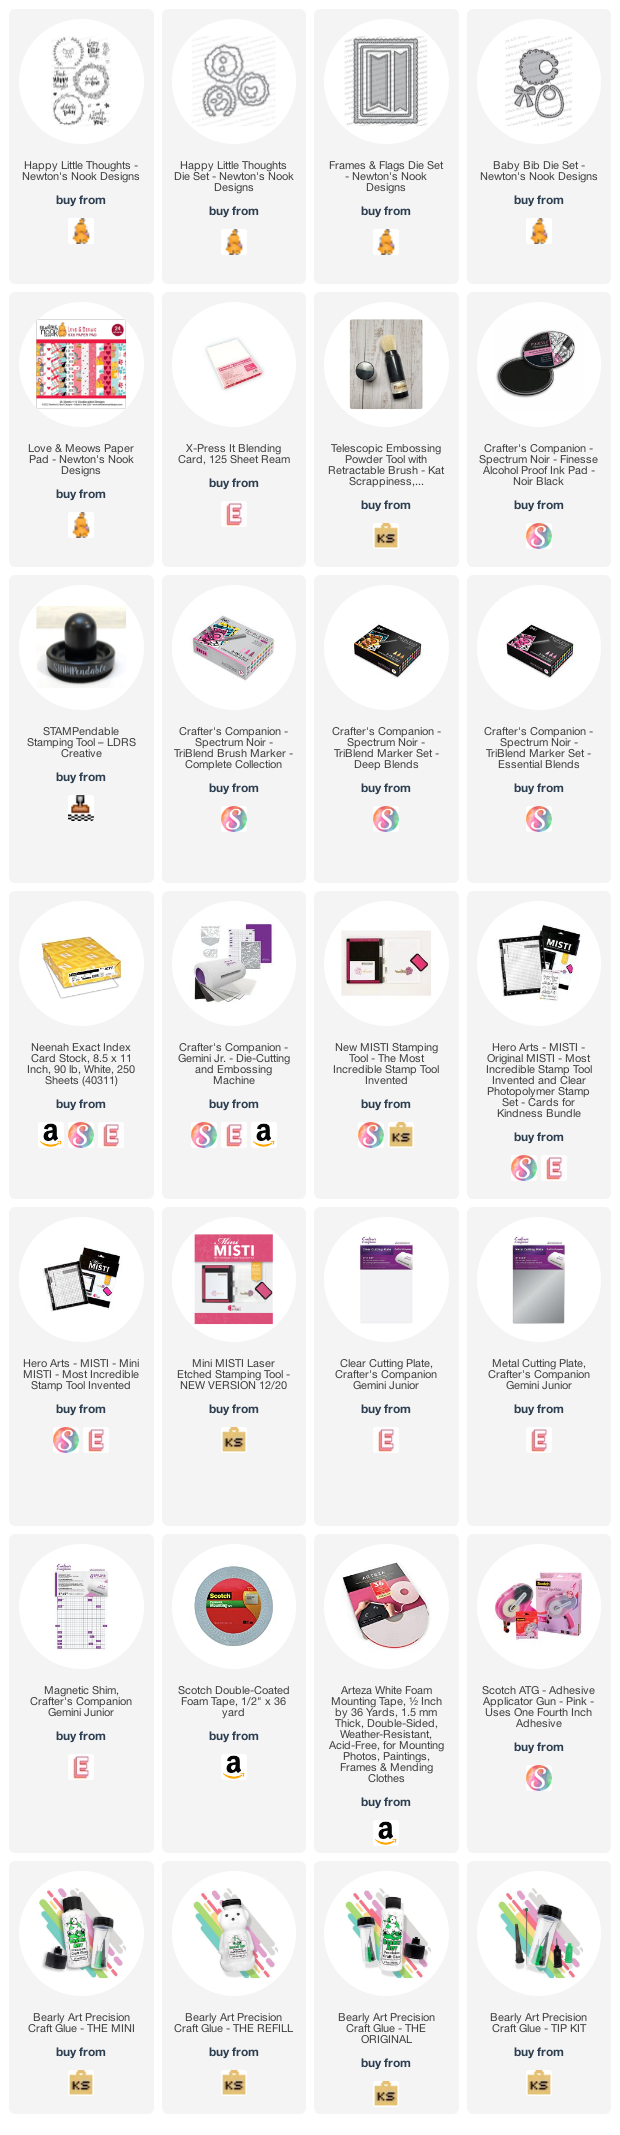
For my project today, I am showcasing the Happy Little Thoughts Stamp Set and Happy Little Thoughts Coordinating Dies. The background pattern paper is from the Love & Meows 6×6 Paper Pad that was die-cut using the scallop from the Frames & Flags Die Set.

Here’s how I made this card:

  • stamp the images on some Neenah solar white card stock and color the images in with alcohol markers.
  • die-cut the images using the coordinating dies.
  • die-cut the background panel using the scallop die from the Frames & Flags Die Set and Love & Meows 6×6 Paper Pad. Matt this piece with some red card stock for a little dimension and adhere on an A2-size notecard.
  • die-cut the small rectangle using the die from the Frames & Flags Die Set and Happy Little Thoughts Coordinating Dies.
  • adhere some acetate sheet behind this panel and add foam adhesive to create the shaker well.
  • in-lay the colored image on this panel with liquid glue.
  • add some clear sequins with a few heart enamels as the shaker element and adhere this panel on the card front.
  • stamp the sentiment on some black card stock with versamark ink and sprinkle with white embossing powder. Use heating tool to heat-set the sentiment.
  • fussy-cut the sentiment with precision snips and adhere on the card.
  • finish the design by adding the bow (die-cut using the bow die from the Baby Bib Die Set) with liquid glue.

I am super bummed that this stamp set is retiring. Don’t forget to check out all the Retiring Products Category by Newton’s Nook to see what is going away and grab your favorites now before they are gone for goodHere is a direct link to the retiring products page: http://bit.ly/NNDretiringProducts. The supplies I used are also listed and linked below. Thanks for stopping by and I hope you like my project!

————–SUPPLIES————-
You Are My Happy with Crafty Meraki

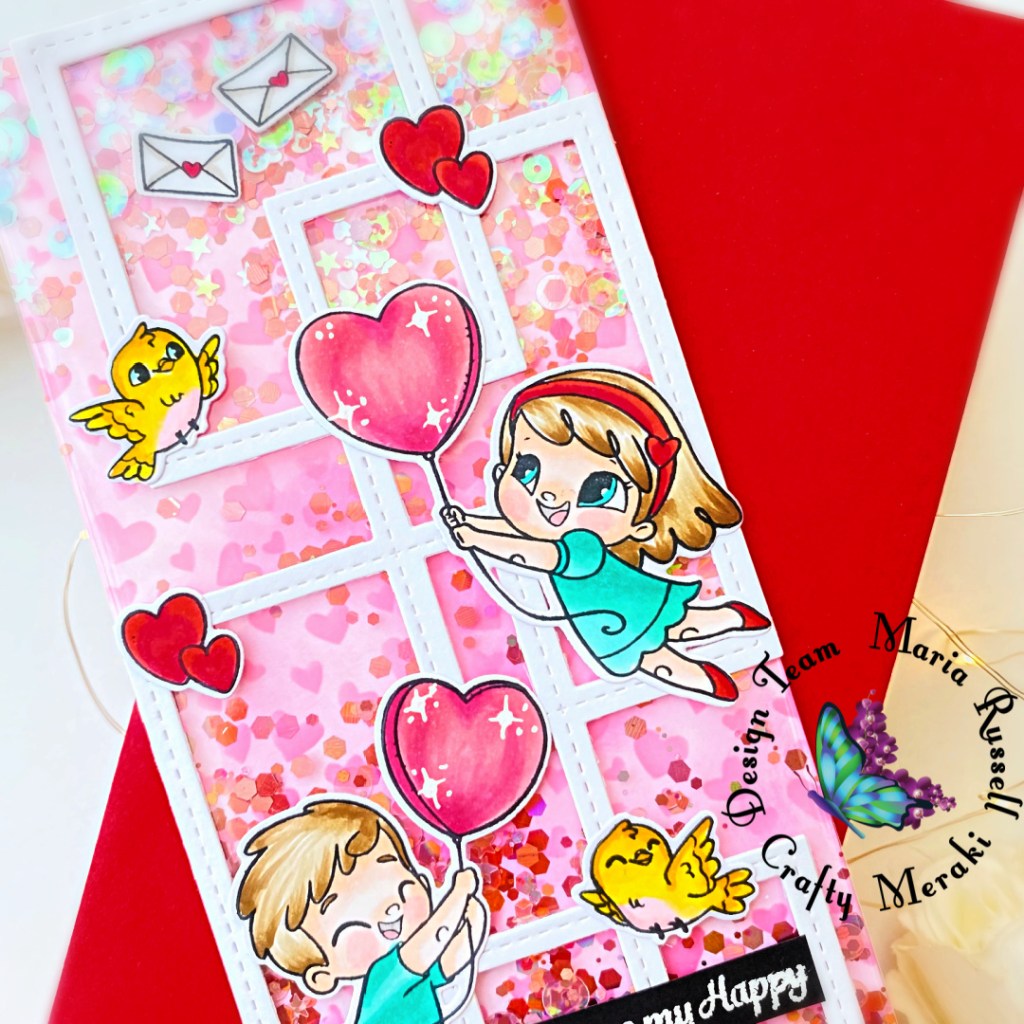
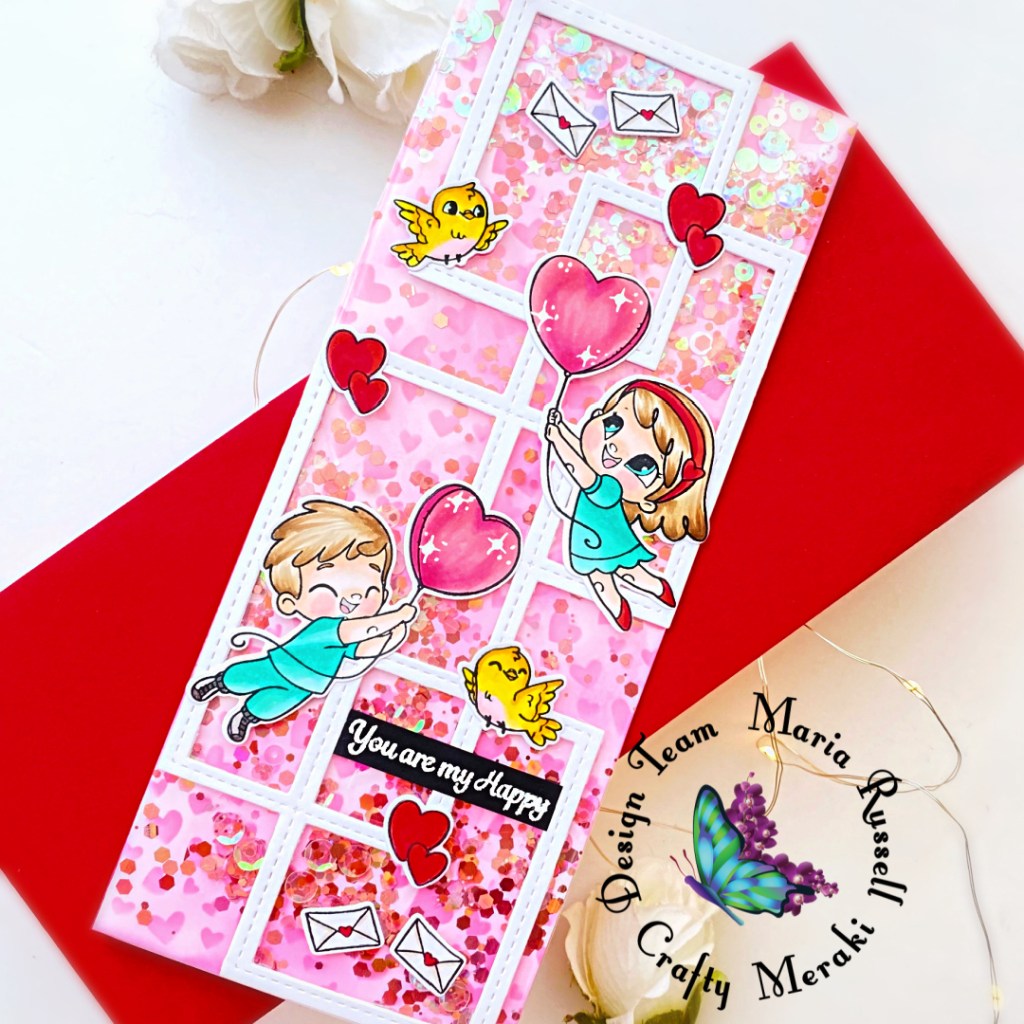
Hello everyone!  I am super excited to share my very first blog post here as a member of the Crafty Meraki design team!  Since Valentine’s Day is fast-approaching, I figured it’s only appropriate to share a fun Valentine’s Day Card!

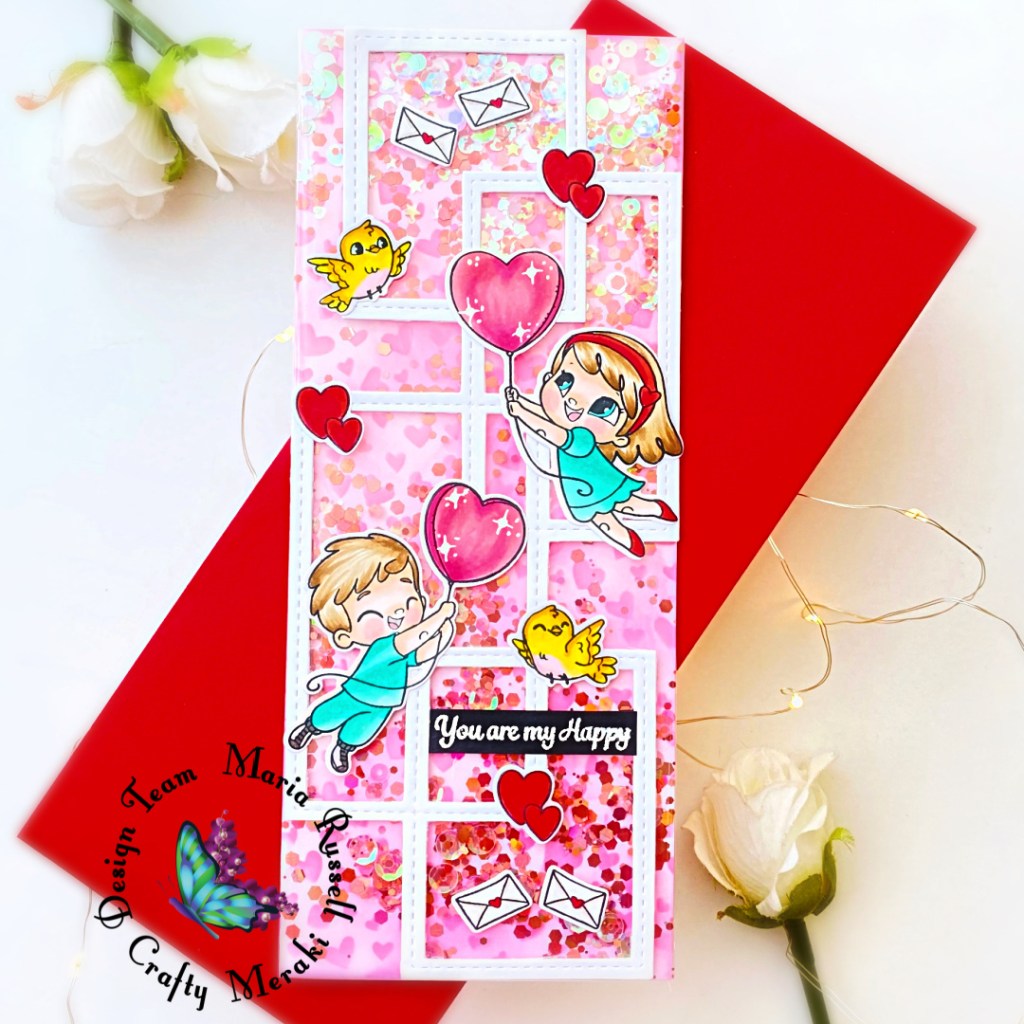
For my card today, I am showcasing the CM Valentine Stamp set and CM Valentine Coordinating Dies along with the Outside the Box Slimline Die

To make the card, I started by stamping the images on some Neenah Solar White Card Stock. I colored the images in with alcohol markers and used the coordinating dies to cut them all out.

Next, I prepared the slimline background panel by inking up some Strathmore Bristol smooth white card stock with distress oxide inks.  I also used a stencil from my stash for added interest.  I cut some leftover stamp packaging and added some tape on all sides and adhered the 3 sides first to create a pocket.  I added some confetti as my shaker element and adhered the top to close the shaker.  I love that even though this is a flat shaker card, the shaker bits inside move freely creating a fun, interactive element.

I die-cut the Outside the Box Slimline Die on some Neenah solar white card stock and adhered on the focal panel with foam tape.  I added the colored images on the foreground with liquid glue.

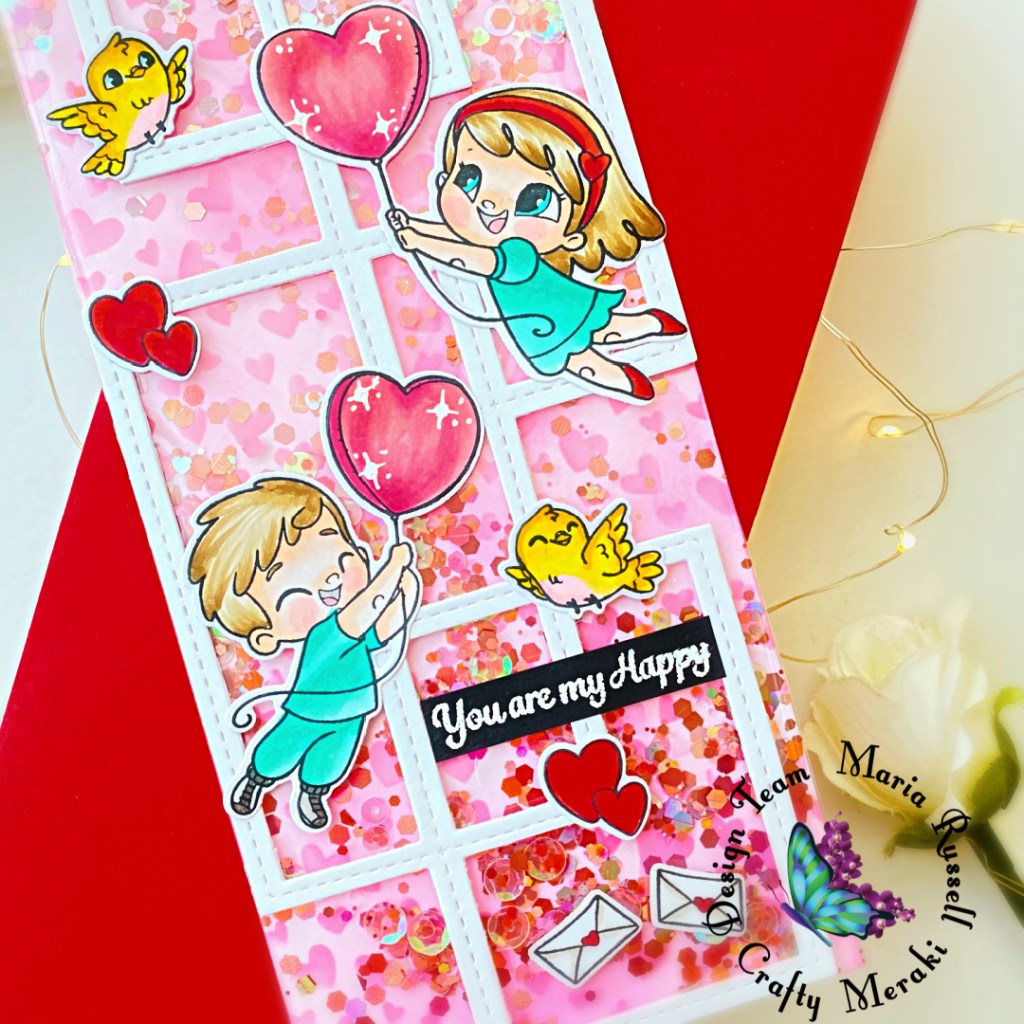
The sentiment was stamped with Versamark ink on some black card stock that I heat-set with my heating tool.  I finished the design  by using some white gel pen to add some dots and stars for added texture and interest.  Here’s another look at the card:

I hope you like my card today and got inspired!  To be able to purchase the items I featured today, click on the “highlighted” products to take you to the online store . Thanks for stopping by!

FEBRUARY CREATIVE HOP with Reverse Confetti

I am so happy to join Reverse Confetti’s February Creative Hop where you’ll find a lot of AMAZING inspiration using products from the January release. Check out the hop listing below to see the wonderful inspiration by the entire team.

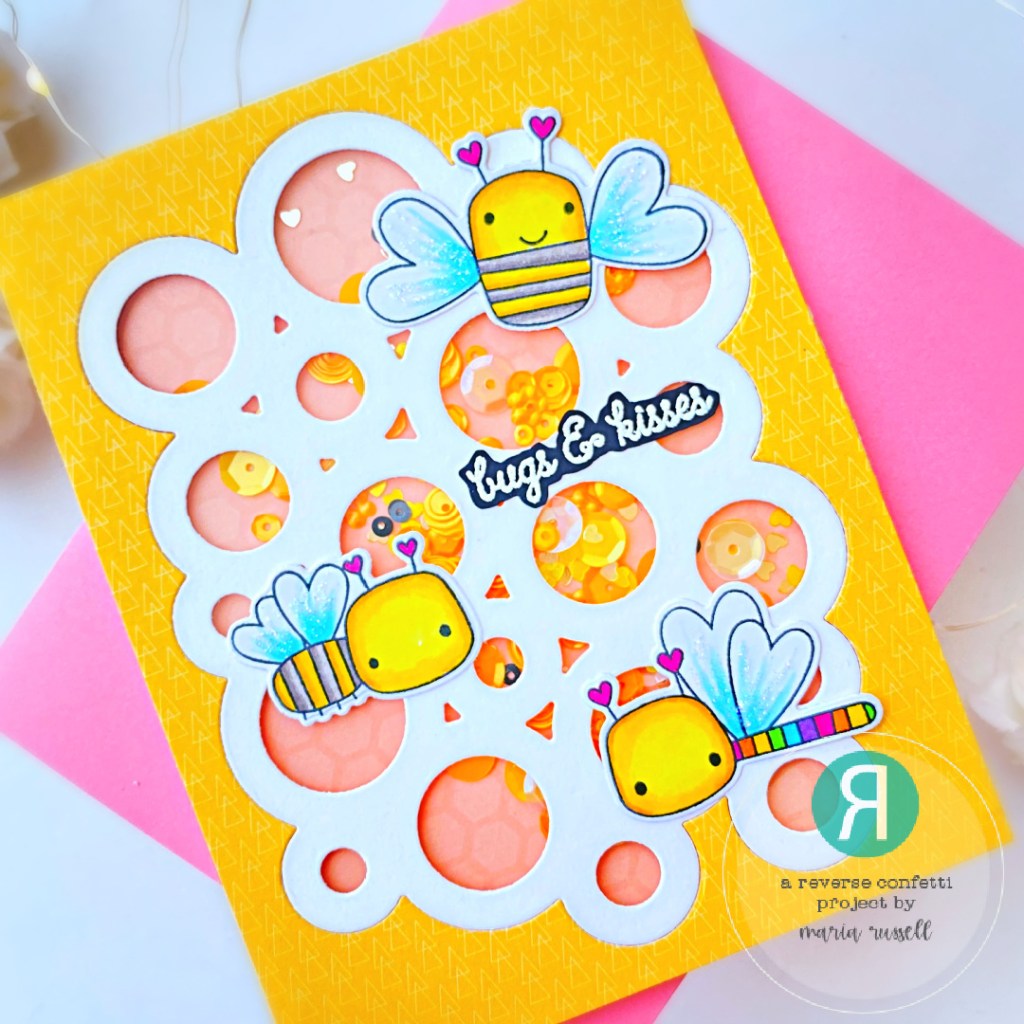
For my project today, I am showcasing the Love Bugs Stamp Set and Love Bugs Confetti Cuts, along with the Valentine Sentiments stamp set and the Bubbles Confetti Cuts.

Here’s how I made this card:

  • stamp the images from the Love Bugs stamp set and color them in with alcohol markers.
  • use Love Bugs Confetti Cuts to cut them all out.
  • cut an A2-size pattern paper and adhere to an A2-size notecard.
  • create the shaker well by die-cutting another pattern paper and some Neenah solar white card stock using the Bubbles Confetti Cuts die.
  • adhere some acetate sheet on the back of the yellow pattern paper and in-lay the Bubbles die cut.
  • add some foam adhesive to create the shaker well.
  • add some black, yellow and clear sequins as shaker elements.
  • adhere the focal panel on top to close the shaker.
  • add the focal images on the card with glue.
  • stamp the sentiment from the Valentine Sentiments stamp set on some black card stock with Versamark Ink. Sprinkle some white embossing powder and heat-set with heating tool.
  • fussy-cut the sentiment using precision snips and adhere to the card front.
  • finish the card design by adding some Stickles to the wings for added texture and interest.

Don’t you just love how cute these bugs are? I like that the Bubbles Confetti Cuts kind of look like honeycomb.

Don’t forget to hop along and check out more inspiration from the team. Here’s the hop listing:

Reverse Confetti

Andrea Shell

Audrey Tokach

Maria Russell (you are here)

Lien Leysen

Lisa Henke

Amy Kolling

Tricia Barber

Kellianne Wilson

Dana Kirby

Amy Tsuruta

Olga Moss

Melissa Phillips

I hope you like my card today and got inspired. The supplies I used are listed and linked below. Thanks for stopping by and have a great week!

———-SUPPLIES———

Jeanne Jachna

BIRTHDAY ESSENTIALS RELEASE WITH KAT SCRAPPINESS

Hello Everyone! I am super excited to introduce the Birthday Essentials Release by Kat Scrappiness and I have two cards to share with you today!

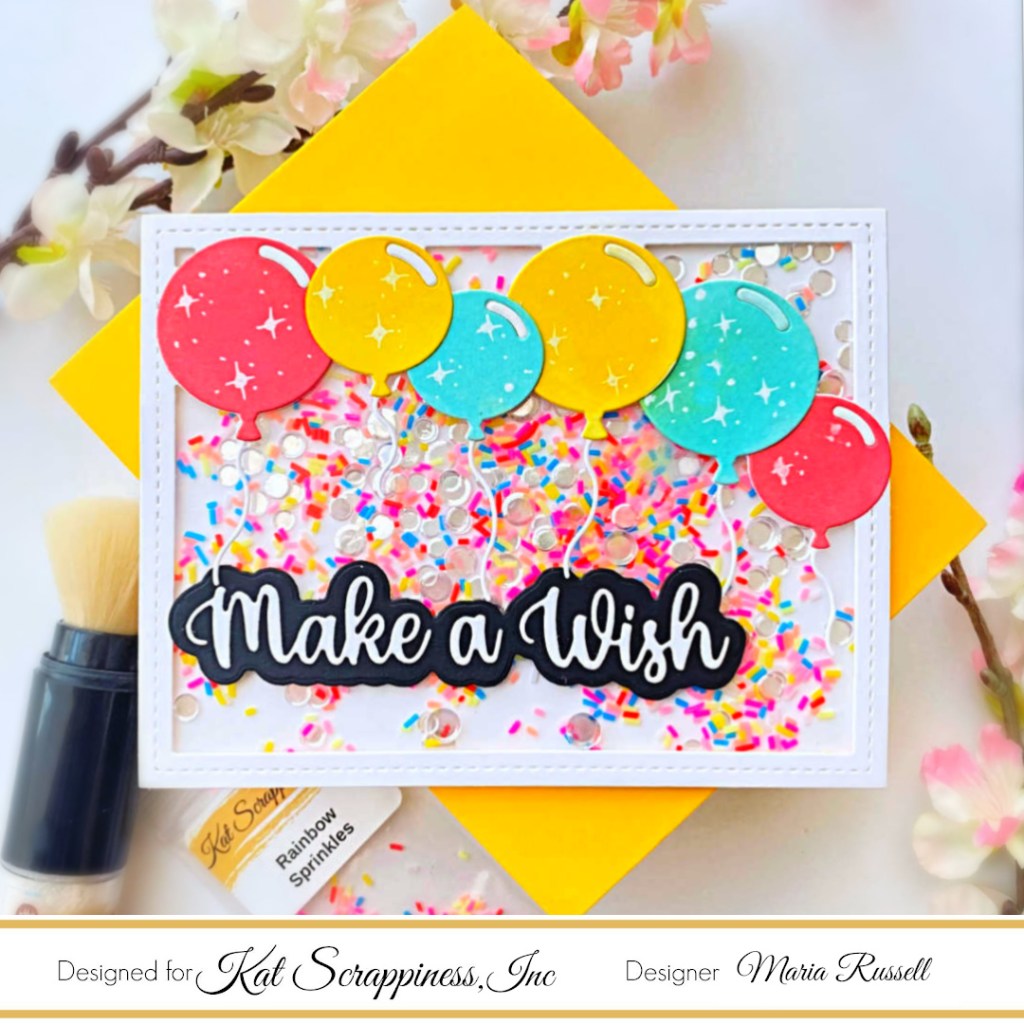
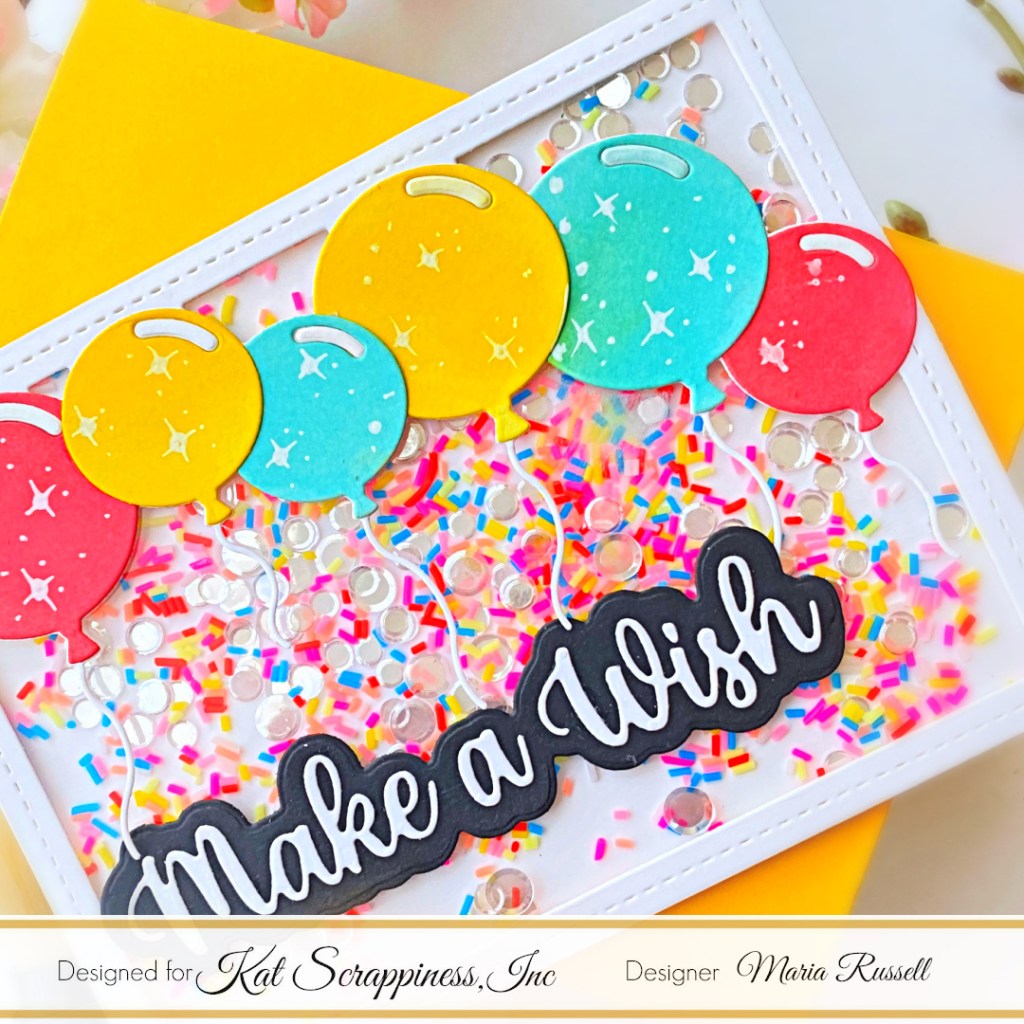
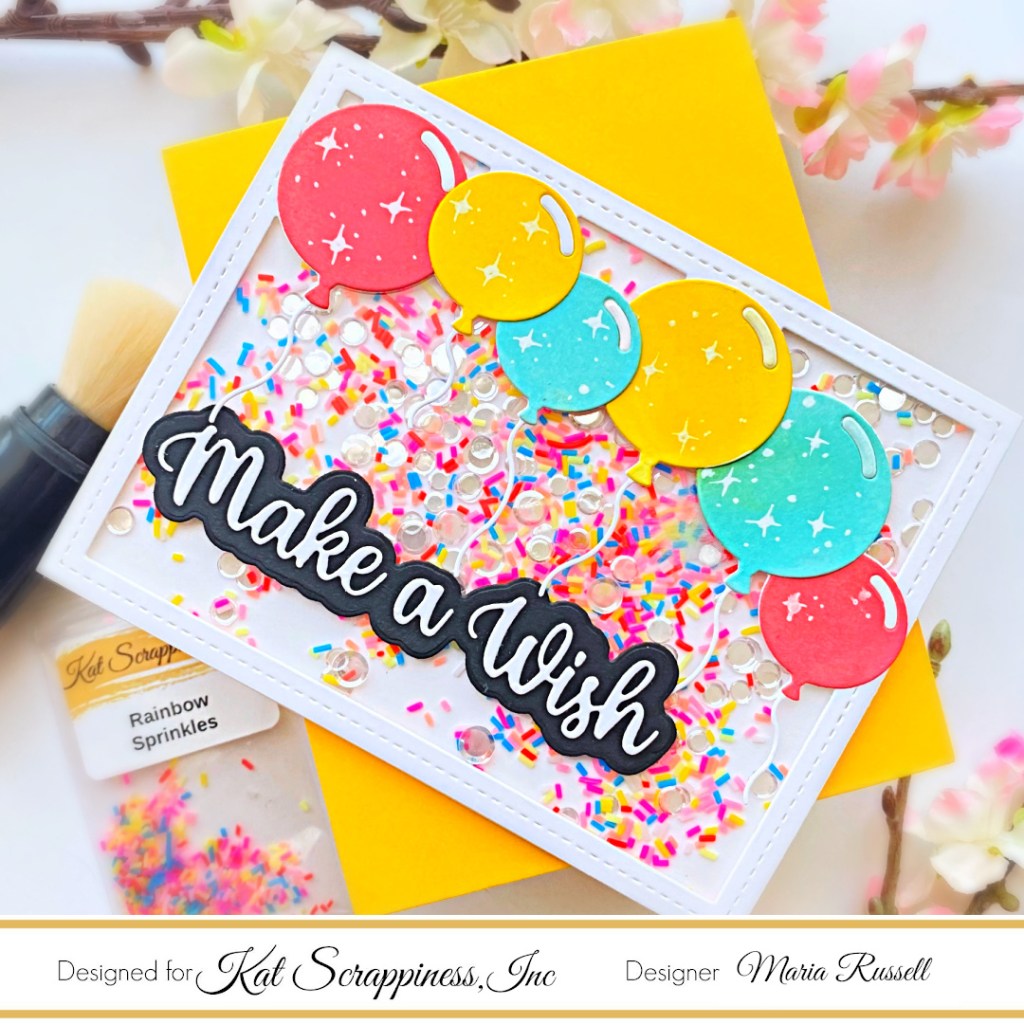
For my first card, I am showcasing the Layered Balloon Coverplate Die with the Make a Wish With Shadow Die.

I started by die-cutting the cover panel using the Layered Balloon Coverplate Die on some Neenah solar white card stock. I also die cut the balloons included in the Layered Balloon Coverplate Die set on some Bristol smooth white card stock and used some distress oxide ink to ink-blend the die-cuts.

I adhere the balloons with liquid glue and created a shaker well, by adding acetate sheet to the back of the die-cut panel and foam adhesive. I used the rainbow sprinkles as my shaker element and adhered the panel on some A2 size notecard.

I die-cut the words Make A Wish on some white and black card stock and added to the focal panel with liquid glue. I finished my card design by adding some stars and dots to the balloons using white gel pen.

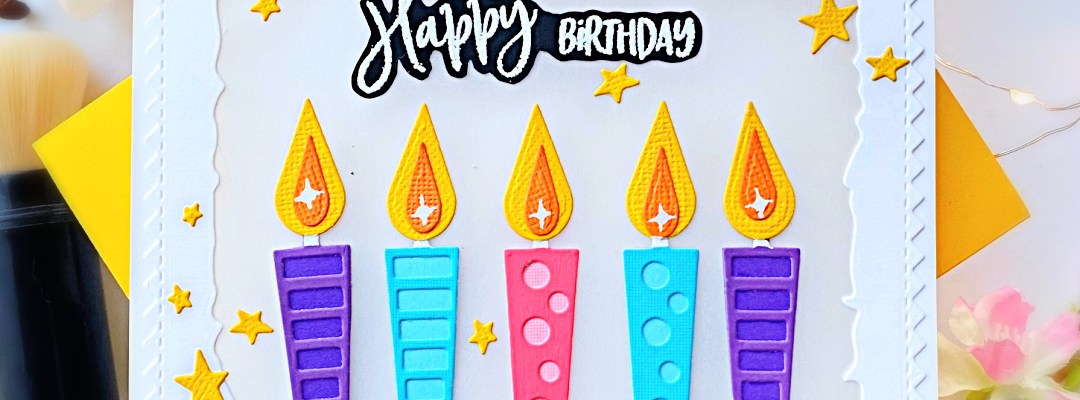
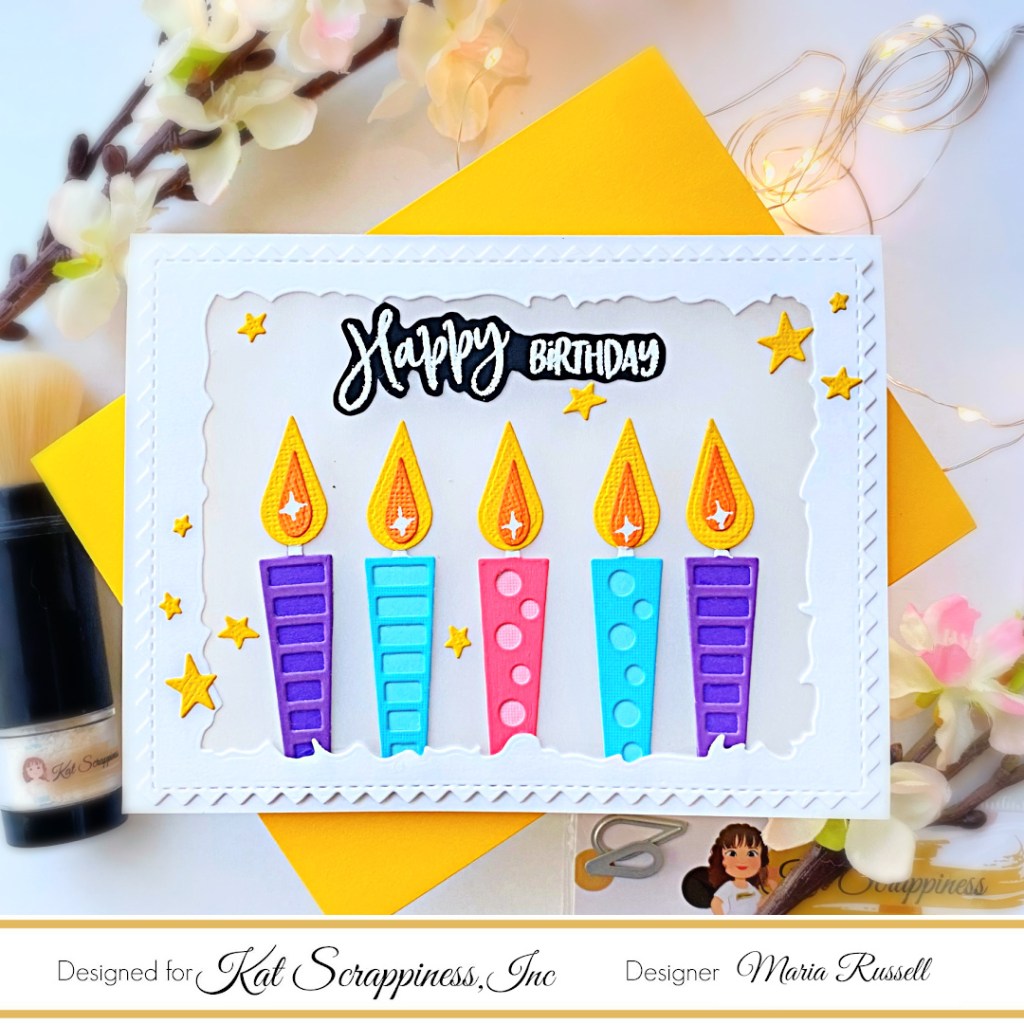
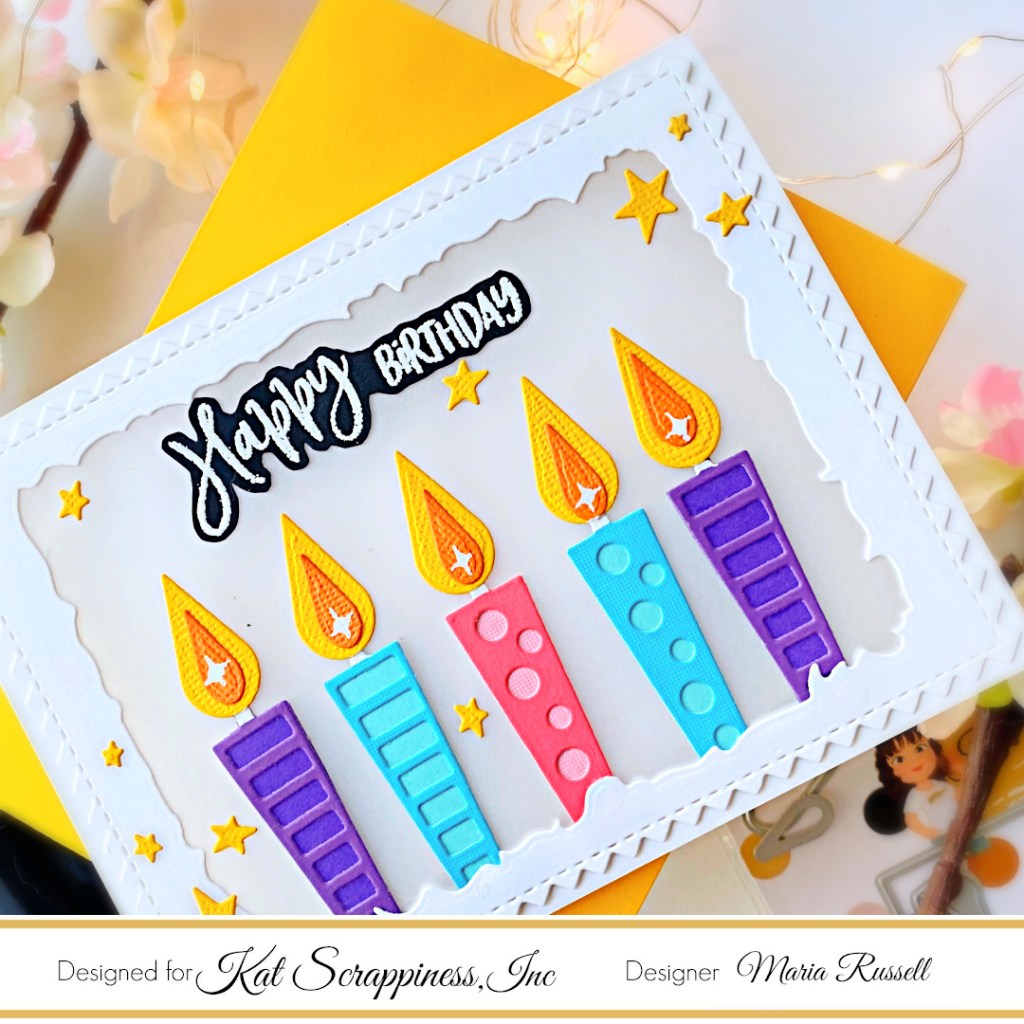
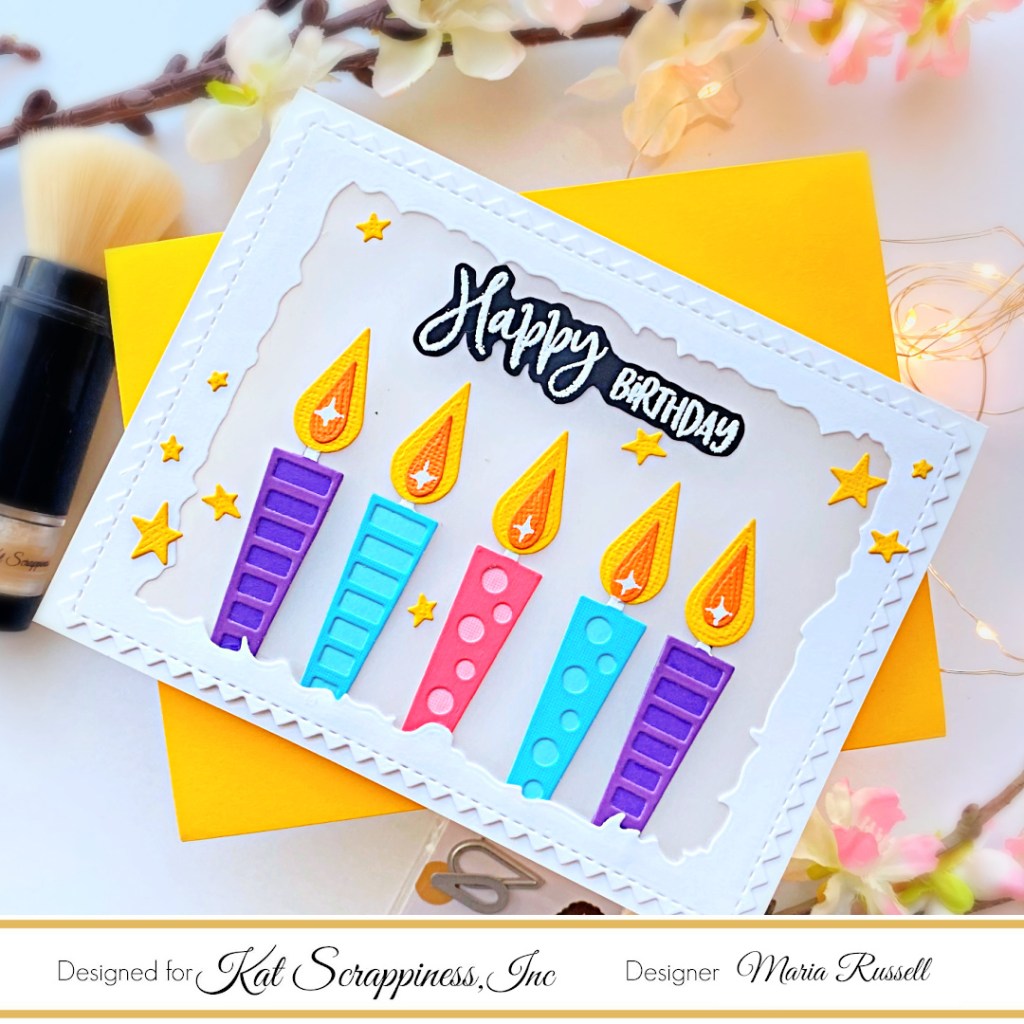
My second card features the Birthday Essentials Die Set with the Happy Day Stamp Set, Zig Zag Rectangle Die and Distressed Edge Rectangle Dies.

I die-cut the Zig Zag Rectangle Die on some Neenah solar white card stock and used the Distressed Edge Rectangle Dies to cut the window. I also used the same Distressed Edge Rectangle Die to cut the notecard so that when I adhered both panels together, it would create the window. I added some acetate sheet on the back.

The candles were die-cut in different colors or card stock and adhered together with liquid glue. I finished the design by adding the sentiment and yellow stars for interest and texture.

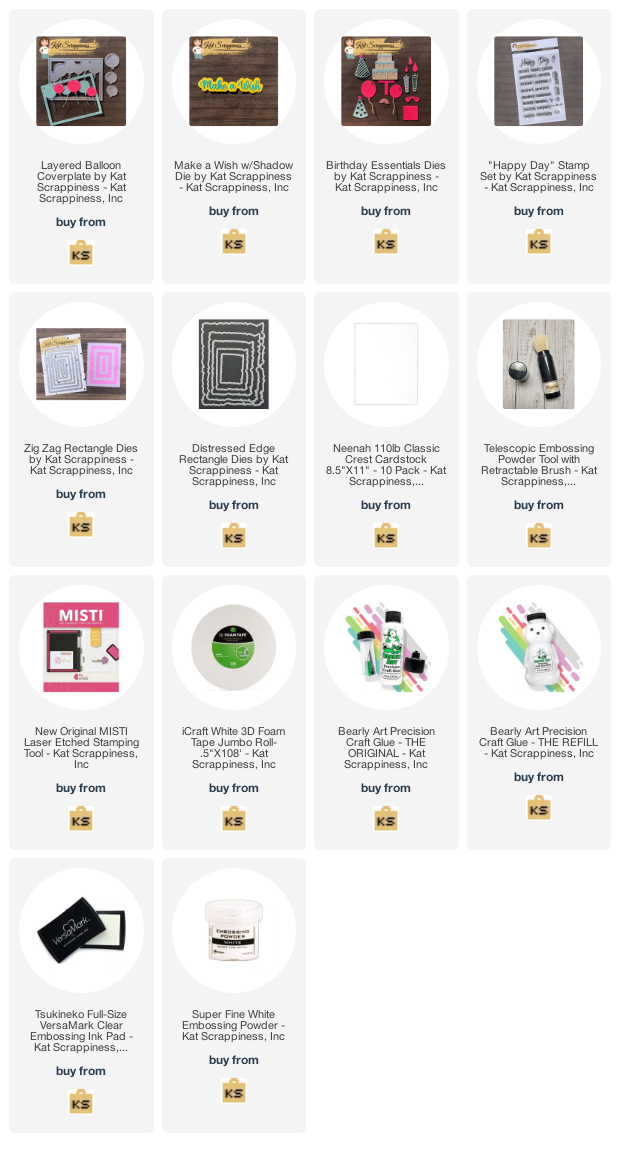
I hope you like my cards today. The supplies I used are listed and linked below. Thanks for stopping by!

———SUPPLIES———

CC Designs CRAZY CRITTERS FEBRUARY BLOG HOP + GIVEAWAY

Welcome to the C.C Designs Crazy Critters February Social Media Hop! Hop along for your chance to WIN 1 of 2 $15 G.C to the store! We will pull one comment from CC Designs Instagram Account and one from the collective blog comments from each design team member’s blog. We are celebrating the arrival of 3 NEW Critter stamp sets in the C.C Designs Store. The Design Team has been giving you previews all week and now we are sharing our BEST inspirations for release day to encourage you to shop and create with CC Designs.

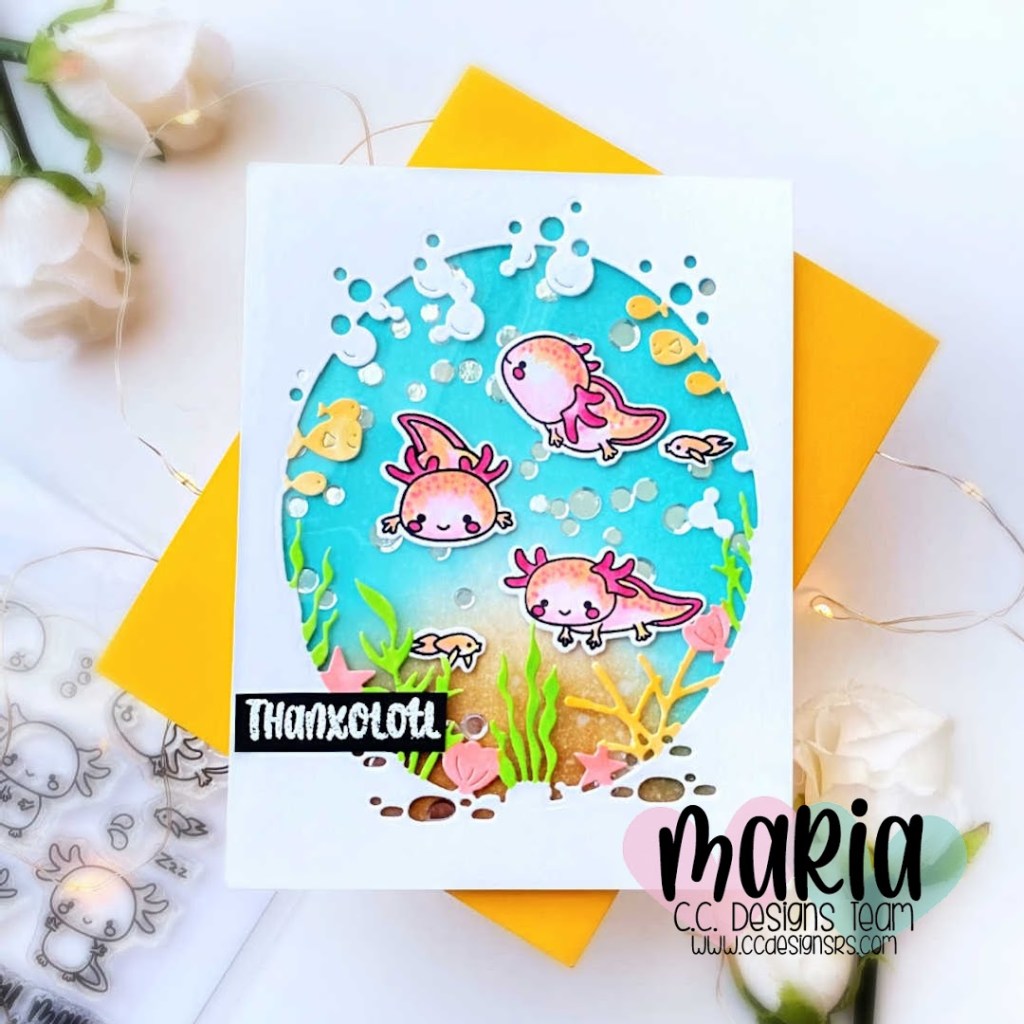
For my critter today, I am showcasing the adorable Oxolotl stamp set and coordinating dies.

I have to admit, I didn’t have any idea what this cute critter look like in real life so for coloring purposes, I did a little Google search. This cute critter is called the Peter Pan of Salamanders and is racing for extinction. So sad! Here’s what it looks like:

Here’s how I made the card:

  • stamp the images on some X-press It card stock and color the images in with alcohol markers
  • use coordinating dies to cut them out.
  • ink-blend an A2-size panel of Strathmore Bristol smooth white card stock with distress oxide inks in Peacock Feathers, Salvaged Patina and Vintage Photo.
  • cut out some plastic packaging and add tape on all four sides.
  • adhere 3 of them to the ink-blended panel and add some confetti sequins as the shaker element, then close the top. This created a flat shaker card.
  • adhere the flat shaker onto an A2-size notecard.
  • use a die from your stash to create the water scene. I colored some of the die-cuts with alcohol markers.
  • adhere on the front panel with glue.
  • add the cute critters on the card.
  • finish the design by adding the sentiment.

Here is the full line up on Instagram. You can leave comments there too:

C.C Designs Blog

Meghan Kennihan

Emma Ireland

Maria Russell (that’s me!)

Cindy Beland

Tamara Potocnik

Olga Moss

Kerri Boucher

Cristena Bagne

Cari Scharping

To enter the giveaway:

1. Subscribe to the Design Team Blogs, Instagram, & YouTube Channels

2. Leave a Comment

3. Tag your friends for bonus entries.

Entries will be accepted until Wednesday, February 9th. Winners will be announced on the C.C Designs Blog and FB Page on Friday February 11th.

Sweet Treats Blog Hop + Giveaway with Newton’s Nook

nndsweettreatsbloghopsq

The Newton’s Nook Design Team is hopping along today to share some sweet treats – just in time for Valentines dayMake sure to scroll down at the bottom of this post to see the whole list, and hop along and comment for a chance to win!

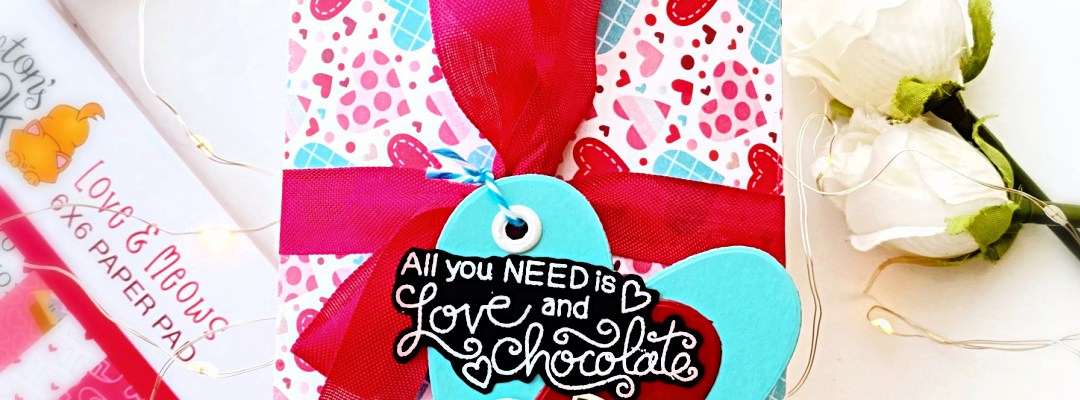
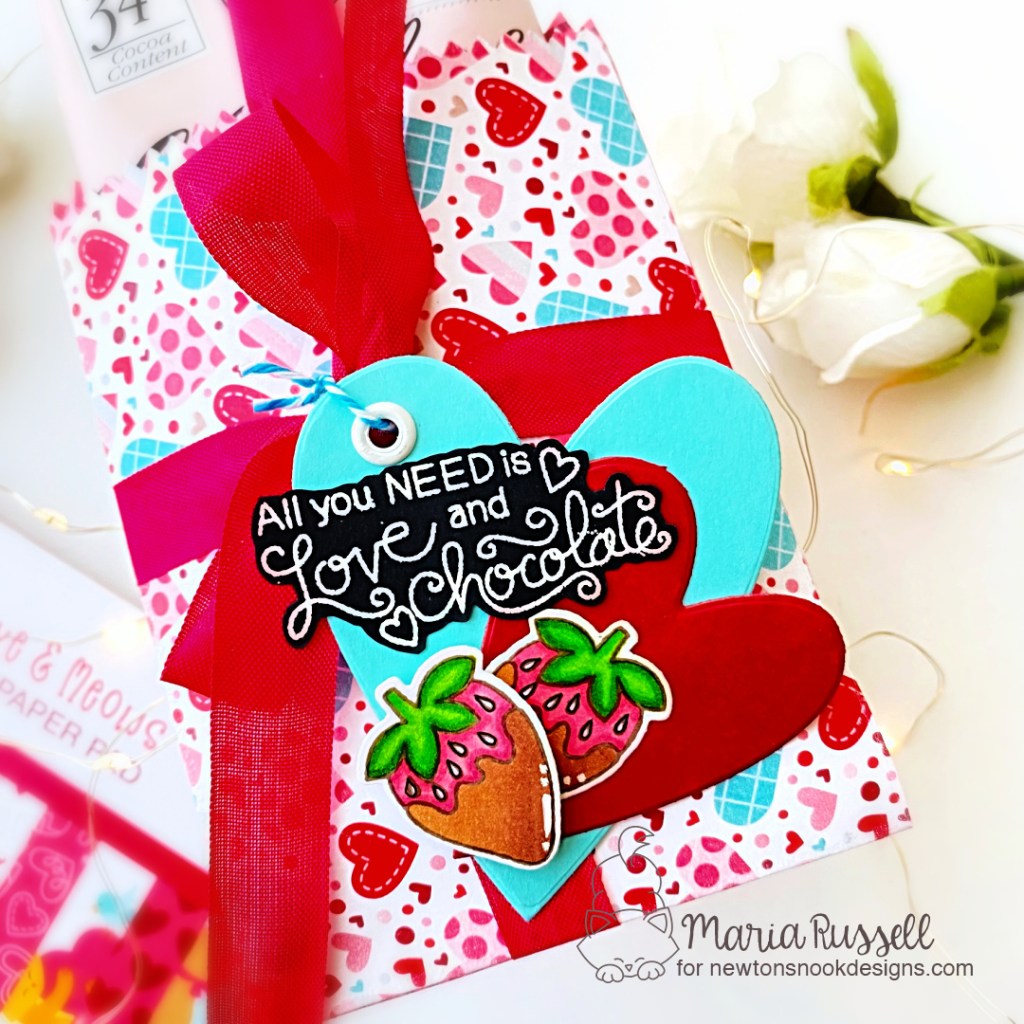
For my project today, I am showcasing the Love & Chocolate stamp set and coordinating dies with the Love & Meows 6×6 Paper Pad.

I bought a bunch of these Pink Chocolate Bars and gift cards at Michael’s and I thought I’d give them away to my friends for Valentine’s Day! I needed a cute gift bag to go with the treat so I thought I’d use the Love & Meows 6×6 Paper Pad. Here’s how I made the project:

  • using a die from my collection, die-cut the gift bag on the Love & Meows 6×6 Paper Pad.
  • assemble the gift bag.
  • insert the chocolate bar and the gift card inside and secure with some red ribbon. I used seam-binding for mine.
  • die-cut a few hearts and adhere then together.
  • stamp the images on some Neenah solar white card stock and color the images in with alcohol markers.
  • die-cut the images using the coordinating dies.
  • die-cut a few hearts using some dies from your collection. Adhere them together with glue.
  • to turn these hearts into a gift tag, use a Crop-A-Dile to punch a hole.  Insert the eyelet and used the Crop-A-Dile again to set the eyelet in place.
  • adhere the strawberry images on the hearts.
  • stamp the sentiment on some black card stock with some embossing ink. Sprinkle some white embossing powder and heat-set with the heating tool.
  • use precision snips to cut the sentiment and adhere on the tag.
  • use some twine to attach the tag to the gift.
  • finish the design by using some white gel pen for added texture and interest.

My friends are going to love this sweet surprise on Valentine’s Day! Full details about the GIVEAWAY and supplies used are listed and linked below.

Sweet Treats Blog Hop GIVEAWAY!

Would you like to win a $25 store credit to Newton’s Nook Designs online shop?  Newton’s Nook is giving them out to TWO lucky winners!

Here’s how to win:

Comment on the NND blog and Design Team blogs (see list below)!  The winner will be chosen at random from the collective reveal posts. Make sure to check out each of their blogs and comment for your chance to win. You will not know which blog has been chosen so the more you comment on the better your chances are of winning! You have until Monday, February 7th at 9pm EST to comment — winners will be announced on the NND blog on Tuesday, February 8th.

Check out all the awesome Design Team Blogs below to enter:

Newton’s Nook Designs

Donna Idlet

Ellen Haxelmans

Tina Herbeck

Larissa Heskett

Samantha Mann

Zsofia Molnar

Maria Russell

Farhana Sarker

Tatiana Trafimovich

Amanda Wilcox

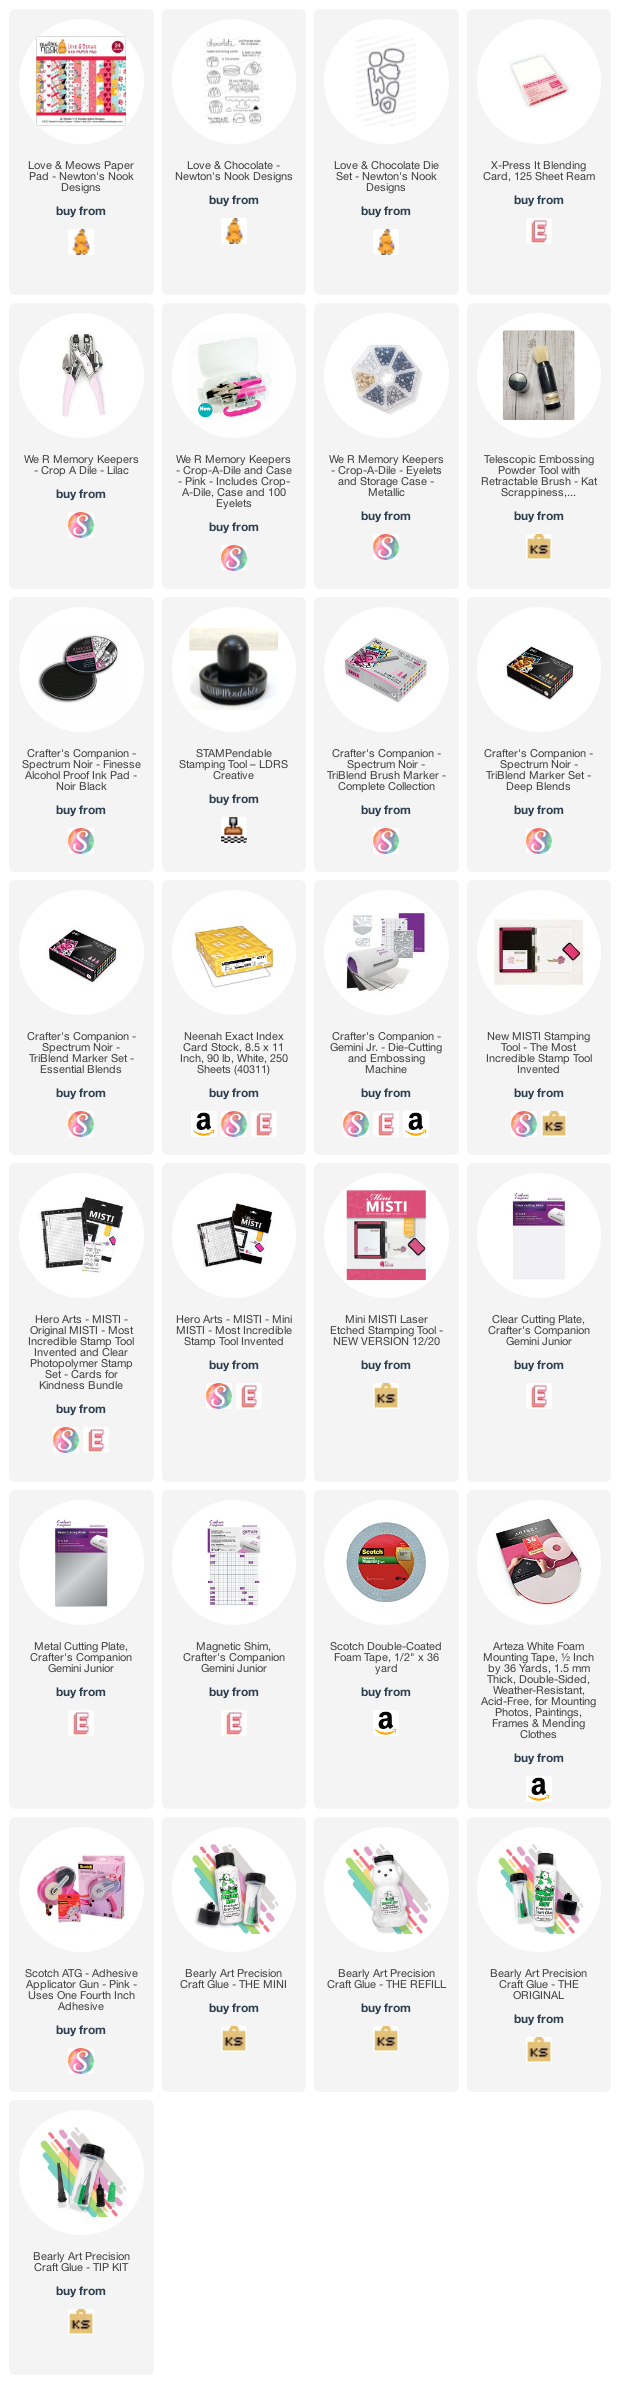
——–SUPPLIES——–

CC Designs February Release Sneak Peek – CAT KINDA DAY

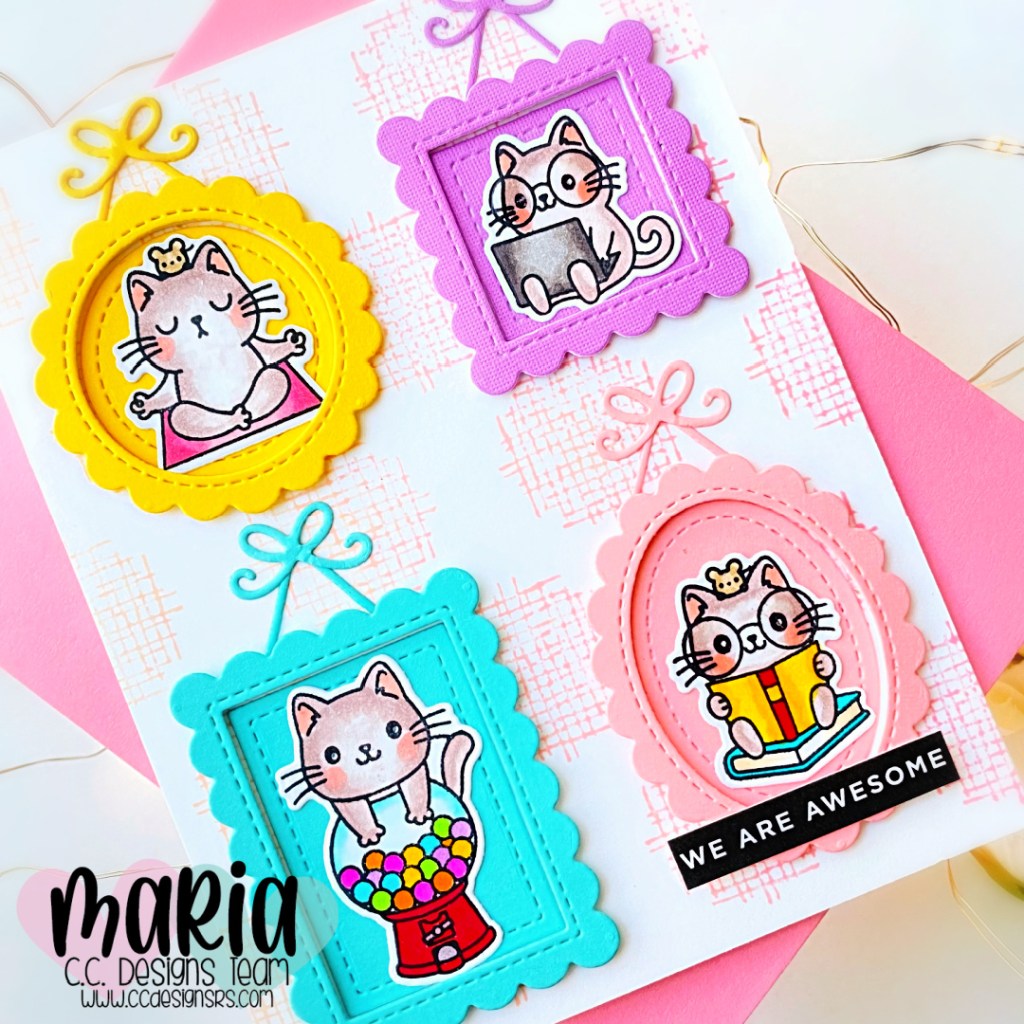
It’s the last day of the sneak peek of the February Release by CC Designs. For today’s card, I am showcasing the Cat Kinda Day Stamp Set and Coordinating Dies.

Here’s how I made the card:

  • stamp the images on some X-Press It Card Stock and color the images in with alcohol markers.
  • die-cut the images using the coordinating die.
  • ink-up a panel of Strathmore Bristol Smooth white card stock using a Stencil with distress oxide ink. Adhere this panel on an A2-size notecard.
  • die-cut the picture frames using Lawn Fawn Mini Picture Frame Dies in different colors of card stock. Adhere the frames onto the card with liquid and foam adhesive.
  • Adhere the color images inside each frame.
  • Add the sentiment to the card.

Aren’t these images adorable?! These stamp set and dies will be available tomorrow and we will have a GIVEAWAY! Stay tuned! Thanks for stopping by!

Valentine Card with Layered Chocolate Bar Stamp Set by Kat scrappiness

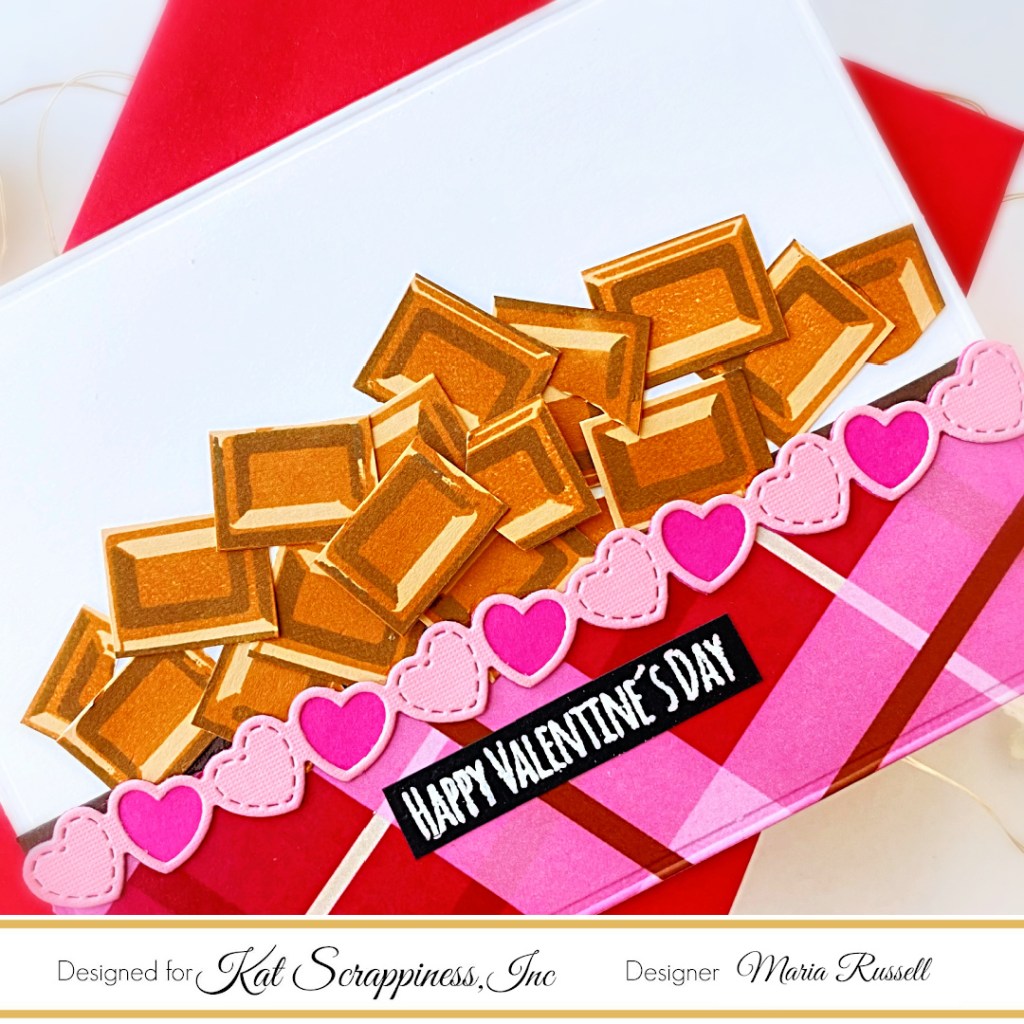
Hello Kat Scrappiness fans! I am loving all the pinks and reds this month and today, I am also featuring one of my favorite stamp set by Kat Scrappiness called the Layered Chocolate Bar and I am pairing it up with the Embossed Edge Rectangle Dies, Heartfelt Wishes SL Paper Pad and the Lawn Fawn Valentine Hearts Border Die Set.

Here’s how I made this card:

  • Adhere the focal images on the card with liquid and foam adhesive for added dimension.
  • Die cut some dark and light pink card stock using the Lawn Fawn Valentine Hearts Border Die Set. Adhere them together and add on the card with liquid glue.
  • Stamp the sentiment from the Valentine Quokka Stamp Set on some black card stock with Versamark Ink and heat-set with the heating tool.
  • Finish the card design by adhering the sentiment.

The images look so realistic, don’t you think? This is honestly one of my favorite layering stamp set of all time! It is so easy to layer and the result is just fantastic! Check out my older project photos of the Layered Chocolate Stamp Set on the website for more samples.

I hope you like my card today. The supplies I used are listed and linked below. Thanks for stopping by today and have an amazing day!

————SUPPLIES———

CC Designs February Release Sneak Peek – Grouchy Pets

It’s been a crazy busy week for me so far and it’s only Wednesday! 😦 I am back today to share with you a sneak peek of the February Release by CC Designs. For my card today, I am showcasing the Grouchy Pets Stamp Set and Coordinating Dies.

Here’s how I made the card:

  • stamp the images on some X-Press It Card Stock and color the images in with alcohol markers.
  • die-cut the images using the coordinating die.
  • ink-up a panel of Strathmore Bristol Smooth white card stock using a Stencil with distress oxide ink. Adhere this panel on an A2-size notecard.
  • use another stencil and black texture paste for added texture and interest. Leave it to dry for about half an hour.
  • use an oval die to die-cut some white card stock. Add foam-adhesive and adhere to the card front.
  • adhere the image on the card with liquid glue.
  • finish the design by adding the sentiment.

Isn’t he adorable?! Stay tuned tomorrow as we preview more sneak peeks of the February release. Thanks for stopping by!