Hello LDRS Creative fans! Things are pretty busy here on my side of the world but I am throughly enjoying Spring! What about you?
I also have been trying to build my stash of “just-because” cards to send to family and friends and so for today’s project, I have two cards to share with you using one pattern paper.
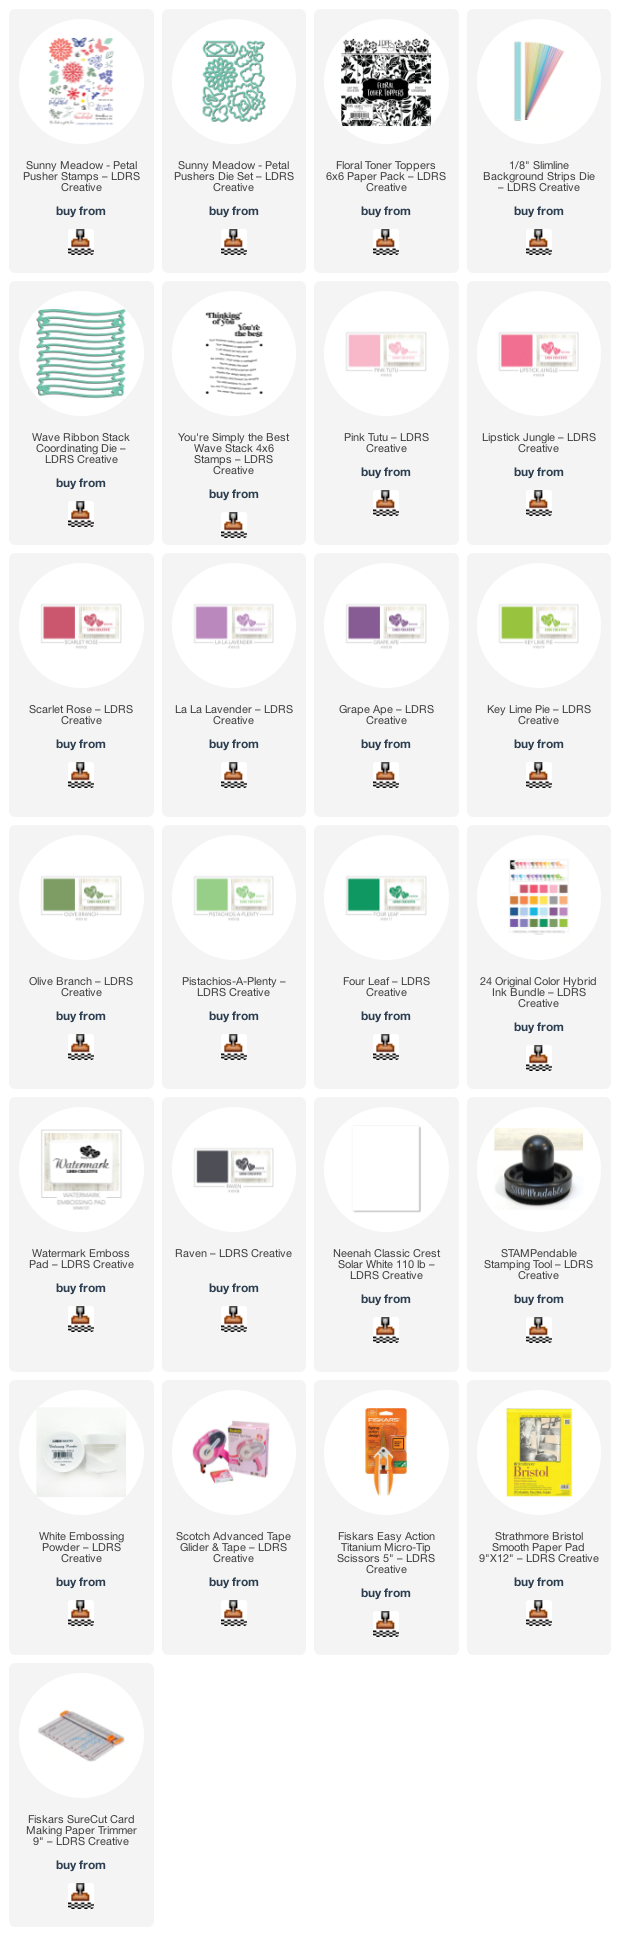
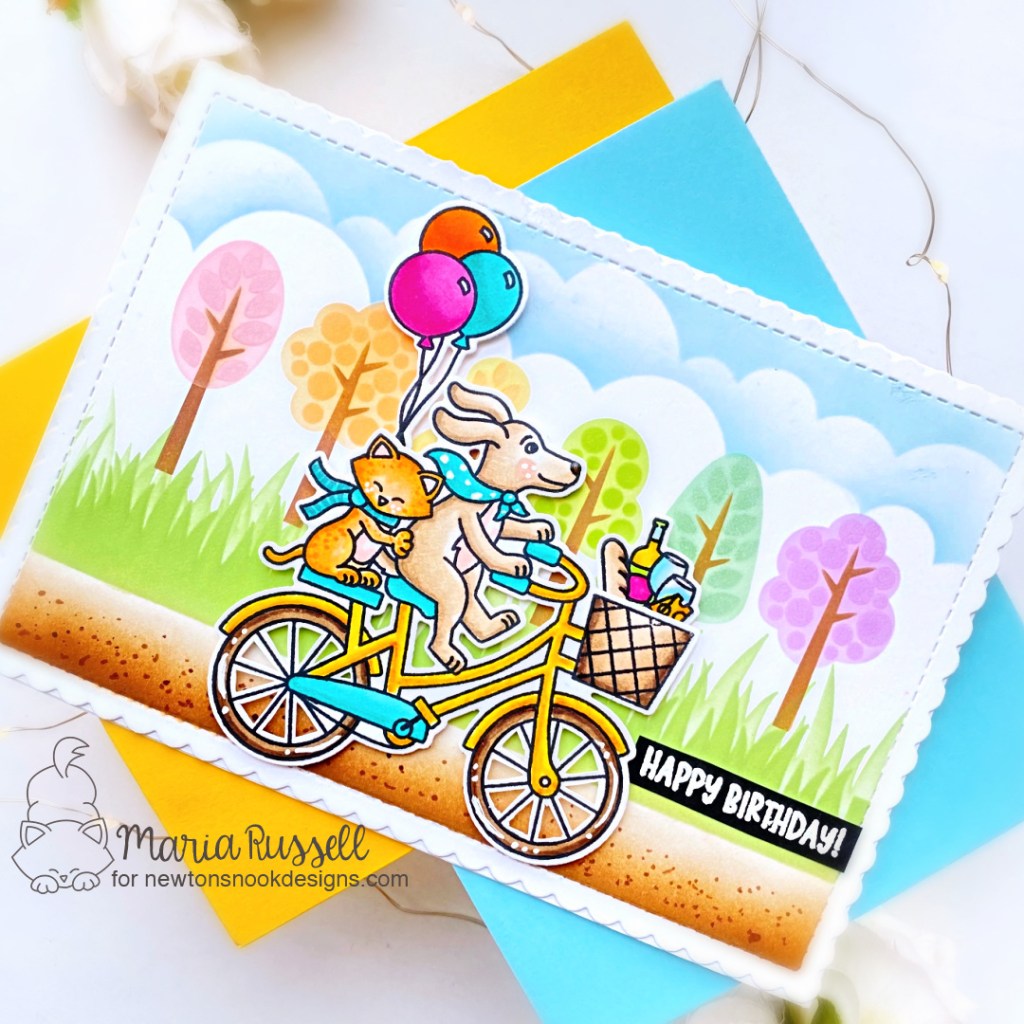
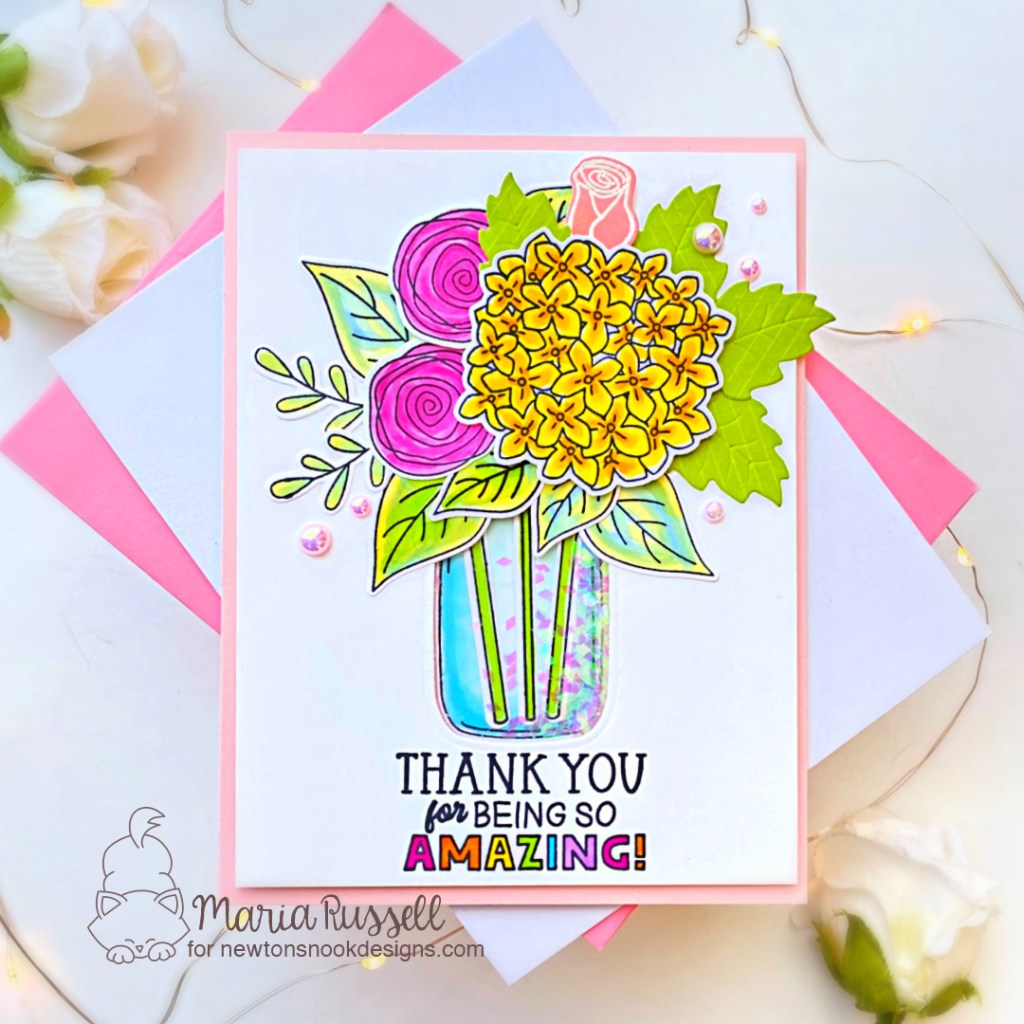
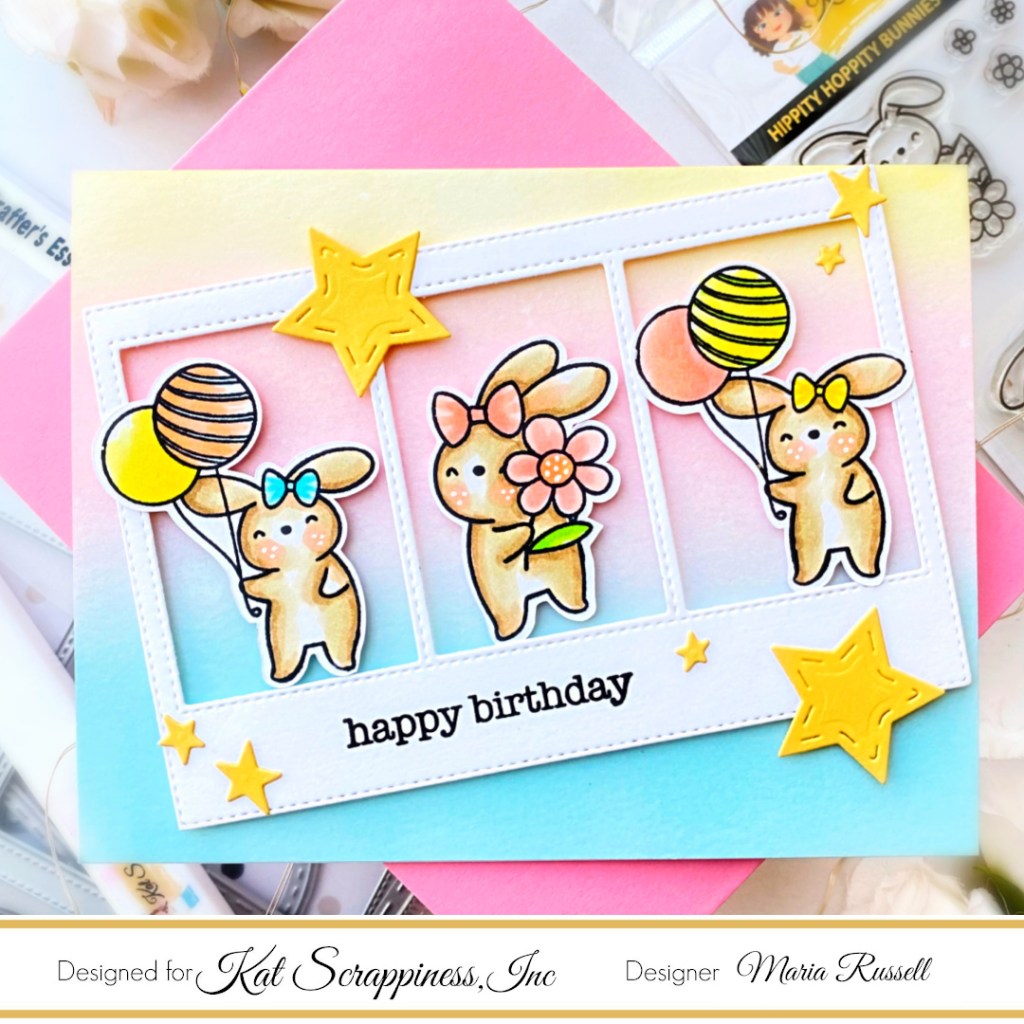
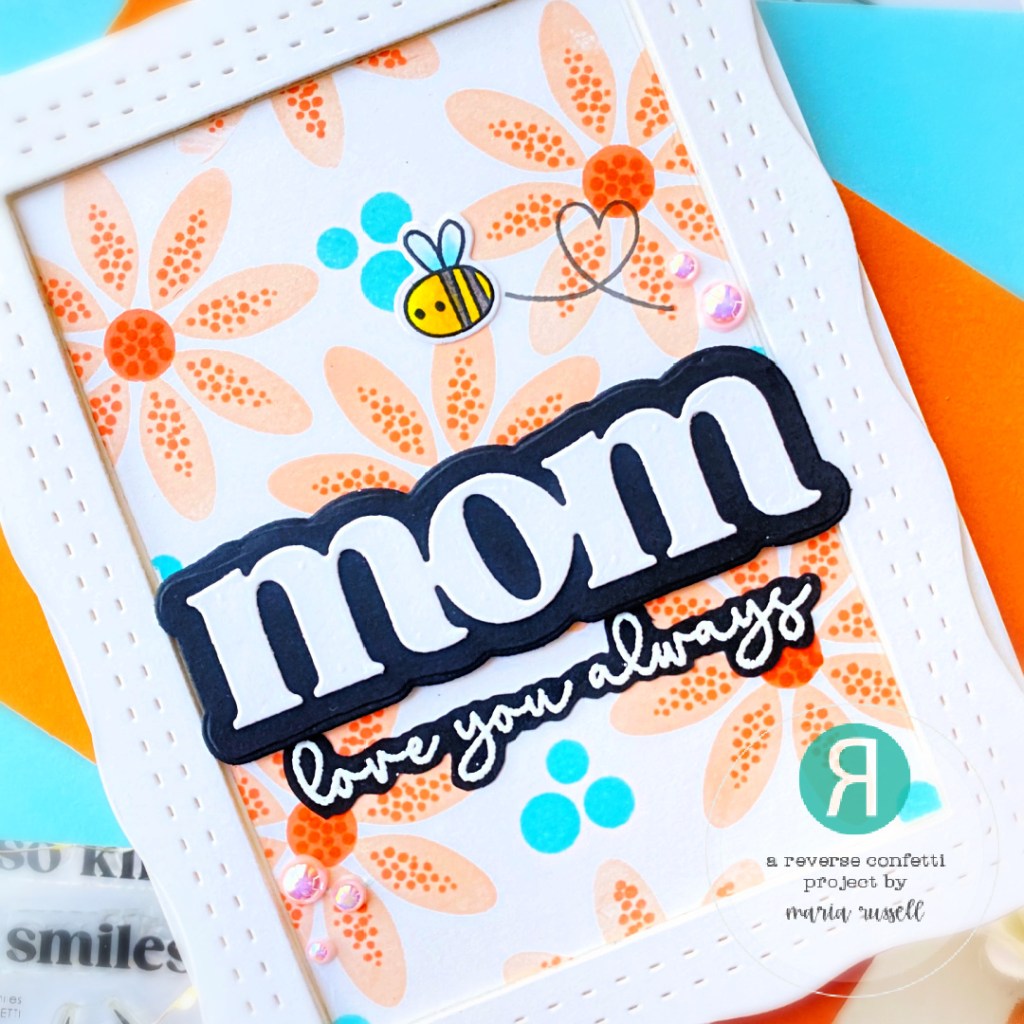
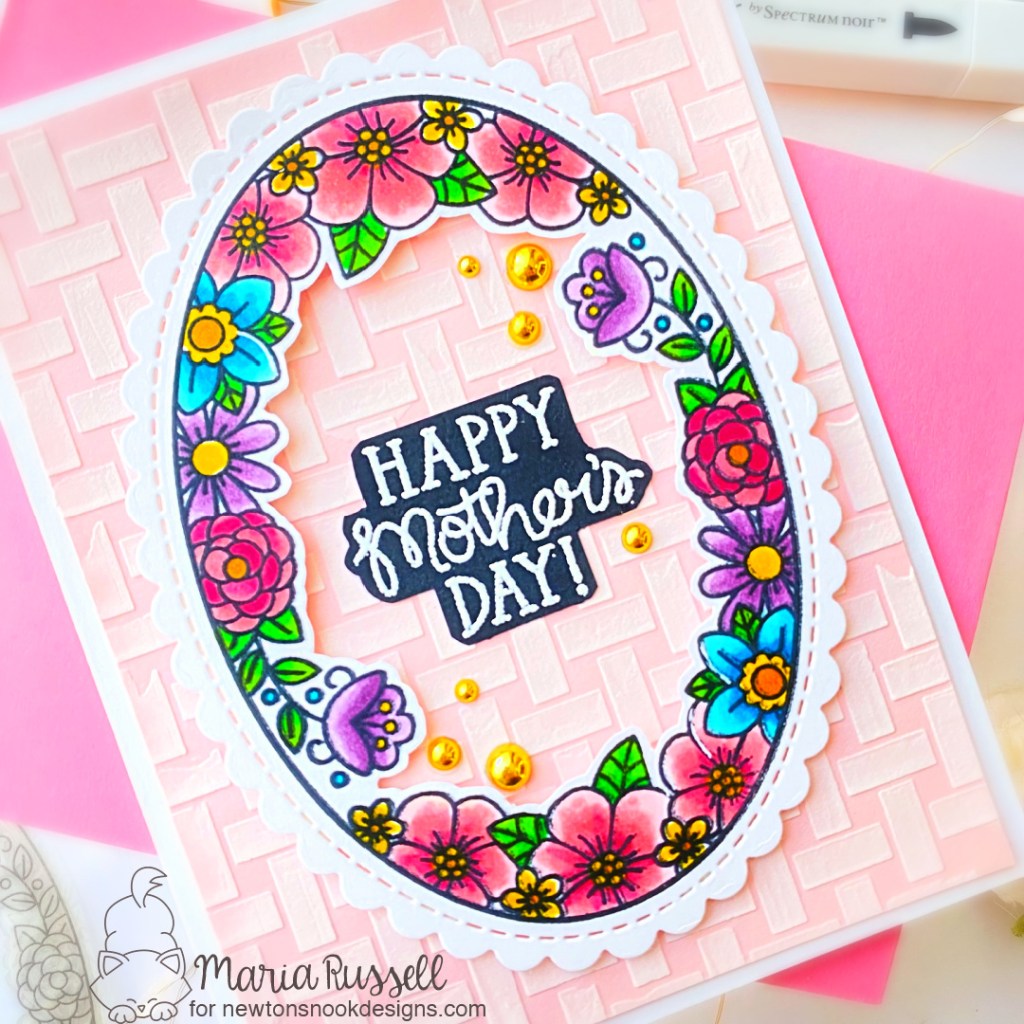
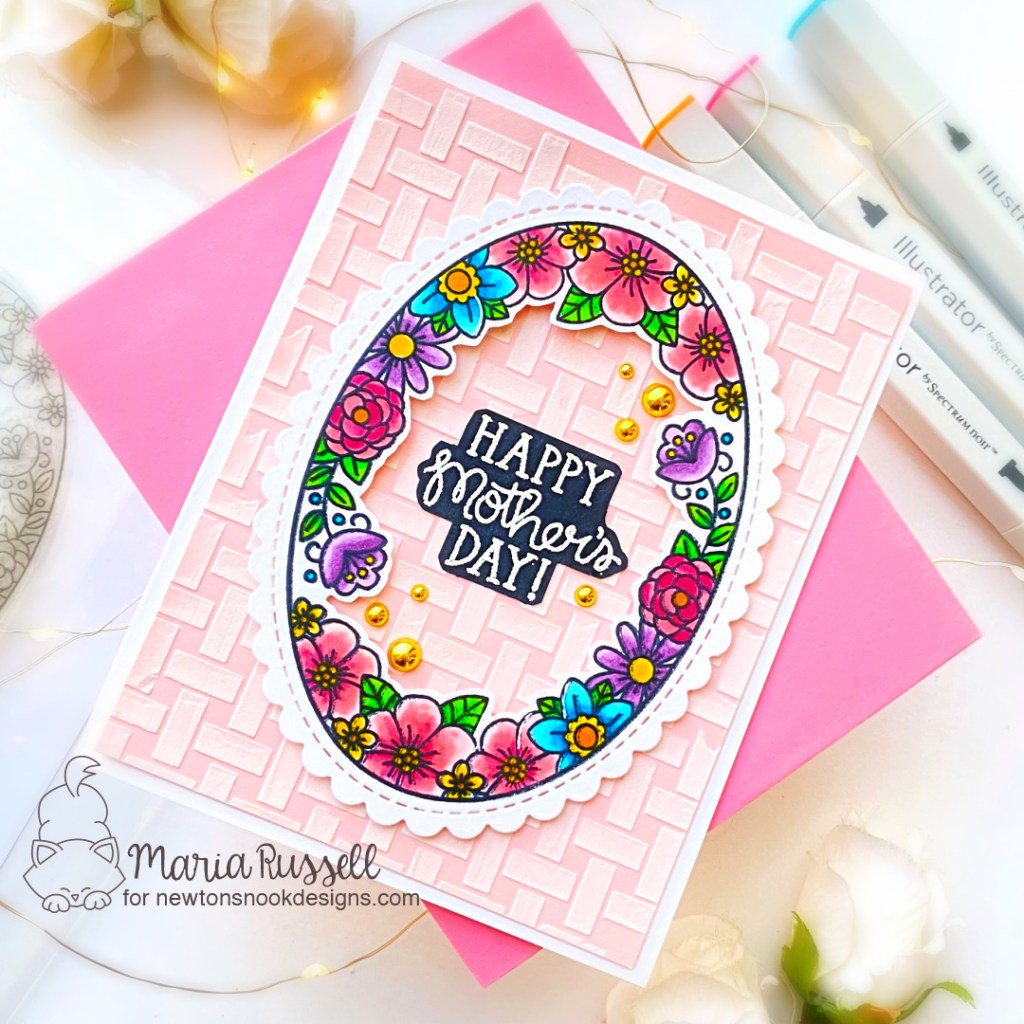
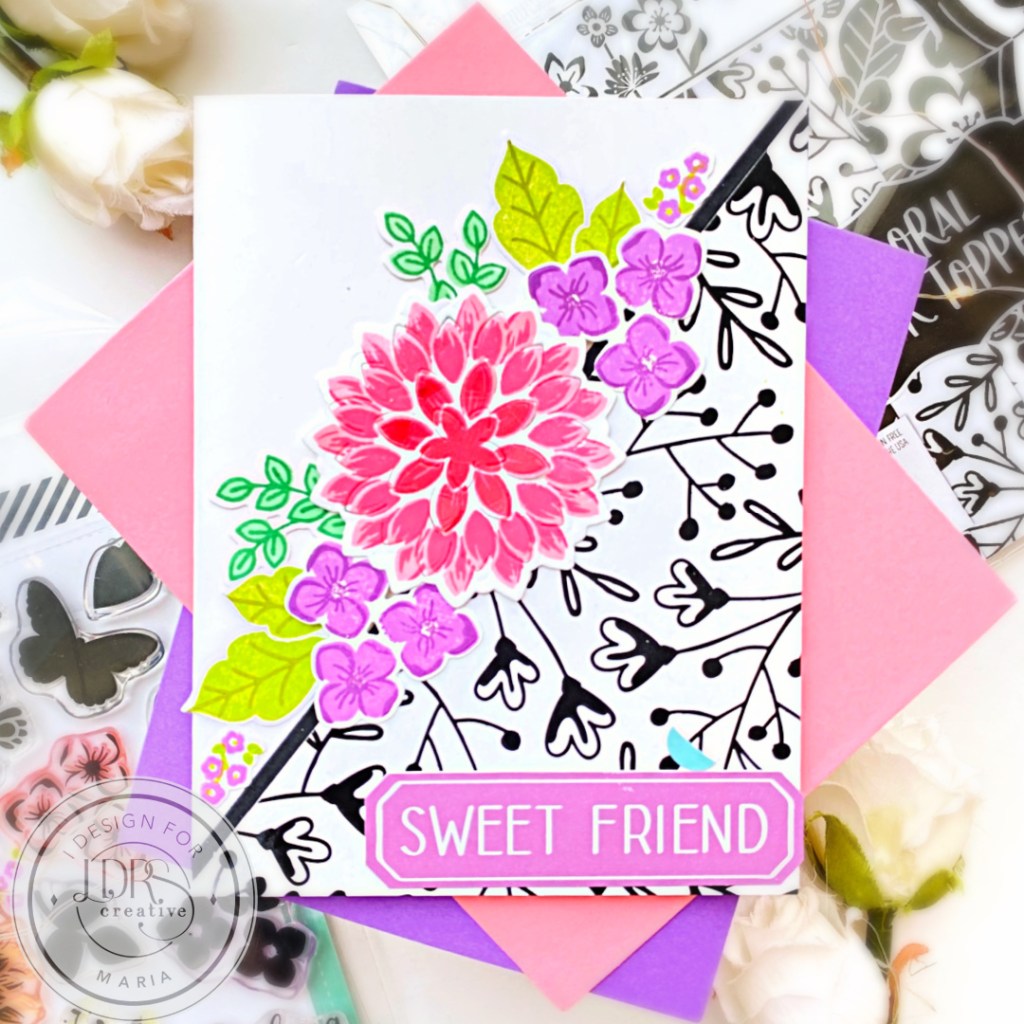
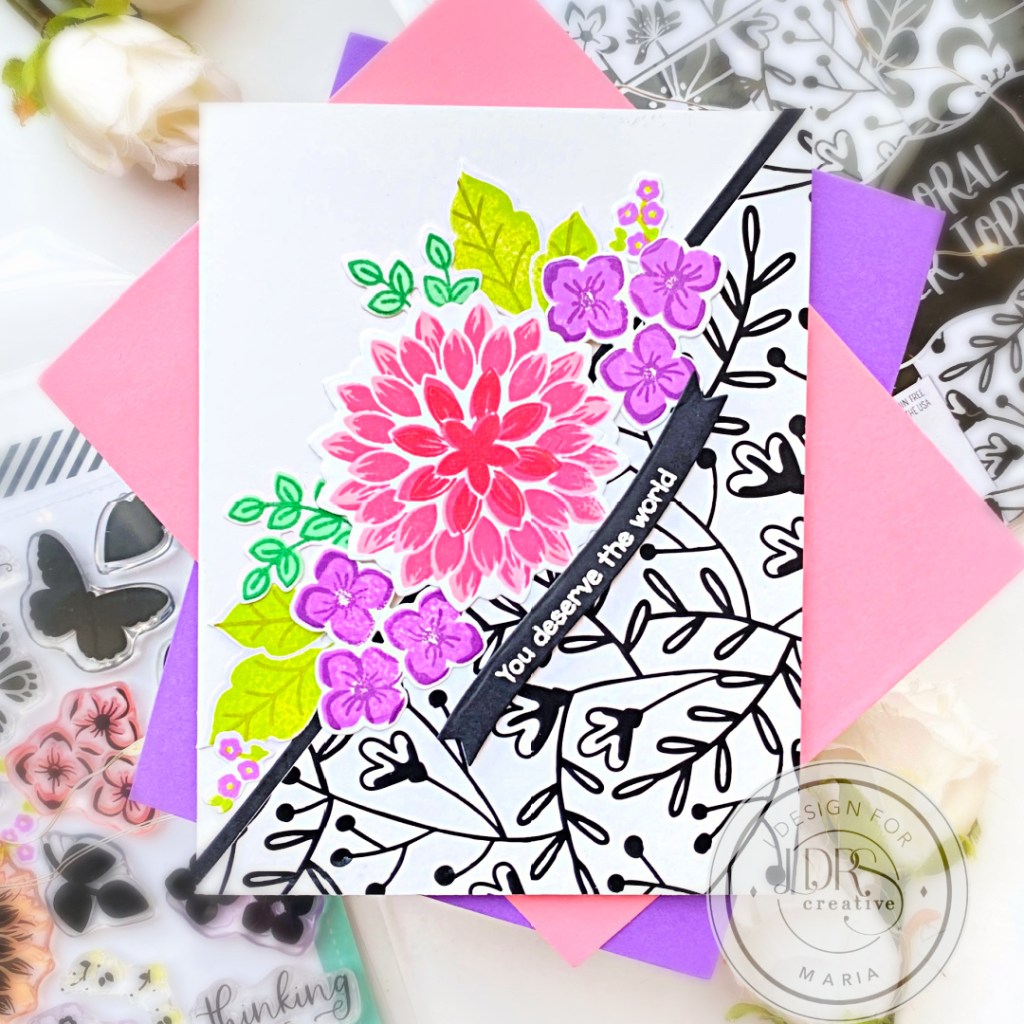
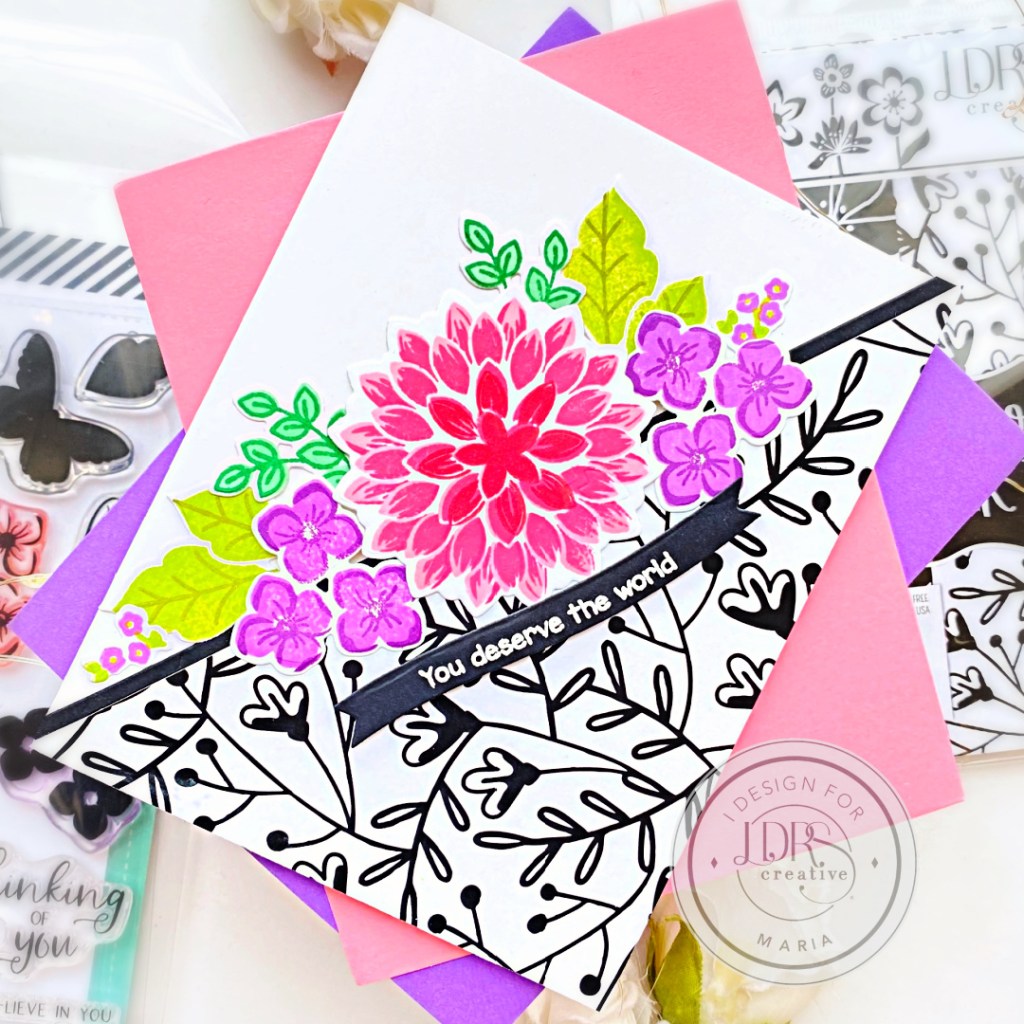
While looking at all of my LDRS paper pad collection, I decided to use the beautiful Floral Toner Toppers 6×6 Paper Pad, along with the Lovely Watercolor Ephemera Pieces, Sunny Meadow Petal Pusher Stamp Set and Sunny Meadow Petal Pushers coordinating dies with the AMAZING LDRS Hybrid Inks. The black strips were die-cut using the 1/8″ Slimline Background Strips.
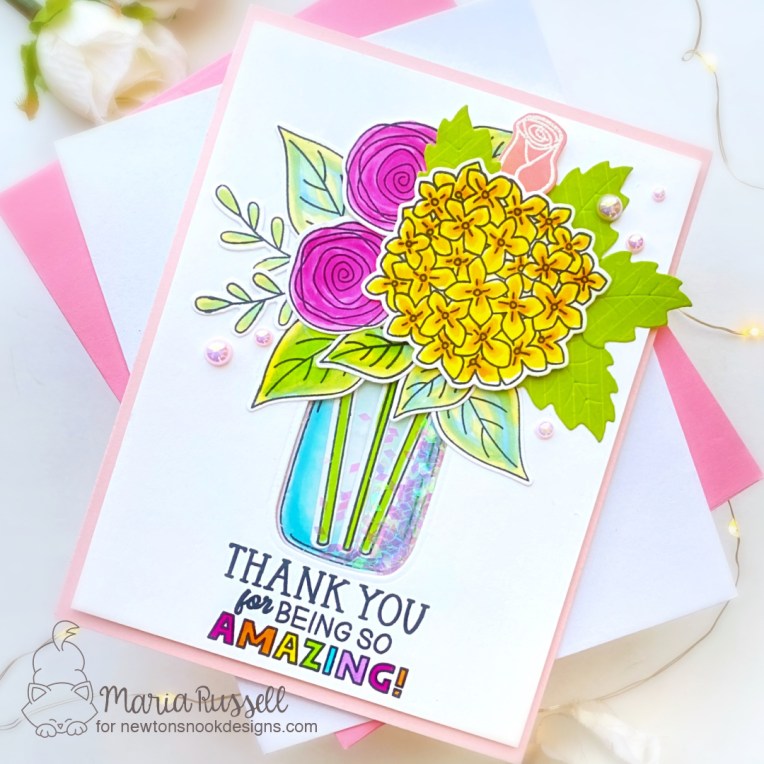
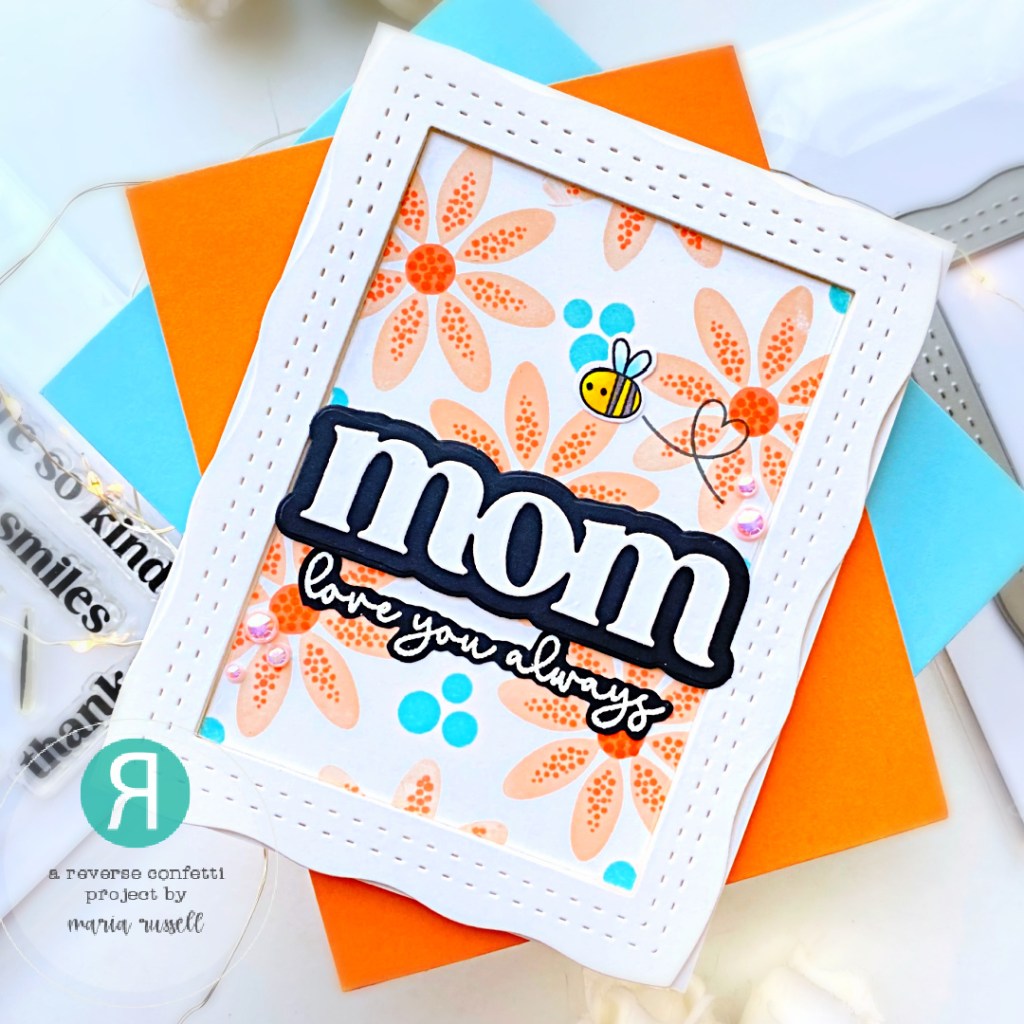
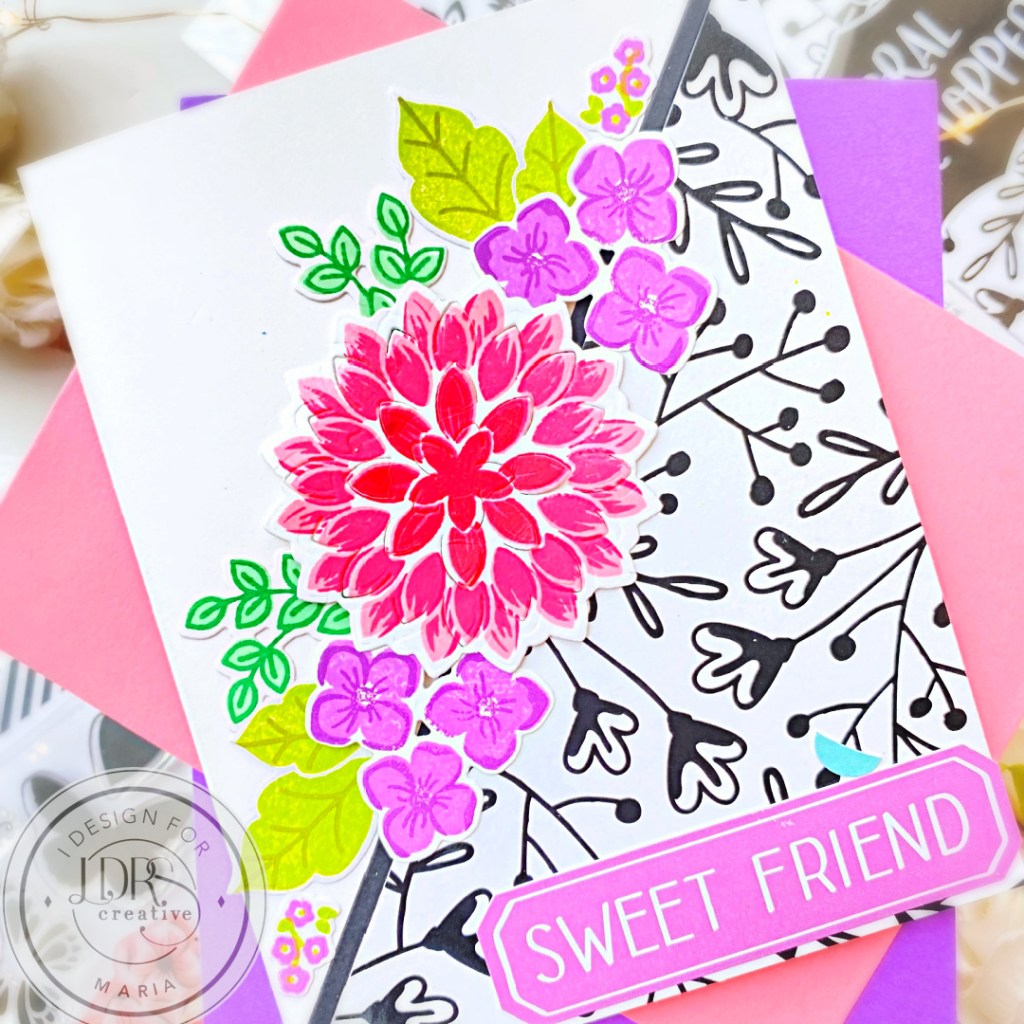
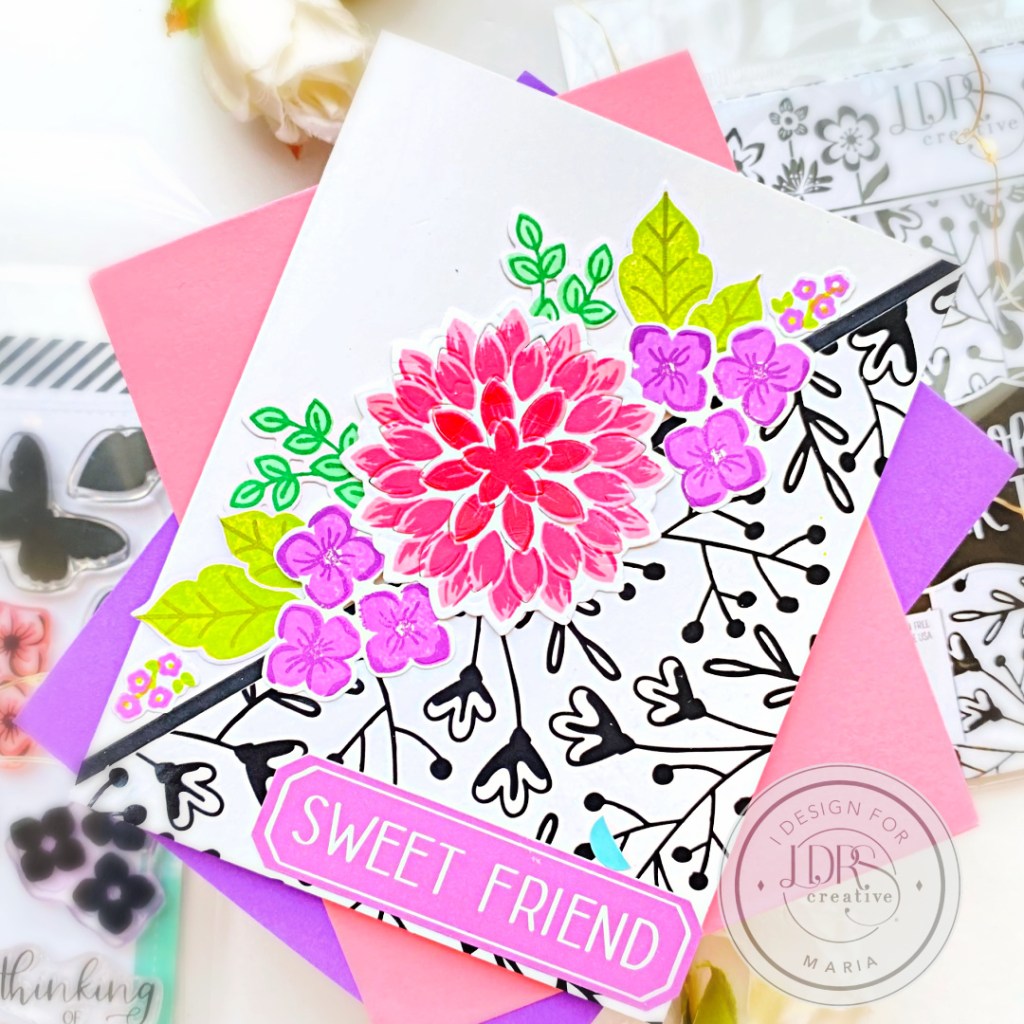
Both cards below are pretty much identical with the exception of the sentiments used.
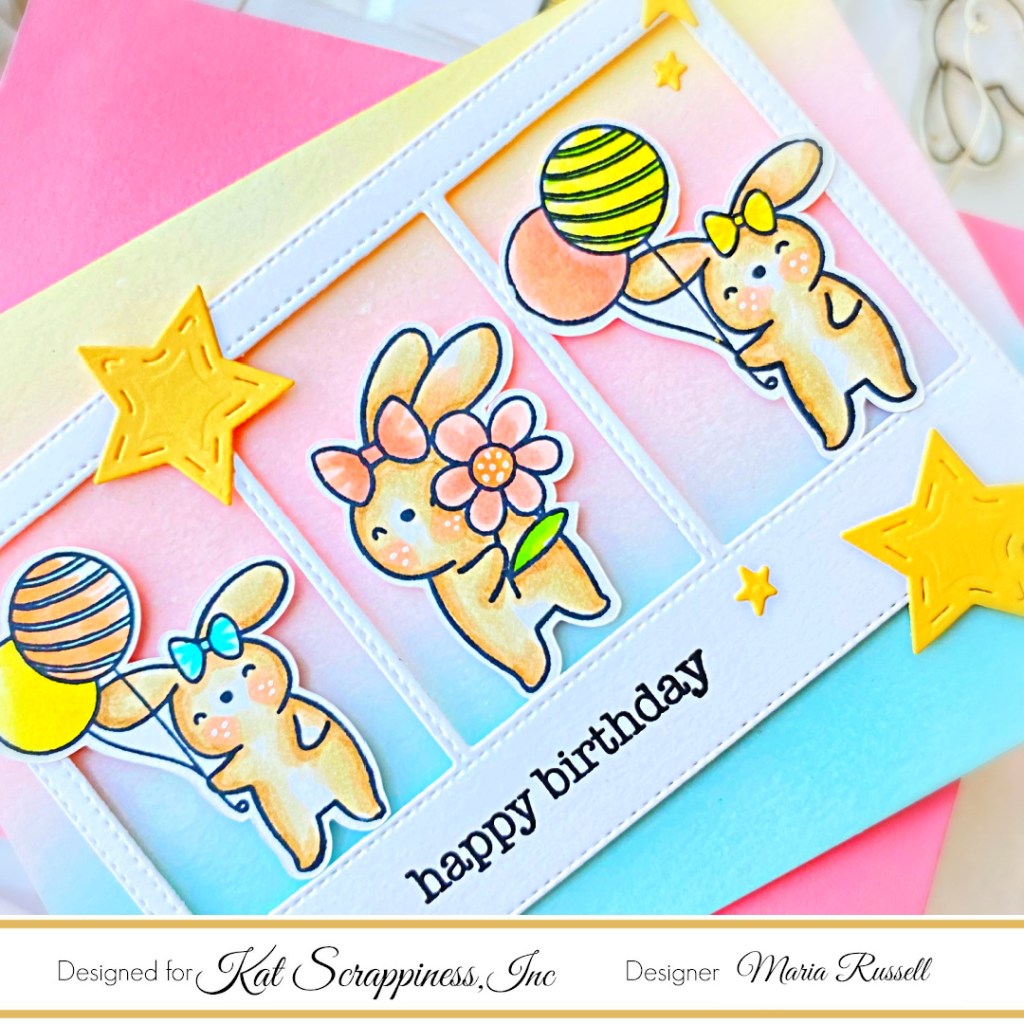
I started by stamping the images from the Sunny Meadow Petal Pusher Stamp Set on some Neenah solar white card stock. I made sure I had enough images to create two cards.
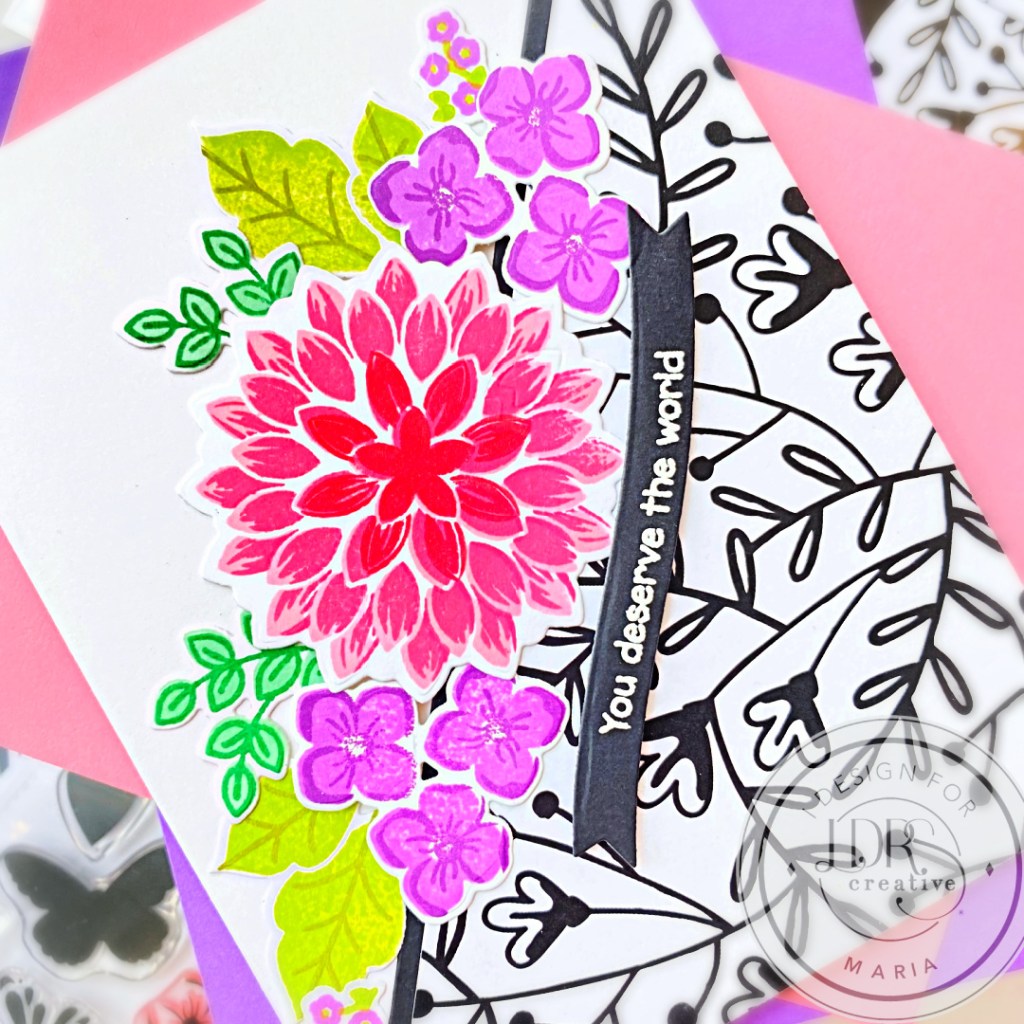
The layering inks I used today are: Pink Tutu, Lipstick Jungle, Scarlet Rose, Key Lime Pie, Olive Branch, Pistachios-A-Plenty, Four Leaf, La La Lavender and Grape Ape.
Next, I cut the Floral Toner Toppers Paper to 4 1/4 x 5 1/2 then used my paper trimmer to cut it in half, diagonally. I foam-mounted both pieces on some A2-size notecards. I cut the black strips using the 1/8″ Slimline Background Strips Die Strips Die on some black card stock and adhered on the card with liquid glue.
The next step was to adhere the floral images on the card with liquid glue and foam adhesive for added dimension. I finished the card design by adding the sentiments on the card using the Lovely Watercolor Ephemera Pieces and You’re Simply The Best stamp set.
Here’s another look at both cards:
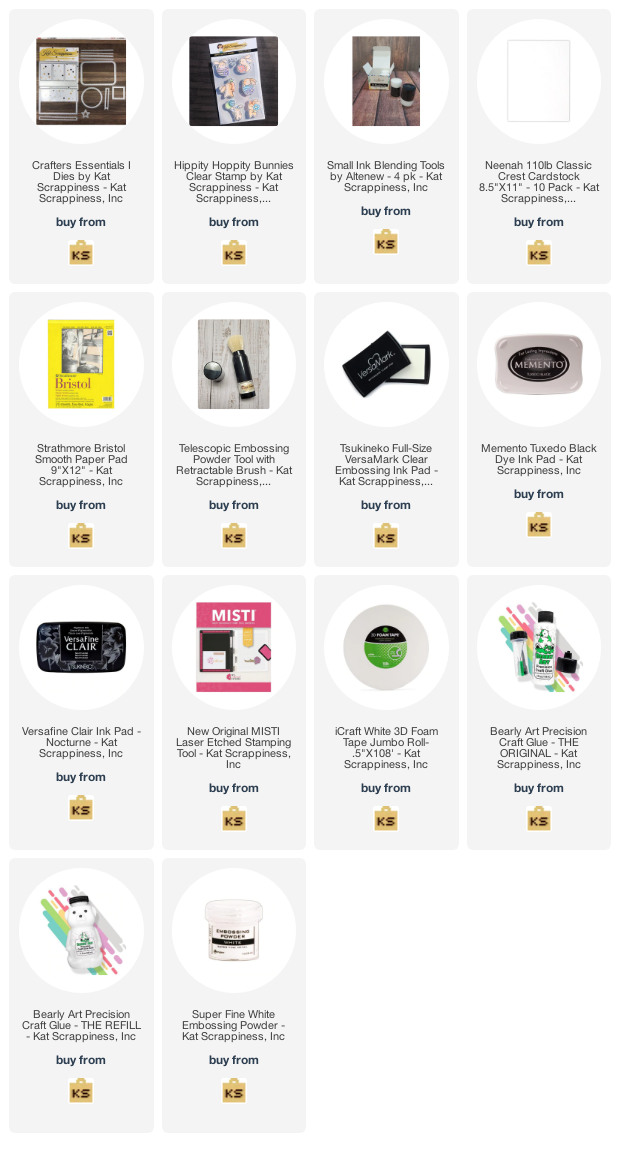
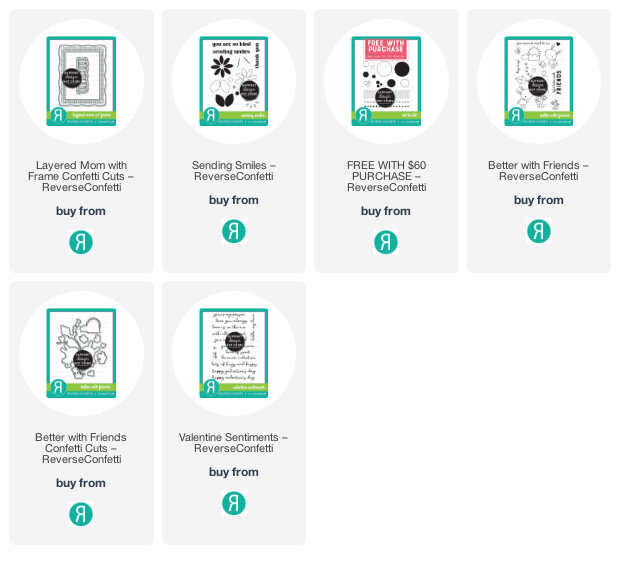
I hope you like these cards today and much as I do! Below, you will find links to the supplies used to create this project(s). Where available, I use compensated affiliate links at no extra cost to you. Your support helps me to keep bringing you new projects and inspiration. Thank you!
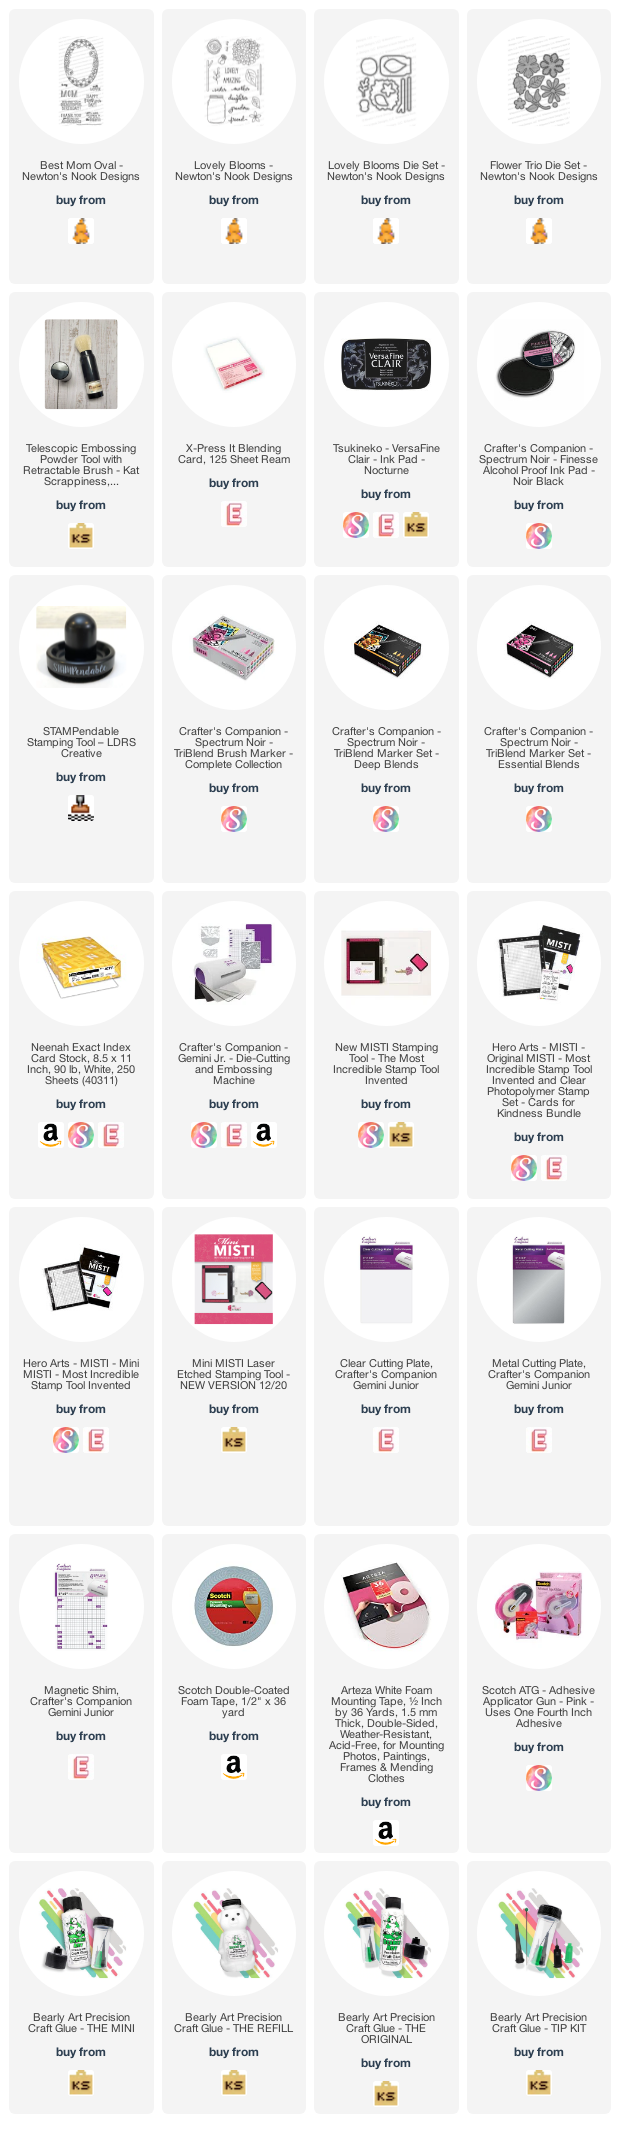
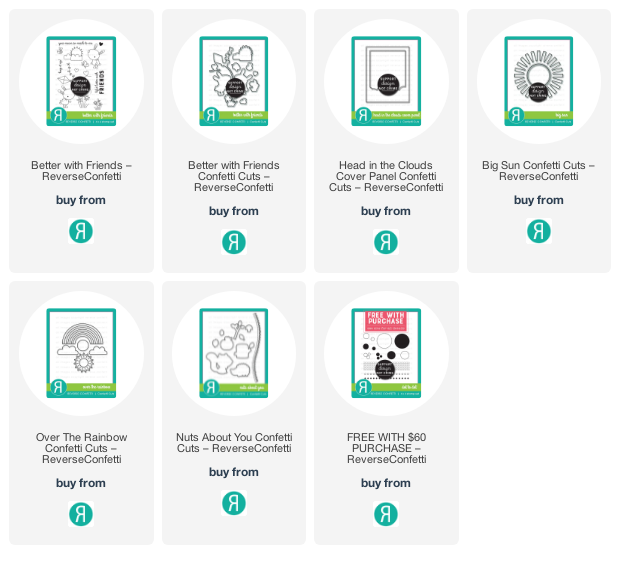
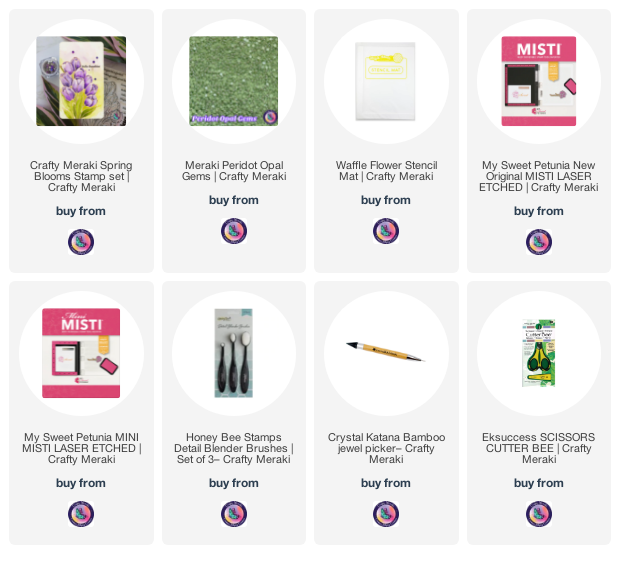
———–SUPPLIES———-