I am pleased to join the Countdown to Confetti Day 1 by Reverse Confetti. We have lots to show you and there is also a giveaway so please read through the end of this post to find out how you can WIN!
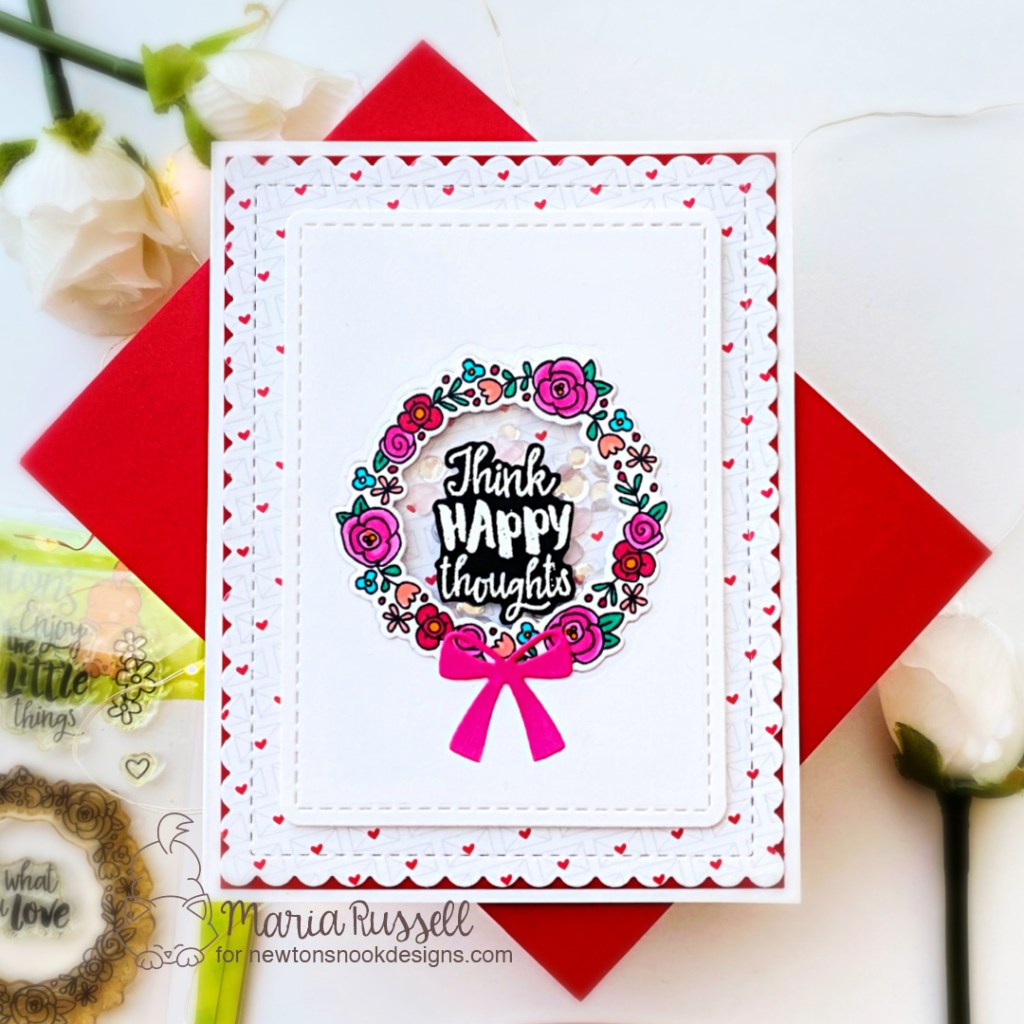
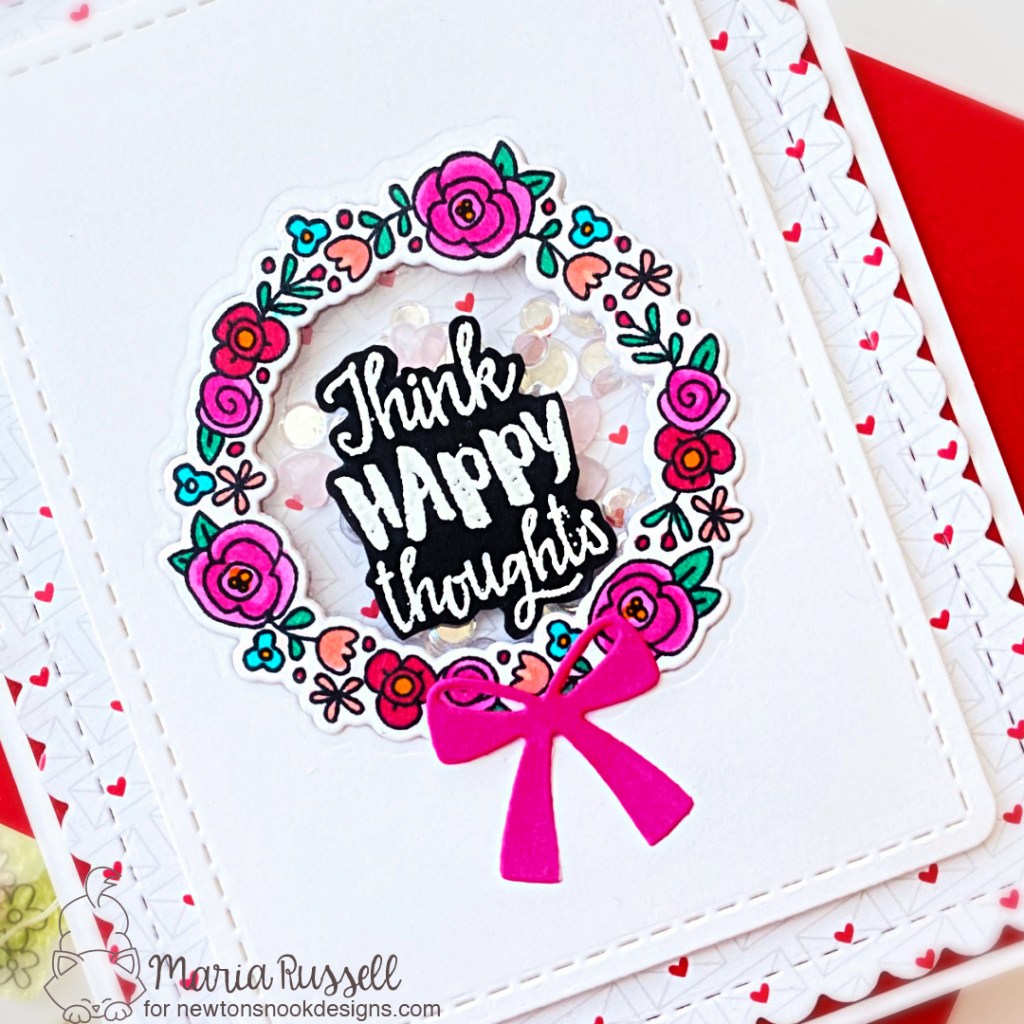
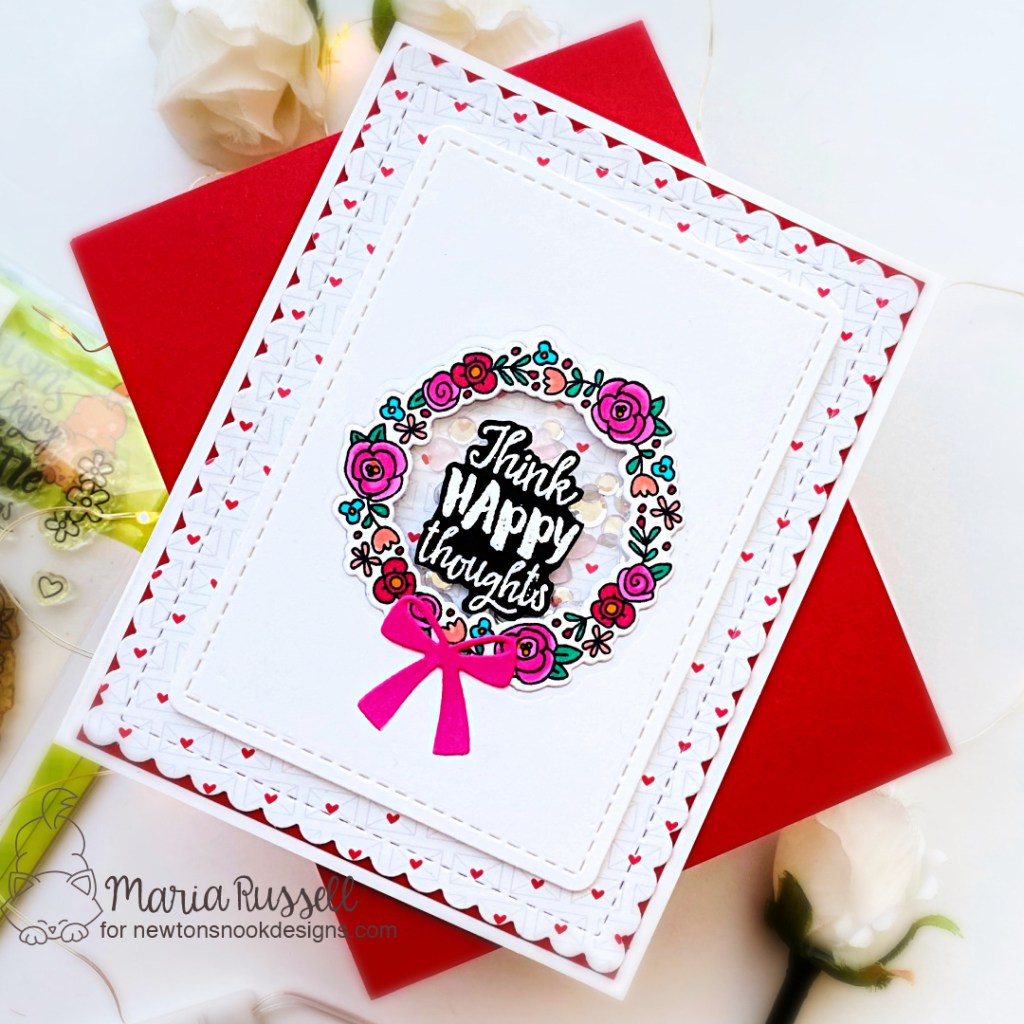
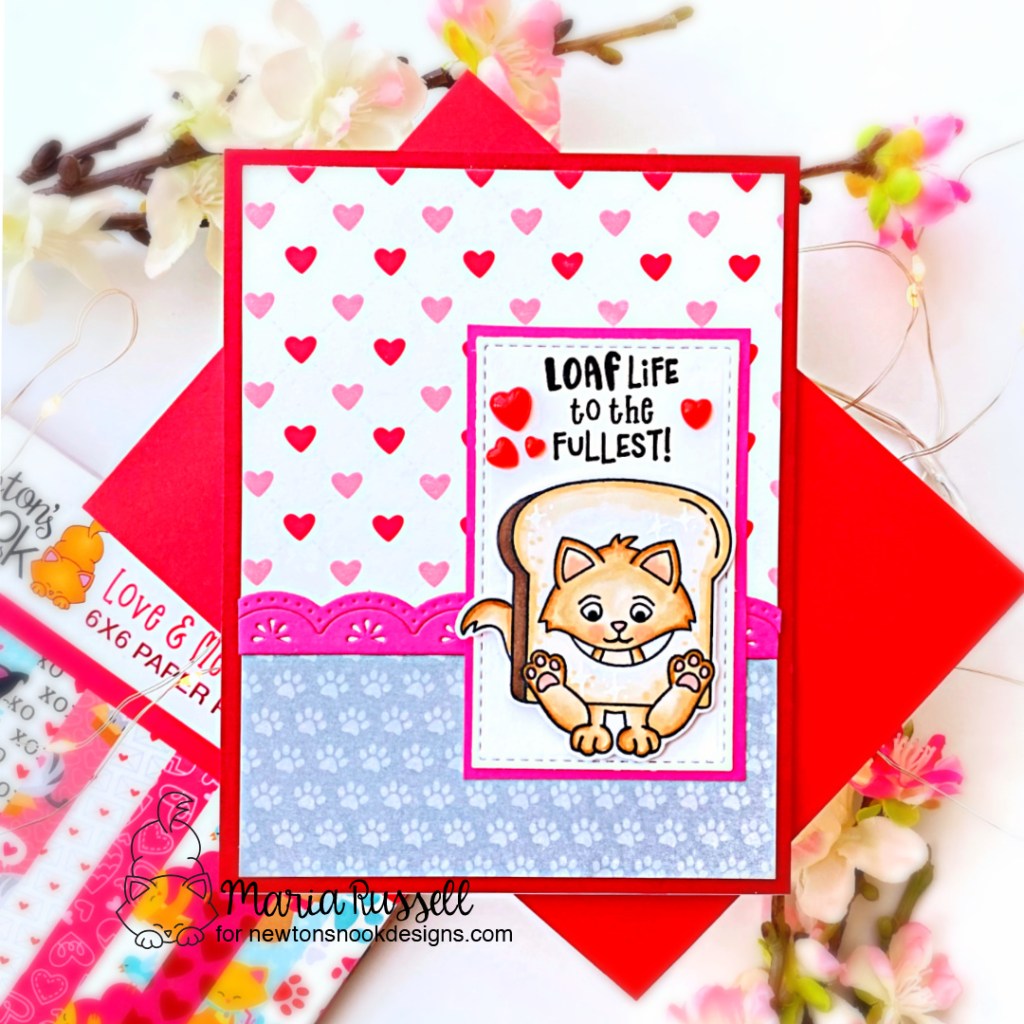
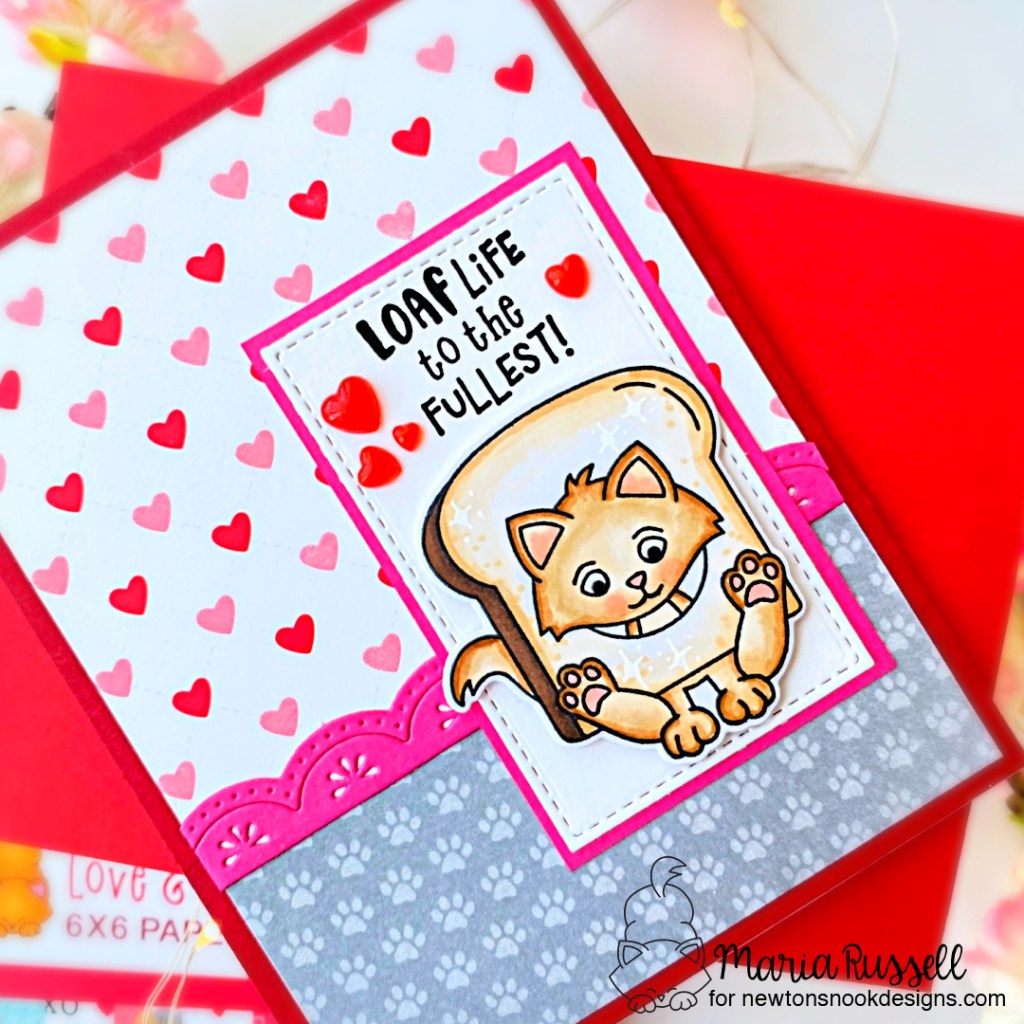
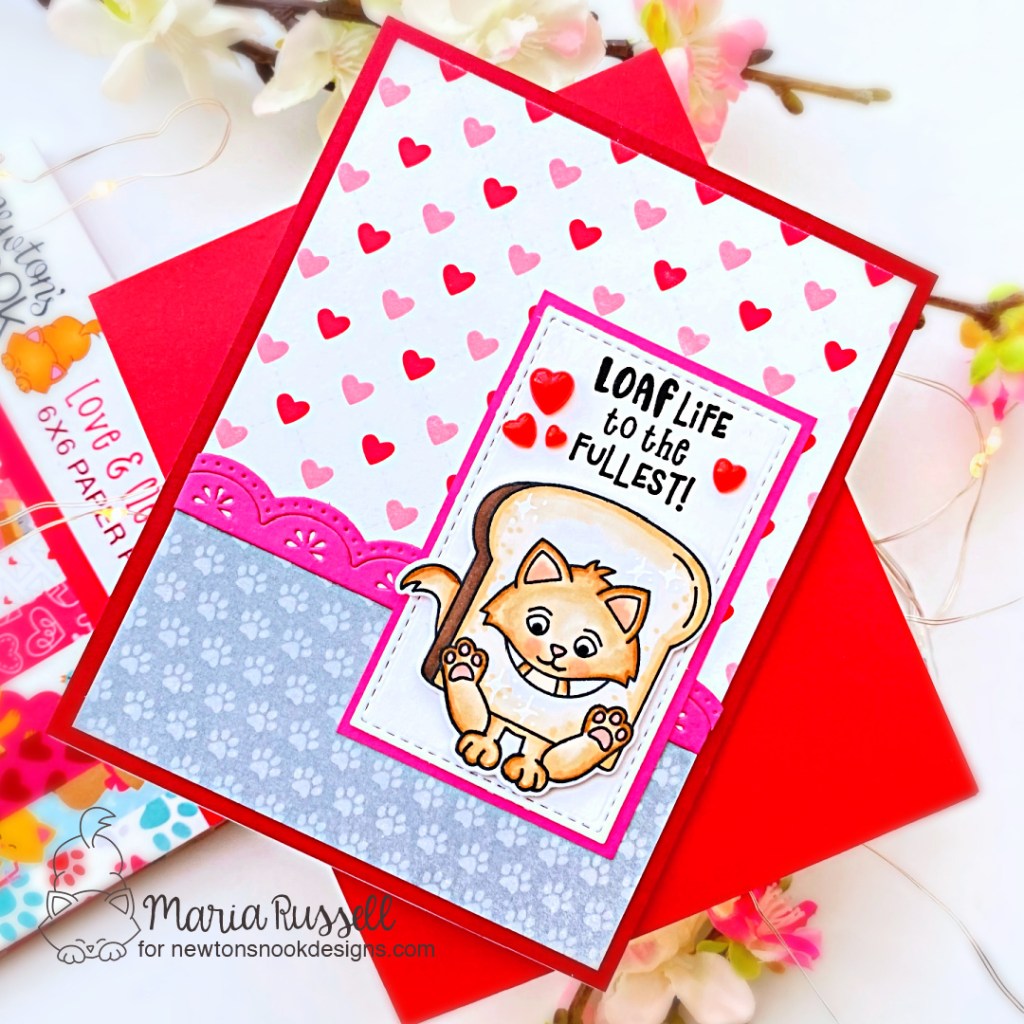
For my first project, I am showcasing the Springtime Sentiments and Sending Smiles Stamp Set and coordinating dies, along with the Layered Mom & Frame Confetti Cuts.


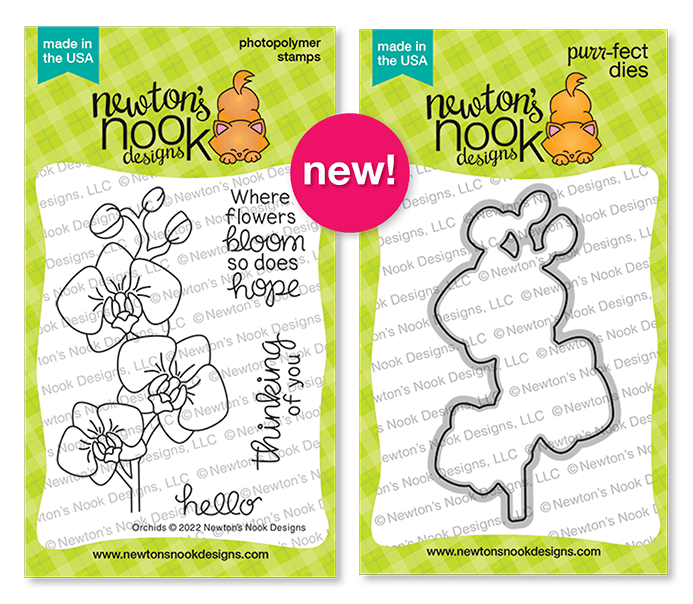
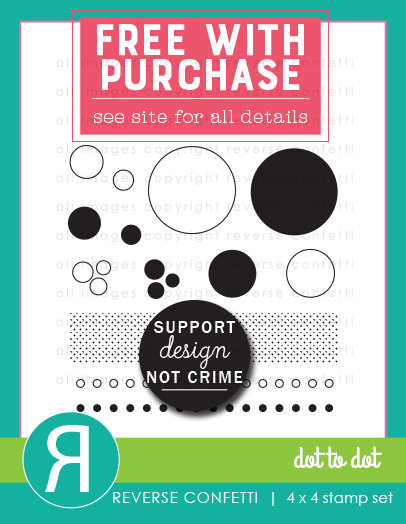
I have also used the Dot to Dot stamp set which is, incidentally, a free with $60 purchase.
I have two projects to show you today and I am so excited to share them with you.

Here’s how I made this project:
- Stamp the images on some Neenah solar white card stock using layering dye inks.
- Use the coordinating dies to cut them out. Set this aside for now and prepare the background panel.
- Cut some A2-size panel of some blue card stock and use the Dot-to-Dot stamp set to start randomly stamping the images on the panel with blue and white pigment inks. Let this panel dry and adhere on some A2-size note card.
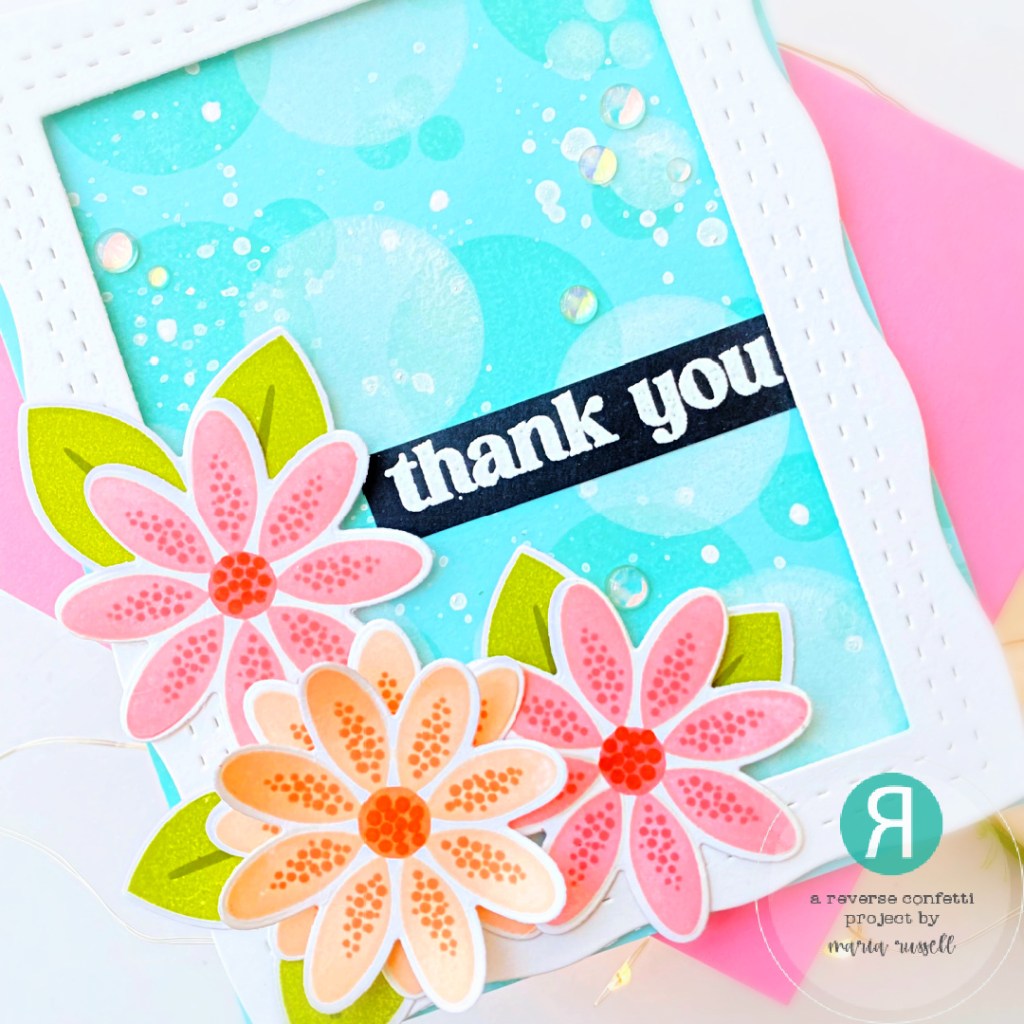
- Die-cut the frame from the Layered Mom & Frame Confetti Cuts and adhere with foam adhesive for added dimension.
- Adhere the focal images using liquid glue. Add some foam adhesive to layer the flower.
- Stamp the sentiment from the Sending Smiles stamp set on some black card stock with VersaMark ink and heat-set with the heating tool. Adhere the sentiment on the card and finish the design by adding some enamel dots.
I really LOVE the simplicity of the Sending Smiles stamp set. It’s so easy to stamp and layer! This stamp set is a must-have for sure!
For my second project, I am showcasing the Easter and Eggstra Cover Panel Confetti Cuts.

- Prepare the background panel by die-cutting some white and yellow card stock using the Easter Cover Panel.
- Use an embossing mat to dry-emboss the Eggstra Cover Panel Confetti Cuts on some white card stock.
- Adhere the yellow scallop on some A2-size notecard.
- Foam-mount the white Eggstra Cover Panel on the card for added dimension.

- Die-cut the Easter Cover Panel with some pastel-color card stock and put it together by following the photo instruction below:
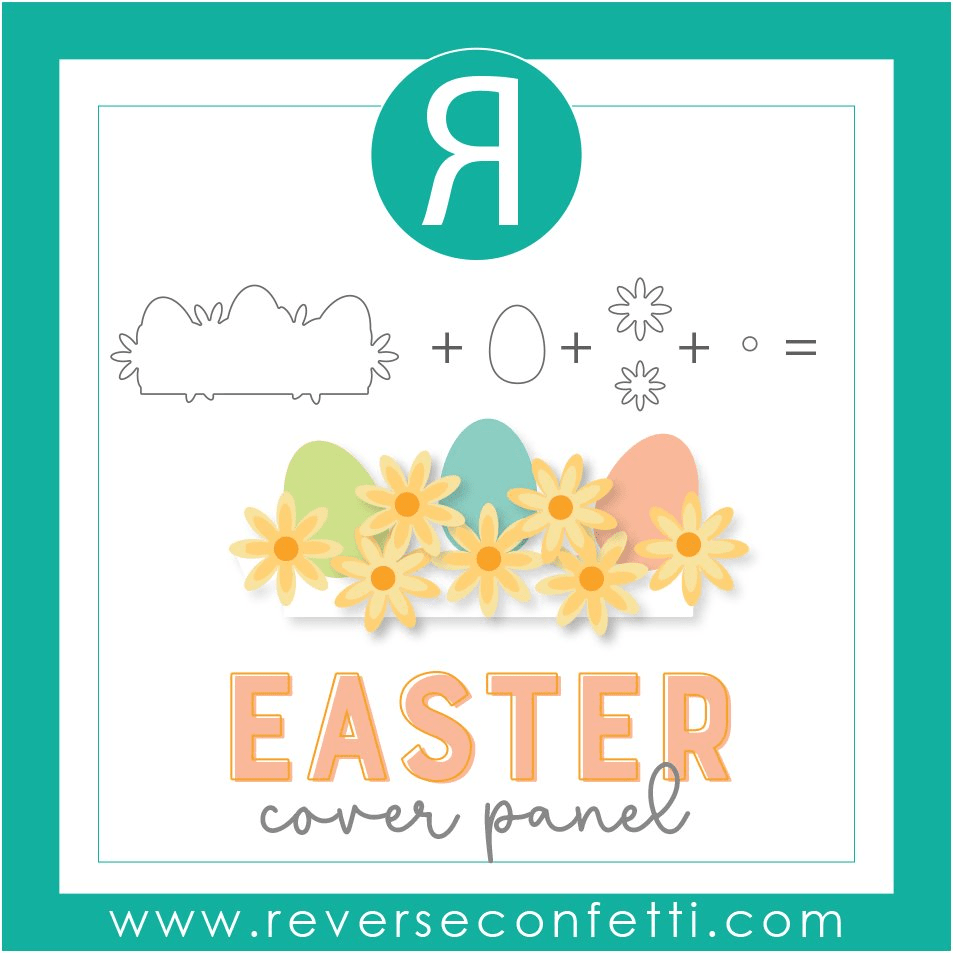
- Adhere the egg die-cuts on the foreground with liquid glue and layer the flowers with foam adhesive for added dimension.
- Ink-blend a panel of some Bristol smooth white card stock with some distress oxide inks.
- Use the Happy Easter Confetti Cuts to die-cut the words and adhere on the card front with liquid glue.
- Finish the design by using some white gel pen to add more interest to the words Happy Easter.

I can’t wait to hop around and see what the other team members designed! Leave a comment by noon central on March 7th for a chance to win. There will be a $15 Gift Certificate for one blog commenter and also one FaceBook commenter. Winners will be announced on the Reverse Confetti Blog and FB Group on March 7th at 5 PM CST. Make sure you pop over to the Reverse Confetti Blog for all the details!
Hop Listing