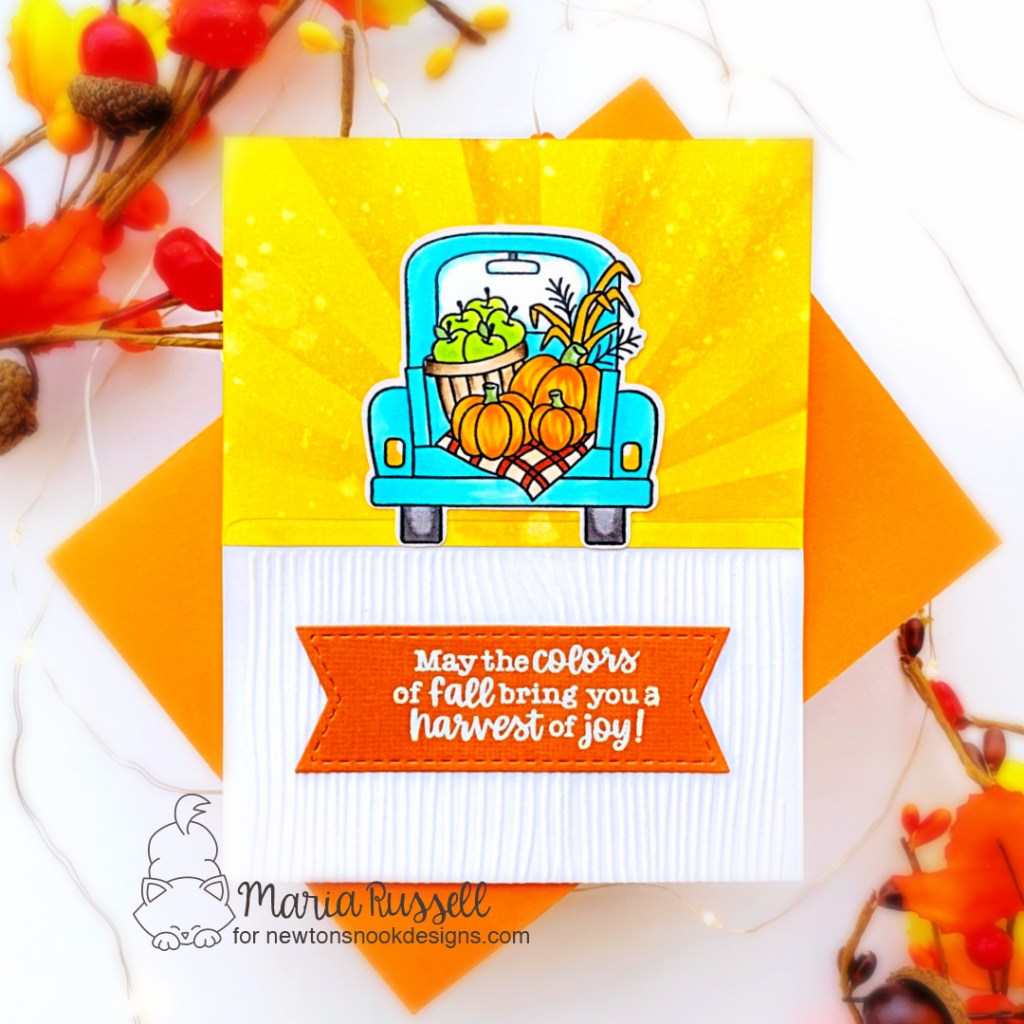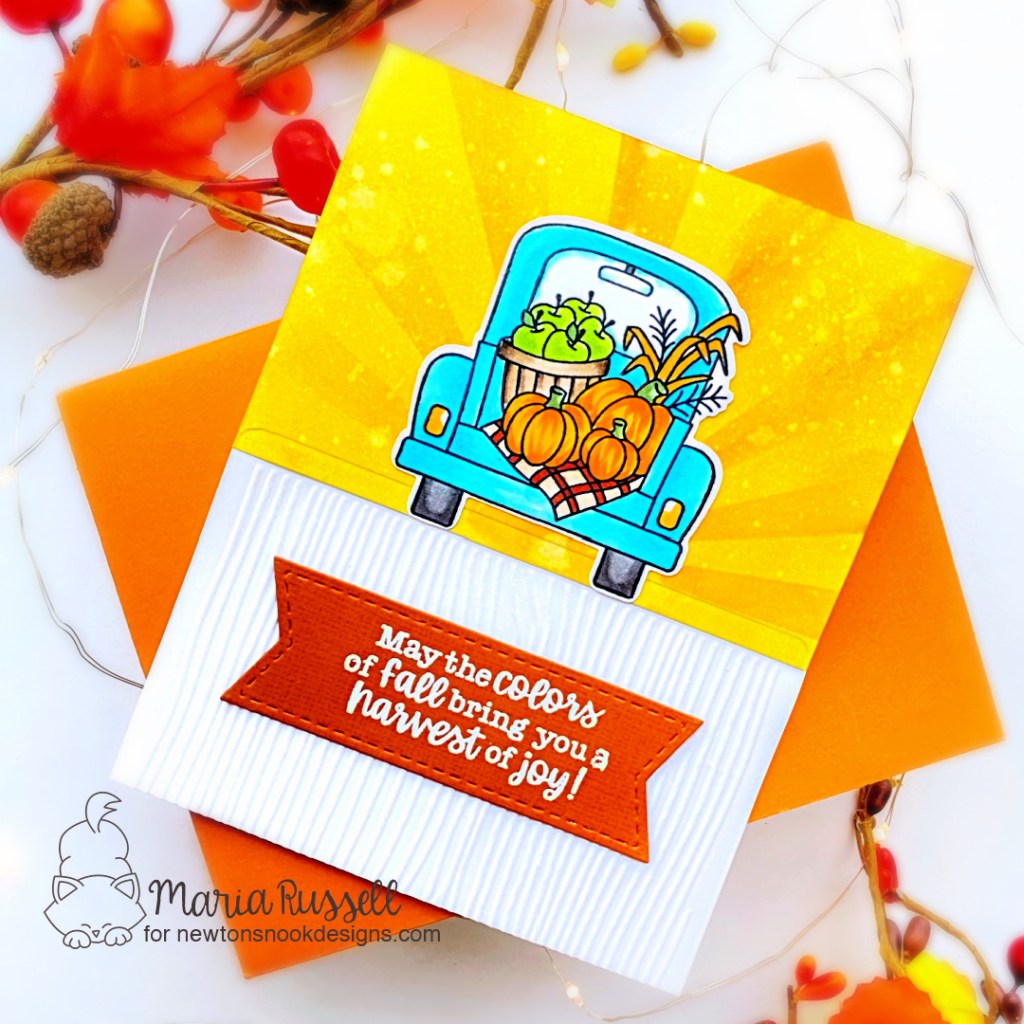
t’s finally here! It’s the September release by Reverse Confetti and we are having an Instagram Hop! My Instagram Handle is–> @RPRMLR77 but I will be linking all of our Instagram info at the end of the post. It will be great if you can hop along with us and see the projects created by the design team and our special “Fetti” Friends!
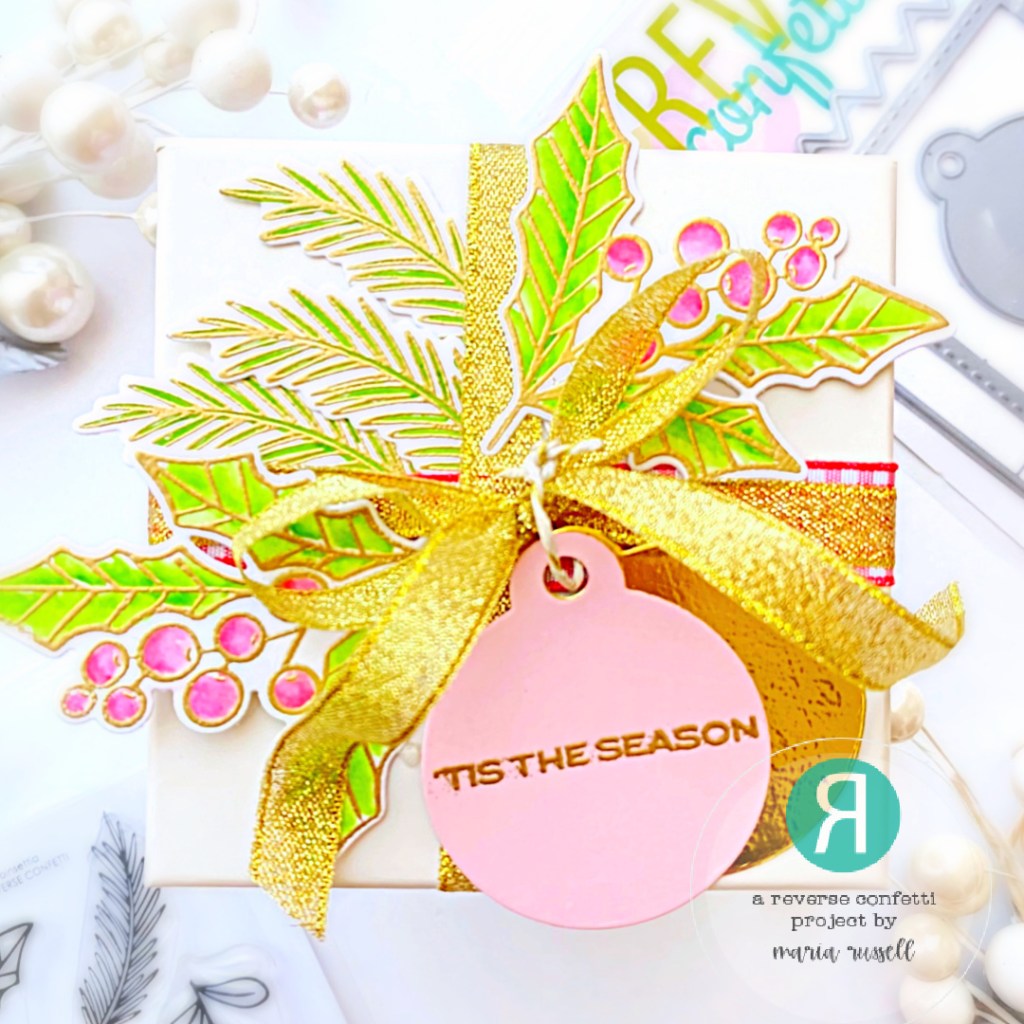
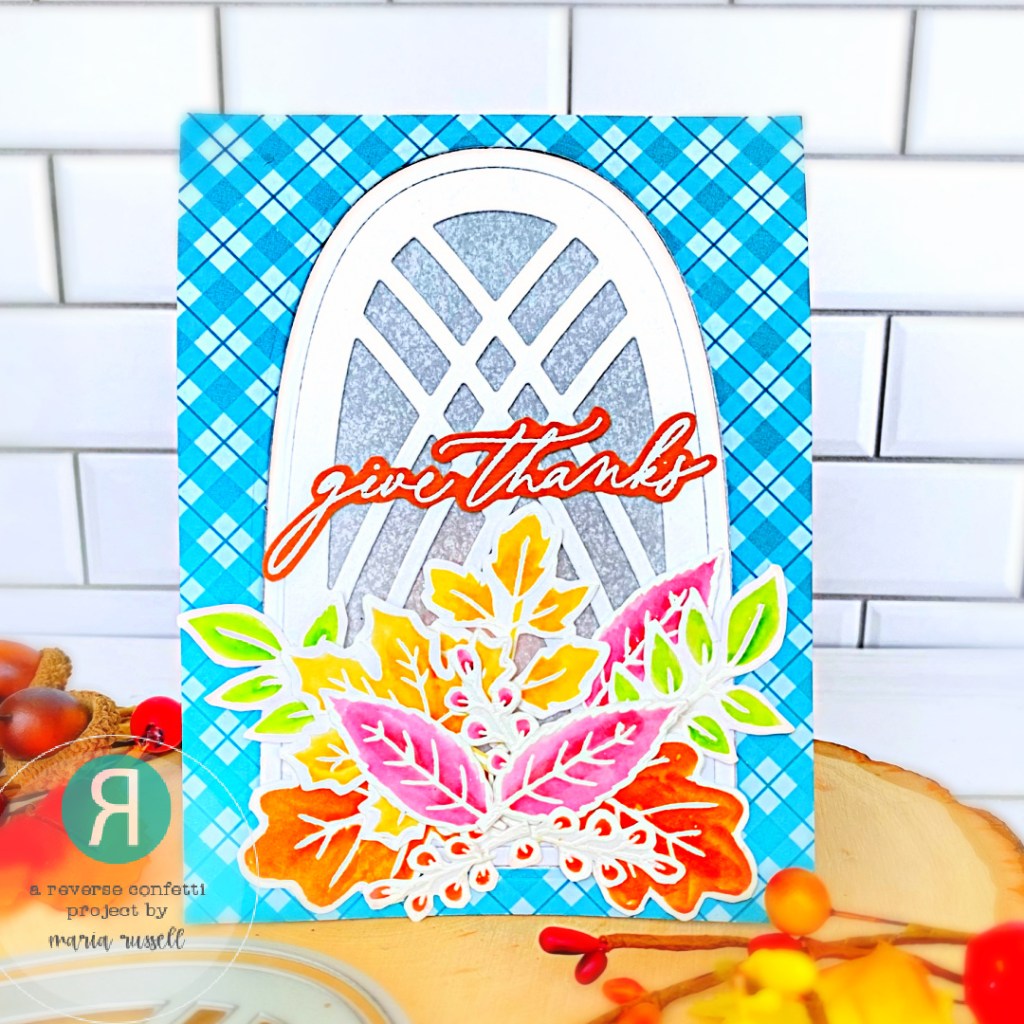
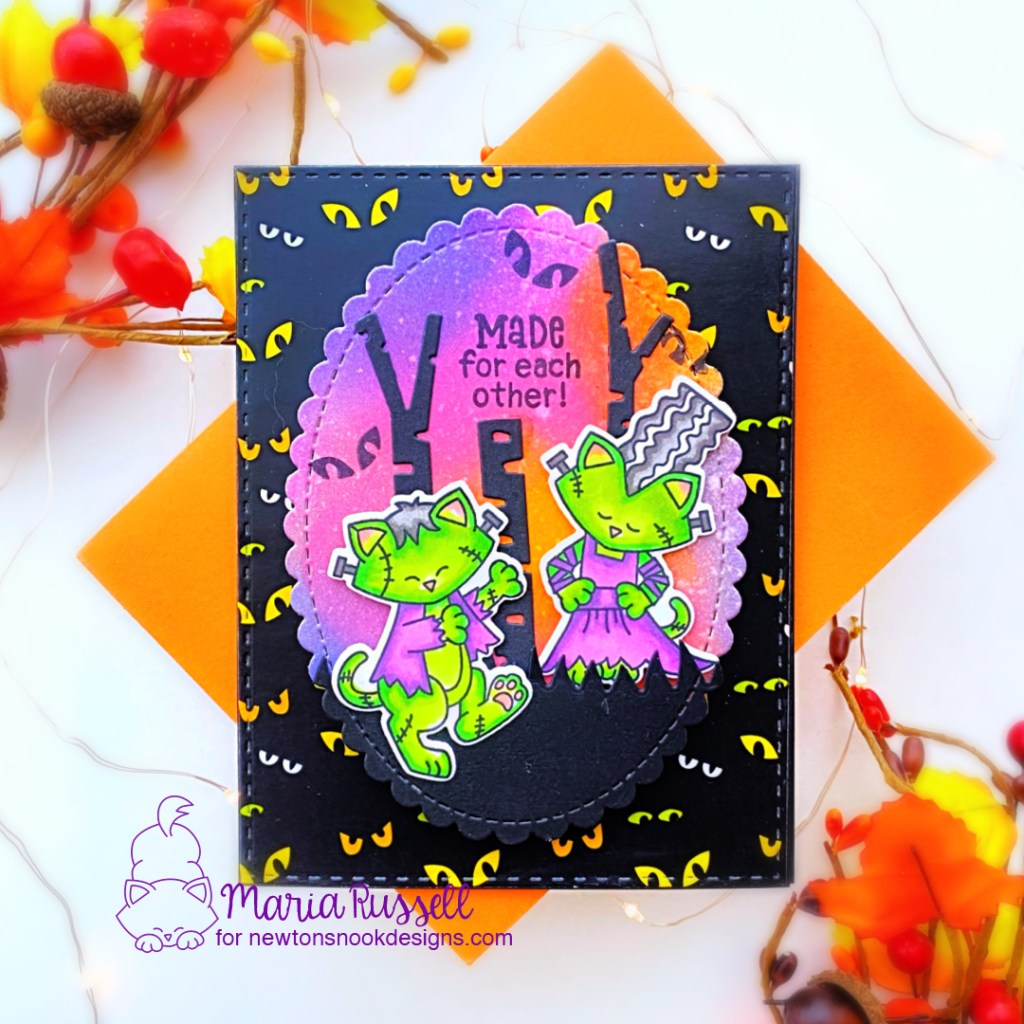
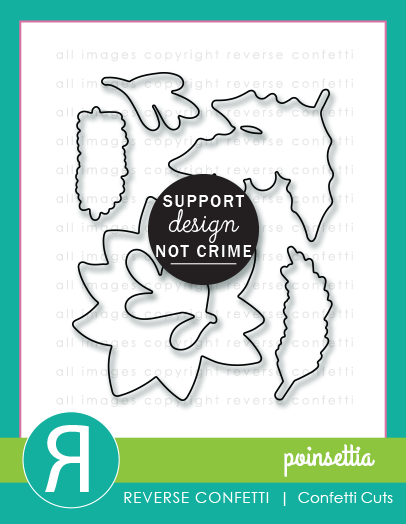
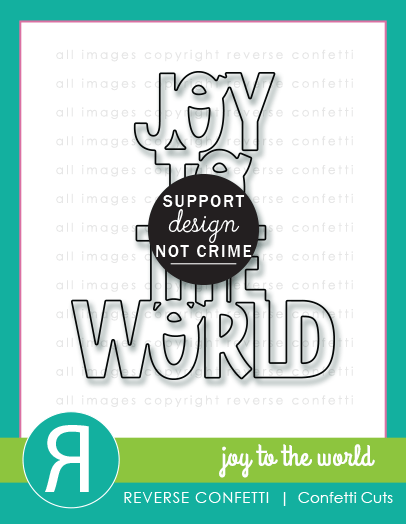
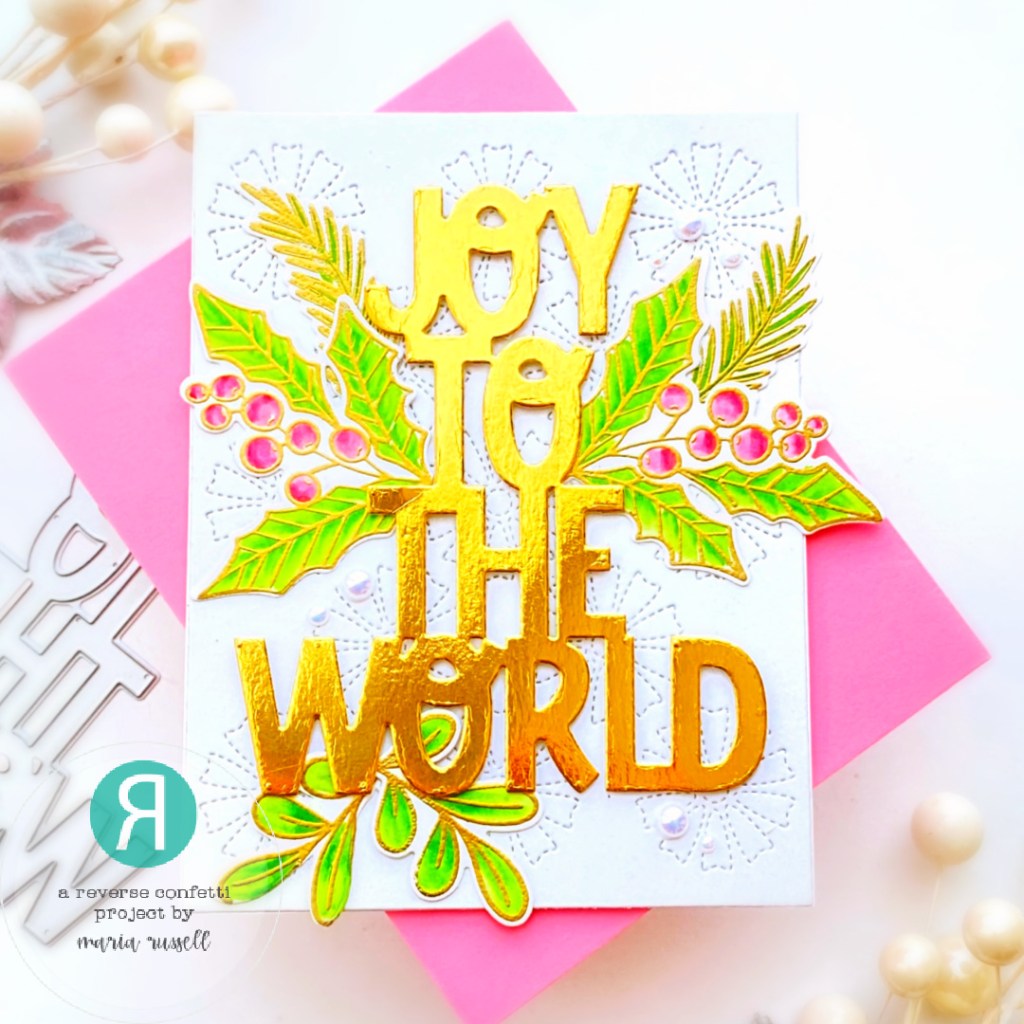
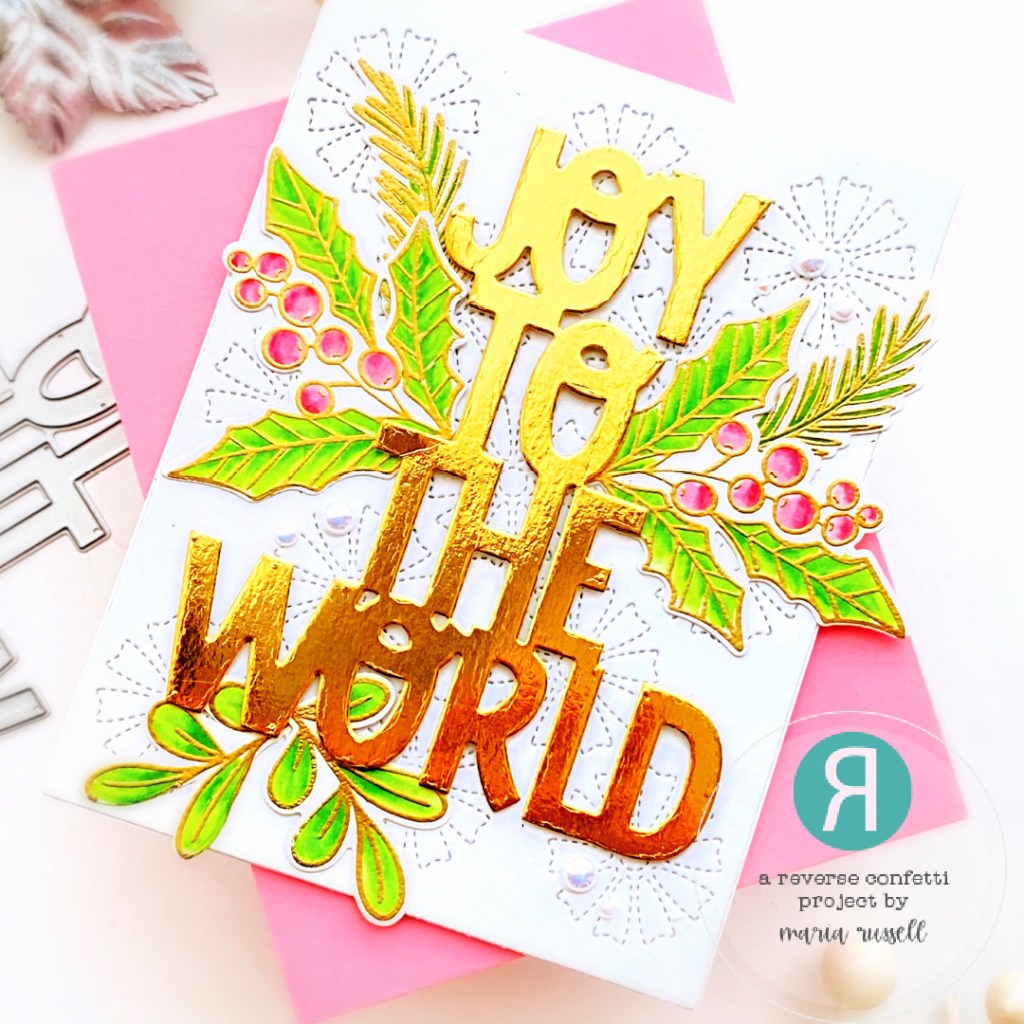
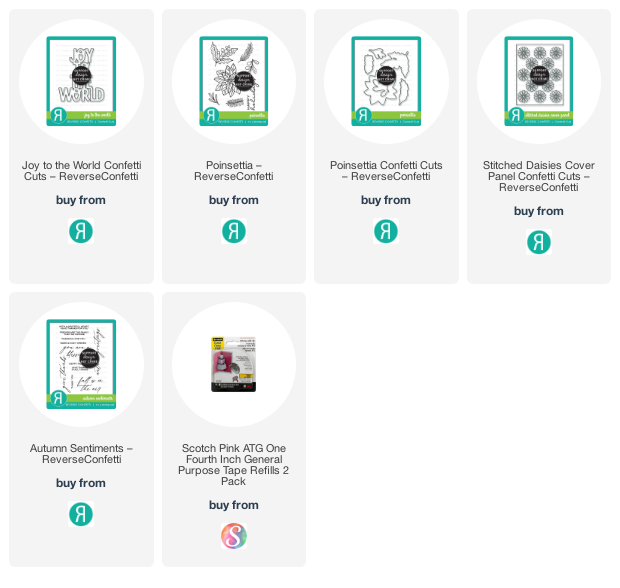
For my project today, I am showcasing the Poinsettia Stamp Set and Poinsettia Confetti Cuts along with the Joy to the World Confetti Cuts and the previously-released Stitched Daisies Cover Panel.
I decided to use the images that I stamped and heat-embossed from yesterday’s reveal. If you haven’t seen that project, I am going to tell you how I made them again.
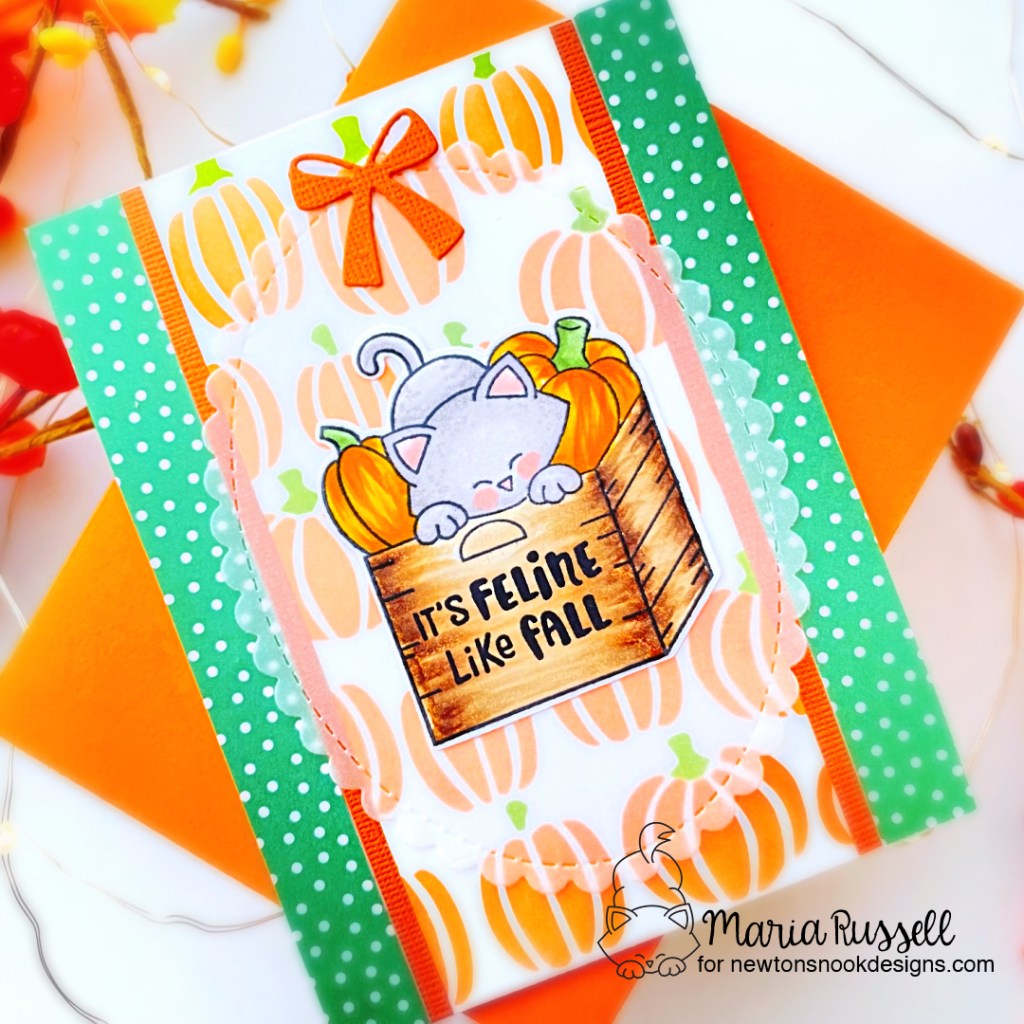
Here’s how I made this project:
- stamp the images a few times on some Bristol smooth white card stock with Versamark ink. Sprinkle some gold embossing powder and heat-set with the heating tool.
- color the images in with Zig Clean Color Real Brush Markers (or any watercolor of your choice.
- use the coordinating dies to cut them out.
- die-cut the background panel using the Stitched Daisies Cover Panel on some pearlescent white card stock. Adhere this panel on some A2-size white notecard.
- die-cut the Joy to the World Confetti Cuts on some gold card stock. Foam-mount the same to the card-front for added dimension.
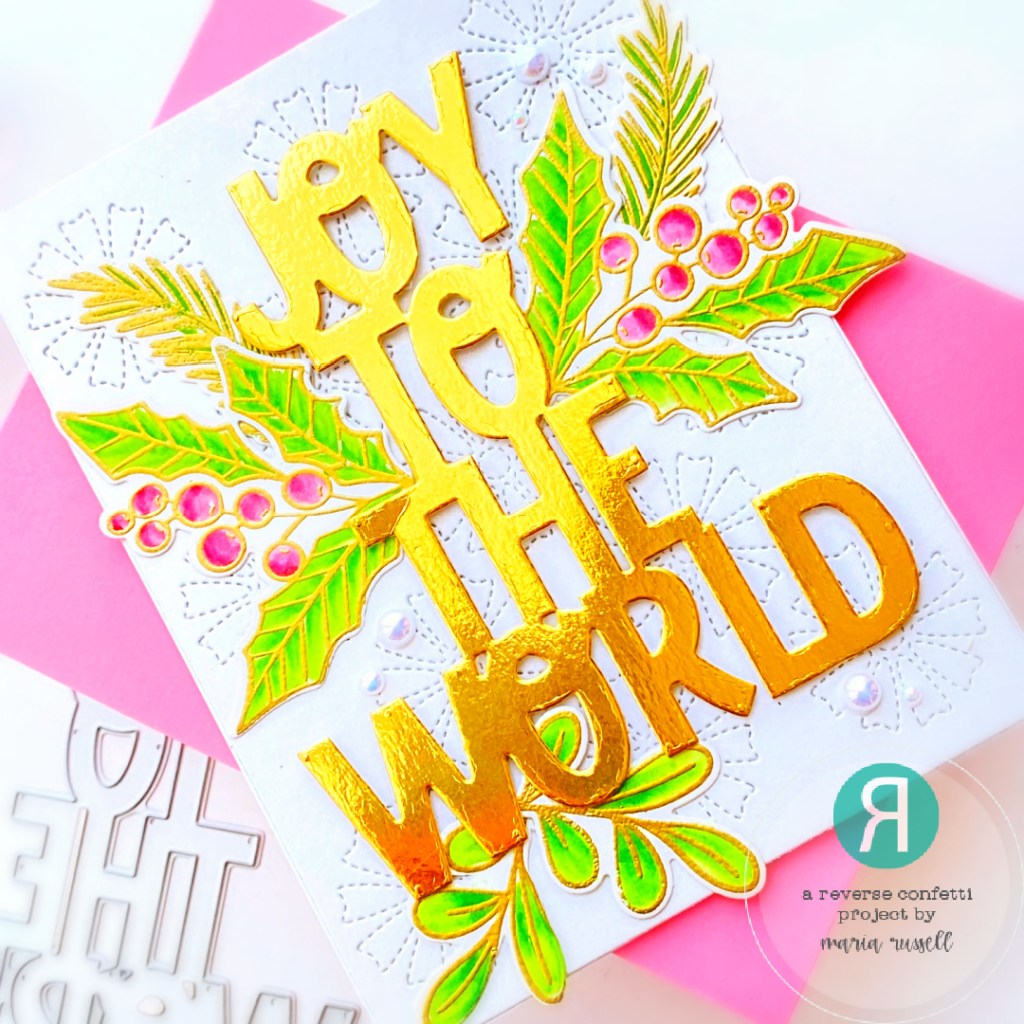
- adhere the images on the card with liquid glue.
- finish the card design by adding some half-pearls for added texture and interest.
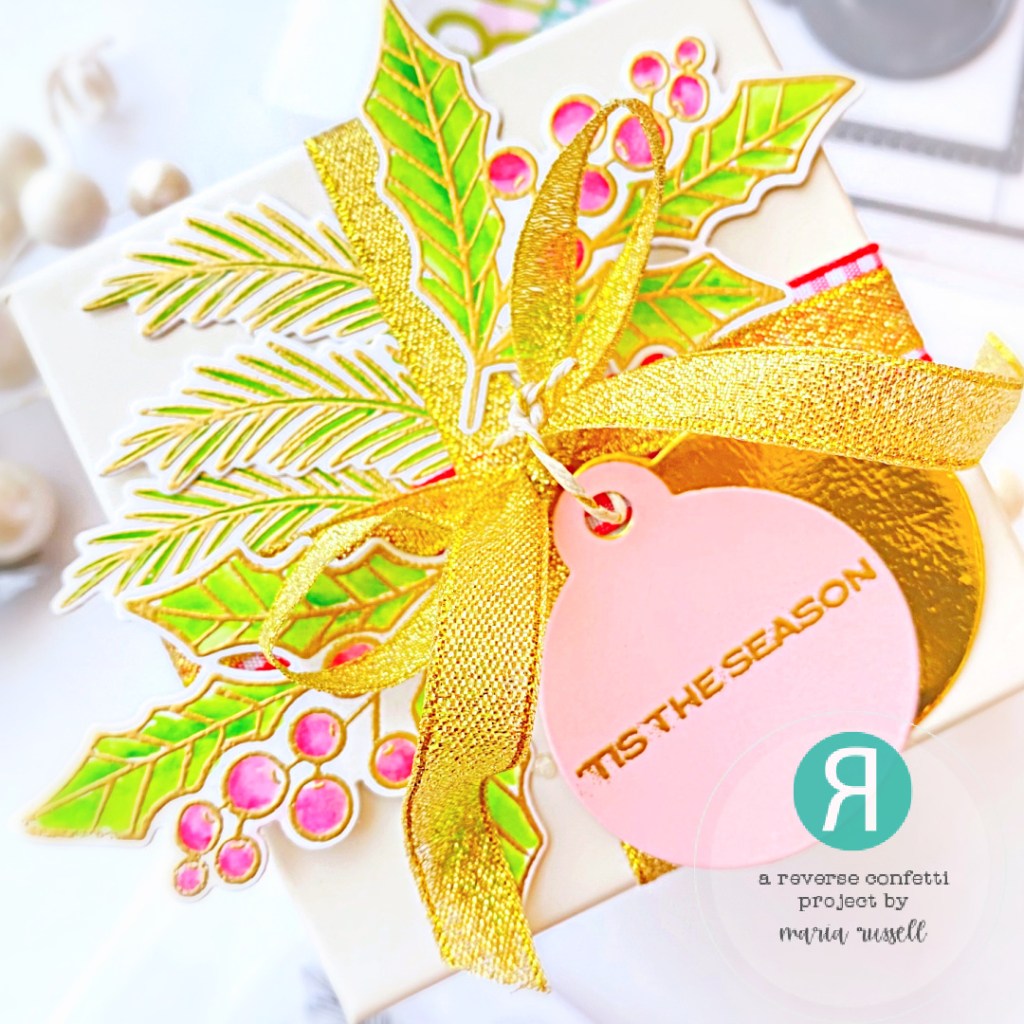
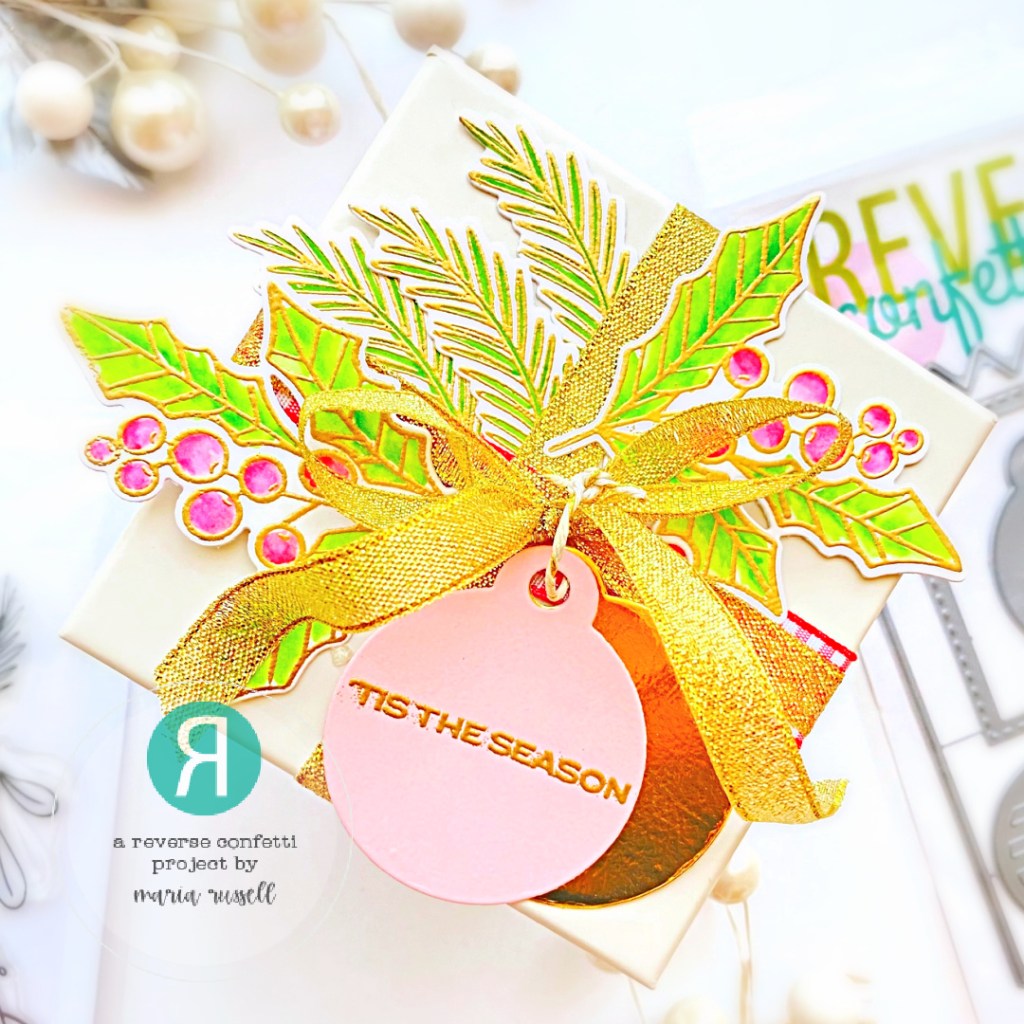
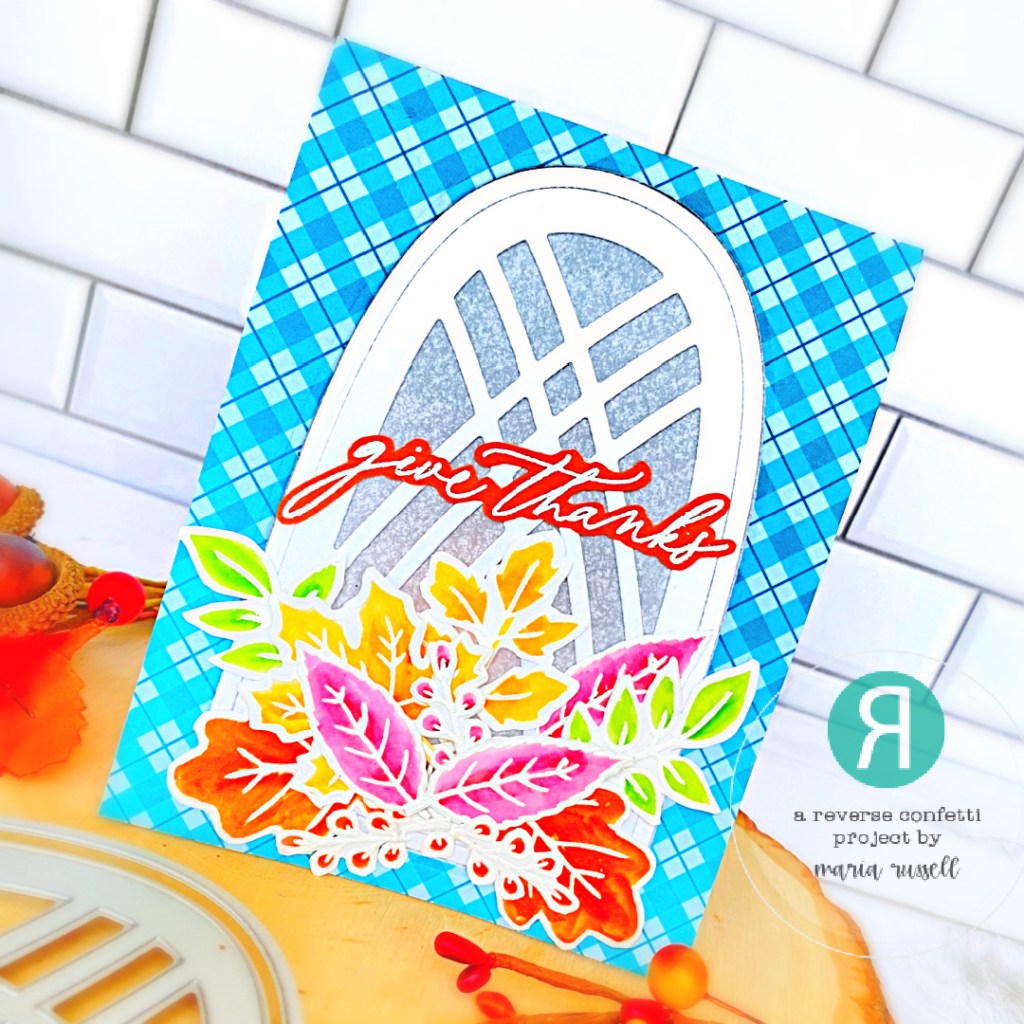
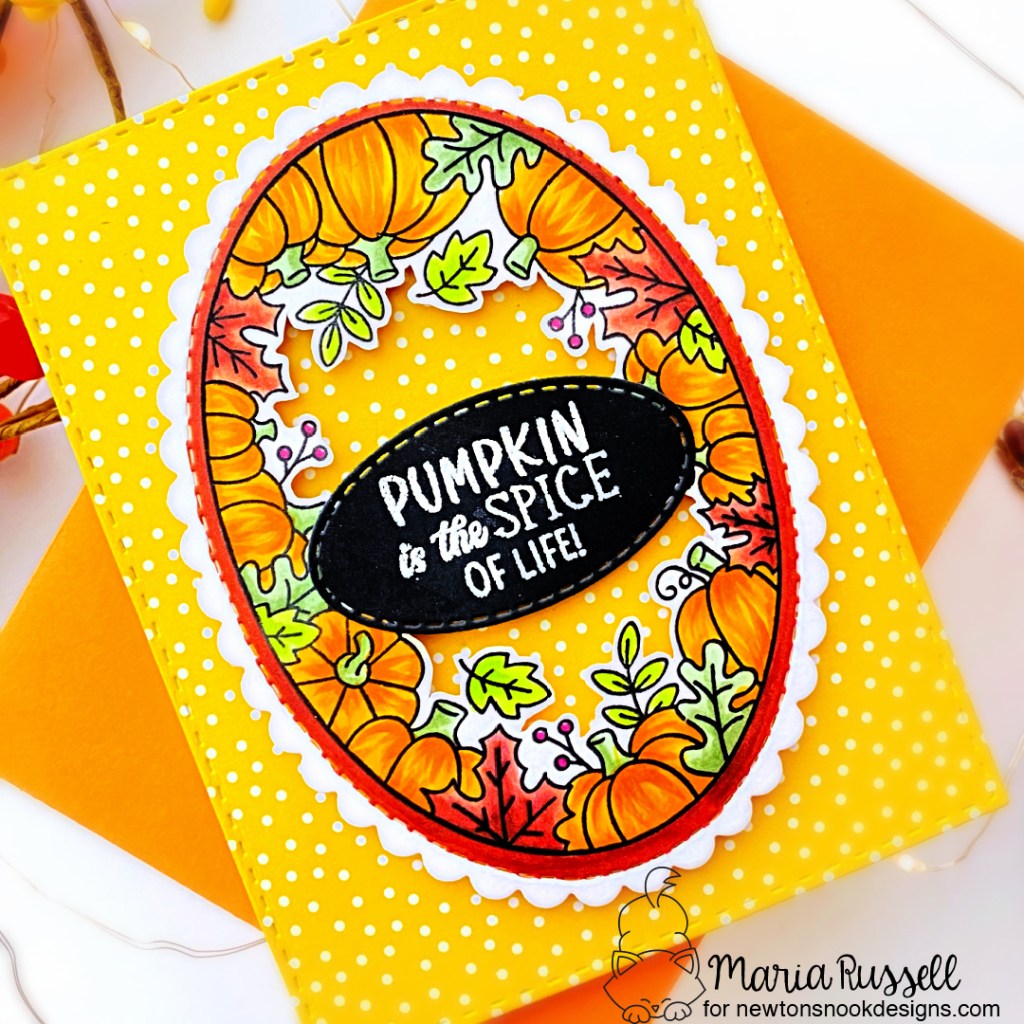
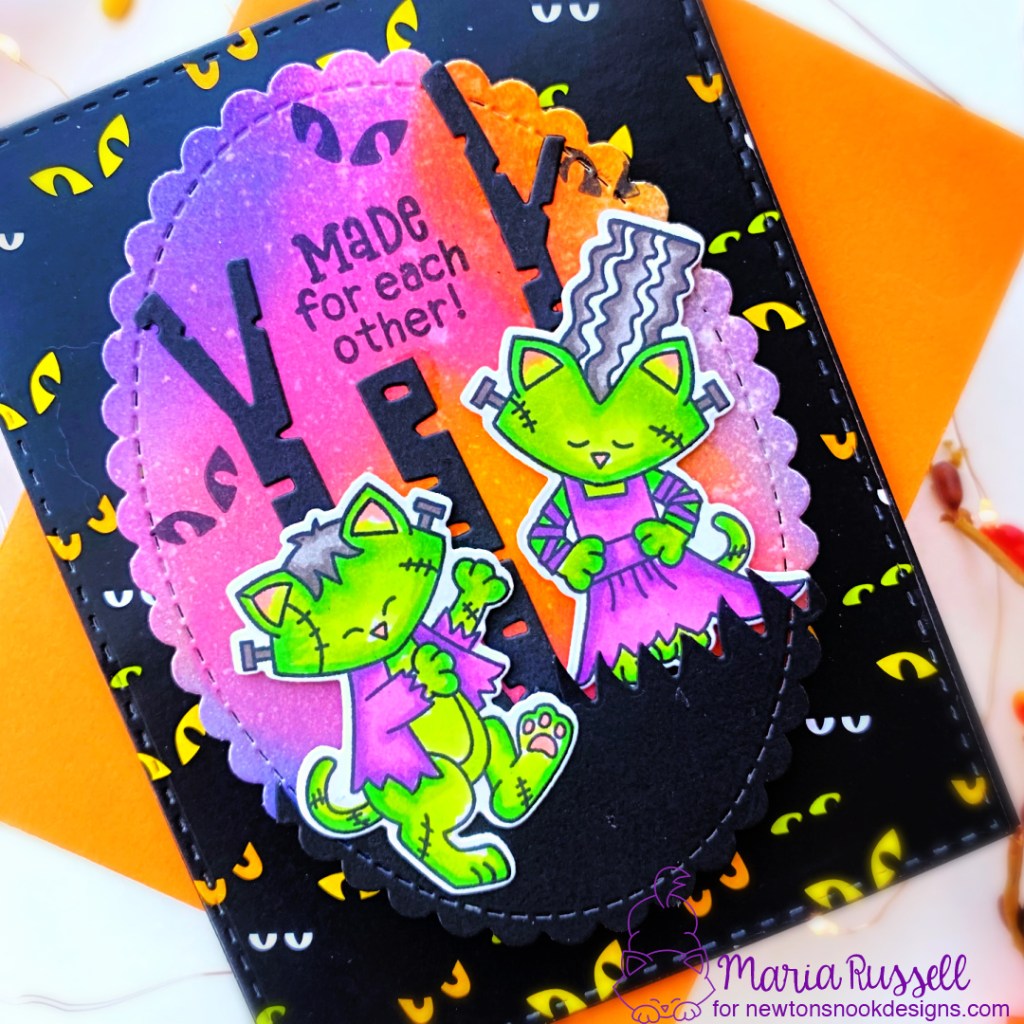
Here’s another look:
I hope you like this card today and got inspired. Below, you will find links to the supplies used to create this project(s). Where available, I use compensated affiliate links at no extra cost to you. Your support helps me to keep bringing you new projects and inspiration. Thank you for stopping by, and have an amazing day!
——SUPPLIES—–
Here’s the Instagram Hop Listing
Maria Russell (that’s me!)