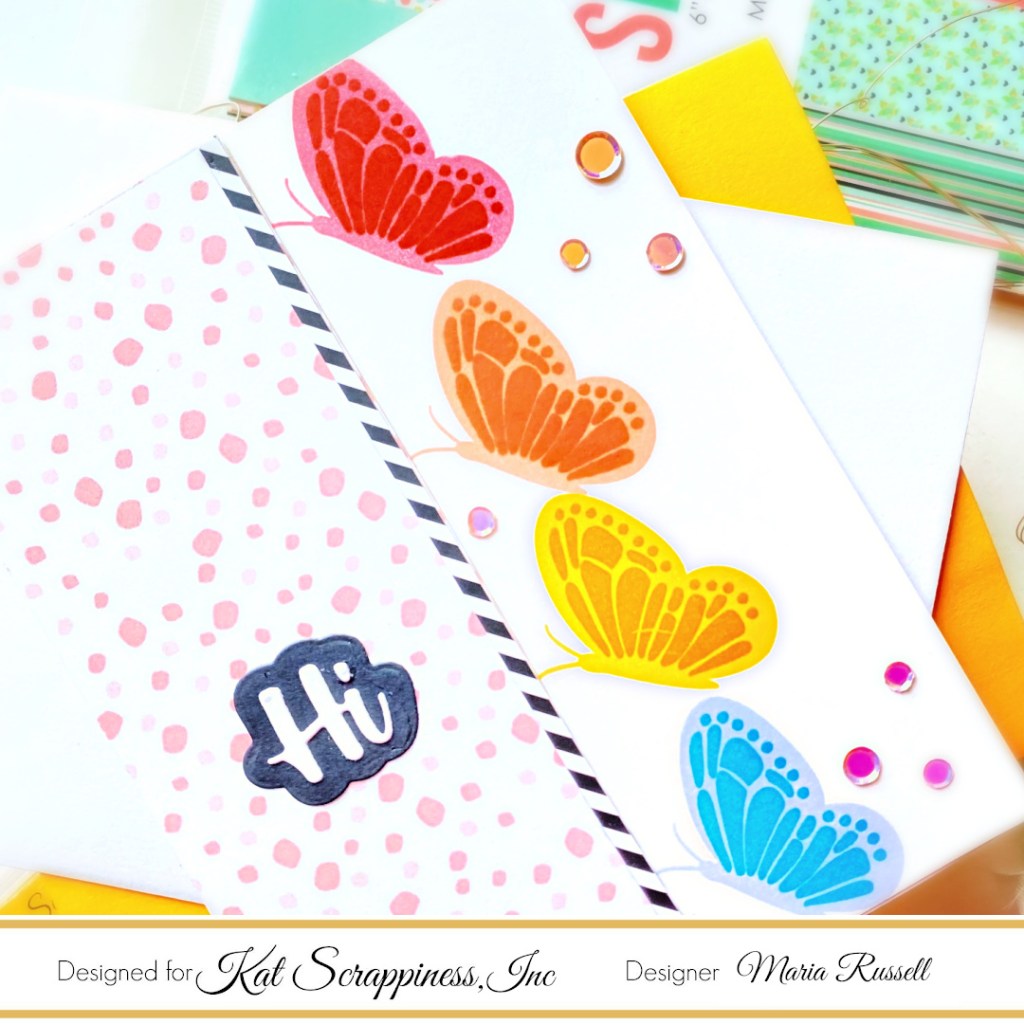
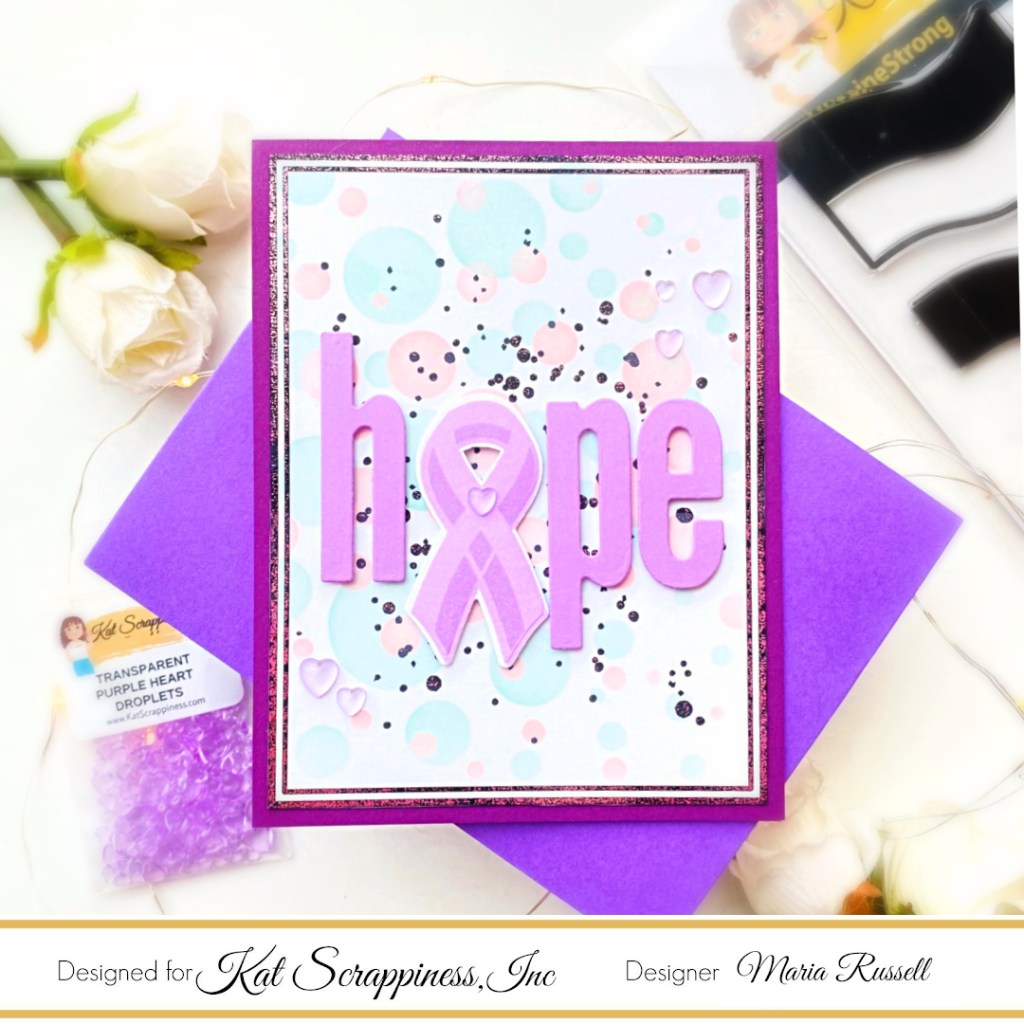
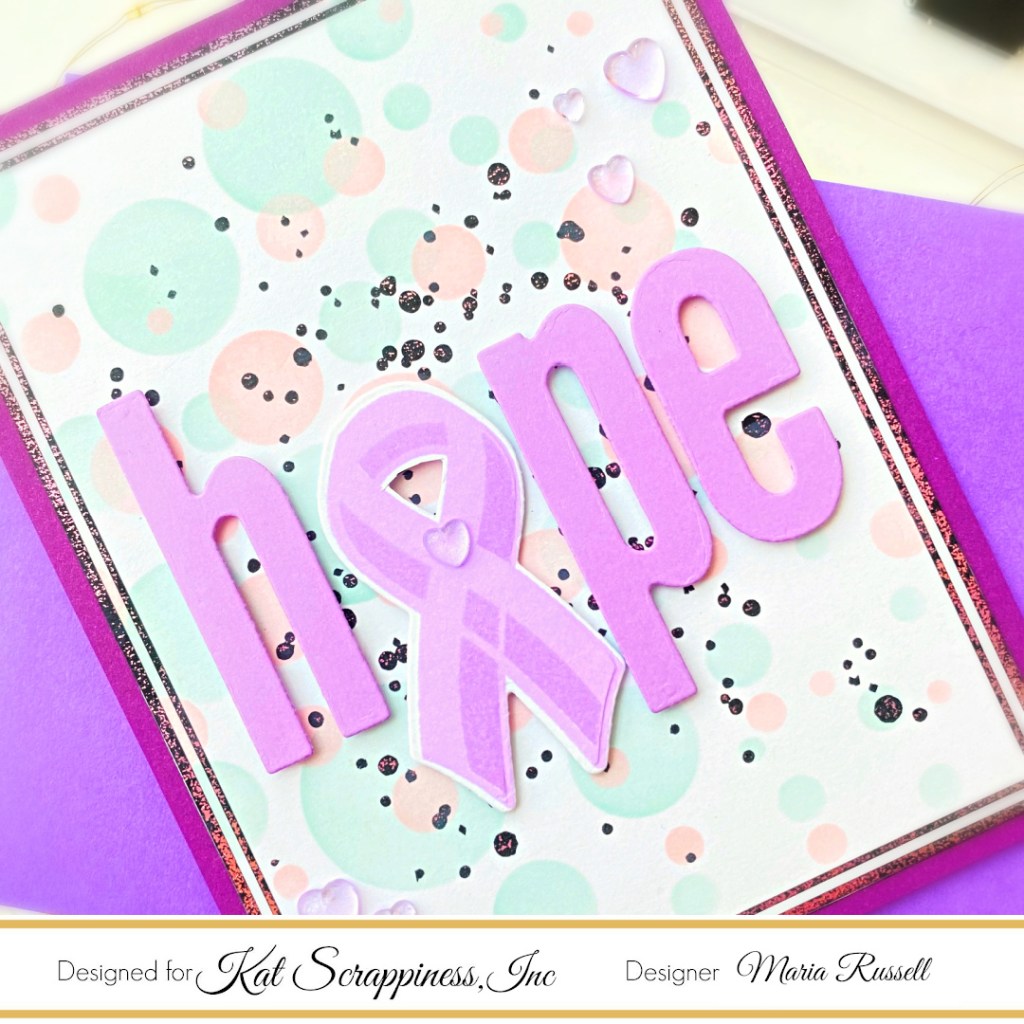
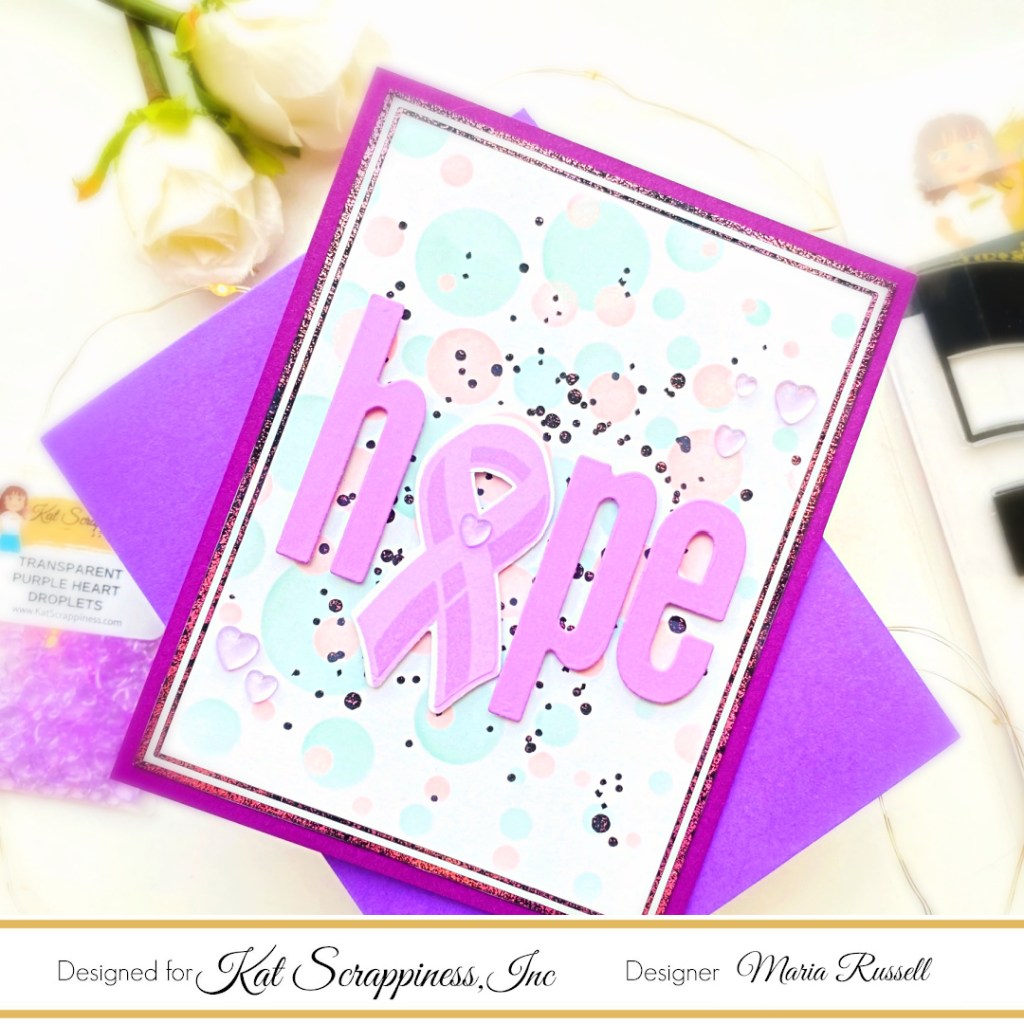
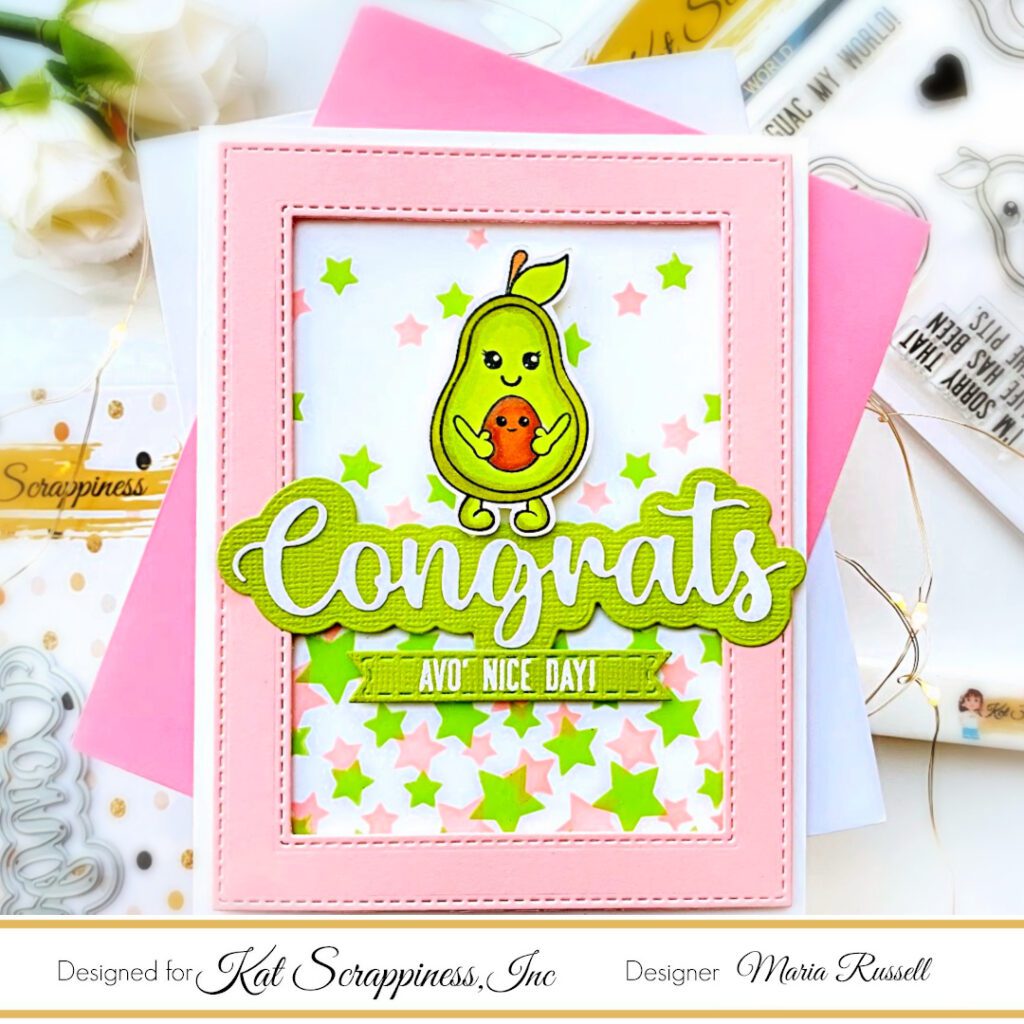
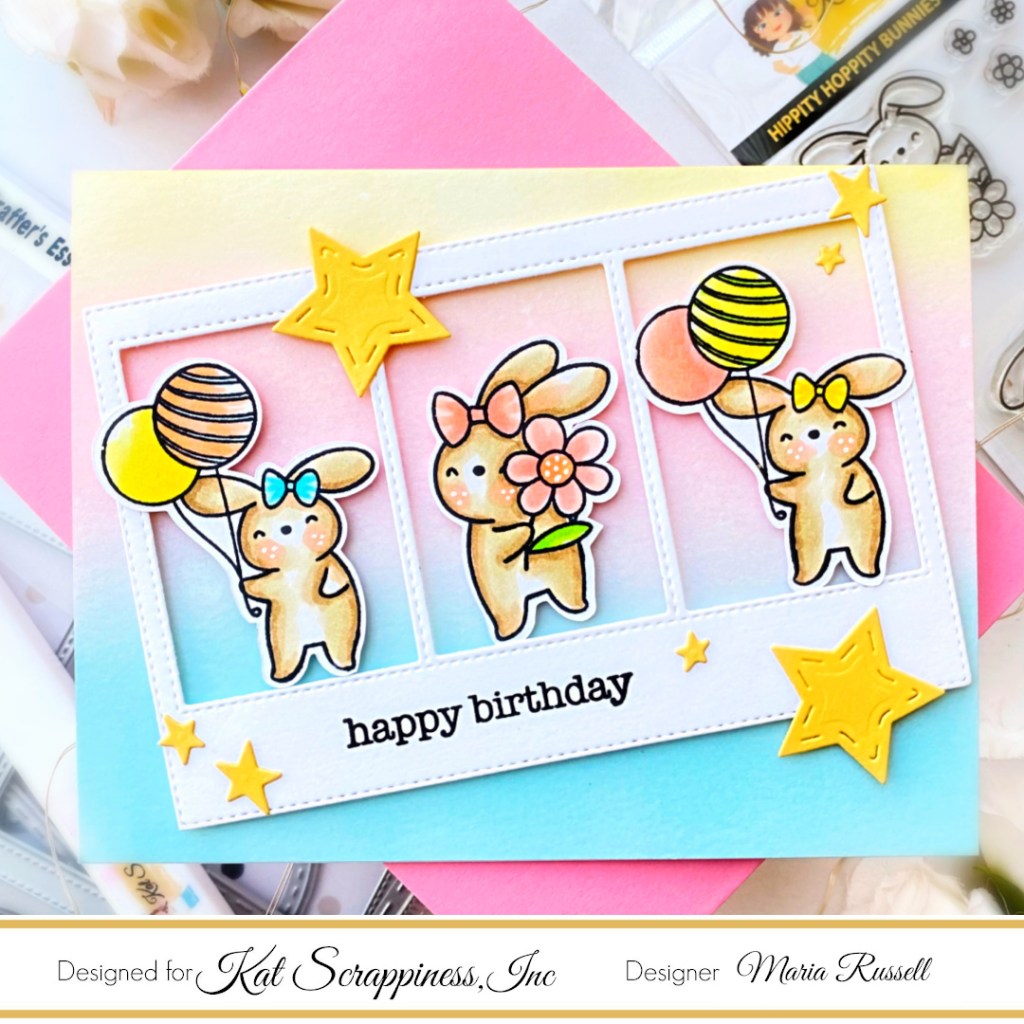
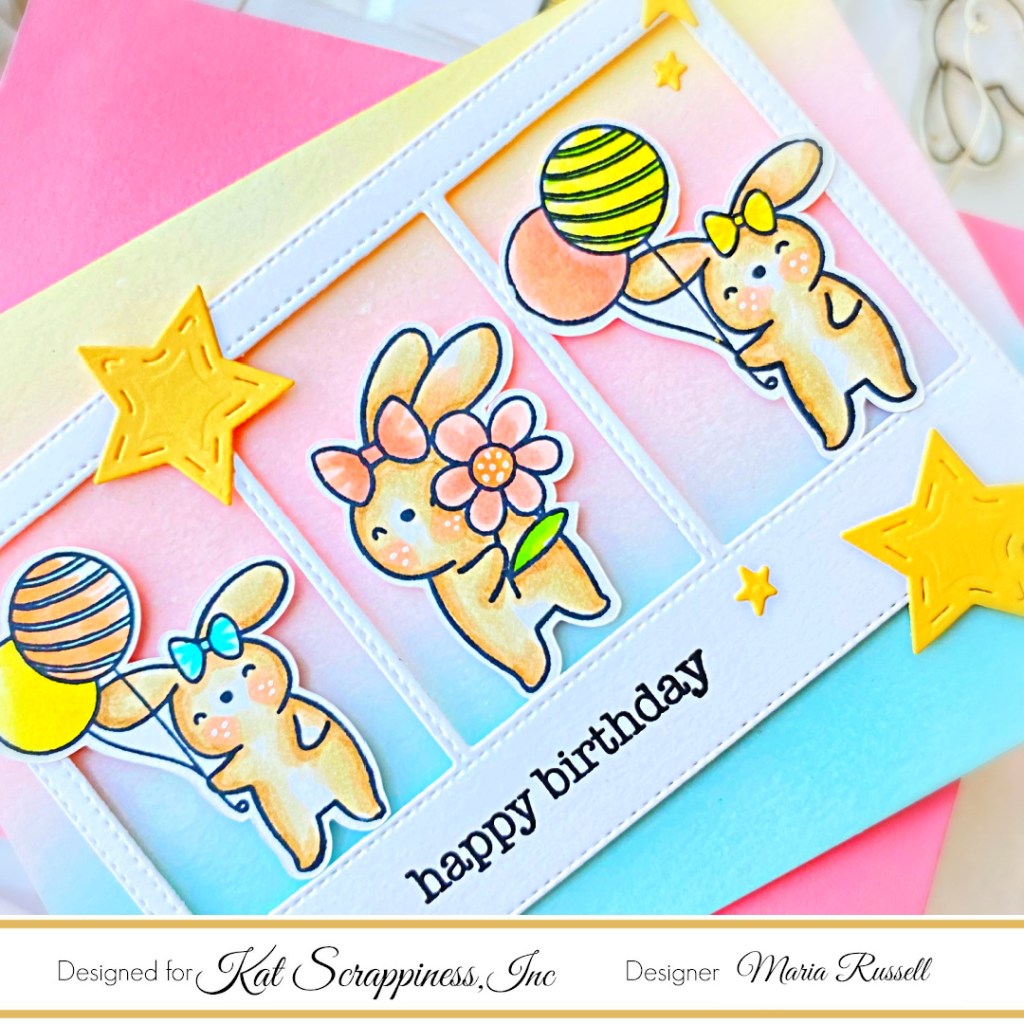
Hello Kat Scrappiness, Inc. fans! Today’s super simple card showcases the newly-released stamp set called Pawsome Dogs, along with the A2 Reverse Scallop Die Set, Pawsome Dogs Sentiments and Stitched Sentiment Strip Dies.

Here’s how I made this card:
- stamp the images on some Neenah Classic Crest Solar white card stock.
- color images in with alcohol markers (or any medium of your choice).
- die-cut the images using the coordinating die or your Scan N Cut Machine.
- die-cut some yellow, pink and blue card stock using the Stitched Sentiment Strip Dies
- adhere the strips on an A2-size, top-folding notecard.
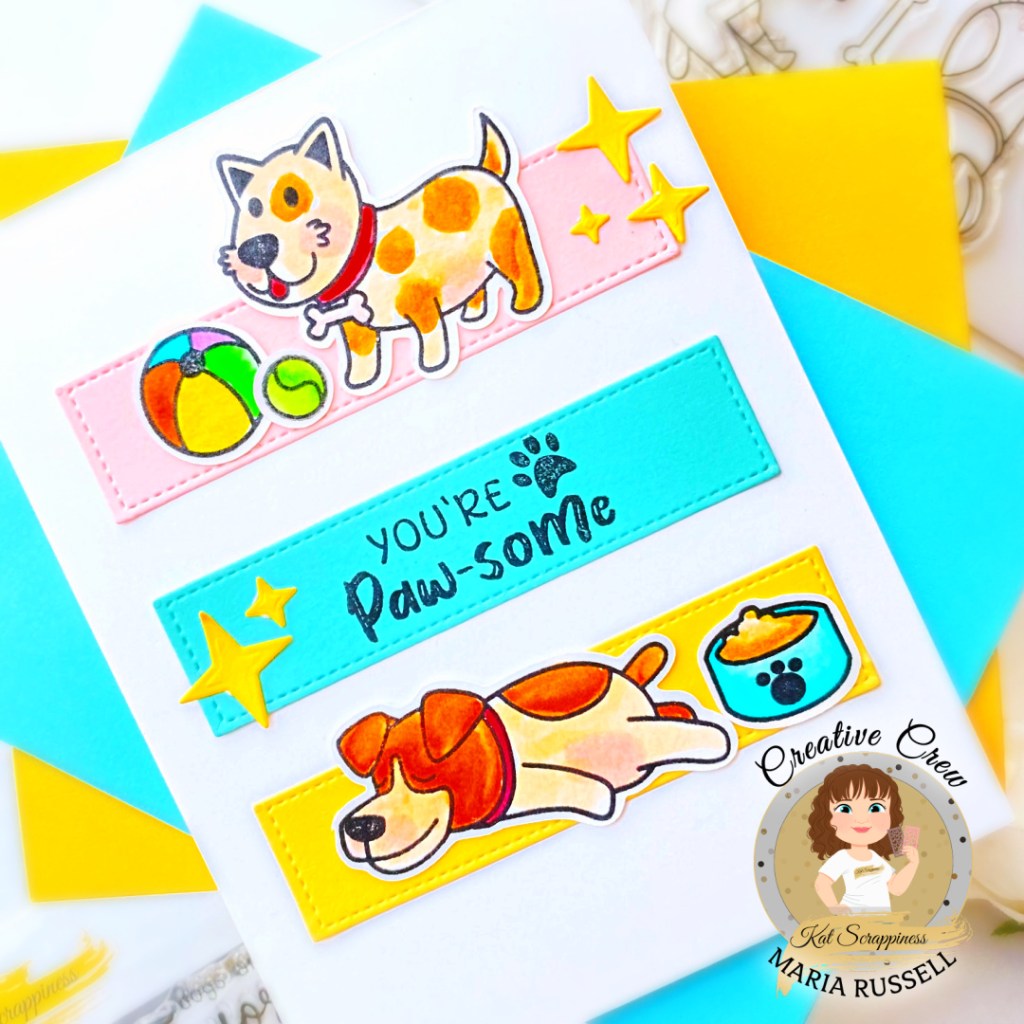
- adhere the focal images on the card.
- stamp the sentiment from the Pawsome Dogs Sentiments.
- finish the card design by adding the yellow stars that were die-cut using the A2 Reverse Scallop Die Set.
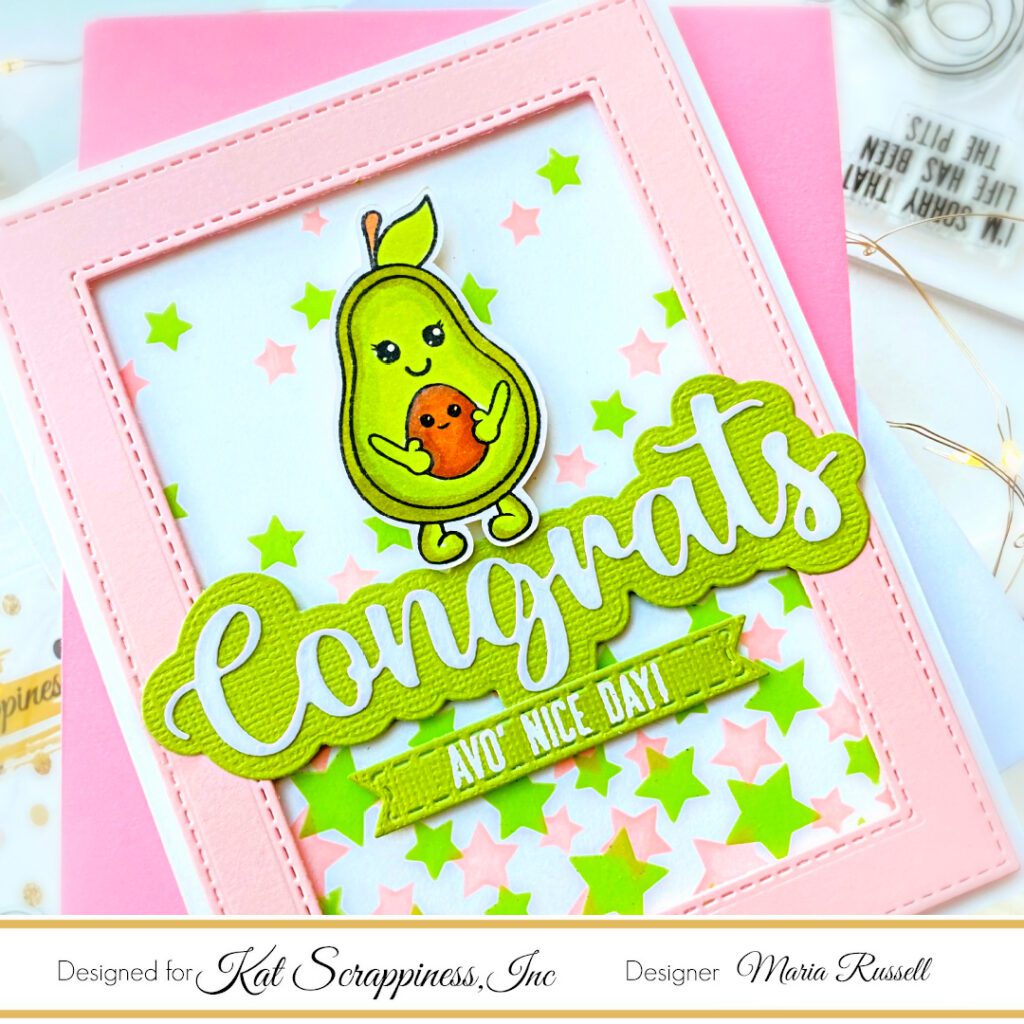
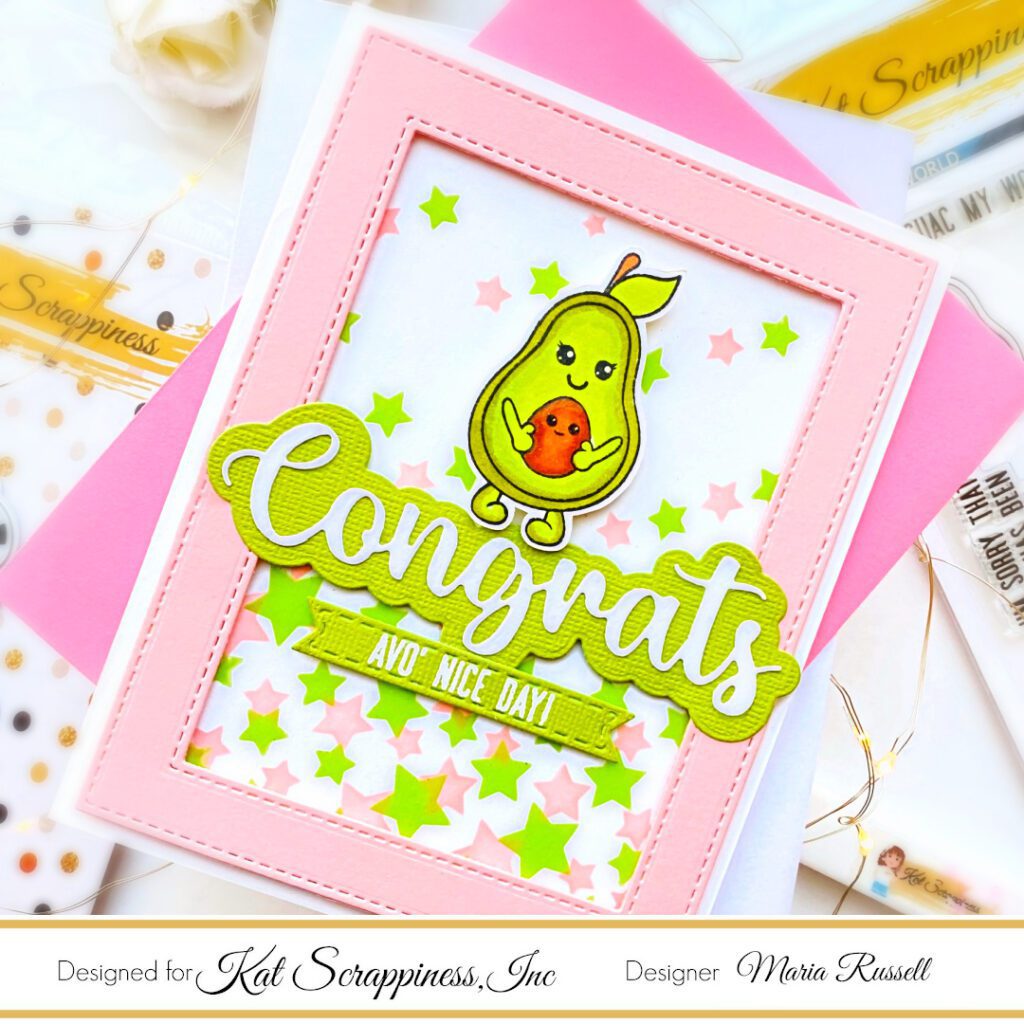
Sometimes, less is more when designing a cute card. This card is very simple, but I love how it turned out. Here’s another look:

I hope you like this card today and got inspired. Below, you will find links to the supplies used to create this project(s). Where available, I use compensated affiliate links at no extra cost to you. Your support helps me to keep bringing you new projects and inspiration. Thank you for stopping by, and have an amazing day!
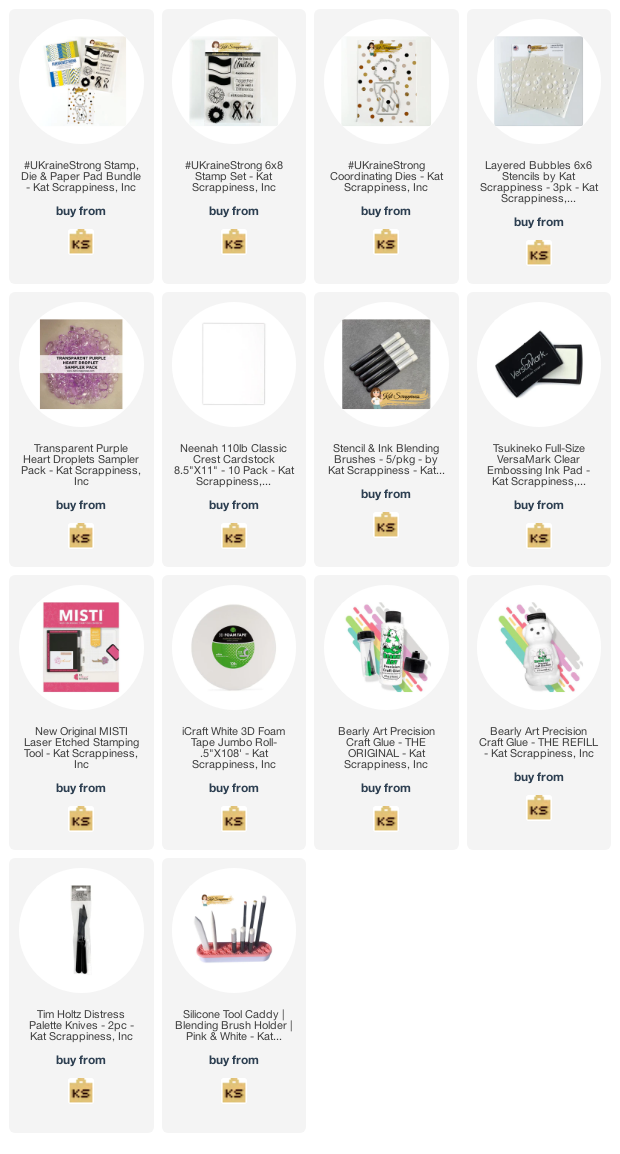
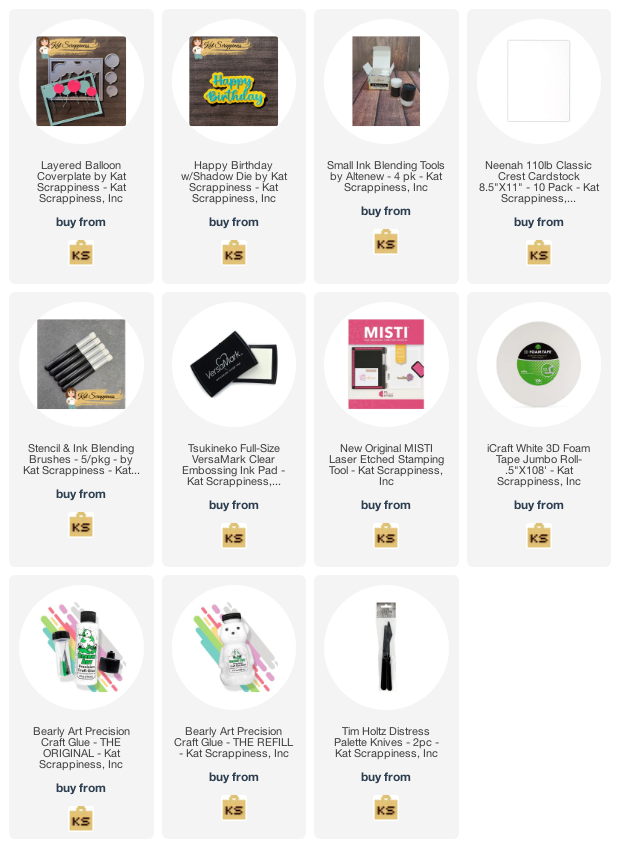
——–SUPPLIES——–