3 Last-Minute Halloween Cards with Matching Envelopes | LDRS Creative

Hello my crafty friends! Are you all done creating Halloween Cards yet?! If you are looking to create some last-minute Halloween cards without the fuss of stamping and coloring images, here’s a cute project for you (or should I say, a couple?)!  These cards are so easy to make and they have cute matching envelopes to boot!

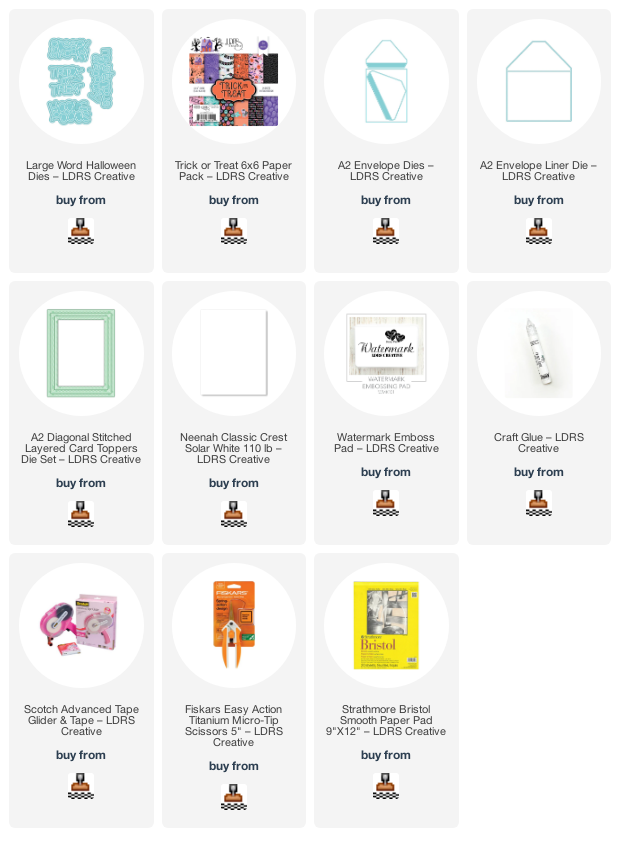
For today’s projects, I am showcasing the Trick-or-Treat 6×6 Halloween Paper Pack, along with the A2 Diagonal Stitched Layered Card ToppersLarge Word Halloween DiesA2 Envelope Dies and A2 Envelope Liner Die.  Let me just tell you that the new A2 Envelope Dies with the A2 Envelope Liner Die are SO EASY to put together and they look like you bought them from a stationery store!

All 3 cards (and envelopes) were made the same way!  If I wasn’t running out of the Trick-or-Treat Halloween Paper, I could have made more, to be honest!

I started by die-cutting the sentiments using the Large Word Halloween Dies [this die-set is another favorite of mine from the latest release] on some different colors of card stock.  I adhered them together with liquid glue.

Next, the background panel was die-cut using the A2 Diagonal Stitched Layered Card Toppers Die and adhered on some black A2-size notecard.  I foam-mounted the Halloween Sentiments onto the card for added dimension.  Easy peasy and I’m done with all three cards!  However, I wanted to add some matching envelopes to finish the design.  I used the A2 Envelope Dies and the A2 Envelope Liner Die to die-cut some black and gray card stock and the matching Halloween Paper that I used to create the cards.  I adhered them together using some strong adhesive.  Here’s another look at the finished projects:

I hope you like these cards today and got inspired. Below, you will find links to the supplies used to create these projects. Where available, I use compensated affiliate links at no extra cost to you. Your support helps me to keep bringing you new projects and inspiration. Thank you for stopping by, and have an amazing day!

———-SUPPLIES———-

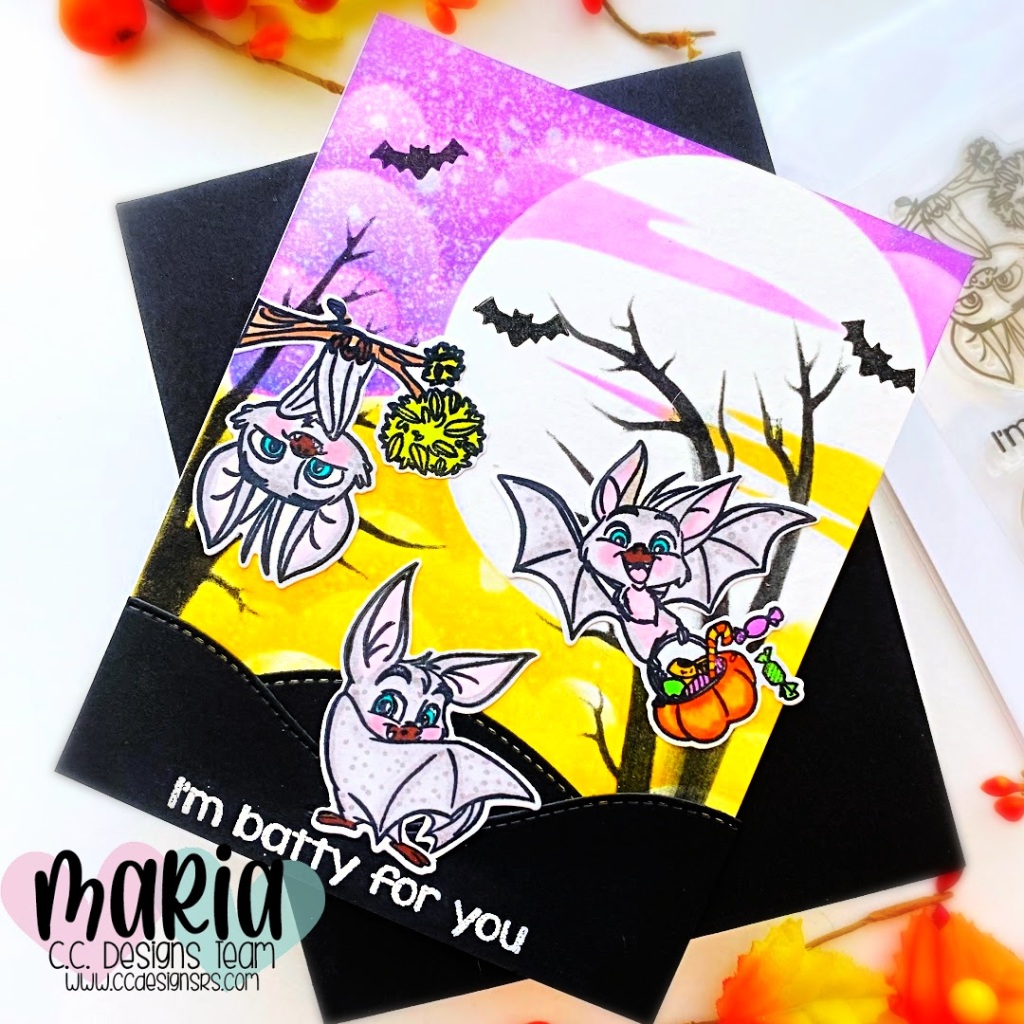
I’m Batty For You with CC Designs

Hello everyone! I have a very simple “non-Halloween” card for you today, featuring the Roberto Rascal’s Bats stamp set and Bats coordinating dies by CC Designs. This stamp set is honestly one of my favorites from the last release.

Here’s how I made this card:

  • finish the design by stamping the sentiment with Memento Tuxedo Black ink.

Even though this stamp set is meant for Halloween, I wanted to stretch my supplies and use it for a non-Halloween project. It’s simple but it turned out really cute!

I hope you like this card today and got inspired. Below, you will find links to the supplies used to create this project(s). Where available, I use compensated affiliate links at no extra cost to you. Your support helps me to keep bringing you new projects and inspiration. Thank you for stopping by, and have an amazing day!

———-SUPPLIES———-

Creepy & Kooky Halloween Card with Kat Scrappiness

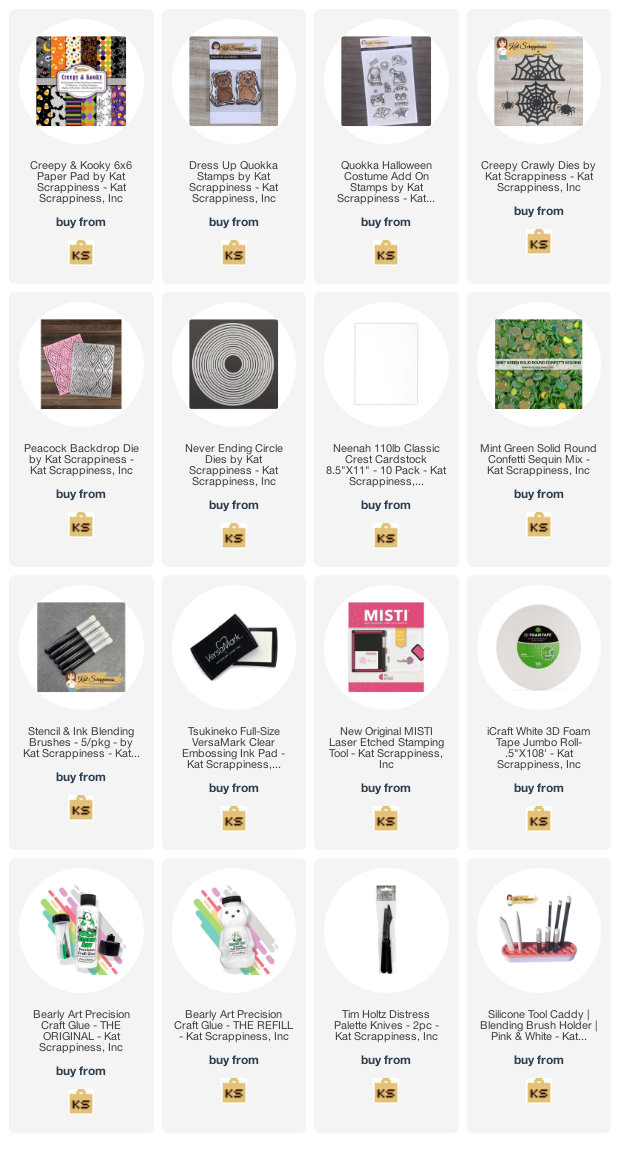
Hello KS fans! I’m sharing this super simple Halloween card today showcasing the Creepy and Kooky Halloween Paper Pad, along with the Happy Halloween Word Die with Shadow, Creepy Crawly Dies (spider), Peacock Backdrop Die, Dress-Up Quokka Stamp Set, Quokka Halloween Costume Add On Stamp and Mint Green AB Solid Round Confetti Sequins.

Sometimes, you just don’t have the time or energy to die-cut a lot of pieces to create a scene for your card. I am showing you a simple way to create a cute Halloween card without spending too much time, and use up those cute pattern paper without overwhelming the design.

Here’s how I made this project:

  • Stamp the image from the Quokka Halloween Costume Add On Stamp on Neenah solar white card stock. Stamp the image again on some masking paper and use precision snips to fussy-cut the masking image.
  • Stamp the Dress-Up Quokka Stamp Set onto the masked image. Remove the mask and color the images with alcohol markers.
  • Use Brother Scan N Cut machine to die-cut the image or precision snips if you don’t have the machine.
  • Die-cut the background panel using the Peacock Backdrop Die and adhere on some A2-size top-folding notecard.
  • Die-cut some black circle using the Never-Ending Circle Dies and cut some black strip as well measuring 2 1/4 by 4 1/4. Adhere both pieces on the card.

Here’s another look:

I hope you like this super simple Halloween card today and got inspired. Below, you will find links to the supplies used to create this project(s). Where available, I use compensated affiliate links at no extra cost to you. Your support helps me to keep bringing you new projects and inspiration. Thank you for stopping by, and have an amazing day!

———SUPPLIES——-

KS – Halloween & Thanksgiving Release

Scrappiness

It’s finally here! The Kat Scrappiness, Inc. September release is AMAZING! You will find A LOT of new dies, stamp sets, paper pads and more!

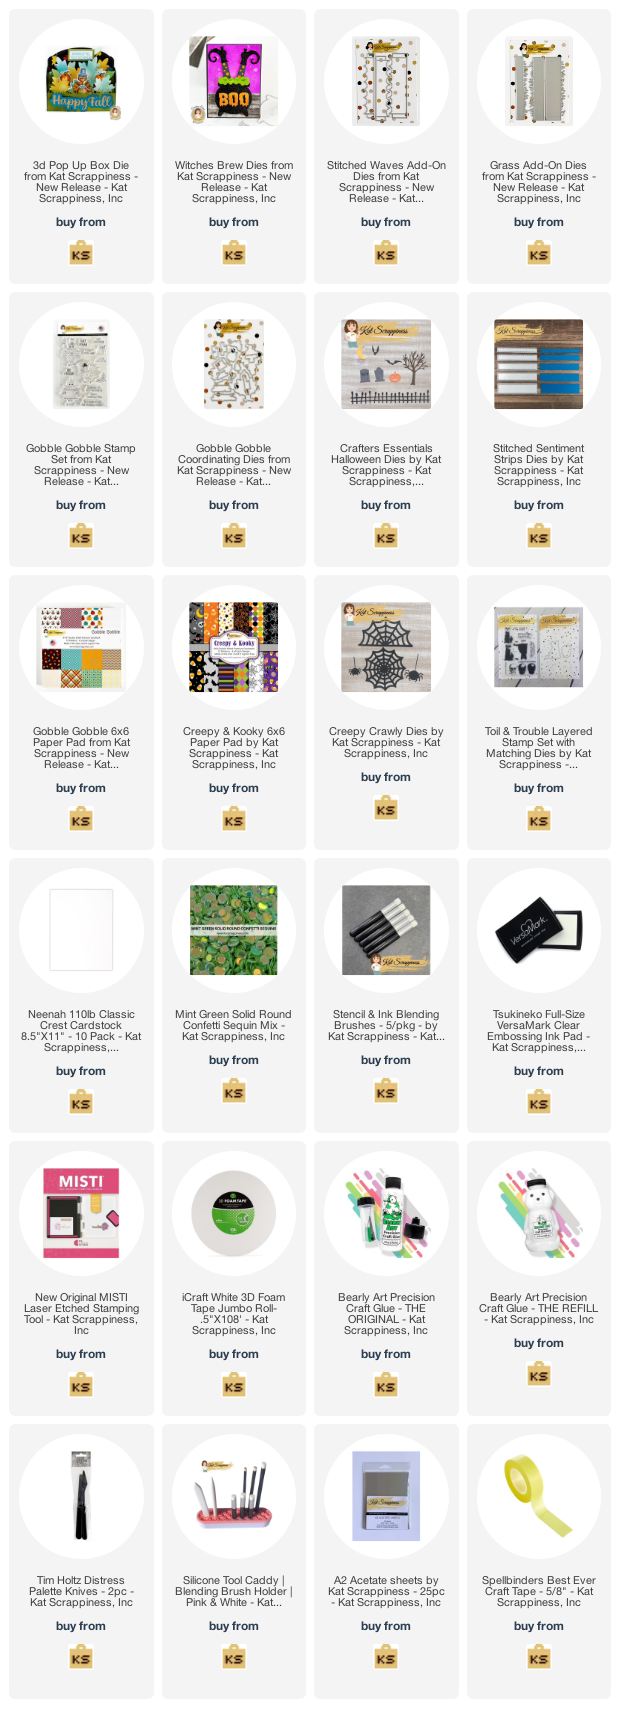
For my first project today, I am showcasing the 3D Box Pop-Up Die and Waves Add-On Die Set, along with the Witches Brew Die Set, Creepy Crawly Die, A2 Reverse Scallop Frame (Stars) Creepy & Kooky Paper Pad, Toil & Trouble Stamp Set plus a lot more.

Here’s how I made this card:

  • adhere stars to the cauldron with liquid glue.
  • adhere the cauldron on the 3D Box card with liquid glue.
  • die-cut the witch’s legs from the Witches Brew Die Set from different colors of card stock and adhere them together. Add the witch’s legs to the
  • adhere the cauldron on the 3D Box card with liquid glue.
  • die-cut the witch’s legs from the Witches Brew Die Set from different colors of card stock and adhere them together. Add the witch’s legs to the 3D Box card also with strong double-sided tape.
  • adhere the spiderweb that was die-cut from the Creepy Crawly Die on the 3D Box card.
  • cut a few strips of acetate sheets and adhere some stars that were die-cut using the A2 Reverse Scallop Frame (Stars) for added texture and interest. I love that they look like they are floating!
  • finish the card design by adding the sentiment from the Toil & Trouble Stamp Set.

Here’s another look:

For my next 3D Box Card, I am showcasing the same 3D Box Pop Up Die, Grass Add-On Dies, along with the Gobble, Gobble Stamp Set, Gobble, Gobble coordinating dies, Gobble, Gobble Paper Pad, Crafter’s Essentials Halloween Dies and Stitched Sentiment Strip Dies.

I pretty much did the same steps above. The only difference is I stamped and die-cut the images from the Gobble, Gobble Stamp Set and cut using the Gobble, Gobble coordinating dies. I also used the Gobble, Gobble Paper 6×6 Paper Pad.

The “spooky” tree was die-cut using the Crafter’s Essentials Halloween Dies and adhered with double-sided tape and finishing the card design by adding the sentiment.

In a couple of hours, we are also having an Instagram hop where you can find more projects by the entire Design Team. We also have a GIVEAWAY! Hop on over to my Instagram handle @RPRMLR77 to join and WIN.

I hope you like this card today and got inspired. Below, you will find links to the supplies used to create this project(s). Where available, I use compensated affiliate links at no extra cost to you. Your support helps me to keep bringing you new projects and inspiration. Thank you for stopping by, and have an amazing day!

——-SUPPLIES——

Happy Halloween with Franken Newton

Hello Newton’s Nook fans! Thanks for joining me today and I am also up on the Newton’s Nook blog to share another Halloween card, featuring the newly-released Spiderweb Oval Stamp Set that coordinates with the Oval Frame Dies, along with the Franken Newton Stamp Set + Coordinating Dies, Halloween Meows Paper Pad and Frames & Flags Die Set.

Here’s how I made this card:

  • die-cut the pattern paper from the Halloween Meows Paper Pad using the scallop die from the Frames & Flags Die Set. Adhere this piece on some A2-size top-folding notecard.
  • stamp the Spiderweb Oval Stamp Set on some black card stock with Versamark ink. Sprinkle some white embossing powder and heat-set with heating tool. Die-cut the stamped image using the Oval Frame Dies.
  • fussy-cut the middle part of the spiderweb using precision snips and foam-mount this panel on the card for added dimension.
  • stamp the focal image from the Franken Newton Stamp Set and die-cut using the Coordinating Die. adhere this on the card front with foam-adhesive.
  • stamp the sentiment on some black card stock with Versamark ink and sprinkle some white embossing powder. Heat-set the sentiment with the heating tool and adhere on the card also with foam adhesive.
  • finish the card design by adding the bows using the bow die from the Baby Bib Die Set and add some half orange pearls for added texture and interest.

Looking back now, I think I should have used a different color for the bows but I still like the way this card turned out. Here’s another look:

I hope you like this card today and got inspired. Below, you will find links to the supplies used to create this project(s). Where available, I use compensated affiliate links at no extra cost to you. Your support helps me to keep bringing you new projects and inspiration. Thank you for stopping by, and have an amazing day!

———SUPPLIES——–

I hope you like this card today and got inspired. Below, you will find links to the supplies used to create this project(s). Where available, I use compensated affiliate links at no extra cost to you. Your support helps me to keep bringing you new projects and inspiration. Thank you for stopping by, and have an amazing day!

Haunted Mansion Pockets Pals by LDRS Creative

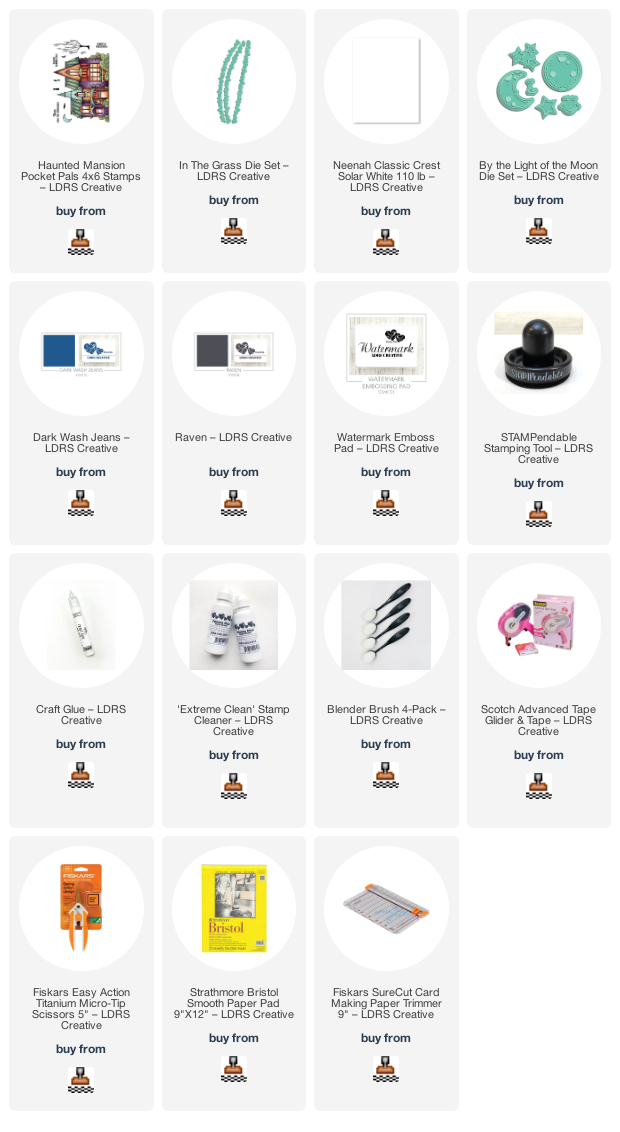
Hello!  I have a SPOOKY card for you guys today, featuring the Haunted Mansion Pocket Pals stamp set from the LDRS Creative new Fall/Halloween Collection.

I started by stamping the Haunted Mansion image on some Neenah Solar White card stock with Raven Hybrid ink [this ink is perfect for using with either watercolor or alcohol markers].  I colored the images in with alcohol markers.  My color palette was inspired by the packaging itself.  I definitely LOVE that LDRS Creative gives you ideas on how to color the stamps.  I wish more companies will do this with their packaging.

Next, I carefully ink-blended the background using Dark Wash Jeans Hybrid ink and some blending brush to create the night sky.  

To create a spooky effect, I stamped the little “ghosty” images and the bats on the window and background with Raven Hybrid ink.  I also die-cut the grass panel twice on some black card stock using the In the Grass Die Set.  I adhered these on the card with liquid glue.

Now that my scene is almost finished, I decided to add the moon that I die-cut using the By the Light of the Moon Die Set.  I also stamped the sentiment on some black card stock with LDRS Watermark ink.  I sprinkled some White Embossing Powder and used heating tool to heat-set the sentiment.  I fussy-cut the sentiment and adhered on the card.

Lastly, I used some white gel pen to add some dots and stars for added texture and interest.  Here’s another look at the finished card:

I hope you like this card today and got inspired. Below, you will find links to the supplies used to create this project(s). Where available, I use compensated affiliate links at no extra cost to you. Your support helps me to keep bringing you new projects and inspiration. Thank you for stopping by, and have an amazing day!

——–SUPPLIES———

Halloween Inspiration Week

This week Newton’s Nook Designs is getting ready for Halloween with a fun Inspiration week! All week the NND Design Team will be sharing inspiration using some of their favorite Halloween products to get you in the mood for tricks and treats! Check out what I created today and don’t forget to check the NND Blog each day this week.

For my project, I am showcasing the Witchy Newton Stamp Set + coordinating die, along with the Fancy Edges Tag Die Set and Halloween Trio Die Set.

Here’s how I made my project:

  • use the Fancy Edges Tag Die Set and die-cut the tag three times on some white, yellow and orange card stock. adhere them together with liquid glue.
  • die-cut the tag hole reinforcement on some black card stock and adhere to the tag.
  • stamp the image on some x-press it card stock and color the images in with alcohol markers.
  • use coordinating die to die-cut the image and adhere on the tag.
  • use black ribbon and some halloween-themed twine to finish the tag assemble.
  • die-cut the word Trick or Treat using the Halloween Trio Die Set on some purple card stock and adhere on the tag with liquid glue.
  • finish the tag by stamping the sentiment with some black dye ink.
  • adhere the tag on the treat box with double-sided adhesive.

Don’t forget to visit the Halloween Products Category at Newton’s Nook Designs and get your favorites for creating cute and spooky Halloween crafts! Check out all the design team’s inspiration this week on the Newton’s Nook’s Blog.

——-SUPPLIES——-

CC Designs September Release Sneak Peek – Roberto Rascal’s Ghosts

Hello my crafty friends. I have another sneak peek for you of the September Release by CC Designs. For my card today, I am showcasing the Roberto Rascal’s Ghosts Stamp Set and Coordinating Dies.

Here’s how I made the card:

  • stamp the images on some X-Press It Card Stock and color the images in with alcohol markers.
  • die-cut the images using the coordinating die.
  • use pattern paper and adhere the same on some A2-size notecard.
  • on some black A2-size black card stock, use stitched circle dies to die-cut the windows. Foam-mount the same to the card for added dimension.
  • adhere the focal images on the card with liquid glue.
  • stamp the sentiment on the card front with Versamark ink. Sprinkle some white embossing powder and heat-set with heating tool.
  • adhere some stars on the card for added interest and texture.

Tomorrow is release day! We will also have an Instagram/BLOG Hop and there are two $15 gift certificates to CC Designs up for grabs. One comment will be pulled out from the Blog commenter and one from the Instagram commenter.

Thanks for stopping by!

CC Designs September Release Sneak Peek – Roberto Rascal’s Bats

It’s been a crazy day for me so far and it’s only Monday! I am currently traveling but I wanted to share with you a sneak peek of the September Release by CC Designs. For my card today, I am showcasing the Roberto Rascal’s Bats Stamp Set and Coordinating Dies.

Here’s how I made the card:

  • stamp the images on some X-Press It Card Stock and color the images in with alcohol markers.
  • die-cut the images using the coordinating die.
  • ink-up a panel of Strathmore Bristol Smooth white card stock using a stencils with distress oxide ink. Adhere this panel on an A2-size notecard.
  • use another stencil and black distress ink to add the spooky trees. Leave it to dry for about half an hour.
  • die-cut the hills using a die from my collection.
  • adhere the images on the card front with liquid glue.
  • stamp some bats on the background using versafine black ink.
  • stamp the sentiment on the card with Versamark ink.
  • sprinkle some white embossing powder and heat-set the sentiment with heating tool.

Aren’t those images adorable?! Stay tuned this week as we give you more sneak peeks of the September release. I will be back on September 7th to give you another peek.

We will also have an Instagram/BLOG Hop on September 9th, which is the release day and there are two $15 gift certificate to CC Designs up for grabs. One comment will be pulled out from the Blog commenter and one from the Instagram commenter.

Thanks for stopping by!