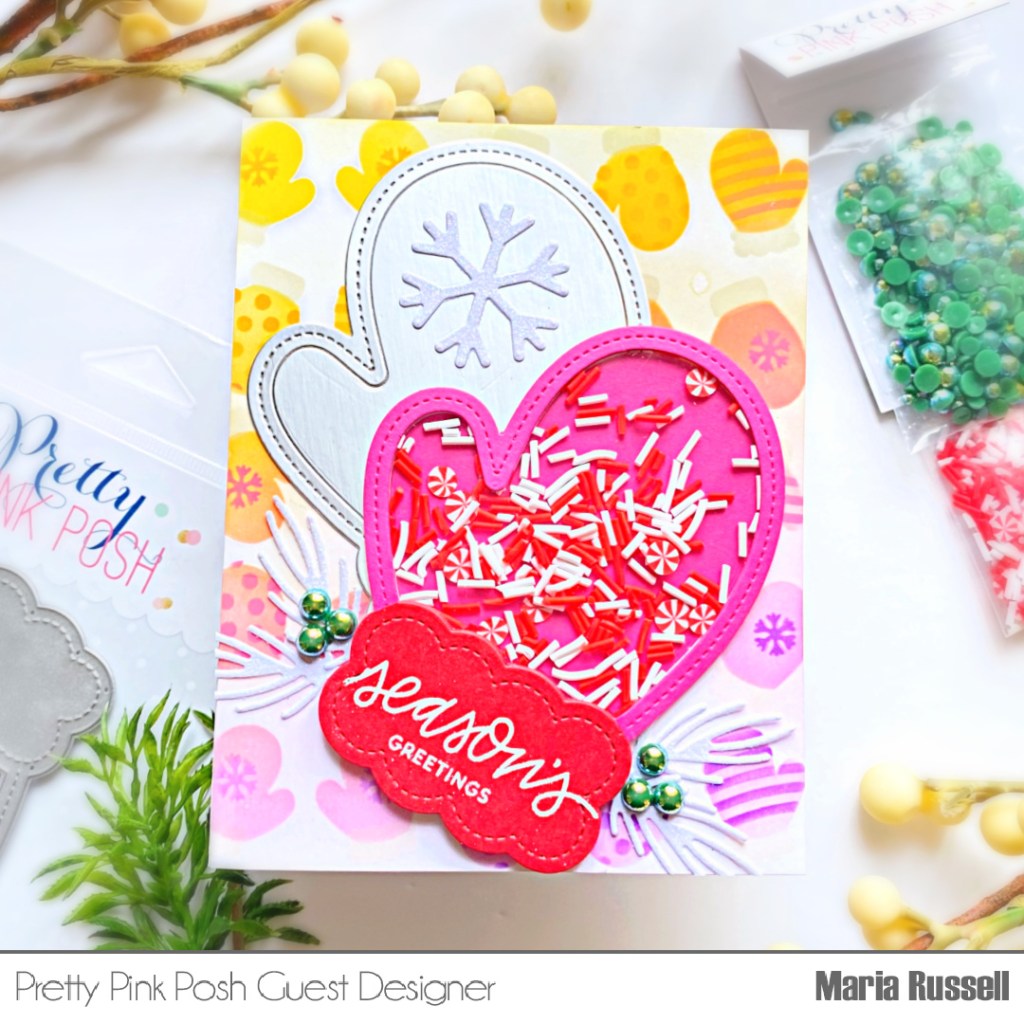
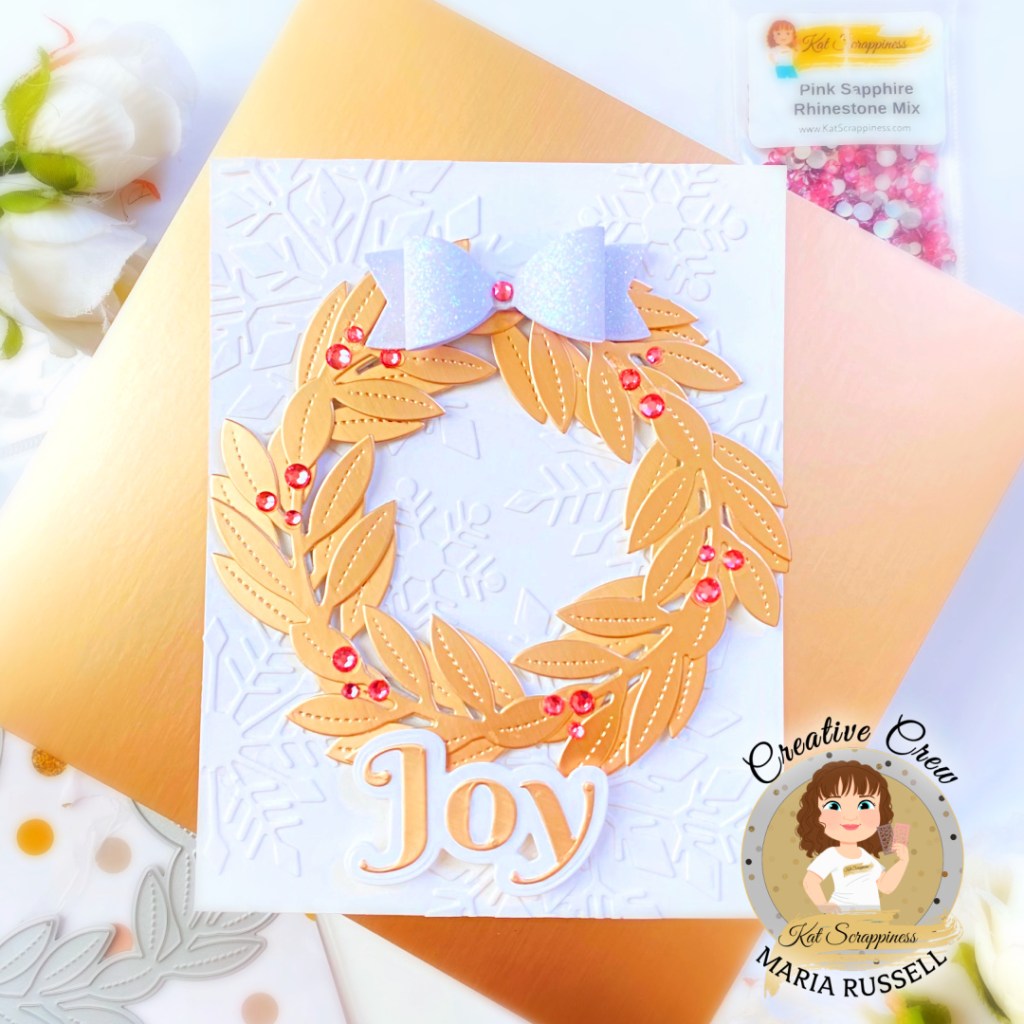
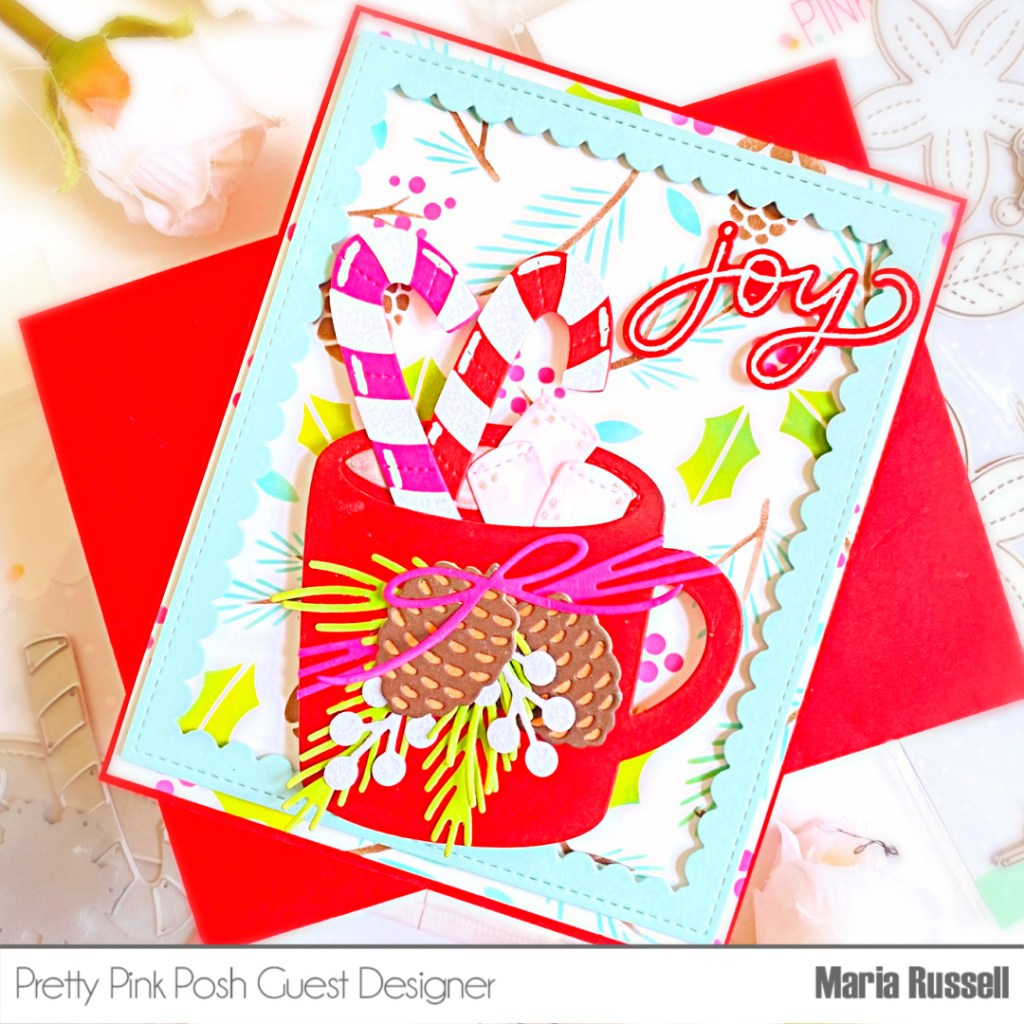
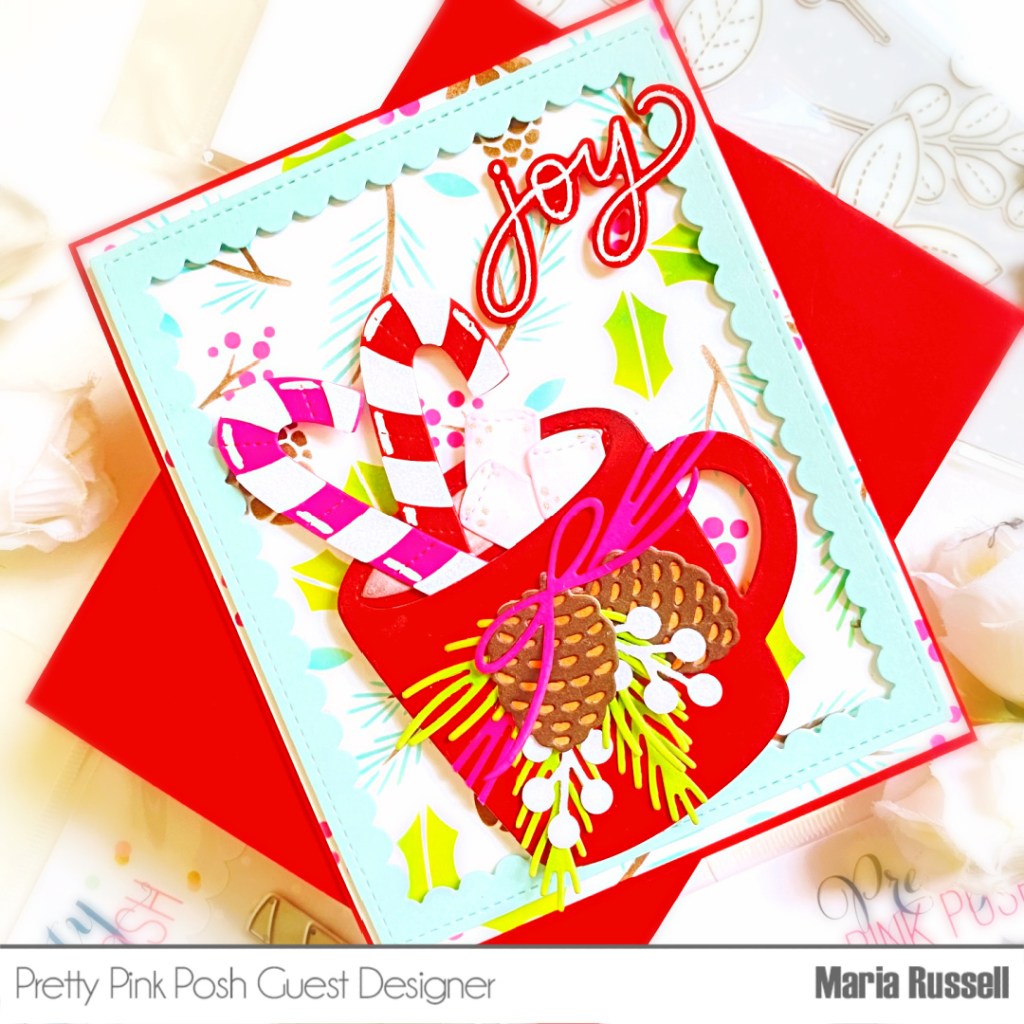
Hello my crafty friends! I am on full “Christmas Card” production mode and this card today is probably one of my favorites so far!
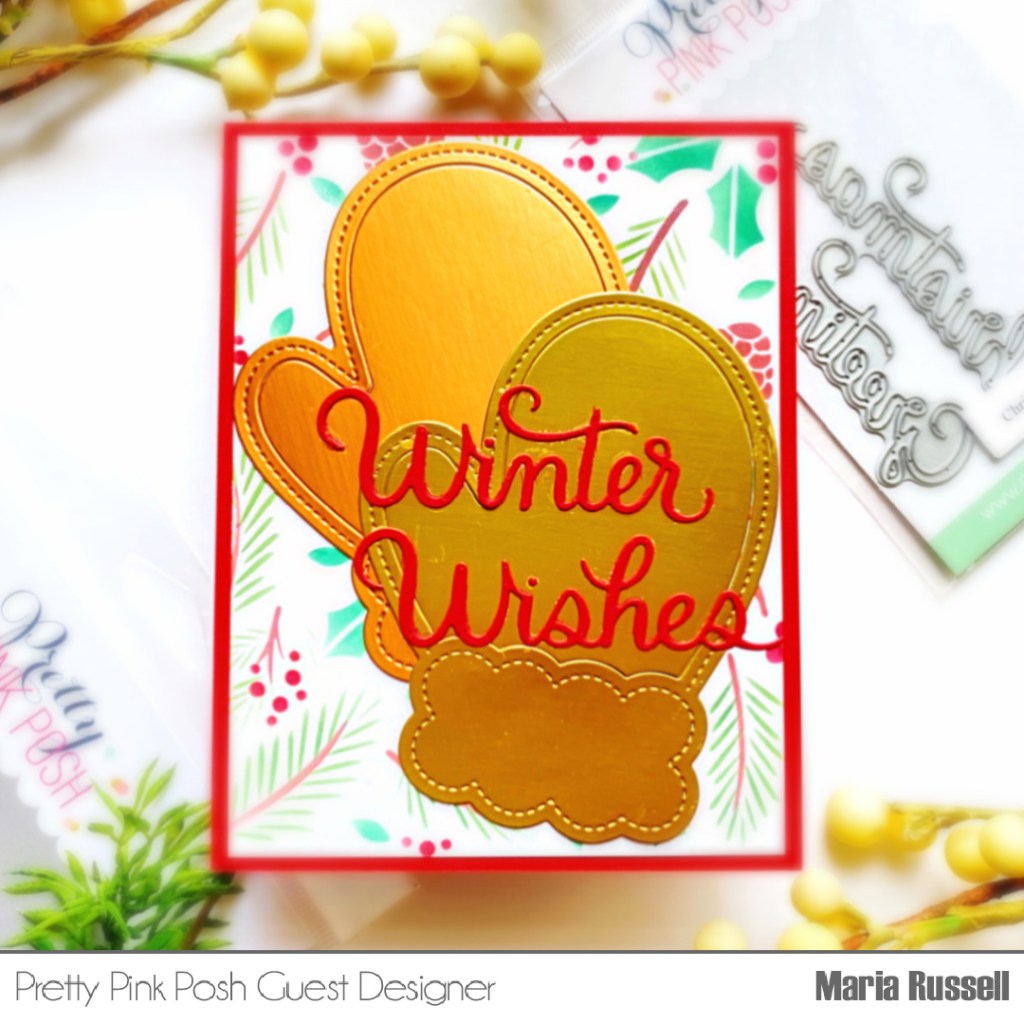
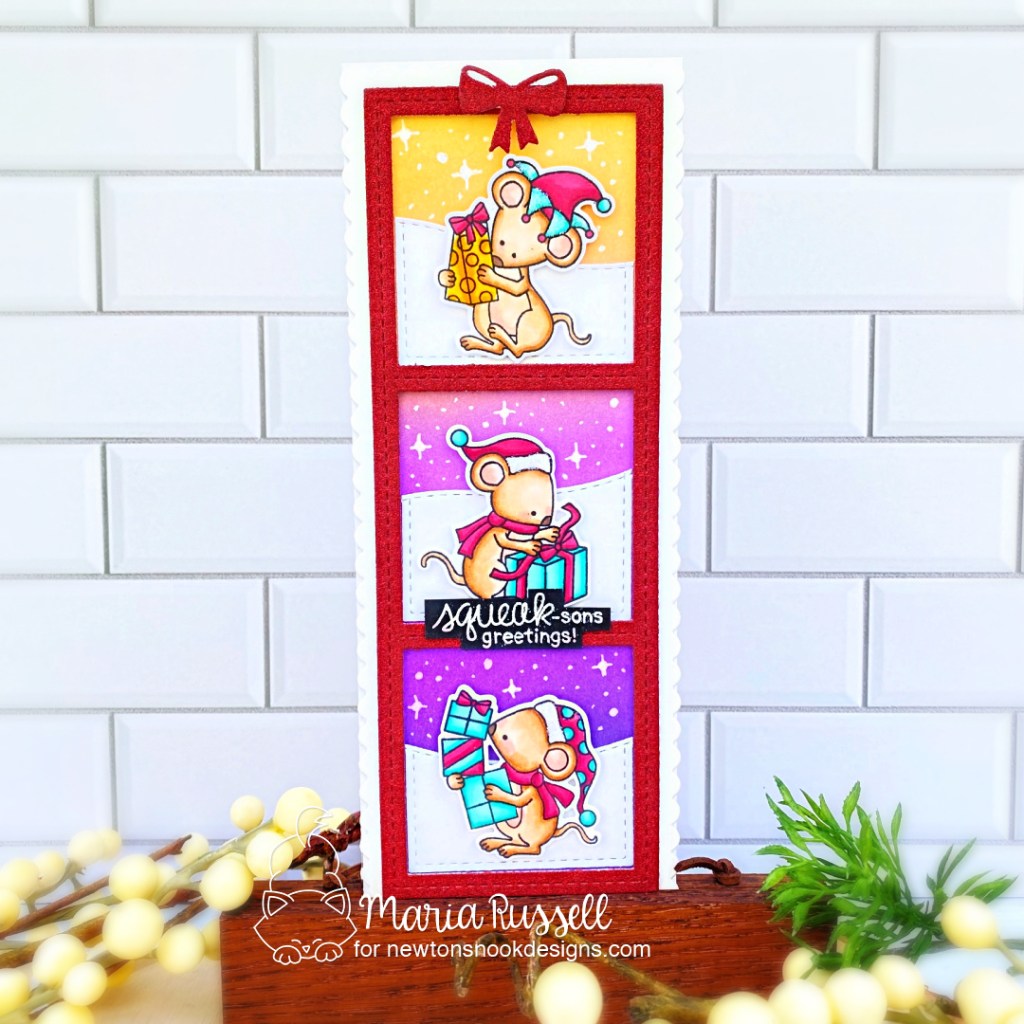
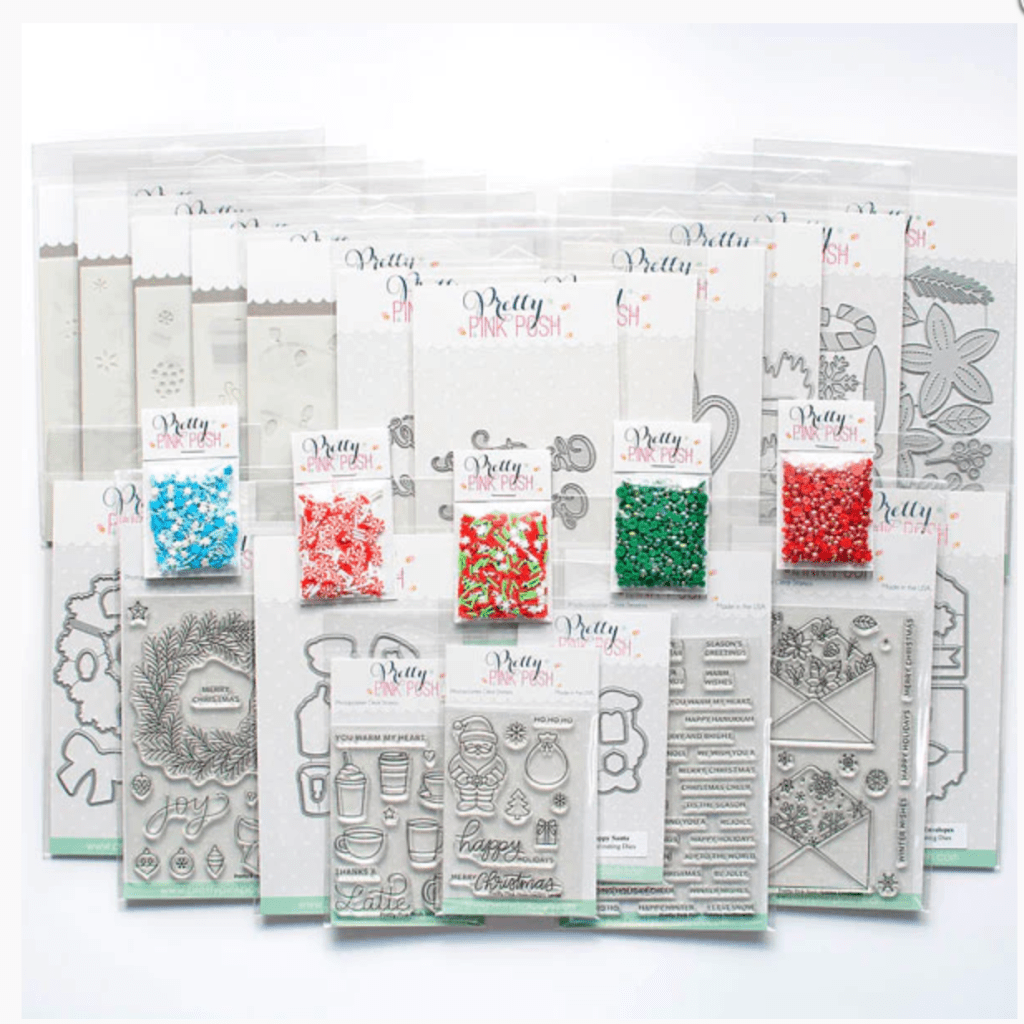
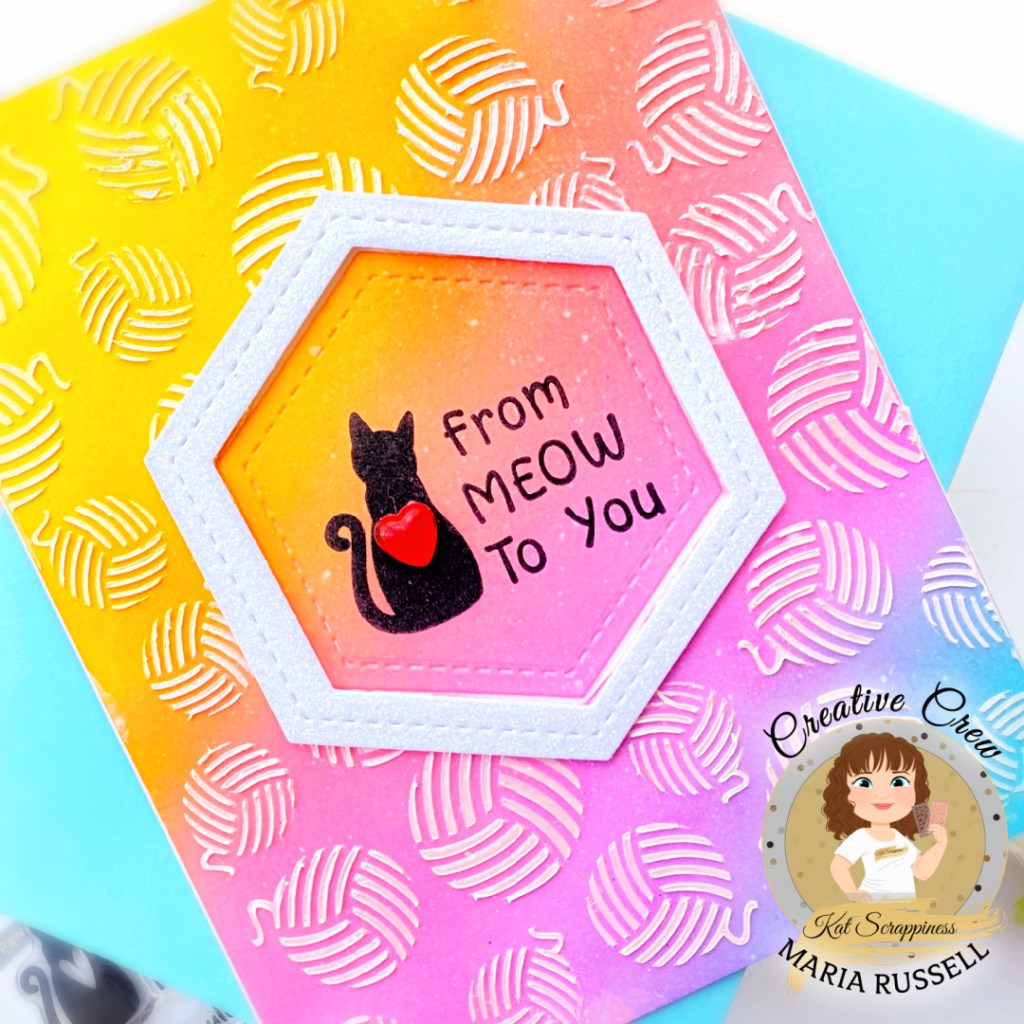
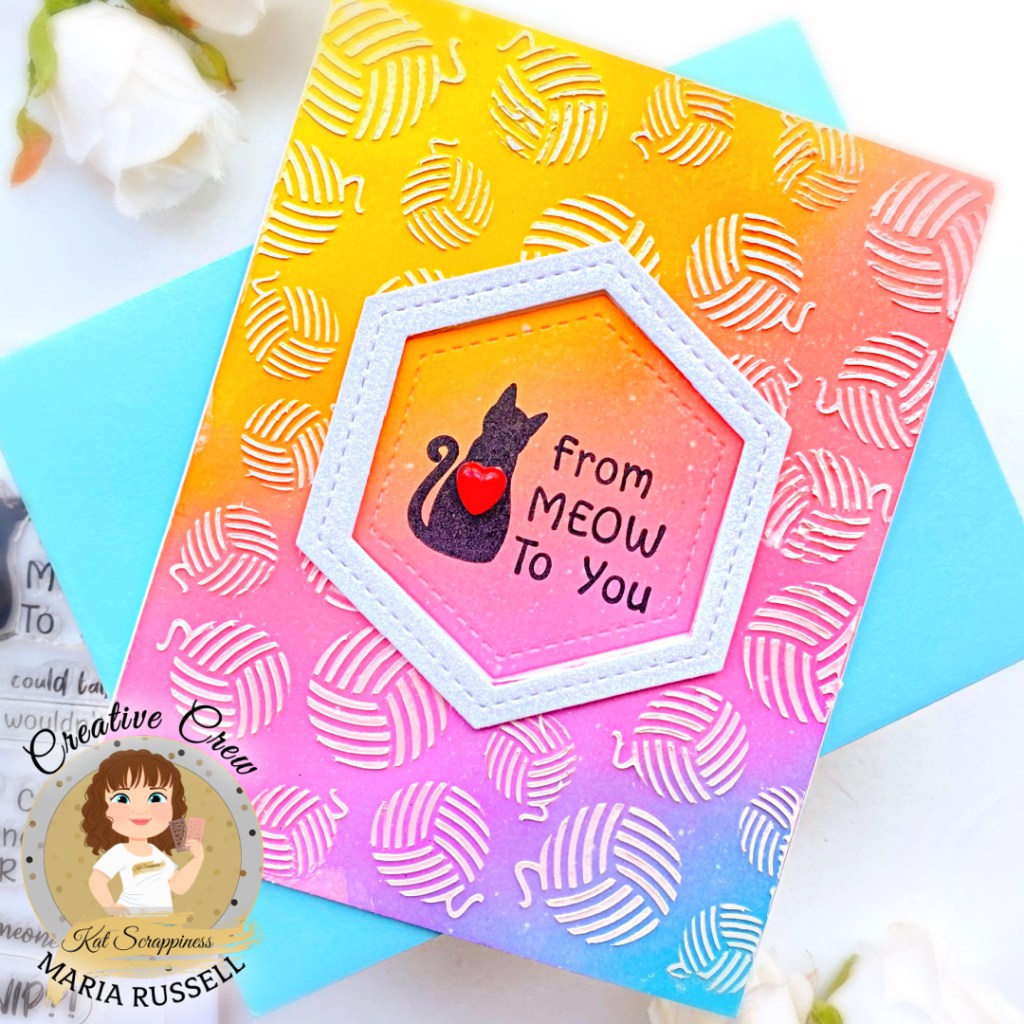
For today’s project, I am showcasing the Reindeer Games Stamp Set and coordinating dies, along with the Santa’s Helper Stamp Set (sentiment) and Birch Tree With Cardinal Backdrop Die.
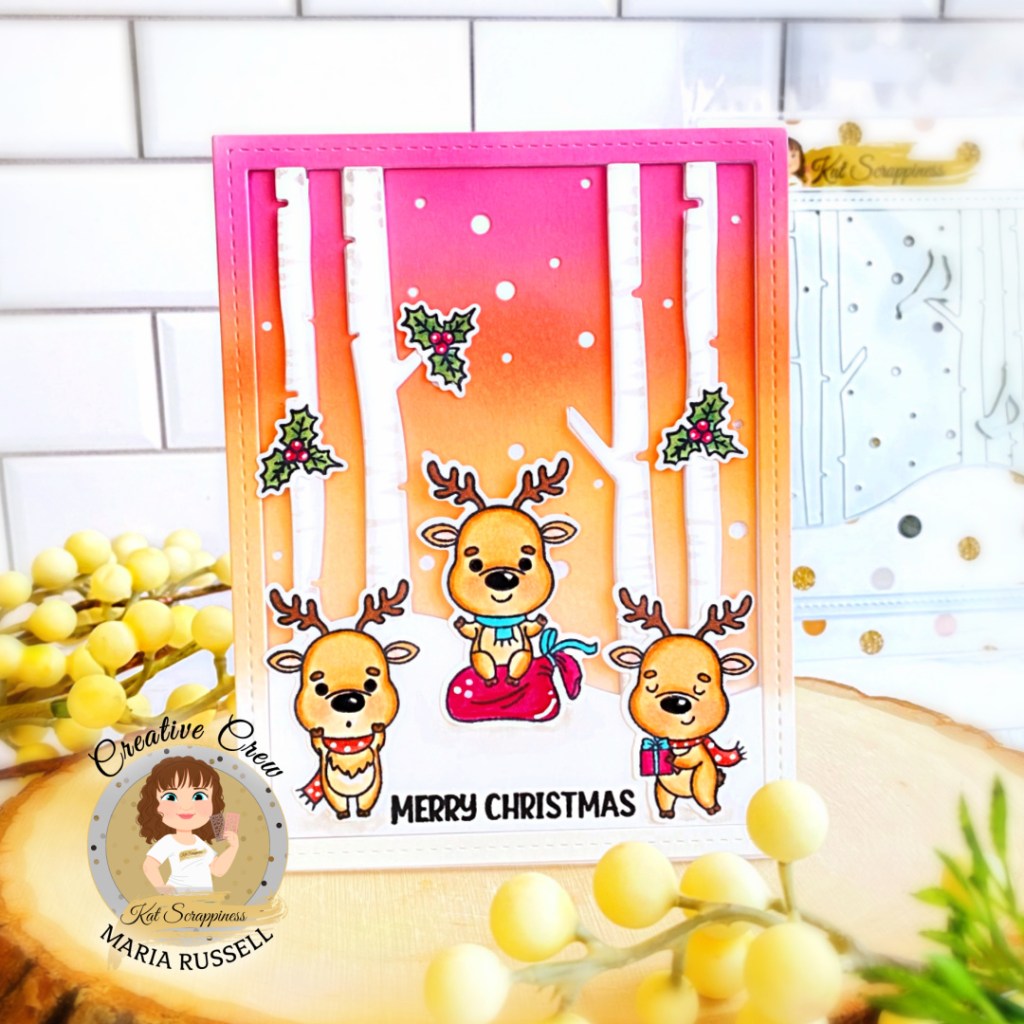
Here’s how I made this card:
- stamp the images on some Neenah Classic Crest Solar white card stock. It is really helpful if you have the Misti stamping tool to get a really nice impression of your stamped images.
- color the images in with alcohol markers (or any medium of your choice). I color mine with Spectrum Noir Alcohol Markers.
- die-cut the image(s) using the coordinating die(s) with your die-cutting machine. Secure the dies by using Pixie Tape so they don’t shift while die-cutting.

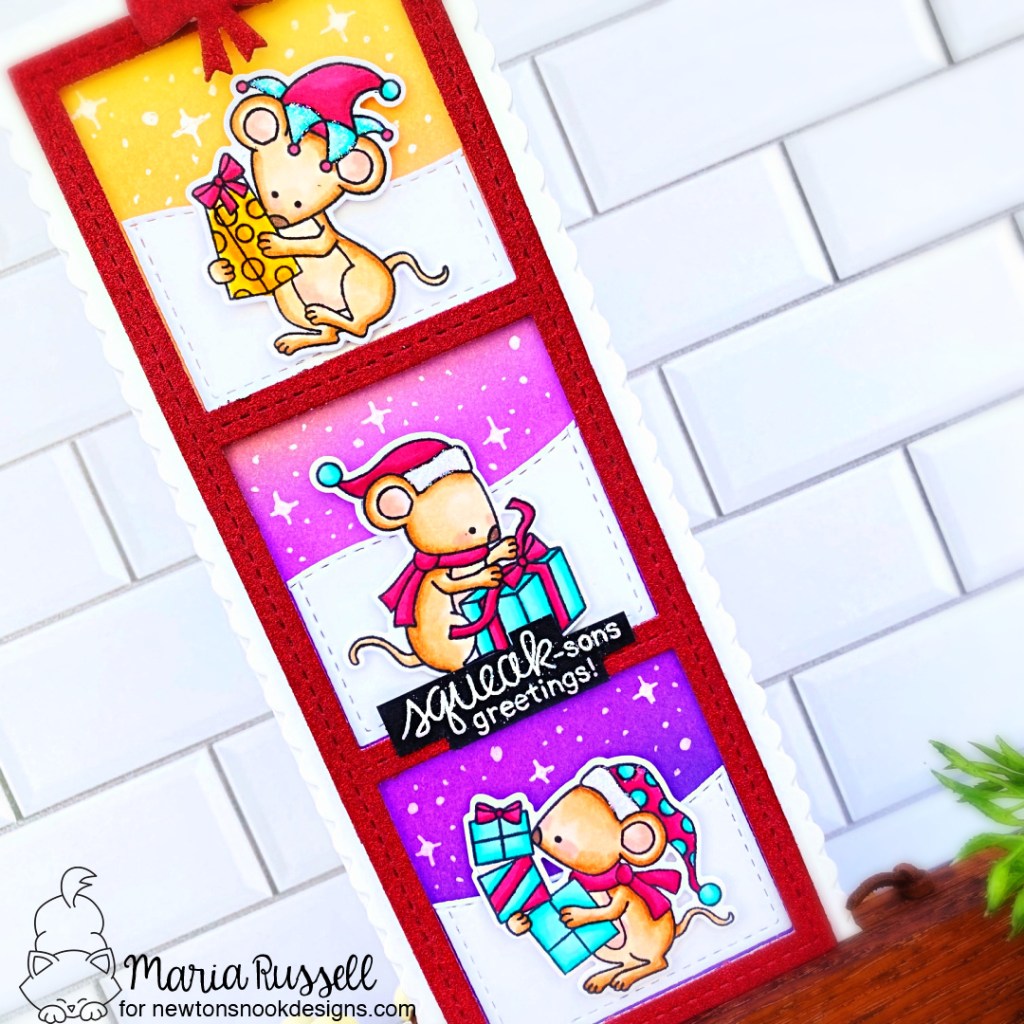
- ink-blend a panel of some Bristol smooth white card stock with Distress Oxide Inks and blending brushes. Keep blending until they have a smooth transition between the colors.
- die-cut the ink-blended panel using the Birch Tree With Cardinal Backdrop Die.
- use the same Birch Tree With Cardinal Backdrop Die to die-cut some Neenah Classic Crest Solar white card stock. Adhere this panel on some A2-size notecard with foam adhesive for added dimension.
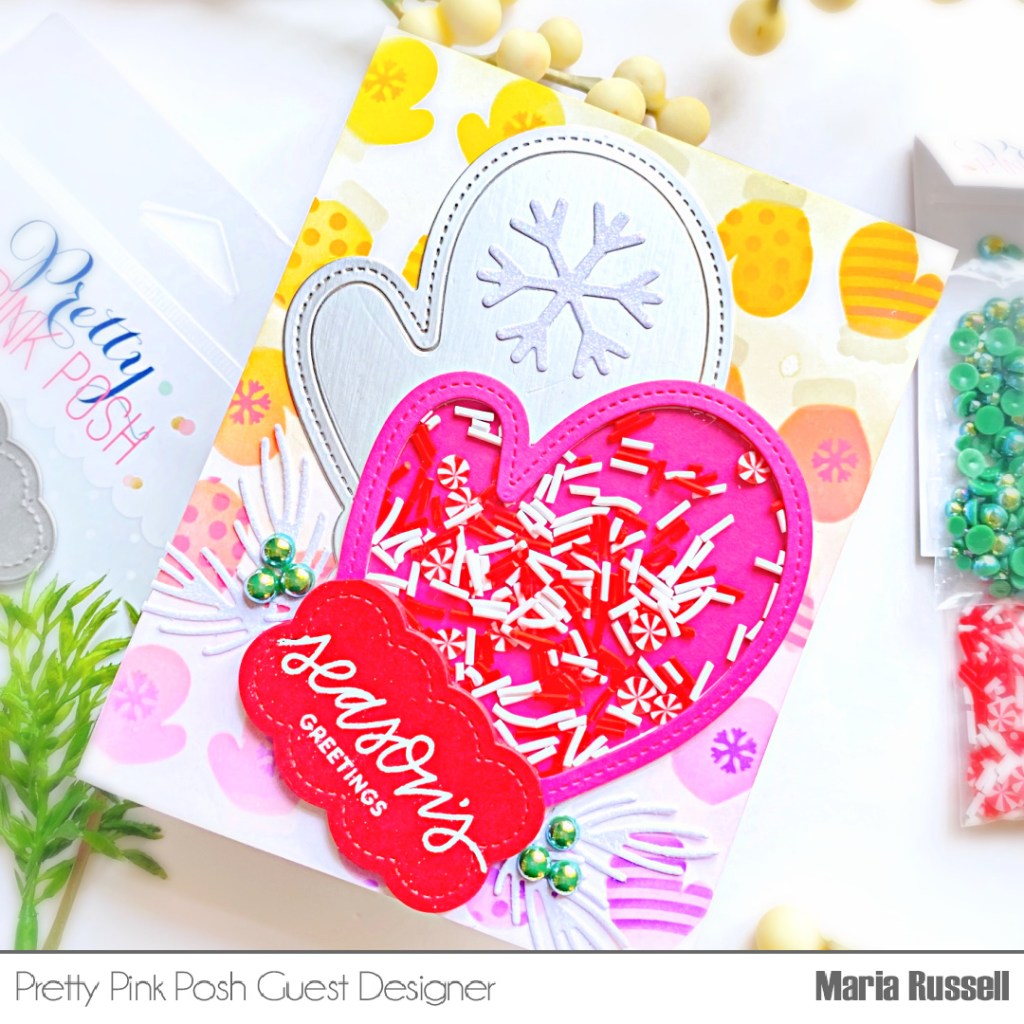
- in-lay the ink-blended pieces on the card with Bearly Arts Precision Glue.
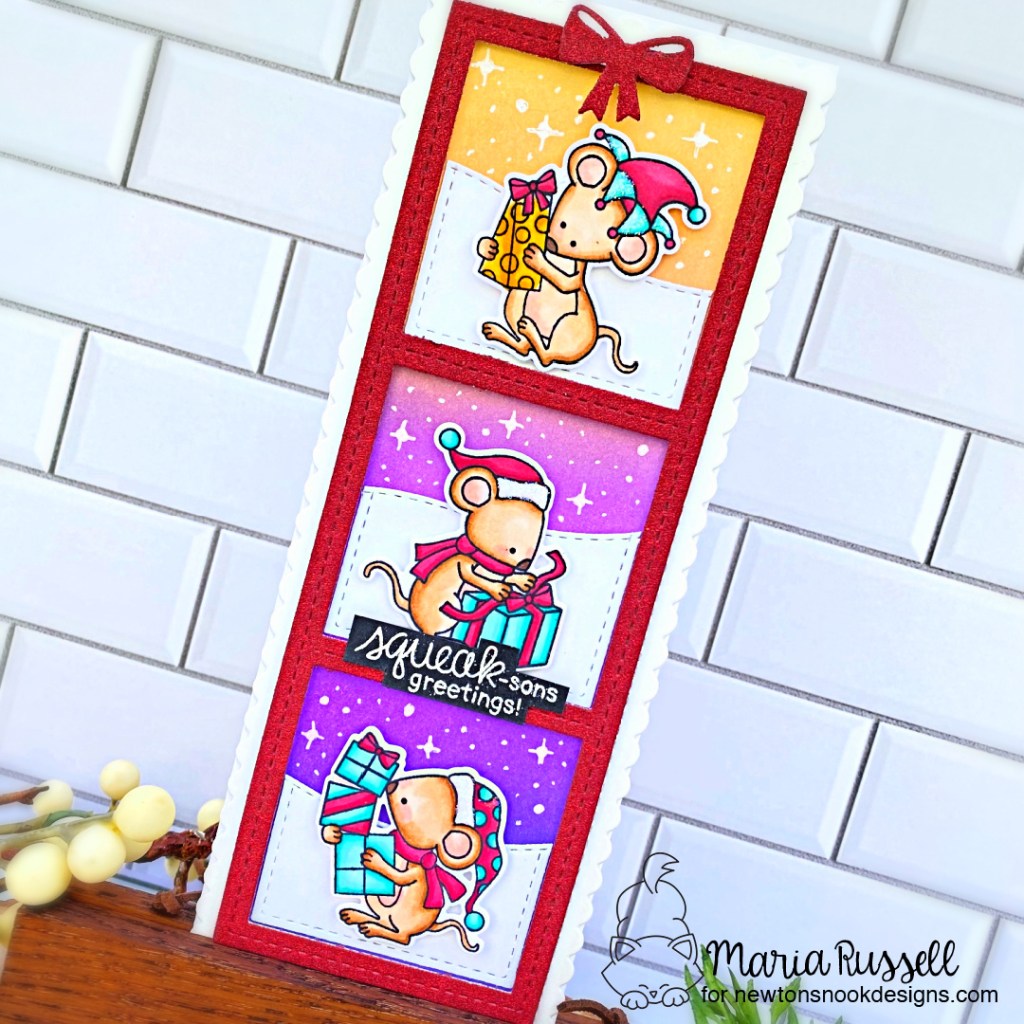
- use your alcohol marker to add some lines to the Birch Tree for added texture.
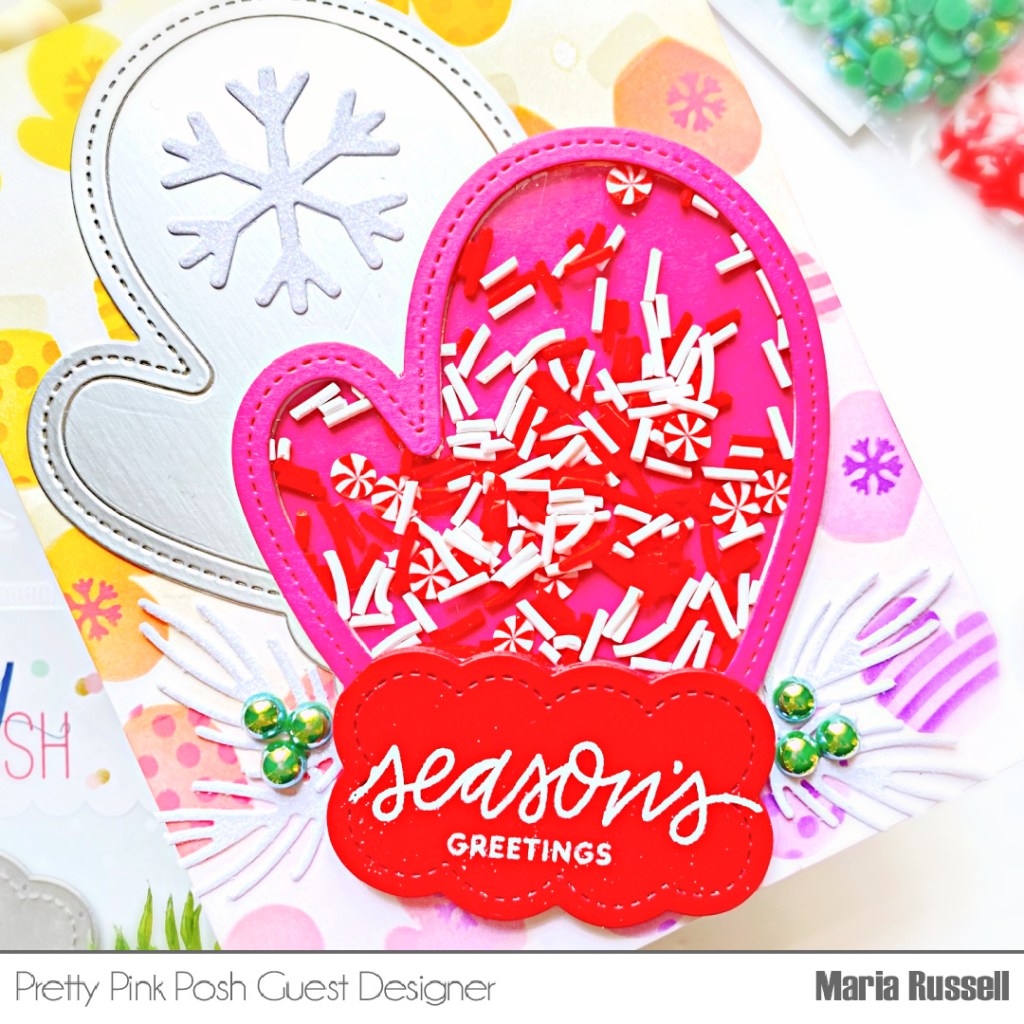
- adhere the focal images to the card.
- finish the card design by stamping the sentiment from the Santa’s Helper Stamp Set.

I hope you like this card today and got inspired. Below, you will find links to the supplies used to create this project. Where available, I use compensated affiliate links at no extra cost to you. Your support helps me to keep bringing you new projects and inspiration. Thank you for stopping by, and have an amazing day!
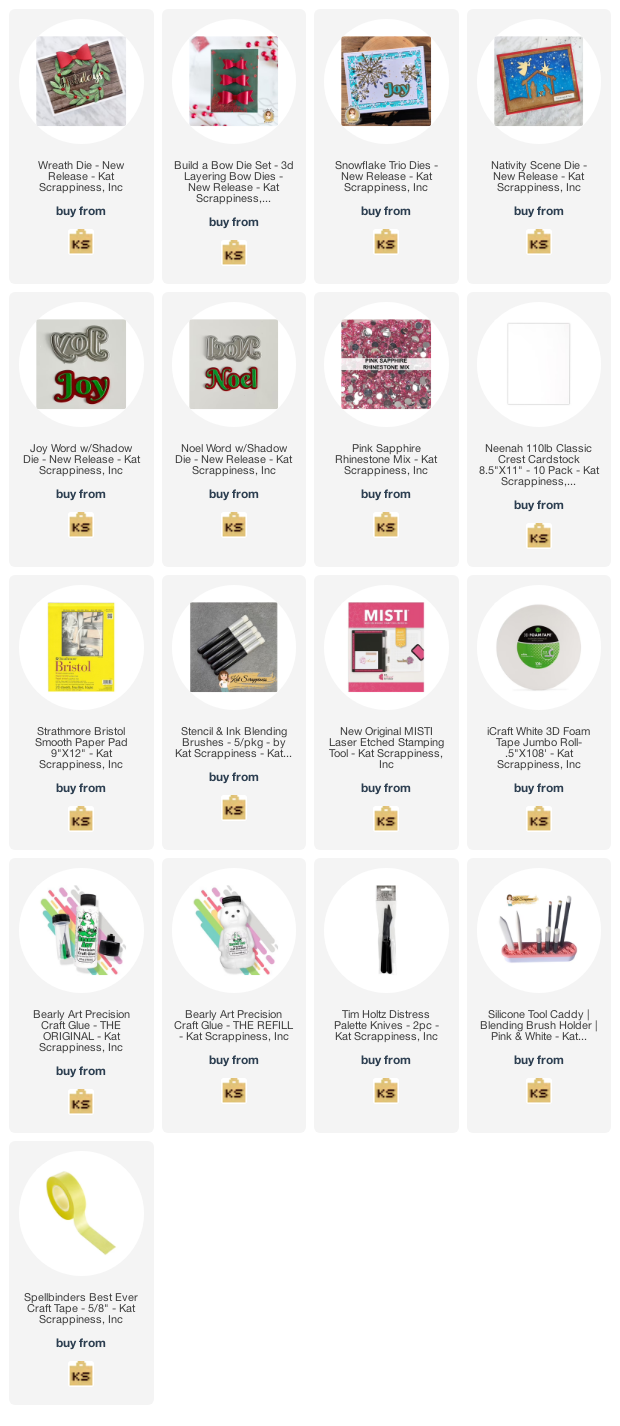
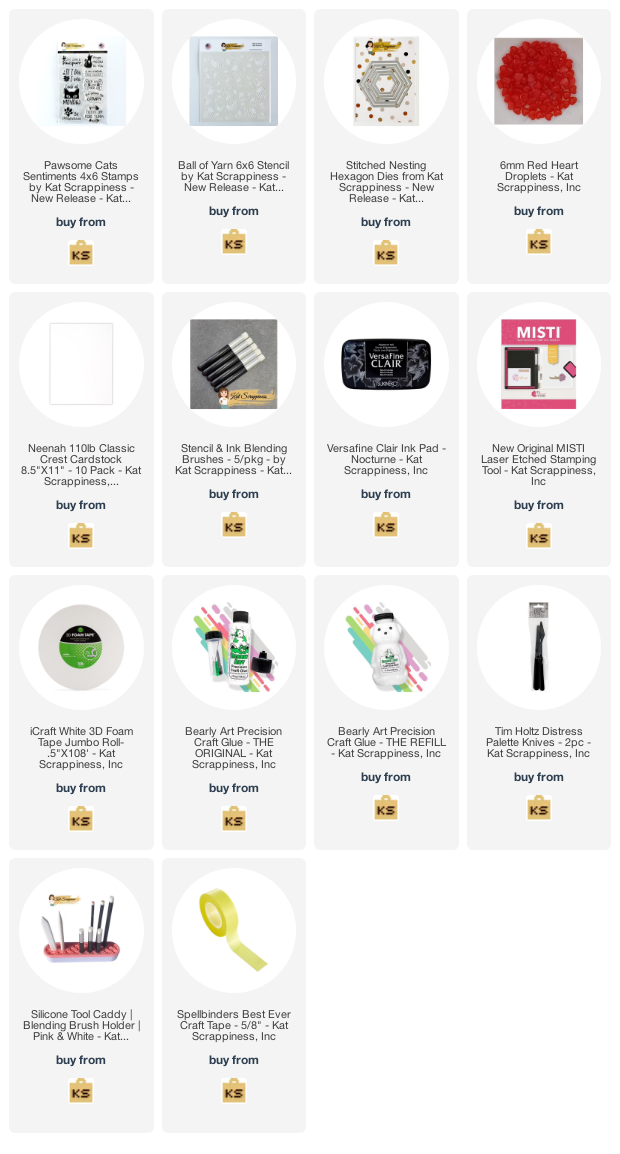
———-SUPPLIES———-