
I am slowly unpacking the boxes at my new location and it has been overwhelming to say the least. Creating a project is very challenging right now because I can’t seem to find a lot of my stuff. Luckily, these items from Pretty Pink Posh’s October release was one of the first box I’ve found!
For today’s projects, I am showcasing the Mitten Shaker Dies, along with the Layered Mitten Stencils, Layered Winter Foliage Stencils, Winter Wishes Script Die, Winter Foliage Dies, Pine Green Pearls and Peppermints Clay Confetti.
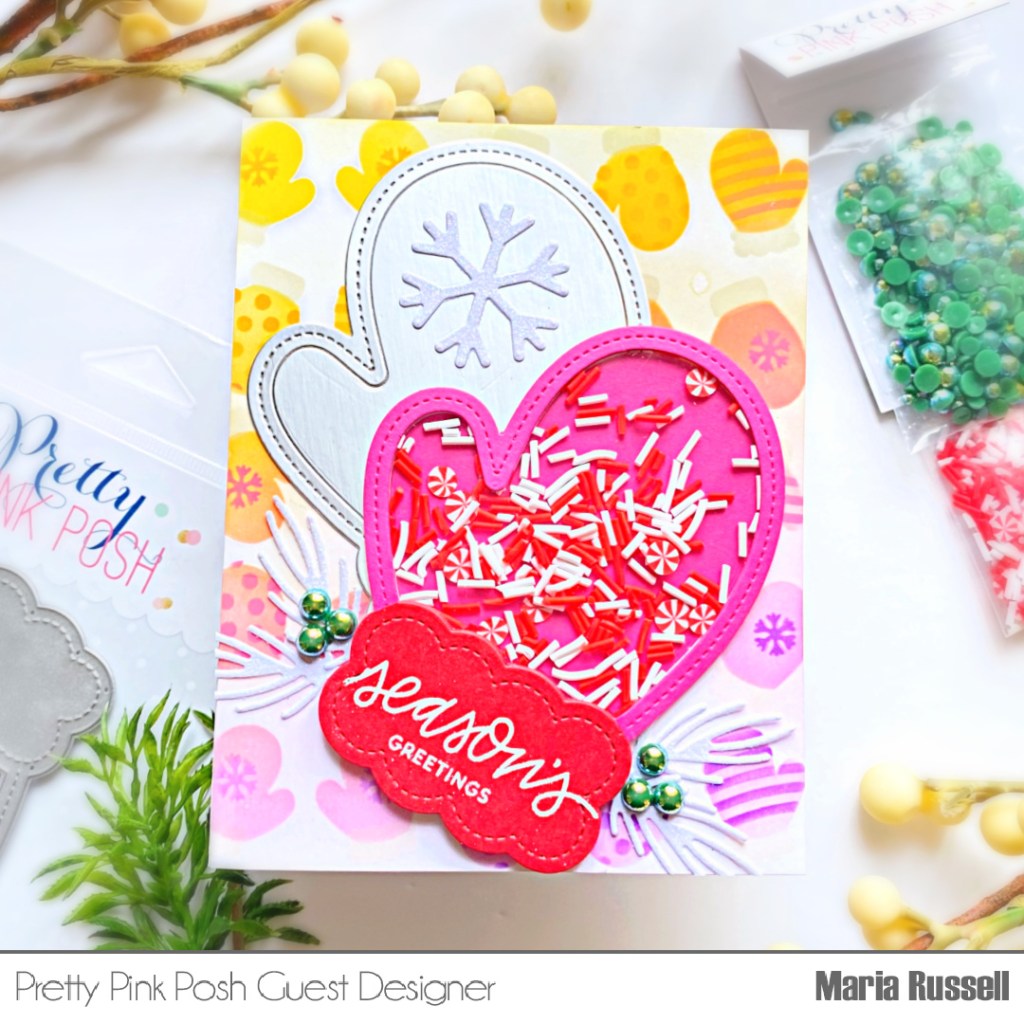
Here’s how I made this first card:
- ink-blend a panel of Neenah Classic Crest Solar white card stock using the Layered Mitten Stencils and Distress Oxide inks. Make sure you are slowly building the colors using some blending brushes to achieve a softer look.
- adhere this panel on some A2-size notecard.
- die-cut the mittens with different colors of card stock using the imageMitten Shaker Dies with your die-cutting machine. Secure the dies ont he card stock by using Repositionable Tape so they don’t shift while die-cutting. In case you’re wondering, I use the Sizzix Big Shot Machine with Cutting Plates plus Magic Mat by Scrapbook.Com. [The Magic Mat is a self-healing mat and you can use it for a long time without having to buy new plates].
- use the die-cut to trace the pattern of a mitten on some acetate sheet. Cut them with your precision snips and adhere to the mitten with liquid glue.
- adhere the silver mittens on the card using tape runner.
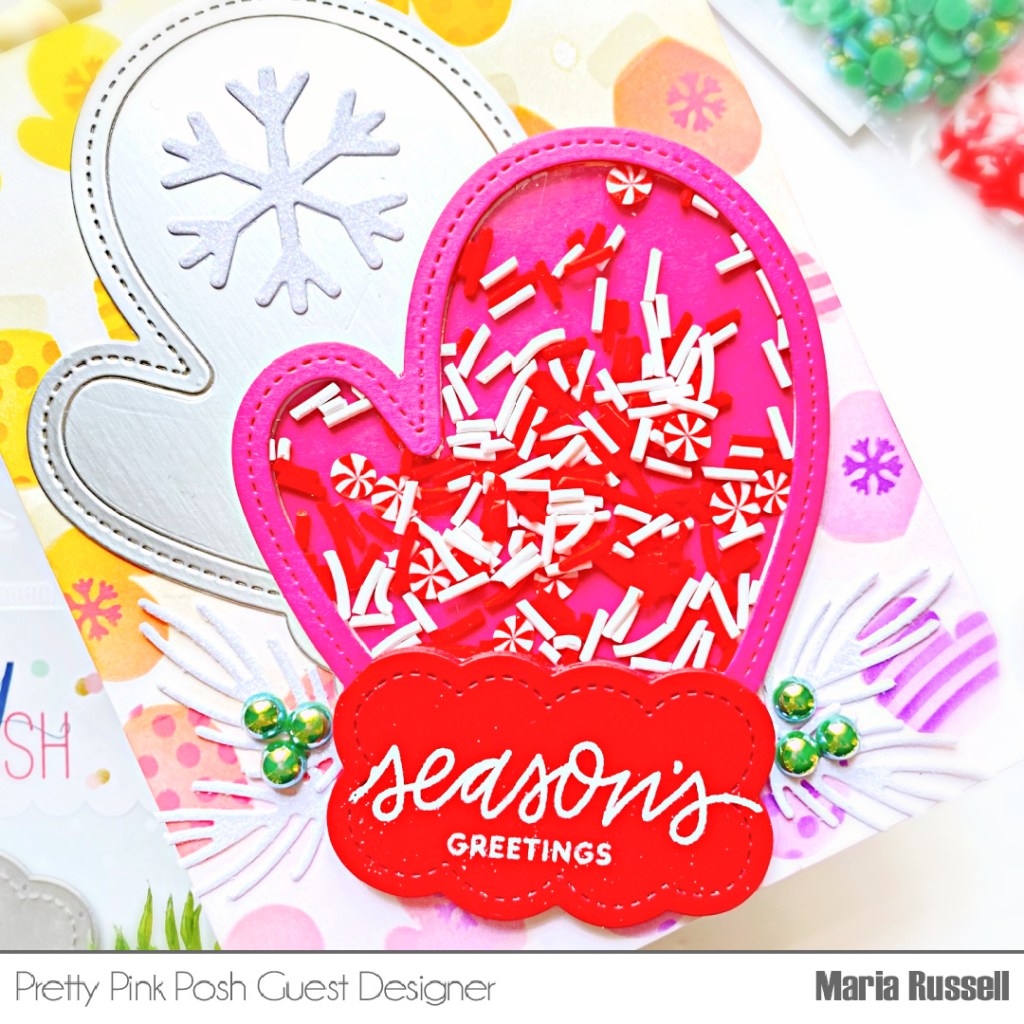
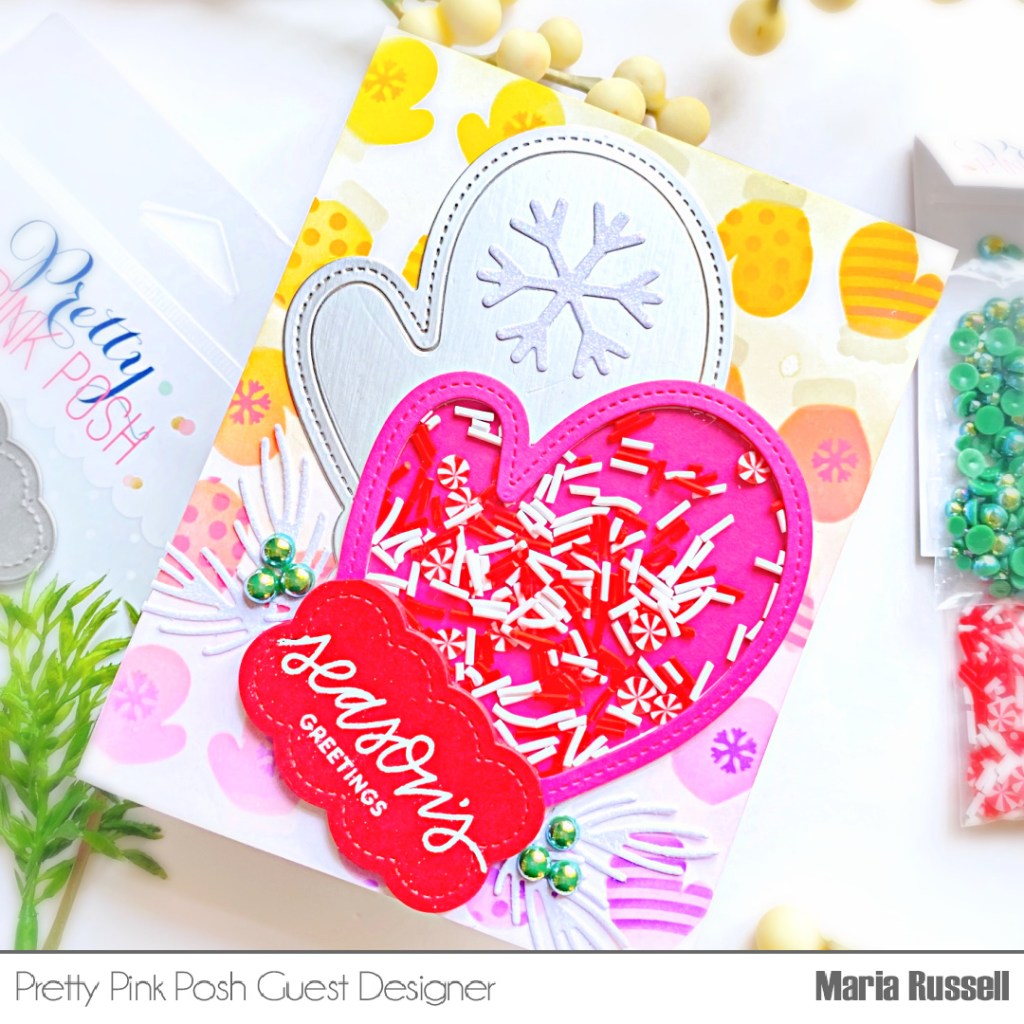
- create a shaker well on the pink mitten by adding some foam adhesive. Adhere the pink negative piece on the card on top of the silver mitten and use Peppermints Clay Confetti as your shaker element. Adhere the mitten to close the shaker.
- use the Mitten Shaker Die again to die-cut just the end of the mitten piece. Stamp the sentiment on this piece with Versamark ink and heat-set with the heating tool. Adhere the same on the mitten with liquid glue.
- finish the design by adhering the Snowflake, the pine boughs that were die-cut using the Winter Foliage Dies and add texture by adhering some Pine Green Pearls.
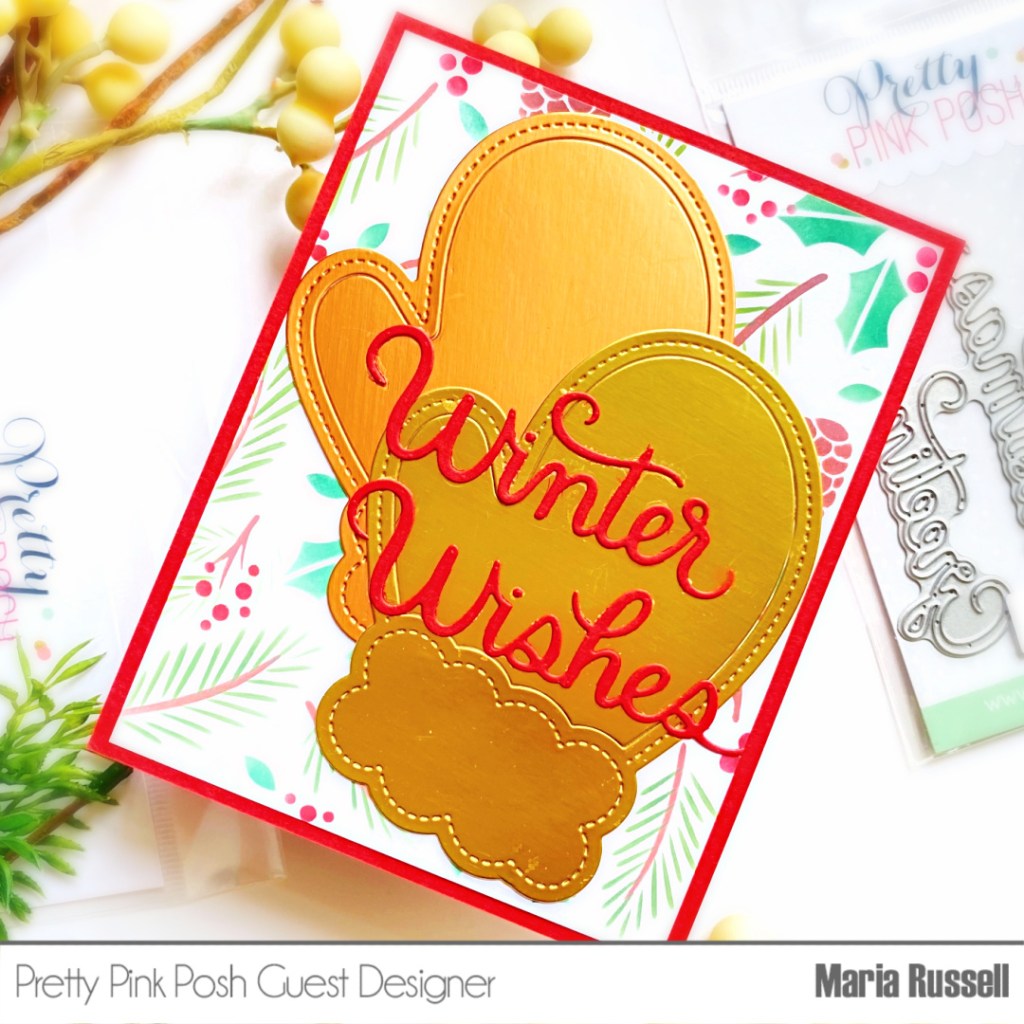
Since I already die-cut a few of the mittens, I decided to create an extra project. This time I ink-blended the panel using the Layered Winter Foliage Stencils and some distress oxide inks. I followed the steps above to adhere the panel on some A2-size notecard and added the mittens.
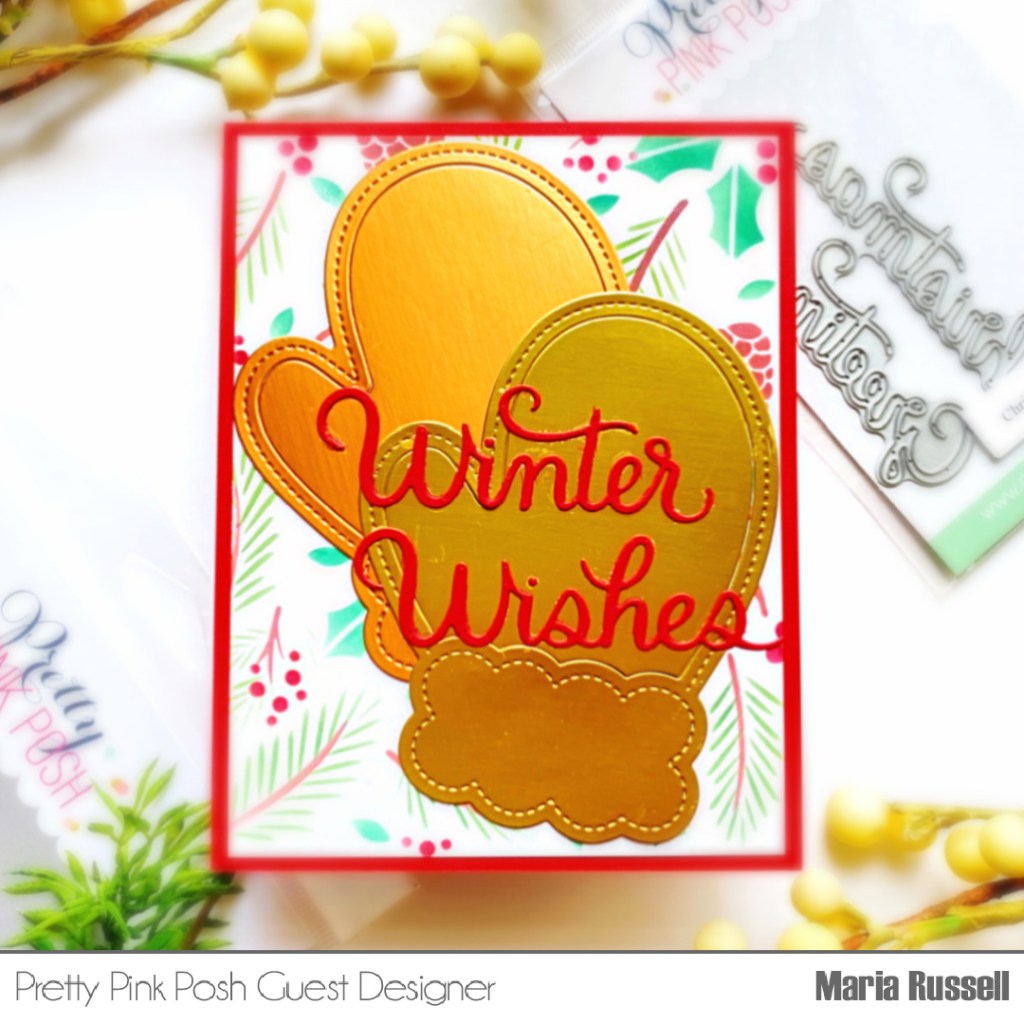
I finished the card design by adhering the Winter Wishes Script Die-cut with liquid glue. Here’s another look:
I hope you like these cards today and got inspired. Below, you will find links to the supplies used to create these projects. Where available, I use compensated affiliate links at no extra cost to you. Your support helps me to keep bringing you new projects and inspiration. Thank you for stopping by, and have an amazing day!
———-SUPPLIES———-

