Thank you for stopping by today and joining me for the Countdown to Confetti Day 2 by Reverse Confetti. We have lots to show you and there is also a giveaway so please read through the end of this post to find out how you can WIN!
For today’s reveal, we are showcasing the Friendly Florals Stamp Set.


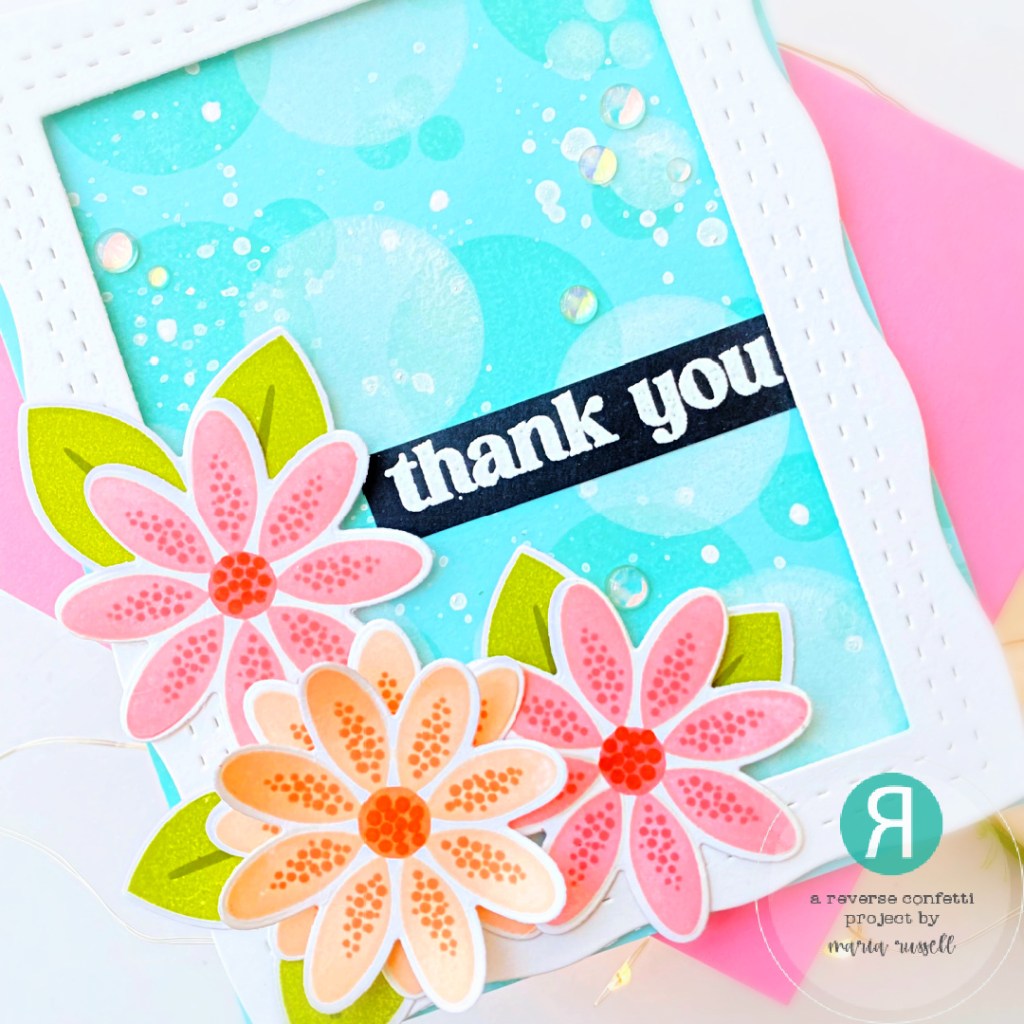
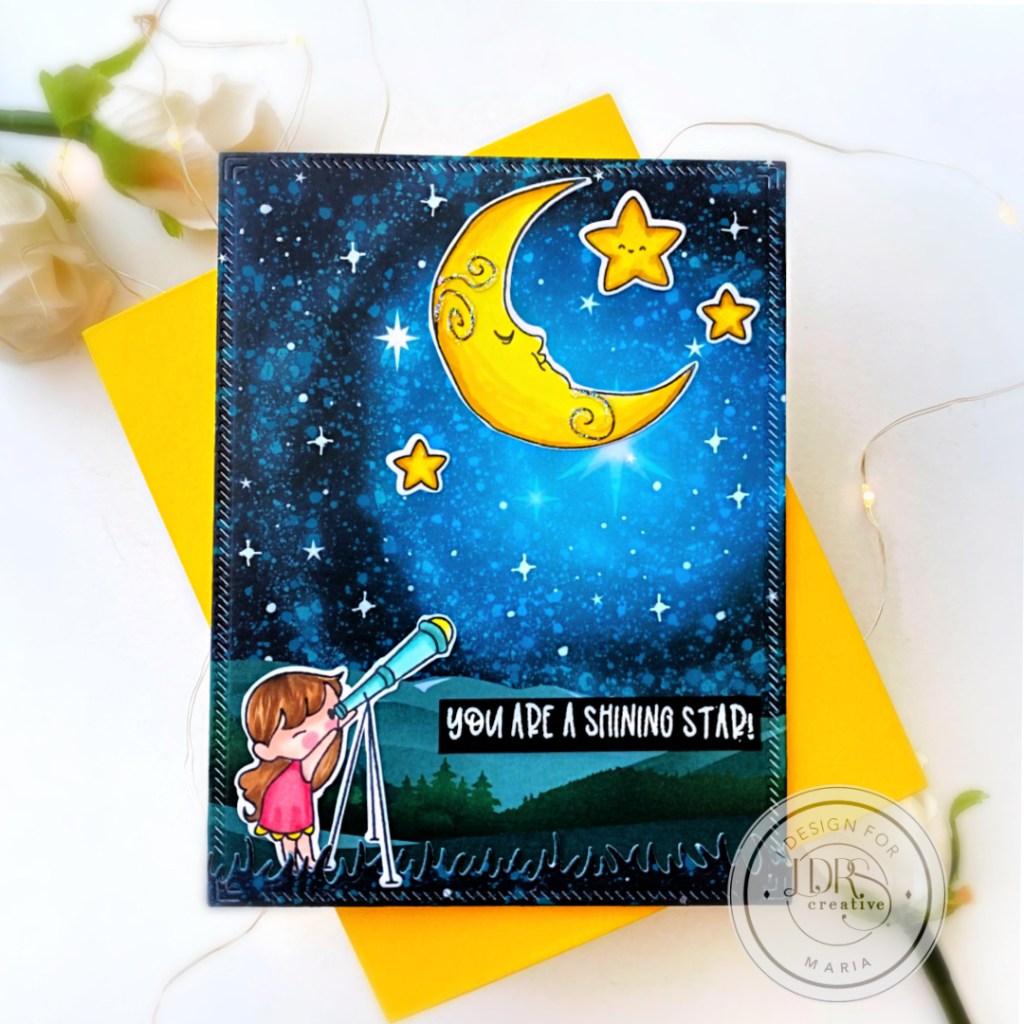
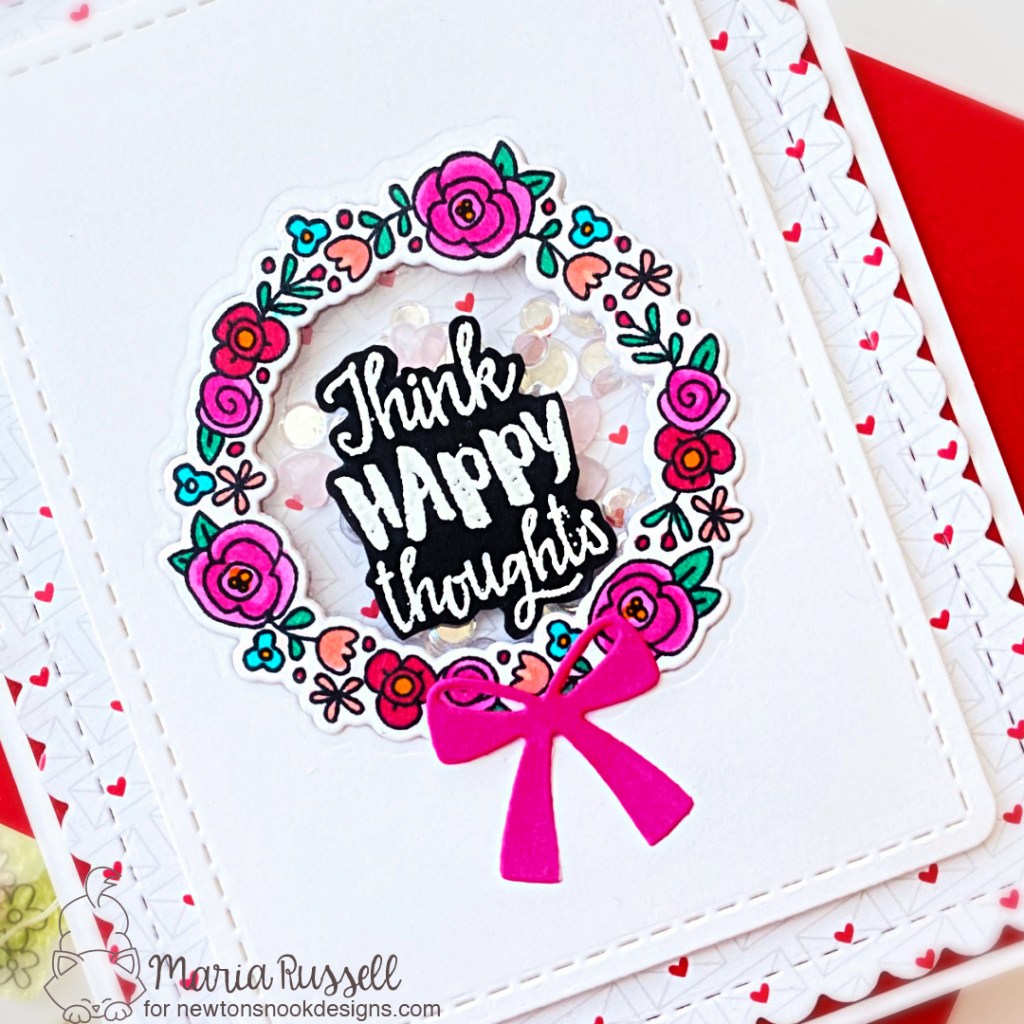
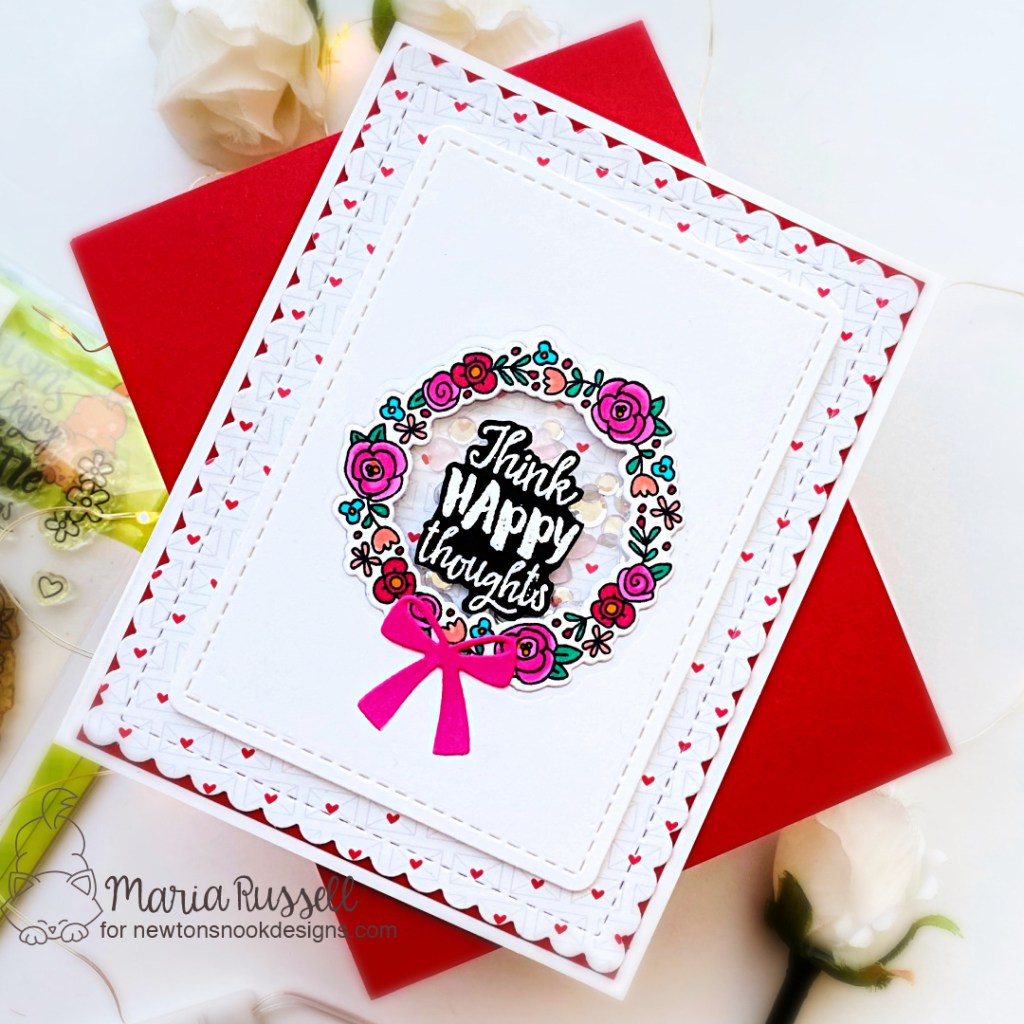
I wanted to showcase the stamp set so beautifully so I decided to create a simple card.

I stamped the images on some A2-size Neenah solar white panel with Memento Tuxedo Black Ink and colored the images in with alcohol markers. I adhered the panel on an A2-size Notecard.

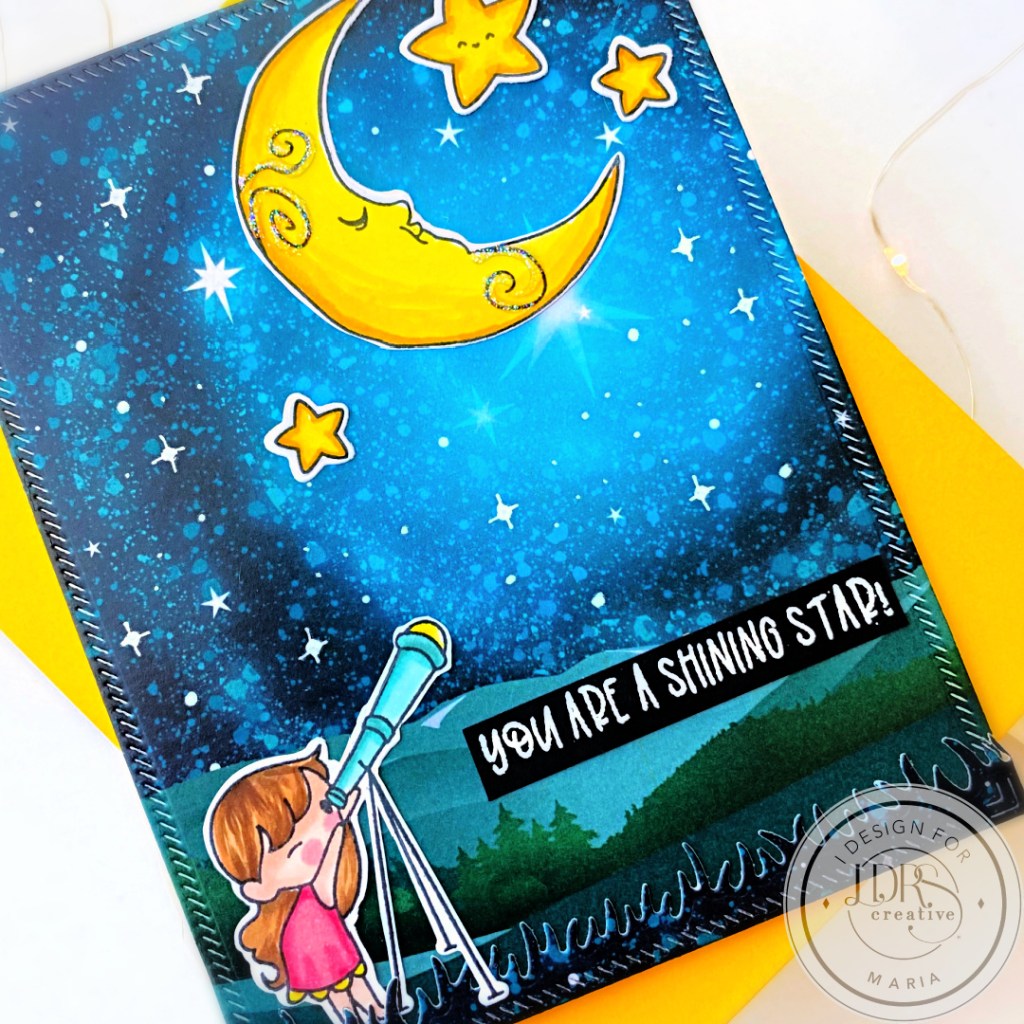
I masked off the images and used my watercolor brush and splattered some black watercolor to the panel for added texture. I finished the card design by stamping the sentiment a few times to get a good impression. Here’s another look:

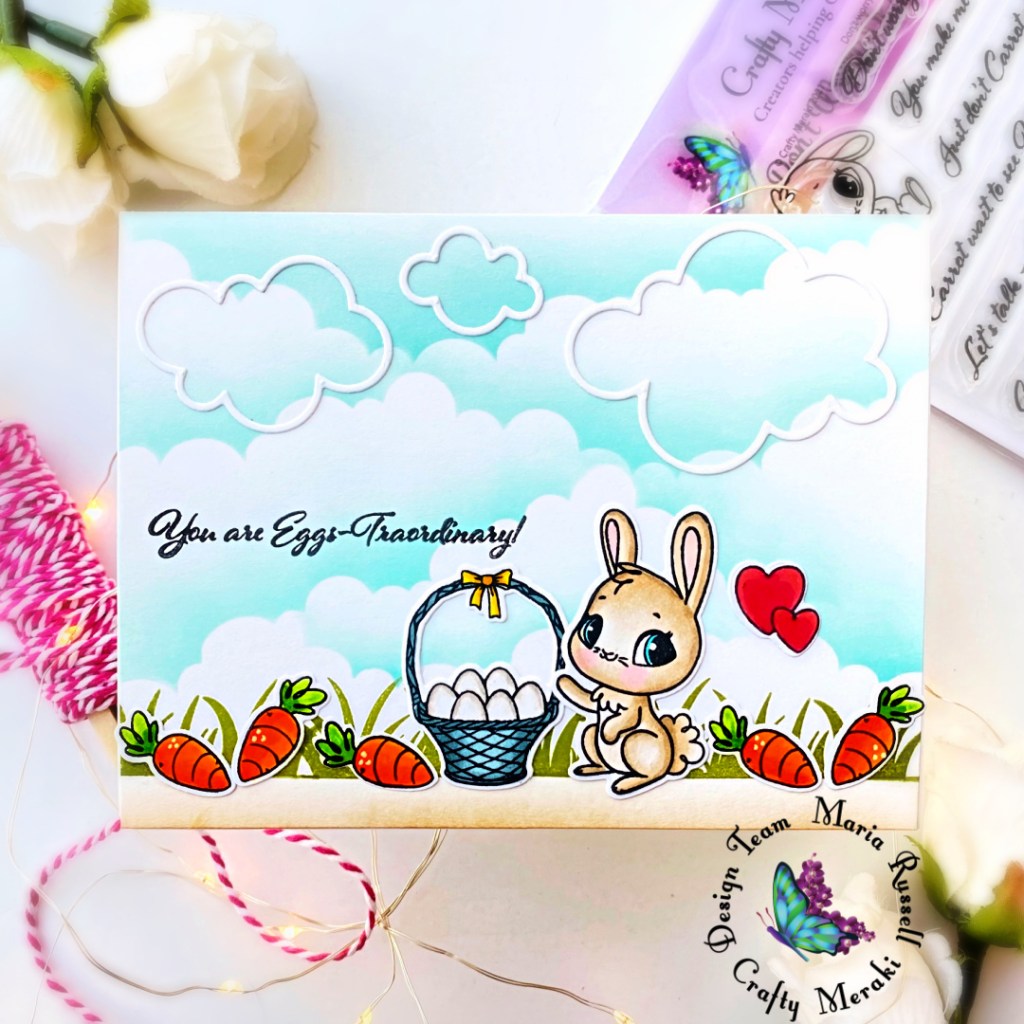
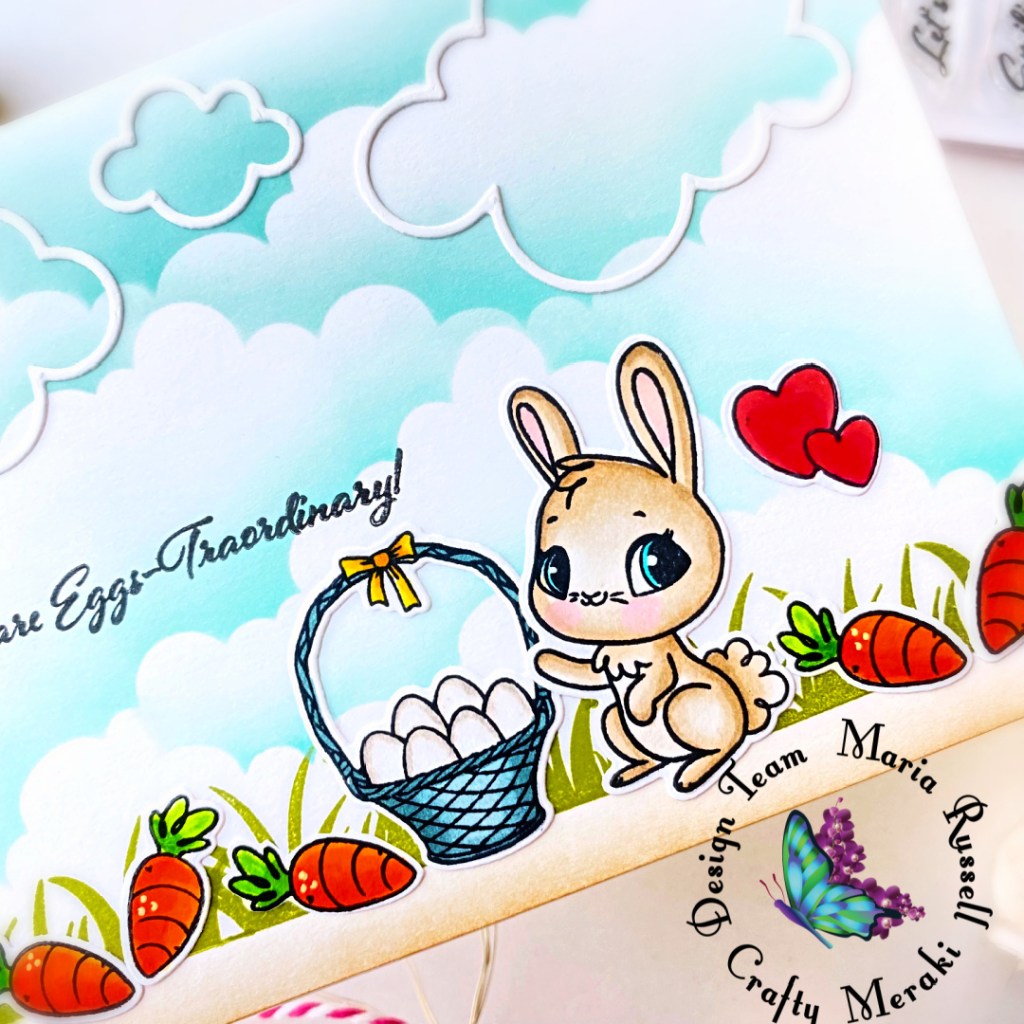
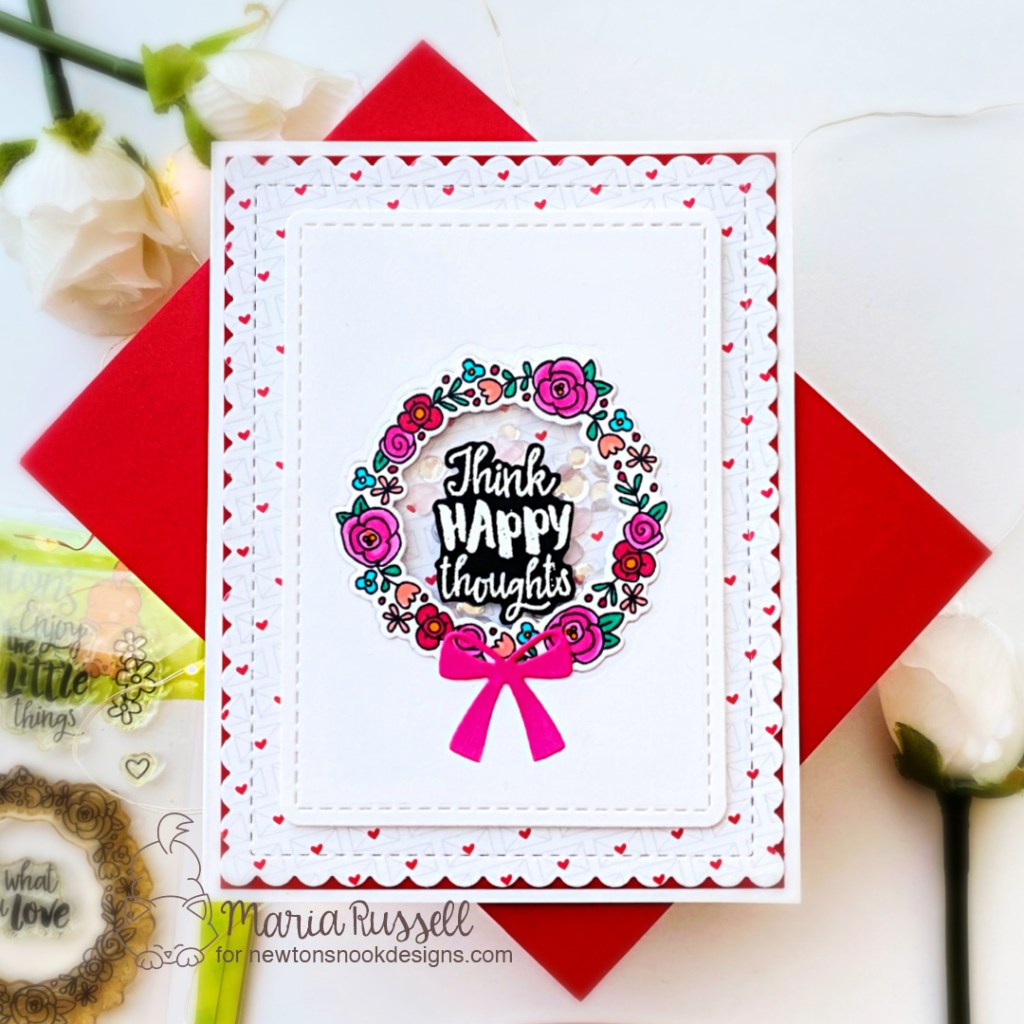
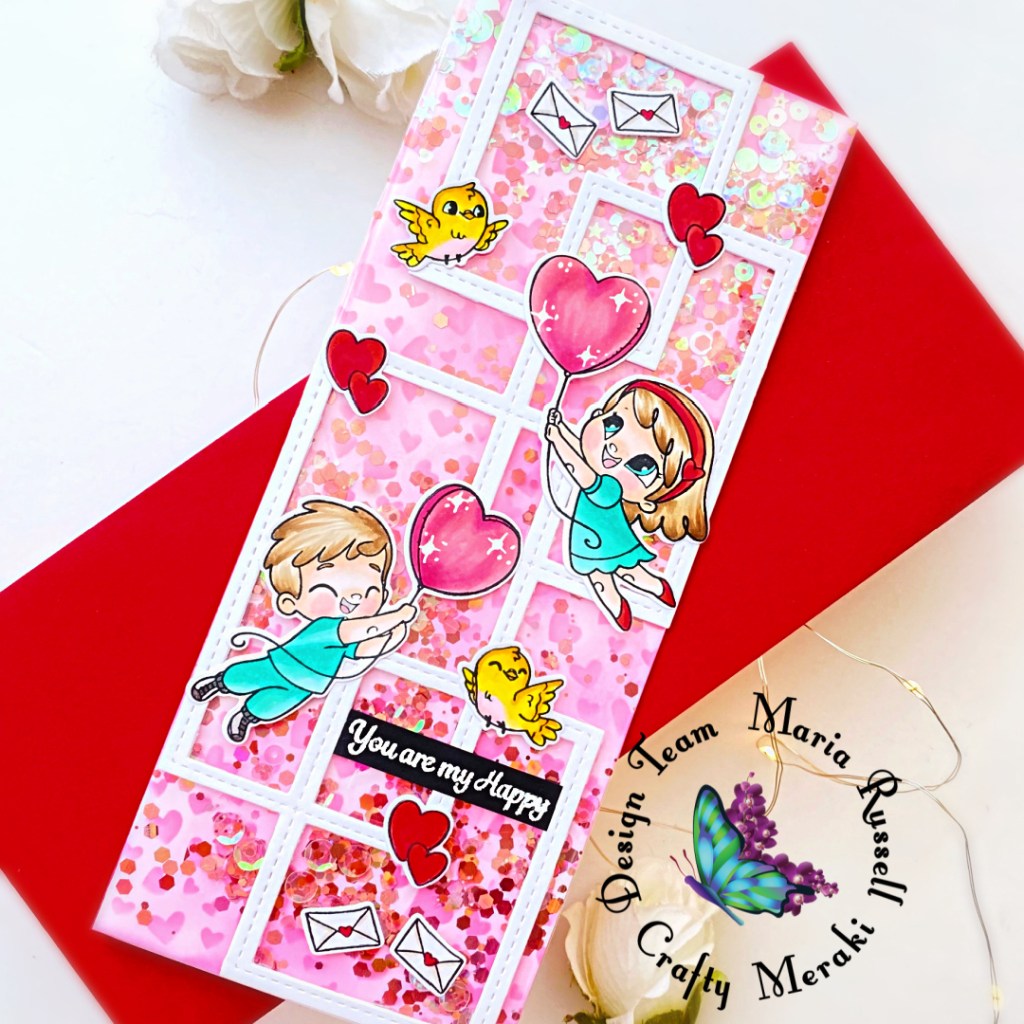
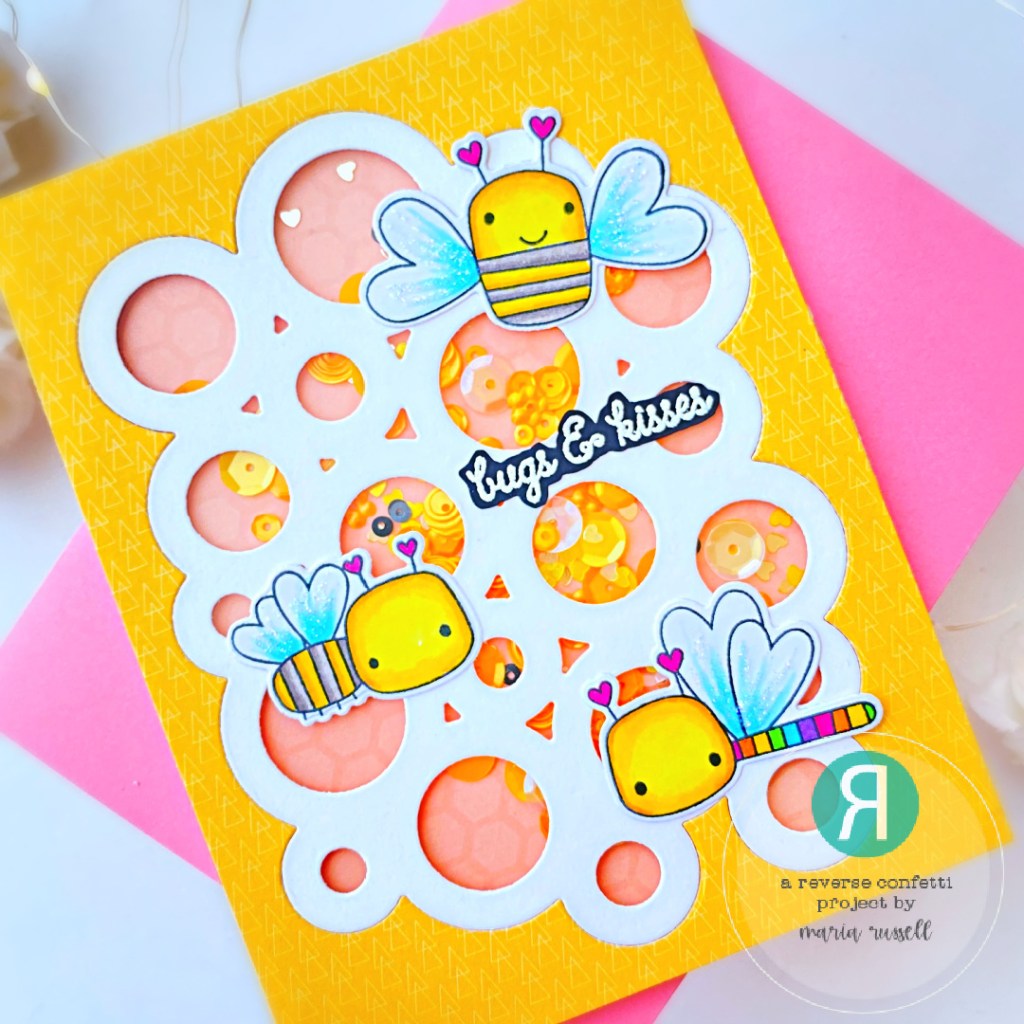
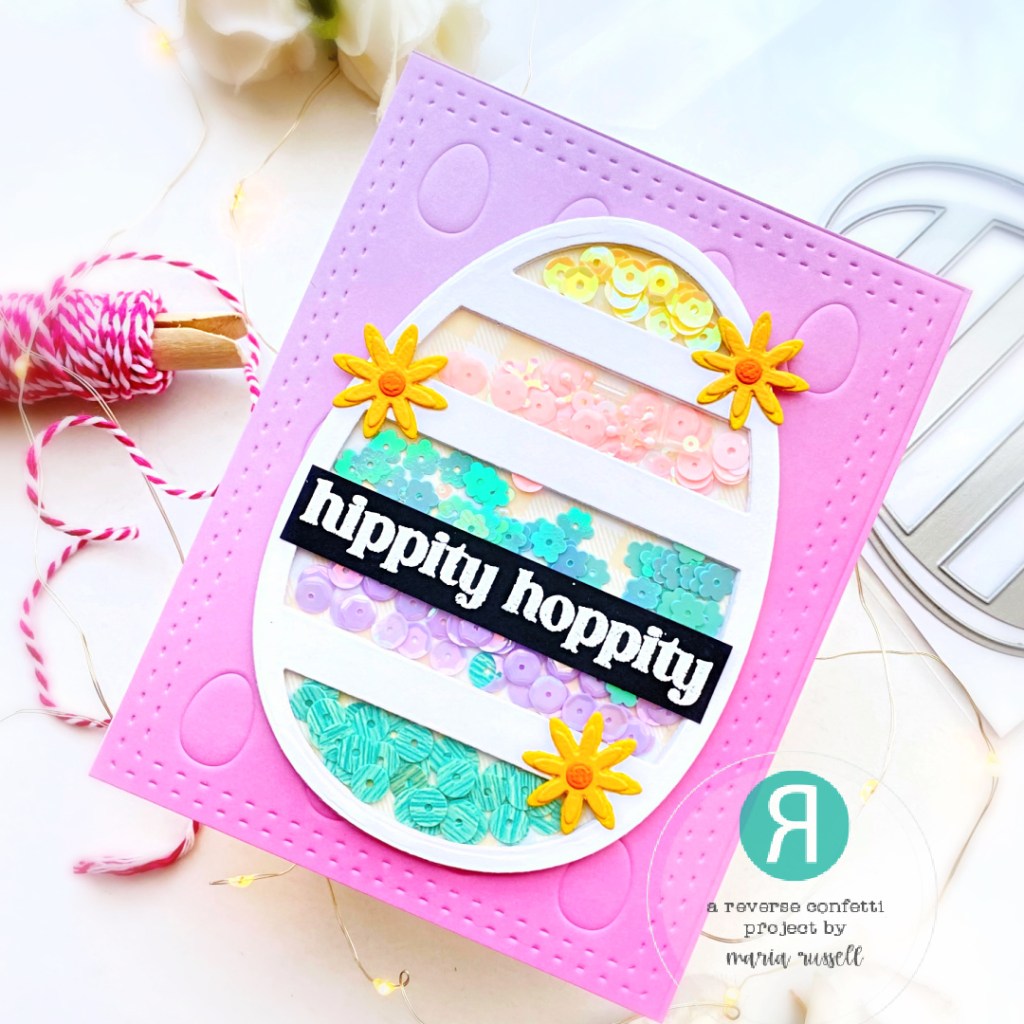
For my second project, .I am showcasing the Big Egg Cover Panel with Springtime Sentiments and Eggstra Cover Panel.

I started by die-cutting the background using the Eggstra Cover Panel on some patterned paper and adhered this background on an A2-size notecard.
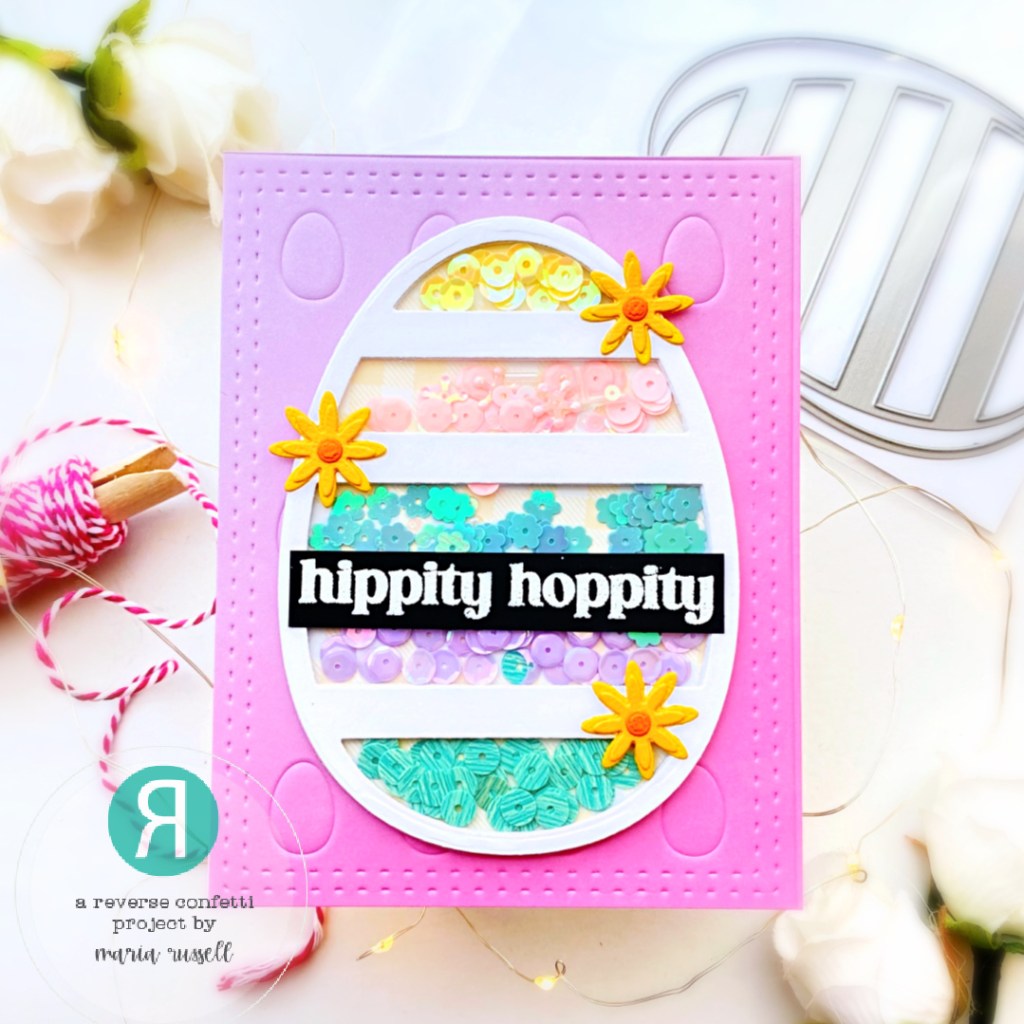
Next, I created a fun shaker element by die-cutting the big egg using the Big Egg Cover Panel 7 times. I adhered them all together with liquid glue and added different colors of sequins as my shaker element. I closed the shaker by adhering some patterned paper.

I finished the card design by adding some flowers that I put together using the Easter Cover Panel and the sentiment from the Springtime Sentiment stamp set. Heres another look:
I can’t wait to hop around and see what the other team members designed! Leave a comment by noon central on March 7th for a chance to win. There will be a $15 Gift Certificate for one blog commenter and also one FaceBook commenter. Make sure you pop over to the Reverse Confetti Blog for all the details!
Hop Listing