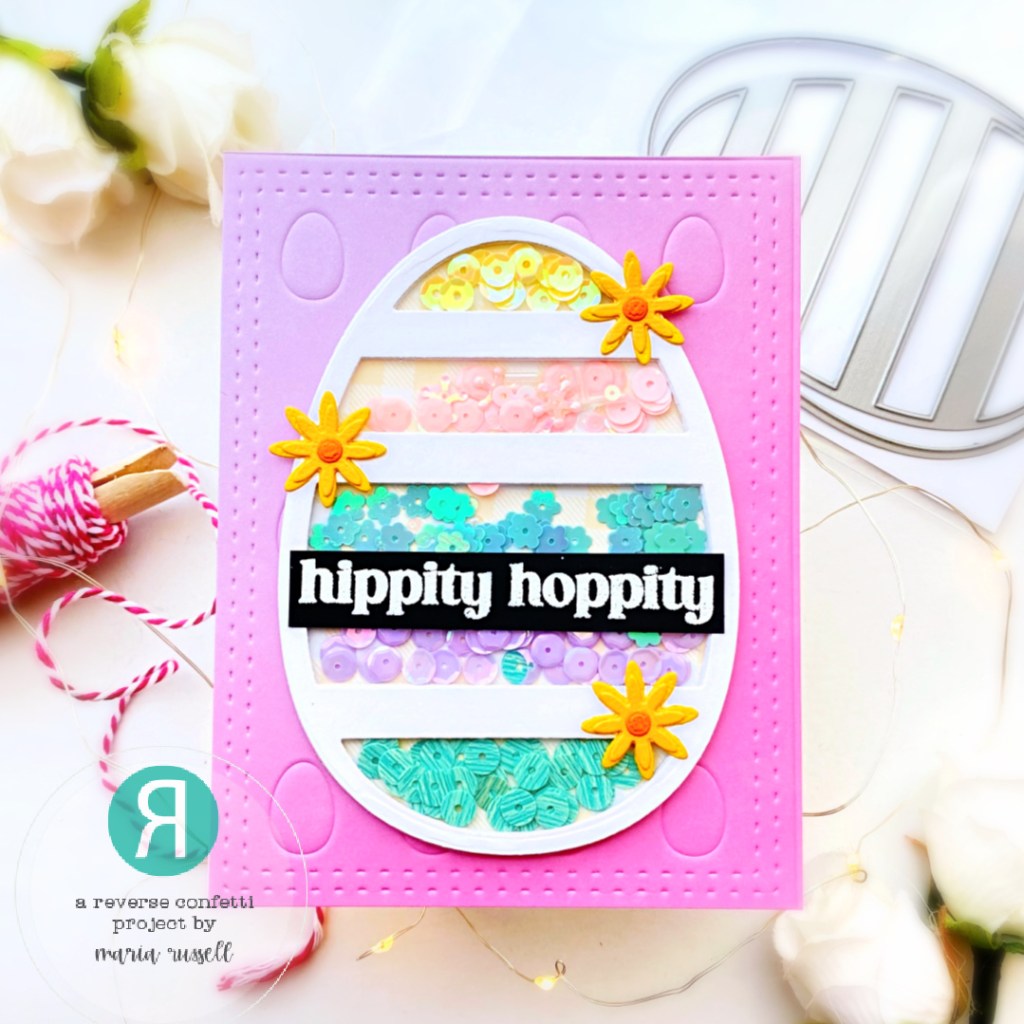
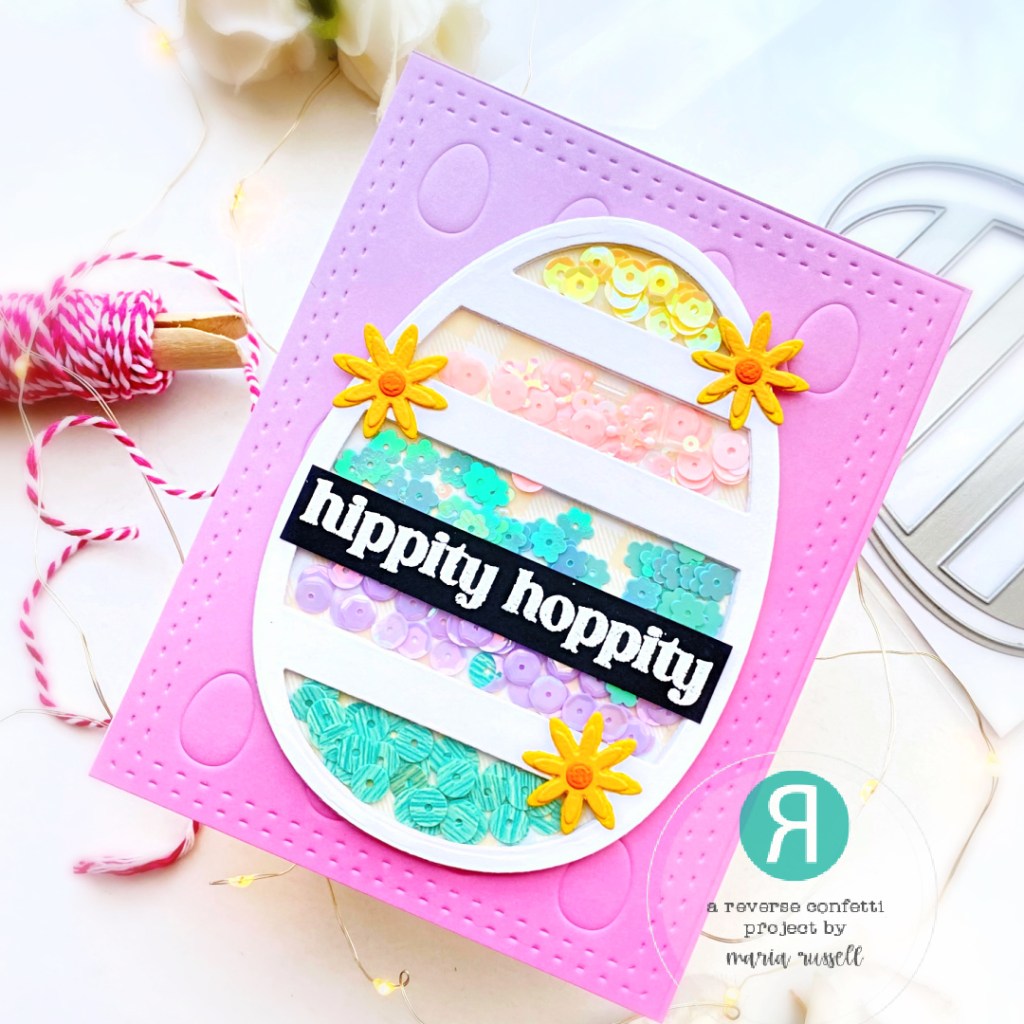
Hello everyone! I was away for two weeks and I couldn’t wait to start creating today! I am back sharing two cute Easter cards, showcasing the Easter Pirouette stamp set and coordinating dies, along with the One Fine Day 6×6 Paper Pad that I mixed with a few older stamp sets (mentioned below) and the A2 Diagonal Stitched Layered Card Toppers Die Set by LDRS Creative.
The new LDRS release is to die for! I honestly didn’t know which stamp set to feature for my cards today since they are all AMAZING, but since Easter is coming soon, I figured I’d share some Easter-themed cards!
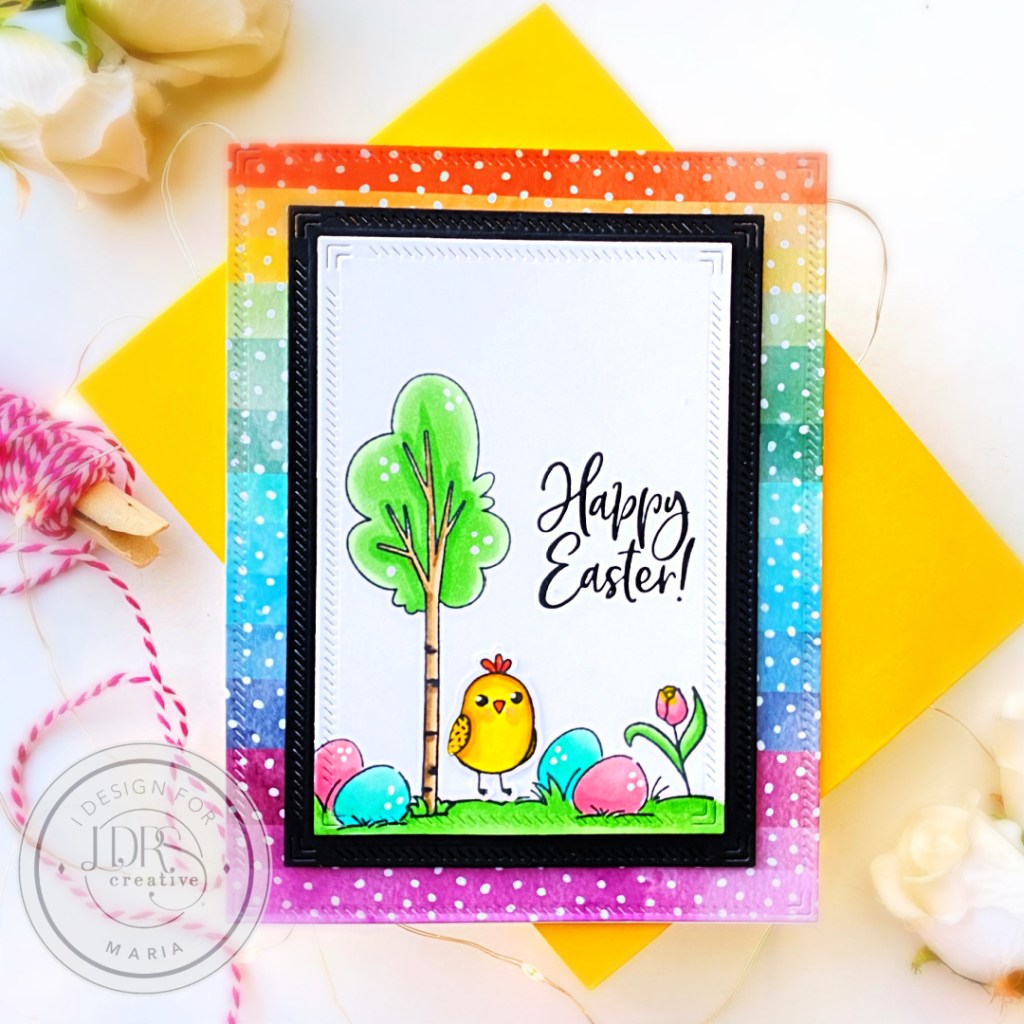
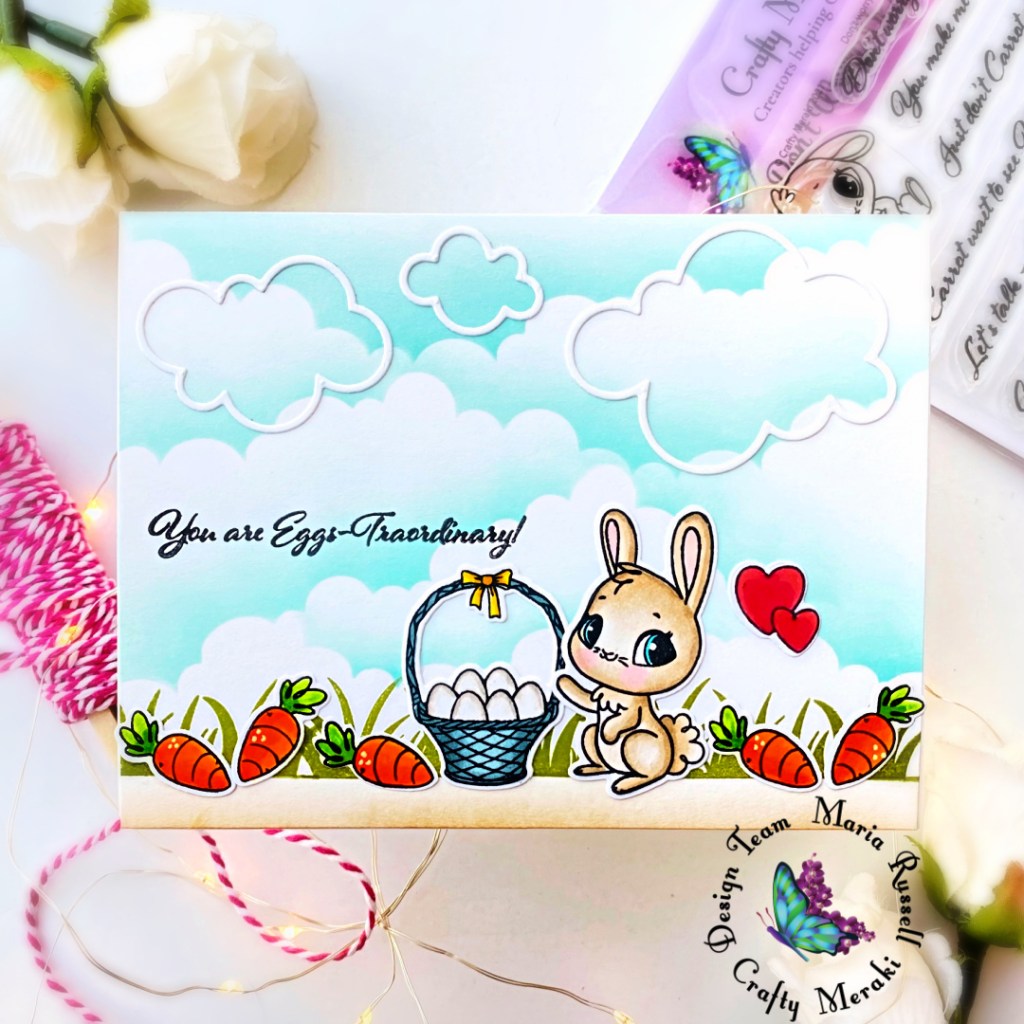
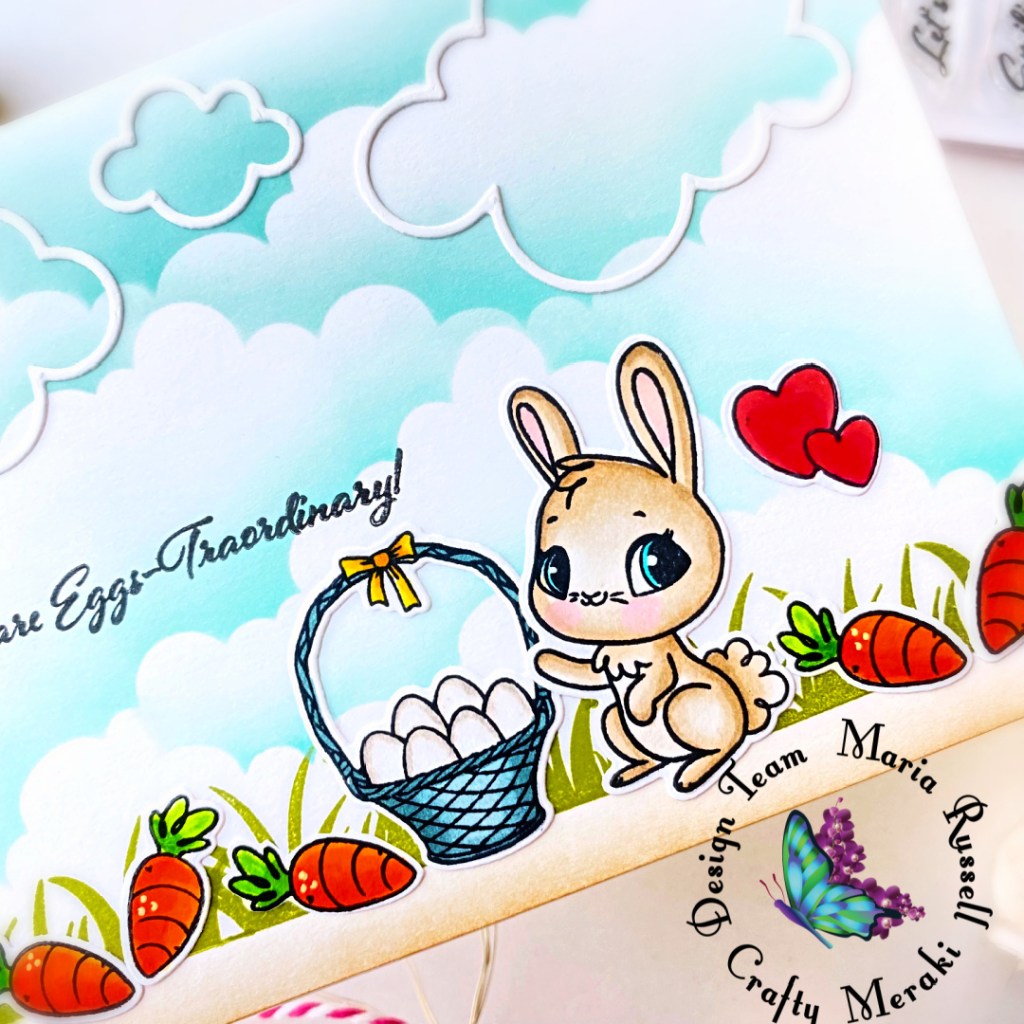
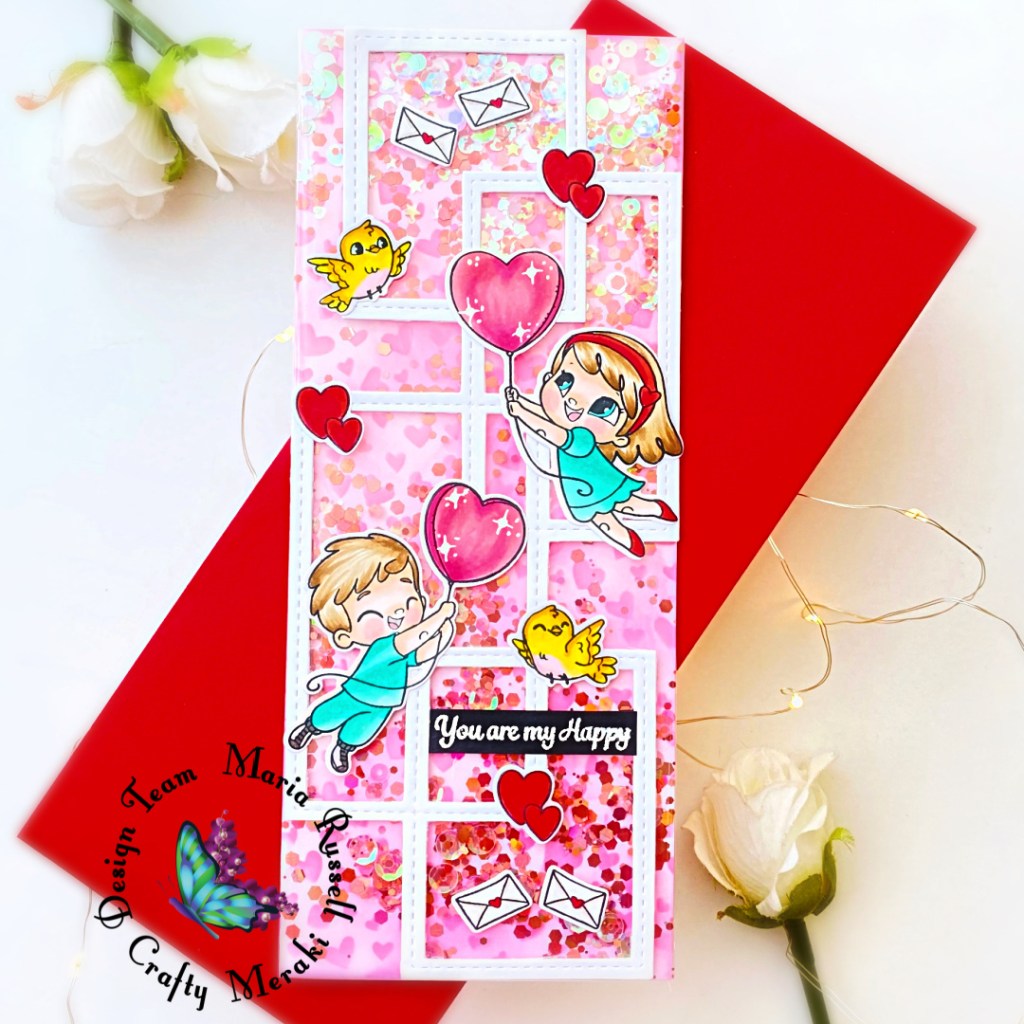
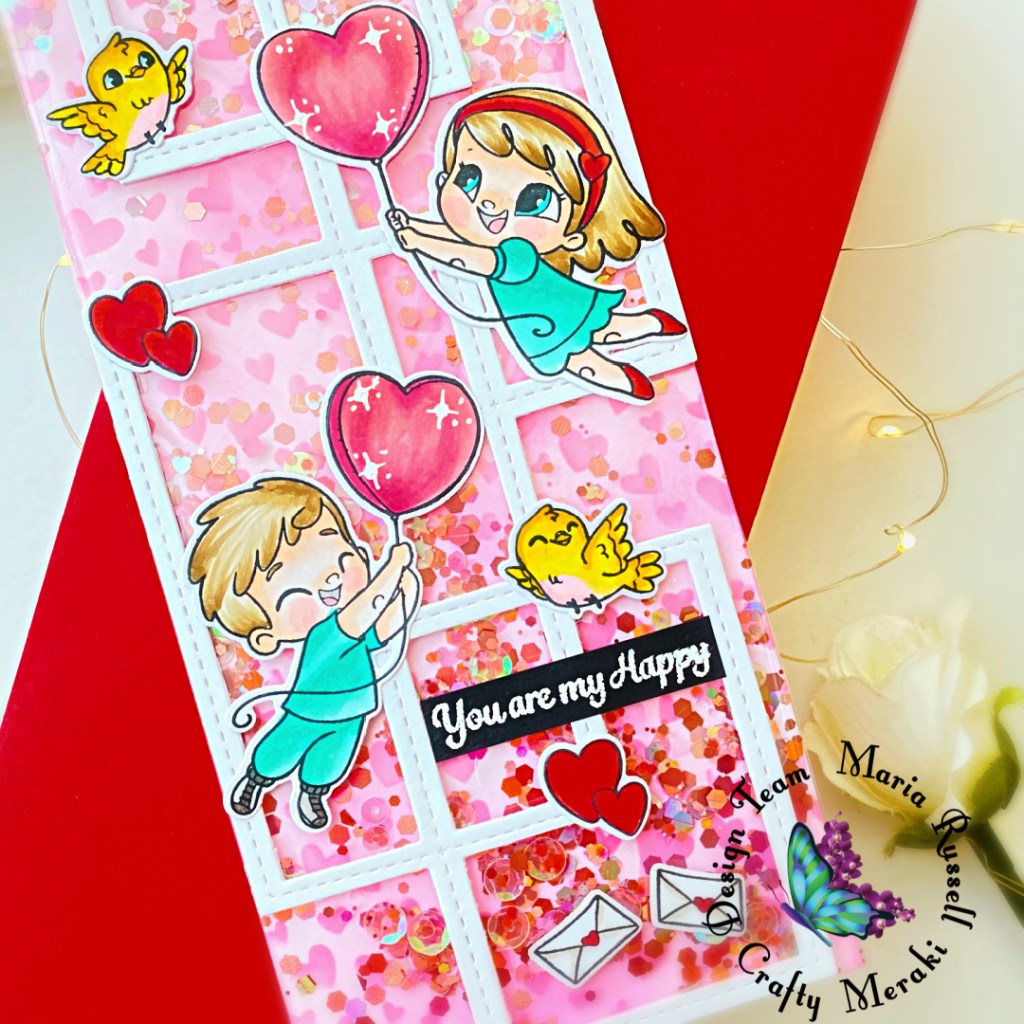
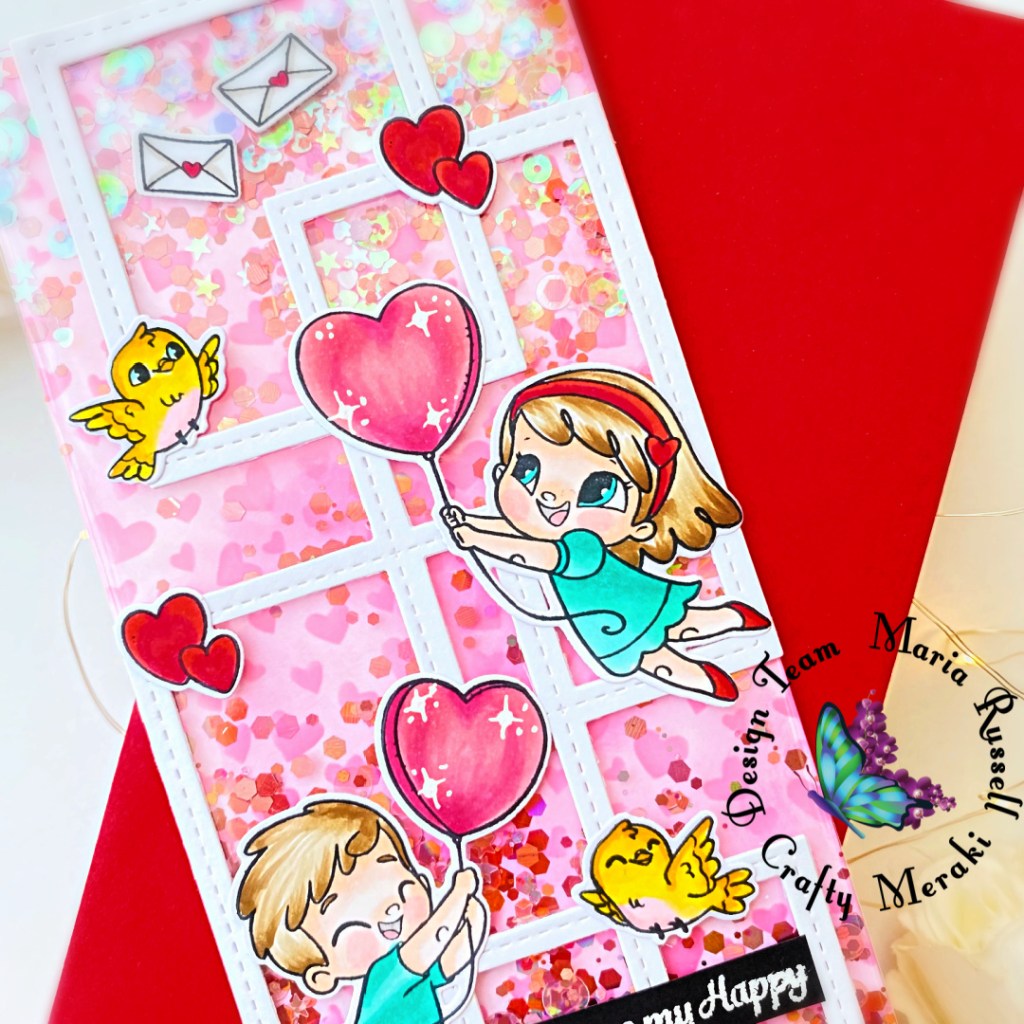
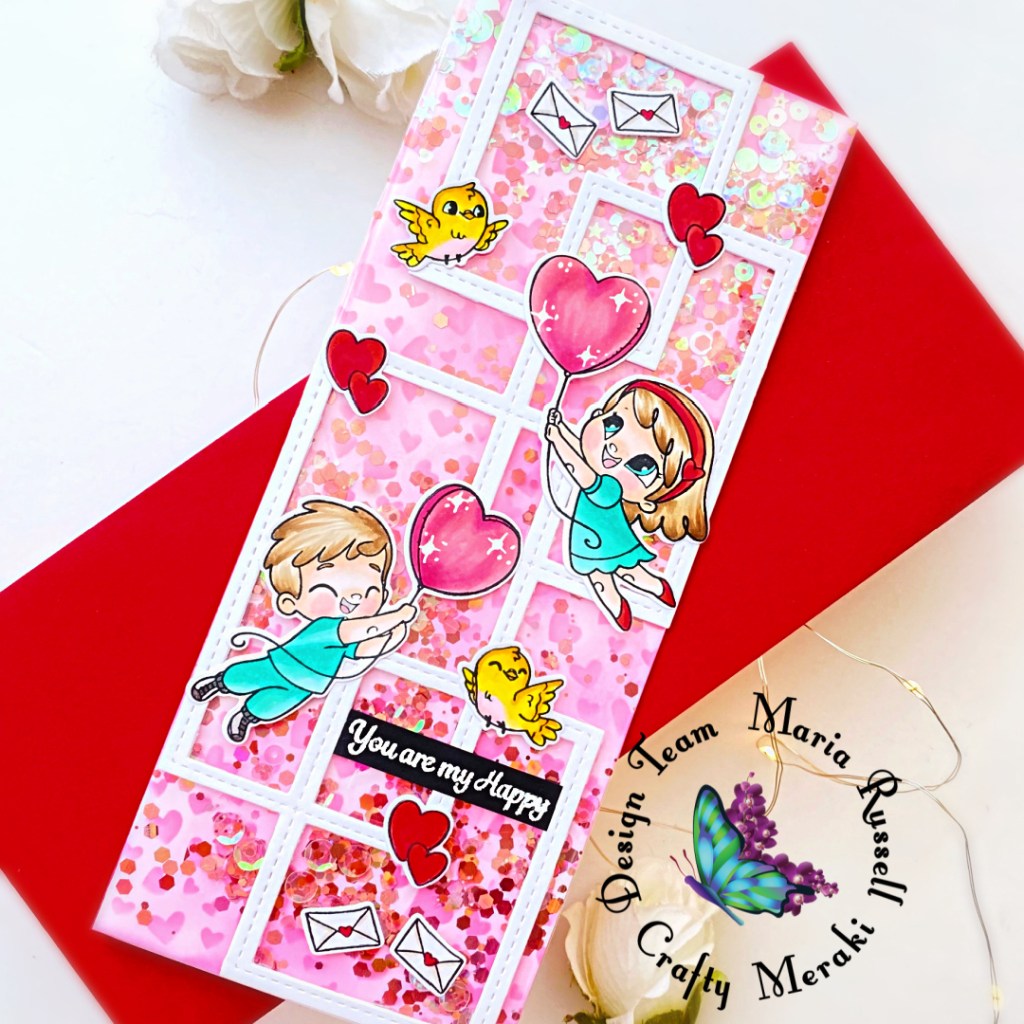
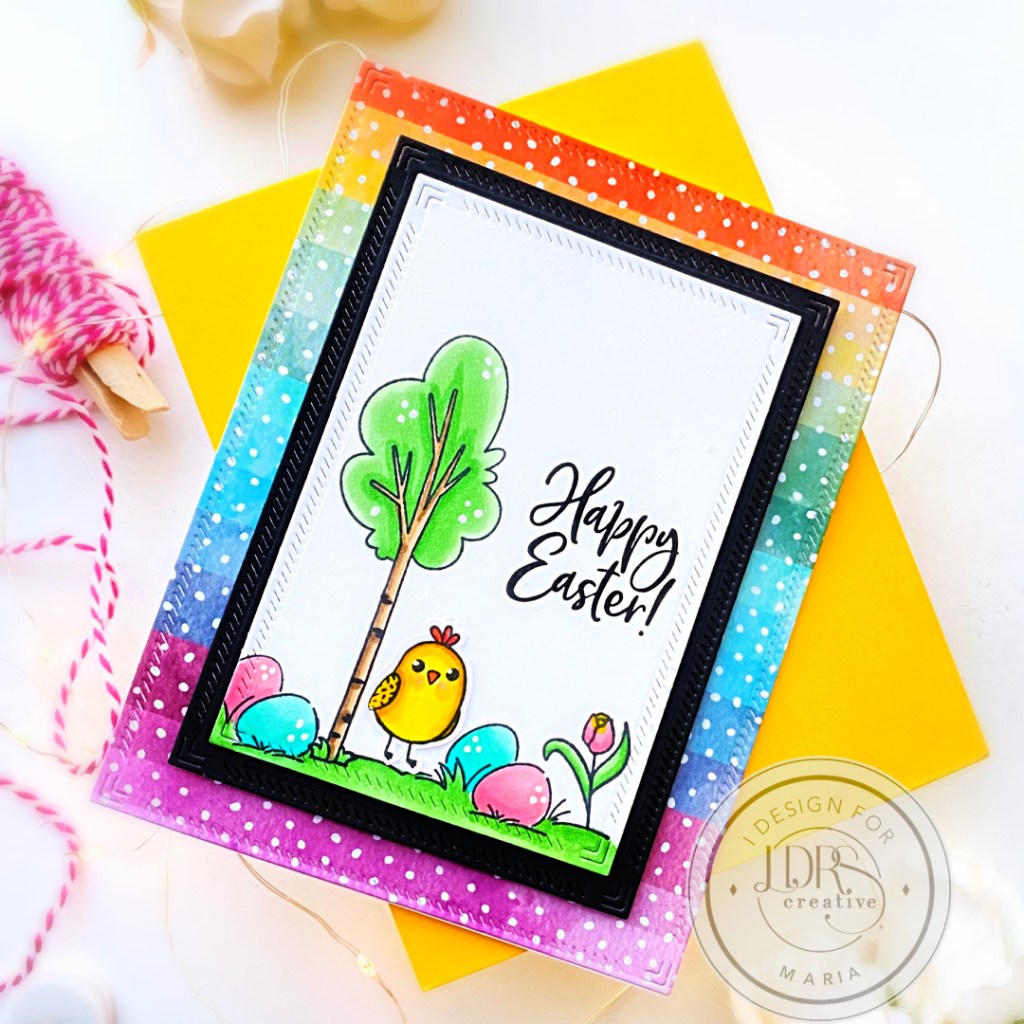
I started by stamping the images on some Neenah Solar White card stock with Raven Hybrid Ink. I colored the images in with alcohol markers and used the coordinating dies to cut them out. I also die-cut another panel of Neenah solar white using the smallest die from the Diagonal Stitched Layered Frames and stamped the images from the Hoppy Egg Hunt (eggs) and A Day in the Park (tree) using Raven Hybrid Ink. I colored them using alcohol markers and adhered the cute little chick to finish the scene. I matted this panel with some black card stock that I die-cut using the Diagonal Stitched Layered Frames.
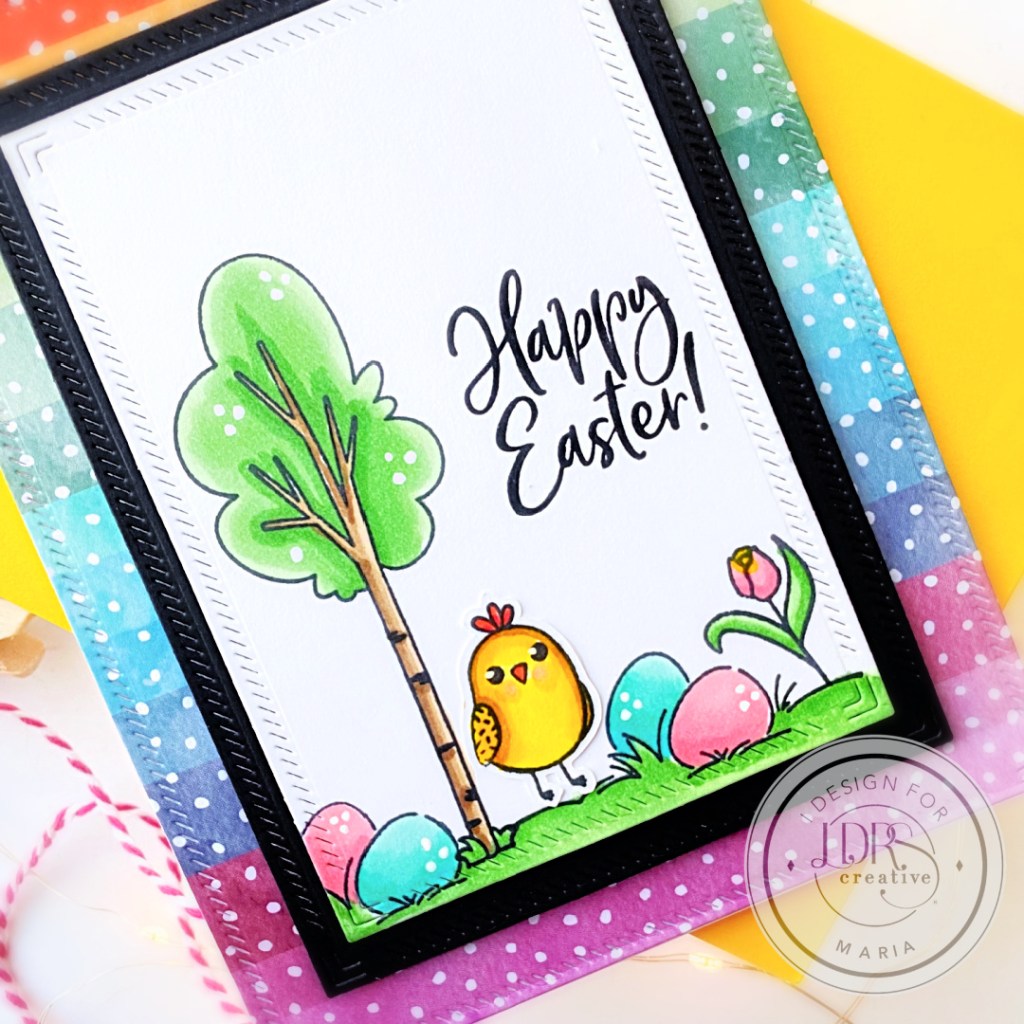
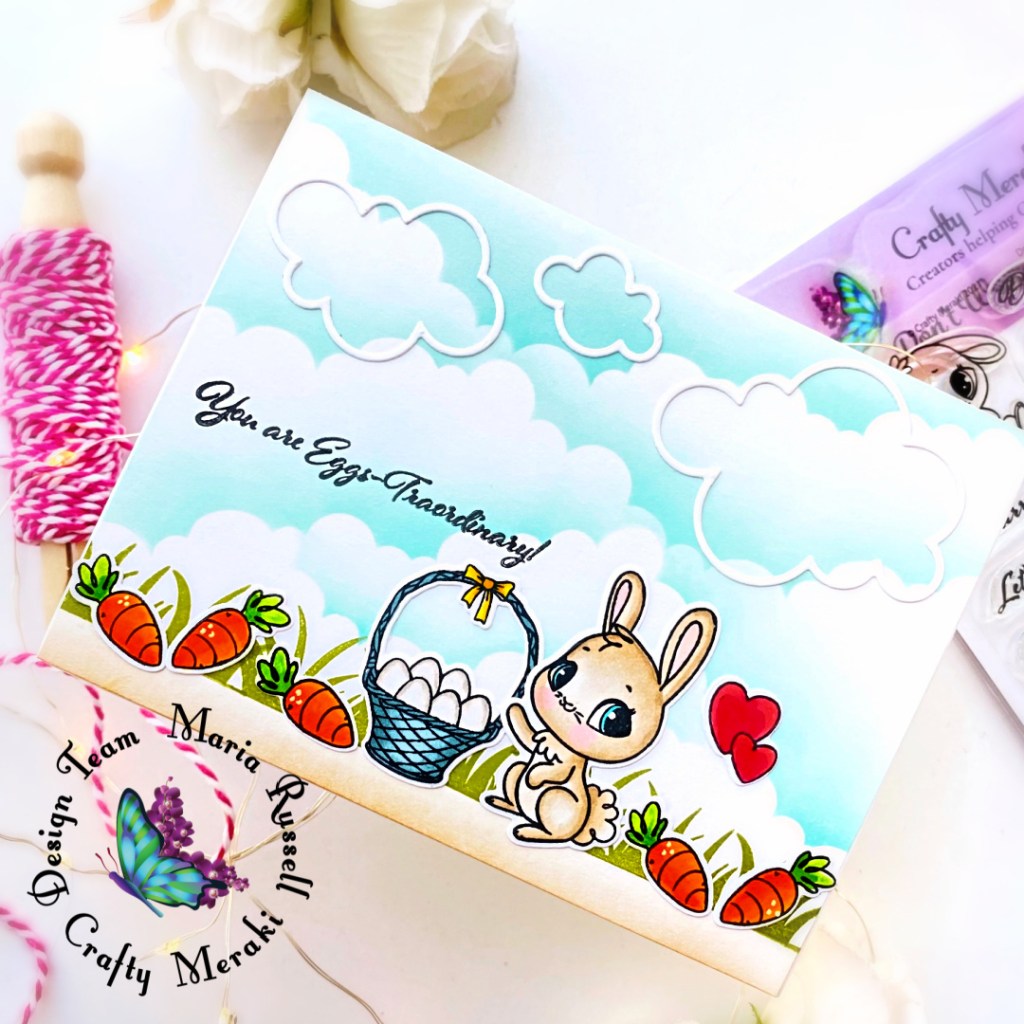
The colorful background was made by using the biggest die from the A2 Diagonal Stitched Layered Card Toppers Die set and the One Fine Day 6×6 Paper Pad that I adhered on an A2-size notecard.
I finished the card design by using some white gel pen for added texture. Here’s another look at the first card:
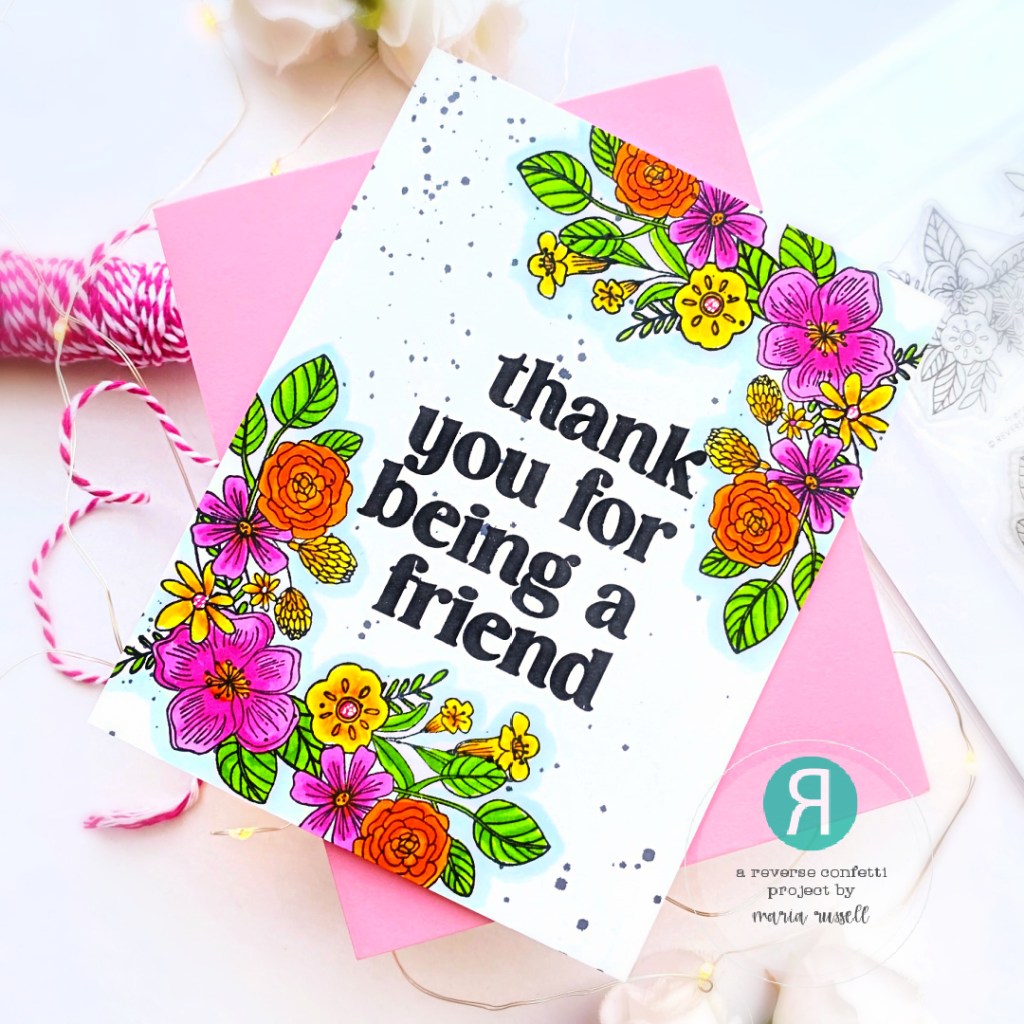
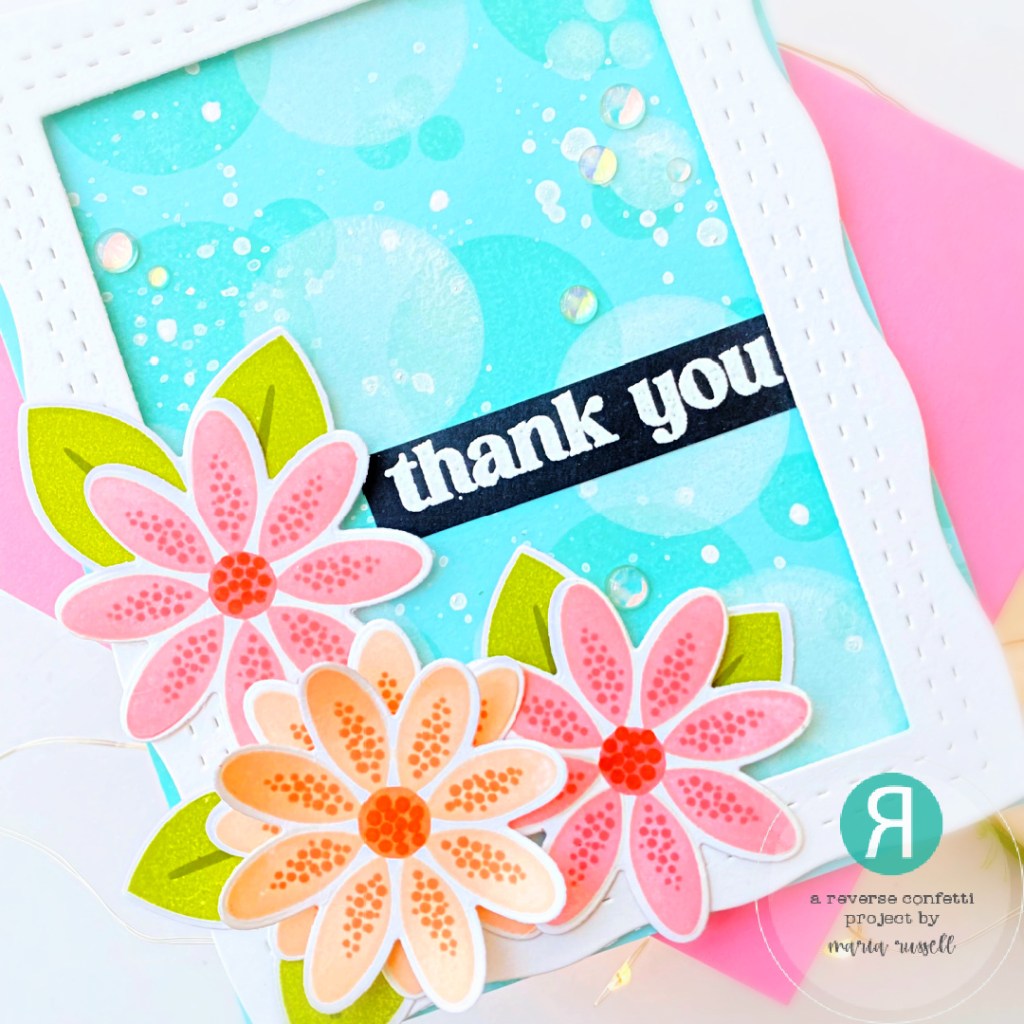
For my second card, I also used the Finest Blooms Pirouette Stamp Set and coordinating dies with a few of my favorite layering Hybrid Inks –> Pink Tutu, Lipstick Jungle, Key Lime Pie, Peachy Keen, In Your Face Orange, Little Boy Blue and Bali Blue.
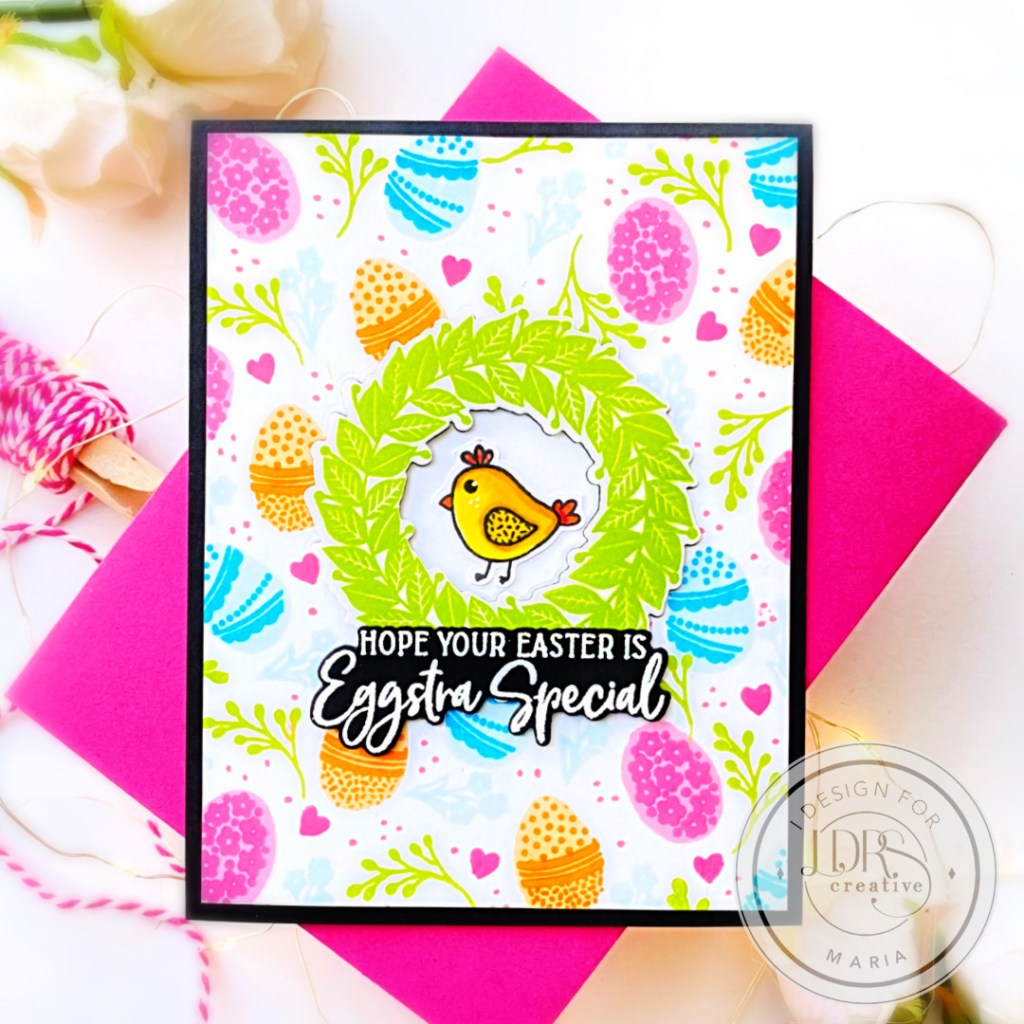
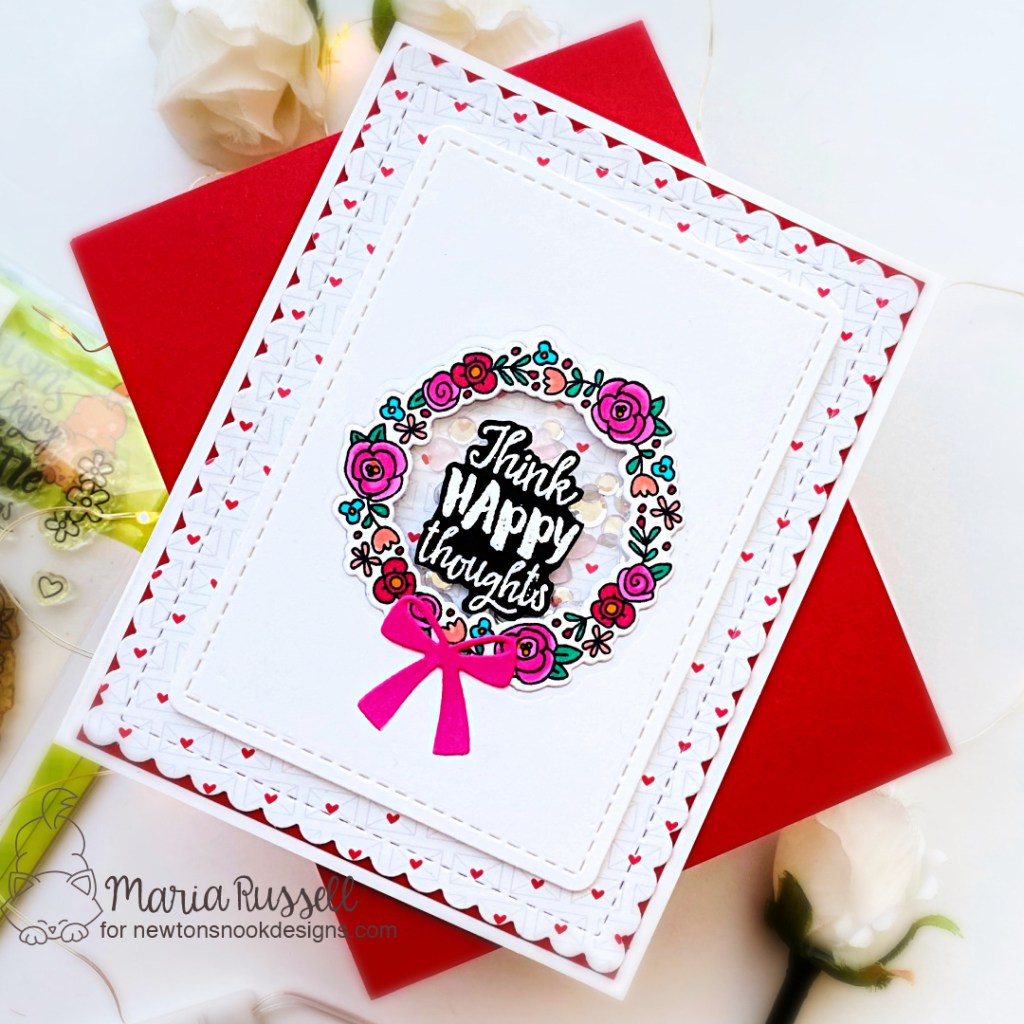
First, I prepared the background that I matted with some black card stock. I stamped the images randomly from the Finest Blooms Pirouette stamp set using the hybrid inks I mentioned above. I had so much fun mixing and matching the beautiful colors!
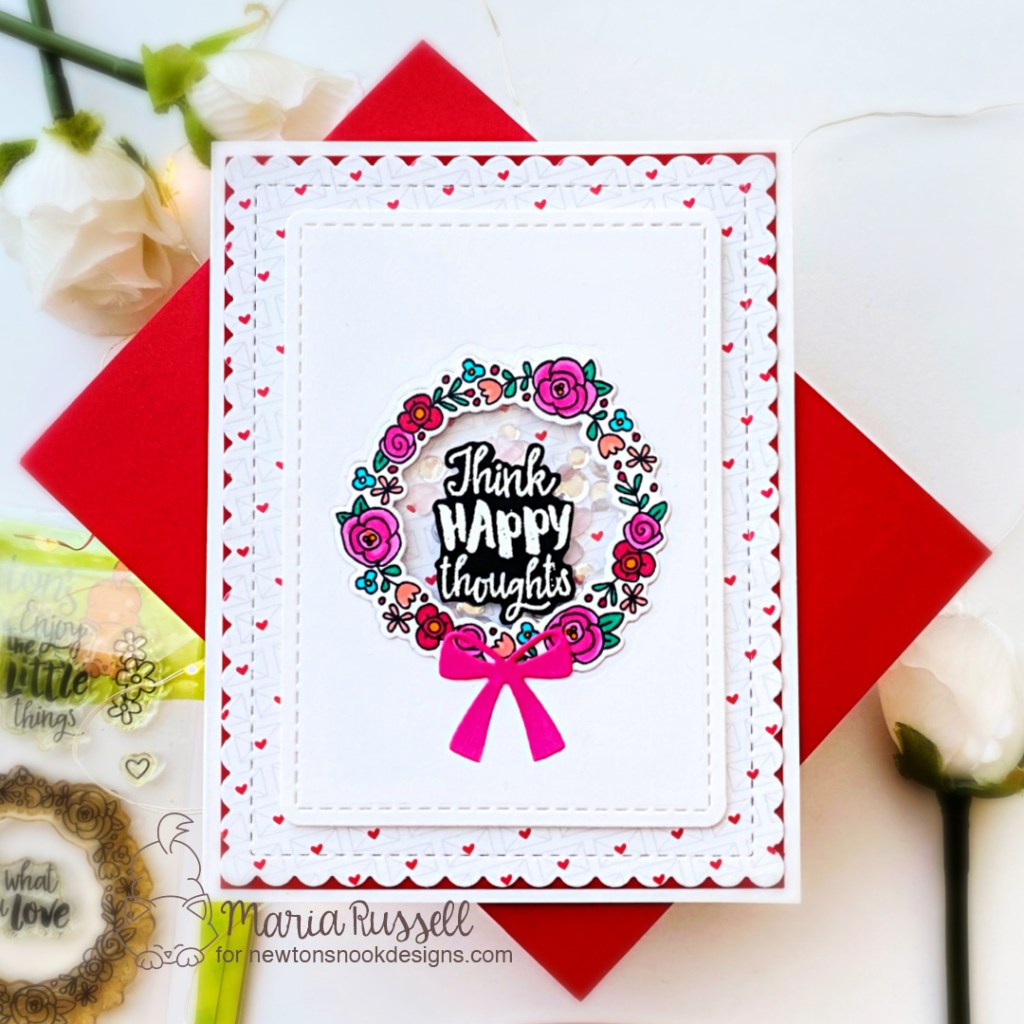
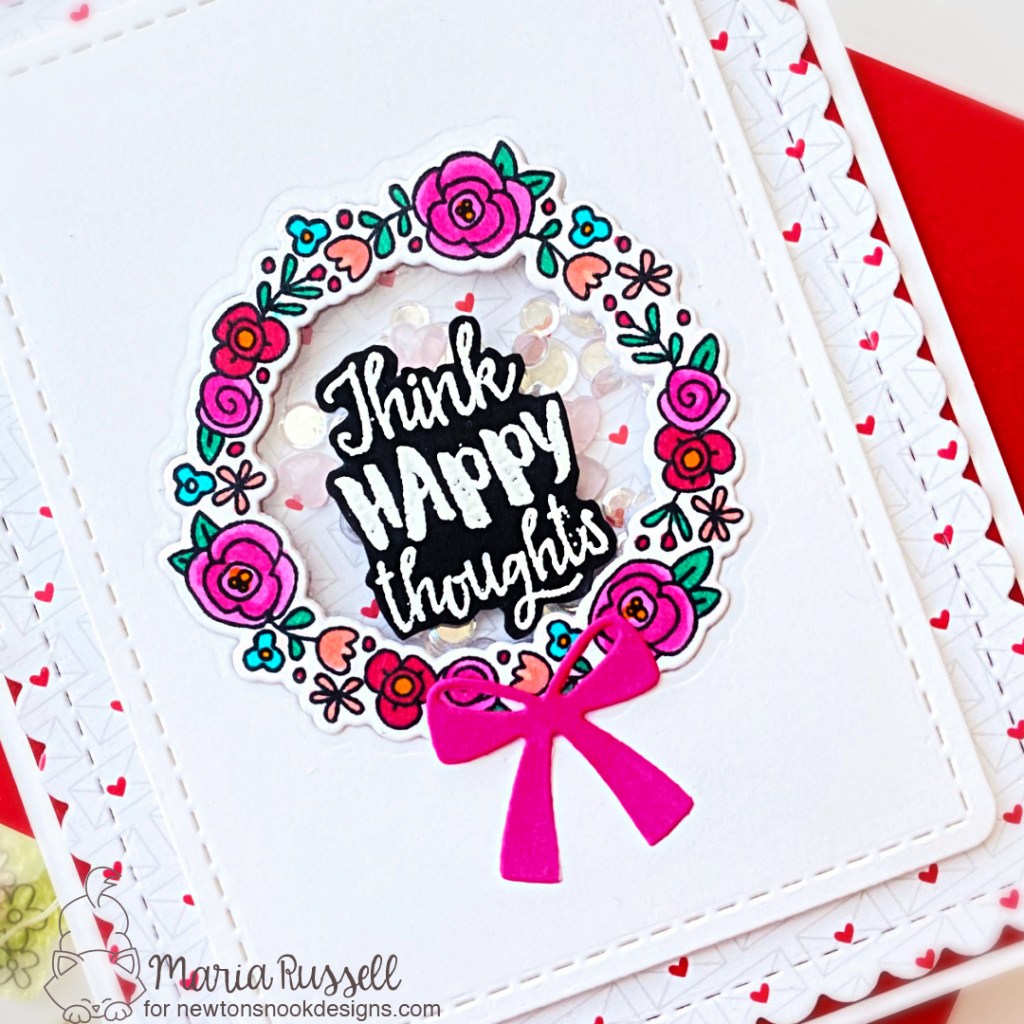
Next, I used the Finest Blooms Pirouette Coordinating Dies to die-cut the middle of the background panel. The idea behind that is to in-lay the wreath that I stamped using the Finest Blooms Stamp Set with the Key Lime Pie Hybrid Ink and die-cut using the coordinating die.
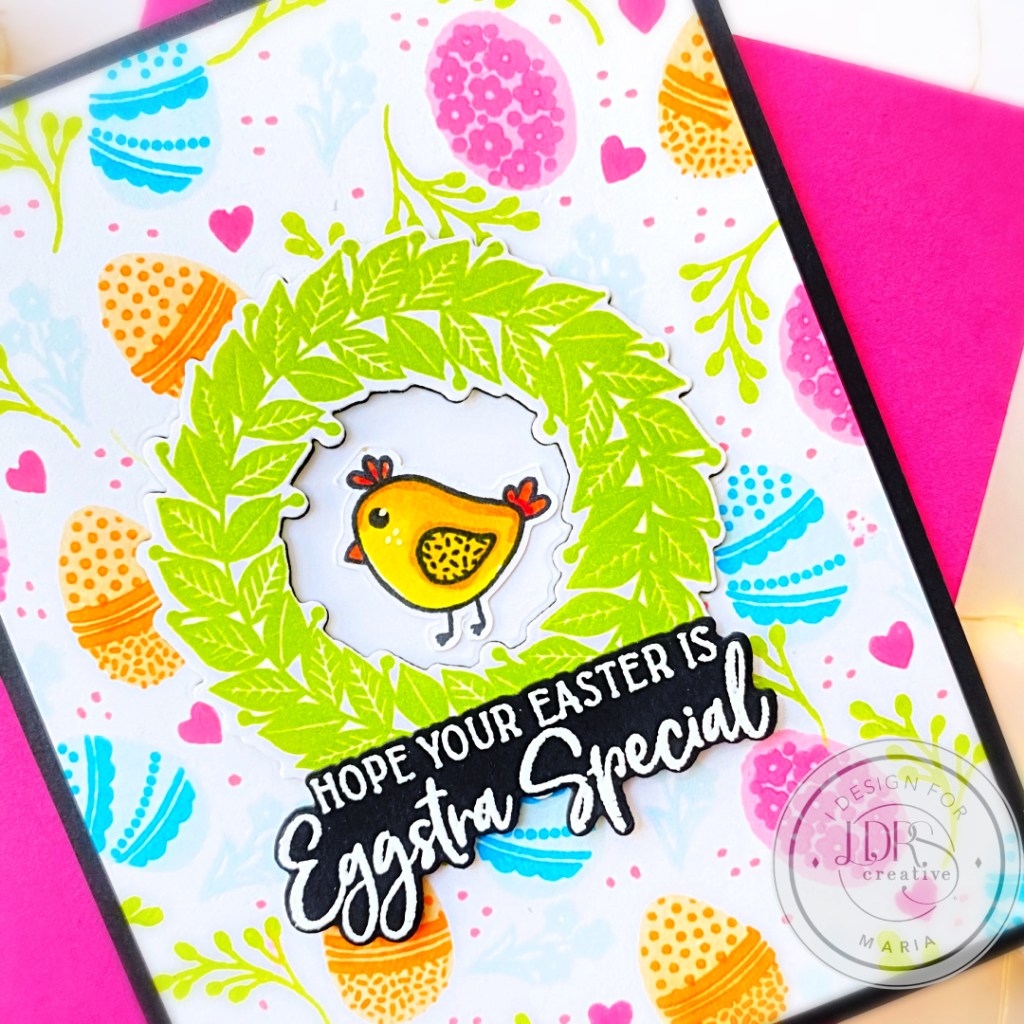
I in-laid the wreath with foam-adhesive for added dimension and adhered the center die-cut with liquid glue. I also adhered the cute little chick in the middle from the Easter Pirouette stamp set. I adhered the card front on some A2-size notecard.
To finish my design, I stamped the sentiment from the Easter Pirouette Stamp Set using Watermark Ink on some black card stock. I sprinkled some White Embossing Powder and used my heating tool to heat-set the sentiment. I love that the sentiment also has a coordinating die to cut it out perfectly! It really is worth the investment! I added some foam adhesive and liquid glue on the sentiment and adhered on the card panel. Here’s another look:
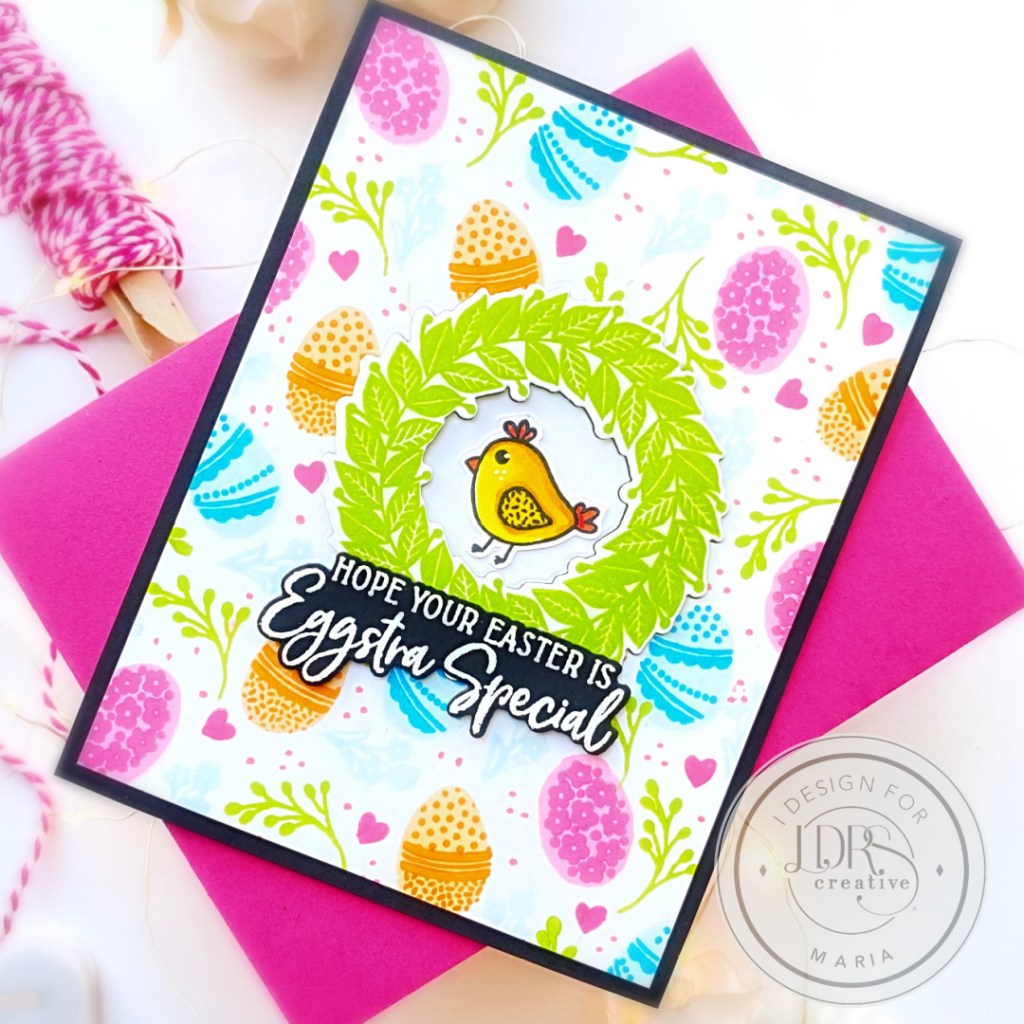
I hope you like my cards today and got inspired to shop the new LDRS Spring Release! The supplies I used are listed and linked below for your convenience. Thanks for stopping by today, and happy stamping!
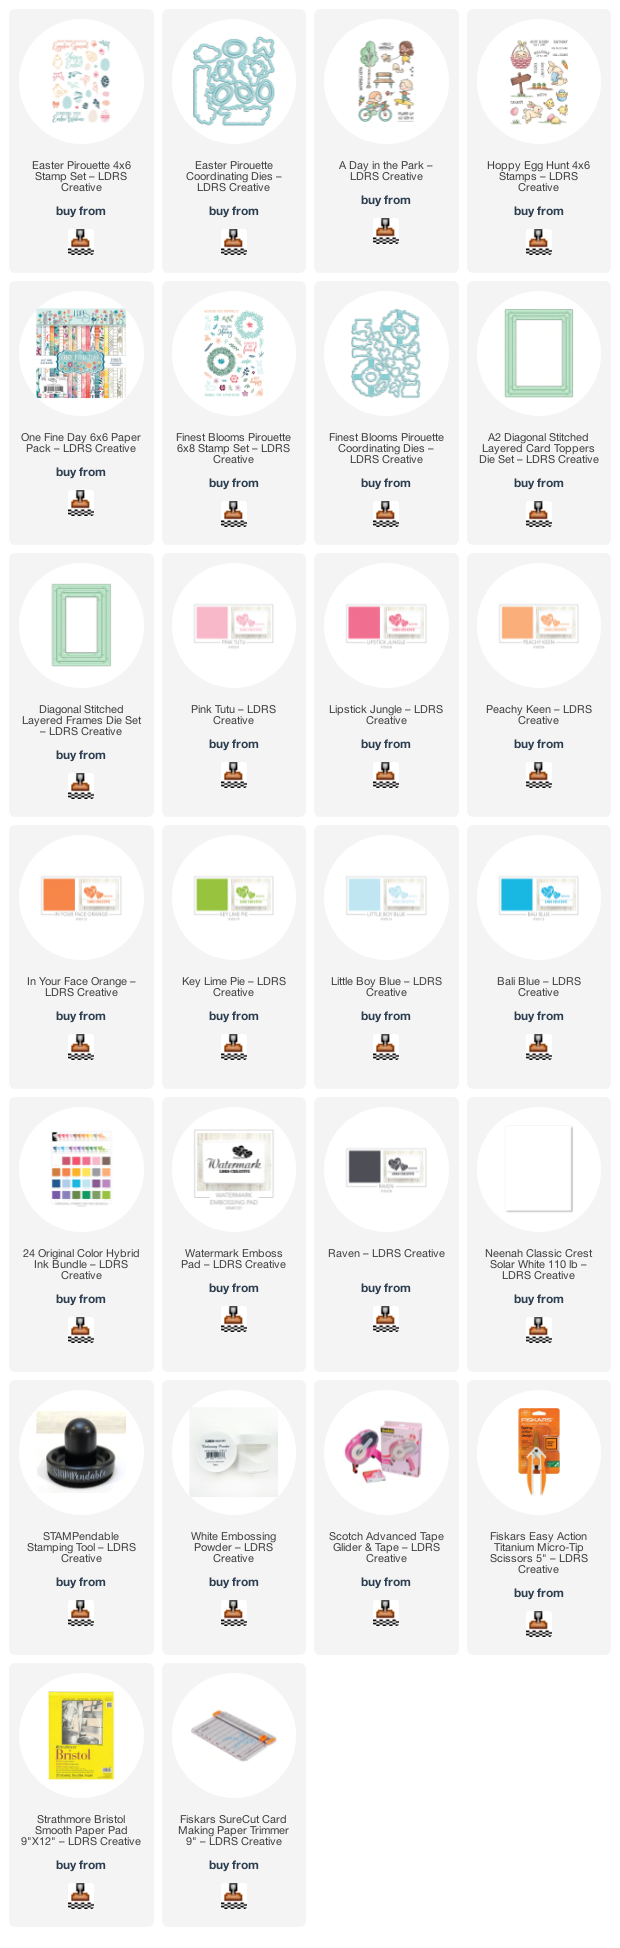
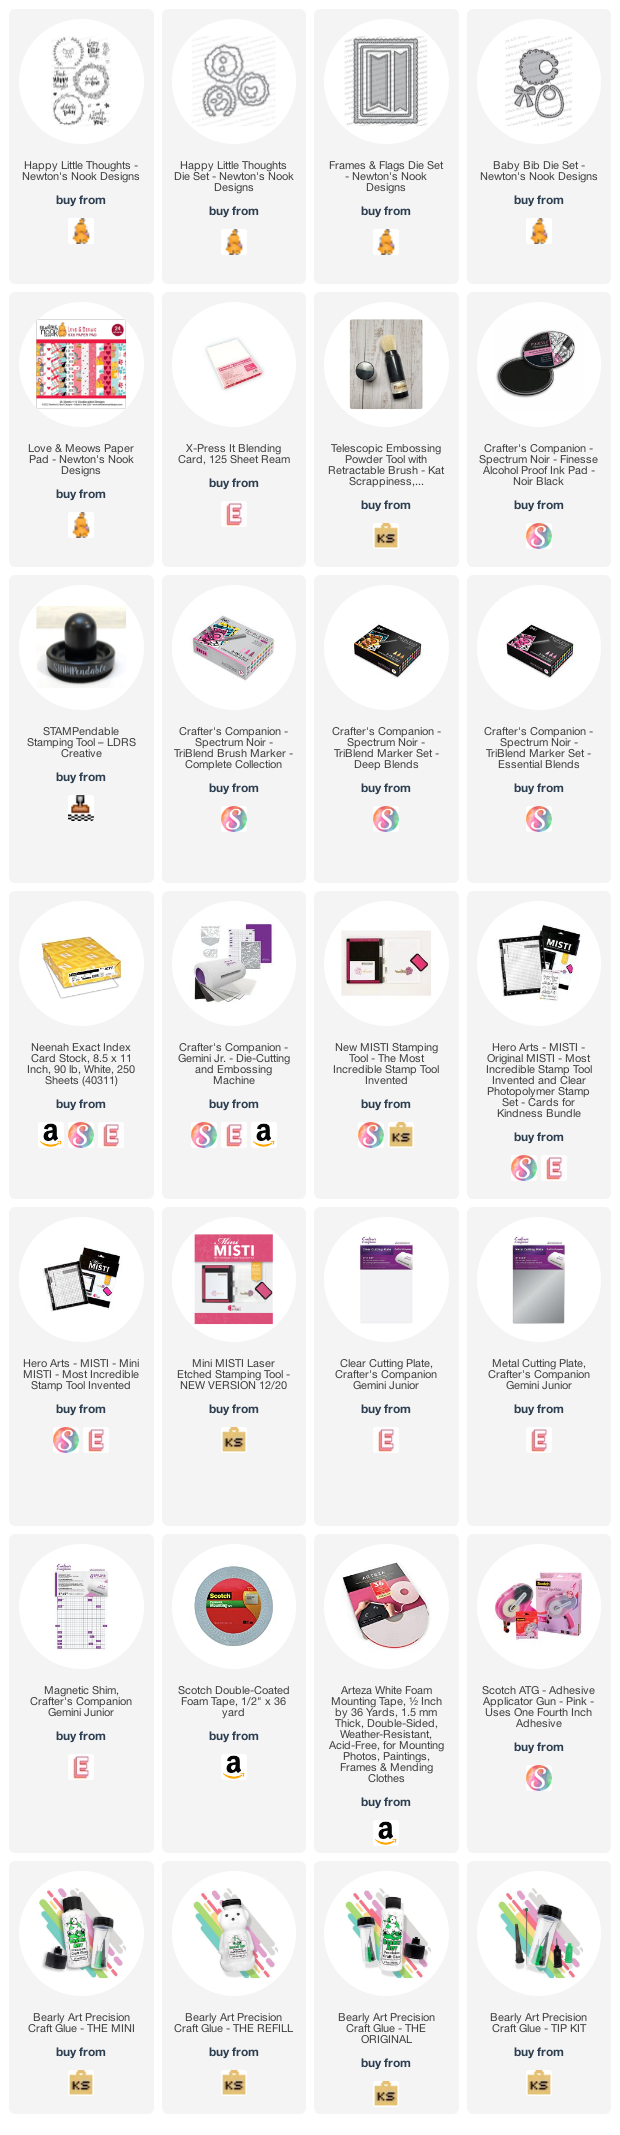
———-SUPPLIES———-