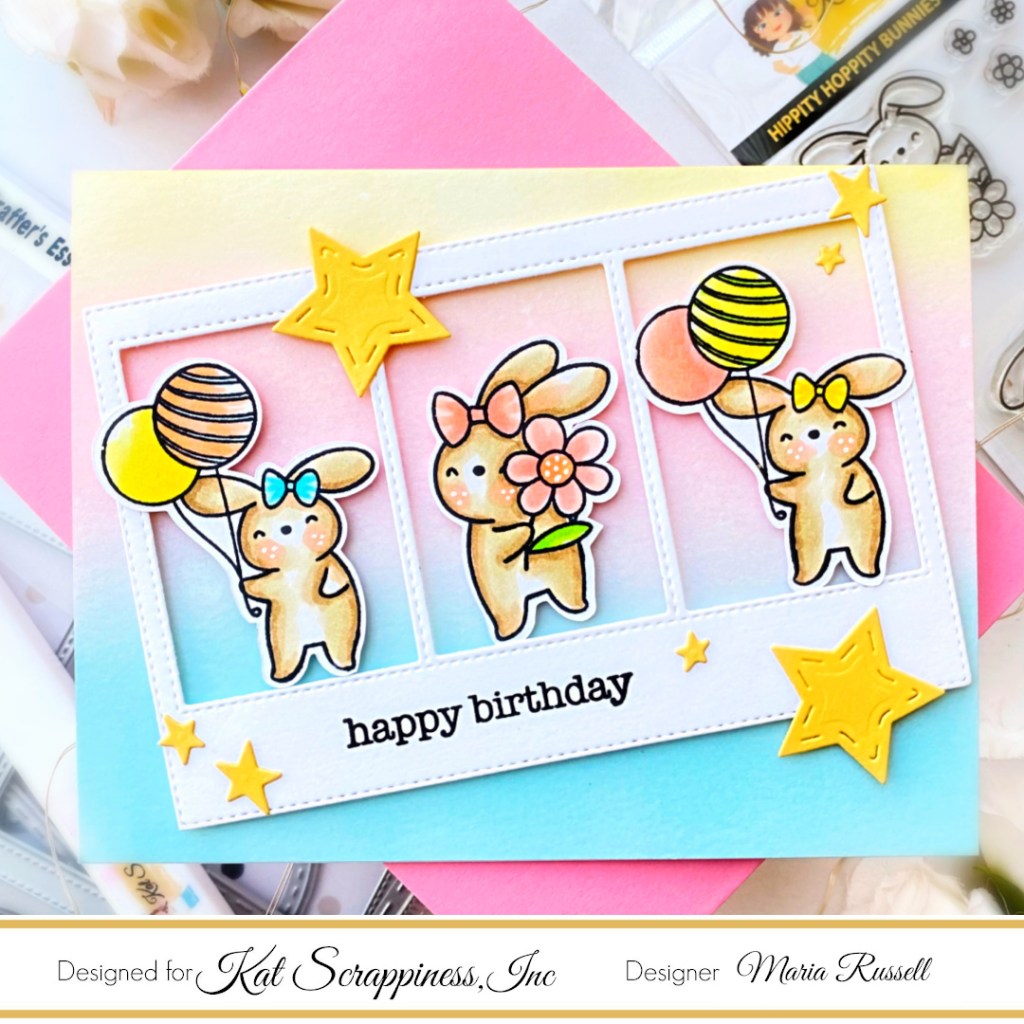
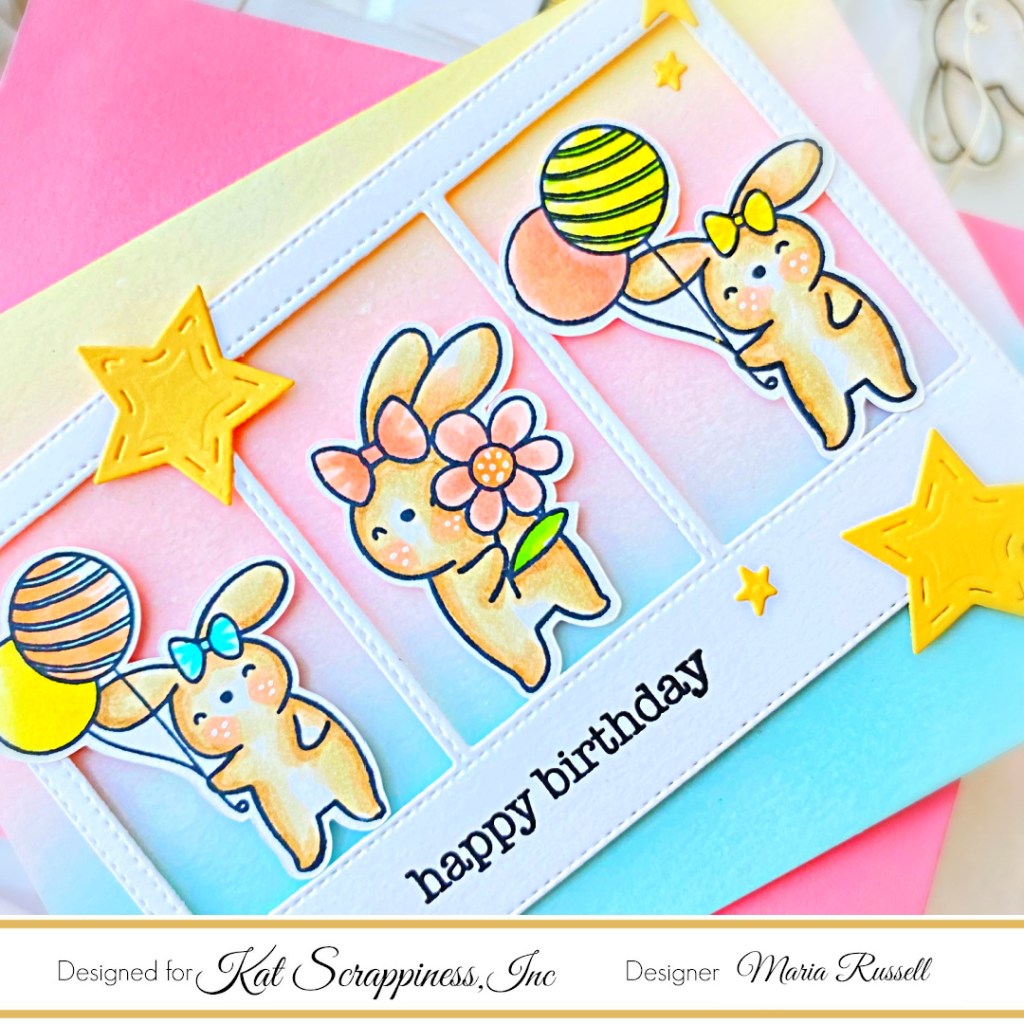
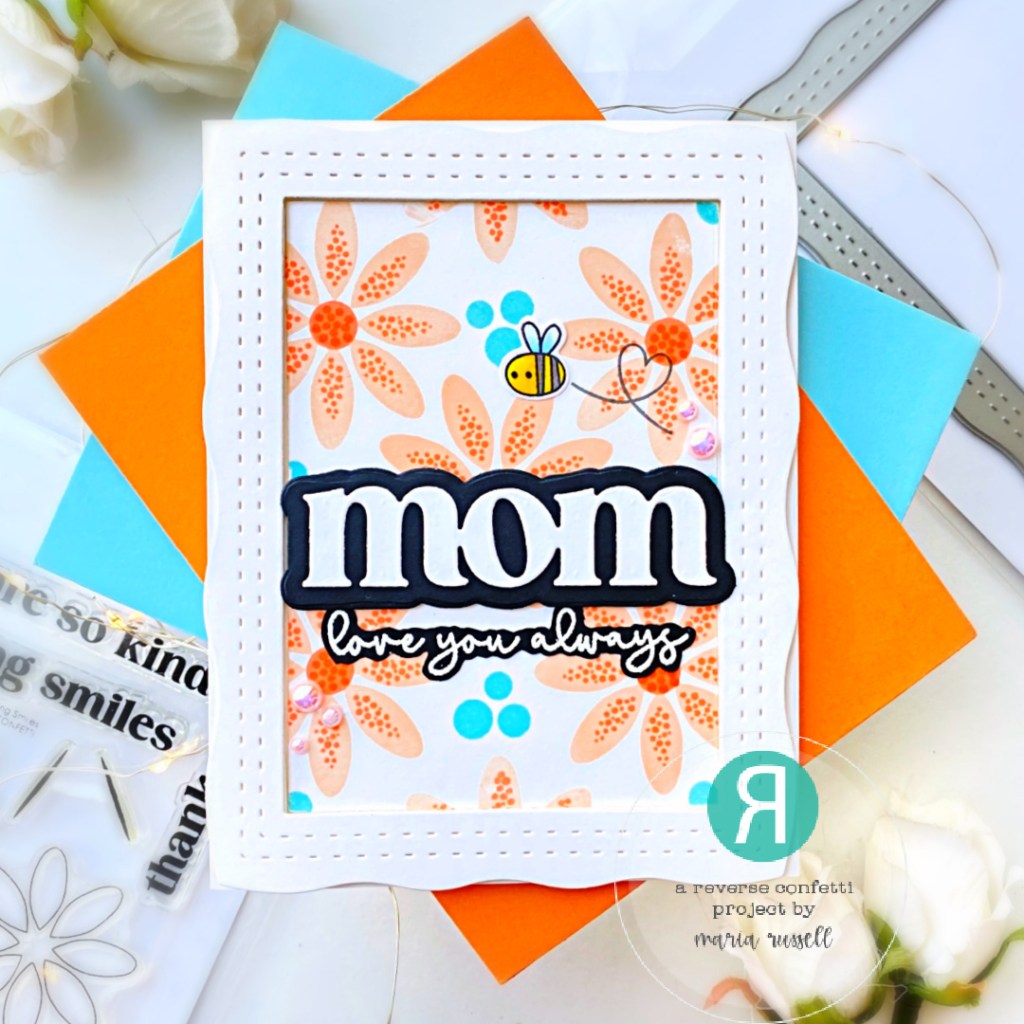
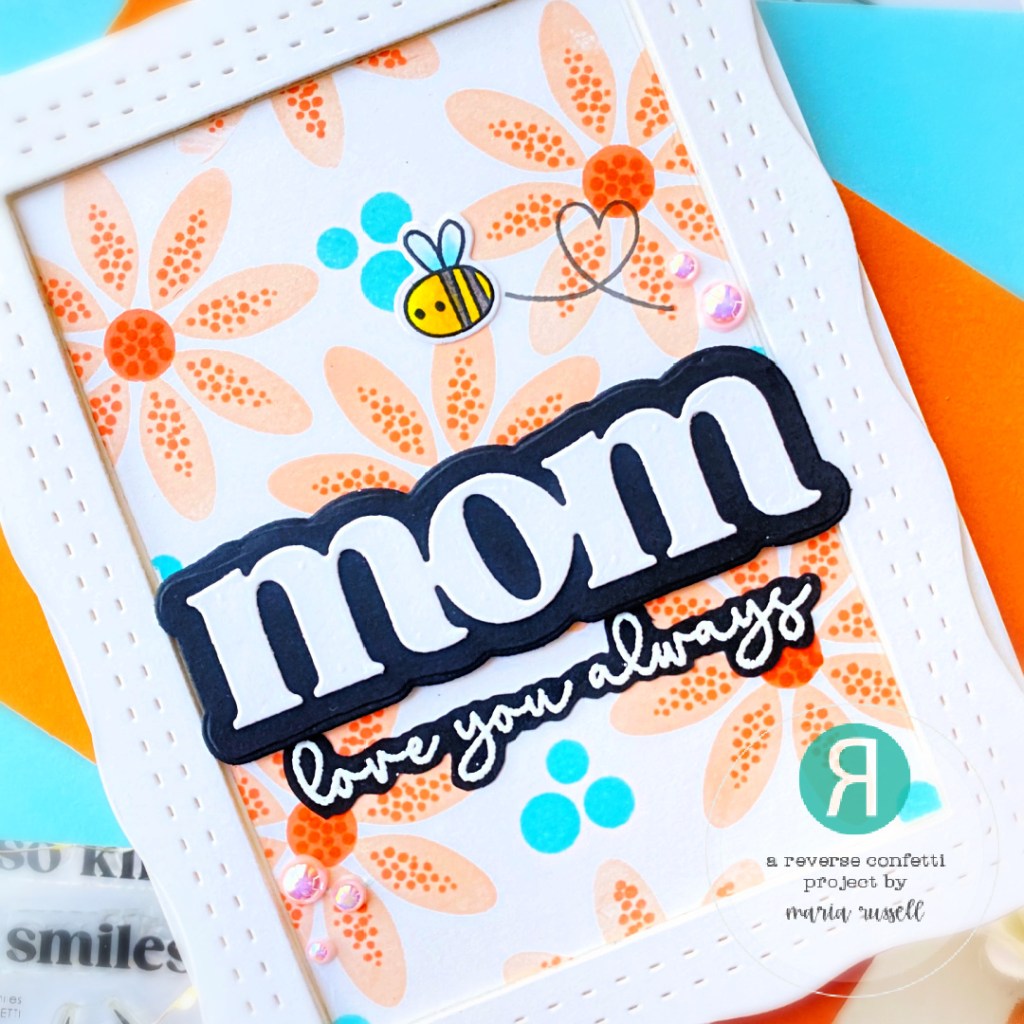
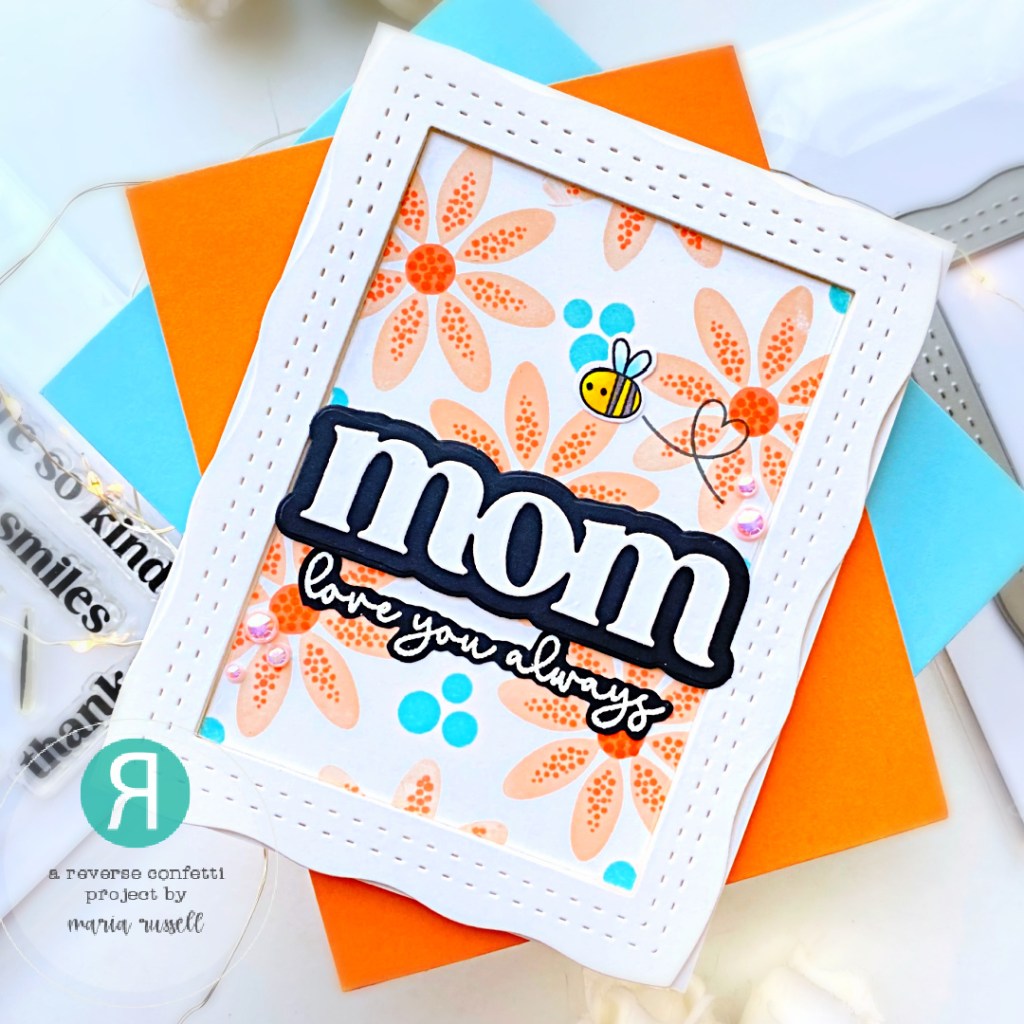
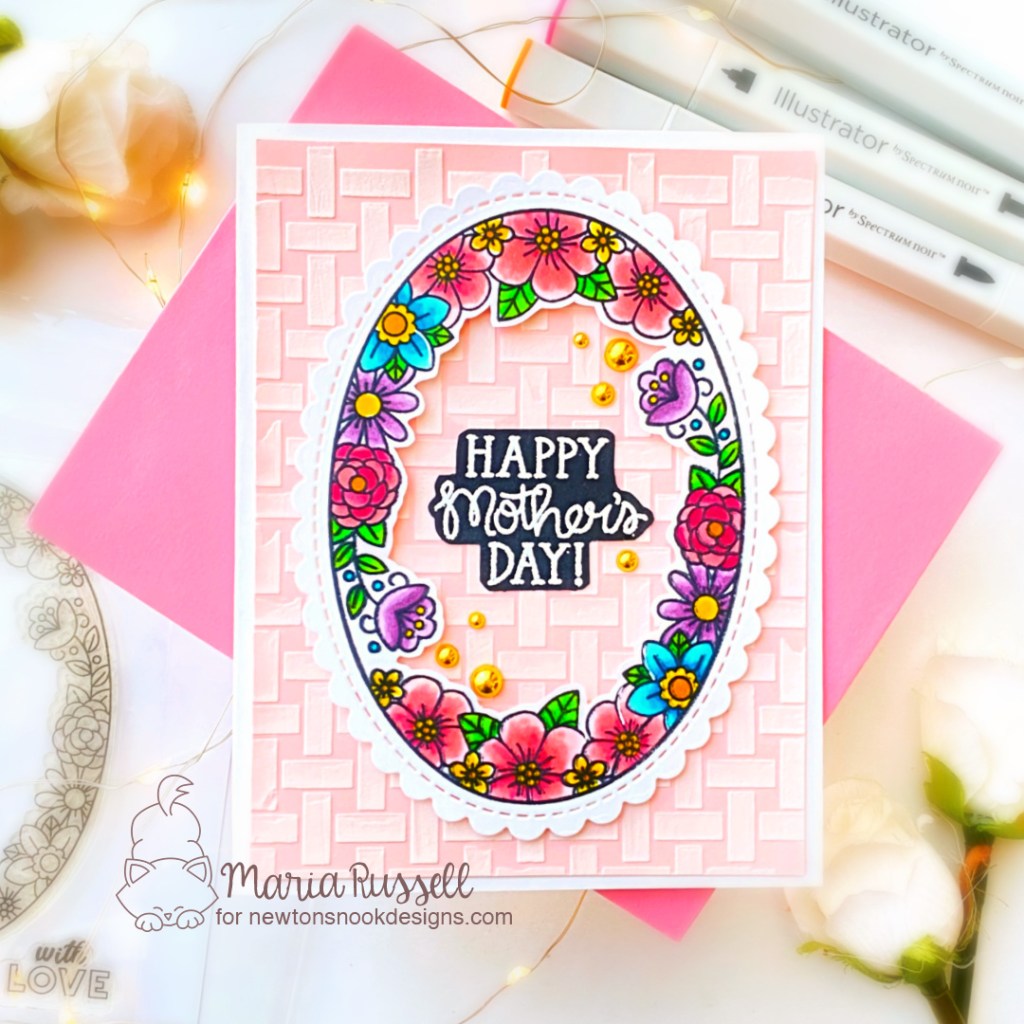
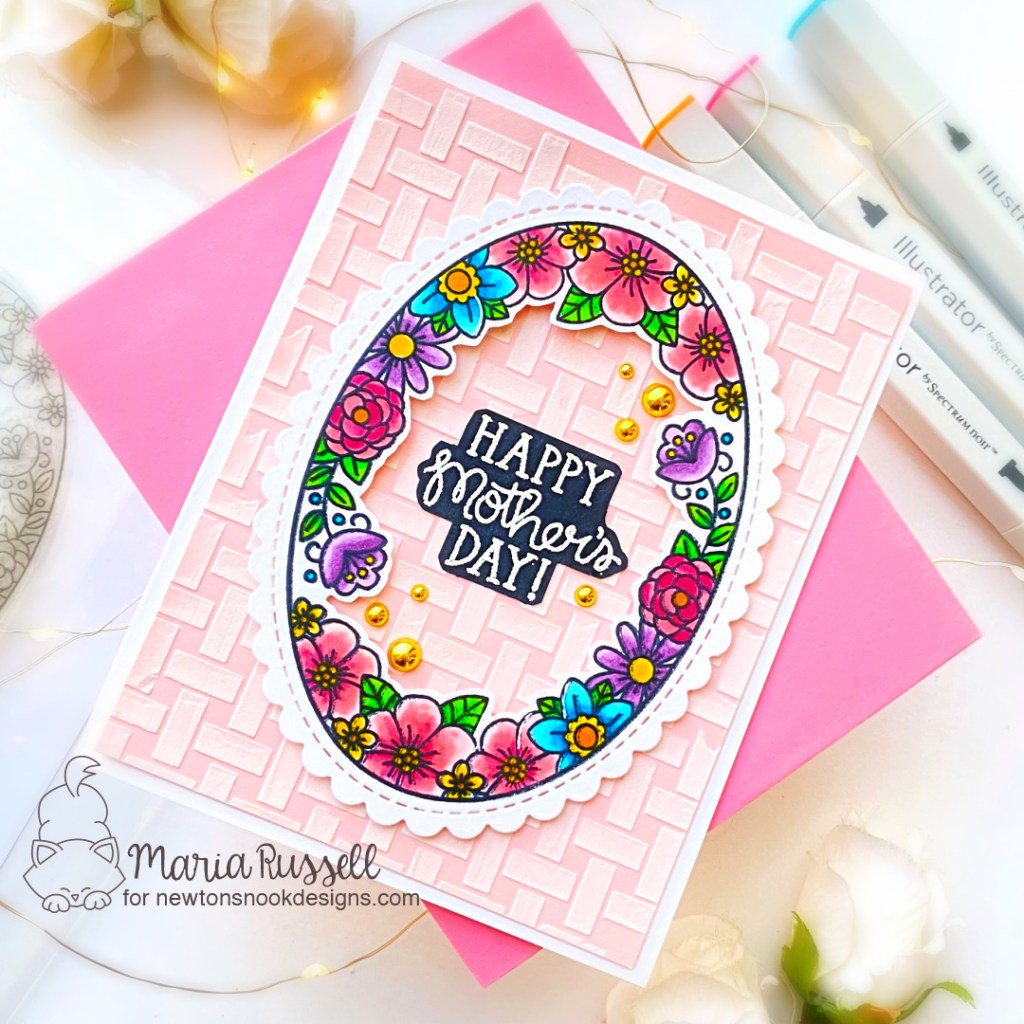
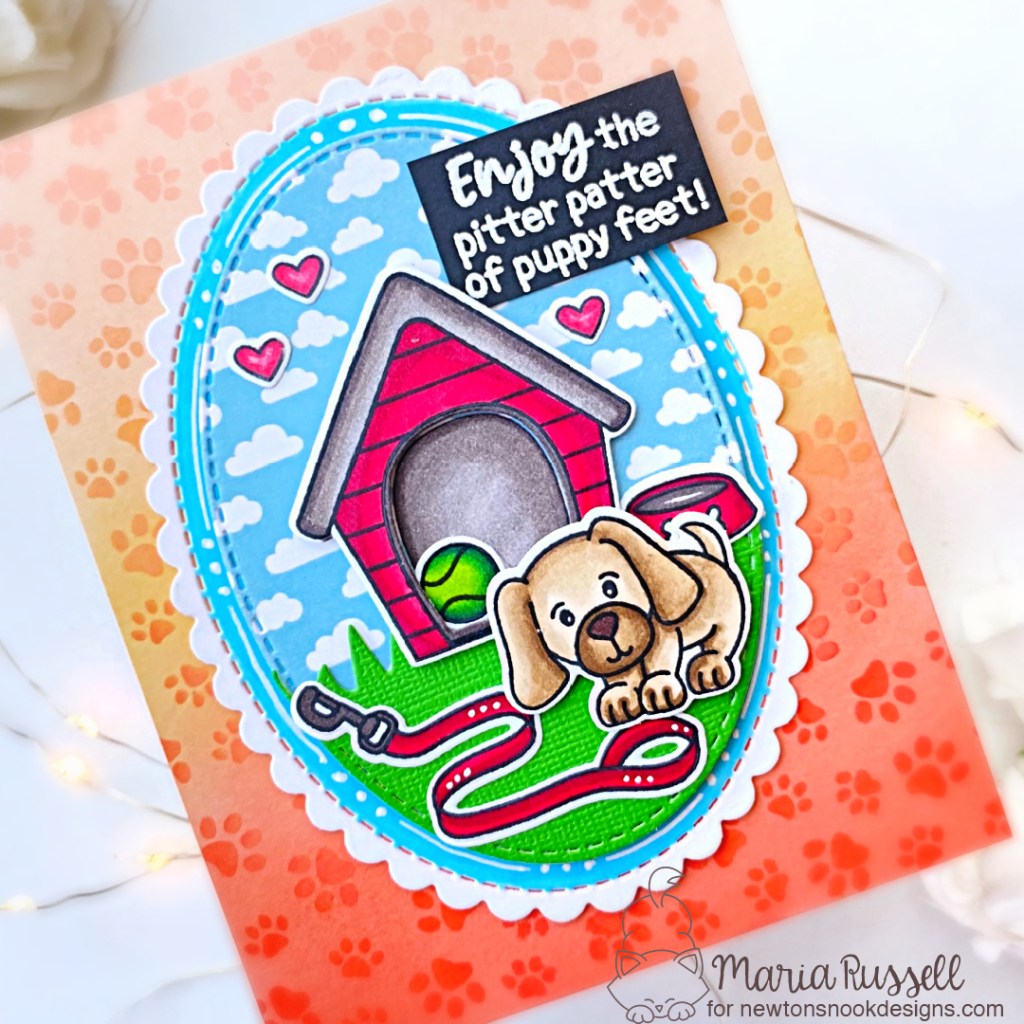
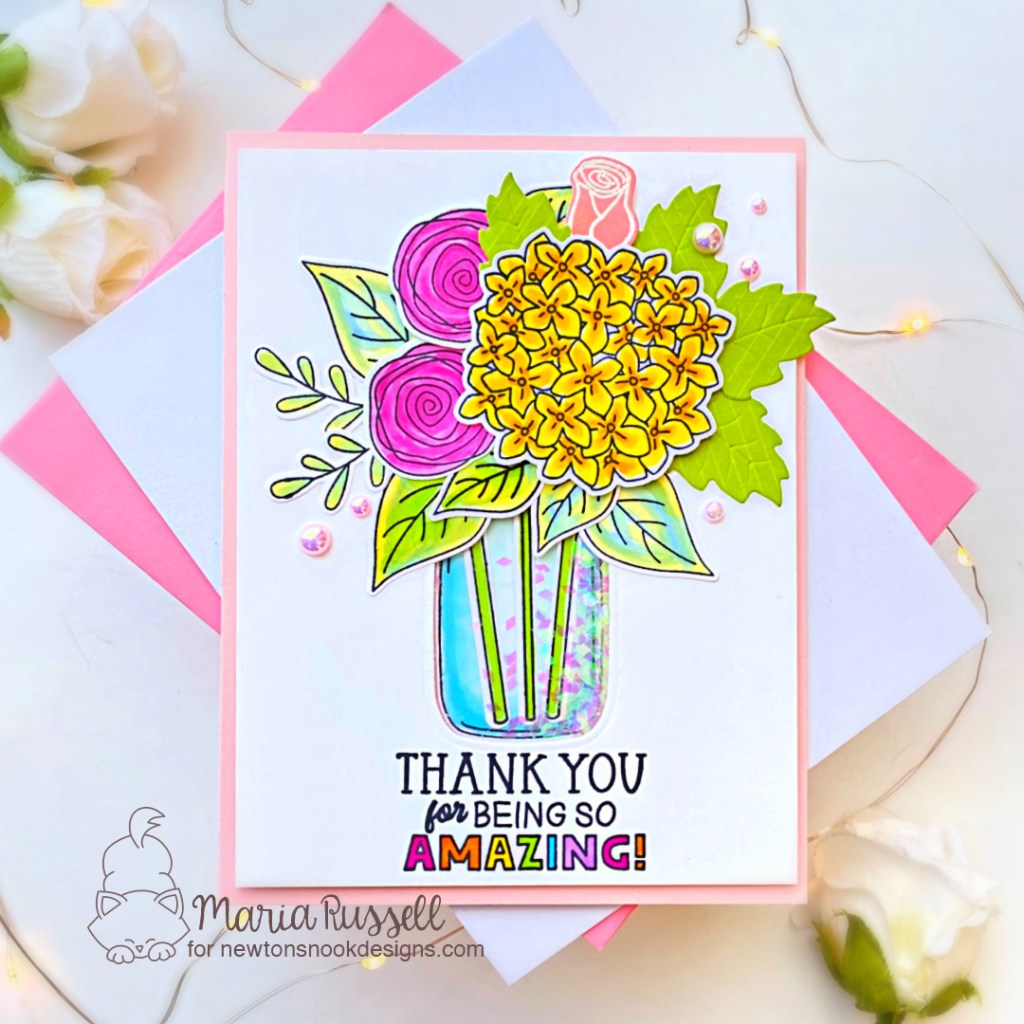
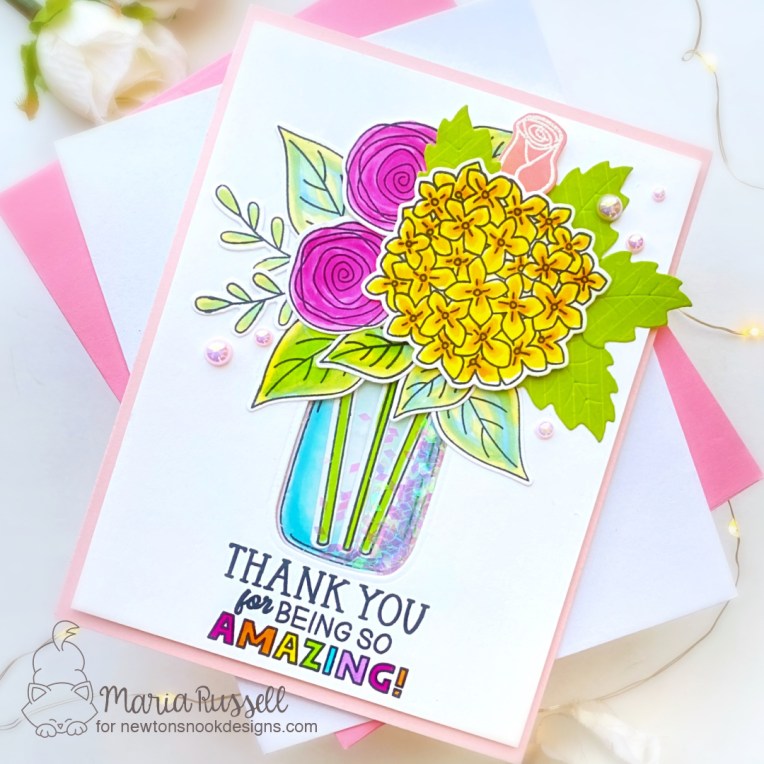
Happy Tuesday! I know I’ve been sharing a lot of Mother’s Day cards lately but my card today can also be made for a friend, or just-because! This card features the Lovely Blooms Stamp Set and coordinating dies, with the Best Mom Oval Stamp Set and the Flower Trio Die Set.
Here’s how I made this card:
- stamp the images from Lovely Blooms Stamp Set and color them in with alcohol markers.
- use the Lovely Blooms Coordinating Dies to cut them all out.
- prepare the background by cutting using the Lovely Blooms Die to die-cut the window.
- adhere acetate sheet on this panel and foam adhesive to create the shaker well.
- add some confetti as the shaker element and adhere this on a pink A2-size notecard to close the shaker.

- assemble the rest of the images on the focal panel with liquid and foam adhesive.
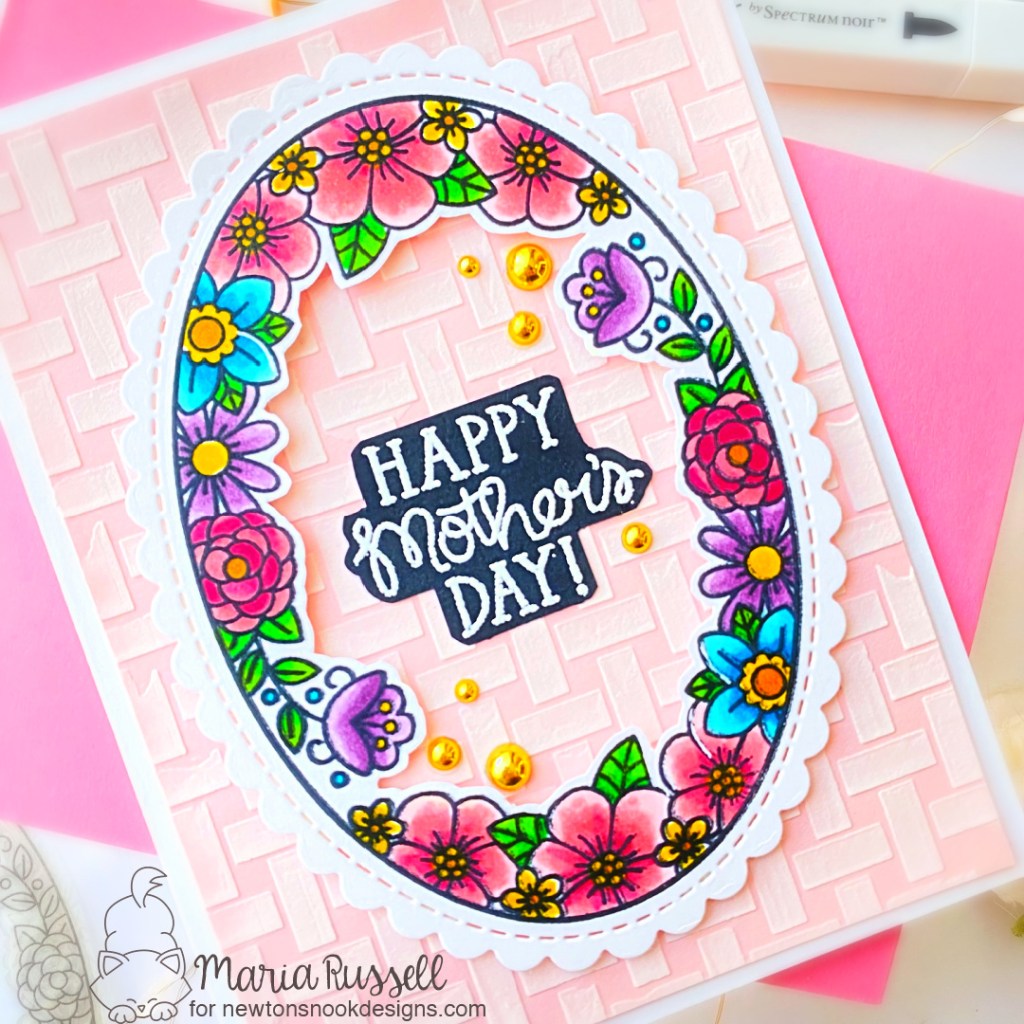
- die-cut a few more leaves using the Flower Trio Die Set and adhere them on the card.
- stamp the sentiment from the Best Mom Oval Stamp Set and color the letters with alcohol markers.
- finish the card design by adding some pink gem stones for added interest.
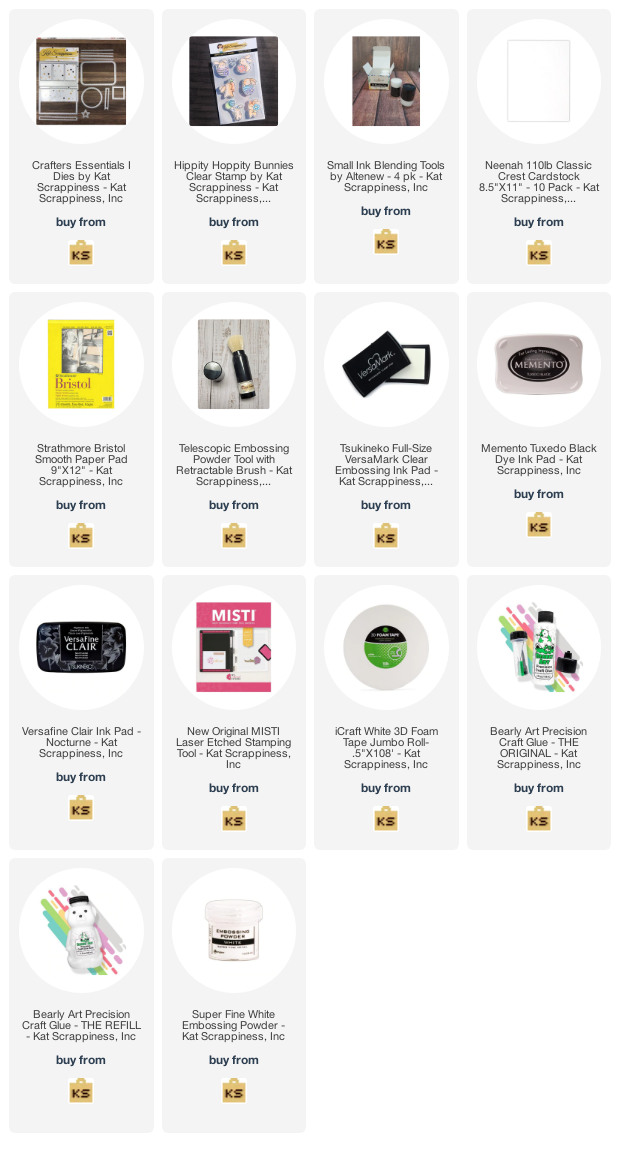
I hope you like this Mother’s Day card as much as I do! The supplies I used are listed and linked below. Thanks for stopping by!
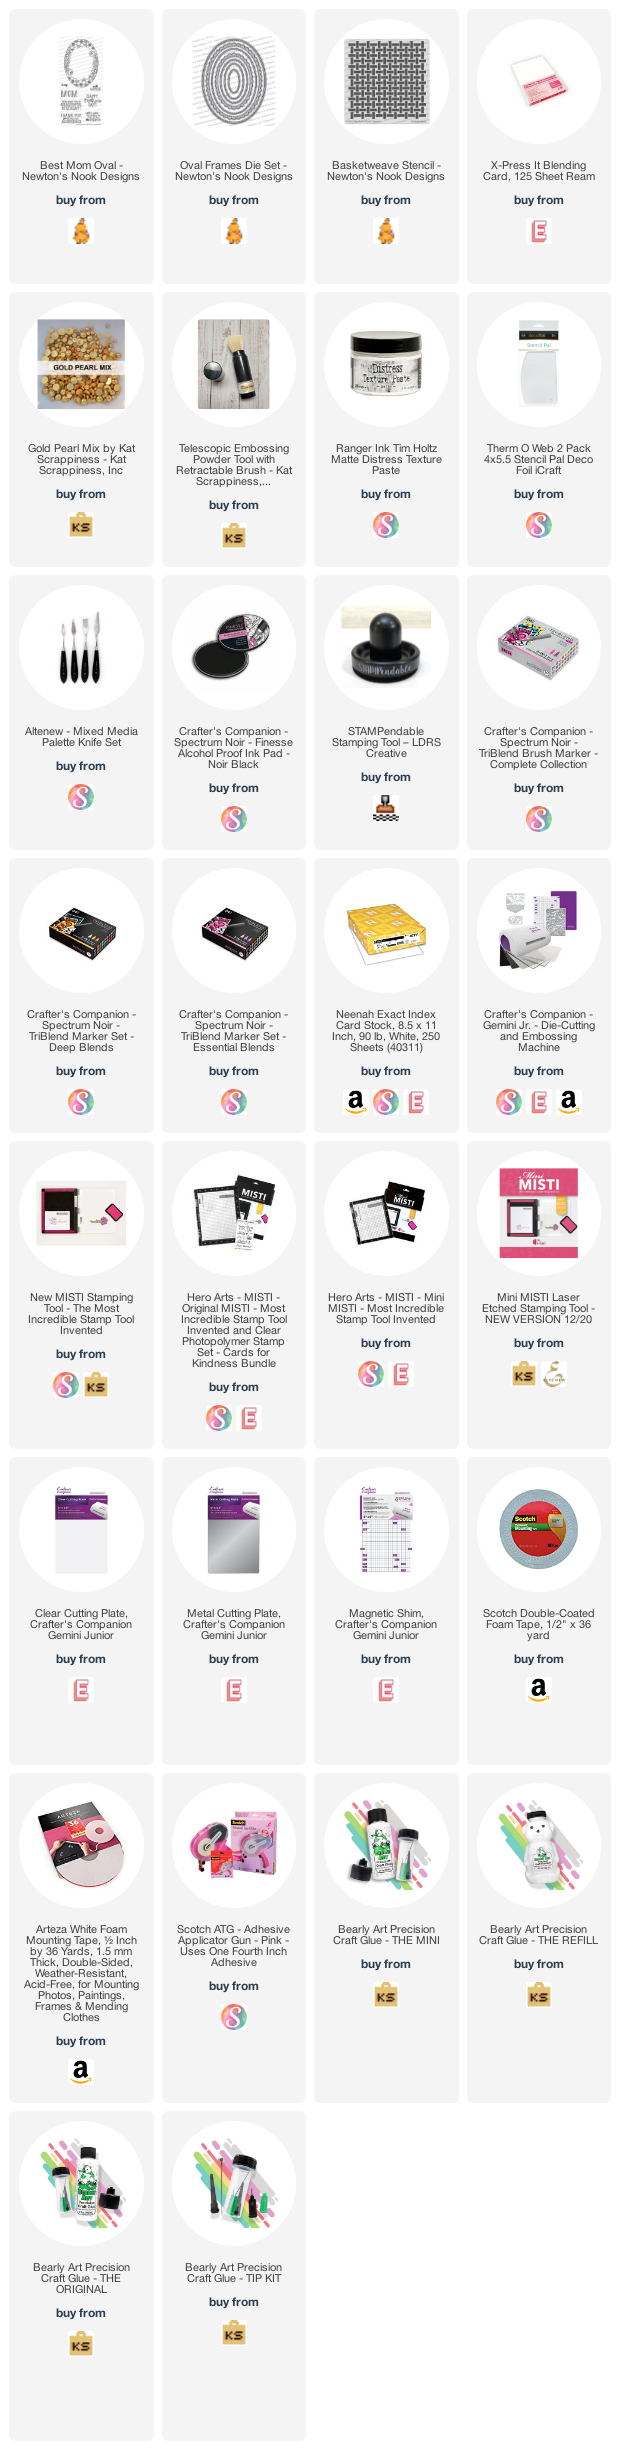
———SUPPLIES———-