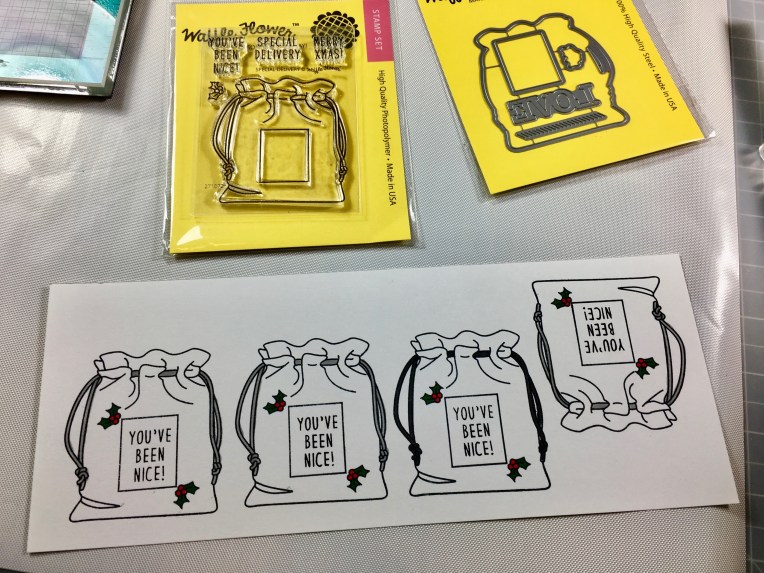
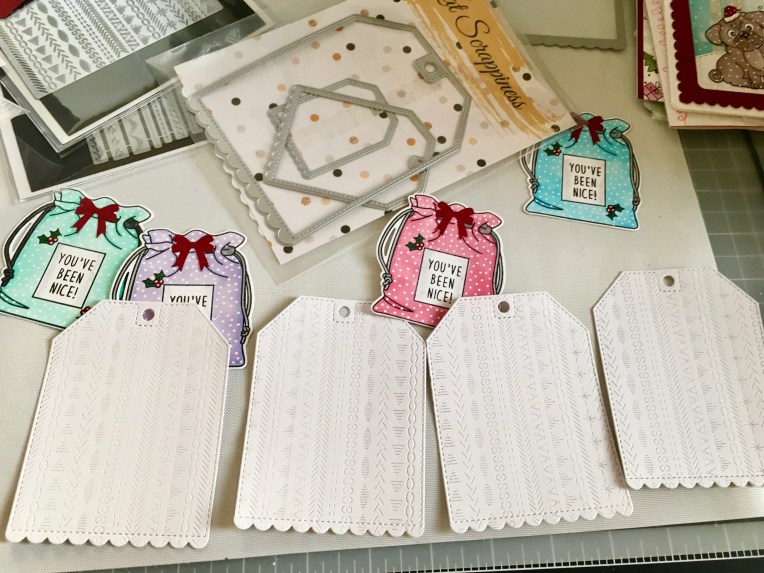
Using my new favorite Sharpie White Paint Pen, I added some white polka dots on the images then die-cut them using the coordinating die. I also die-cut the tags using the Stitched Scalloped Nesting Tag dies on white card stock. I used an embossing die from my stash to add some details on my tag.
I also made some stocking-stuffers today showcasing the Chocolate Lover’s sentiment stamp set available only at Kat Scrappiness. These giant candy bars look so cute!
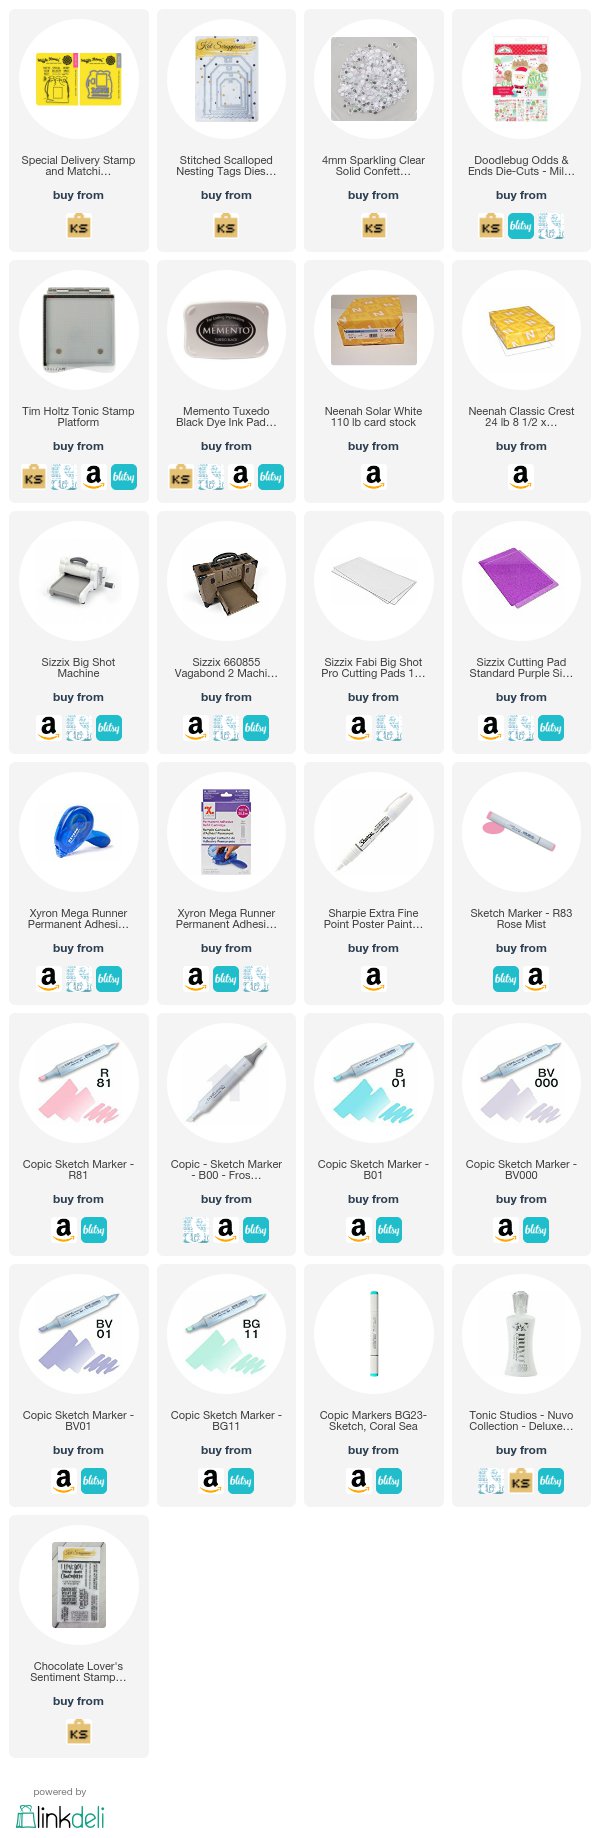
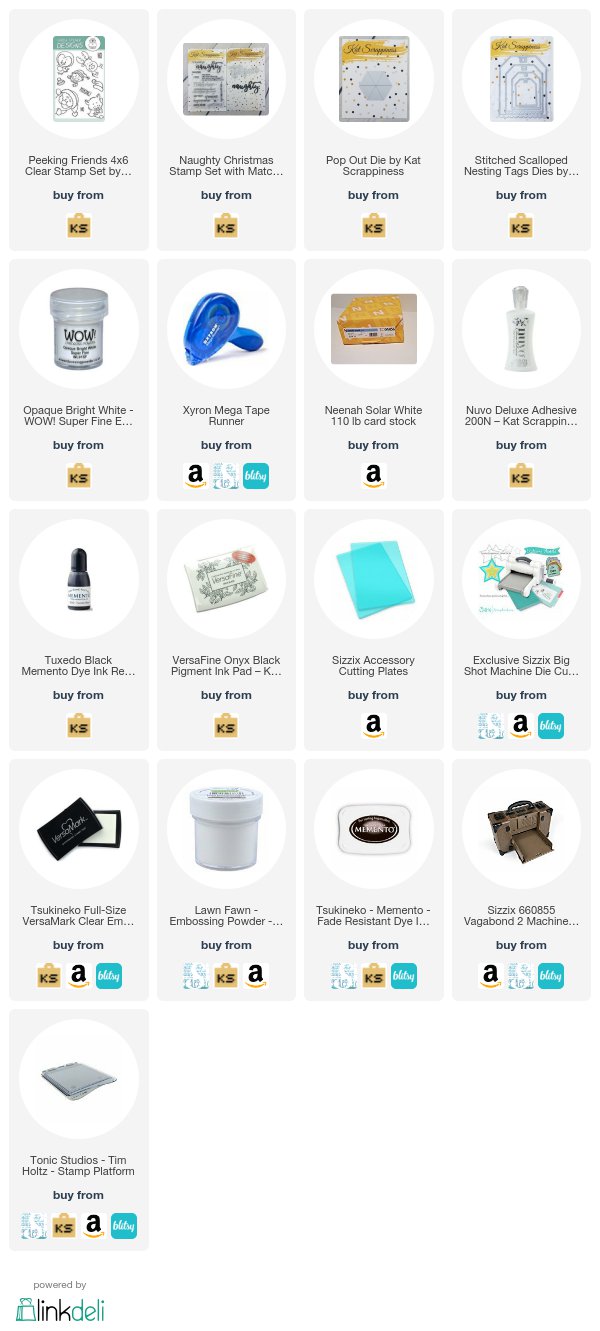
I hope you like these last-minute ideas to create your own Christmas tags. The supplies I used are listed and linked below. Have a very, Merry Christmas!
Hello my crafty friends! I hope you are having a great day! I am super excited because today is our 5th Annual Deck the Halls with Inky Paws blog hop here at Newton’s Nook. We have some very talented guests with us today so please hop along and check out their amazing projects. You also have a chance to win a $20 store credit at Newton’s Nook so check out the details I have indicated at the end of this blog post. [Just a little important note: I know some of you had difficulties finding the comments section. If you would like to leave a comment to participate in the giveaway, the “comments section” will only be ever visible when a single post on Word Press is being viewed. Please click on this particular blog post and you will be able to leave a commentbelow. Thank you for understanding and I apologize for the confusion.]
Deck the Halls with Inky Paws Special! Newton’s Nook Designs is also releasing a NEW Exclusive Peppermint Die Set today! This fun new die set will only be available at Newton’s Nook Designs shop and you can get it for FREE this week with a $50 purchase! Offer is valid until Friday, December 15th, or while supplies last. This new die set is also available for purchase for $8.99.
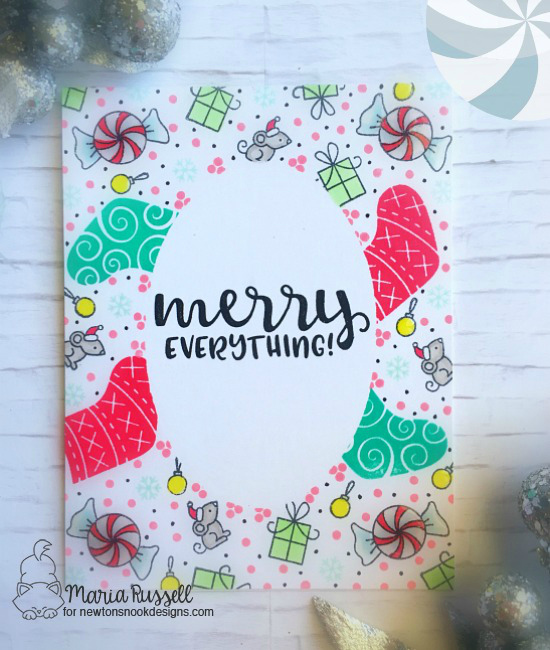
For my projects, I chose a very simple (one-layer) fun-stamped background. For the first card, I am showcasing Sentiments of the Season, Stylish Stockings, Special Delivery, Festive Flamingos, Santa Paws Newton and Newton’s Candy Cane stamp set. I wanted to show off these sets by combining them all to add a fun background and create a focal point in the middle of the card. I don’t normally make one-layer cards but I had so much fun creating these.
I used an oval mask using my masking paper by Inkadinkado and applied it onto the center of my card stock. I then stamped my images on Neenah solar white with my memento tuxedo black ink and colored them in with my Copic markers.
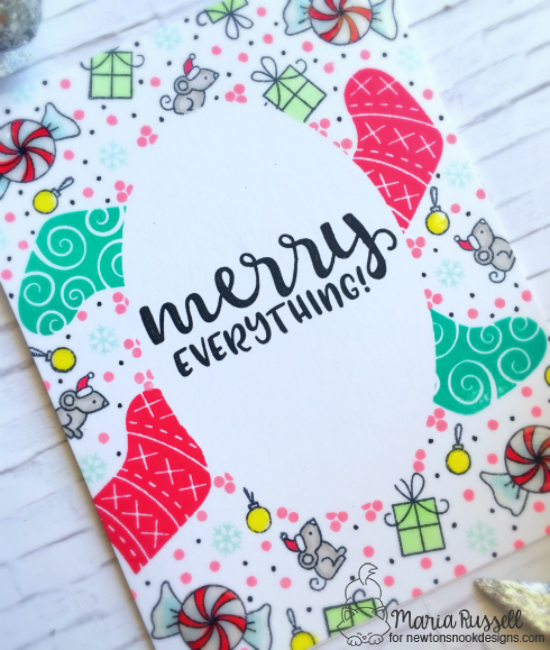
To finish my design, I added some pink dots with my Worn Lipstick distress oxide and blending pen and also used my Copic multi-liner 0.5 black pen to add the black dots to fill up the space. I also added some glossy accents to the peppermint candies and the Christmas ornament to make them pop. Here’s the first card:
Close-up of Card 1:
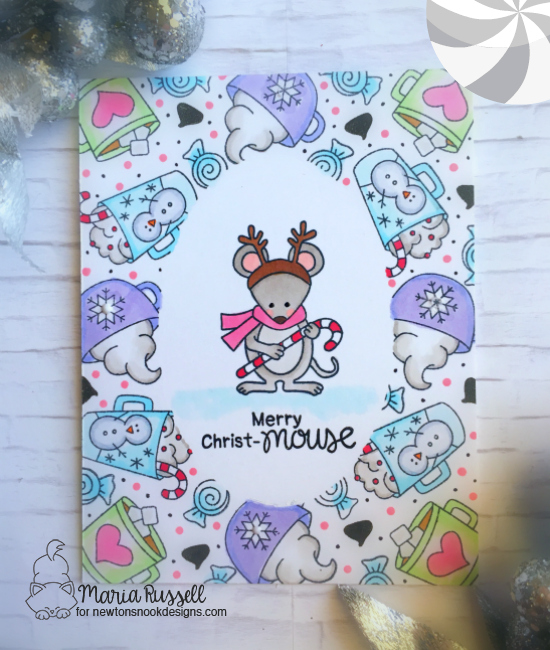
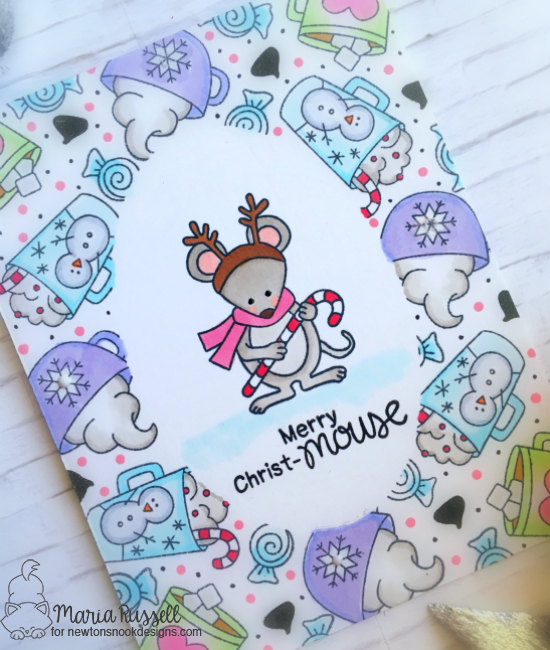
For the second card, I am showcasing the Naughty or Mice, Cup of Cocoa and Newton’s Candy Cane stamp sets. Here’s the card:
Close-up of the second card:
Enter to Win! Deck the Halls with Inky Paws Hop Prizes!
We will be choosing two lucky winners to win a $20 store credit for Newton’s Nook Designs online shop! To enter, just leave comments on the Design Team Member and Special Guest blogs (see list below)! Two winners will be chosen at random from the collective blogs in the blog hop. Make sure to check out each of their blogs and comment for your chance to win. You will not know which blog has been chosen so the more you comment on the better your chances are of winning! You have until Sunday, December 10th at 9 pm EST to comment — winners will be announced on the NND blog on Monday, December 11th.
I hope you like my cards and got inspired today! Here’s the Blog hop list below. Have a wonderful day!
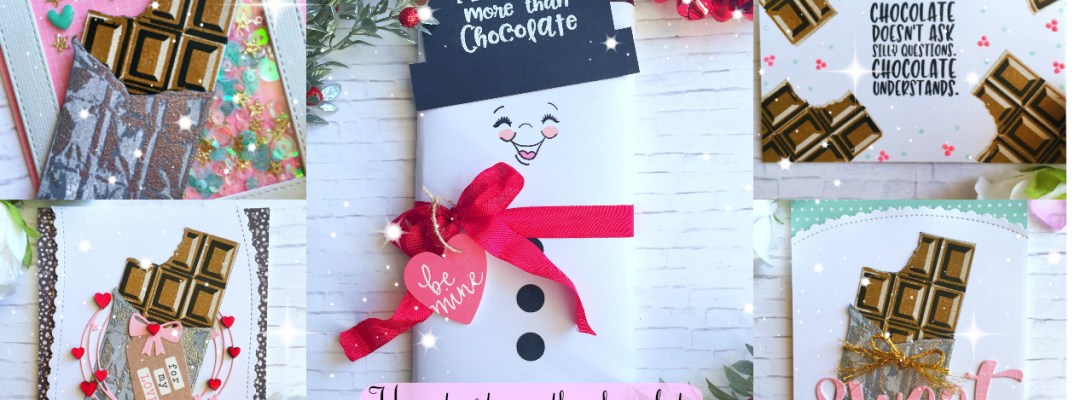
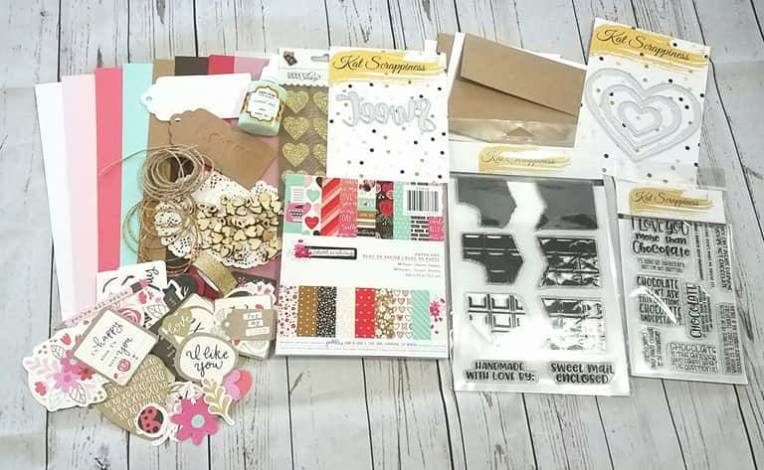
Hello, hello my crafty peeps! I hope you are all having a wonderful day! I am back to share with you my projects, showcasing the limited-edition Chocolate Lover’s card kit by Kat Scrappiness. I ABSOLUTELY LOVE THIS KIT! There are so many possibilities using the supplies included in this kit. Here’s what’s inside, plus the two add-ons, which is the Chocolate Lover’s sentiment stamp set and the Wonky Wavy Stitched Heart Dies.
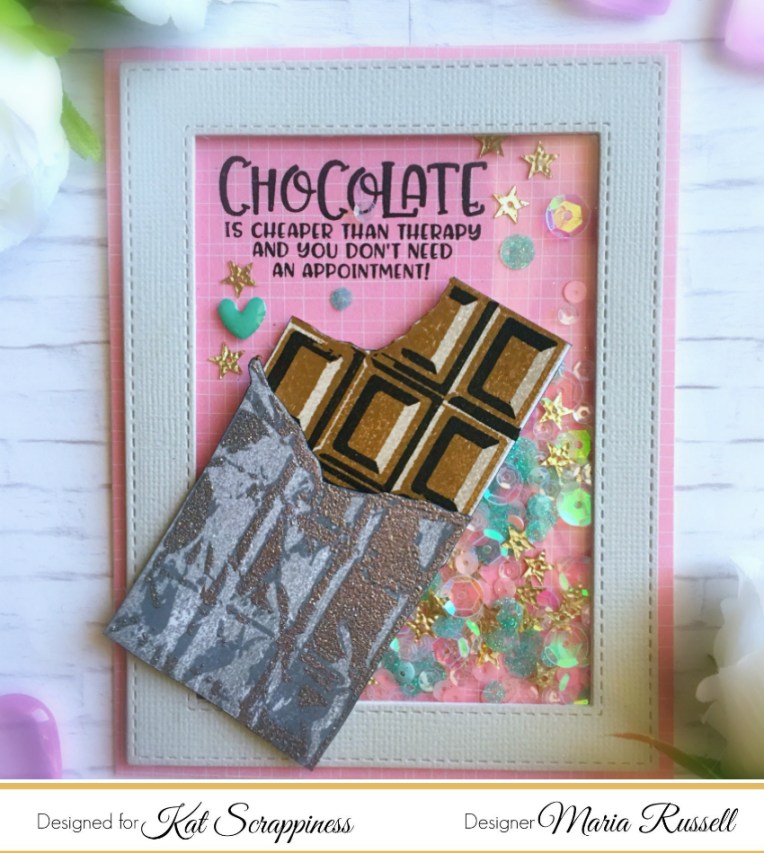
For my first project, I wanted to create a fun shaker card using the 6 X 6 paper pad by Pebbles and the Mint Sprinkles Sequin mix as my shaker material. I love this color combo. I also included a short video showing you how to stamp the layered chocolate stamp set. It looks so realistic. Here’s the first card:
Here’s the close-up:
Here’s the YouTube video showing you how I stamped the chocolate:
For my second project, I wanted to create a simple, one-layer card, with the chocolate layering stamp set and the Chocolate Lover’s sentiment stamp set. I added the pink and blue dots and finished my design with glossy accents. The card is very simple but I love how it turned out. Here’s the second card:
For my third project, I used the chocolate image again with the “Sweet” script sentiment die included in the kit, as well as the Fancy Scalloped Stitched Border dies. I finished my design by adding the gold twine. Here’s the third card:
For my fourth project, I used the chocolate candy bar stamp set again but this time, I added a wreath die-cut using the Avery Elle Star Frames Elle-Ments Dies and also created a wavy card-front using the Fancy Scalloped Stitched Border Dies. I finished my design by adding the wooden heart embellishments from the kit, coloring it with my Copic marker. Here’s the fourth card:
For my last project today, I wanted to use the stamp set to decorate a giant Hershey’s chocolate candy bar to give as a gift either for Christmas or Valentine’s Day.
I wrapped the candy bar with a plain white typing paper. I used a stamp from my stash to stamp the snowman’s face on the paper, and colored it with my Copic markers. I cut a square and a rectangle black card stock to create the snowman’s hat. I then stamped my sentiment on the hat with versa mark ink, and heat-embossed it with my white embossing powder. I adhered the hat to the snowman. I used my 1/2 inch circle punch to create the buttons for the snowman, and adhered it onto the wrapped candy with my Xyron Mega Tape Runner. To finish my design, I added the red seam binding for the snowman’s scarf, and added the heart embellishment by pebbles, included in the kit. It turned out so cute. You can easily mass-produce this project to give as gifts to teachers, your friendly neighborhood mailman/mailwoman, or anyone else. Here’s my fifth project. Isn’t he cute?
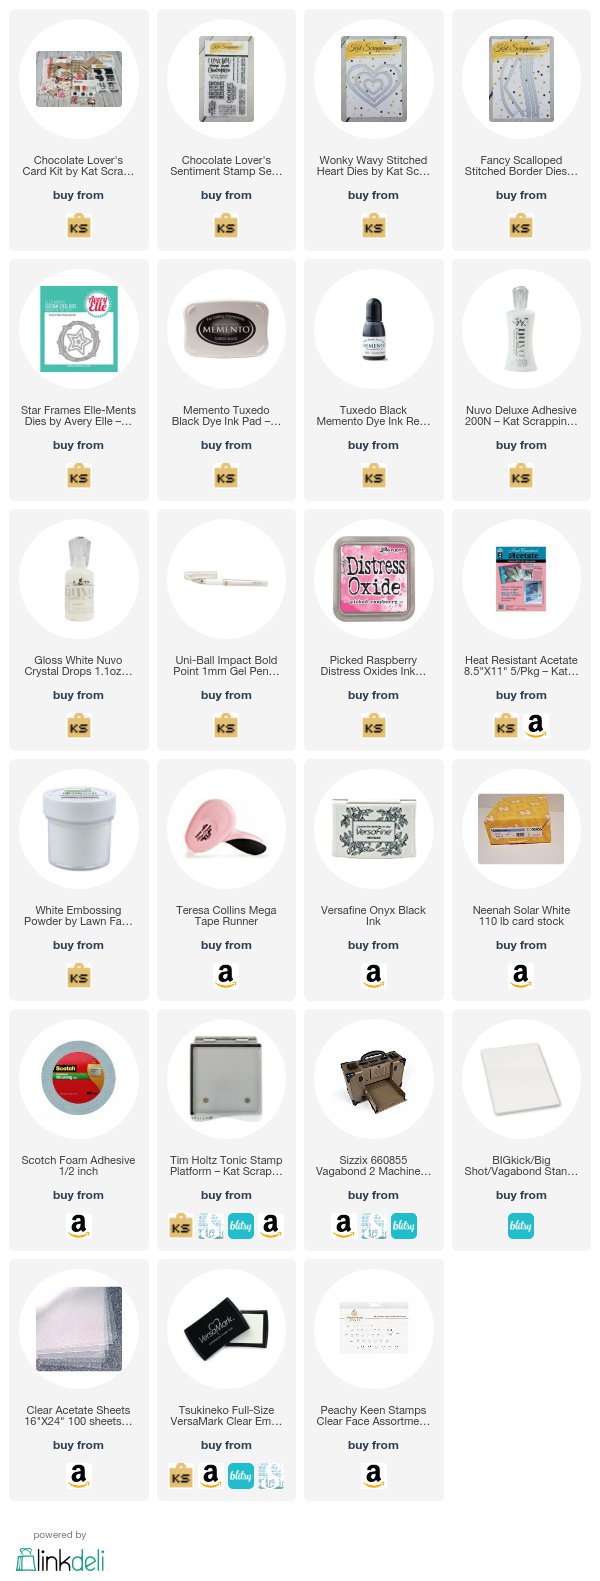
I hope you like all of the projects that I created today and got inspired. The supplies I used are listed and linked below if you are interested. Have a wonderful day!
Hello everyone. This is my second post for the day. Happy Thanksgiving! Kat Scrappiness is also having a Black Friday/Cyber Monday sale at the shop so take advantage and place your order using the coupon code XMAS2017 for 15% off.
I stamped my images on Neenah solar white card stock with my memento tuxedo black ink using my Tim Holtz Stamp Platform. I colored my images in with Copic markers. Since I didn’t have the die for the Gerda Steiner stamp set, I fuzzy-cut them with my scissors. I also die-cut the naughty sentiment die on black card stock twice.
I die-cut 4 tags using the stitched scalloped nesting tag dies on white card stock, as well as 4 tags with the Doodblebug Christmas patterned paper. I used the pop-out die to die-cut the window on the patterned paper. I adhered the images first on the white card stock, and then adhered the patterned paper on top. To finish my design, I stamped the sentiment on black card stock for two of the tags with VersaMark ink and heat-embossed it with white embossing powder.
Here are my Christmas tags today:
I hope you like my projects. Please visit www.katscrappiness.com to shop for crafting supplies. Have a great Thanksgiving!
It is the last day of the November release by Newton’s Nook Designs and today, the design team is showcasing the Llama Delivery stamp set and coordinating dies with the Newton’s Candy Cane stamp set and coordinating dies. You also have a chance to win each stamp set during release week so check out the details I have indicated at the end of this blog post. [Just a little important note: I know some of you had difficulties finding the comments section. If you would like to leave a comment to participate in the giveaway, the “comments section” will only be ever visible when a single post on Word Press is being viewed. Please click on this particular blog post and you will be able to leave a commentbelow. Thank you for understanding and I apologize for the confusion.]
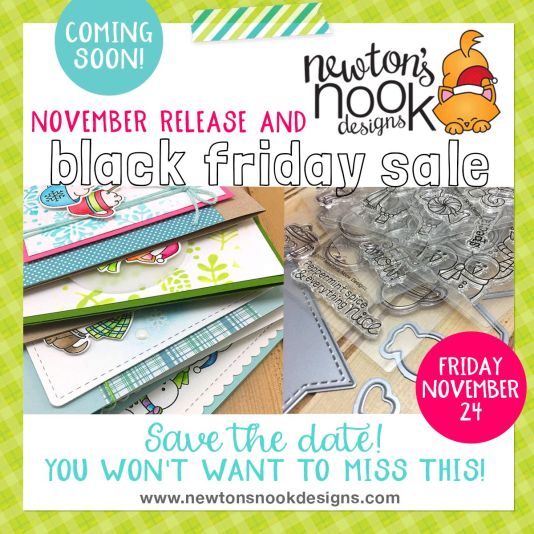
The November release will be available for purchase on Friday, November 24th. You should also take advantage of the Black Friday sale.
Here’s what the stamp and dies look like:
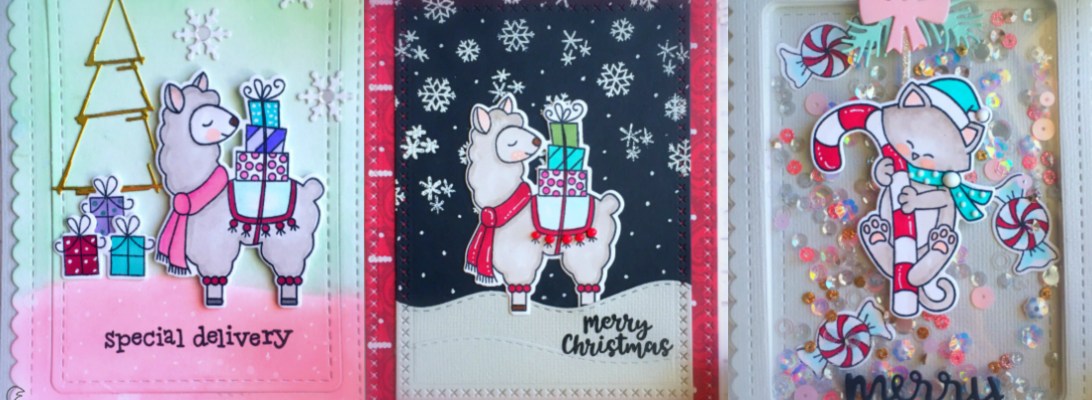
I stamped all of my images from both sets on Neenah Solar white card stock and colored them in with my Copic markers. For my Llama cards, I kept it pretty simple. I also distressed my background with Worn Lipstick and Cracked Pistachio distress oxide inks. Here are the cards:
For the Newton’s Candy Cane set, I wanted to create a fun shaker card and used the double-sided adhesive from Newton’s Nook and the new acetate sheets. I also used sequins by Kat Scrappiness. Here’s my shaker card:
I hope you got inspired this week and love the projects we all shared. Would you like to win the “Llama Delivery” or the “Newton’s Candy Cane” Stamp Set?Each of these stamp sets will be given away to ONE lucky winner!
Here’s how to win:
Comment on the NND blog and Design Team blogs (see list below)! Thewinner will be chosen at random from the collective reveal posts. Make sure to check out each of their blogs and comment for your chance to win. You will not know which blog has been chosen so the more you comment on the better your chances are of winning! You have until Wednesday November 22nd at 9pm CST to comment — winners will be announced on the blog post on Friday, November 24th..
Check out all the awesome Design Team Blogs below to enter:
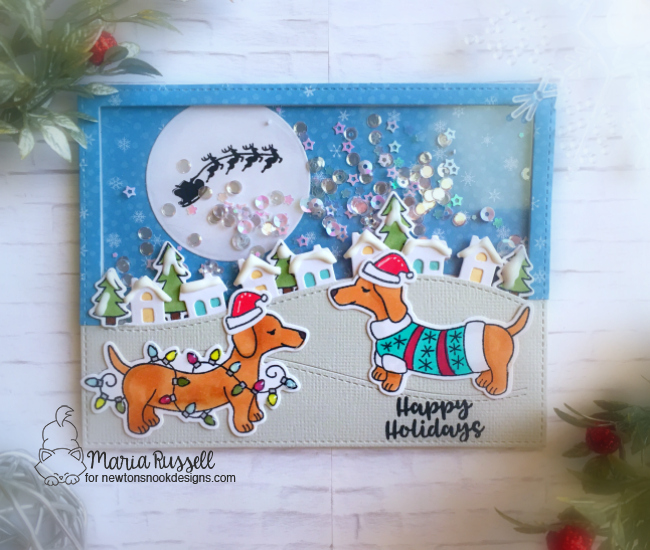
Hello my crafty peeps! I hope you are having a great week so far. I am back today for Newton’s Nook showcasing a cute older stamp set called Holiday Hounds, mixing it up with Snow Globe Scenes stamp set. I love that you can mix and match these stamp sets to create some cute cards.
I started out by stamping the doxies and the trees with my memento tuxedo black ink on neenah solar white card stock. I colored my images in with my Copic markers and run it through my die-cutting machine with the coordinating dies. I die-cut the rest of the elements that I needed to create my scene using different dies from my collection.
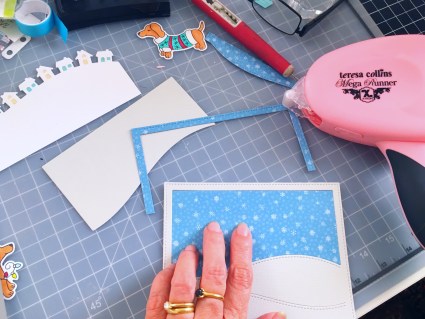
I wanted to create a fun card today so I decided to make a shaker card. I adhered my “sky” background to my card base first, then adhered the acetate sheets to my frame, and added foam adhesives.
I die-cut a circle card stock and colored it with my Copic markers to create some shading for the moon, then stamped the flying Santa and reindeers from the Snow Globe Scenes stamp set. I adhered the moon to the front panel.
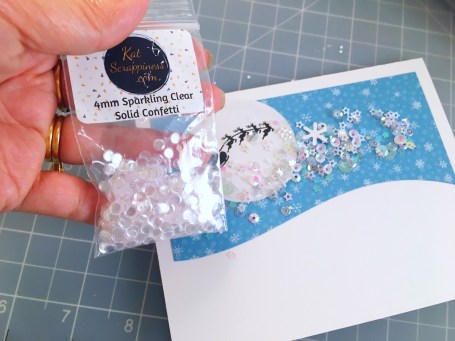
I added my favorite sequin mixes from Kat Scrappiness for my shaker elements, and adhered my frame to the card panel. I finished my design by adding Nuvo white Crystal drops to the houses and trees, and glossy accents to the lightbulbs.
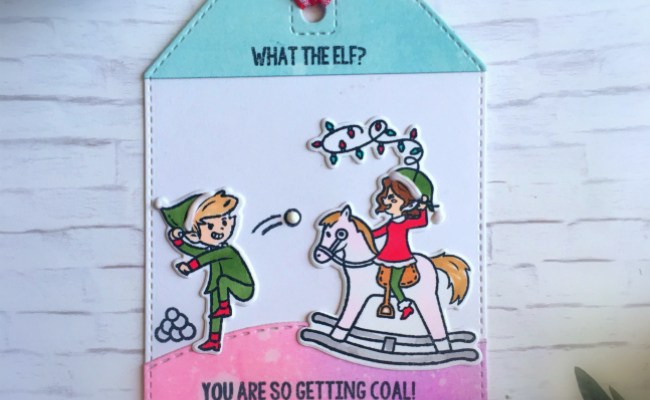
Here is the card:
I hope you got inspired today to create cute holiday shaker cards. I have listed and linked the supplies I used in case you are interested. Have an amazing day!
Hello my crafty friends. It’s Maria here with you today with a Christmas Card and Gift Tag project, showcasing the new Kat Scrappiness Naughty Stamp Set, Cross Stitched Square and Cross-Stitched Rectangle Dies and the Stitched Scalloped Nesting Dies.
Since I have a process video for you today, I will keep this blog post short. Have an amazing day!
Hello my crafty friends! I hope you are having a great day! I am super thrilled to share my card today. The Xyron design team received some amazing products from ClearSnap and the team will be showing you projects this week, showcasing some ink pads by ClearSnap and adhesives by Xyron.
I started out by die-cutting some fall leaves using a die set by Lawn Fawn on Neenah solar white 110 lb. card stock and colored them in using the Color Box Cat’s Eye. The colors I received are perfect for fall. I dabbed the ink pad onto the card stock directly until I got some nice colors on the leaves.
I also die-cut an A2 size Neenah solar white card stock, using my Cross Stitched Rectangle Die by Kat Scrappiness. I also used a die from my collection to die-cut the wreath. I adhered the wreath onto my card front.
Before I adhered the leaves onto the wreath, I decided to stamp my sentiment first using my stamping tool, with the Coal Ink box. I wanted my sentiment to look crisp and bold against the colorful fall leaves.
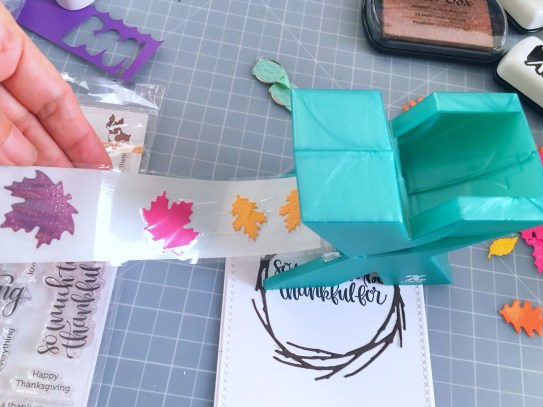
I run the colorful die-cut leaves with my Xyron 1.5 Inch Sticker Maker so that I can have edge-to-edge adhesive on the leaves and it will be easier to adhere them all onto my card.
You can easily mass-produce this card. I think it turned out so simple yet elegant and is perfect to give to family and friends for the Thanksgiving holiday coming up next month.
I hope you like my card today. For more project inspiration, please visit ClearSnap at www.clearsnap.com and also the Xyron Facebook page. Have an amazing day!
This is my second blog post for today. I am up on the Newton’s Nook Designs blog with this Christmas card, showcasing the Festive Flamingos stamp set, Land Border Dies and the Pines and Holly Die Set. I wanted to give you a little preview of what’s to come this month on Newton’s Nook. You will absolutely love the new stamp sets coming out next week. Please stay tuned.
I started out by stamping my images on Neenah Solar White card stock and colored the images in with my Comic markers. I fuzzy-cut the images with my precision cut scissors. I also die-cut the other elements that I needed for the card. This is a fairly simple card but I love how it turned out. Here it is: