Hello Newton’s Nook Designs fans! I am back today to share with you a fun spring card, showcasing one of my favorite stamp set from the February release called Woodland Spring.
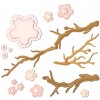
WOODLAND SPRING STAMP SET AND DIES
Here’s how I made my card:
stamp images on some smooth white card stock
color images with any coloring medium of your choice. I used Copic markers for mine because I love the vibrant colors.
die-cut the colored images with the coordinating dies.
use the handmade stencil made from the sky borders die set to create the background, using Antique Linen and Worn Lipstick distress oxide inks.
die-cut the small polaroids.
adhere the polaroids on the inked background with foam adhesive
add the critters (and flowers) inside each polaroid and adhere using liquid adhesive.
stamp the sentiment to finish the design.
Here’s my card:
This card is really simple, but I love how it turned out. The pastel-colored sky is so subtle yet it created this dreamy look for my critters to stand out. Here’s a little close-up:
I hope you like my card today. Please visit Newton’s Nook Designs to purchase the stamp set and dies that I used today. I have also listed and linked it below. Have a nice day and happy crafting!
I am a bit bummed because it is the last day of the February reveals by Newton’s Nook Designs. Were you able to check out the first three days of the reveal? Which one is your favorite so far? You have a chance to win each stamp set during release week so check out the details I have indicated at the end of this blog post. [Just a little important note: I know some of you had difficulties finding the comments section. If you would like to leave a comment to participate in the giveaway, the “comments section” will only be ever visible when a single post on Word Press is being viewed. Please click on this particular blog post and you will be able to leave a commentbelow. Thank you!]
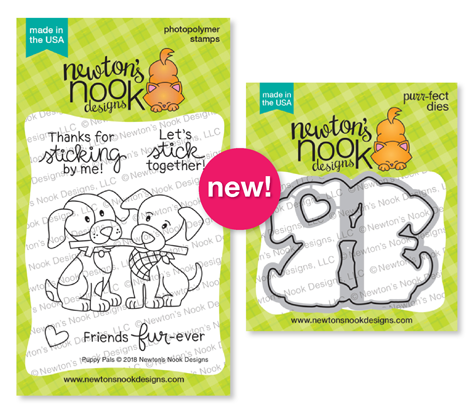
For the last day of the reveals, the design team is showcasing TWO mini stamp sets with its coordinating dies:
SPRING PILE UP STAMP SET & DIESPUPPY PALS STAMP SET & DIES
Here’s how I made my first card:
stamp and color the images with Copic markers (or any coloring medium of your choice)
die-cut the image using the coordinating dies.
use inkadinkado masking paper to mask off part of the card stock.
use the handmade clouds stencil made from the clouds border die and ink up the background.
stamp the sentiment on the colored background and adhere the image on on top.
cut the colored card stock and adhere on the card base. Also adhere a rainbow patterned paper at the bottom of the card base. Finish this piece with some black strip card stock.
I felt that the left side of the card was missing something so I added the pastel stars from Kat Scrappiness to adorn the card. I think it turned out great. Here’s a closer look:
This card is really clean and simple but I like it a lot. Here’s another look:
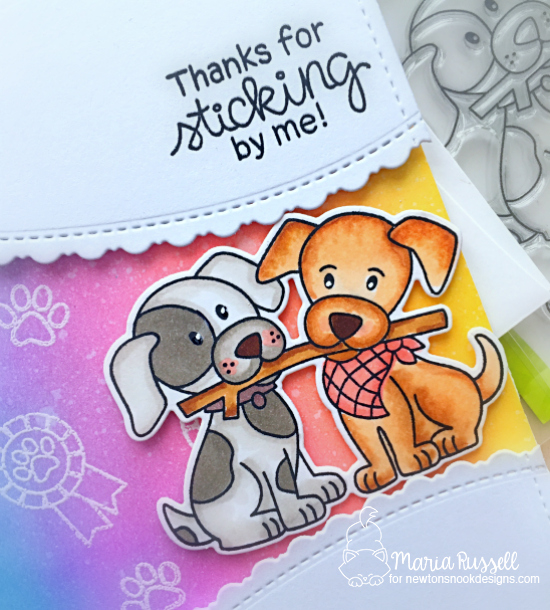
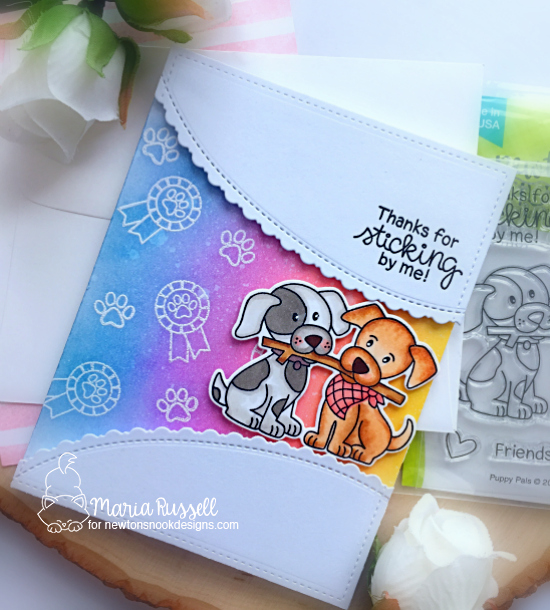
Here’s how I made my second project:
stamp and color the image on some smooth white card stock. die-cut the image using the coordinating die.
use the paw prints and ribbon images from the Terrific Terriers stamp set and stamp them using versamark ink on bristol smooth card stock.
sprinkle white embossing powder and heat-set with the heating tool.
ink up this bristol smooth card stock with distress oxide inks.
wipe the embossed images with paper towel to make them white again.
die-cut the rest of the card stock to assemble the card.
This image is sooooo cute! I also LOVE that the coordinating die, die-cuts the middle space between the two dogs! It’s a definite must-have for sure. You can use this stamp set for any occasion and the possibilities are endless. Here’s a closer look of the puppies:
Aren’t they adorable? I also love the rainbow colored background and it really made them stand out.
That is all for this week! I hope you guys LOVE the projects that we’ve made for you using the new stamps, dies and stencils.
Would you like to win the “Spring Pile Up” or the “Puppy Pals” Stamp Set? We will choose ONE lucky winner for each stamp set!
Comment on the NND blog and Design Team blogs (see list below)! Thewinner will be chosen at random from the collective reveal posts. Make sure to check out each of their blogs and comment for your chance to win. You will not know which blog has been chosen so the more you comment on the better your chances are of winning! You have until Thursday February 14th at 9pm EST to comment — winners will be announced on the blog post on Friday, February 15th.
Check out all the awesome Design Team Blogs below to enter:
It is the third day of the February reveals by Newton’s Nook Designs. Were you able to check out the last two days of the reveal? Which one is your favorite so far? You have a chance to win each stamp set during release week so check out the details I have indicated at the end of this blog post. [Just a little important note: I know some of you had difficulties finding the comments section. If you would like to leave a comment to participate in the giveaway, the “comments section” will only be ever visible when a single post on Word Press is being viewed. Please click on this particular blog post and you will be able to leave a commentbelow. Thank you!]
For the third day, the design team is showcasing the Newton’s Peeps stamp set and coordinating dies. Here’s what it looks like:
NEWTON’S PEEPS STAMP SET & DIES
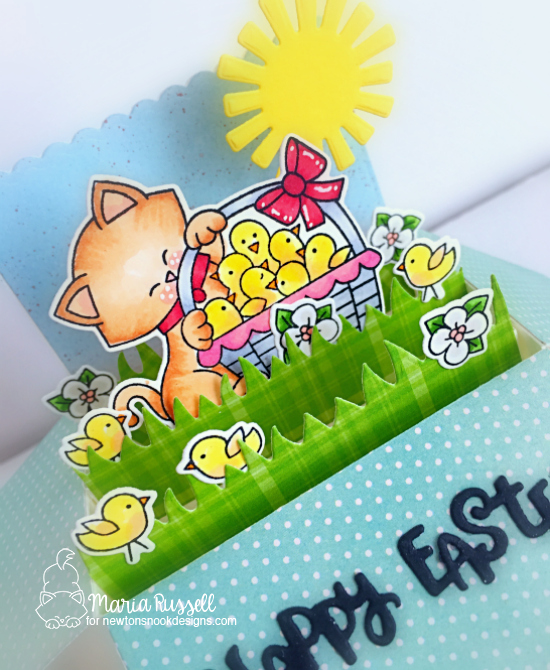
Here’s how I made my box card:
stamp and color the images using the Newton’s Peeps stamp set.
use the coordinating dies to die-cut the images.
use the grassy hills die from the land border die set and die-cut the grass using green patterned papers.
die-cut the box die with card stock and patterned paper.
die-cut the rest of the elements to create the scene.
die-cut the “Happy Easter” from some black card stock. The happy easter die is from the Spring Pile Up die set and we are showcasing them tomorrow.
assemble the card.
I love this scene with Newton and his peeps and I think the colors are so cheerful. This card will be displayed in my studio, for sure. Here’s a closer look:
I adhered the sun with some acetate sheet. The white flowers are from the Woodland Spring stamp set that we showcased yesterday.
Would you like to win the “Newton’s Peeps” Stamp Set? This stamp set will be given away to ONE lucky winner!
Comment on the NND blog and Design Team blogs (see list below)! Thewinner will be chosen at random from the collective reveal posts. Make sure to check out each of their blogs and comment for your chance to win. You will not know which blog has been chosen so the more you comment on the better your chances are of winning! You have until Thursday February 14th at 9pm EST to comment — winners will be announced on the blog post on Friday, February 15th.
Check out all the awesome Design Team Blogs below to enter:
It is the second day of the February reveals by Newton’s Nook Designs. I hope you were able to check out yesterday’s reveal. You also have a chance to win each stamp set during release week so check out the details I have indicated at the end of this blog post. [Just a little important note: I know some of you had difficulties finding the comments section. If you would like to leave a comment to participate in the giveaway, the “comments section” will only be ever visible when a single post on Word Press is being viewed. Please click on this particular blog post and you will be able to leave a commentbelow. Thank you!]
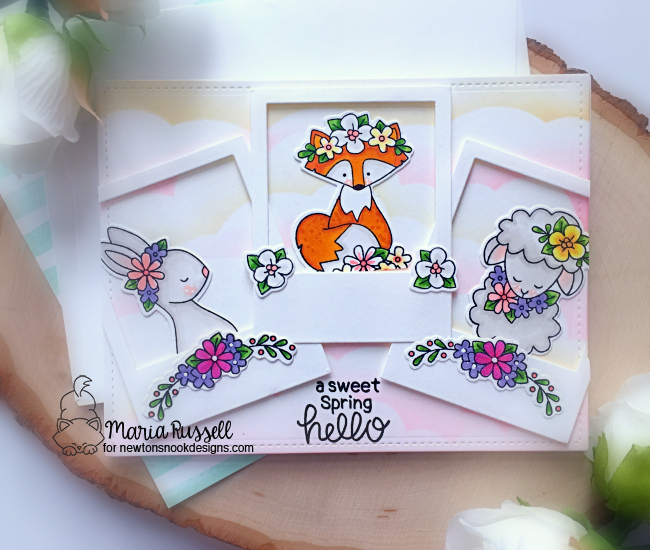
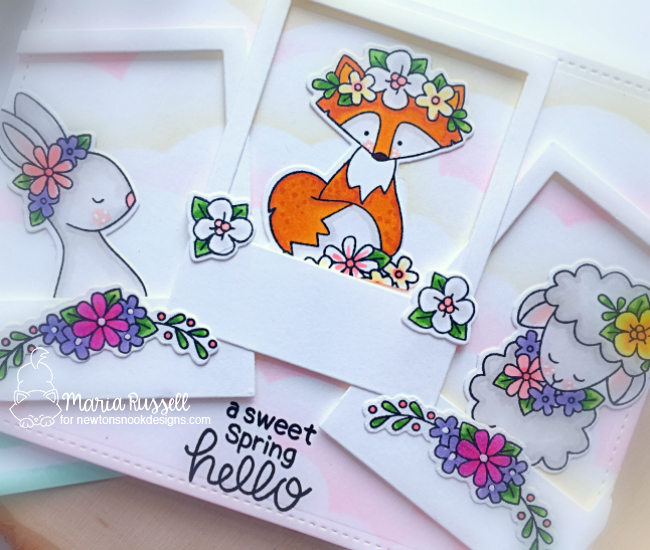
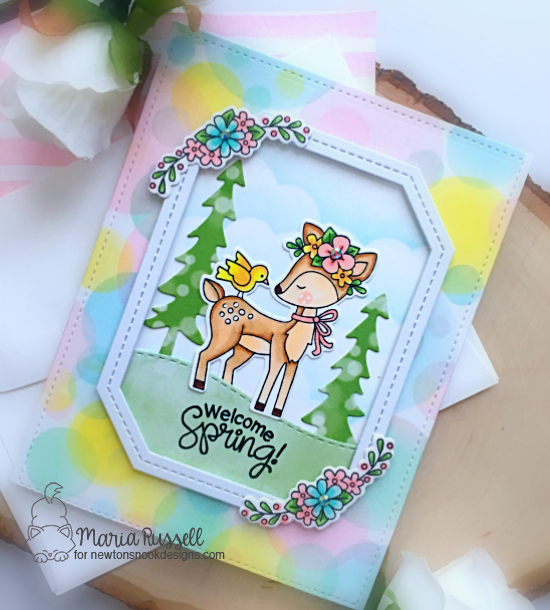
For our projects today, the design team is showcasing the Woodland Spring stamp set and coordinating dies as well as the Bokeh Stencil set. I also used the Land Border and Forest Scene Builder Dies. Here’s what it looks like:
WOODLAND SPRING STAMP SET AND DIESBOKEH STENCIL SET
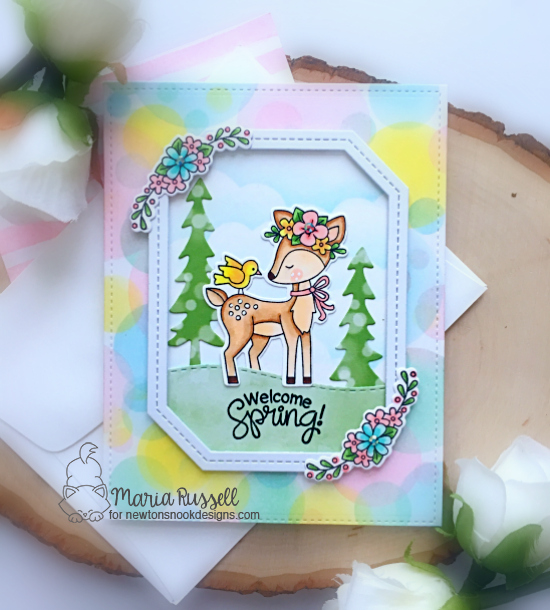
Here’s how I made my card:
stamp the image on some smooth white card stock and color them in with Copic markers (or any coloring medium of your choice).
Die-cut the images using the coordinating dies.
use the bokeh stencil set and ink up the background using mini ink blending tools and distress oxide inks.
use a stitched tag corner rectangle die to die-cut the middle piece. Die-cut another white card stock for the center piece, and ink it up using the handmade clouds stencil.
die-cut a frame using the stitched tag corner rectangle frames die.
use the forest scene builder dies to die-cut the trees.
use the land border die to die-cut the hills.
assemble the card.
The Bokeh stencil set makes a perfect background to this sweet image. The stencil is definitely a must-have. The images on the Woodland Spring stamp set are too cute as well. I also added some sparkling clear jewels to finish the design. Here’s a closer look:
Who is ready for spring? I know some of you are still covered in snow and are waiting for warmer weather. I can’t even imagine what you guys are going through.
Would you like to win the “Woodland Spring” Stamp Set? This stamp set will be given away to ONE lucky winner!
Comment on the NND blog and Design Team blogs (see list below)! Thewinner will be chosen at random from the collective reveal posts. Make sure to check out each of their blogs and comment for your chance to win. You will not know which blog has been chosen so the more you comment on the better your chances are of winning! You have until Thursday February 14th at 9pm EST to comment — winners will be announced on the blog post on Friday, February 15th.
Check out all the awesome Design Team Blogs below to enter:
Hello Newton’s Nook fans! I hope you all enjoyed the April stamp release last week and hoping that a lot of you are loving the spring weather and seeing beautiful flowers in your garden. Spring is what inspired my project today.
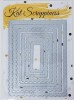
Using a scallop border die from my stash, I die-cut a piece of Bristol Smooth white card stock using my die-cutting machine.
I colored my background with my Tattered Rose distress oxide ink with my mini ink blending tool. I used my distress sprayer to add droplets of water onto my colored background, and dabbed it dry with my paper towel.
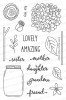
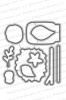
On a piece of Neenah solar white card stock, I stamped the flower images from the Lovely Blooms stamp set and colored them in with my Copic markers. I die-cut the images with the coordinating dies.
I adhered fun foam at the back of my inked background to give it a little dimension and adhered this piece on my card base. I stamped the sentiment from the April Showers stamp set onto my foreground. I adhered the flowers using my Nuvo adhesive, and 3M foam adhesive.
I wasn’t really planning on adding a process video but since I colored a lot of images, I thought I might as well show you the process (without the coloring). If you prefer to watch the video, here it is:
Here is my card:
I finished the design by adding Nuvo Jewel drops to the yellow flower and added white dots on the Hydrangea.
Here’s another look:
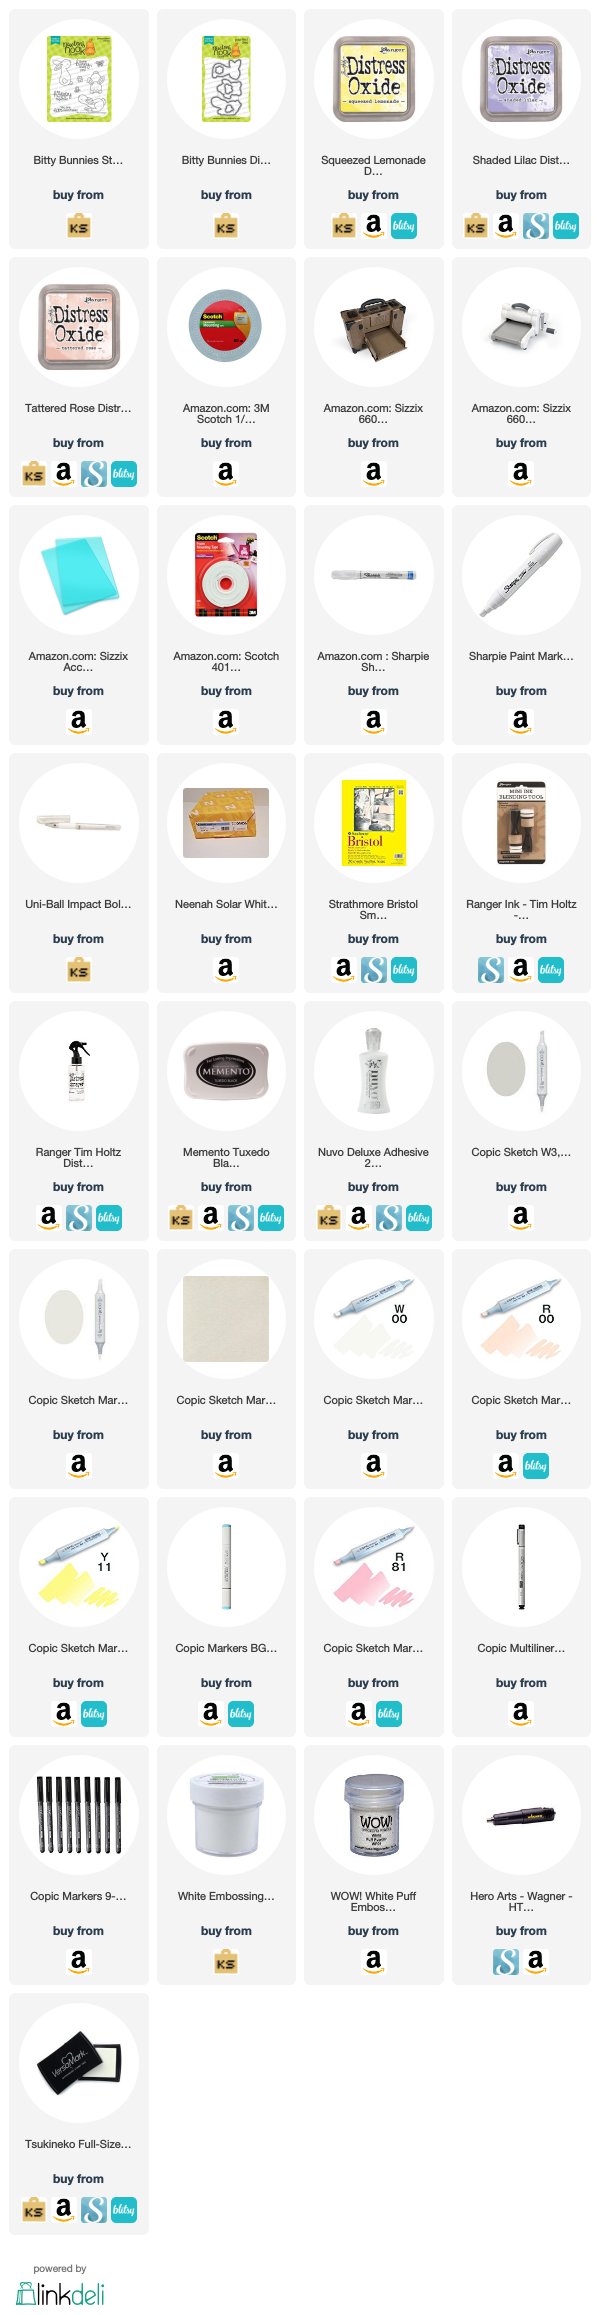
I love how this card turned out. Wouldn’t this just make someone’s day? If you haven’t grabbed the April Showers stamp set and the Lovely Blooms stamp set just yet, you need to go to www.newtonsnookdesigns.com before they sold out. I hope you like my project today. The supplies I used are listed and linked below. Thanks for stopping by and happy crafting!
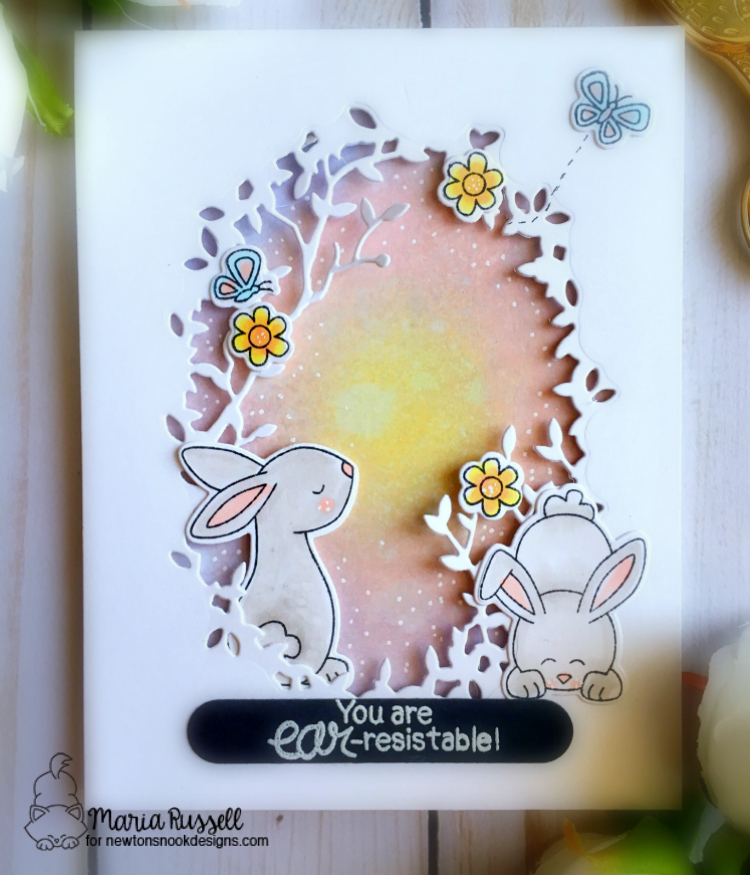
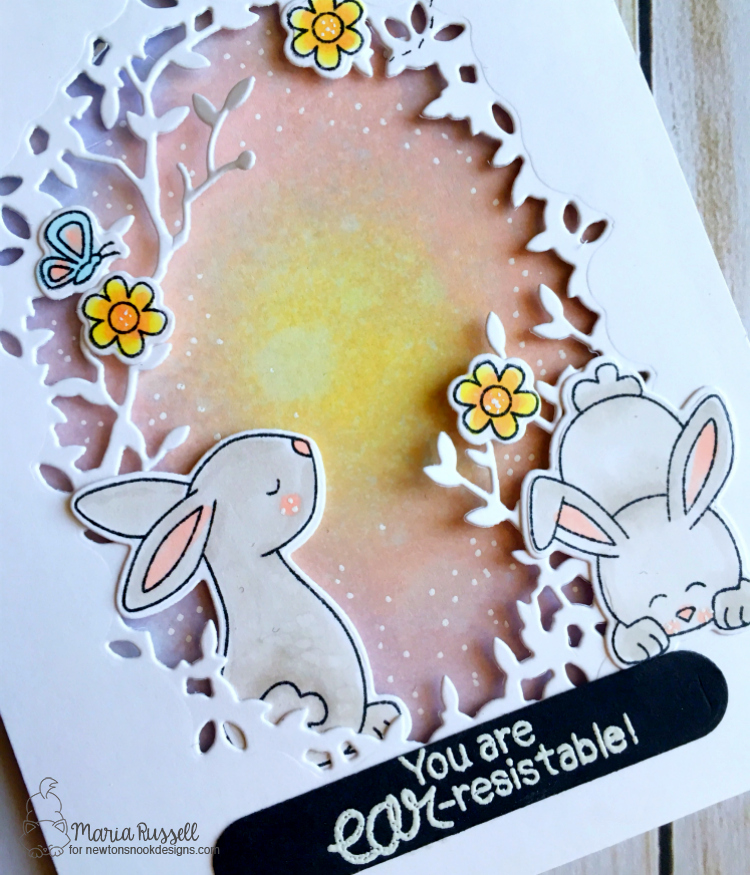
I started out by die-cutting my bunnies with different colored card stocks. For one of the bunnies, I adhered some googly-eyes and drew the mouth with my black Copic multi-liner pen. I colored the cheeks and the ears with my R00 Copic marker.
I die-cut a piece of Bristol smooth white card stock and inked the background with Tattered Rose and Worn Lipstick distress oxide, using my mini-ink blending tool. I sprayed the background with water to give it a distress look. I used the Fancy Scalloped Stitched Border dies to give my card stock a decorative edge. I die-cut another piece in light blue to layer it together. I adhered this piece onto my card base.
Using a mini action wobbler, I adhered the bunny in the center of the frame.
Here’s my first card:
For my second card, I colored another piece of Bristol smooth card stock with my Broken China, Worn Lipstick and Wild Honey distress oxides. I used the Never-Ending circle dies to cut some circles on my foreground. I adhered this piece to my colored background with my foam tape to give it some dimension. I adhered the cute peeps on each circle.
I finished my design by adhering some white pompoms on the bunnies, and added the script sentiment “Happy” from the Brush Script Happy Easter die and stamped the sentiment “EASTER”. I also used my white gel pen to add some details to the script sentiment. Here’s my second card:
Aren’t these cards so much fun? I love how they turned out. I hope you got inspired today. I have also listed and linked the supplies I used below. Have an amazing day and happy crafting!
Ahh! Spring is almost here and I am ready for all things “pastel”, haha! I am back today to share with you a Spring card, showcasing the Bitty Bunnies stamp set and coordinating dies, with some squeezed lemonade, shaded lilac and tattered rose distress oxide inks.
I have a process video for you today so I will keep this blog post short. I hope you got inspired. The supplies I used are listed and linked below. Have a wonderful day!
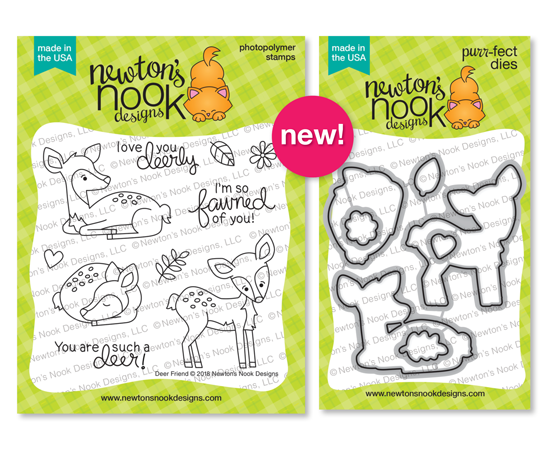
It is the third day of the January reveals by Newton’s Nook Designs and today we are showcasing the Deer Friend stamp set and coordinating dies. [Just a little important note: I know some of you had difficulties finding the comments section. If you would like to leave a comment to participate in the giveaway, the “comments section” will only be ever visible when a single post on Word Press is being viewed. Please click on this particular blog post and you will be able to leave a commentbelow. Thank you for understanding and I apologize for the confusion.]
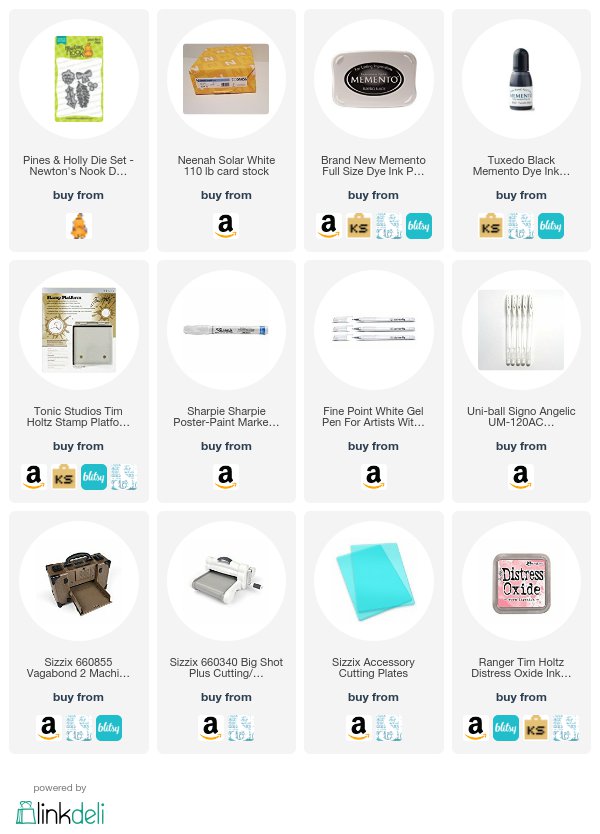
I stamped all of the images on Neenah Solar White card stock and colored them in with my Copic markers. I die-cut the images using the coordinating dies. I wanted to showcase the deer by creating a shadow box card. This card can be folded flat and inserted in an envelope for mailing. I followed a shadowbox tutorial on pinterest. here’s what you need:
Cut two pieces of card stock measuring 4 1/4 X 6 3/4, and score 1 1/4 from each long edge.
Die-cut a square window from the center of one of the panels (this is your front piece). You will later on connect both panels to create your shadow box.
Cut a 4 1/4 square panel of patterned paper and adhere to the center of the second card panel (this is your back piece). (You can do your stamping here before you assemble the box).
Cut two pieces of green card stock. One is measuring 1 1/4 x 5 and the other is measuring 1 x 5 and score from each long edge at 3/8″
I used the Newton’s Nook Grass Border die to die-cut the green panels.
Adhere some score tape on each scored panels.
Fold the ground panels flat, flush to the card’s bottom edge. Fold right side flat over them to adhere.
Attach the images you need to decorate your shadow box.
Fold box flat and adhere right side flaps to close the card.
Here are some step-by-step photos:
Here is the card:
You can also use acetate sheets to suspend some images inside your shadow box (i.e., birds, clouds, etc.) I hope you got inspired today to create your own shadow box.
Would you like to win the “Deer Friend” Stamp Set? This stamp set will be given away to ONE lucky winner!
Here’s how to win:
Comment on the NND blog and Design Team blogs (see list below)! Thewinner will be chosen at random from the collective reveal posts. Make sure to check out each of their blogs and comment for your chance to win. You will not know which blog has been chosen so the more you comment on the better your chances are of winning! You have until Thursday January 18th at 9pm EST to comment — winners will be announced on the blog post on Friday, January 19th.
Check out all the awesome Design Team Blogs below to enter:
Hello my crafty peeps! I hope you are having a great week so far. I am back today to share a card that I made for my sister, showcasing the Newton’s Nook Lovely Blooms stamp set and dies. This stamp set is a must-have and is one of my favorites.
I have a process video for you today. Just a little disclaimer though, I didn’t realize that my cat was on my craft table in my studio and had shifted my tripod a little bit so I was out of frame when I was recording the video. I didn’t want to film the whole process again so I apologize for that. I will make sure to NOT make the same mistake the next time and will check the camera while filming. Thank you for understanding.
Here’s the card:
I hope you like my card and got inspired. You will find the process video below. The supplies I have used are listed and linked if you are interested. Have a wonderful day!