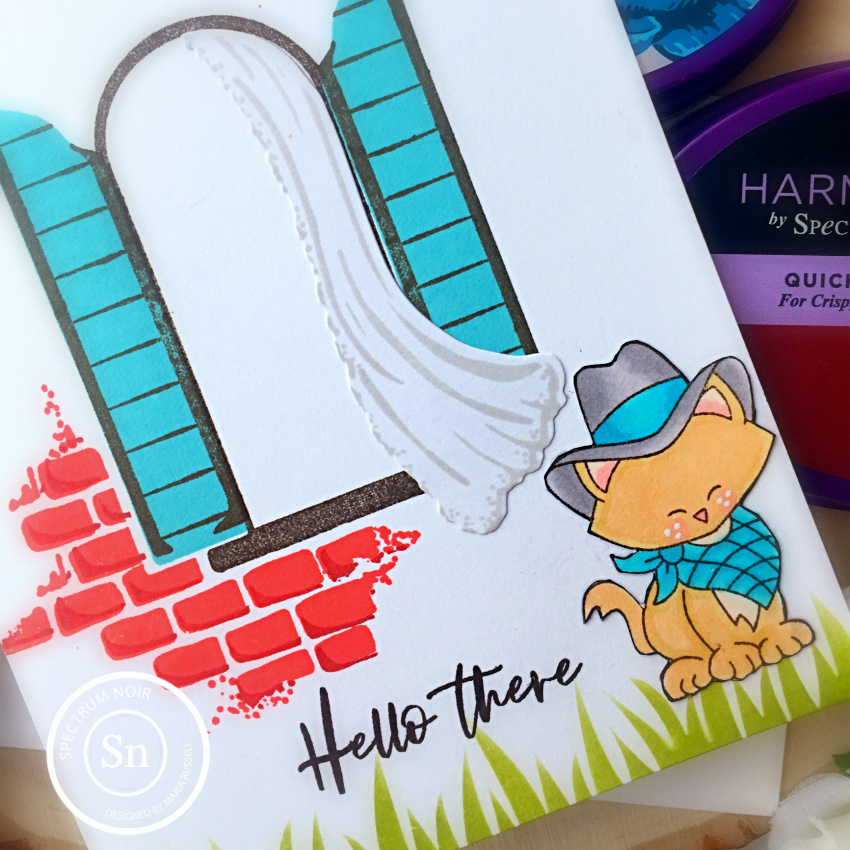
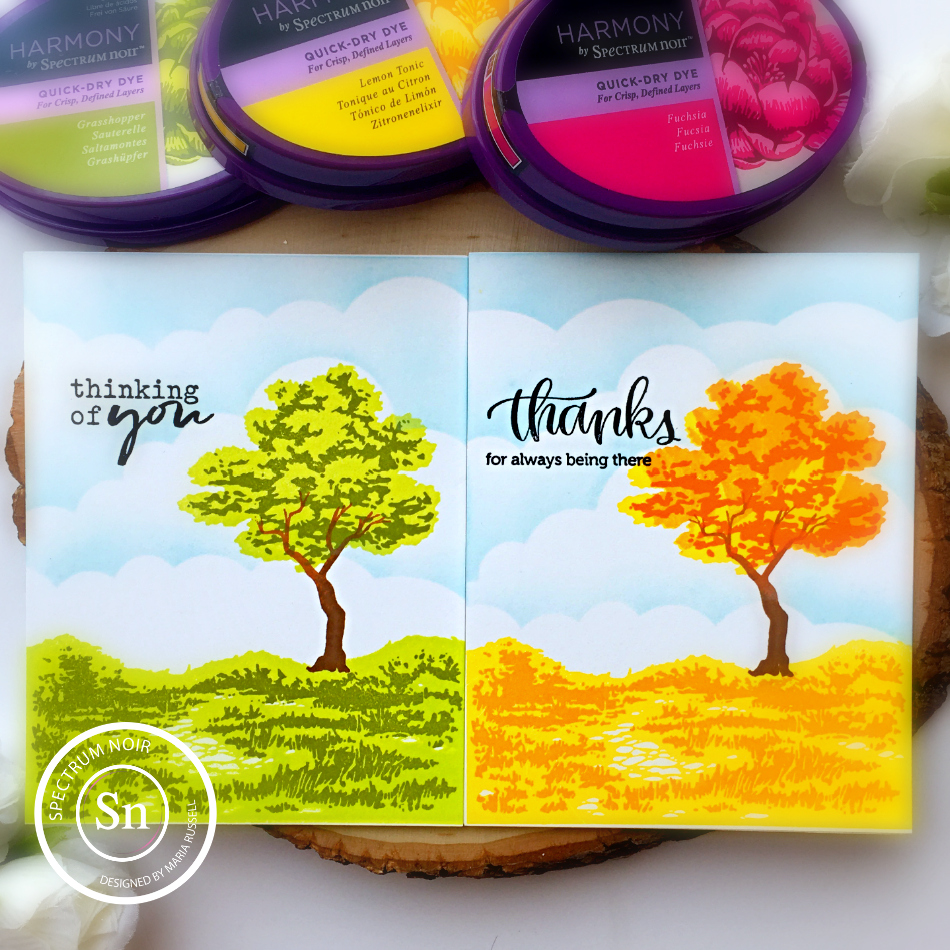
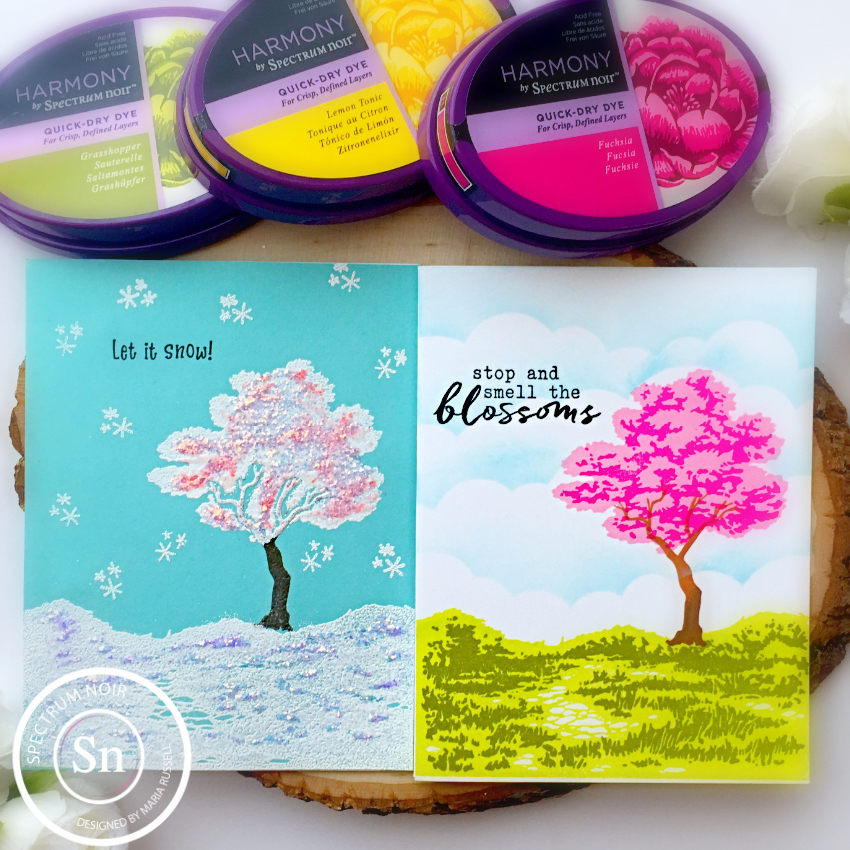
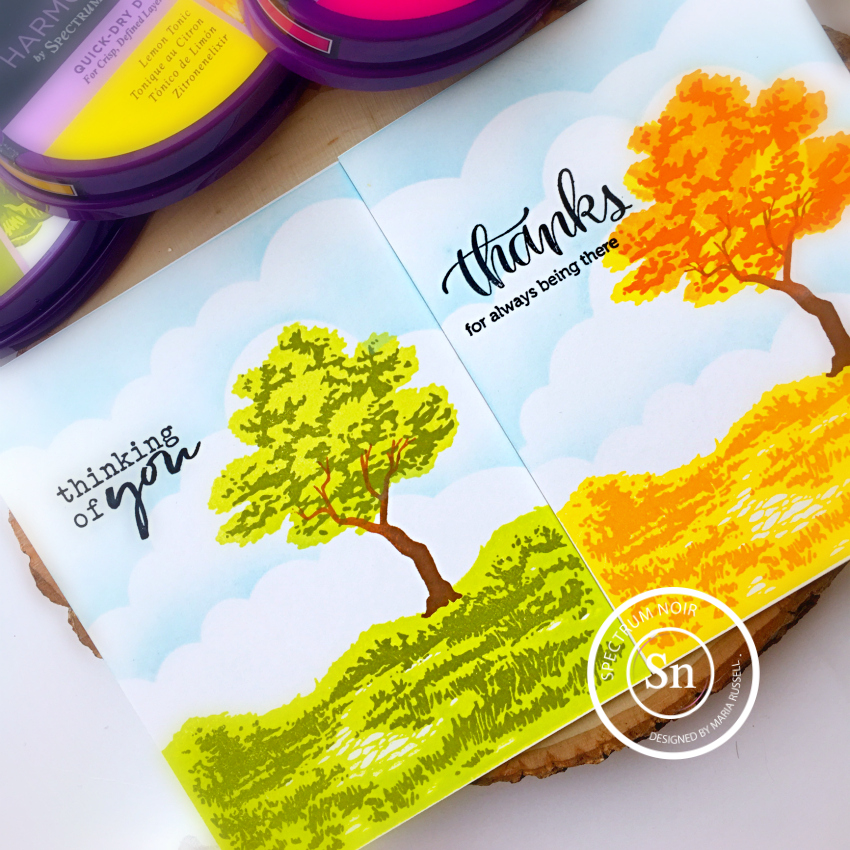
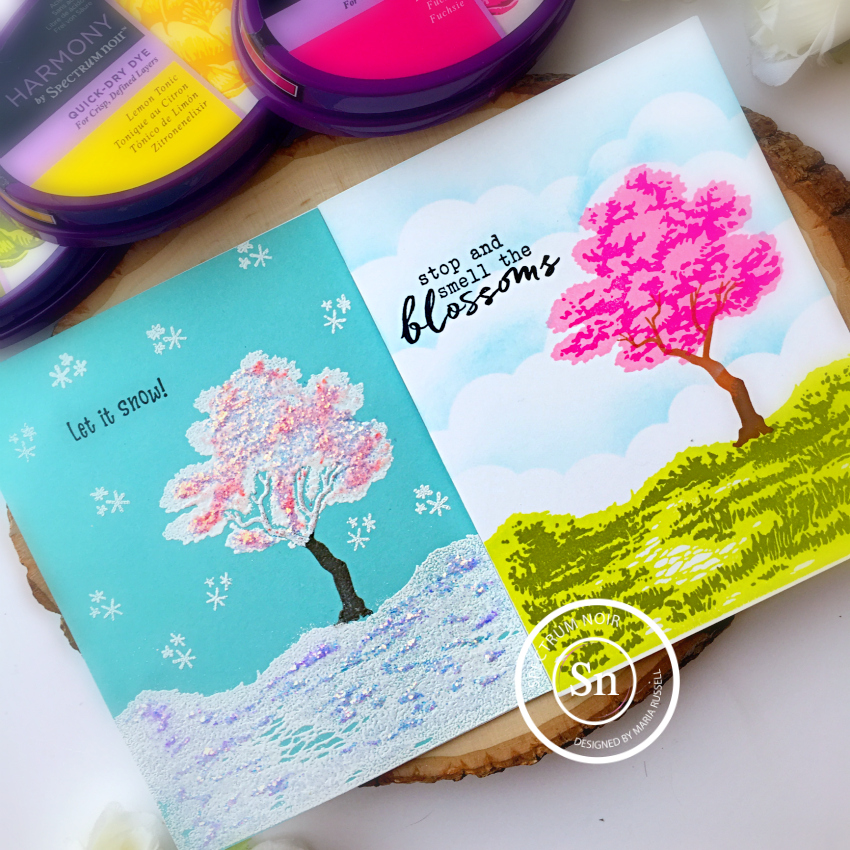
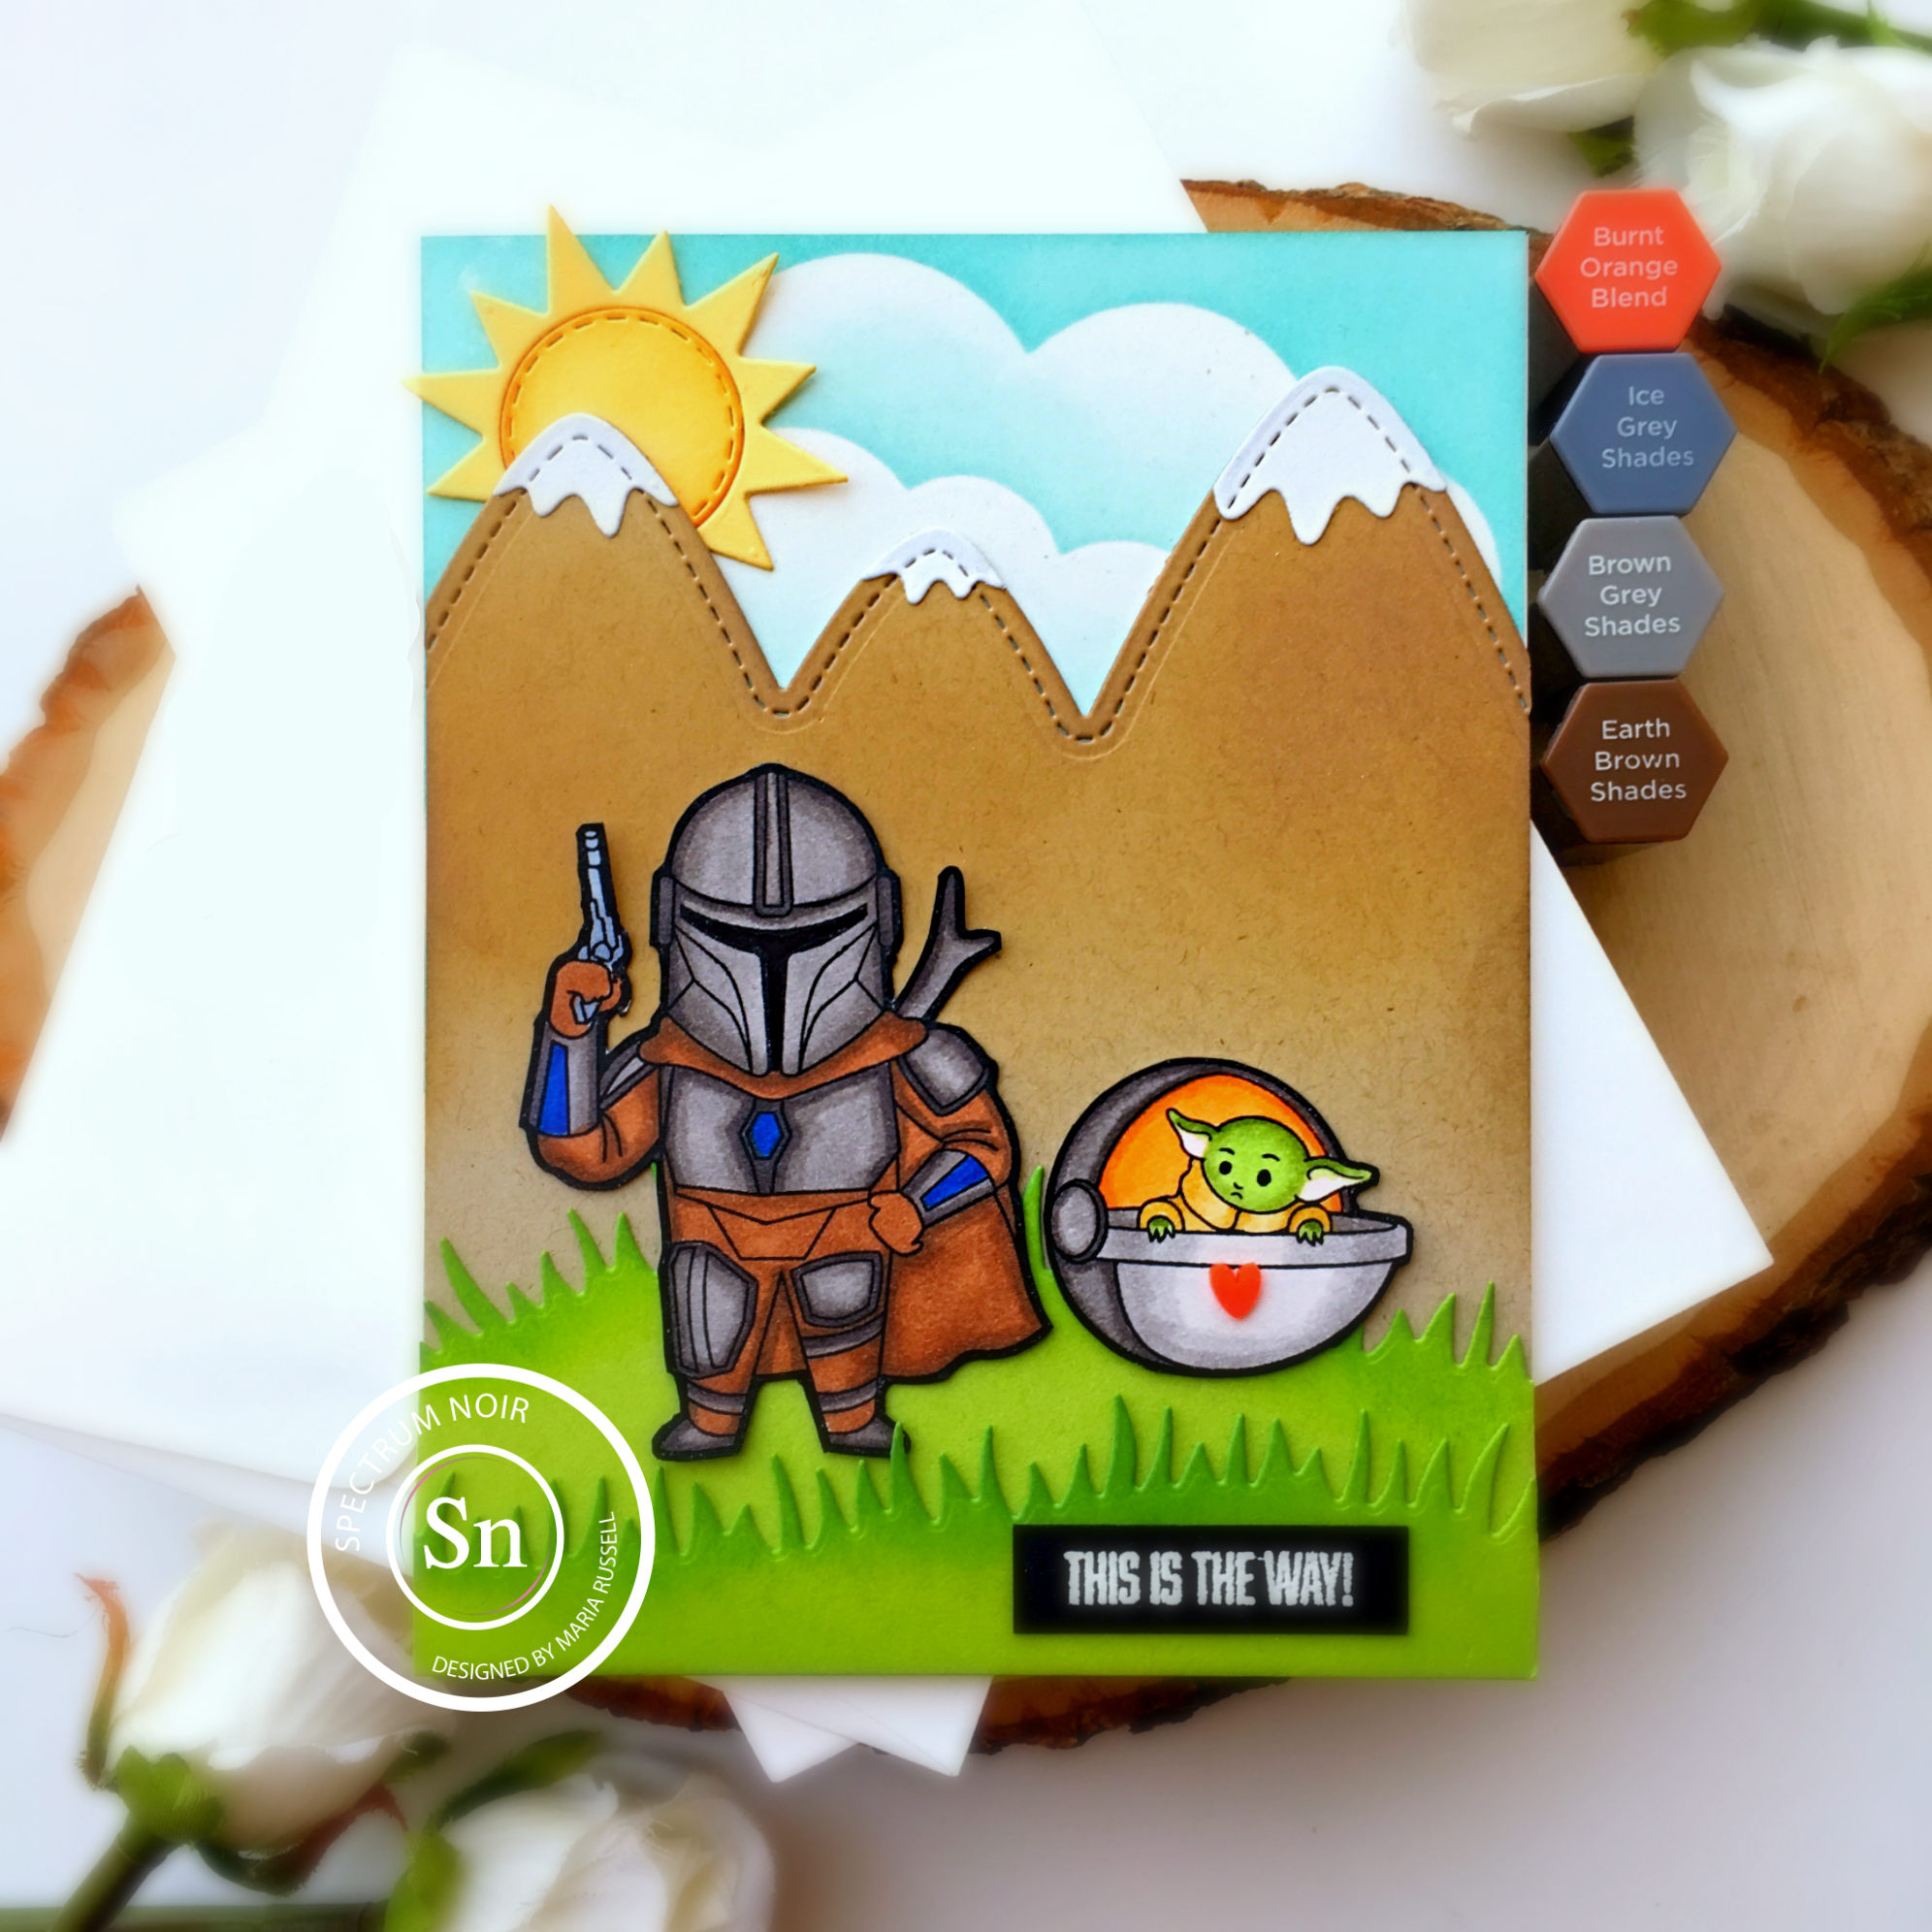
Lately, it seems that I have been creating a lot of rainbow-themed cards! I just love the bright colors and they make me happy! One thing I LOVE about Spectrum Noir is that they not only have amazing alcohol and aqua markers, colored pencils, but they also have a wide-range of ink pads. The ink pads are so juicy and so easy to use and the colors are so vibrant. They are my go-to when it comes to stamping color images.
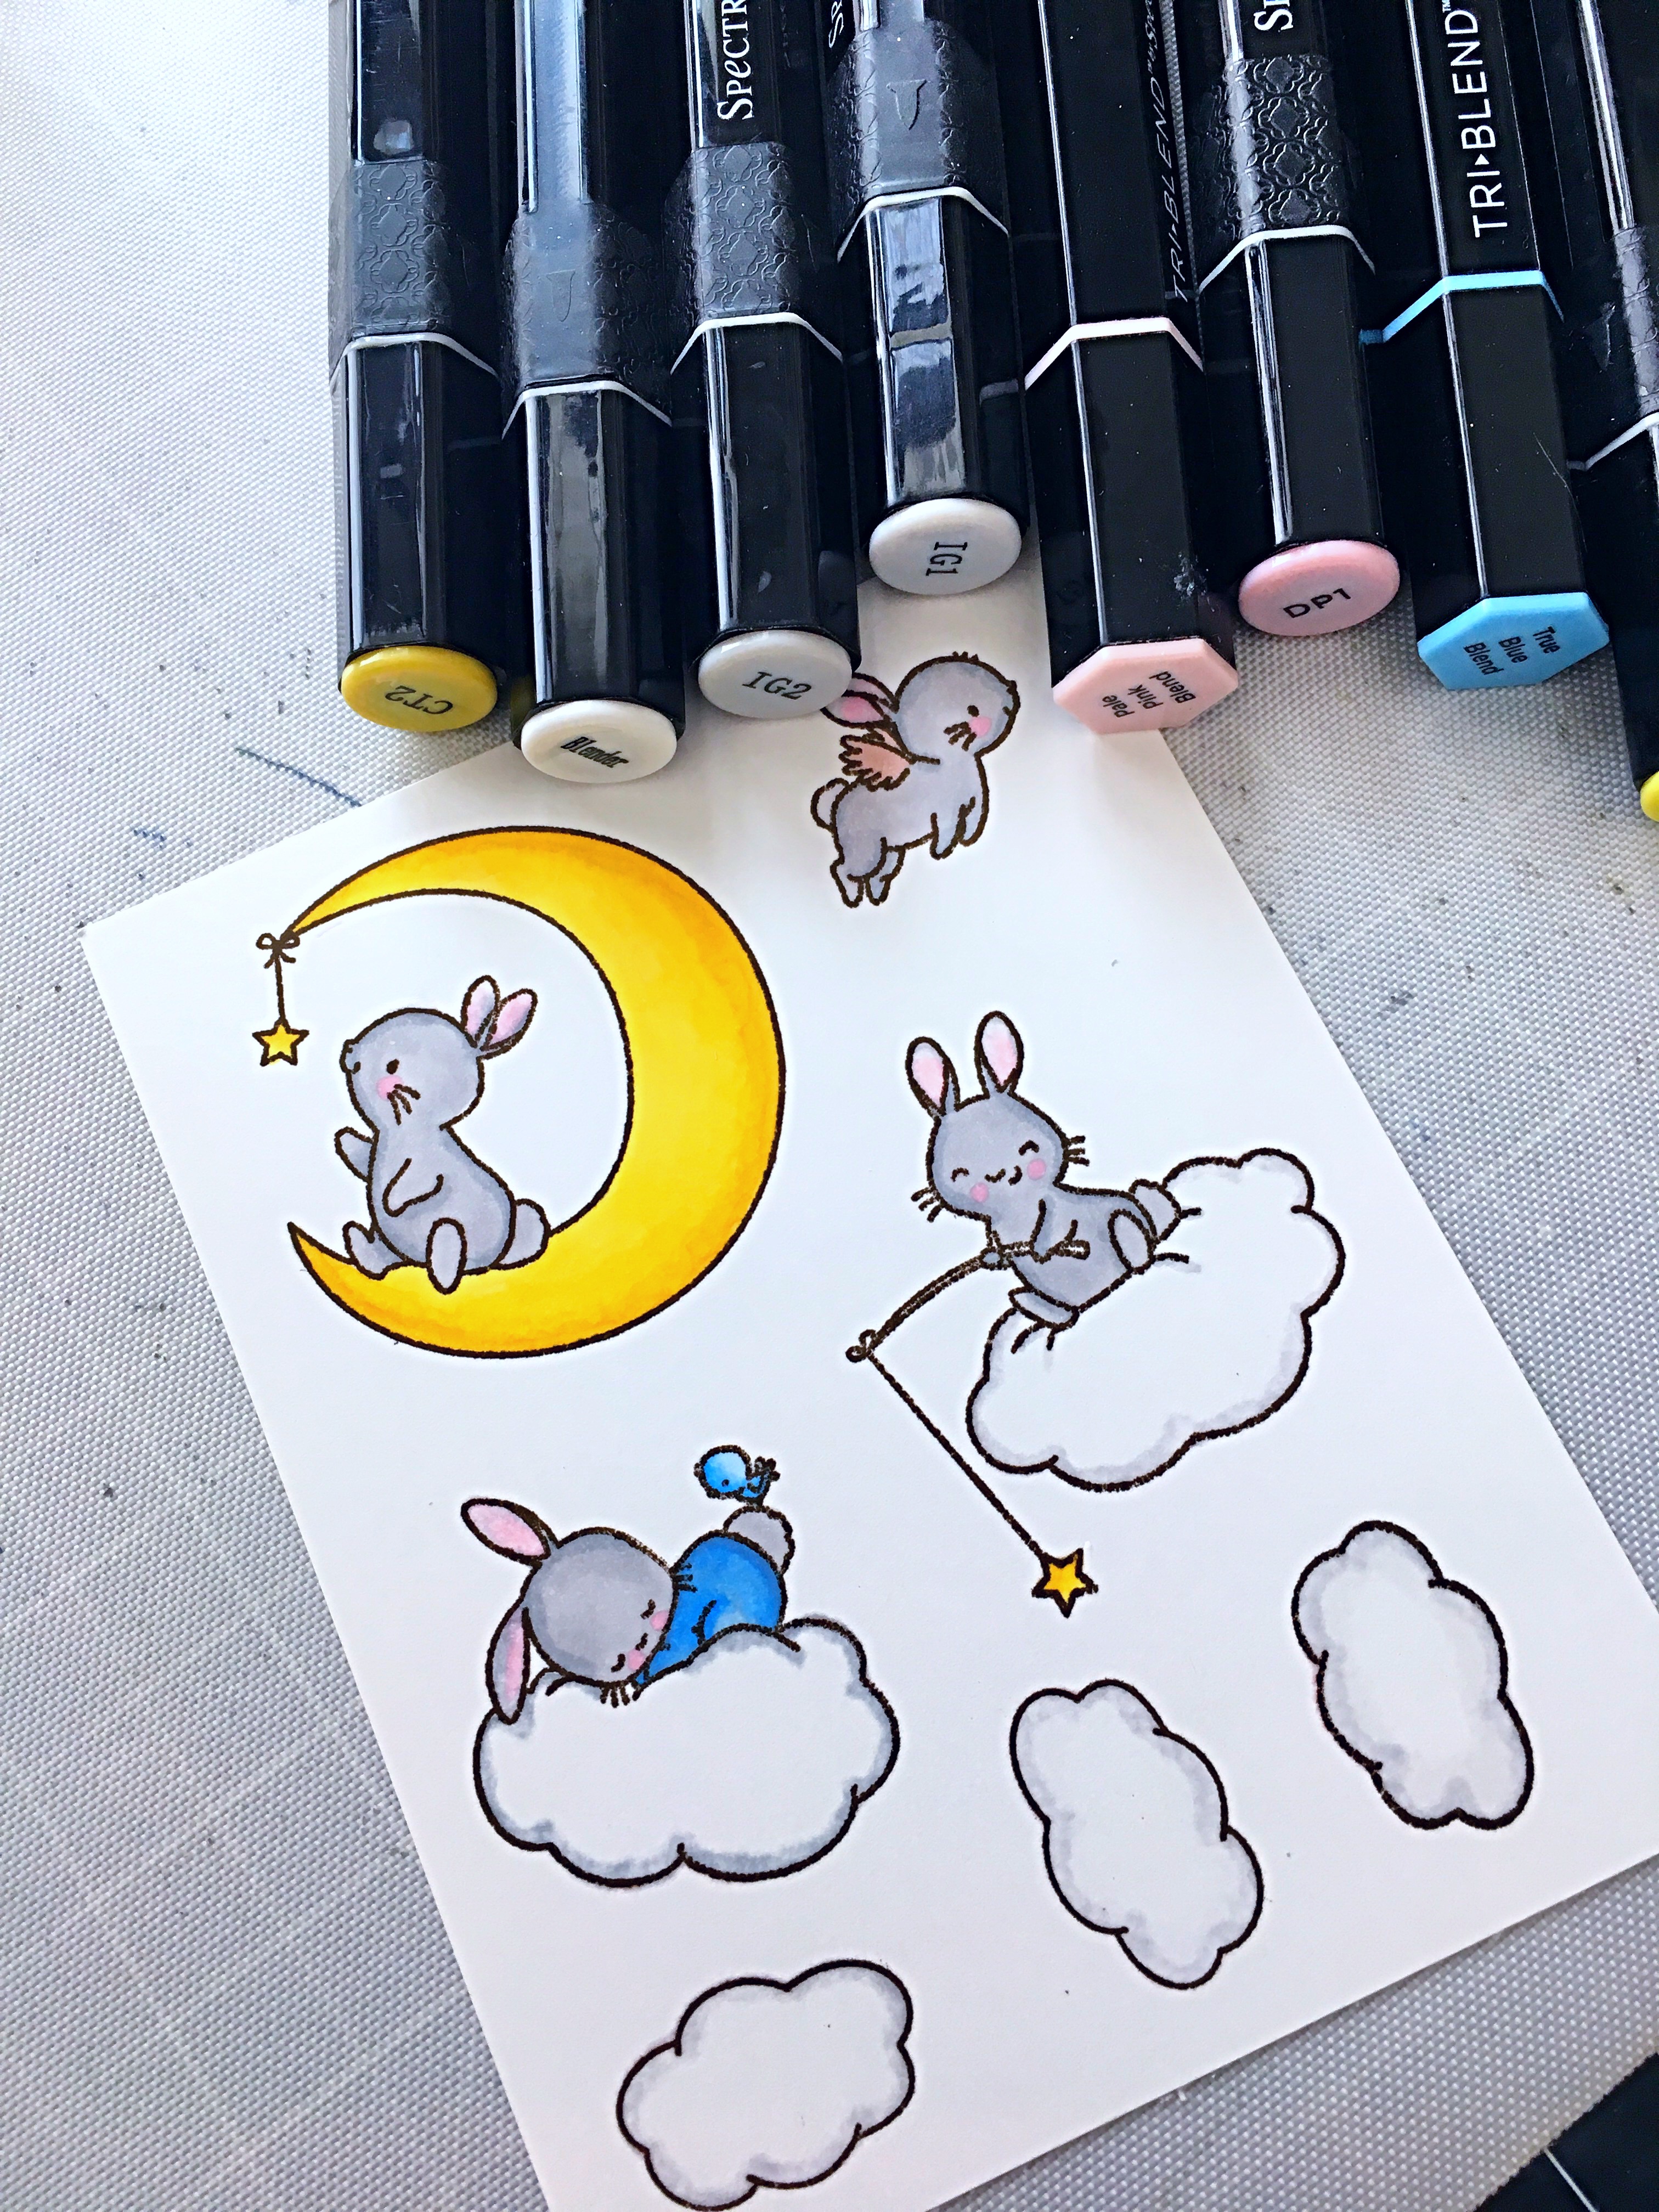
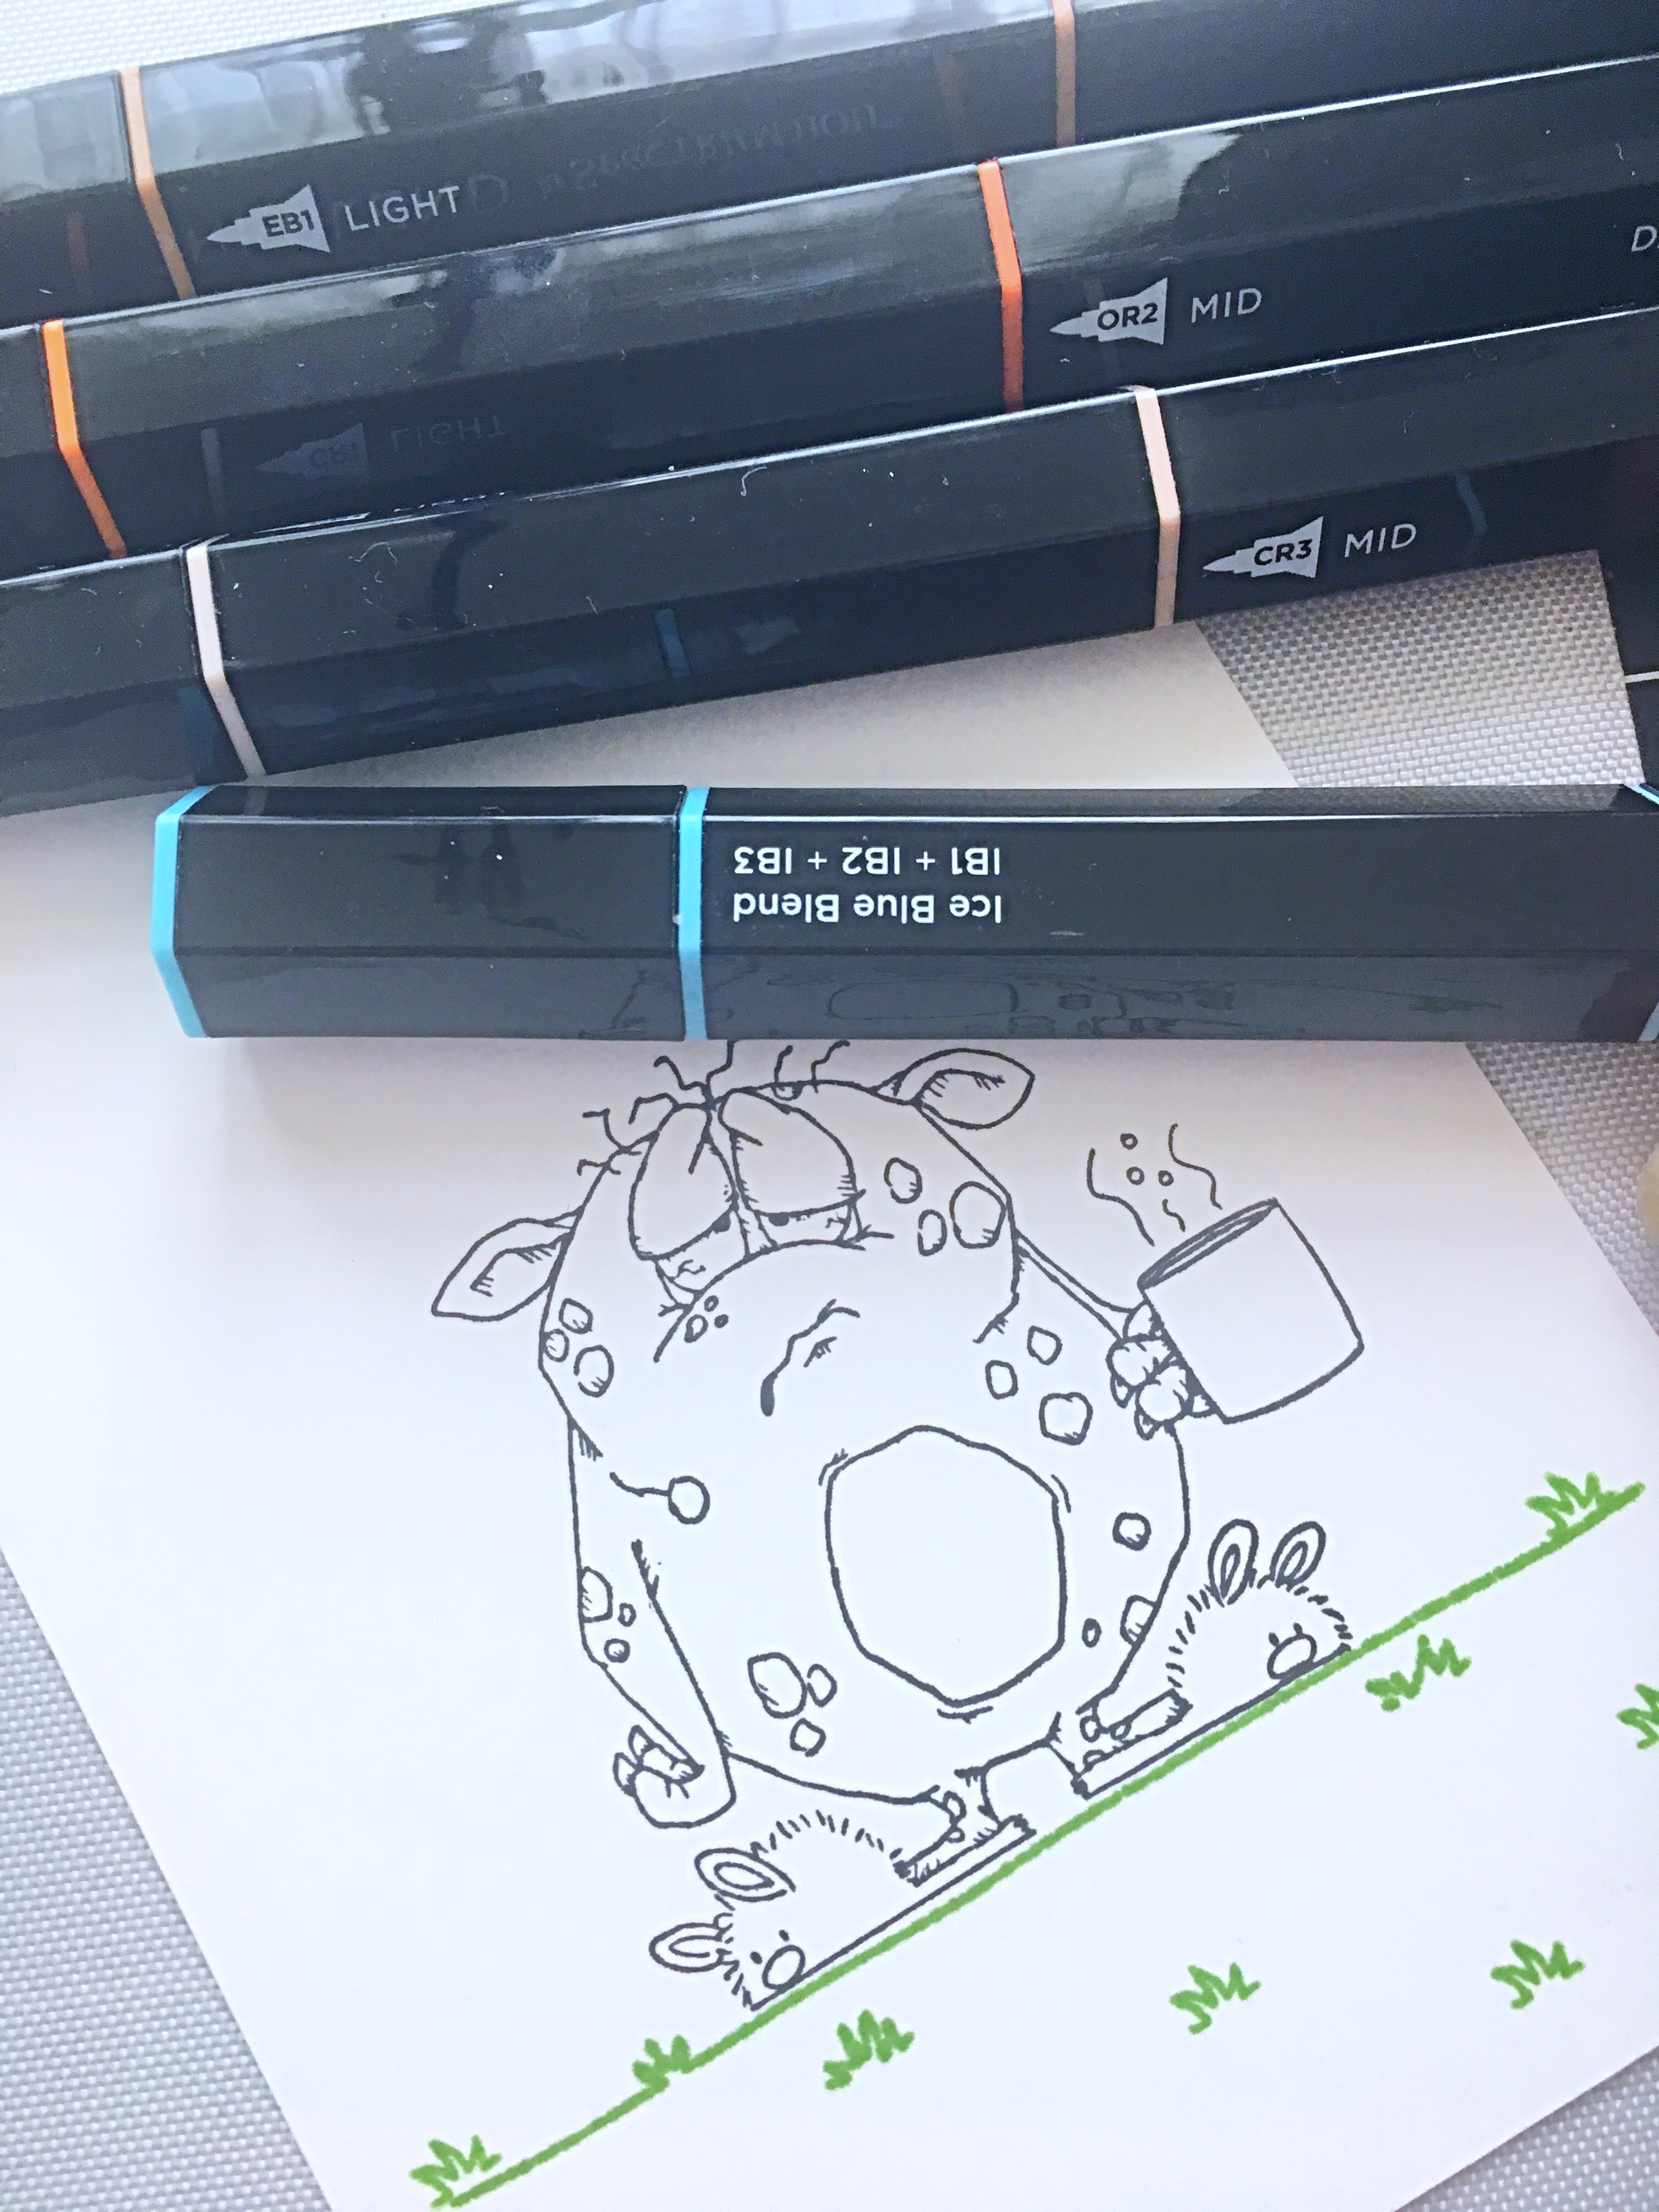
For my project today, I am showcasing the Spectrum Noir TriBlend markers, as well as the SN Harmony Quick Dry Dye inks. The stamp set I used today is by Your Next Stamp.

Step-by-Step Instruction:
- Gather supplies to create your card.

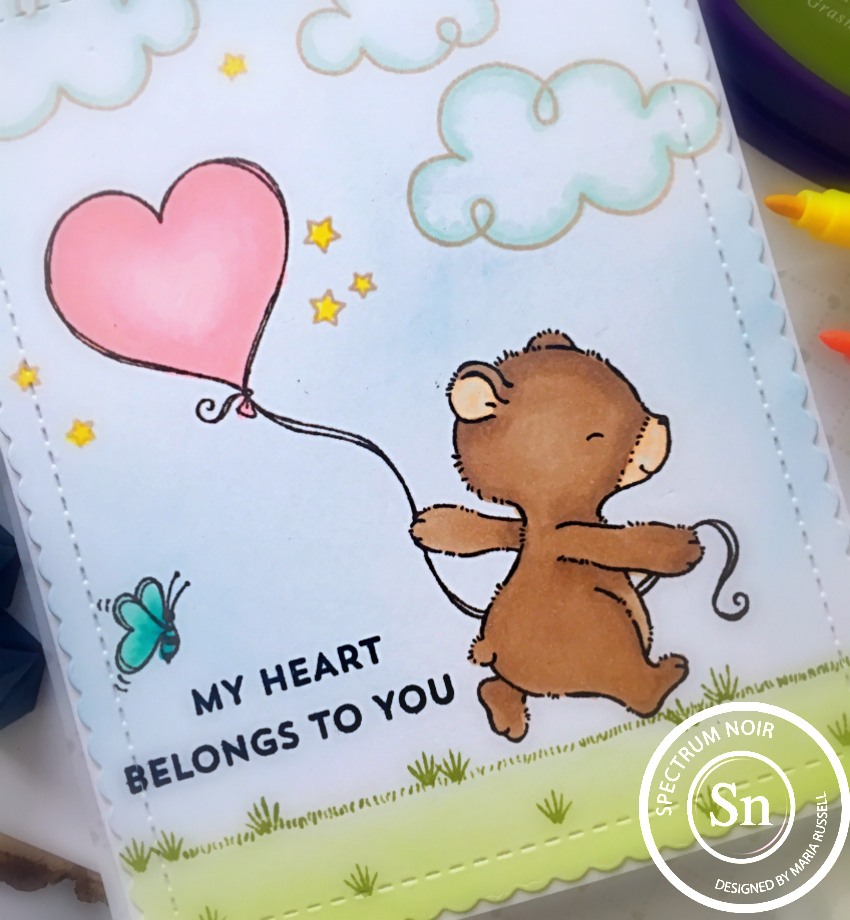
- Stamp image on Crafter’s Companion White stamping card with SN Harmony quick Dry Dye Ink in Rustic Brown.
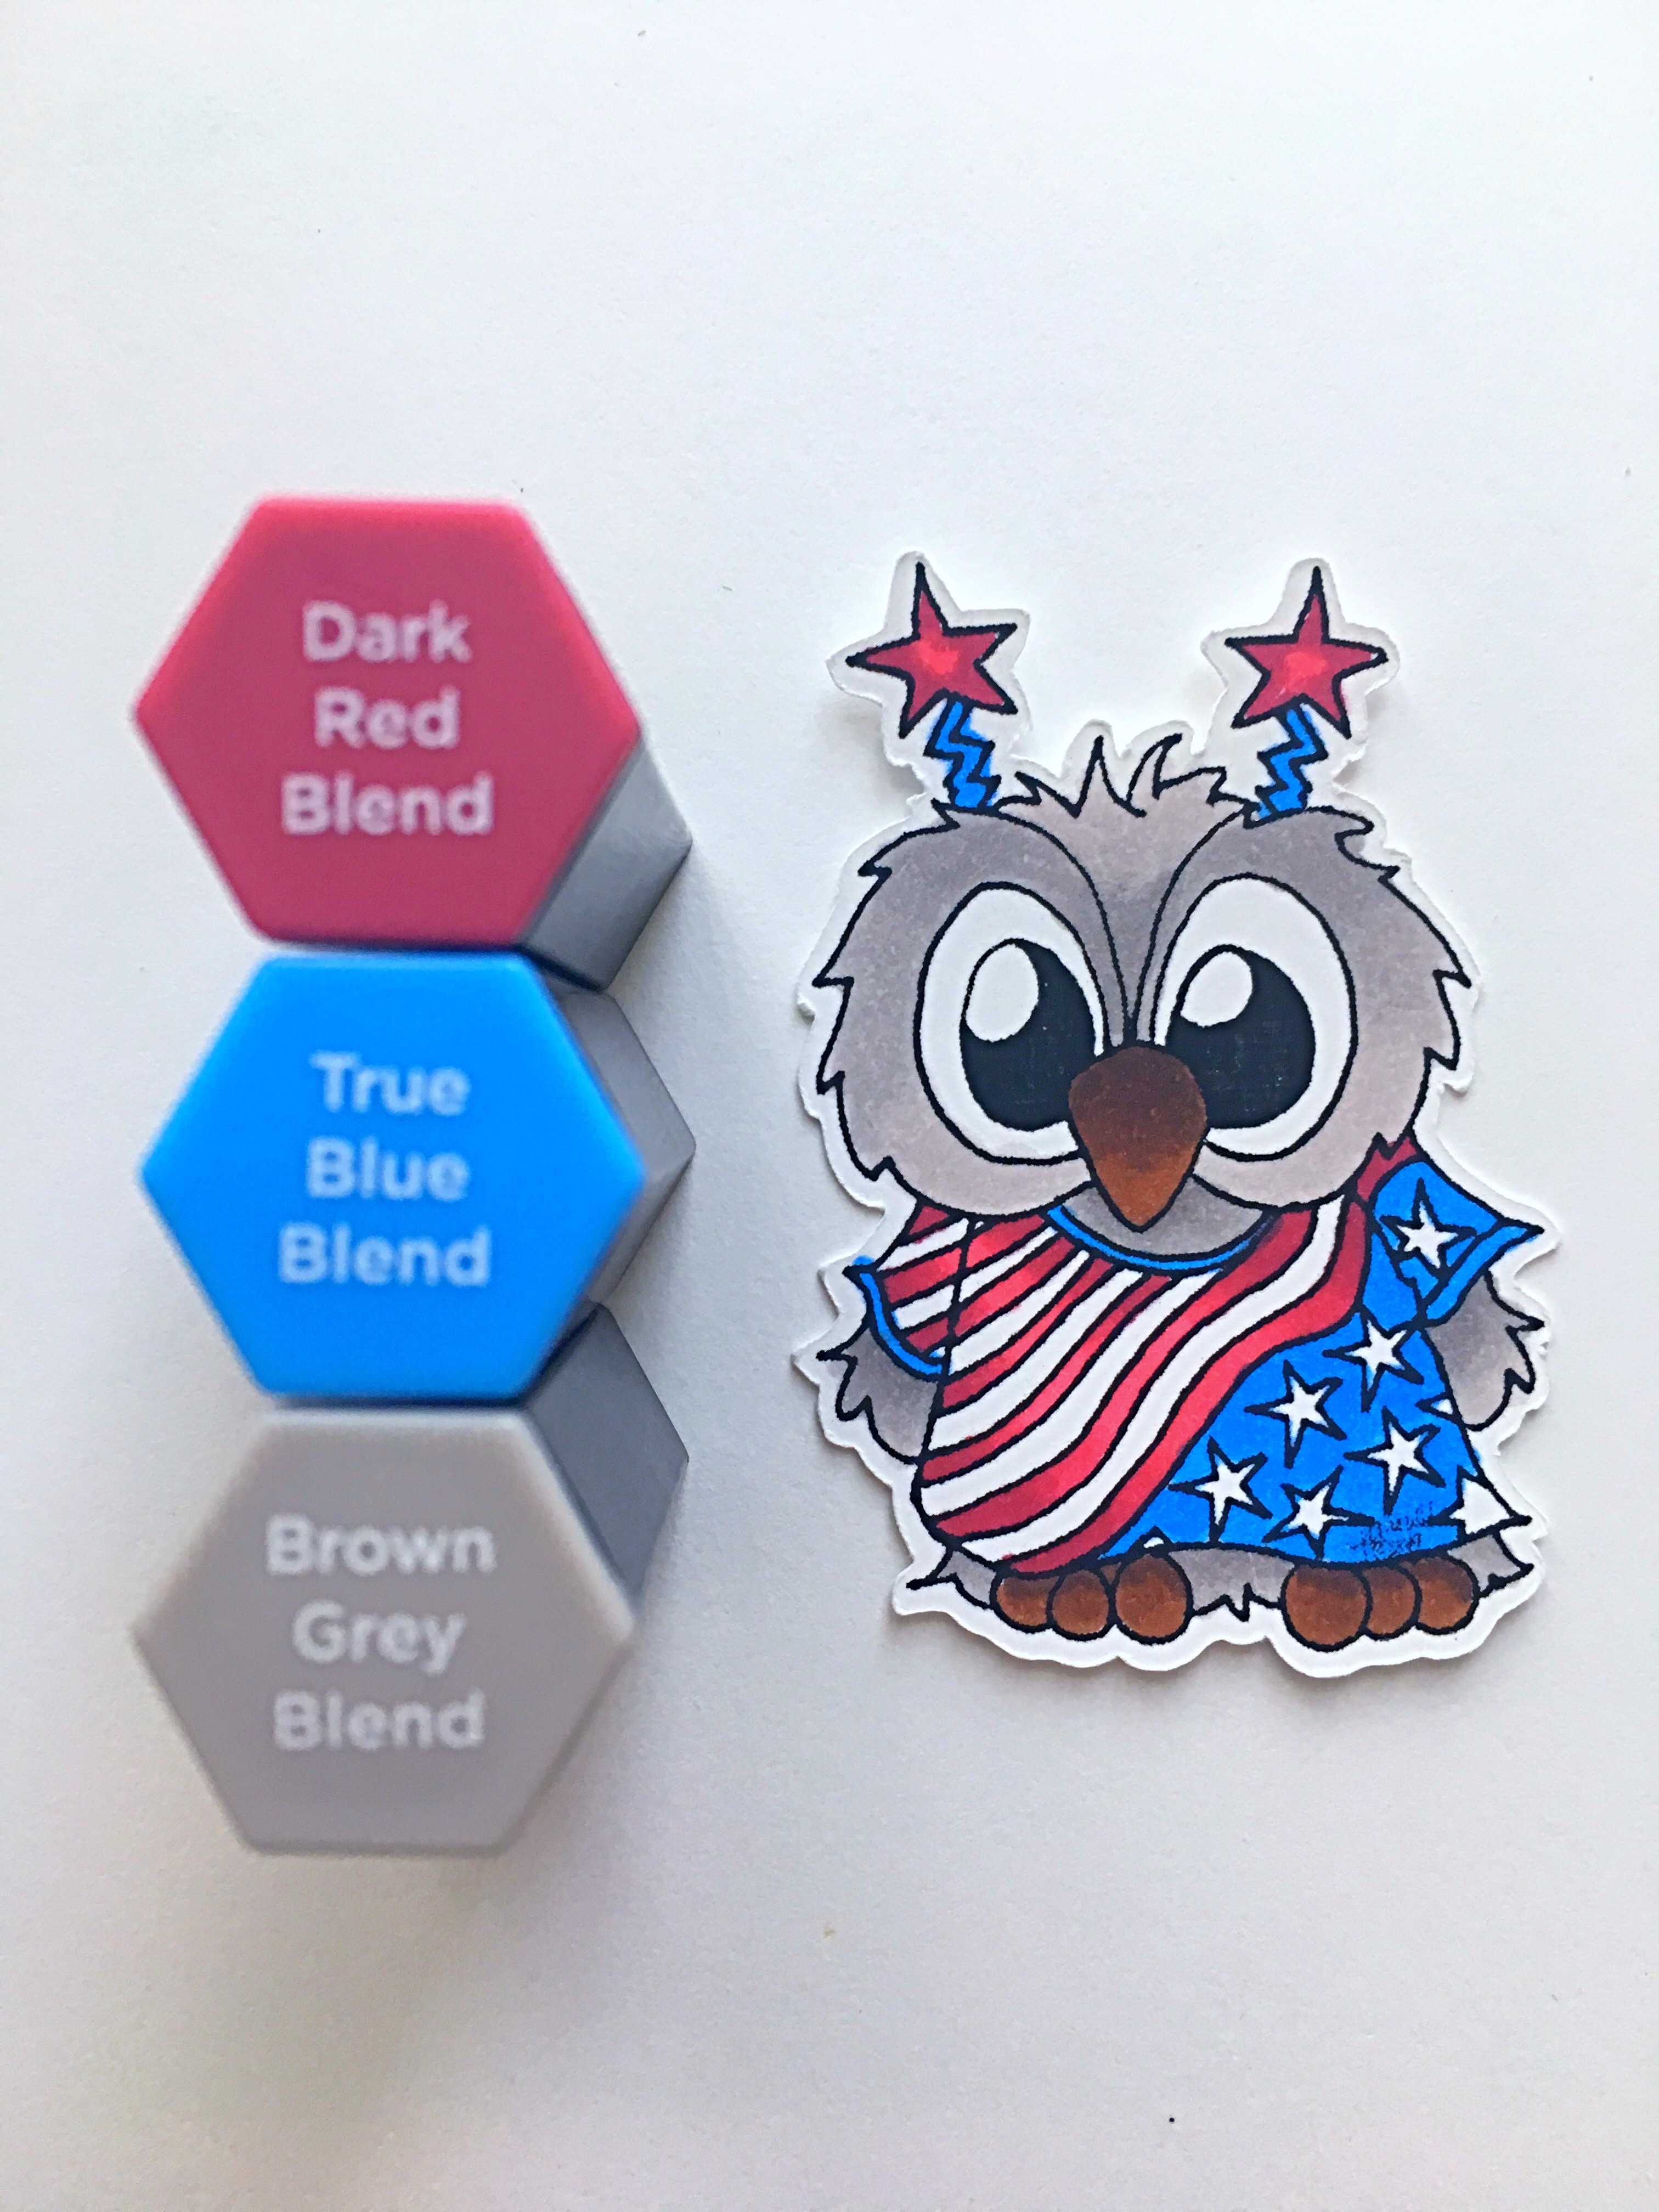
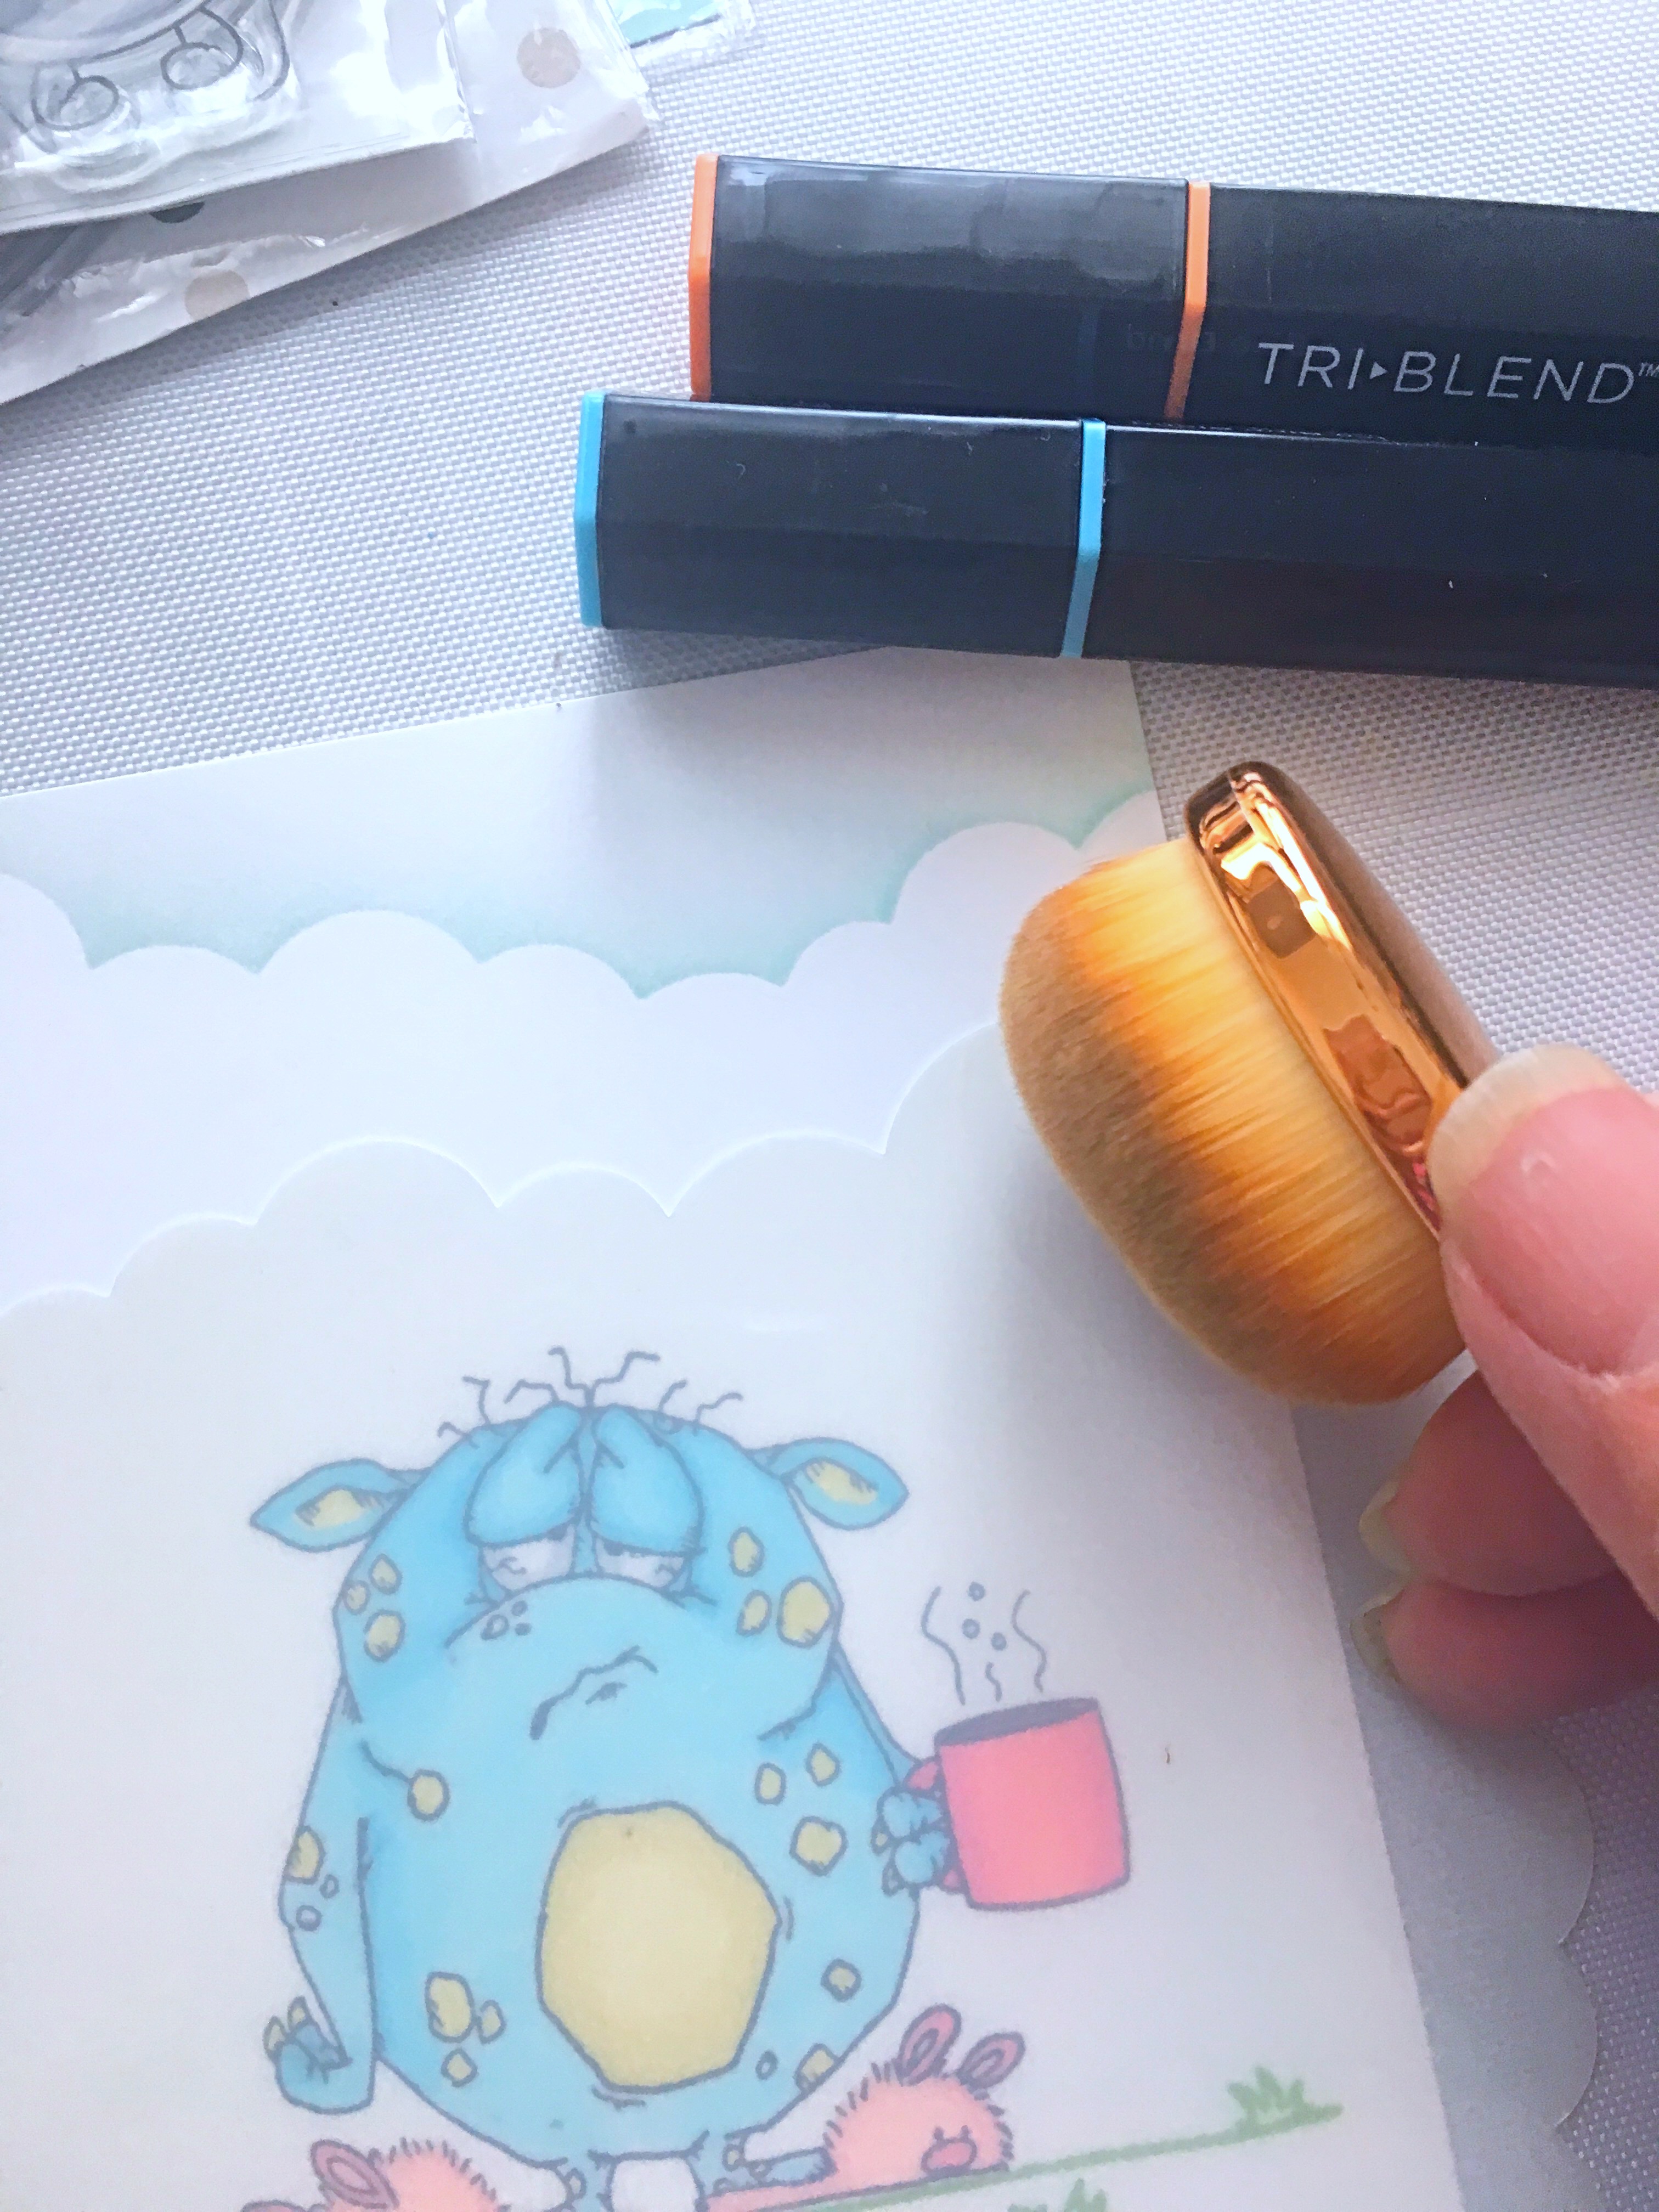
- Color the image using SN TriBlend Markers in Turquoise Blue Blend, Citrus Green, Citrus and Dark Brown Blend and die-cut using the coordinating die.
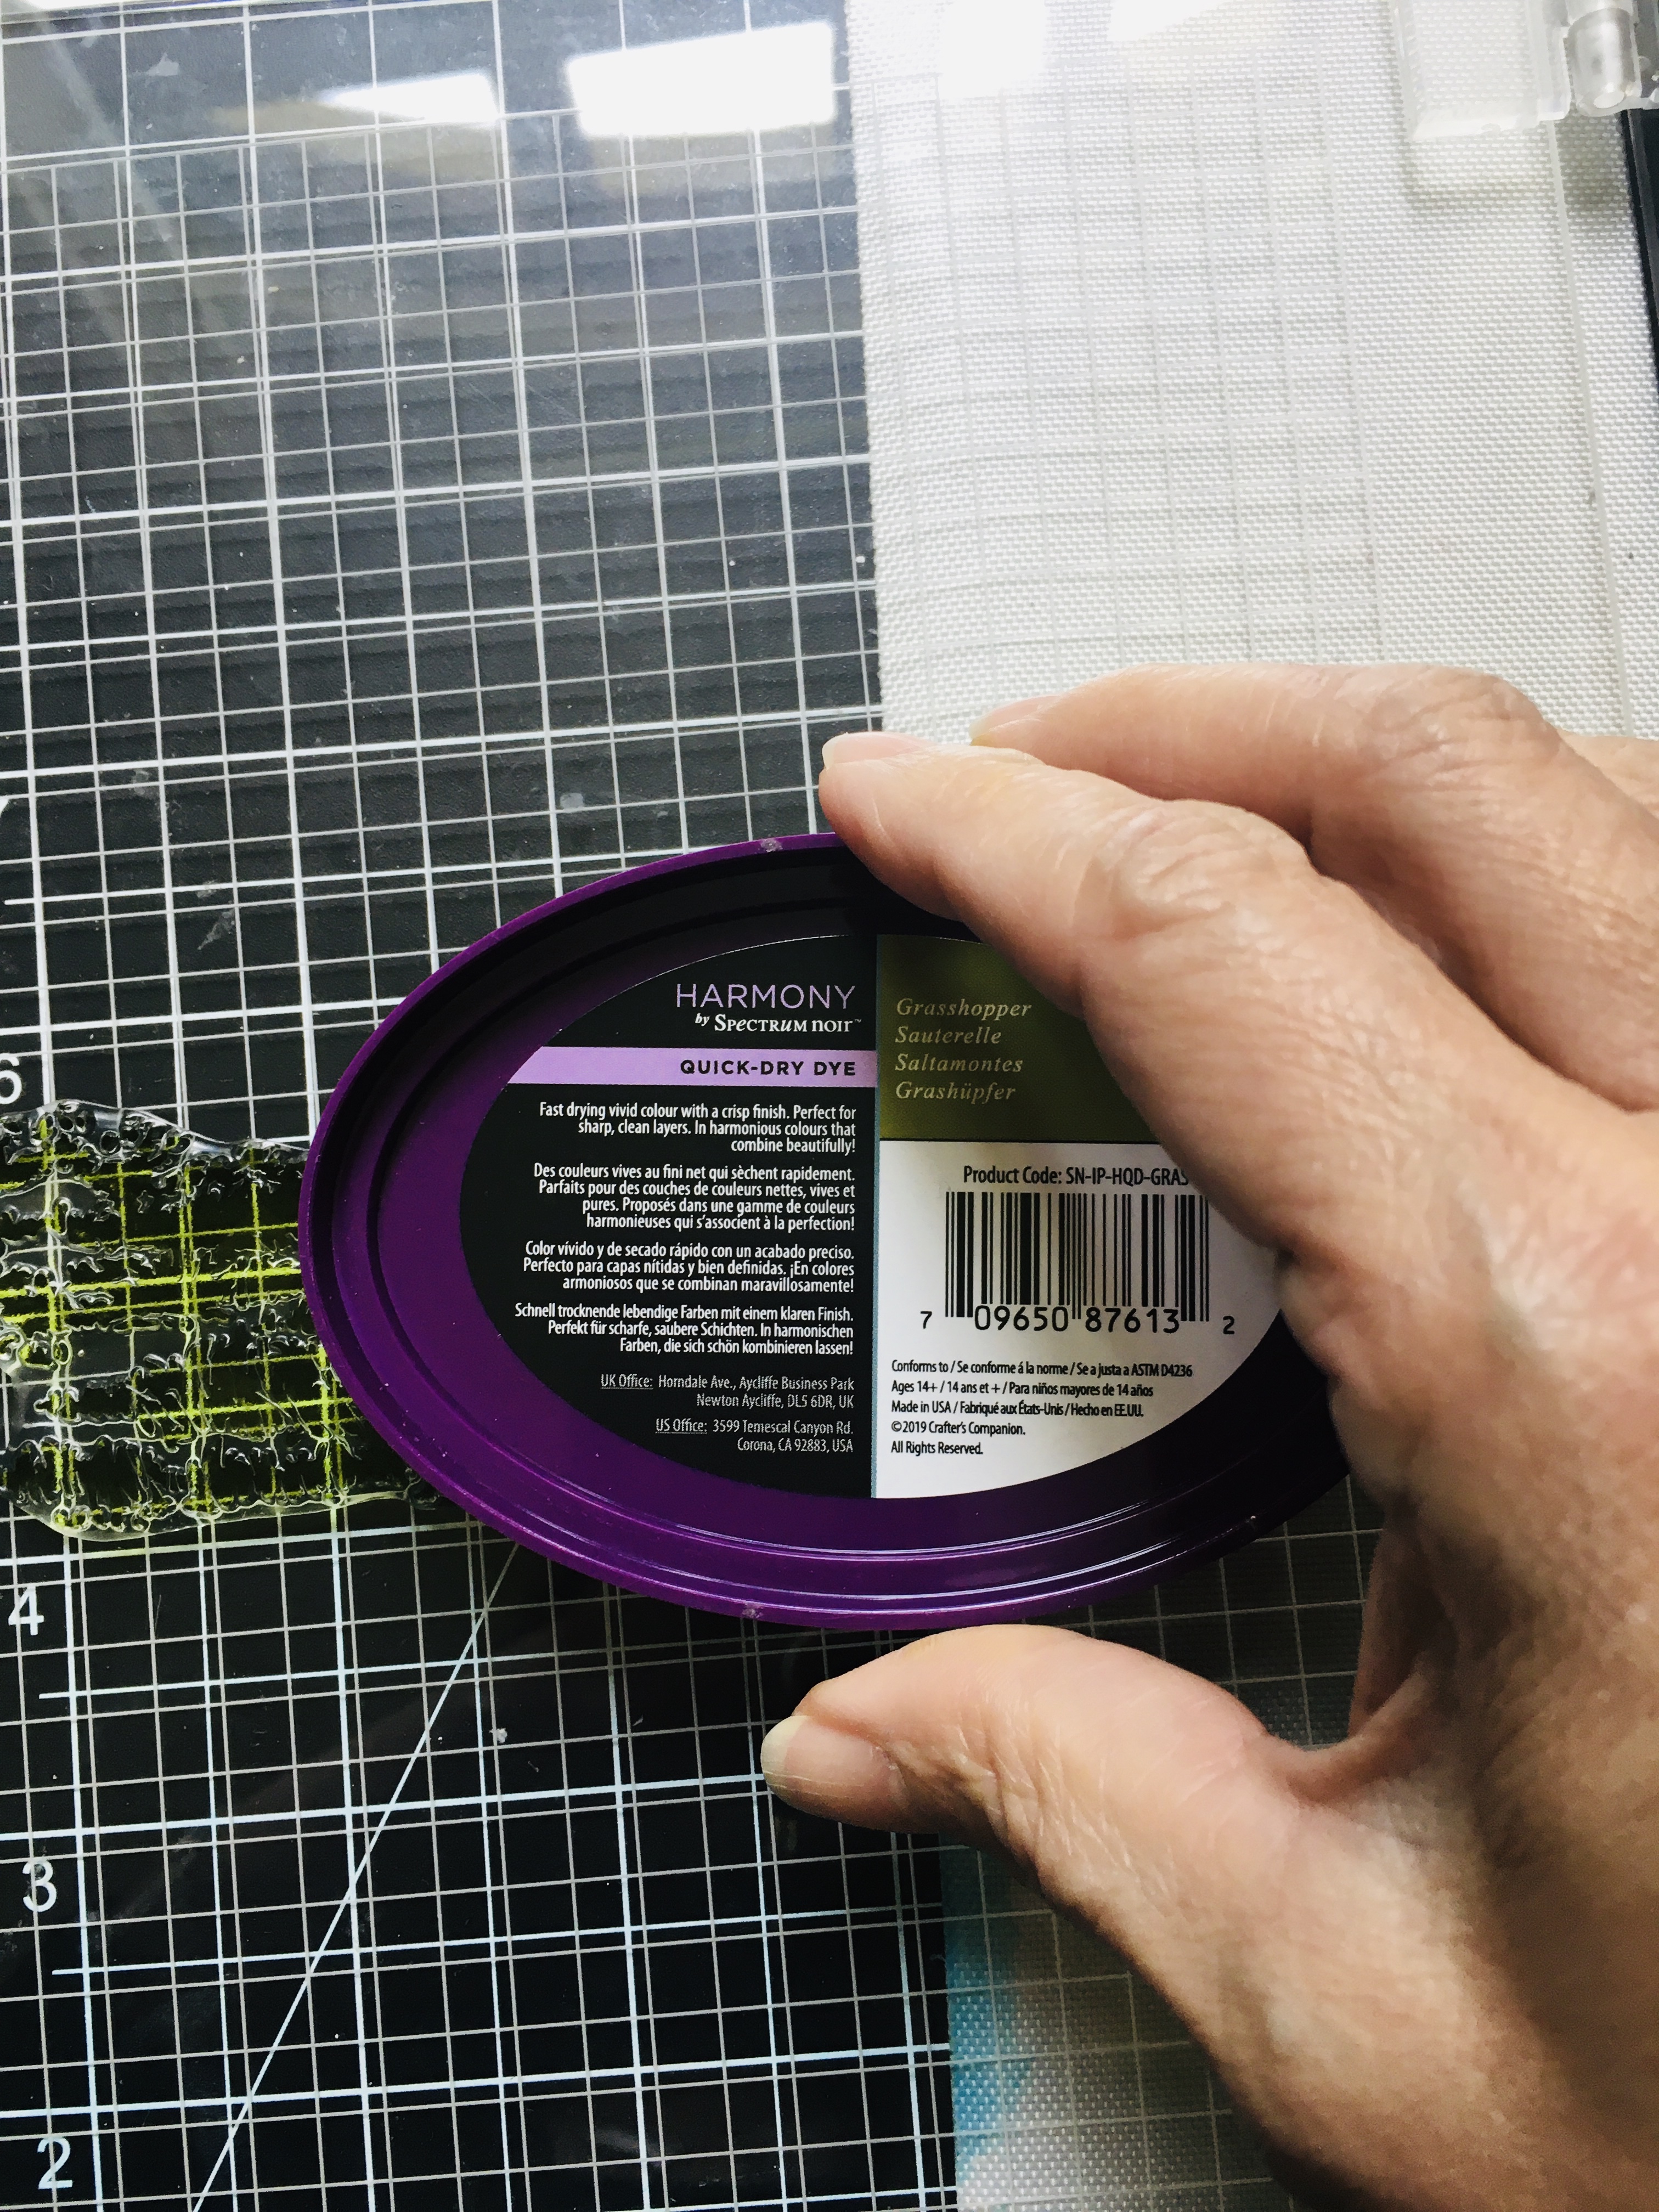
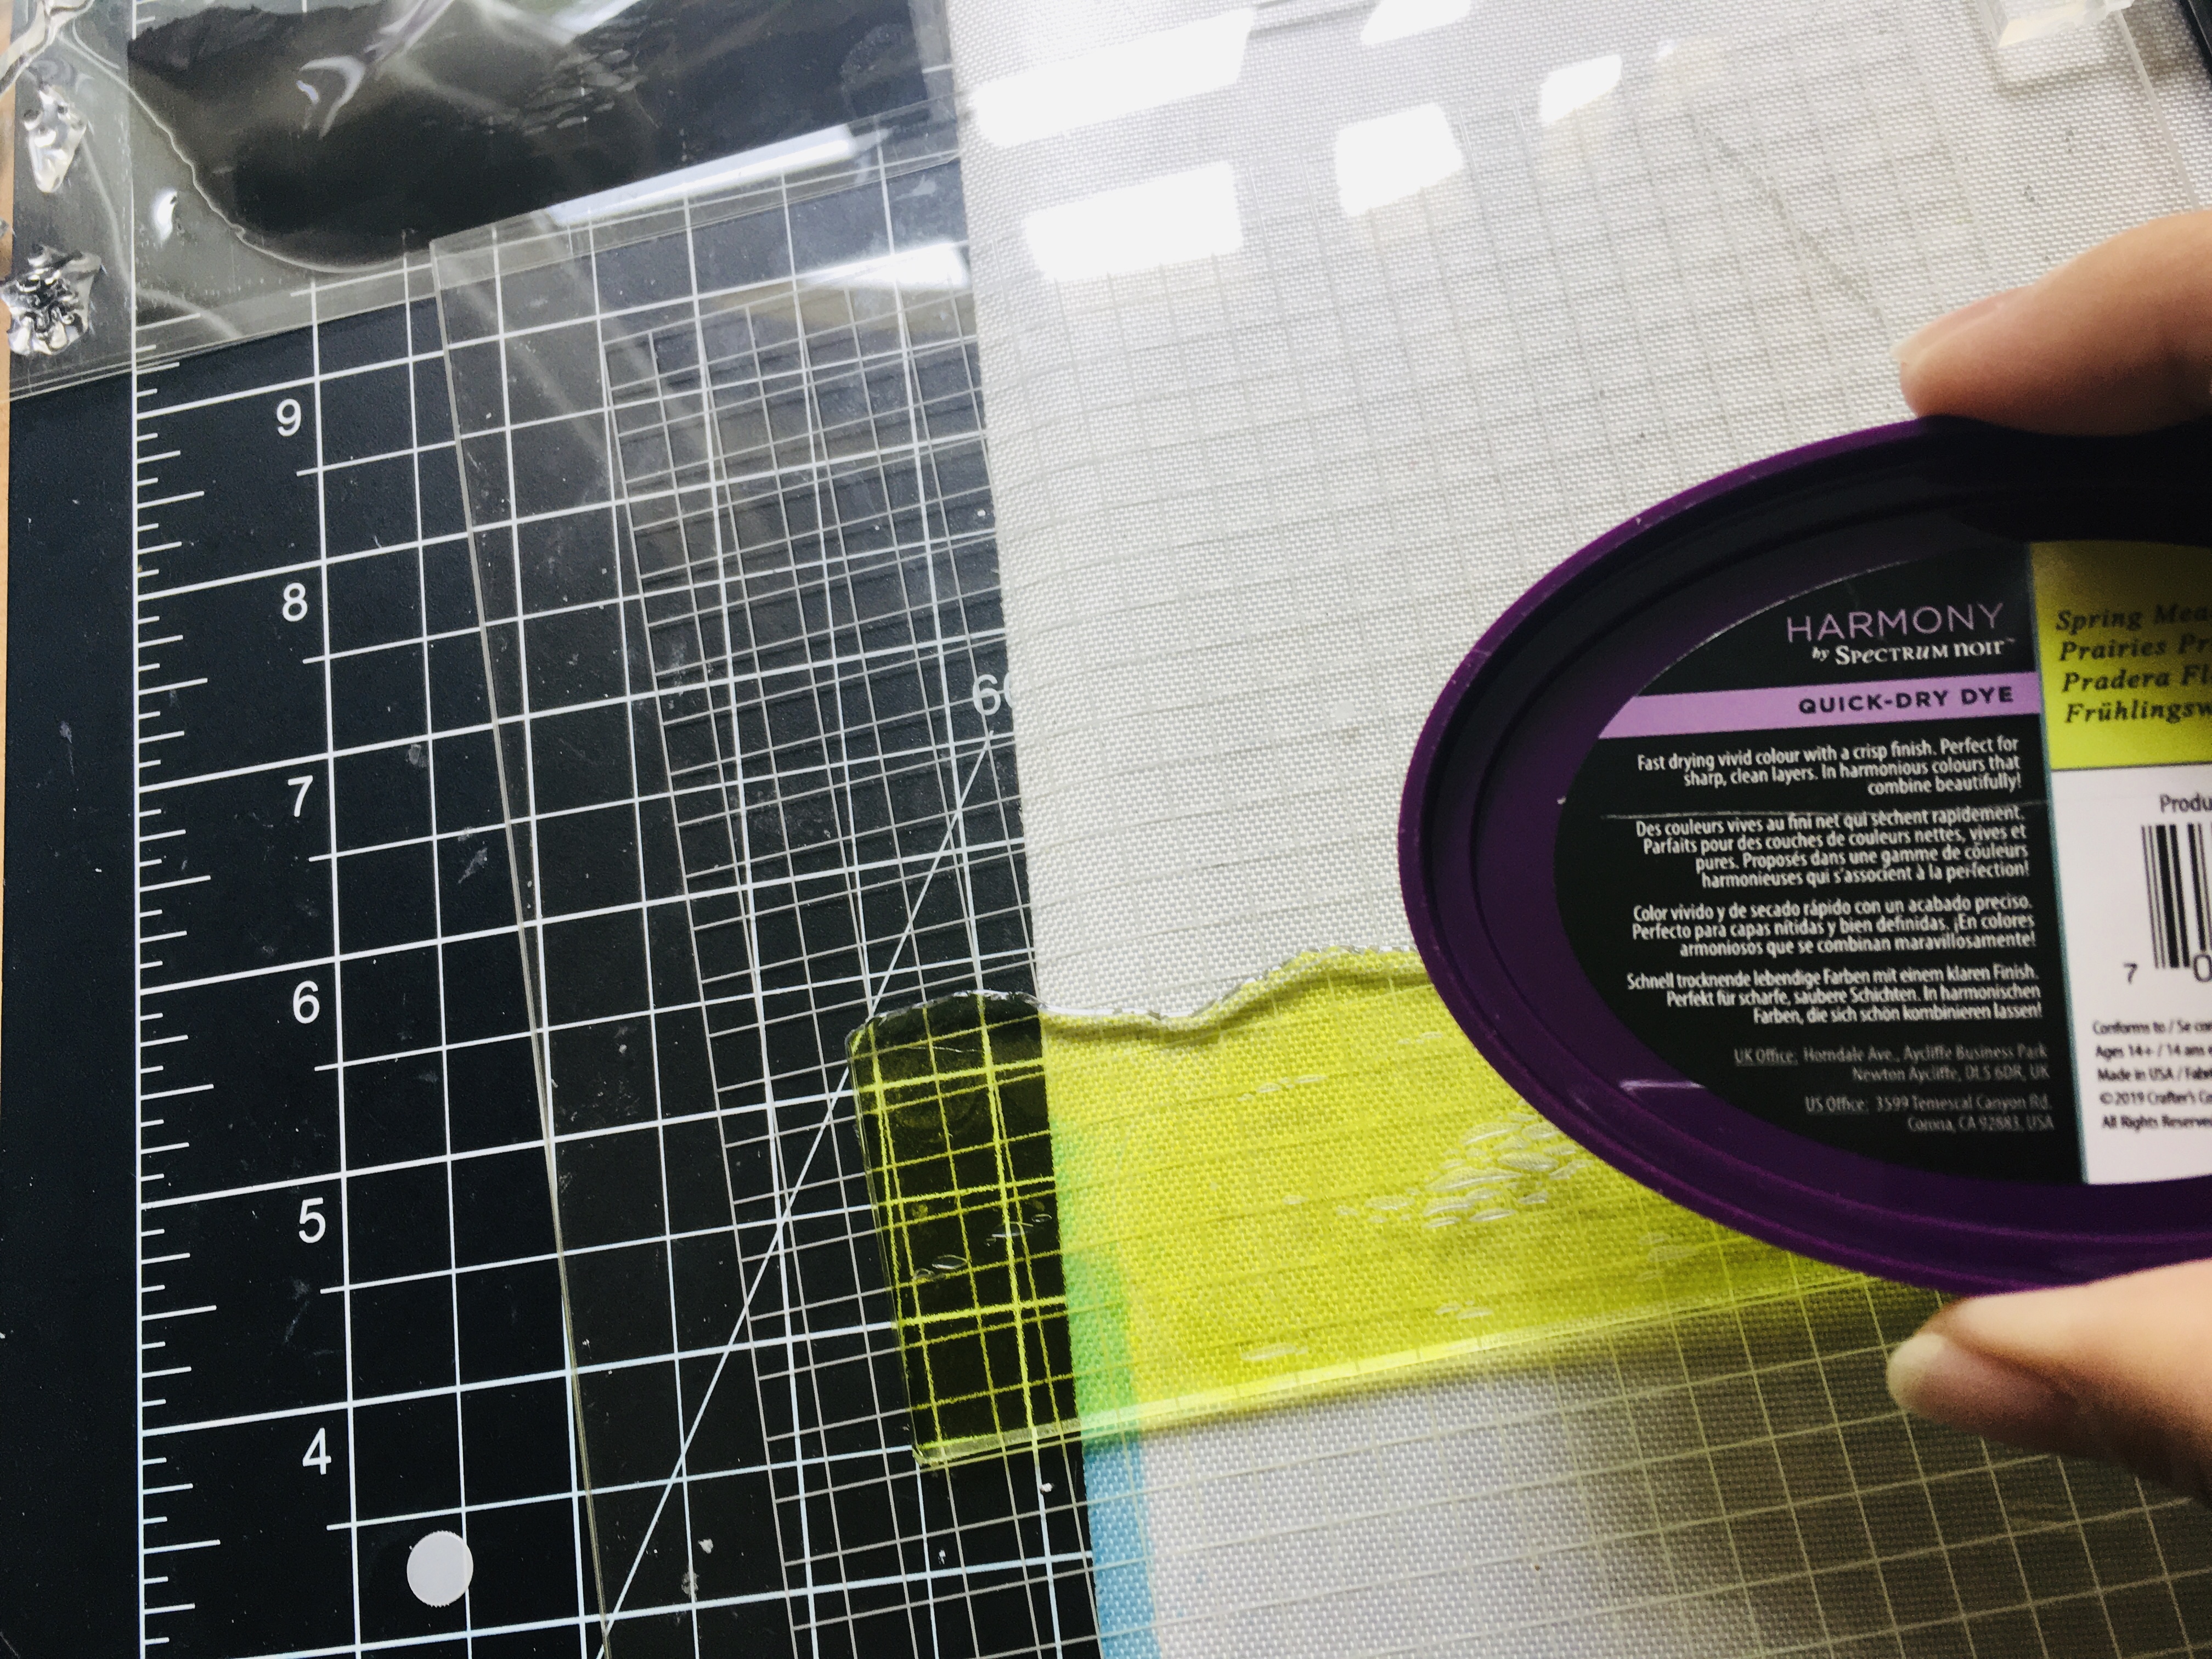
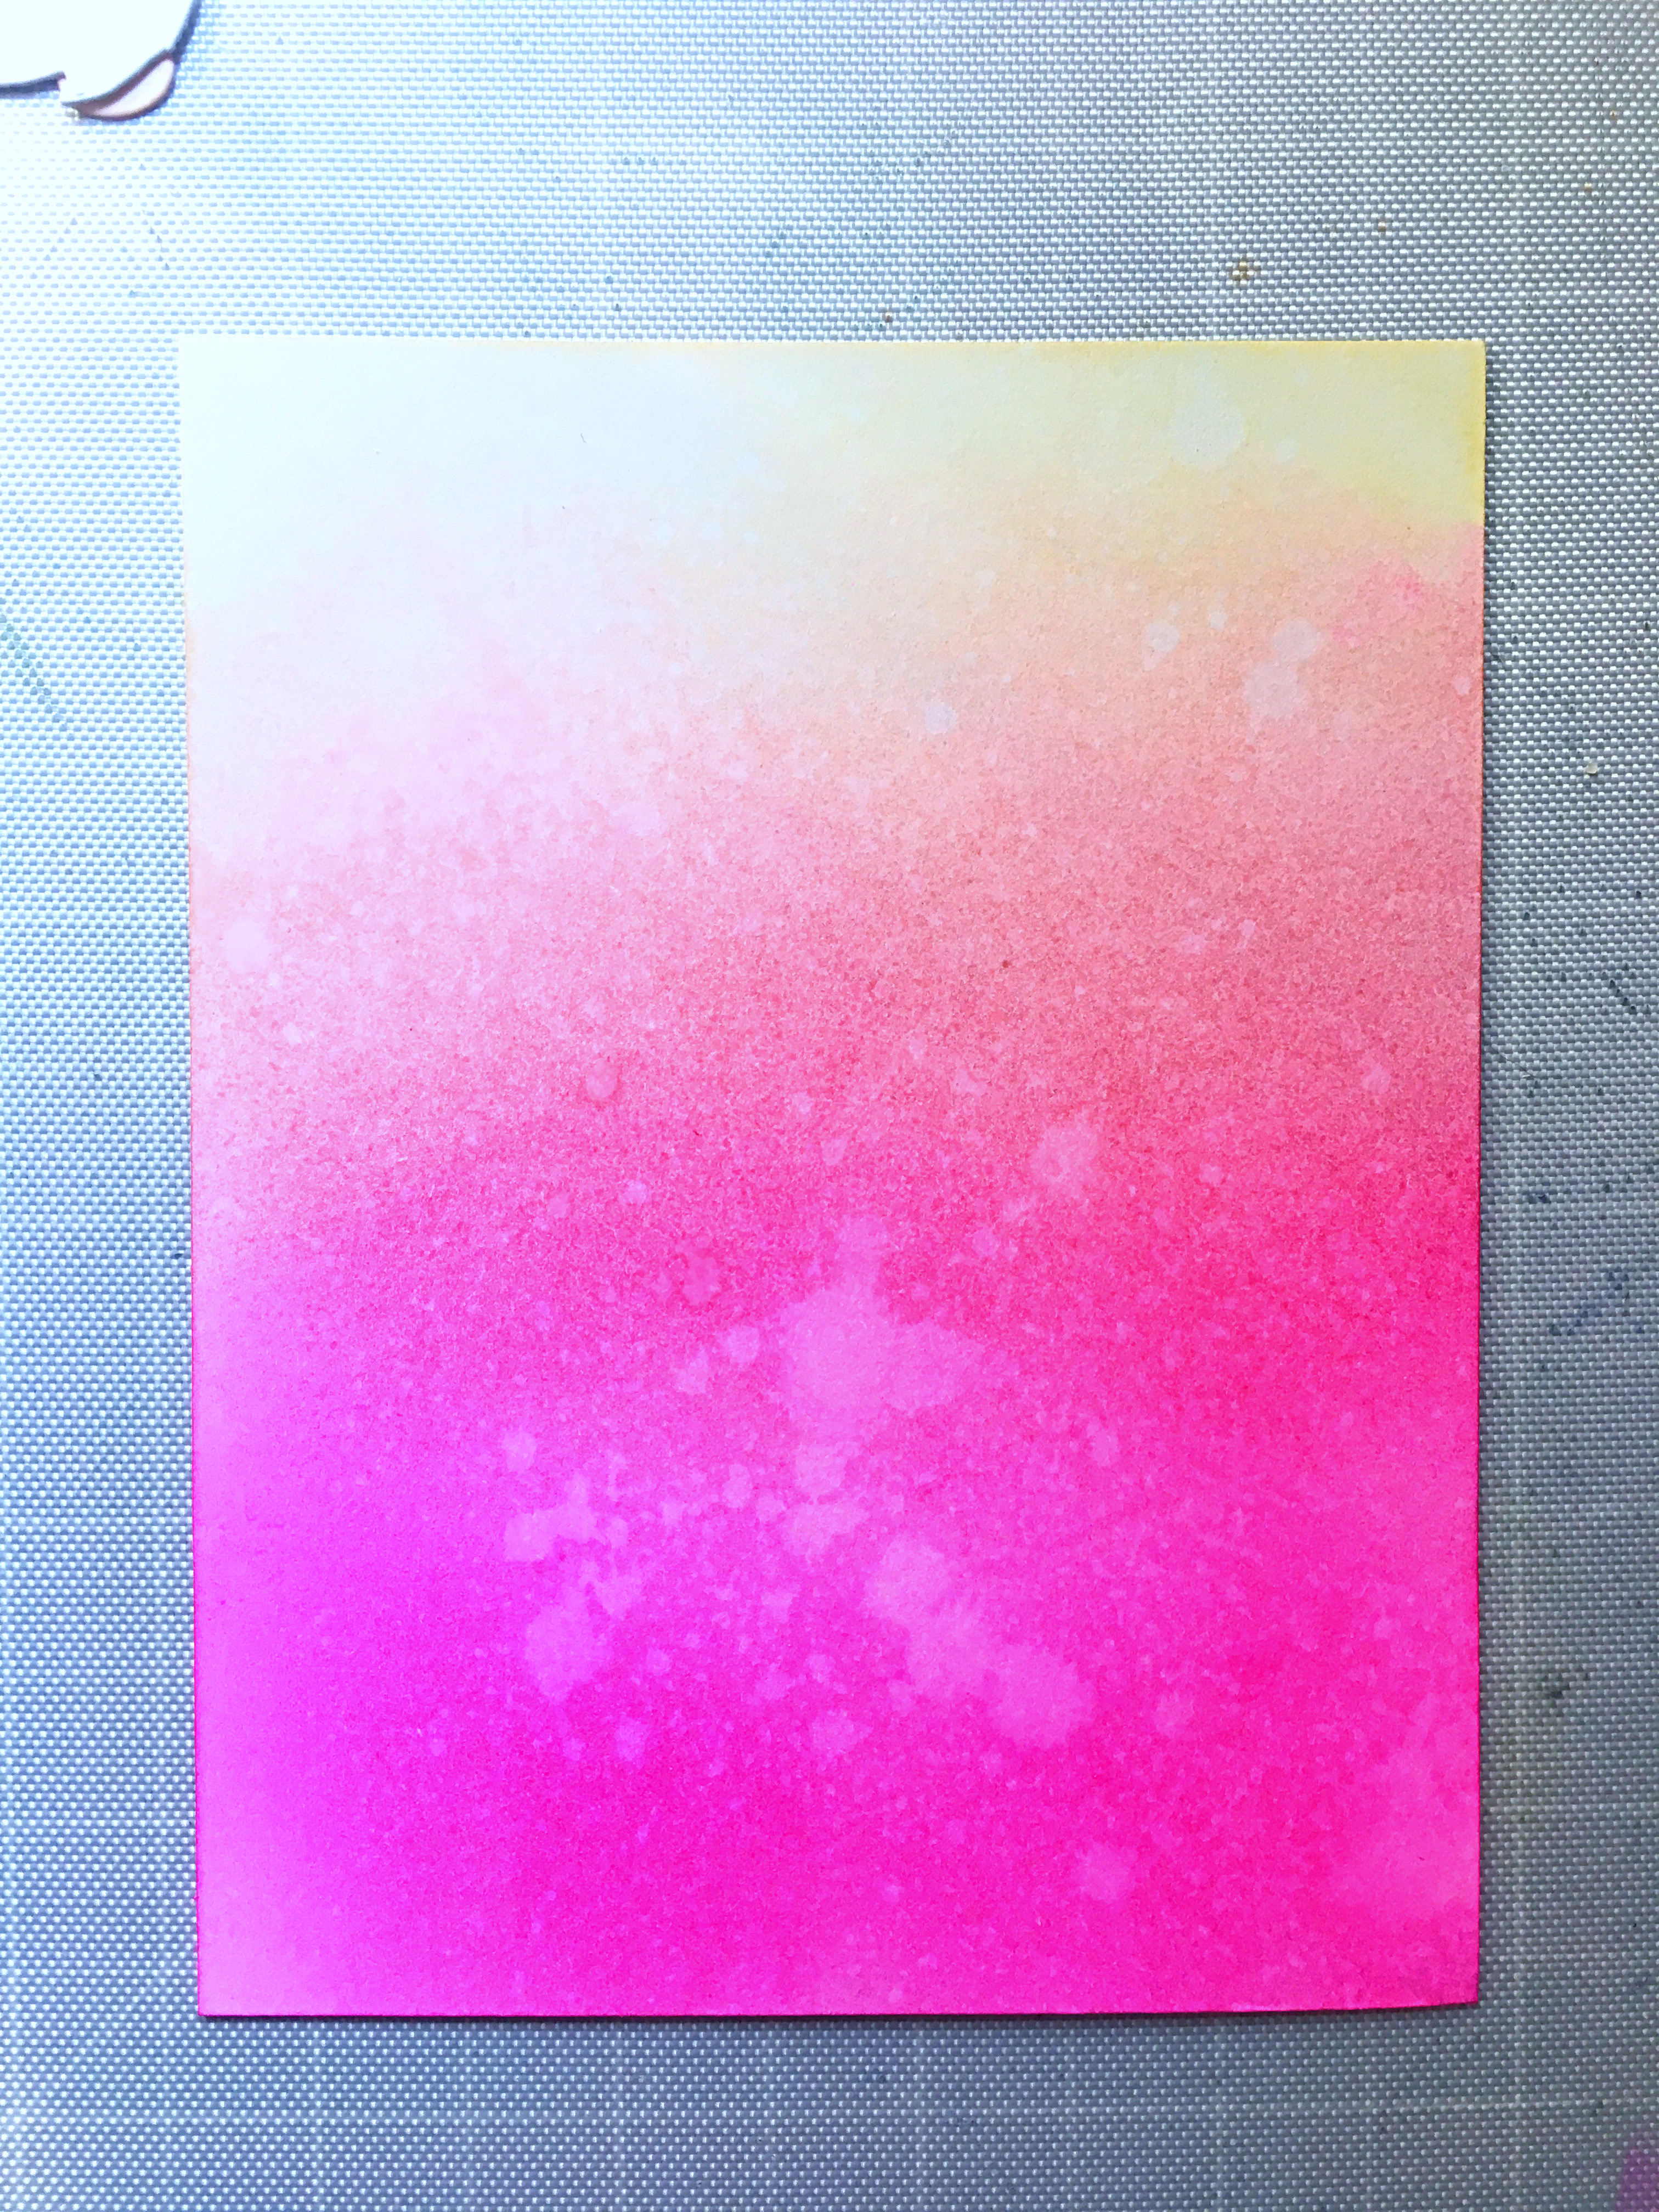
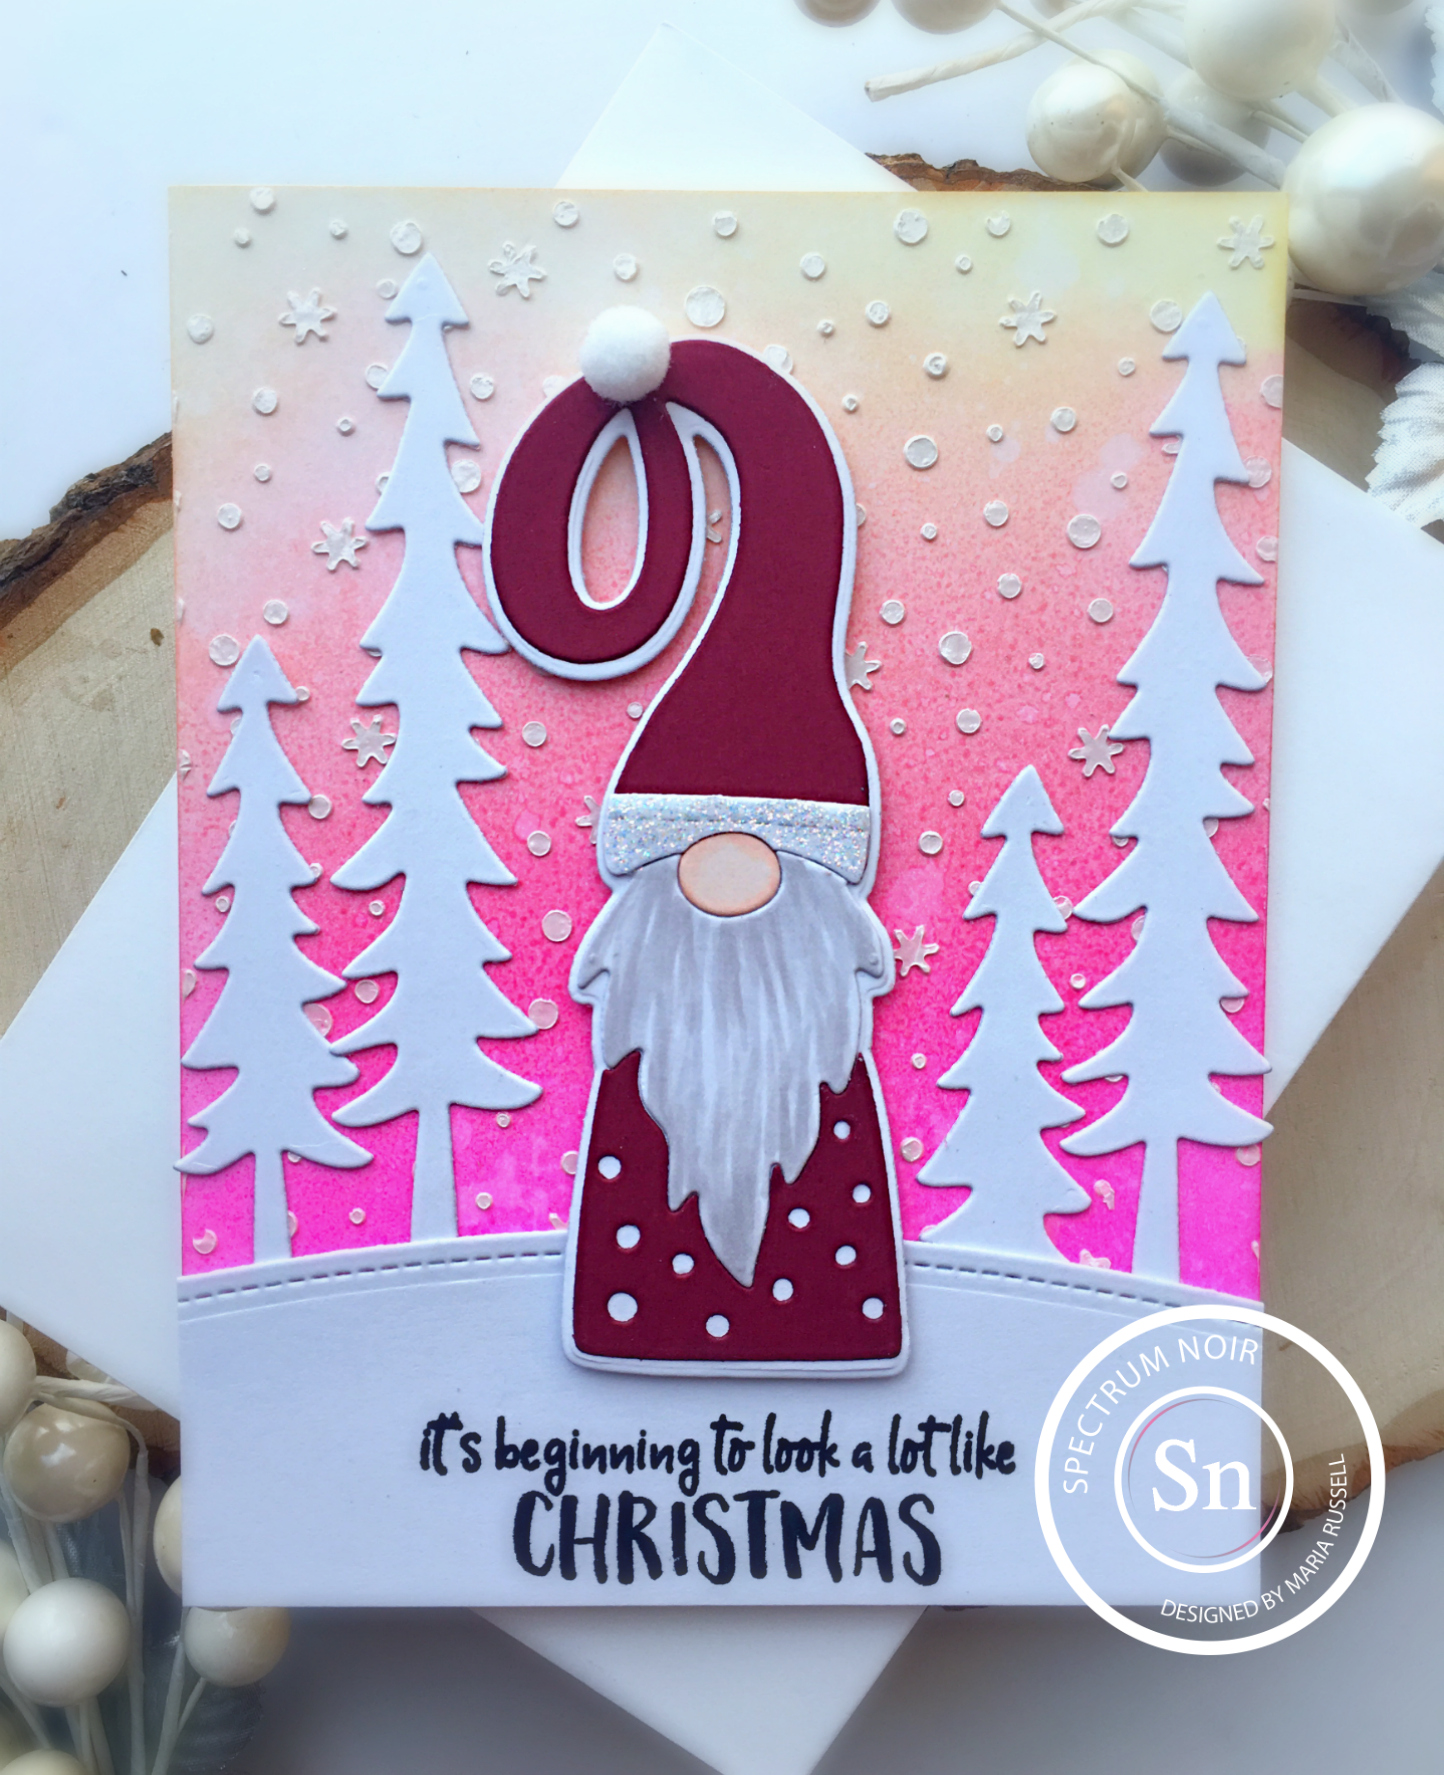
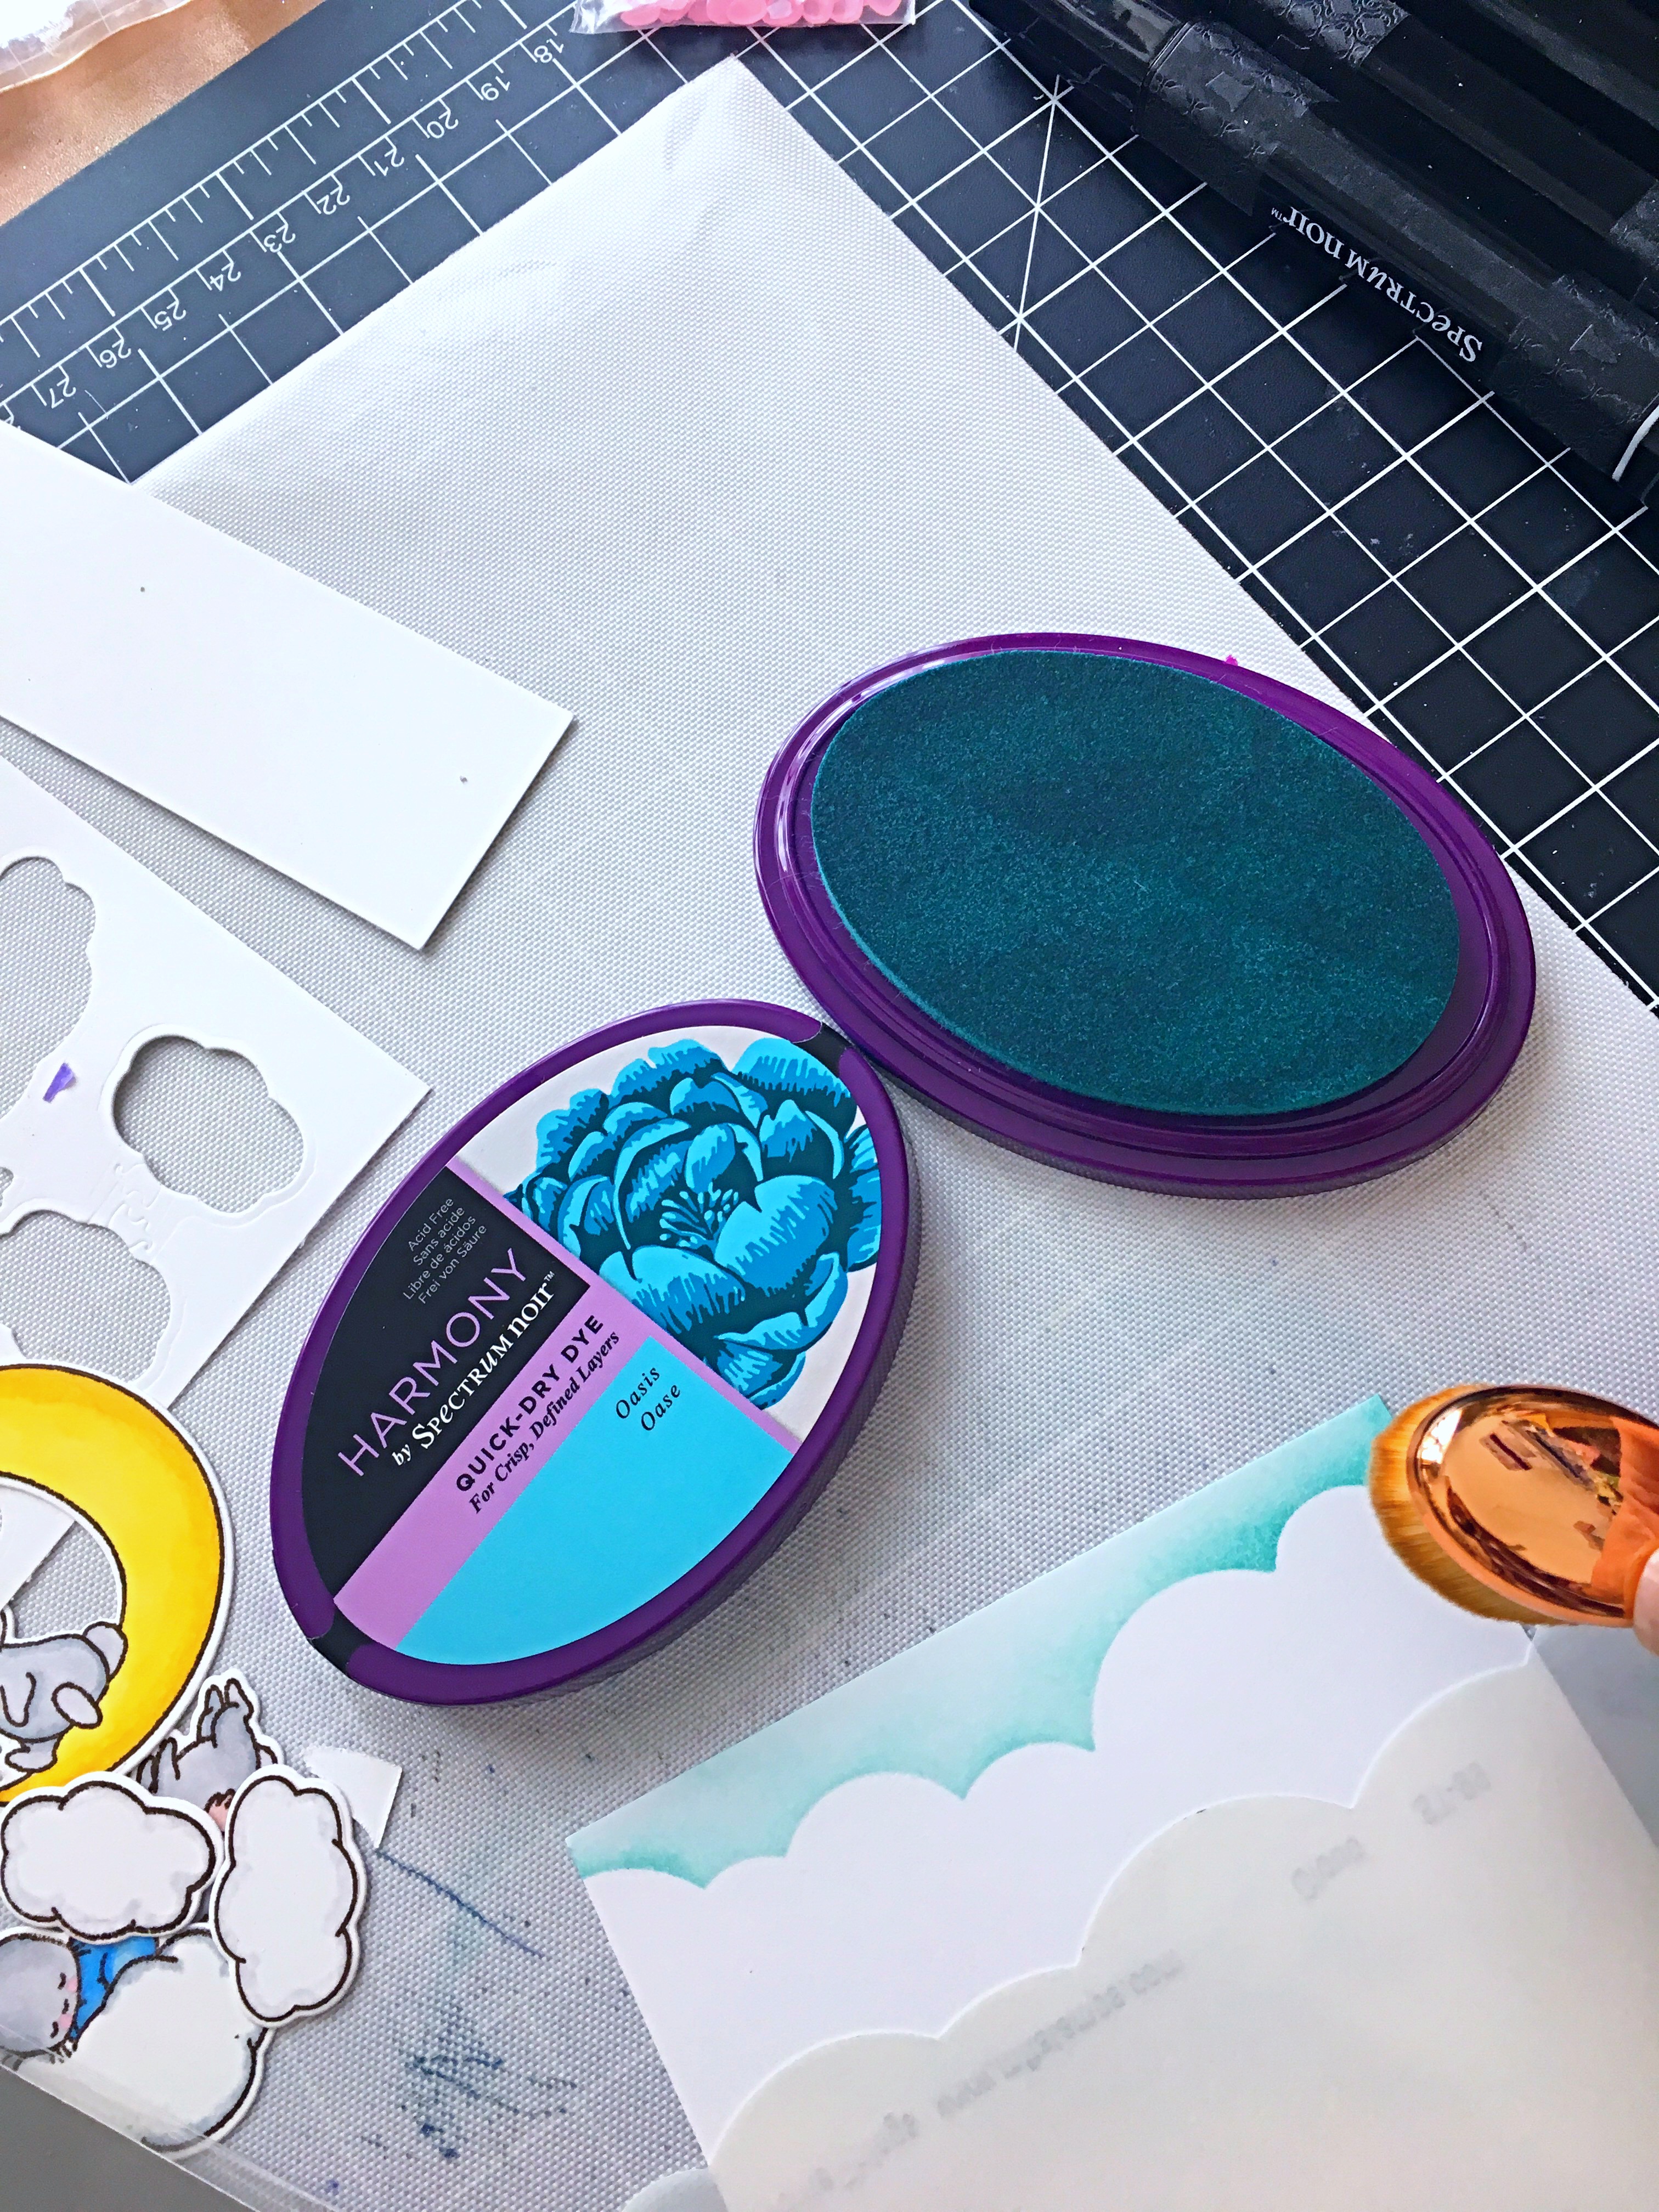
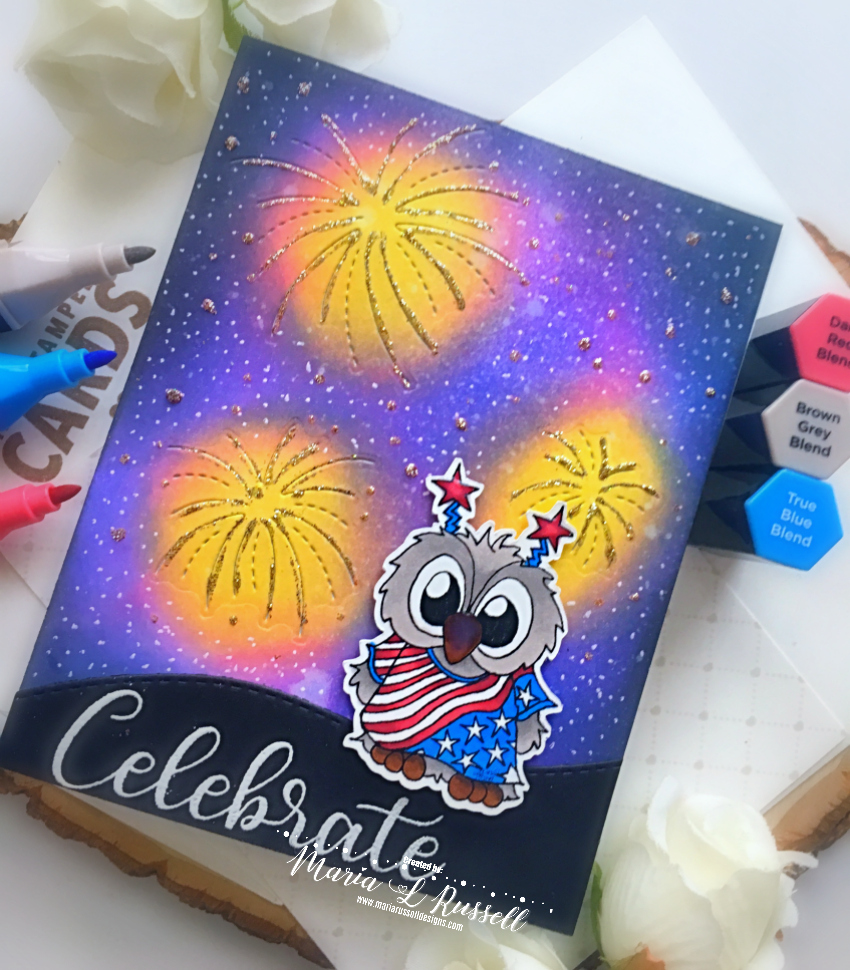
- Position your card panel inside your stamping tool and stamp the image in rainbow order. I used SN Harmony Quick Dry Dye inks in Chinese Red, Pink Tulip, Lemon Tonic, Grasshopper, Oasis and Crushed Velvet.

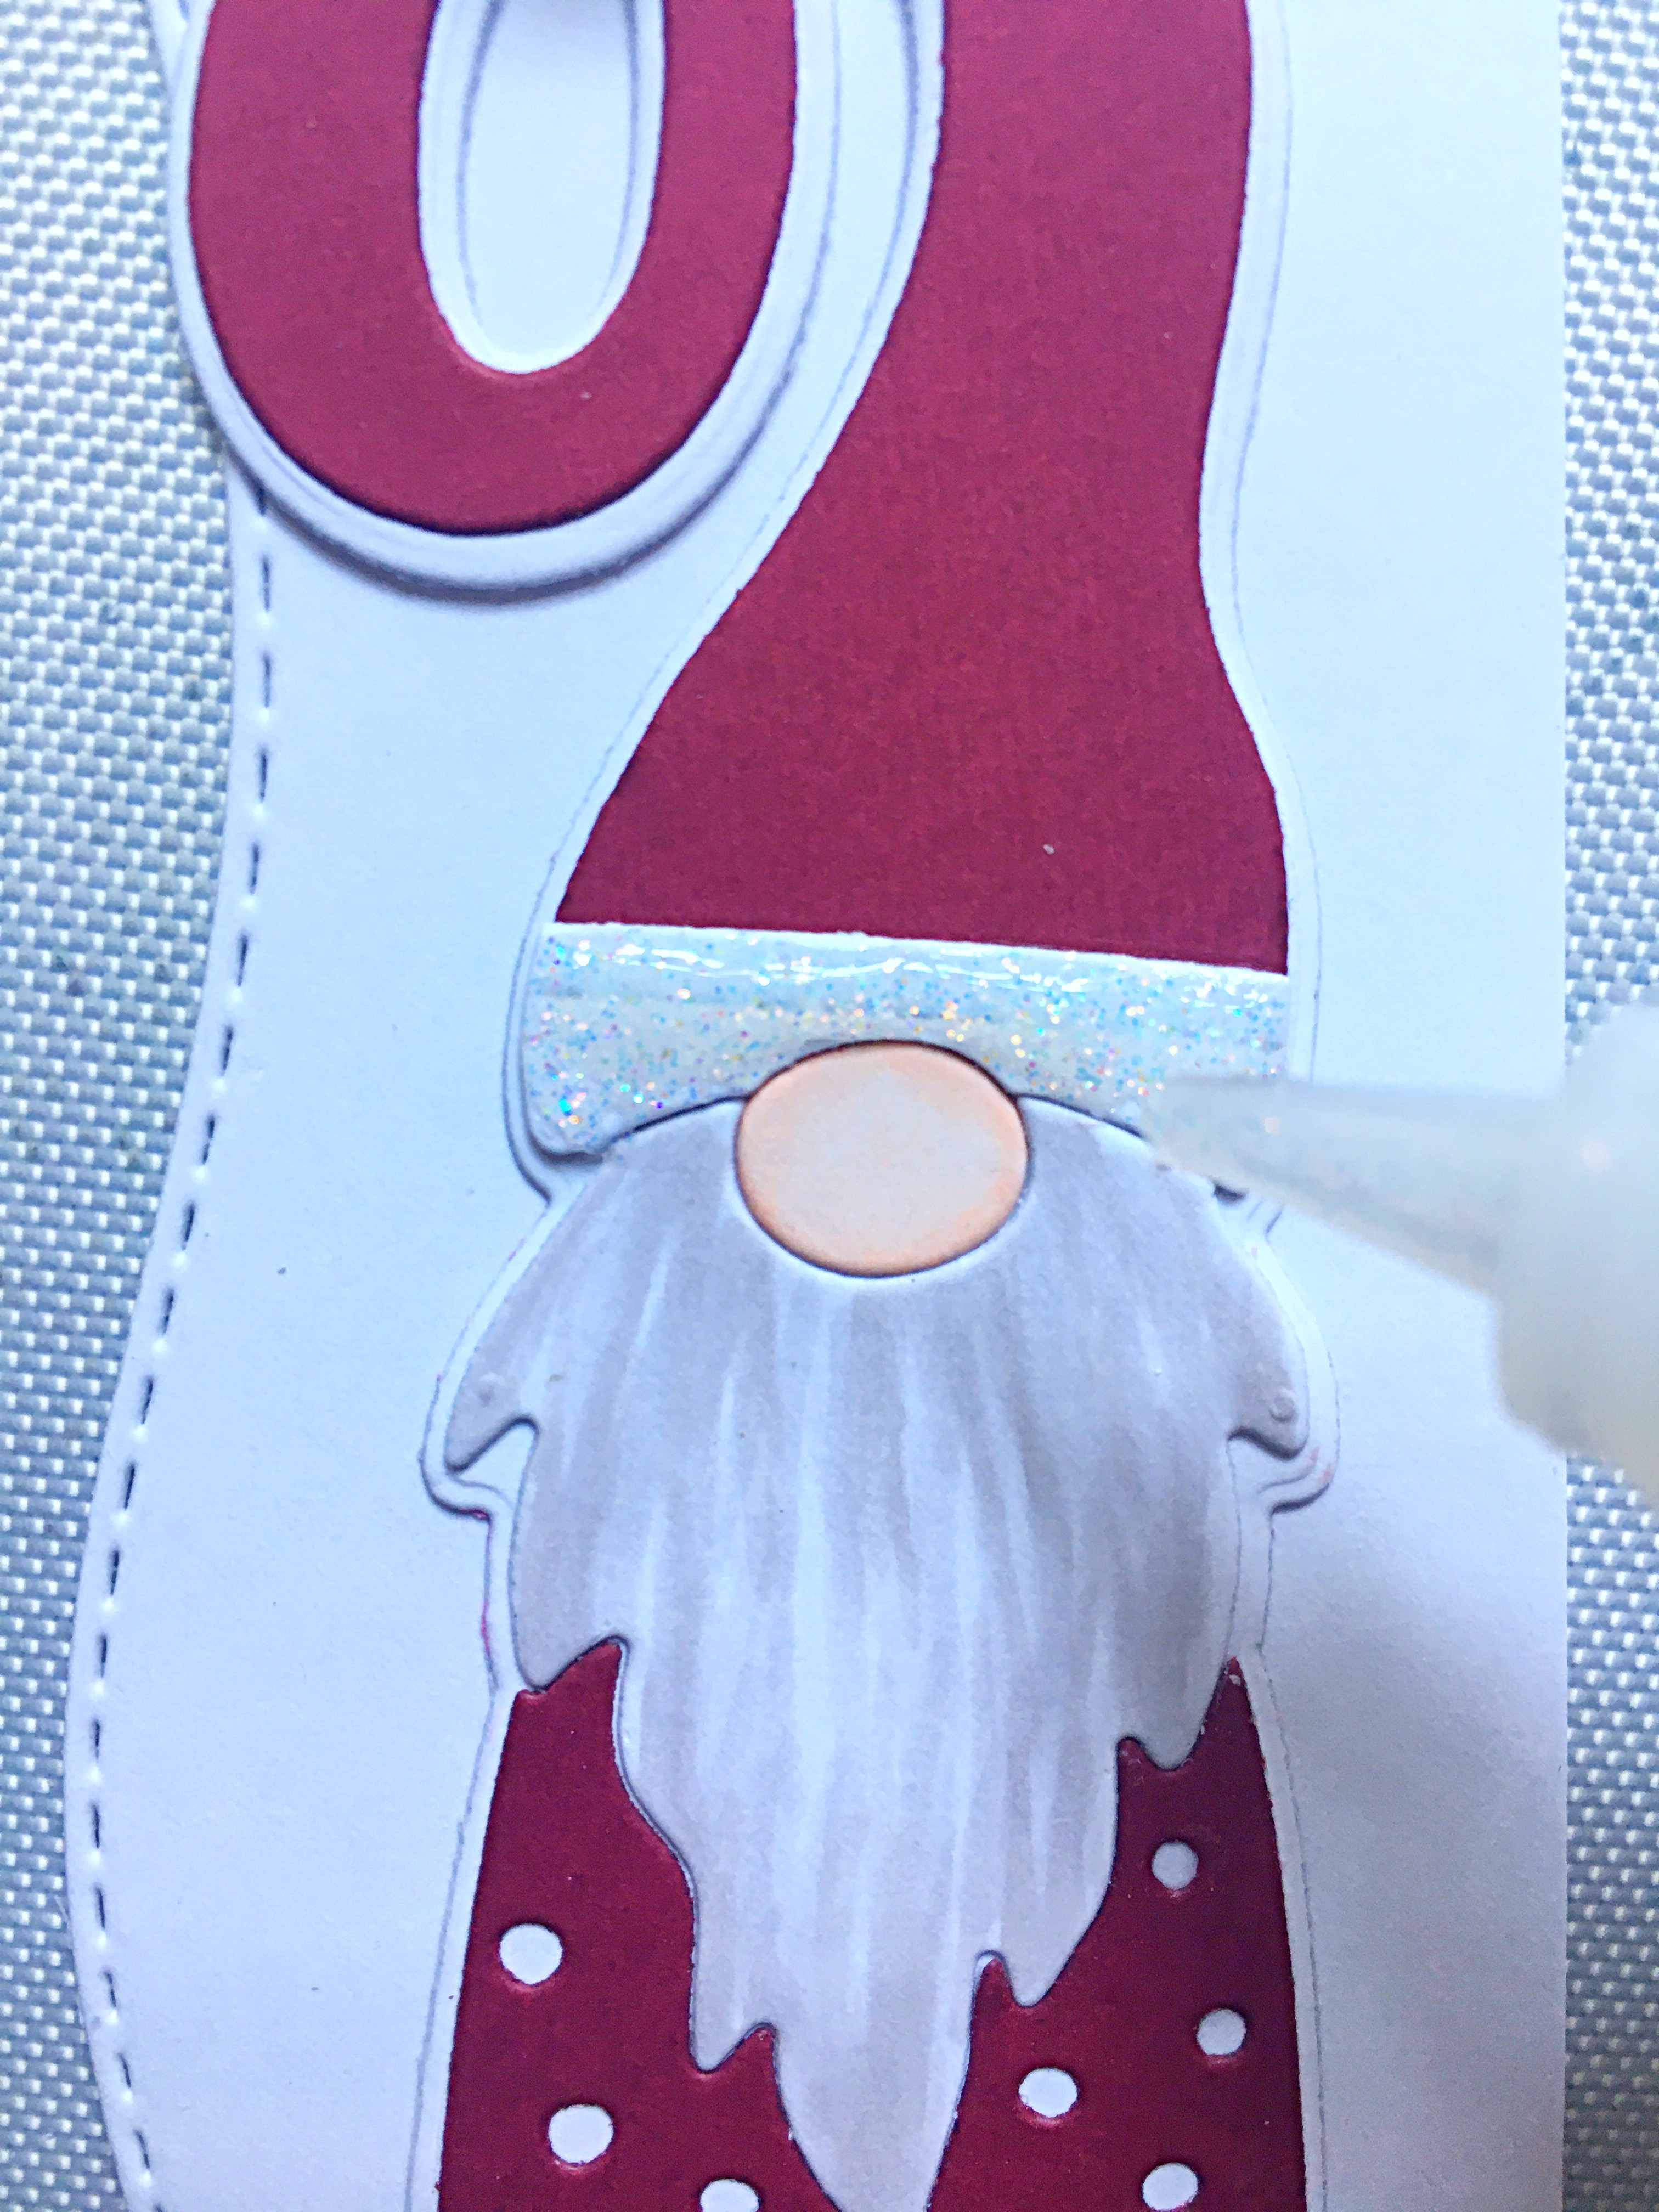
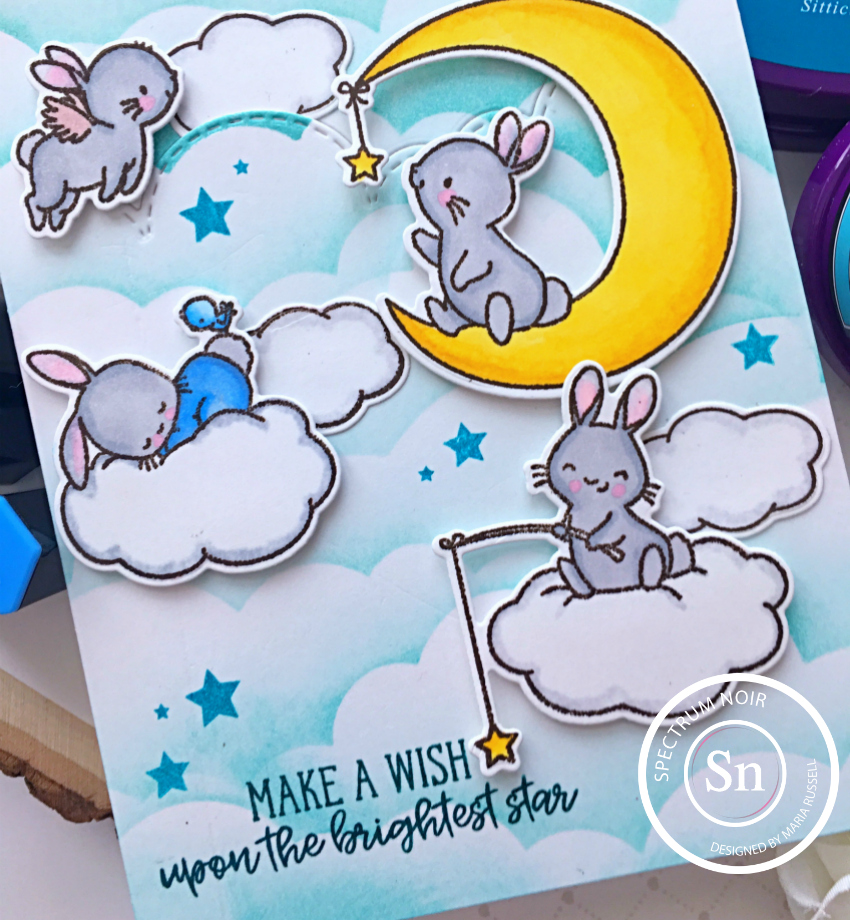
- Adhere the colored image on the background with foam adhesive for added dimension.
- Adhere some sparkling clear jewels for added texture.

- Finish the design by stamping the sentiment with Spectrum Noir Harmony quick Dry Ink in Black.

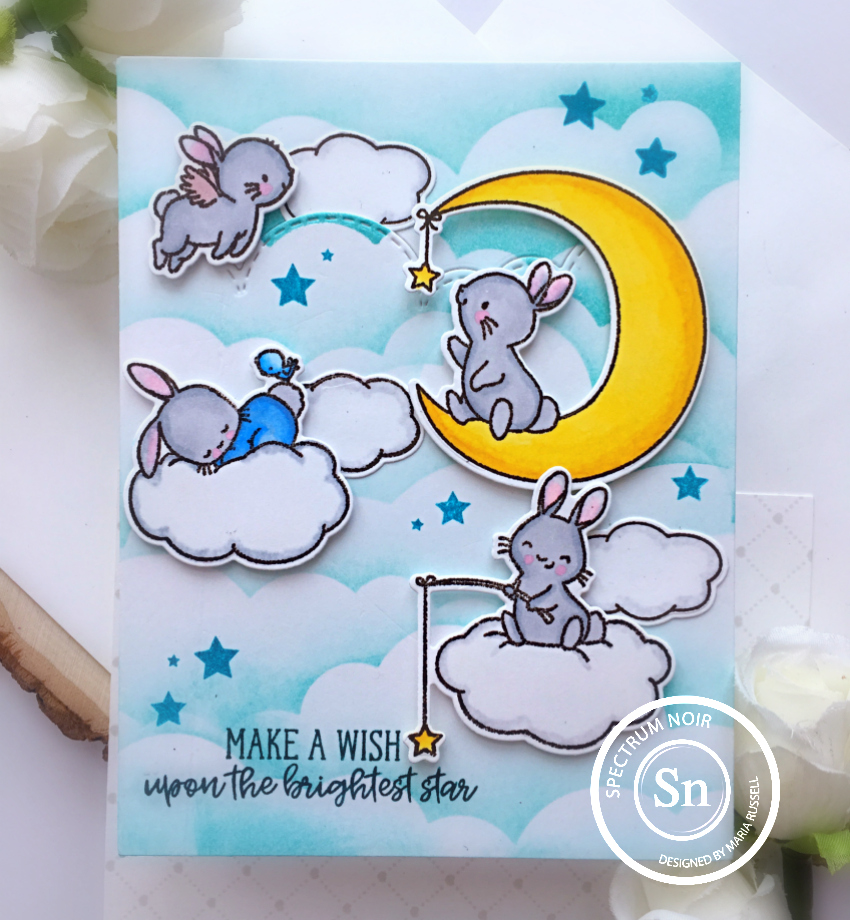
I hope you like my project today. Please don’t forget to visit Crafter’s Companion and the Spectrum Noir facebook group for more inspiration from the design team. The supplies I use are listed and linked below. Thanks for stopping by!
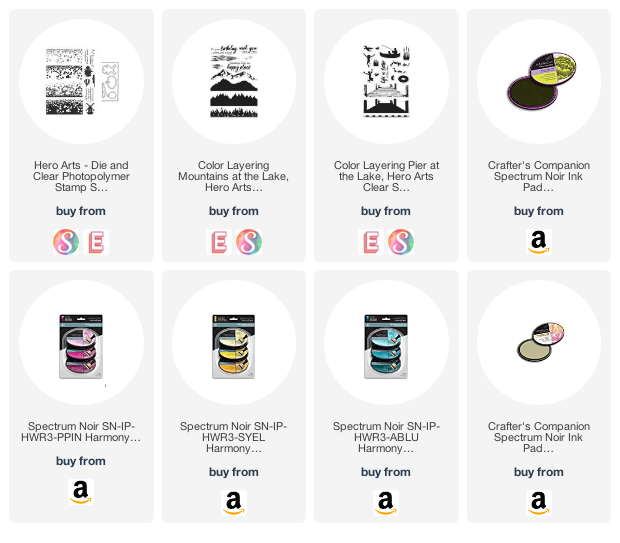
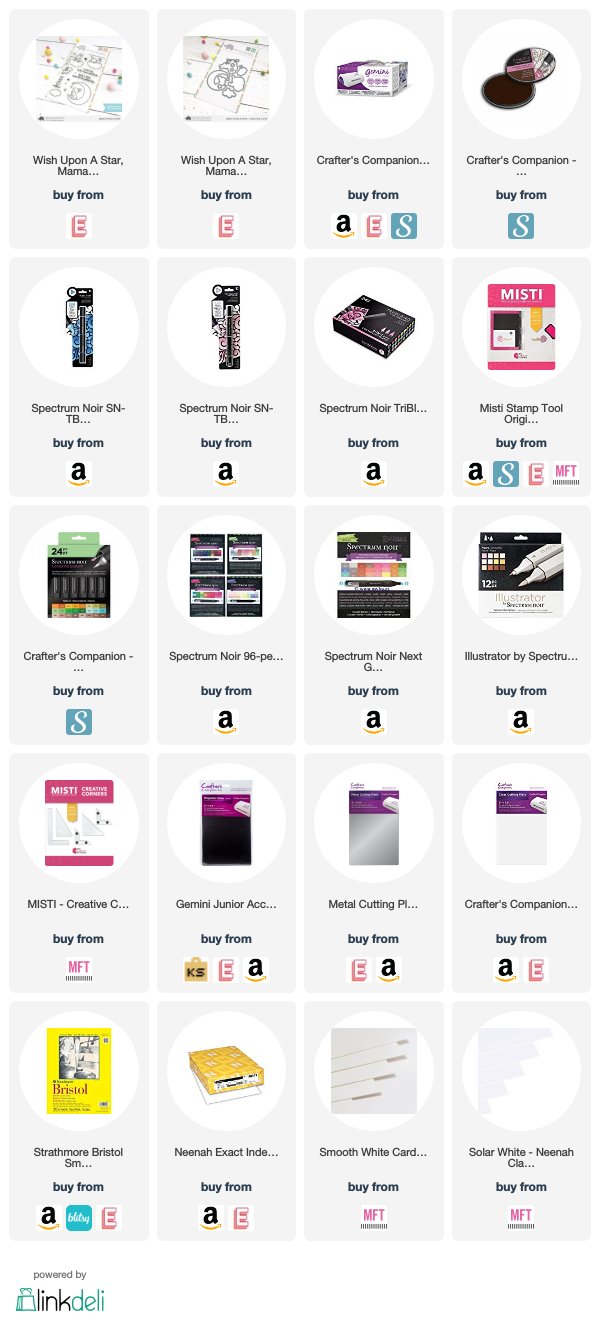
———SUPPLIES——–