I am so glad that you joined me today! It feels like spring is just around the corner and I can already see some pops of color in my garden.
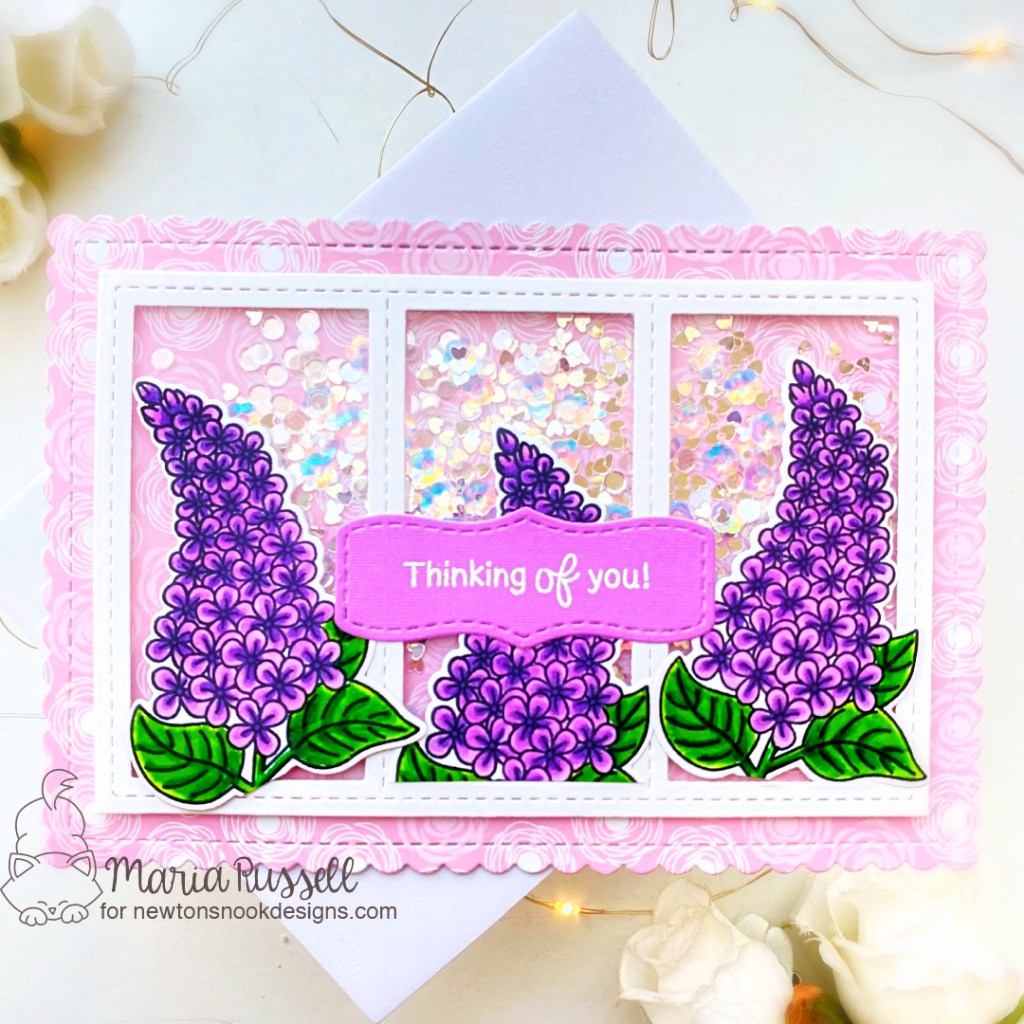
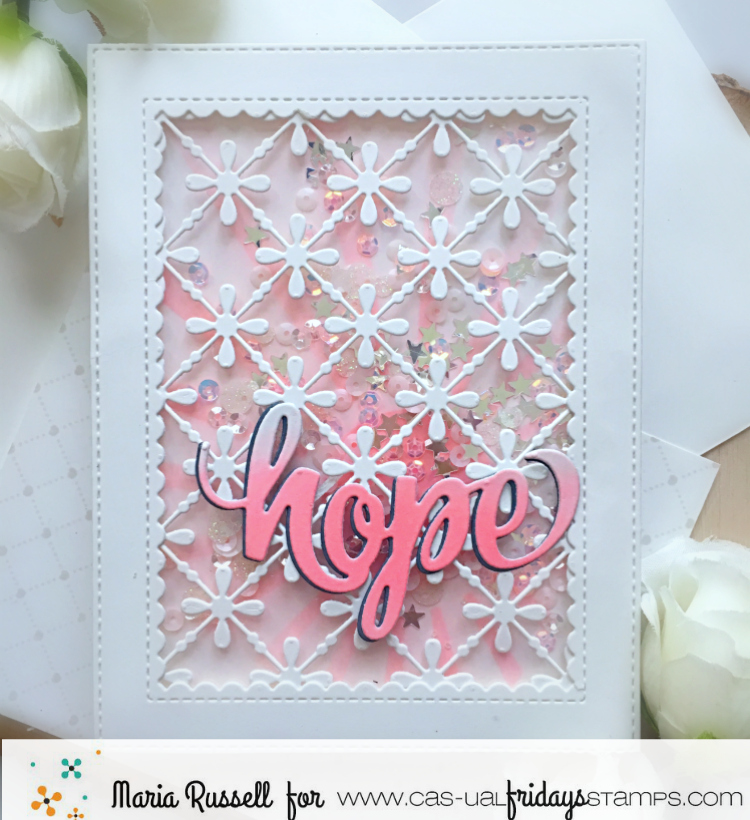
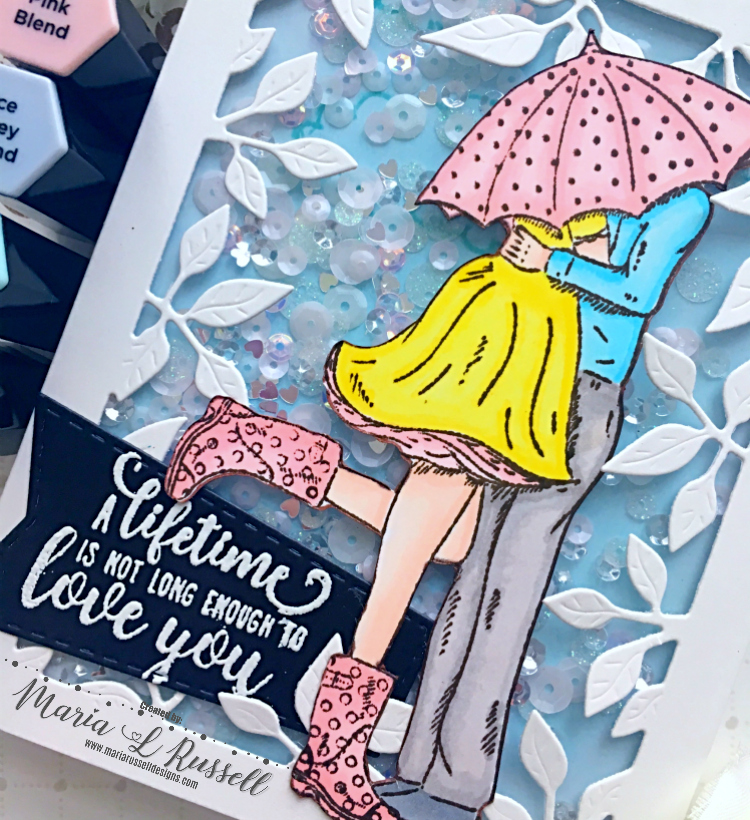
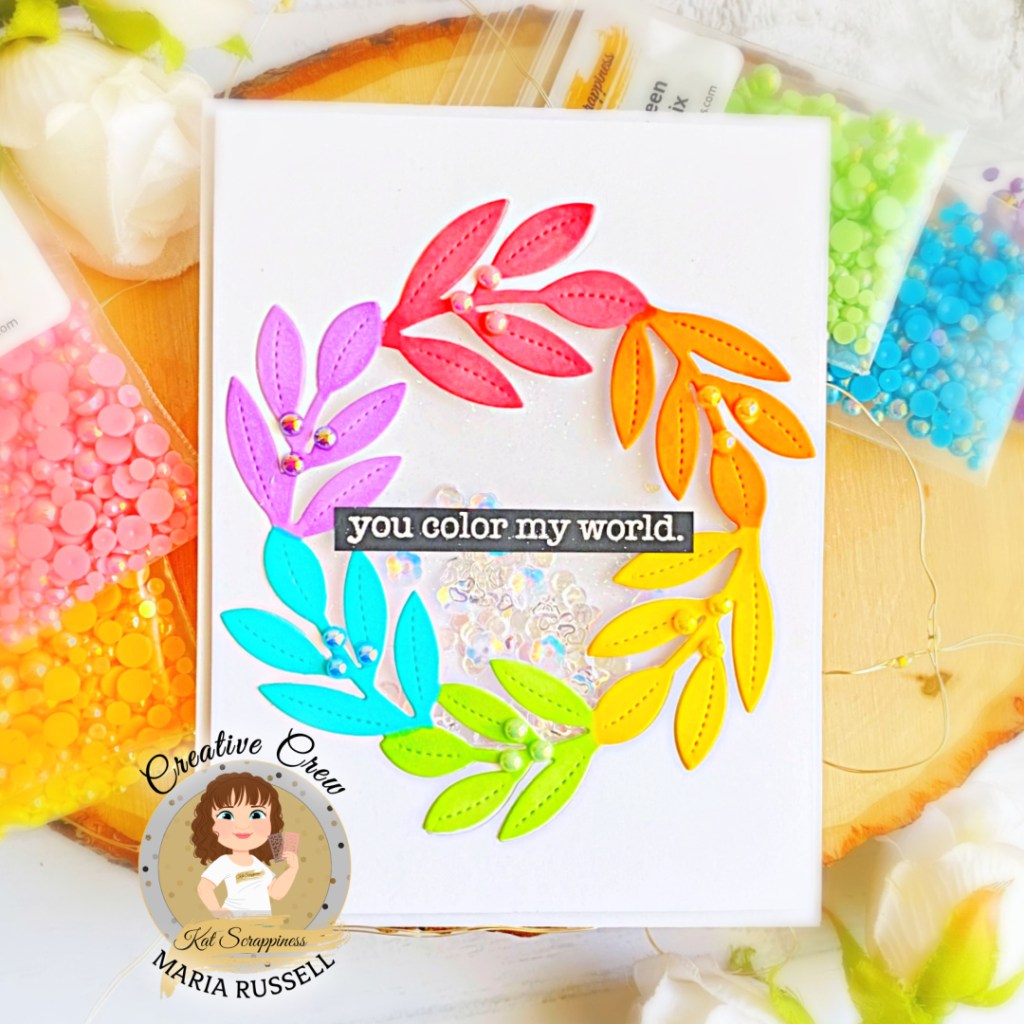
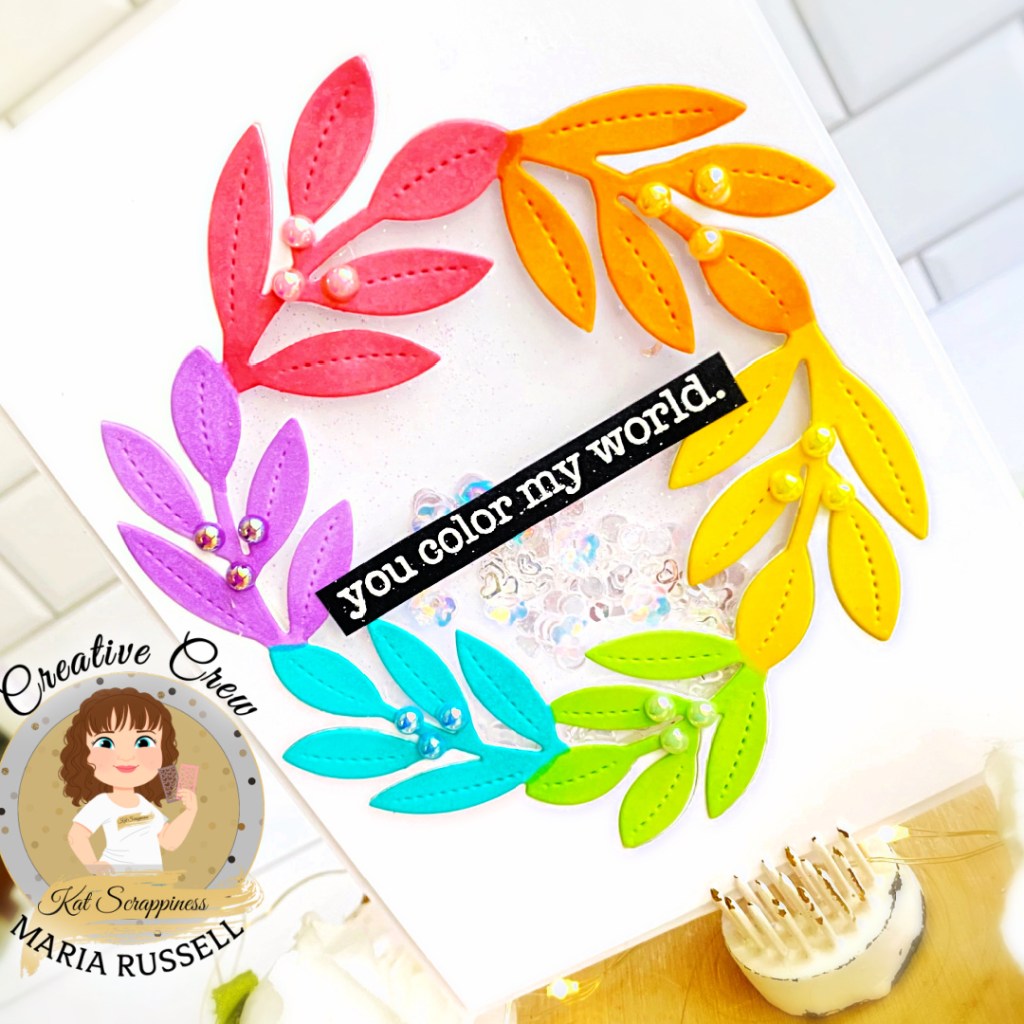
For my project today, I am showcasing the Wreath Die, Everyday Brush Strokes Stamp Set and the Pearl Mixes by Kat Scrappiness [Ballerina, Peach, Bumble Bee, Mint Green, Caribbean Blue and Frosted Grape].
Here’s how I made this card:
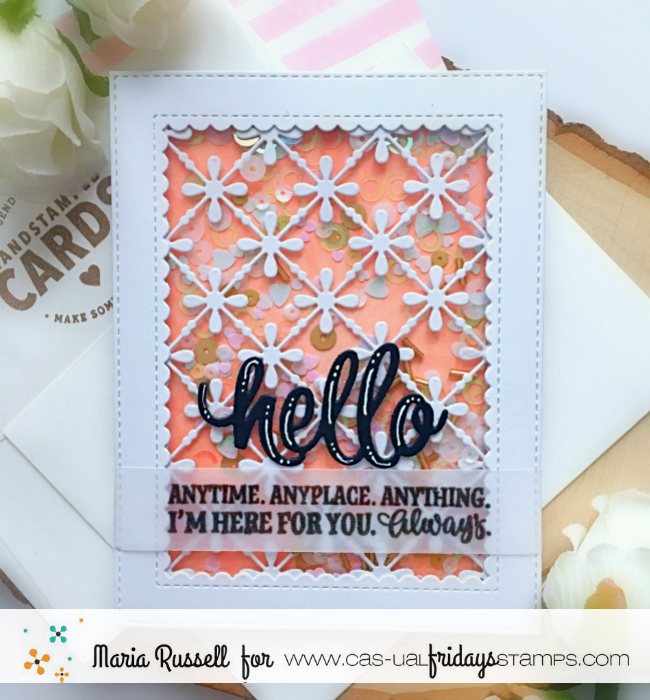
- cut some Neenah Classic Crest Solar white card stock measuring 4 x 5 1/4 inches. Use the Wreath Die to die-cut the window on this panel.
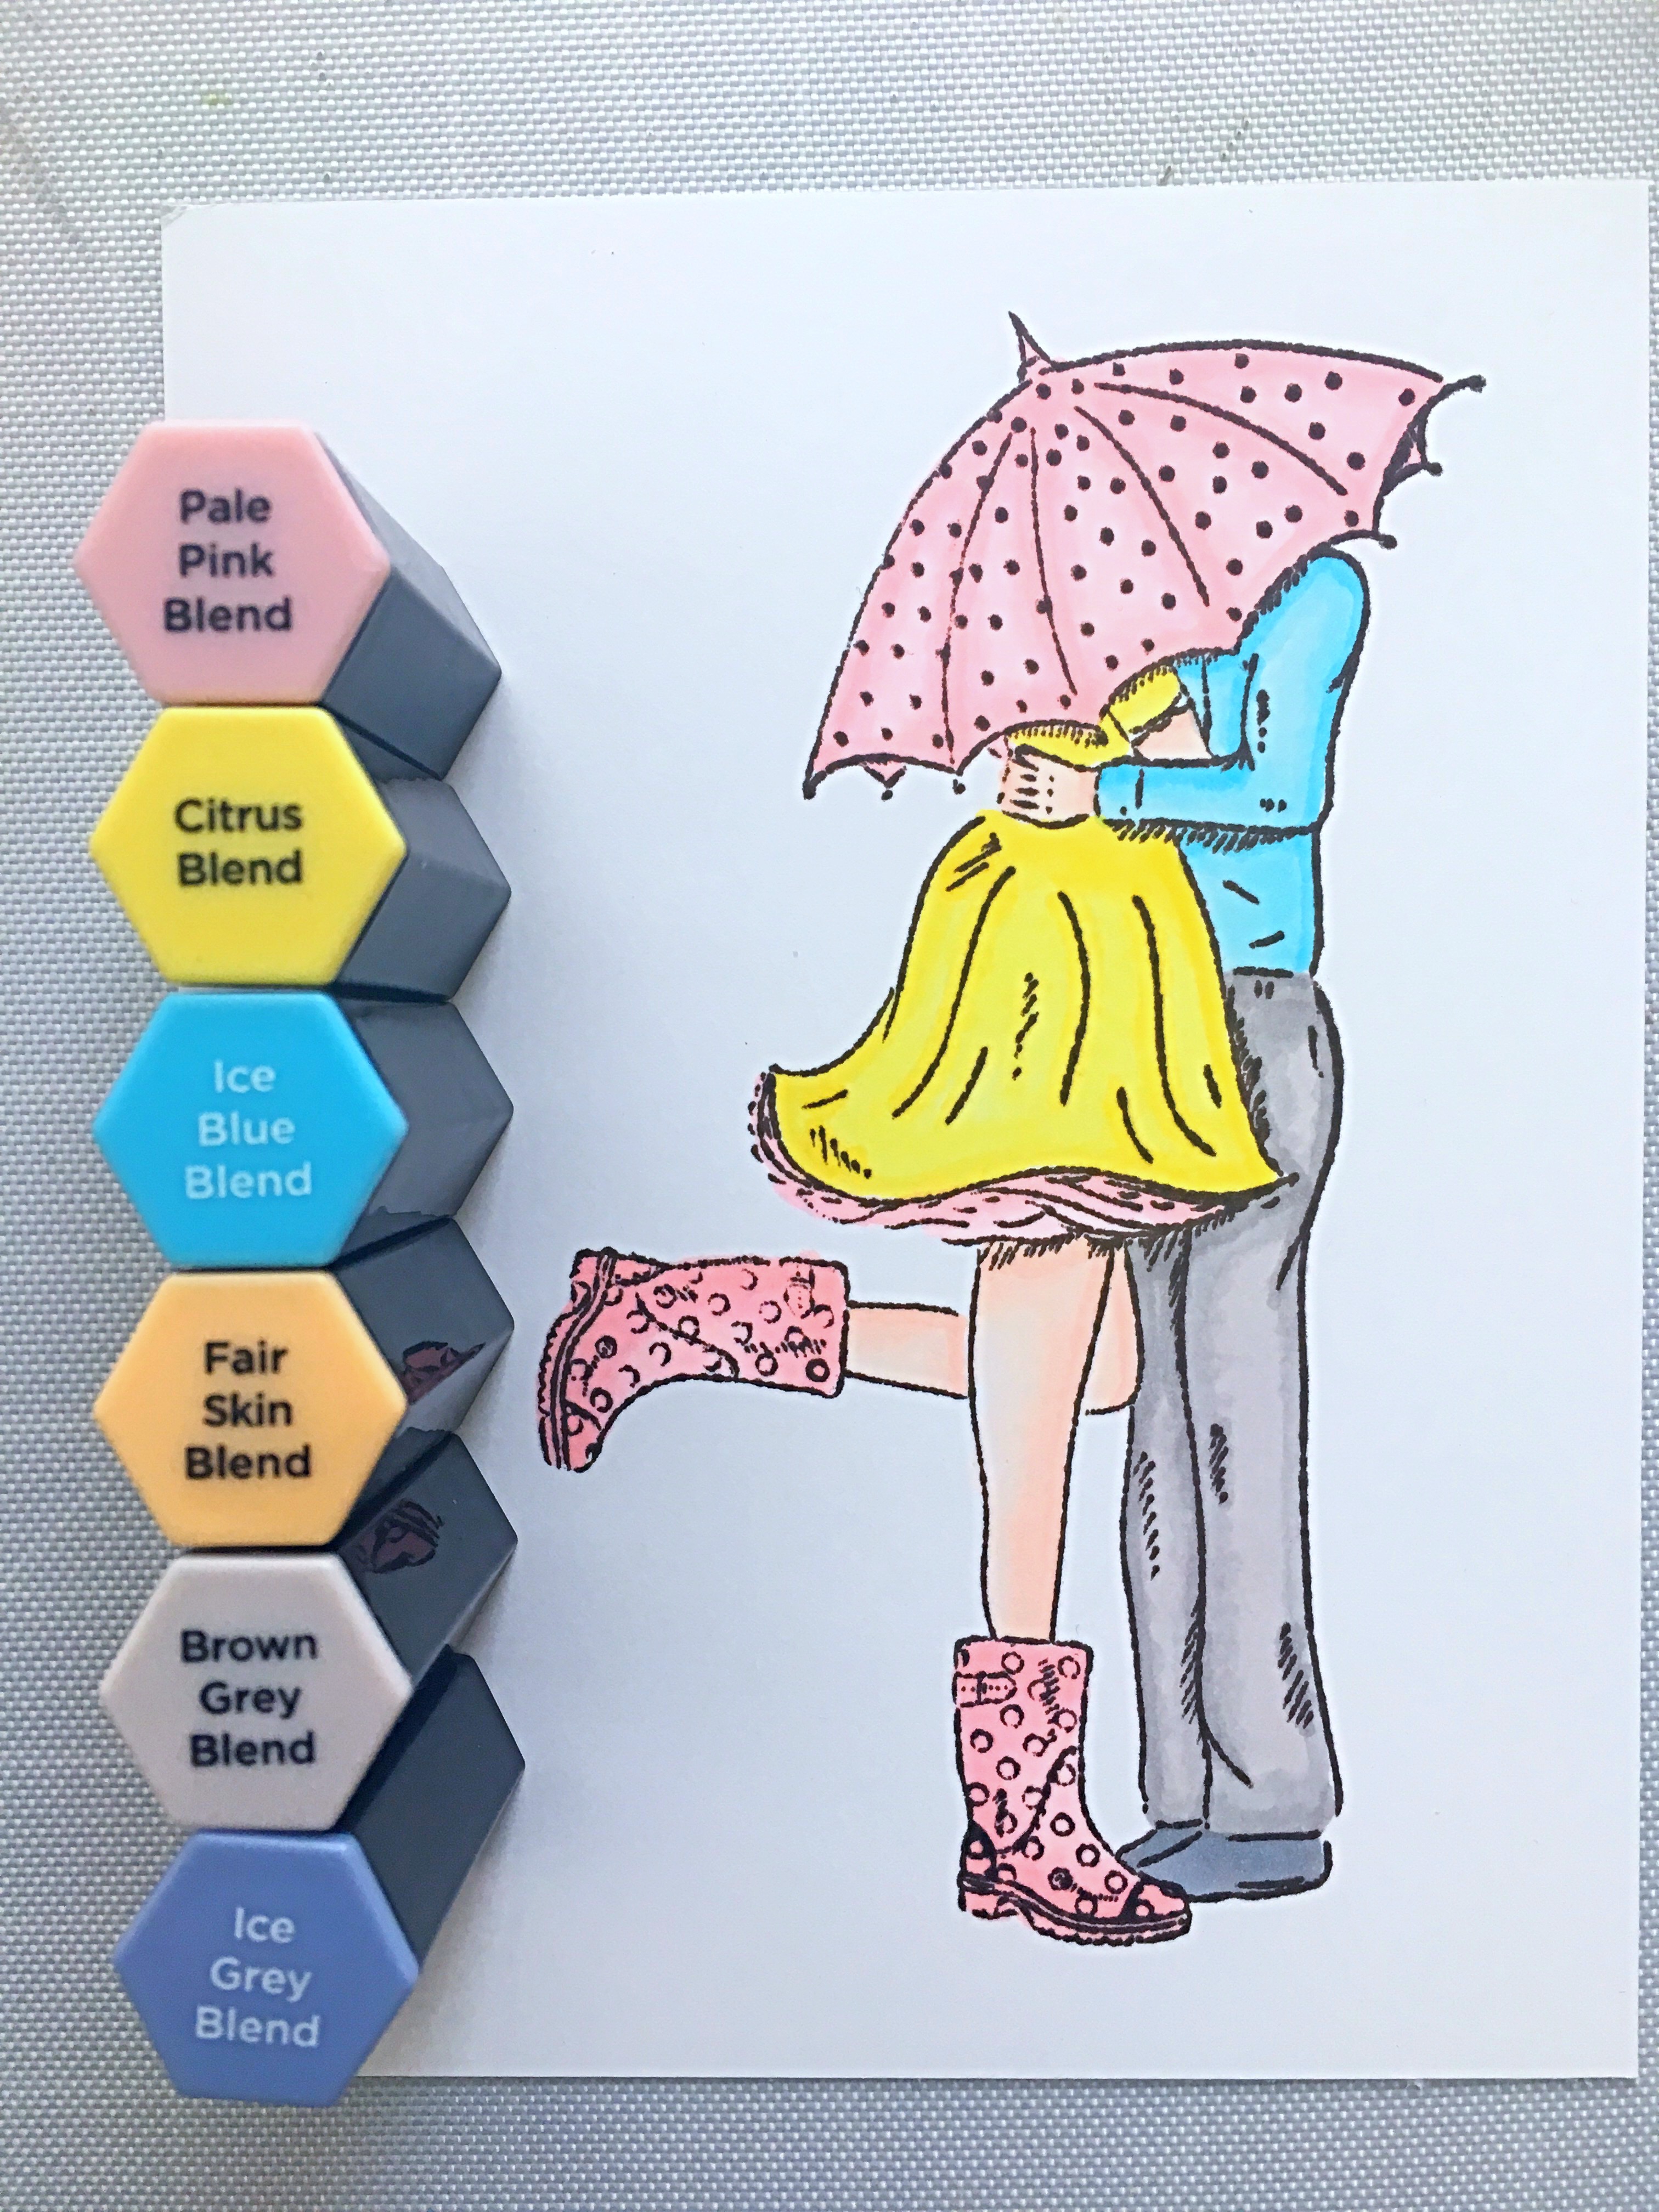
- die-cut another piece of the Wreath and use alcohol markers (or any medium of your choice) to color each area in rainbow order. I colored mine with Spectrum Noir Alcohol Markers.
- adhere some acetate sheet to this panel and flip on the other side to adhere the two layers of Wreath with craft glue.
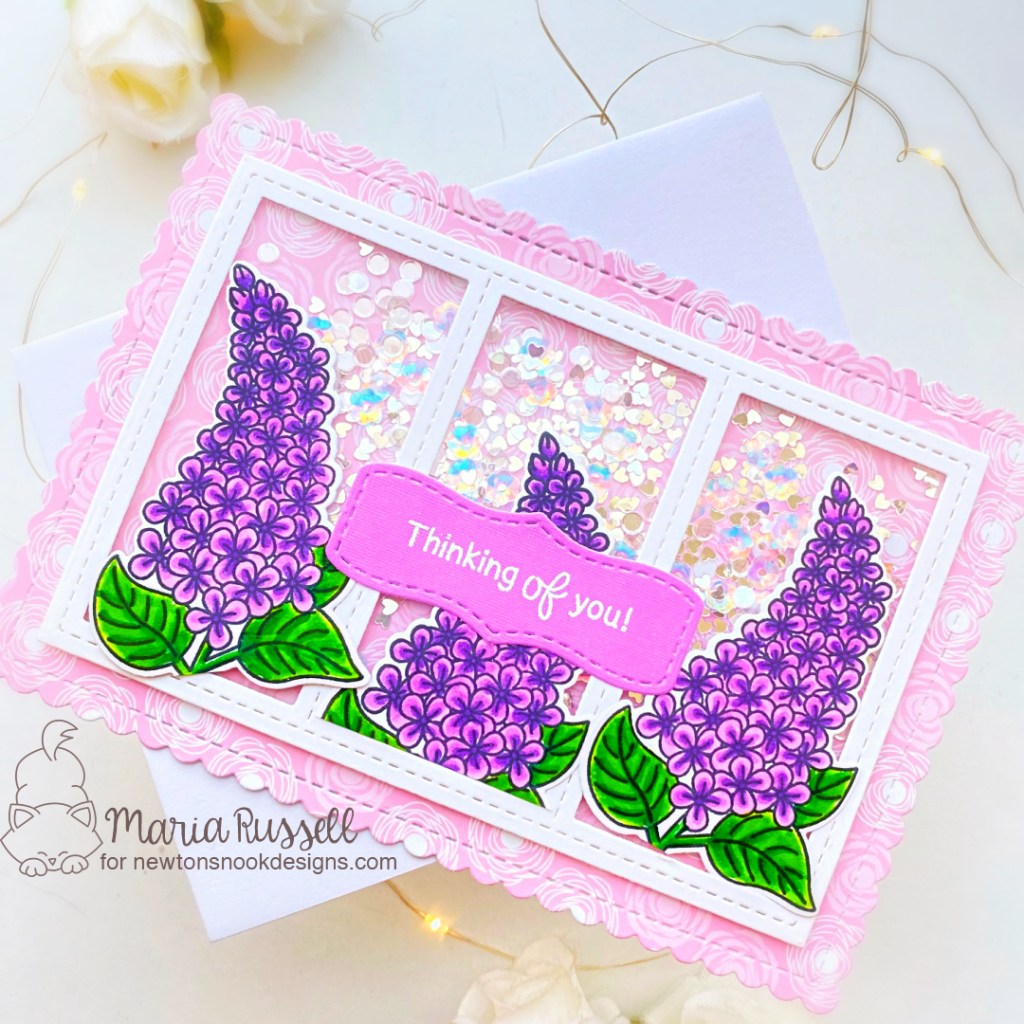
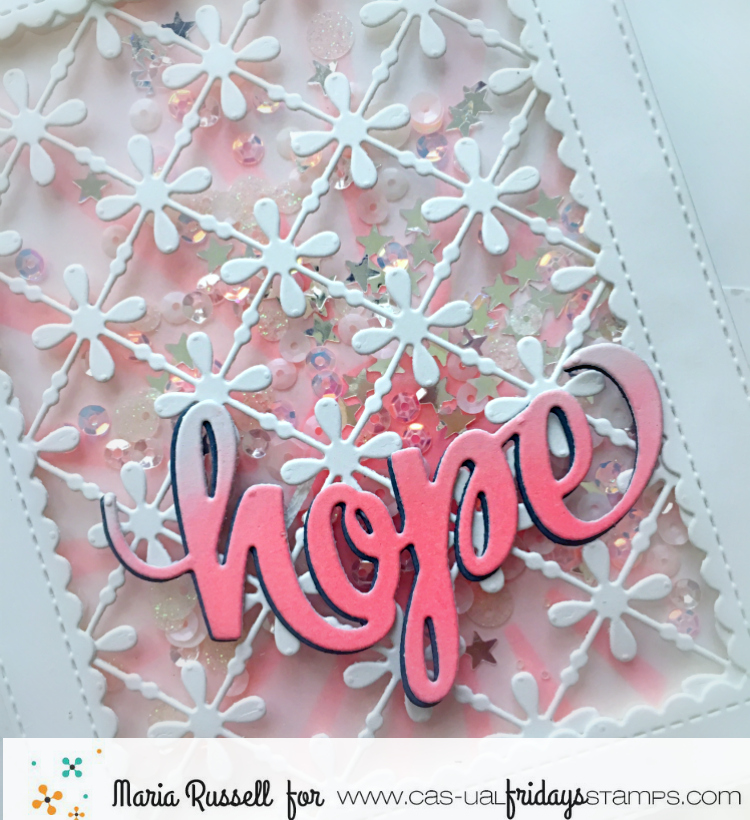
- add some foam adhesive to create the shaker well and use a mixture of 6mm White AB Flower Blossom Sequins with Clear AB Hollow Heart Confetti Mix as the shaker element.
- adhere the shaker panel on some A2-size top-folding notecard.

- stamp the sentiment from the Everyday Brush Strokes Stamp Set on somer black card stock with Versamark ink.
- sprinkle some white embossing powder and Heating Tool/Gun to heat-set the sentiment.
- adhere the sentiment on the card.
- finish the card design by adhering the Ballerina, Peach, Bumble Bee, Mint Green, Caribbean Blue and Frosted Grape Pearl Mixes.
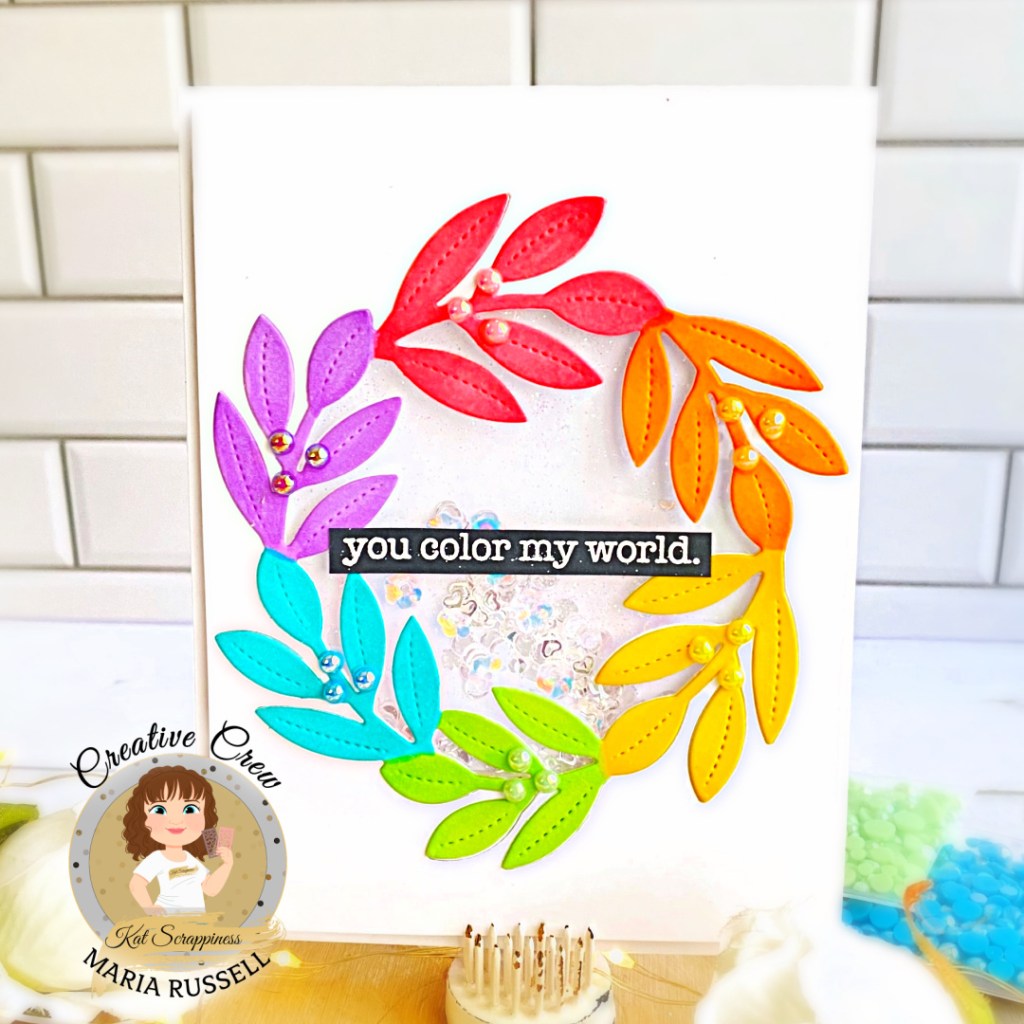
Simple yet classy! I hope you like this card today and got inspired. The supplies I’ve used have been linked on each product name as highlighted above. Where available, I use compensated affiliate links at no extra cost to you. Your support helps me to keep bringing you new projects and inspiration. Thank you for stopping by, and have an amazing day!