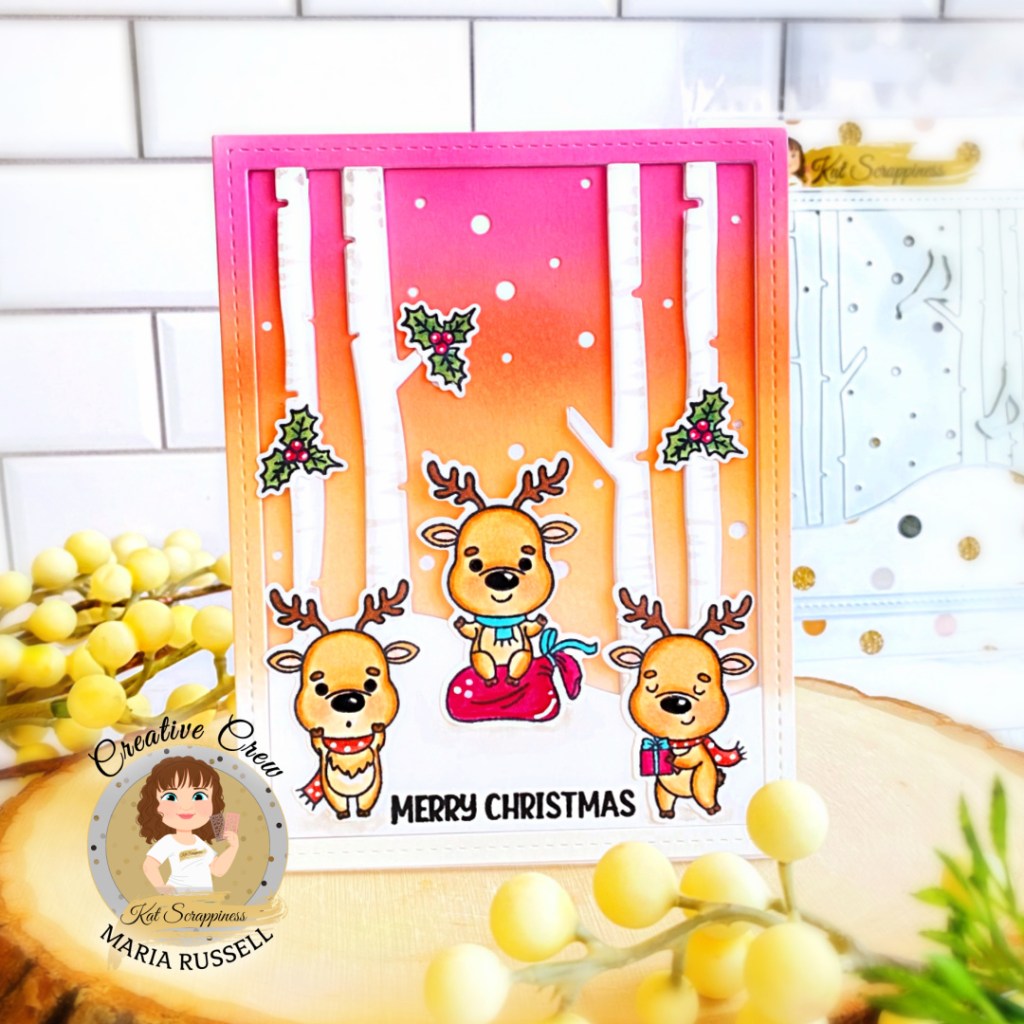
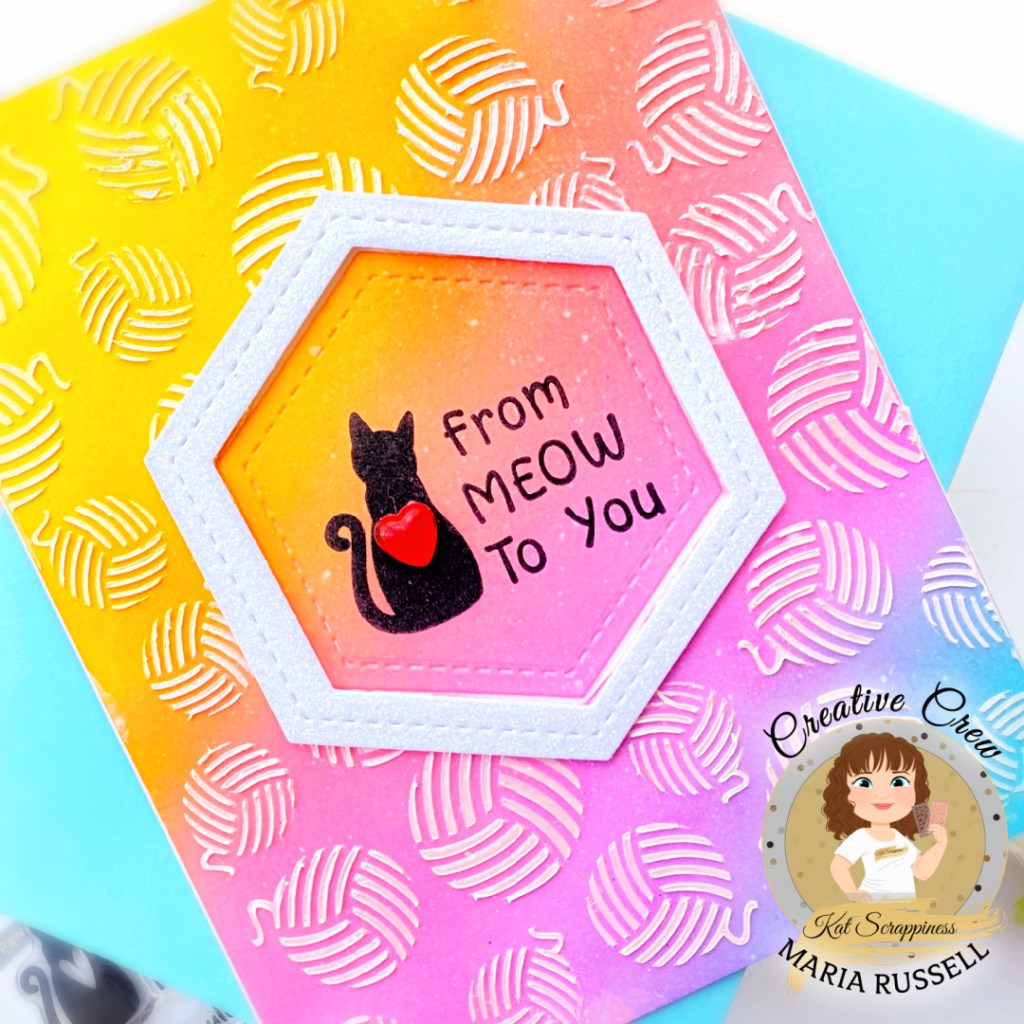
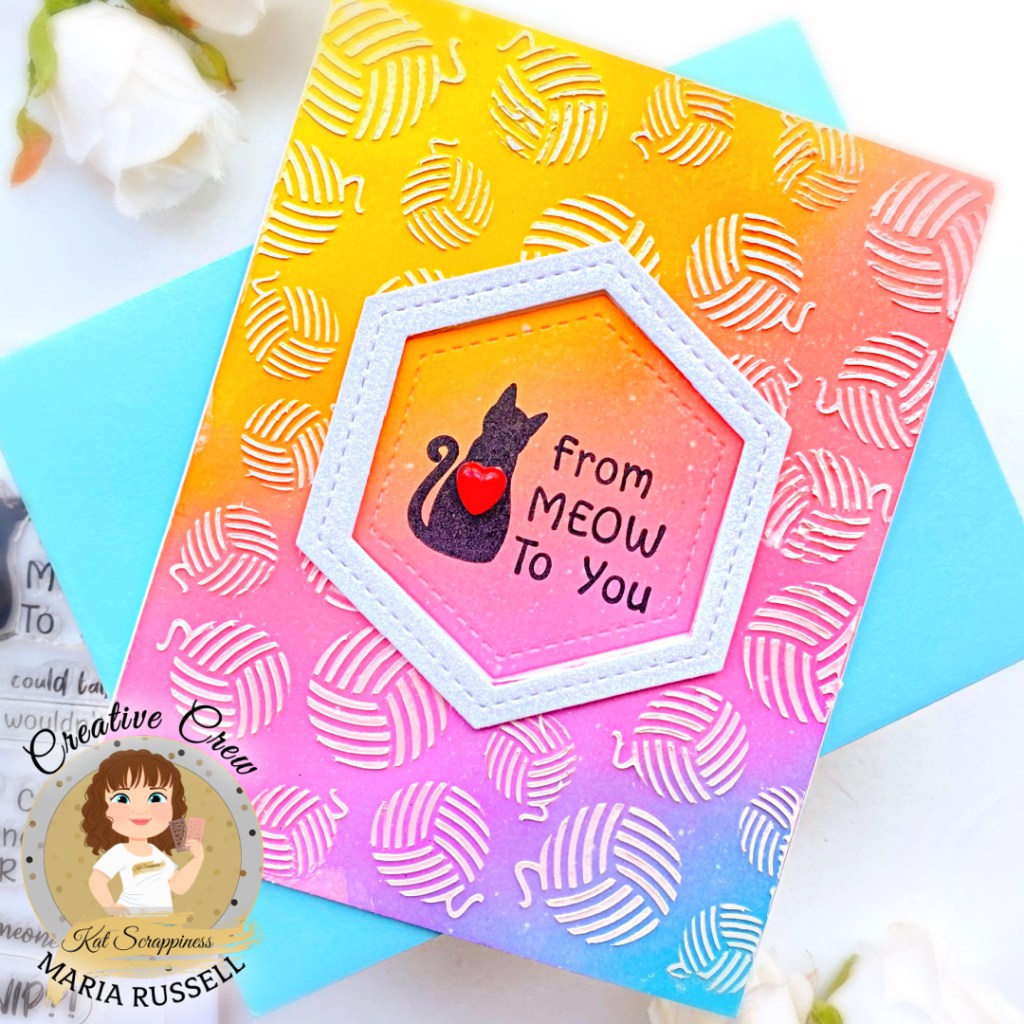
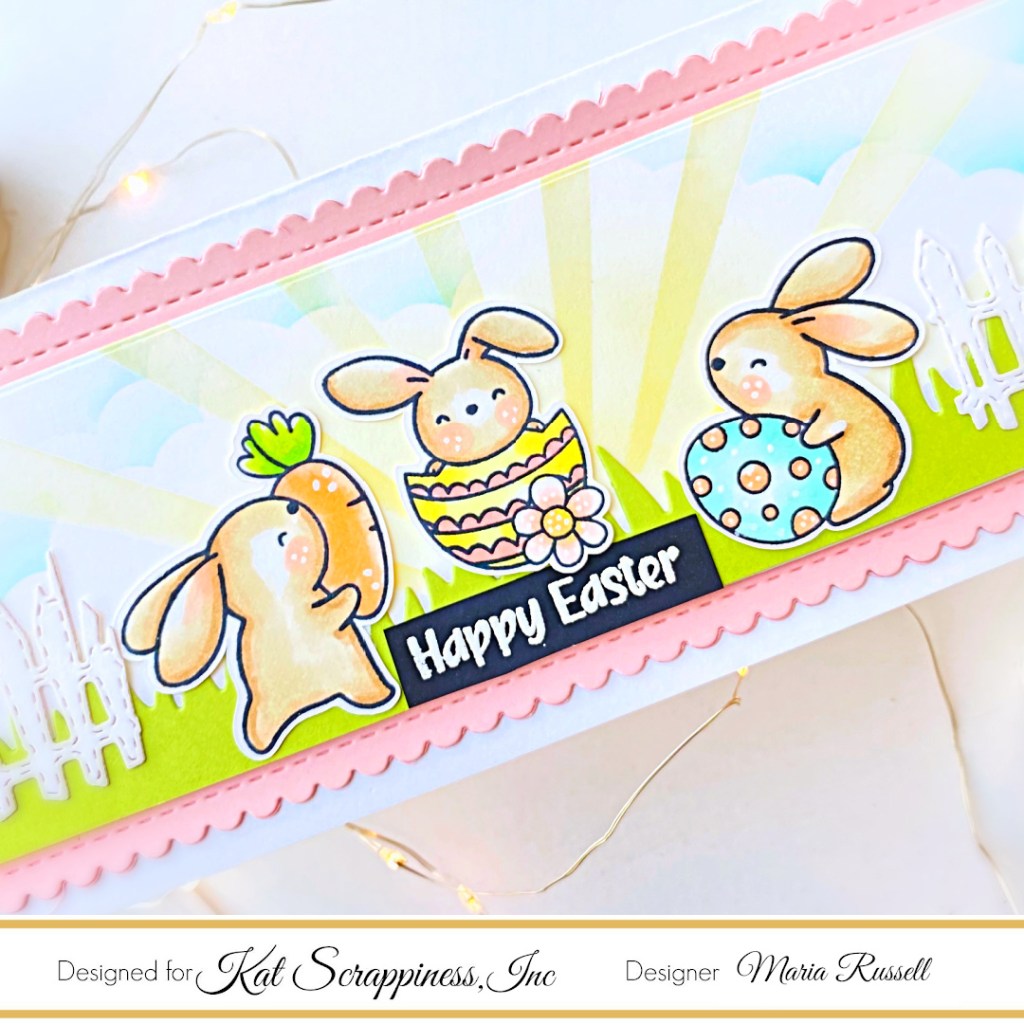
Hello and Happy Memorial Day weekend, my friends! I have a cute summer-theme card for you today featuring Kat Scrappiness, Inc. products.
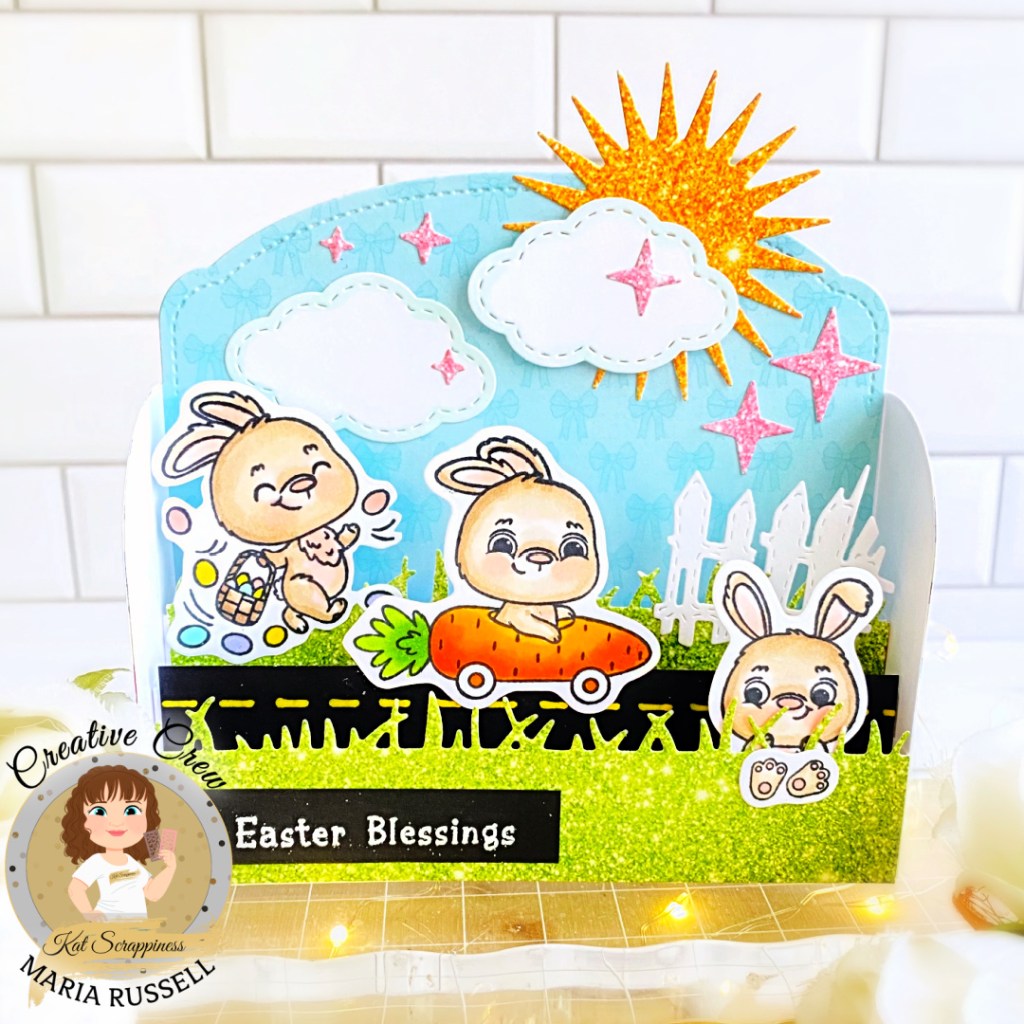
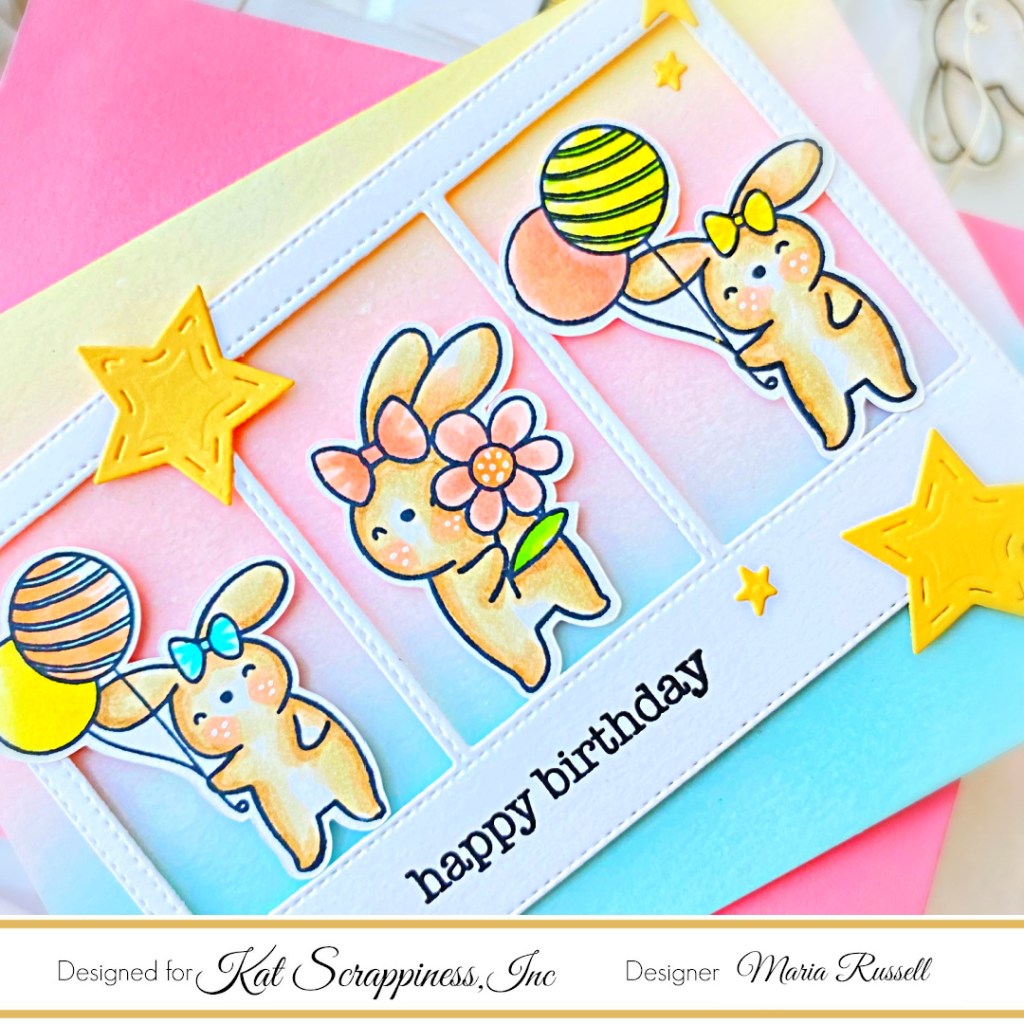
For today’s post, I am showcasing the Summer Quokka Stamp Set, along with Scene Builder Stencil, A2 Stitched Wave Dies, Tropical Island Getaway Dies and the Wood Grain Frame Cut Die.
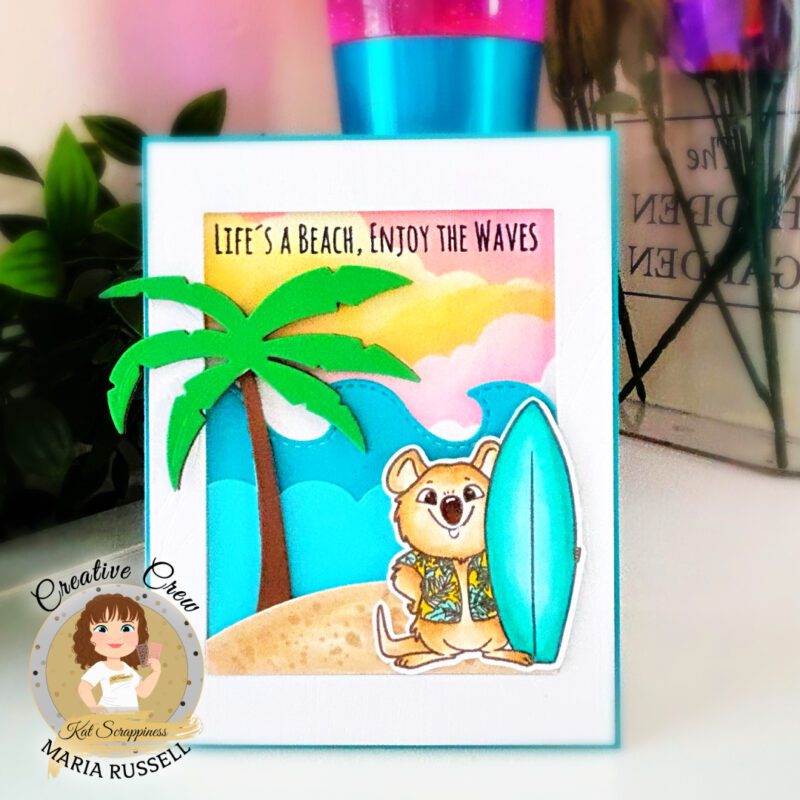
I inked up a panel of some Bristol Smooth White card stock using the Scene Builder Stencil and some Distress Oxide inks. I used the Wood Grain Frame Cut Die to die-cut the white frame, along with a few colored card stock that I later on used to die-cut the waves with the A2 Stitched Wave Dies.
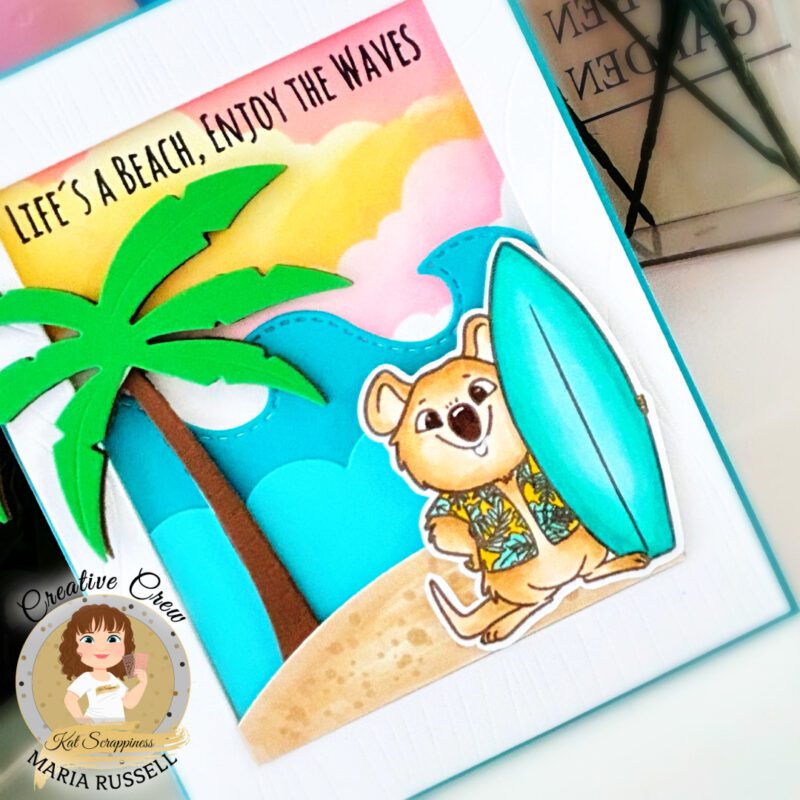
Creating the beach scene came together really fast since I’ve already die-cut the frame and the waves. Adhering the frame onto a blue card base using some foam adhesive to give it some dimension, then adding the waves with liquid glue.
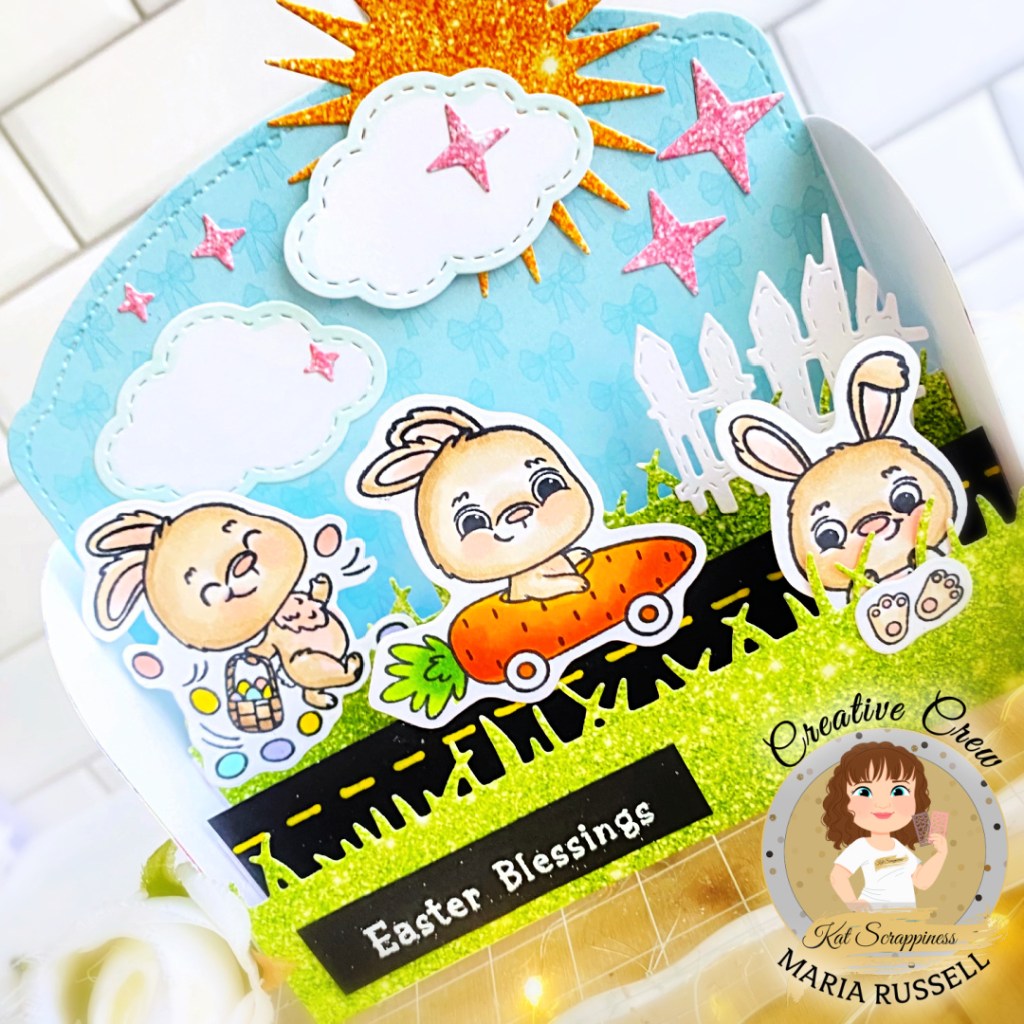
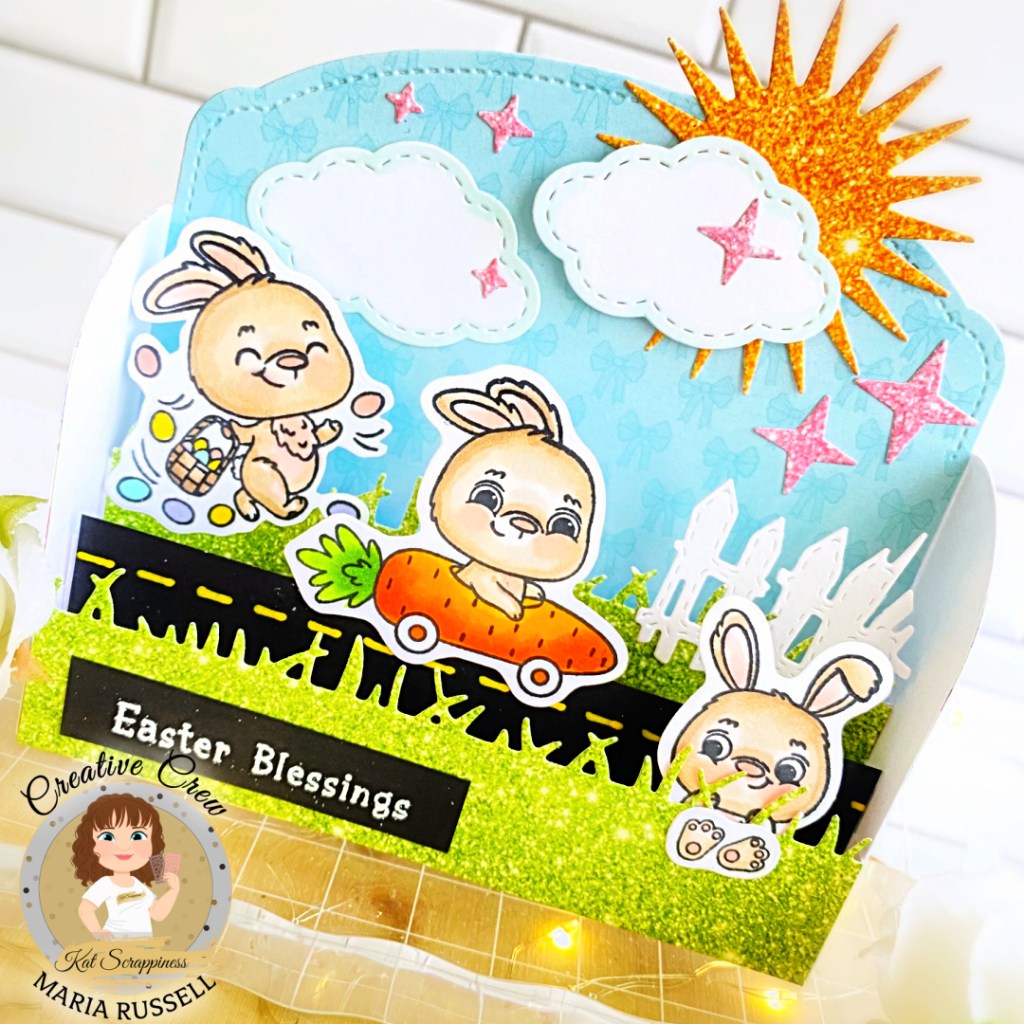
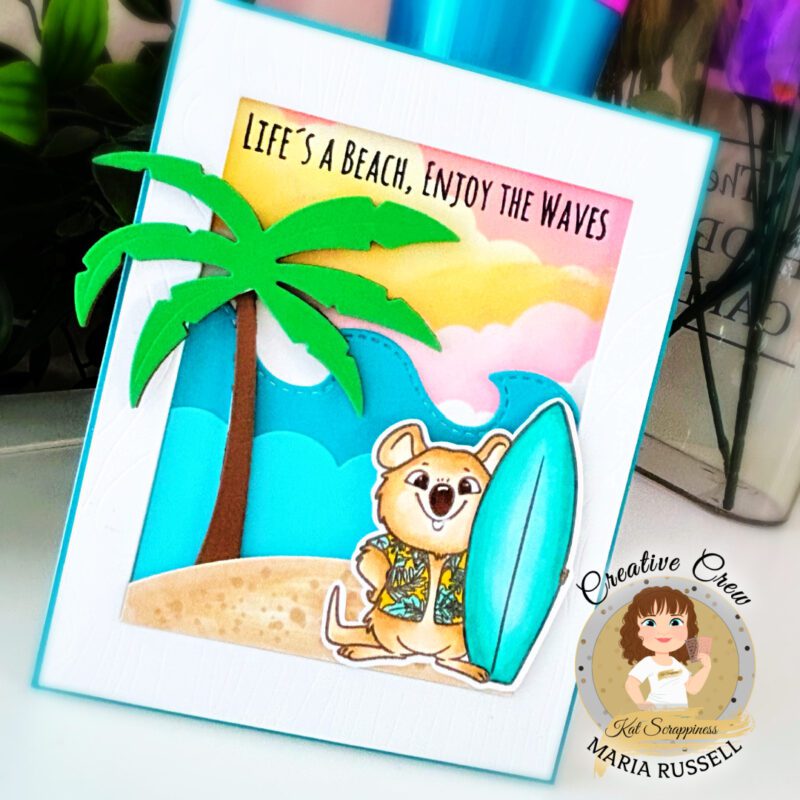
I added the sand dune and the palm tree on the card front using the Tropical Island Getaway Dies with foam adhesive to make everything look cohesive. I added the cute Quokka from the Summer Quokka Stamp Set that I previously colored using Copic markers. Lastly, I stamped the sentiment with some black ink. Easy Peasy! Here’s another look:
Is anyone in the mood to go to the beach this weekend?! I hope you celebrate Memorial Day not just being with family, but remembering all the heroes who served our country! After all, this country is the “home of the free, because of the brave!“.
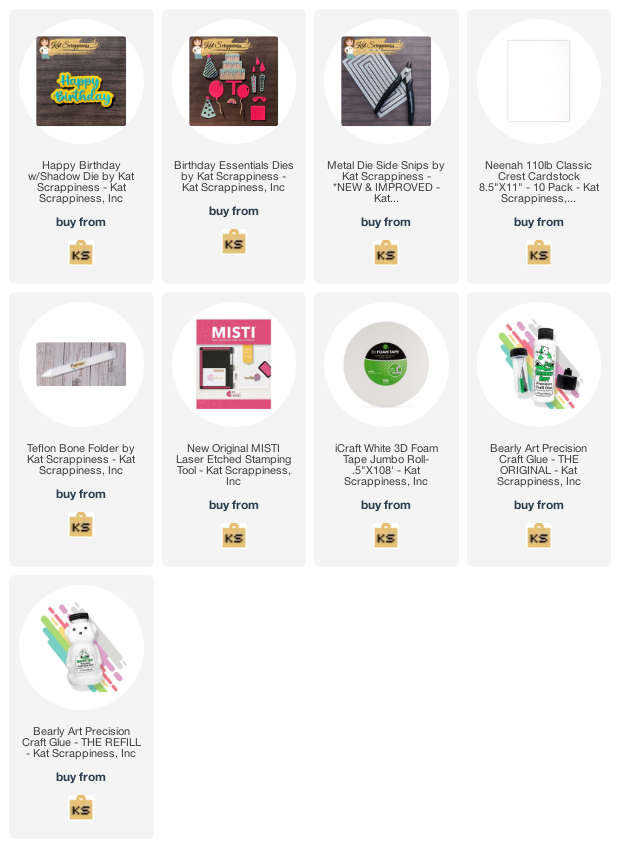
The supplies I used are linked within the context of this post. Thanks for stopping by!