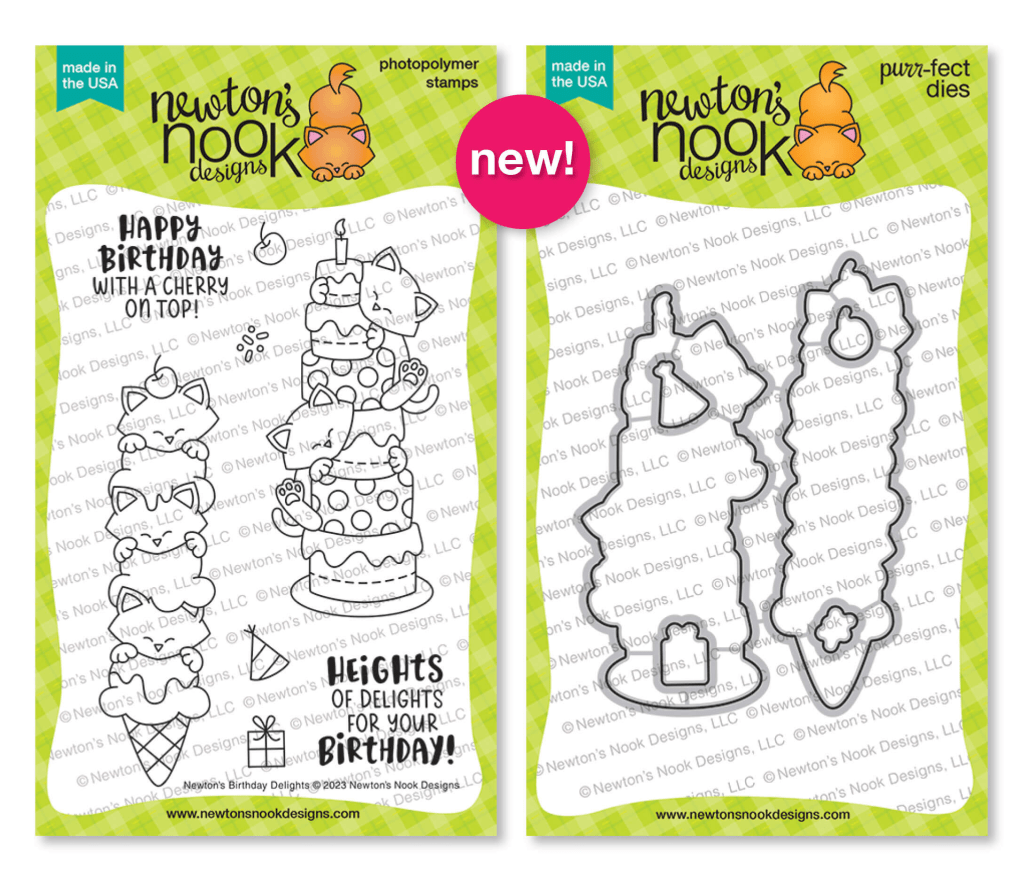
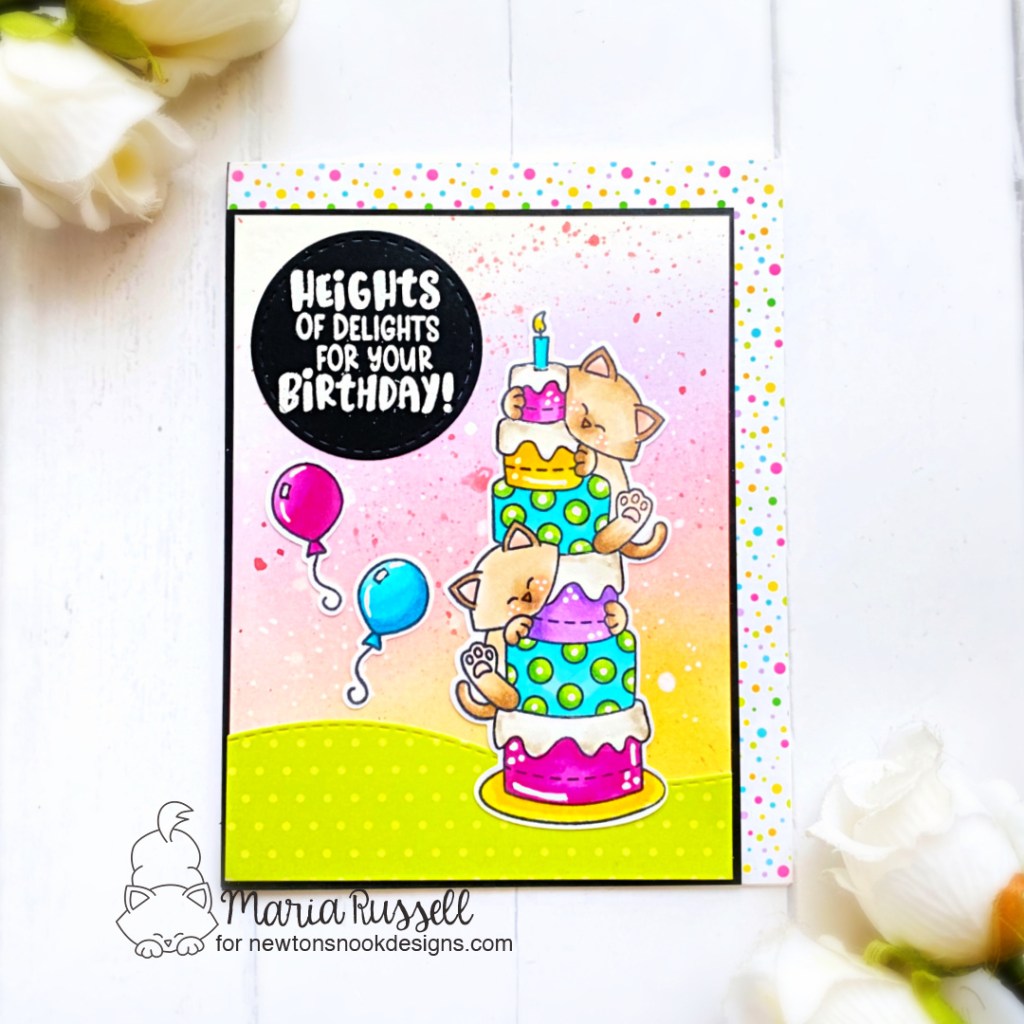
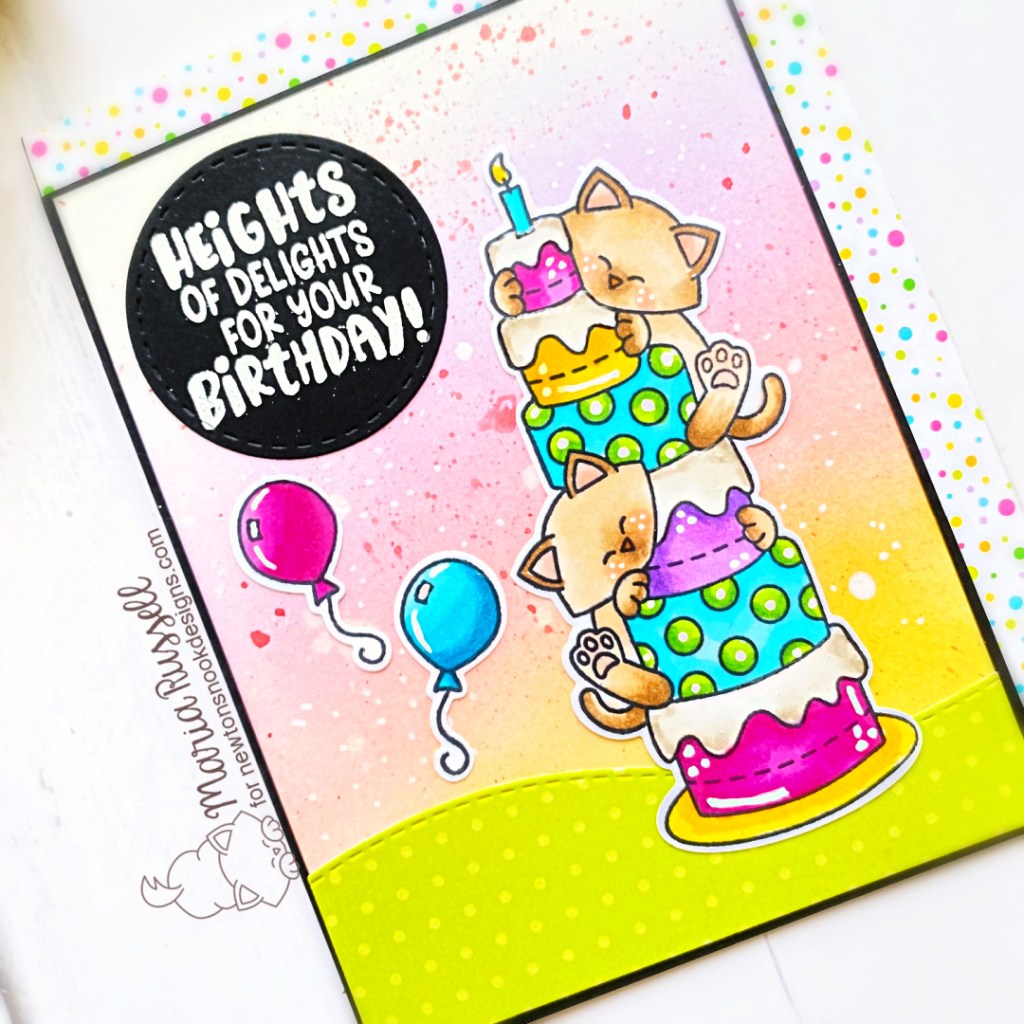
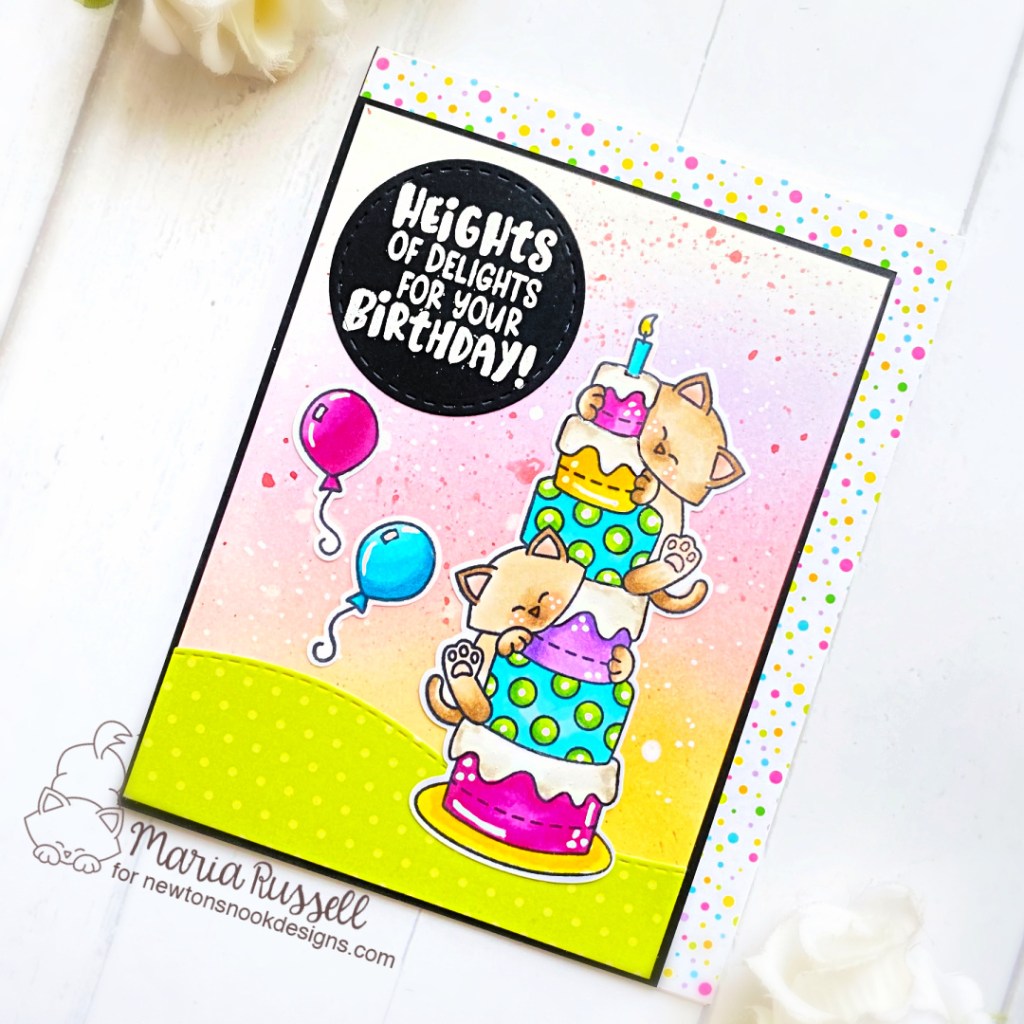
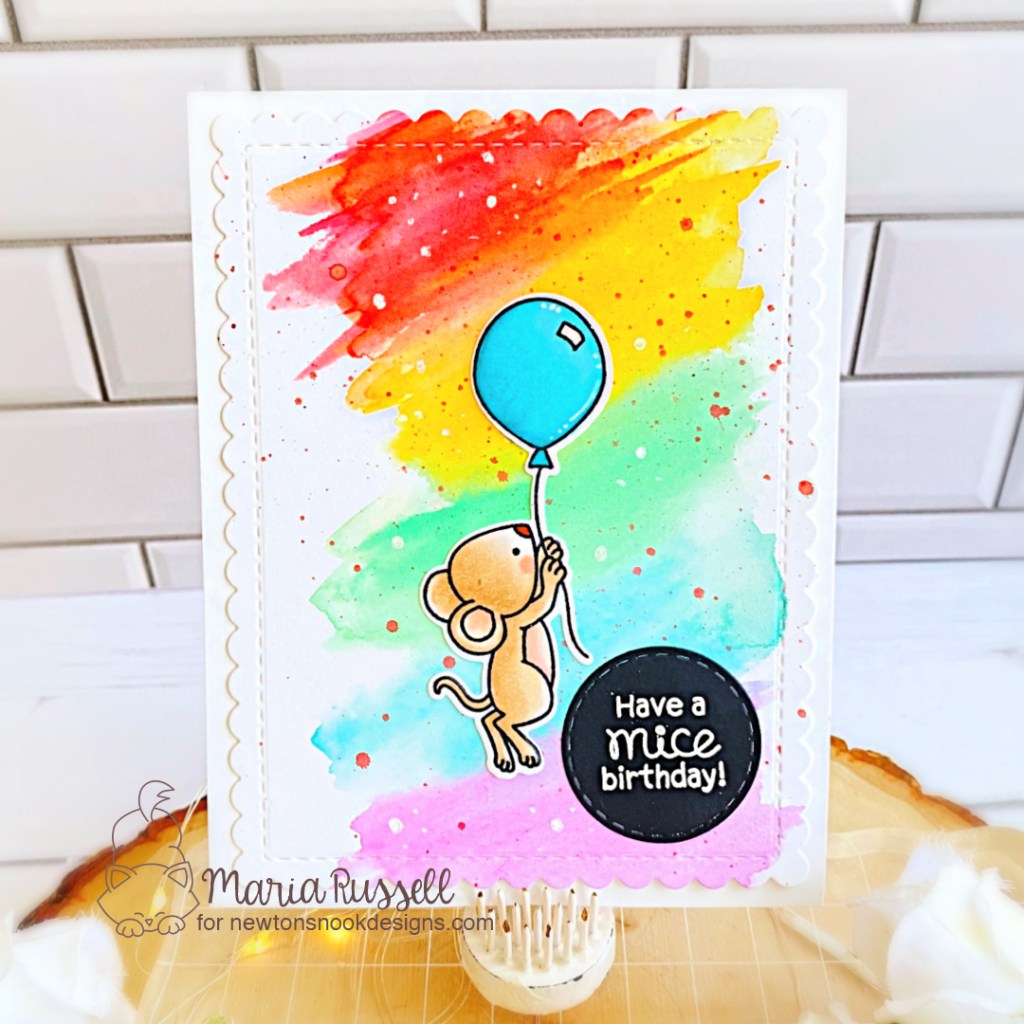
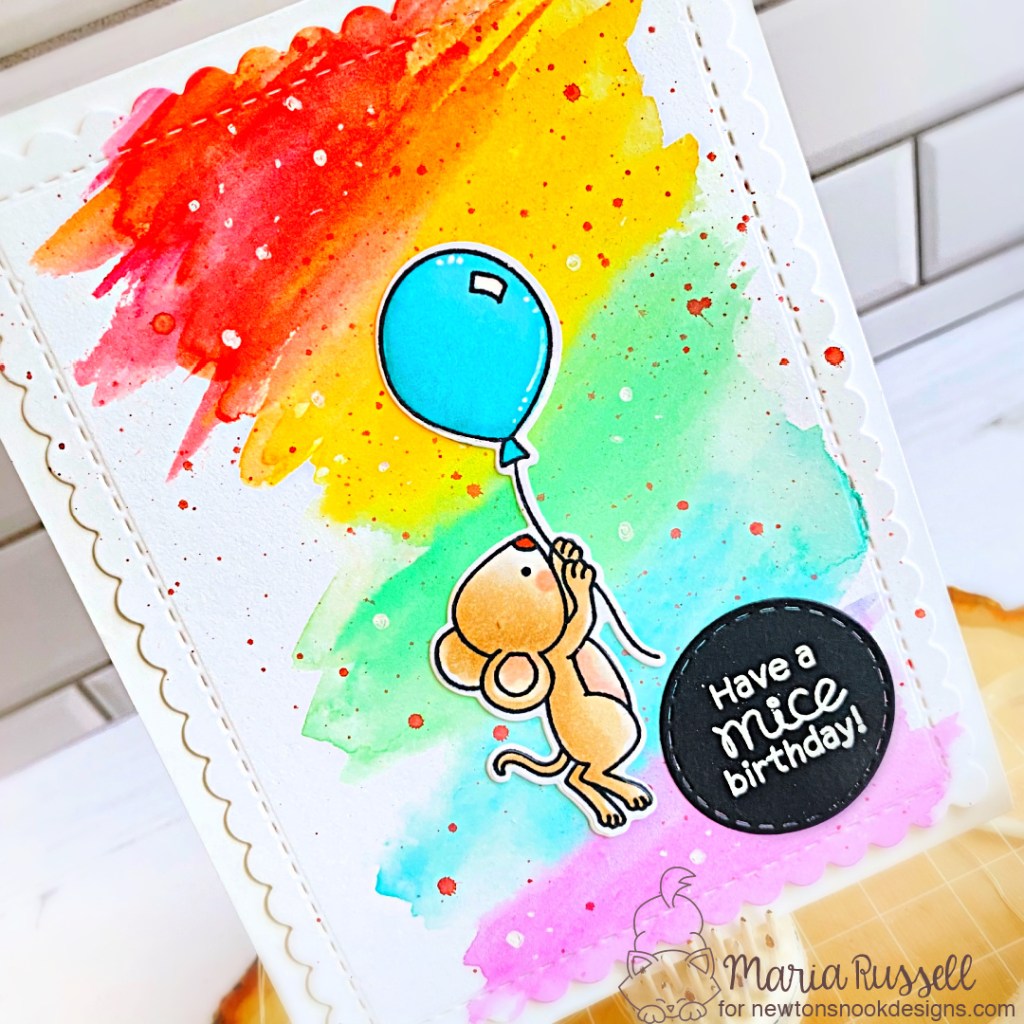
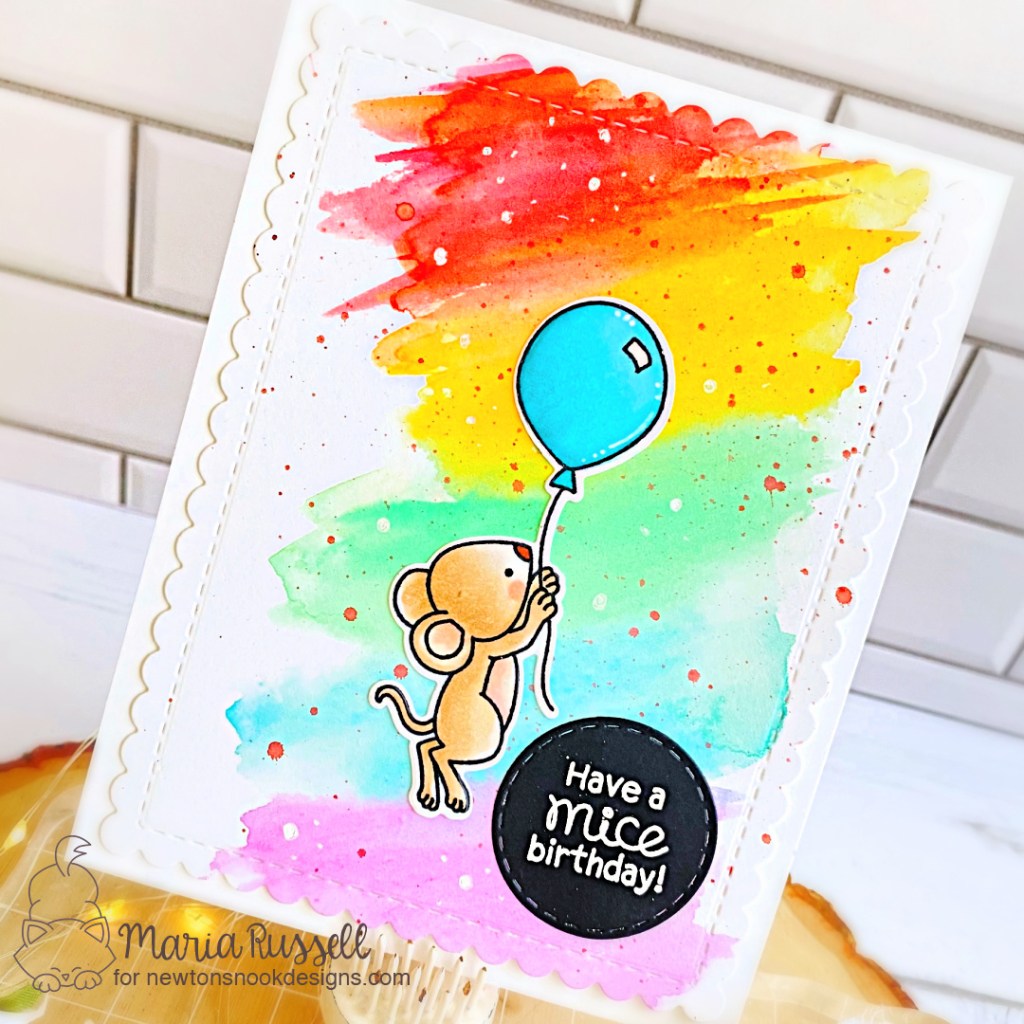
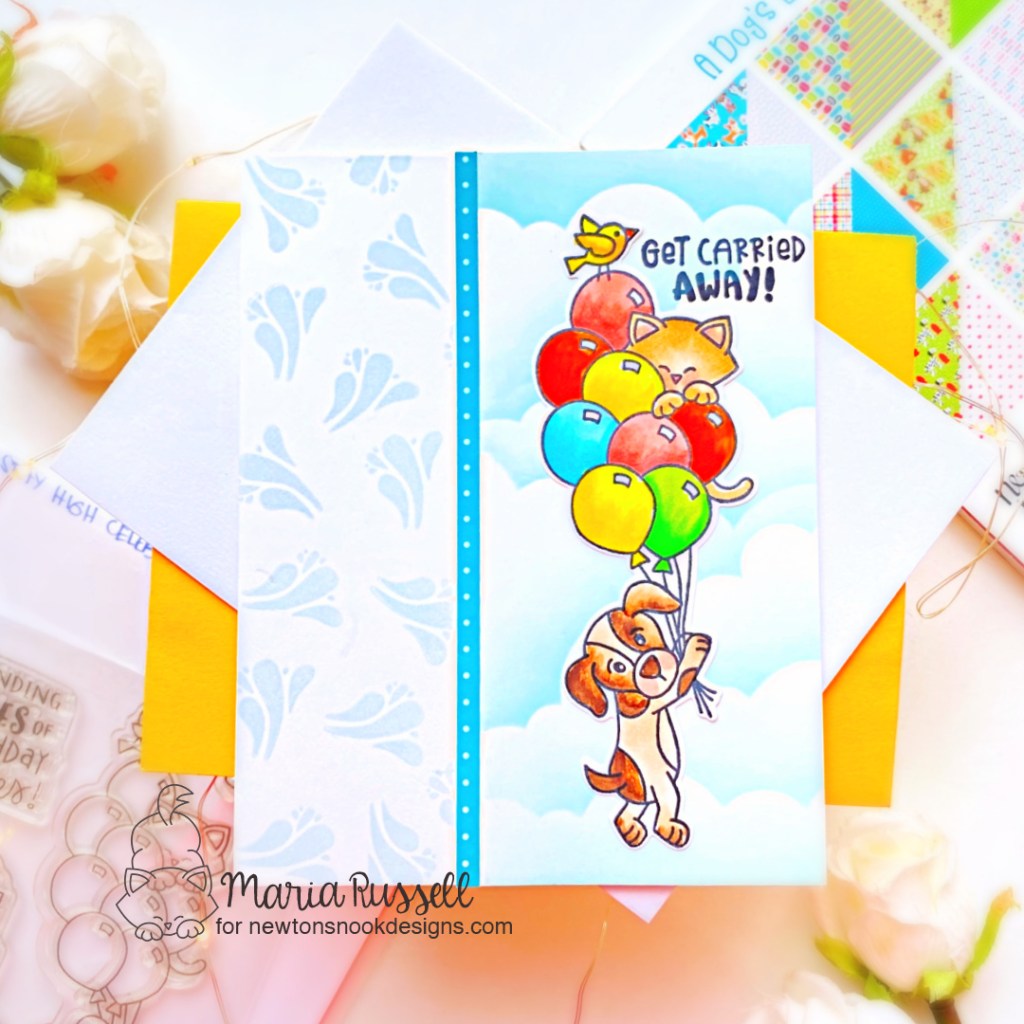
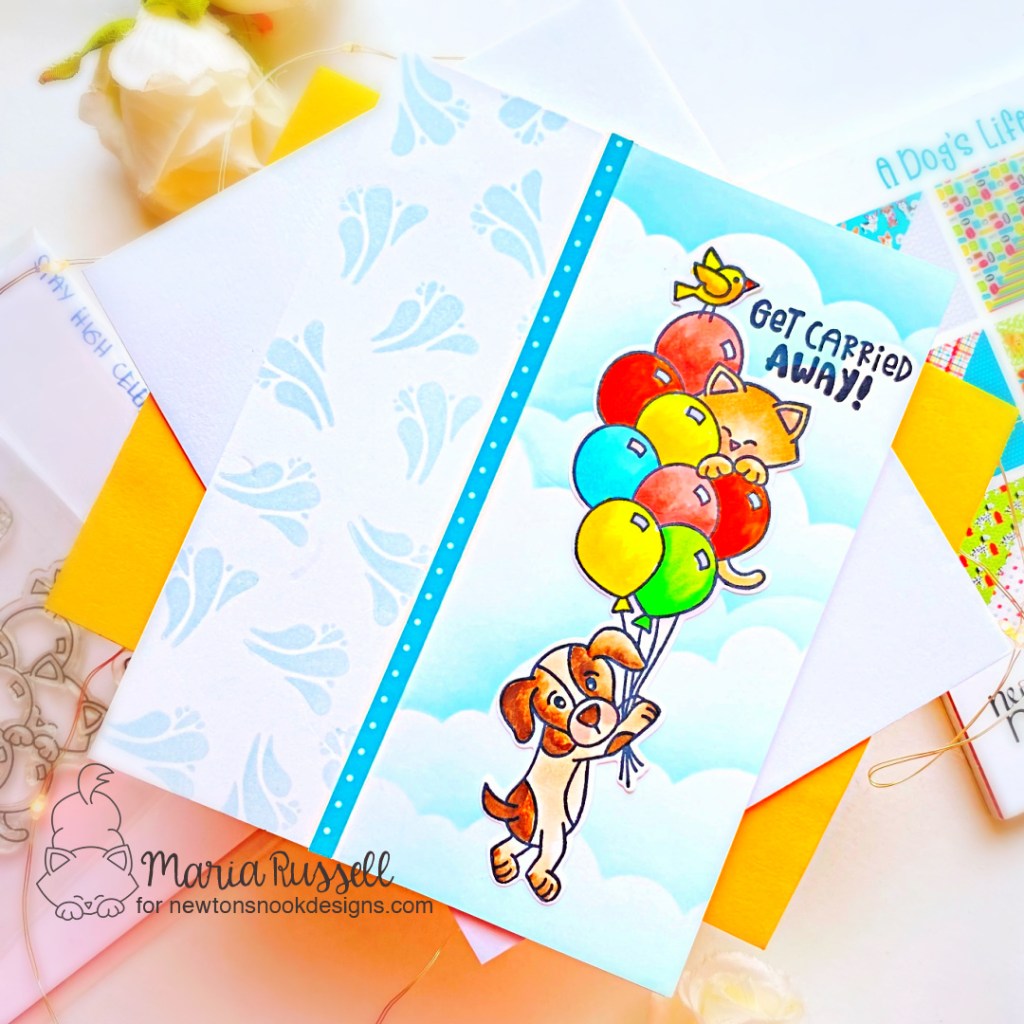
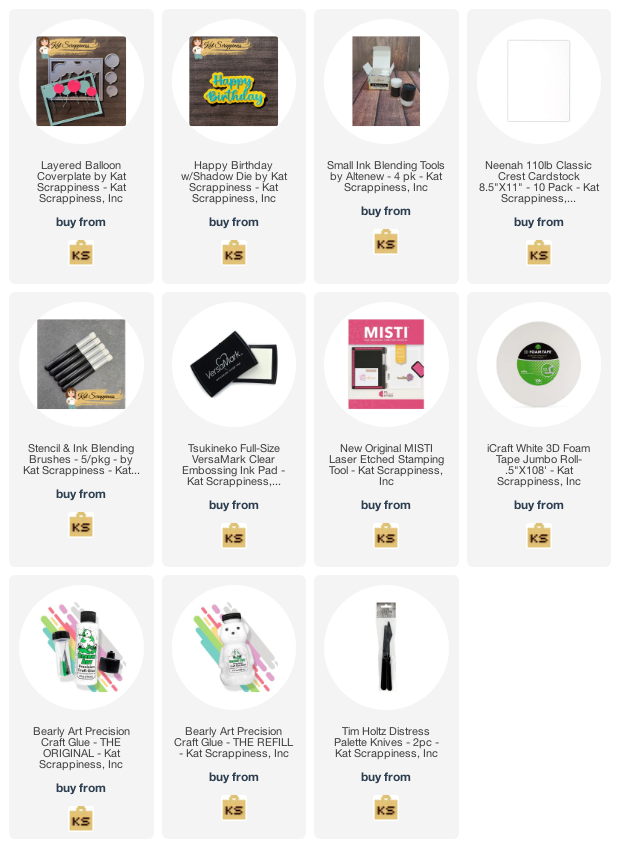
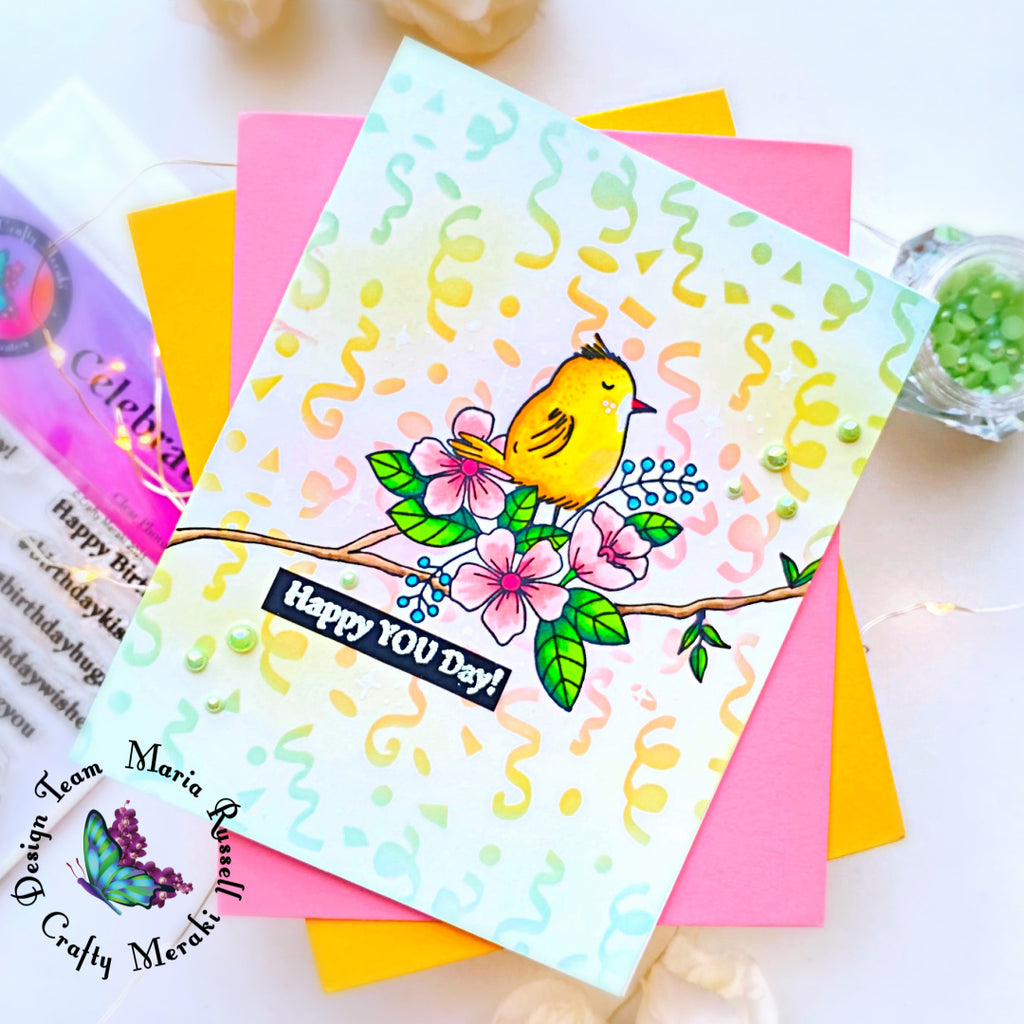
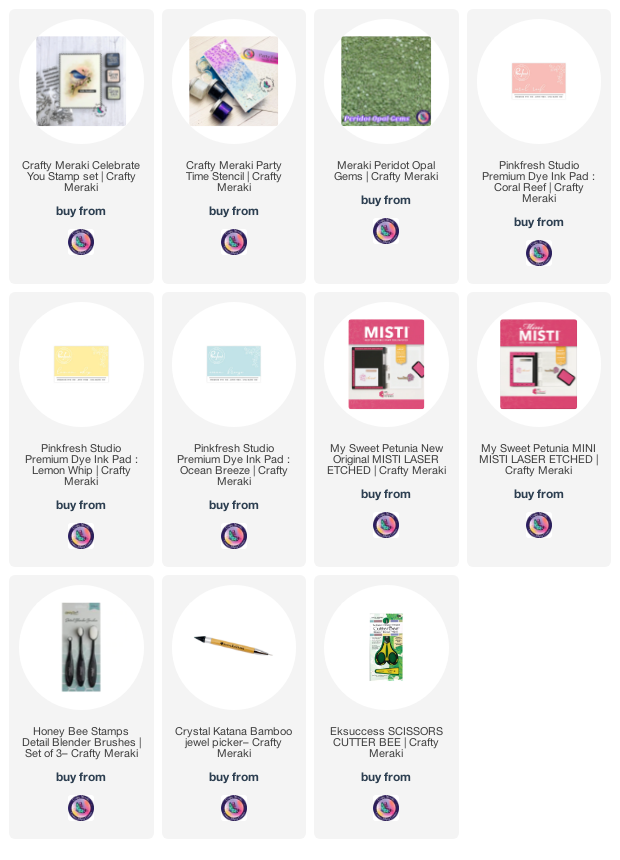
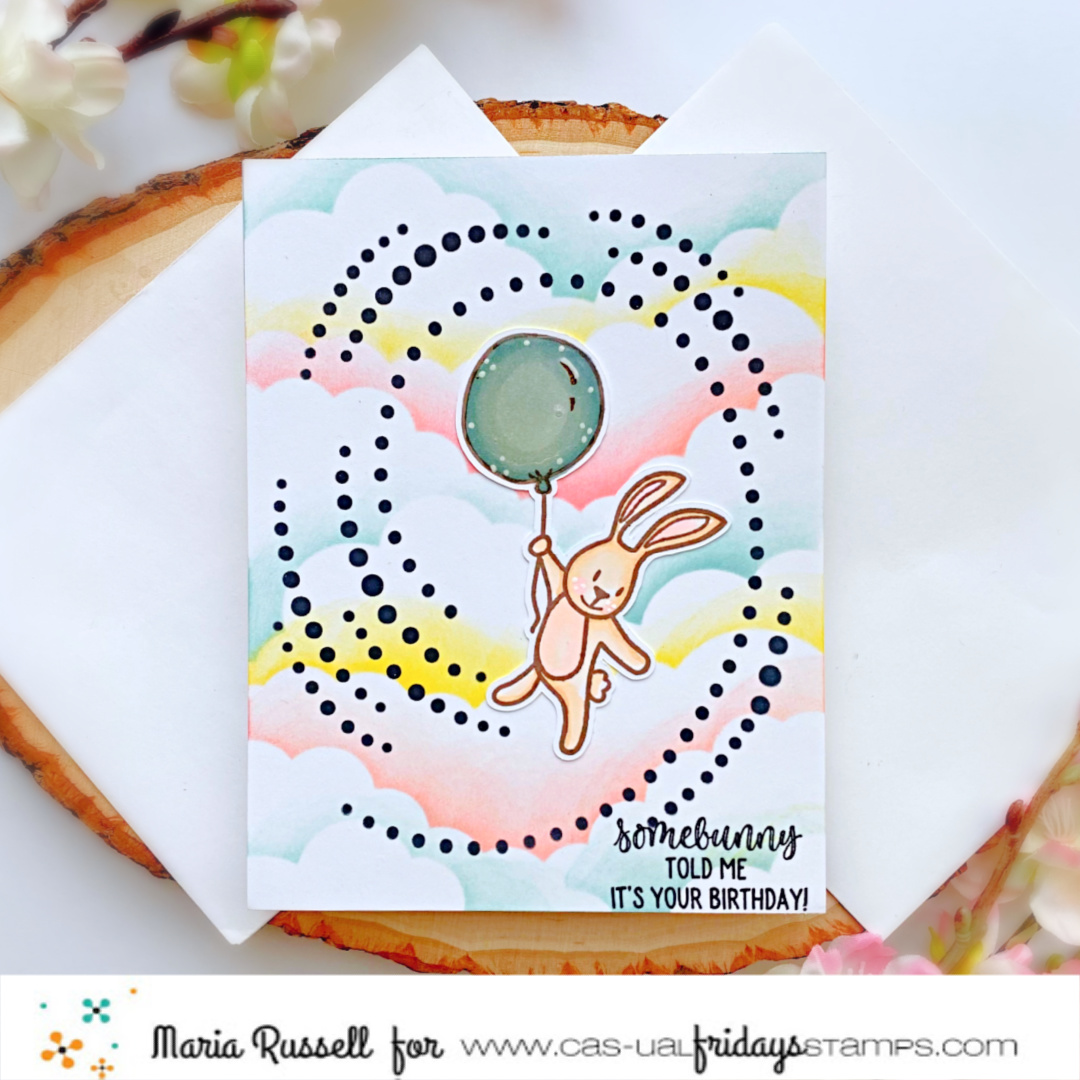
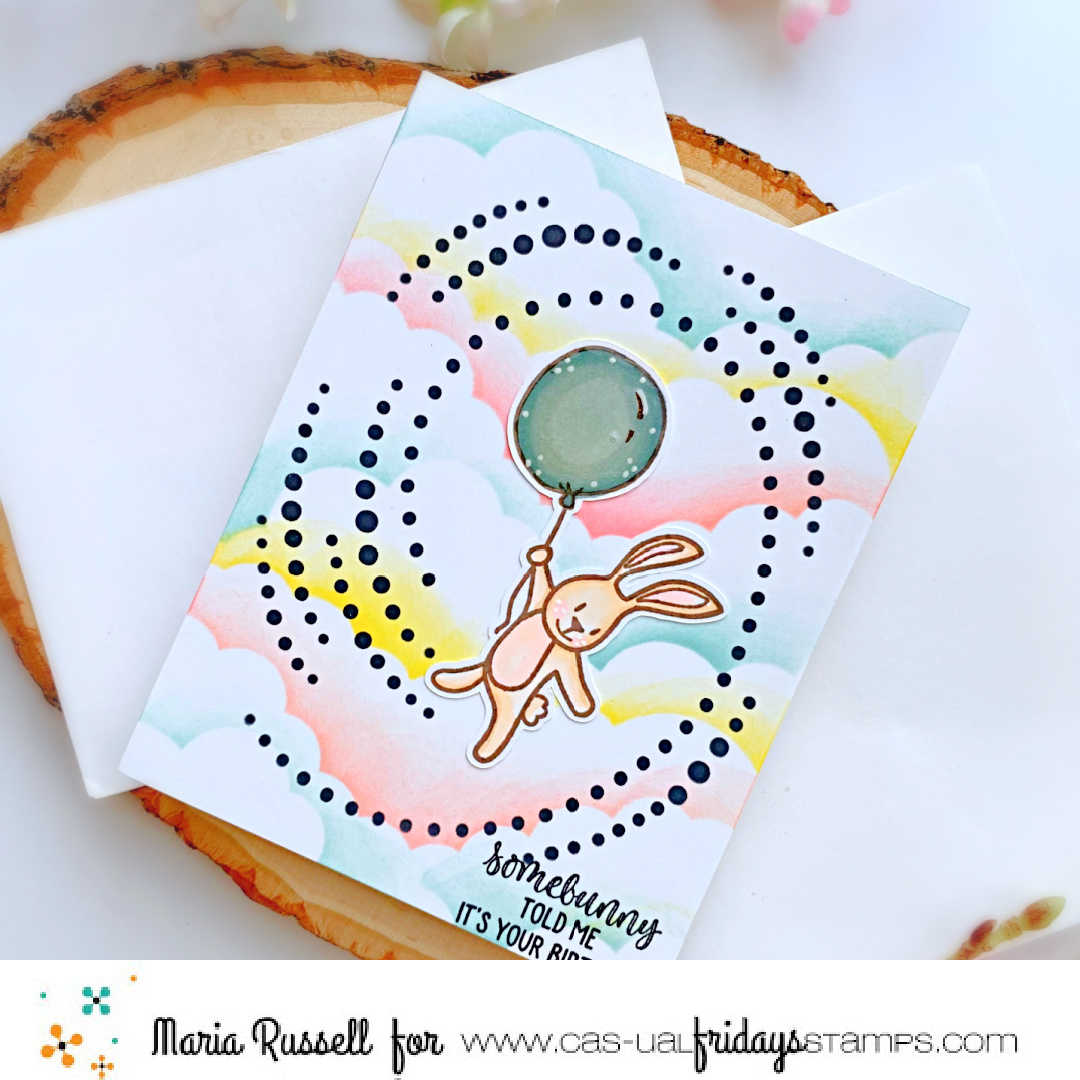
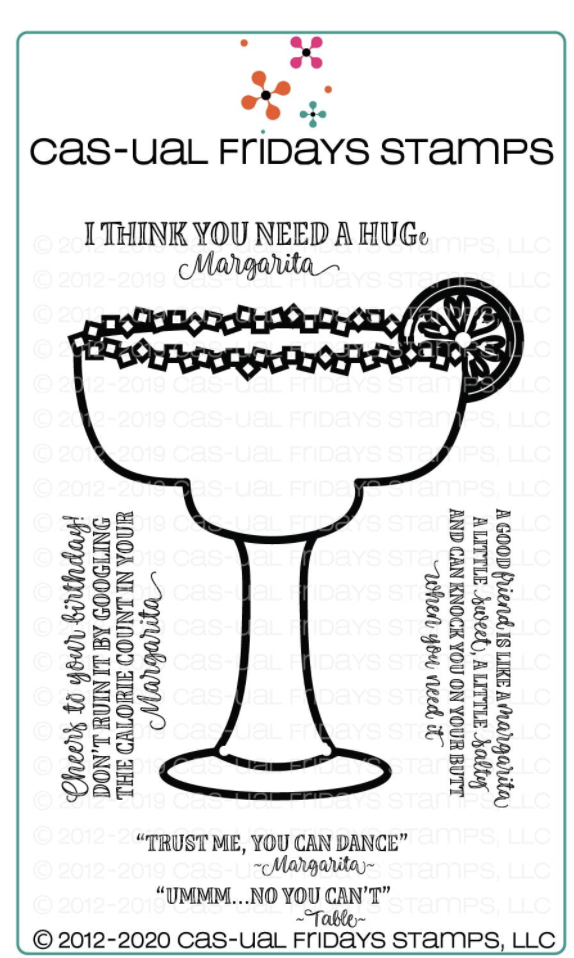
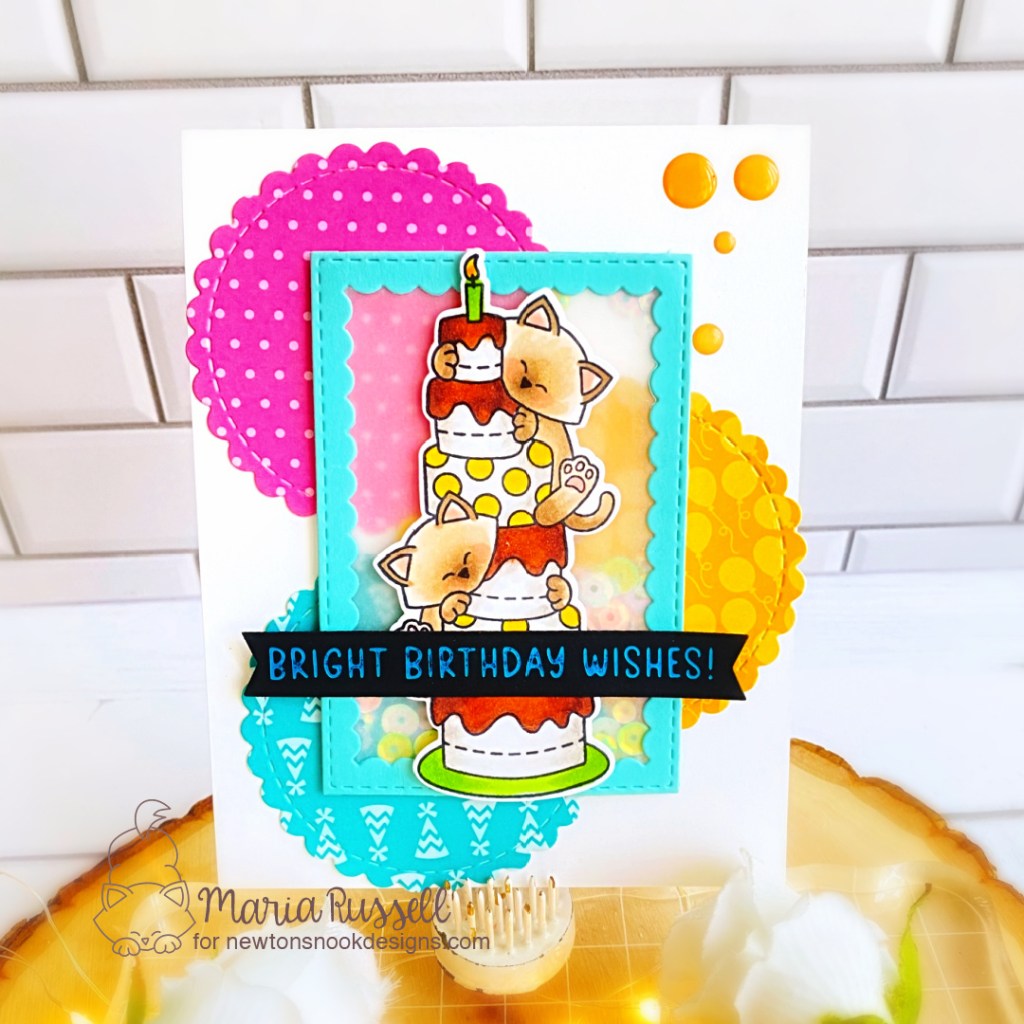
I have been building up my stash of birthday cards and today’s project features the recently released Newton’s Birthday Delights Stamp Set + Coordinating Dies along with the Bright Sentiments Hot Foil Plate and Banner Duo Die Set by Newton’s Nook Designs.
Here’s how I made this card:
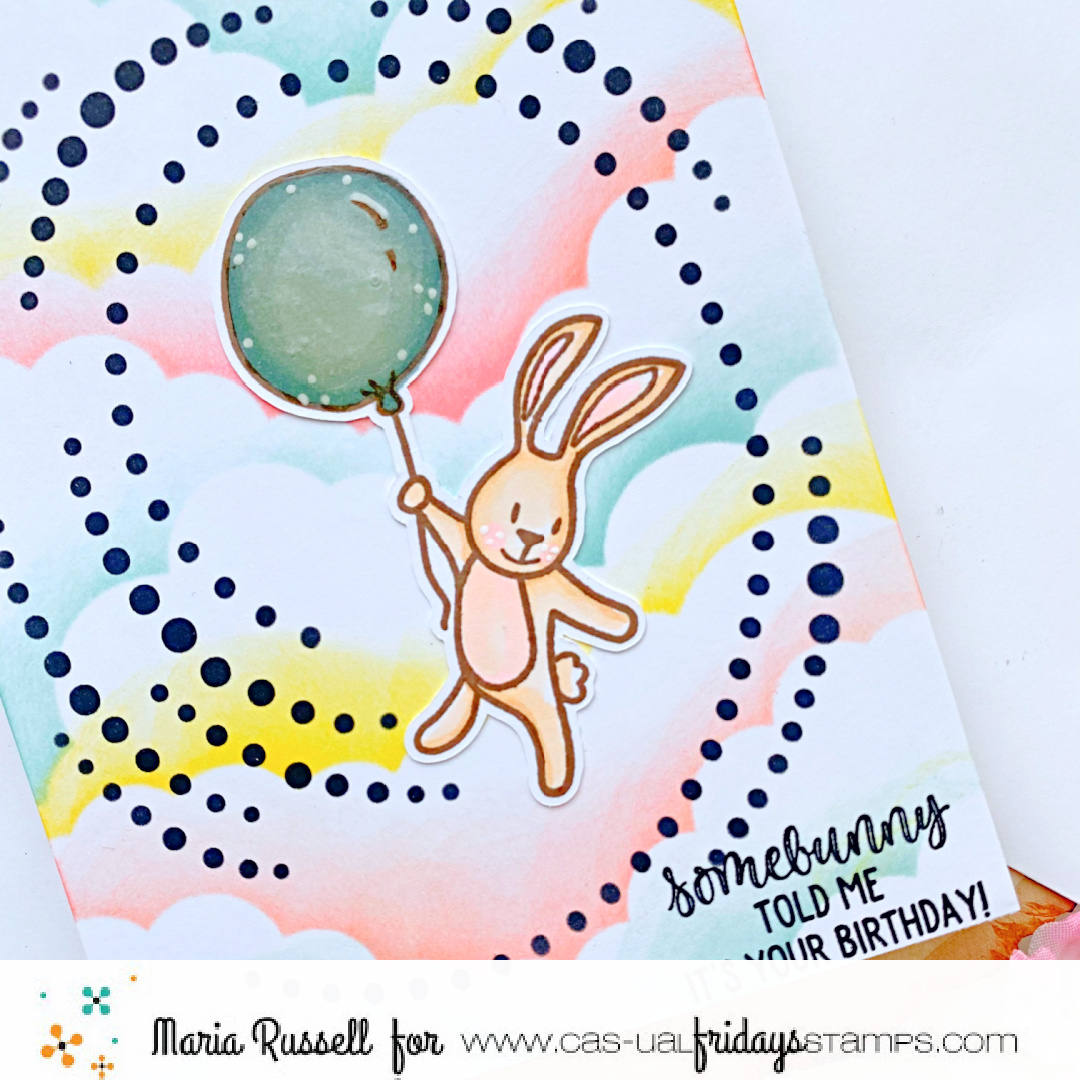
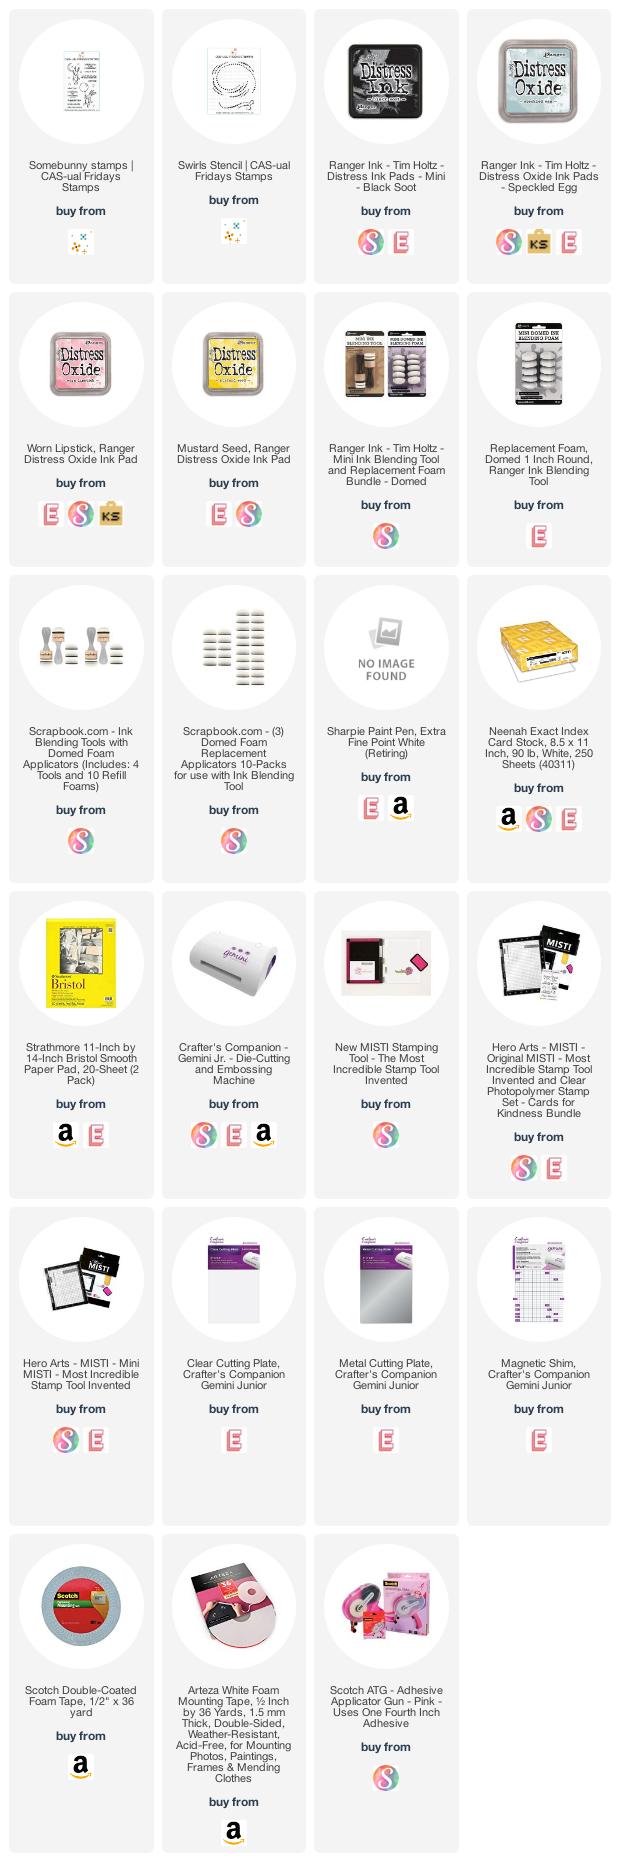
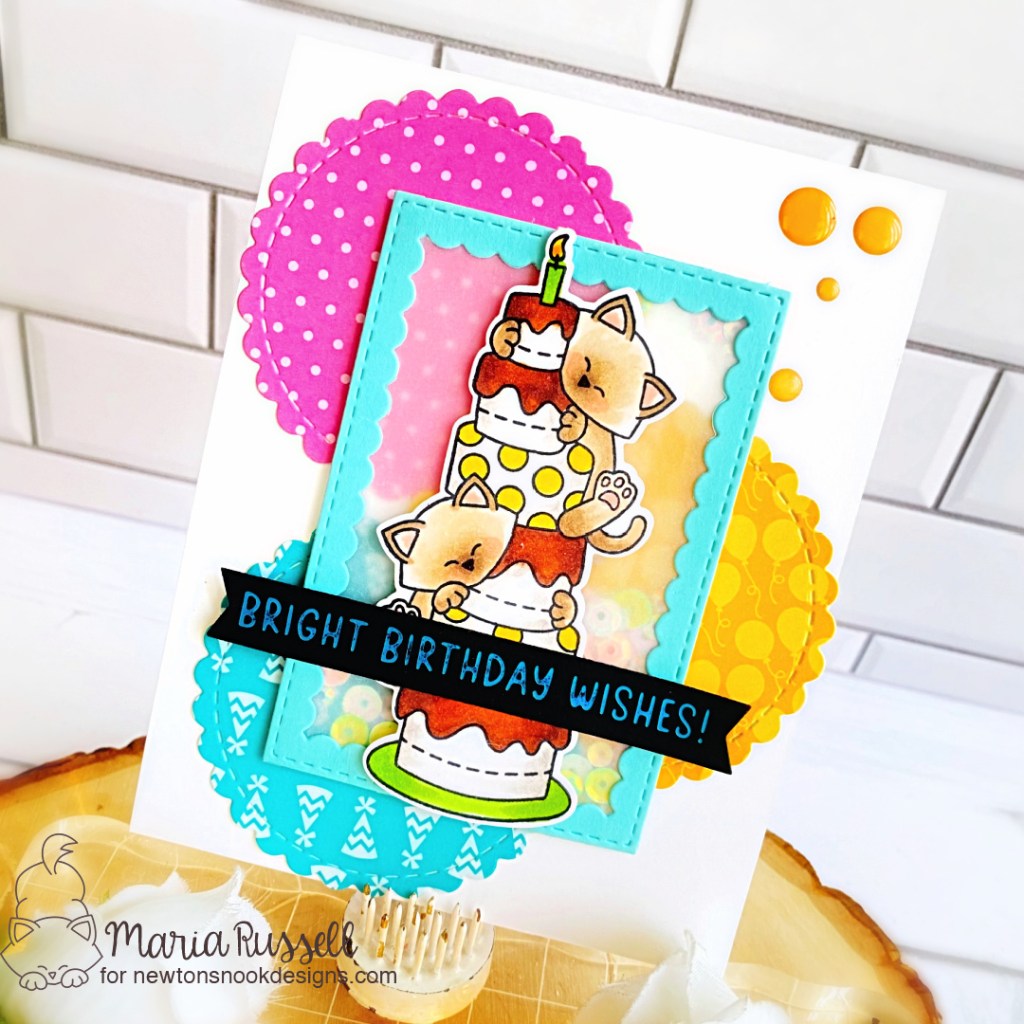
- stamp the image on some Neenah Classic Crest Solar white card stock. It is really helpful if you have the Misti Stamping Tool to get a really nice impression of your stamped images.
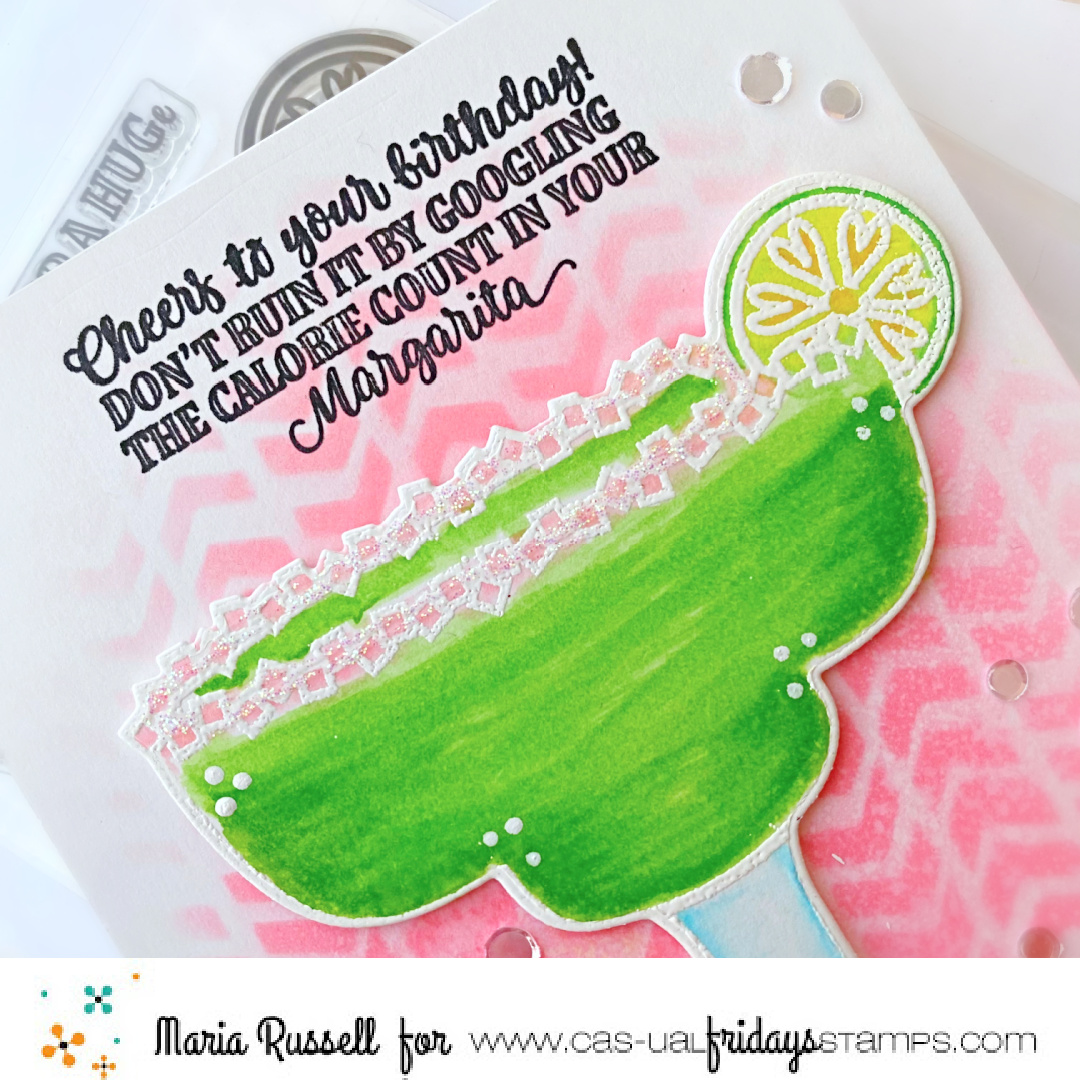
- color the image in with alcohol markers (or any medium of your choice). I colored mine with Copic and Spectrum Noir Alcohol Markers.
- die-cut the image using the coordinating die with your die-cutting machine. Secure the dies by using Repositionable Tape so they don’t shift while die-cutting. In case you’re wondering, I use the Sizzix Big Shot Machine with Cutting Plates plus Magic Mat by Scrapbook.Com. [The Magic Mat is a self-healing mat and you can use it for a long time without having to buy new plates].
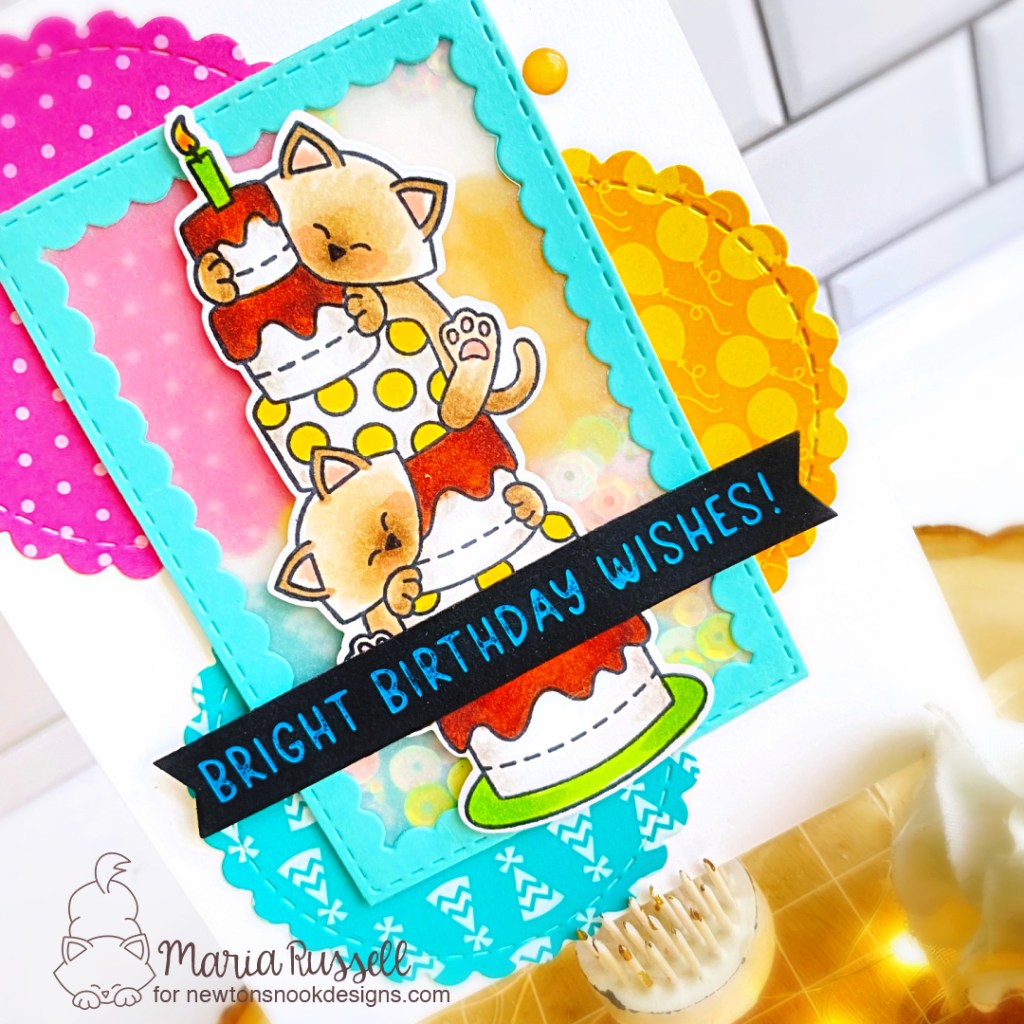
- die-cut some pattern paper that compliments the color of the stamp images using the smaller scallop die from the Circle Frames Die Set. Adhere the scallops on the notecard with tape runner.
- die-cut the rectangle frame using the small reverse scallop frame from the Framework Die Set and add some vellum to diffuse the busy pattern behind. Use sequins for the shaker element and foam-mount this panel on the foreground.
- adhere the image on the card with foam adhesive for added dimension.
- adhere the sentiment with foam and liquid adhesive.
- finish the design by adding some yellow enamel dots.
I hope you like this card today and got inspired. The supplies I used are highlighted and linked within the context of this blog post. Where available, I use compensated affiliate links at no extra cost to you. Your support helps me to keep bringing you new projects and inspiration. Thank you for stopping by, and have an amazing day!