I am a bit bummed because it is the last day of the February reveals by Newton’s Nook Designs. Were you able to check out the first three days of the reveal? Which one is your favorite so far? You have a chance to win each stamp set during release week so check out the details I have indicated at the end of this blog post. [Just a little important note: I know some of you had difficulties finding the comments section. If you would like to leave a comment to participate in the giveaway, the “comments section” will only be ever visible when a single post on Word Press is being viewed. Please click on this particular blog post and you will be able to leave a comment below. Thank you!]
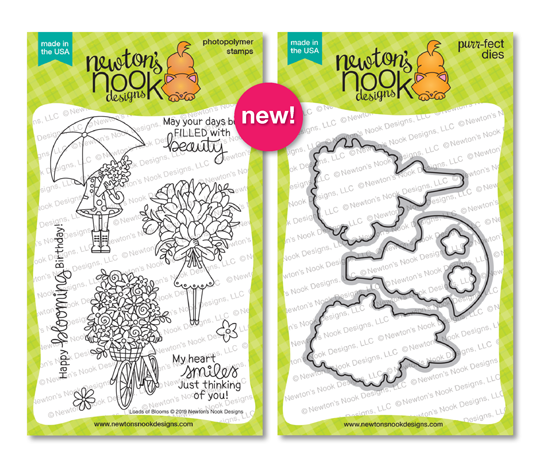
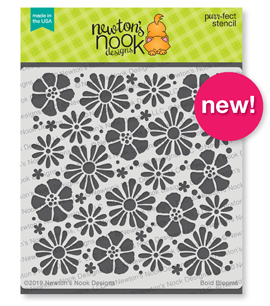
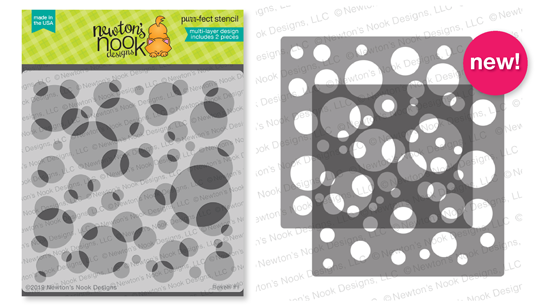
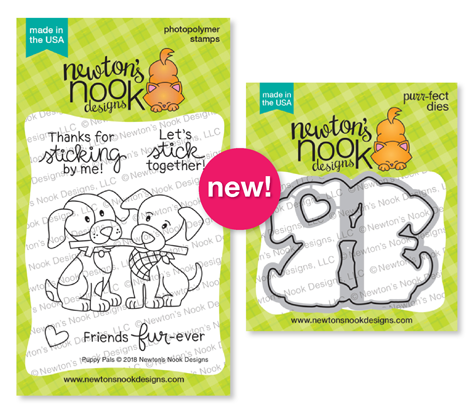
For the last day of the reveals, the design team is showcasing TWO mini stamp sets with its coordinating dies:

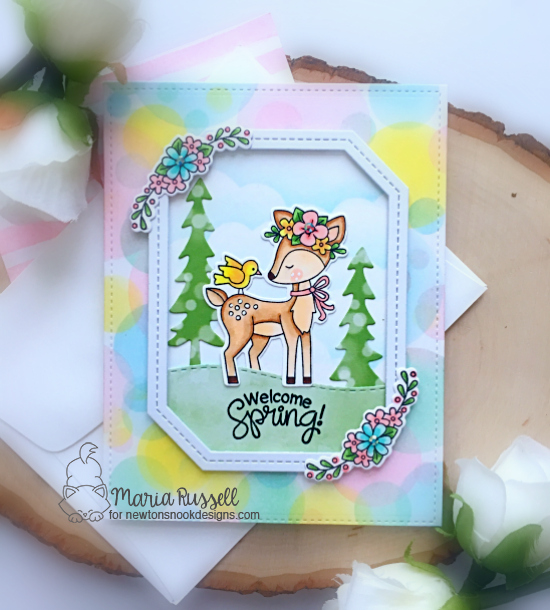
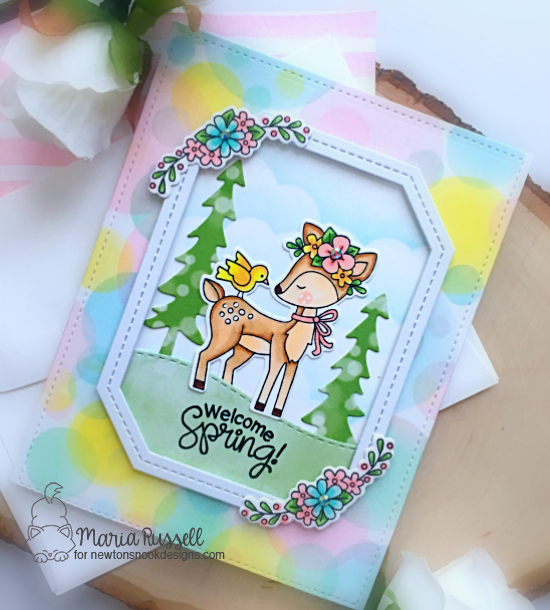
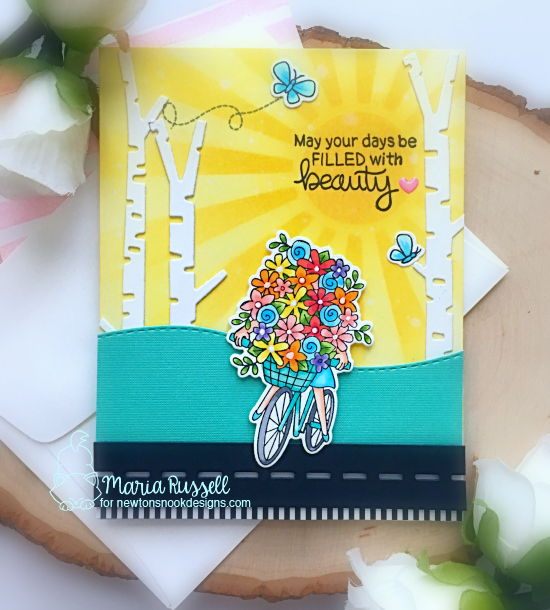
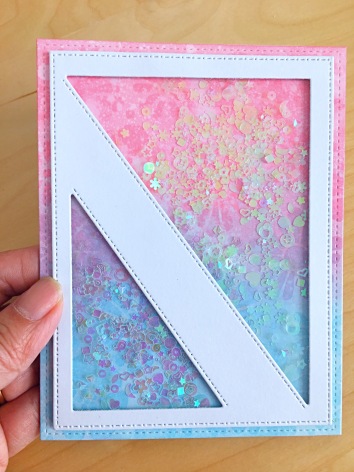
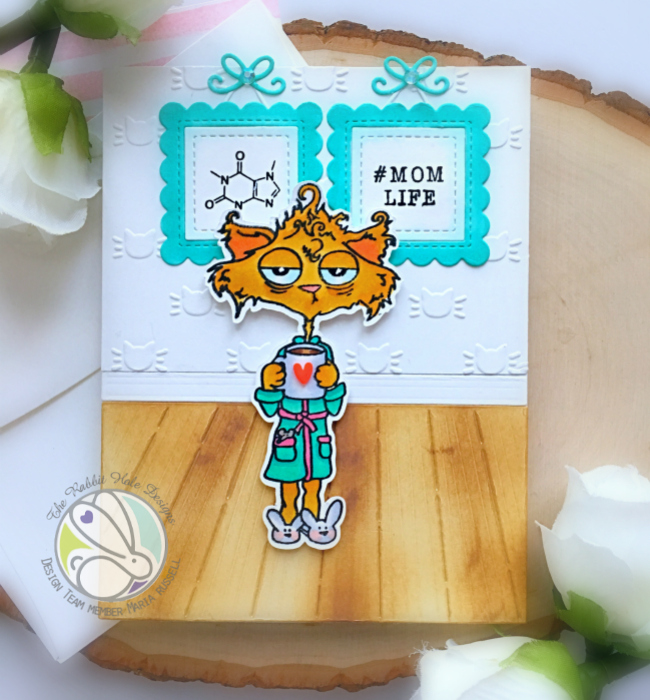
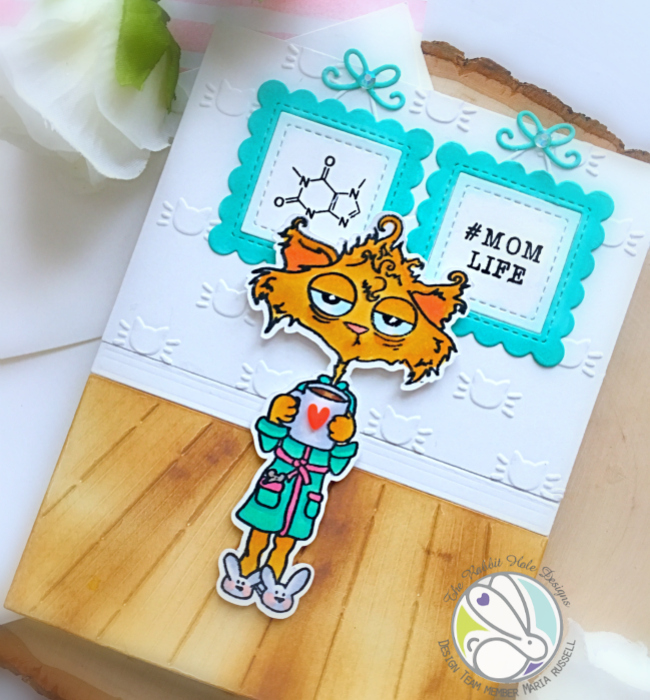
Here’s how I made my first card:
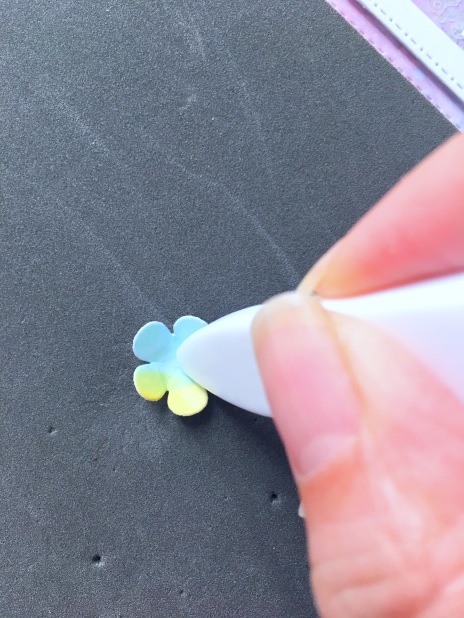
- stamp and color the images with Copic markers (or any coloring medium of your choice)
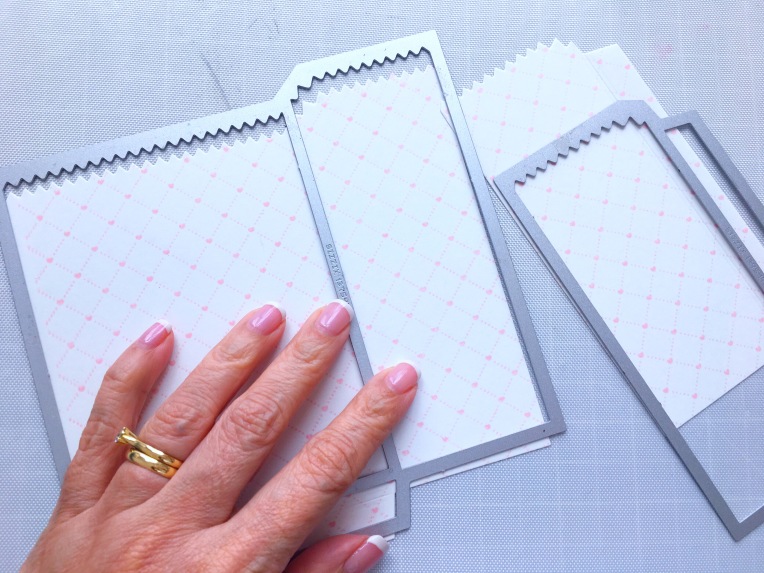
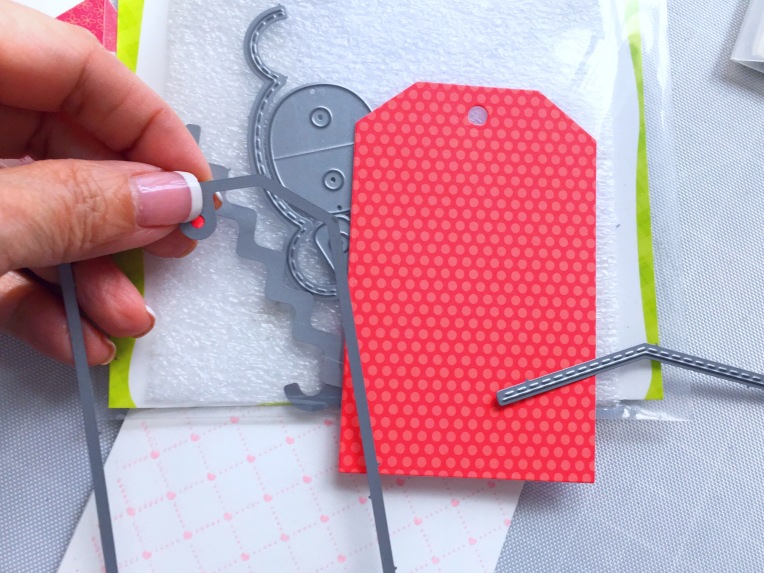
- die-cut the image using the coordinating dies.
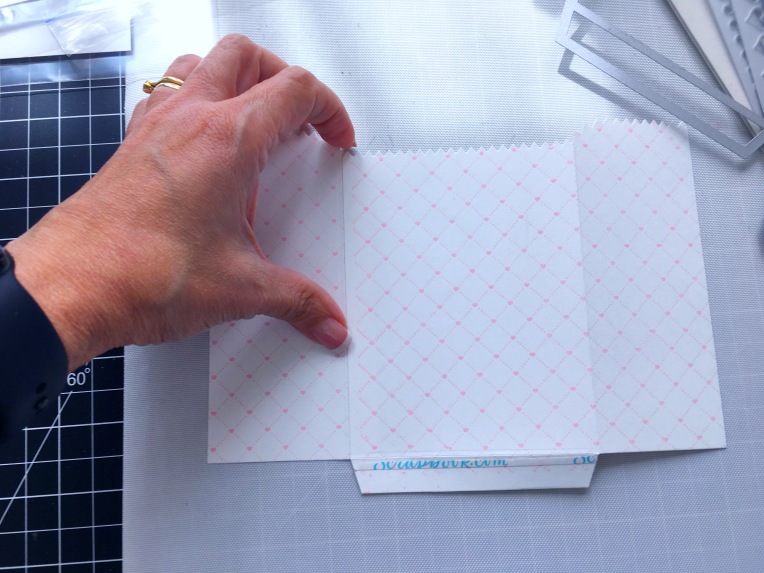
- use inkadinkado masking paper to mask off part of the card stock.
- use the handmade clouds stencil made from the clouds border die and ink up the background.
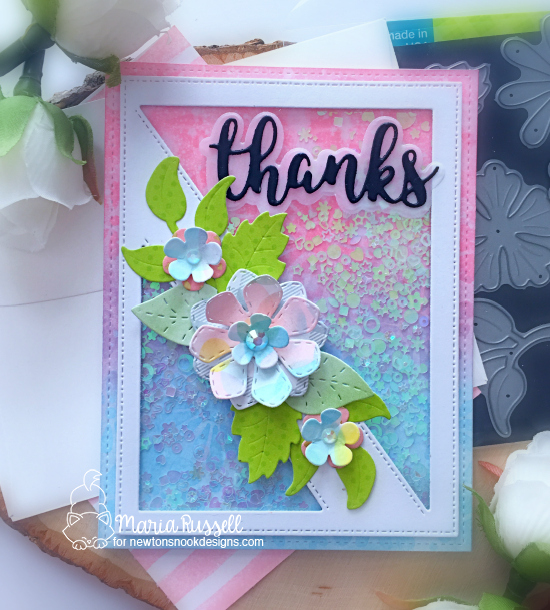
- stamp the sentiment on the colored background and adhere the image on on top.
- cut the colored card stock and adhere on the card base. Also adhere a rainbow patterned paper at the bottom of the card base. Finish this piece with some black strip card stock.

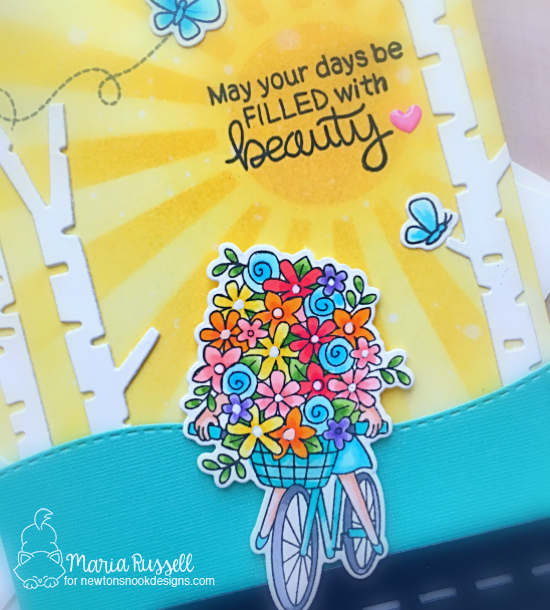
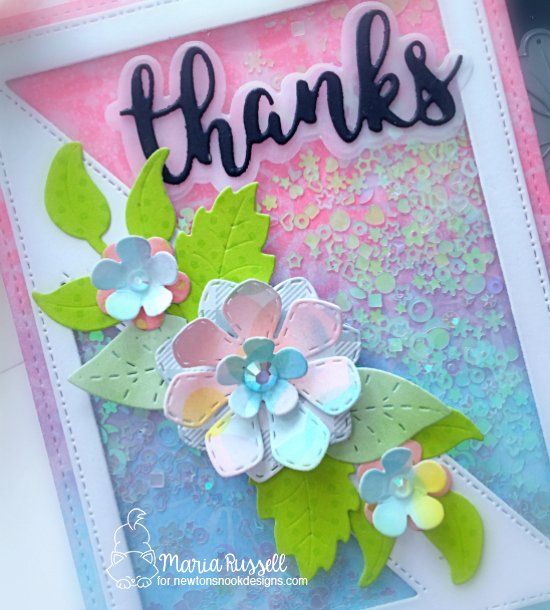
I felt that the left side of the card was missing something so I added the pastel stars from Kat Scrappiness to adorn the card. I think it turned out great. Here’s a closer look:

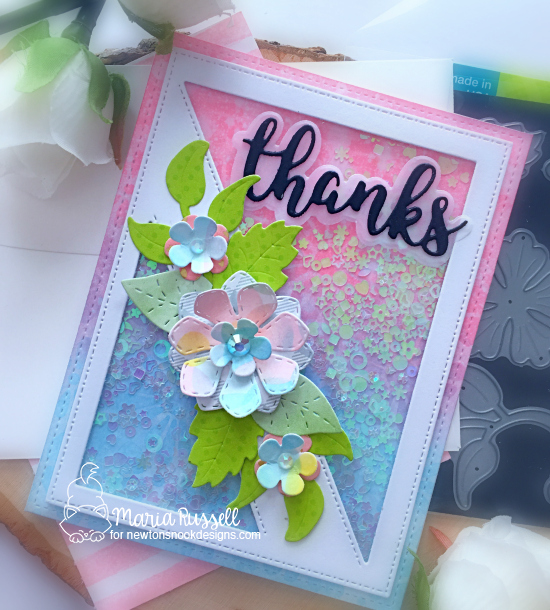
This card is really clean and simple but I like it a lot. Here’s another look:

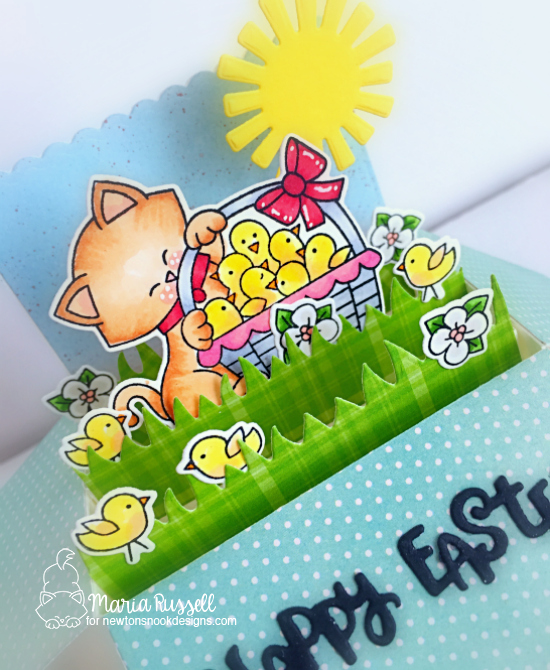
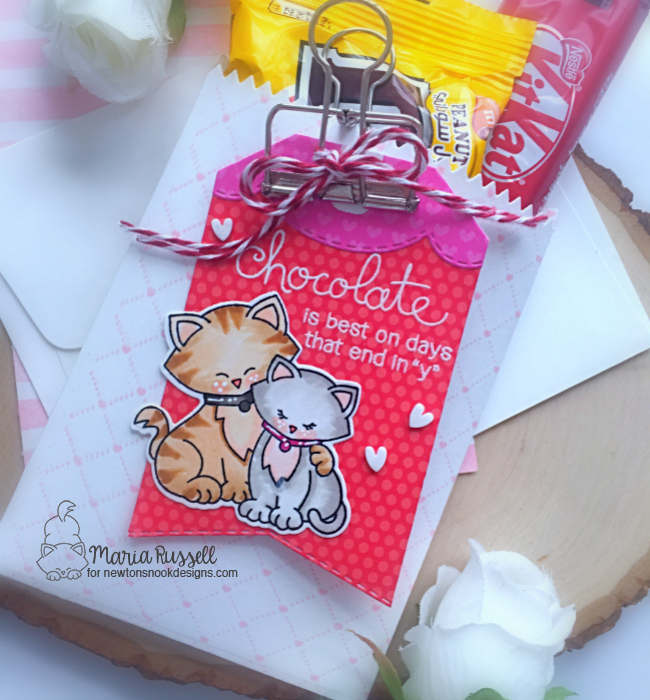
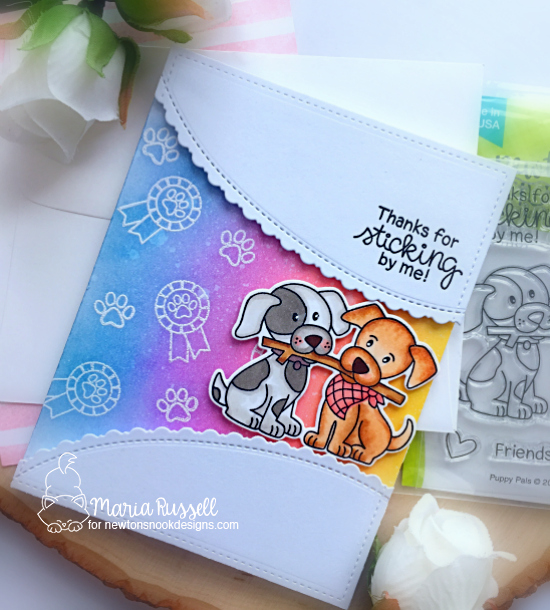
Here’s how I made my second project:
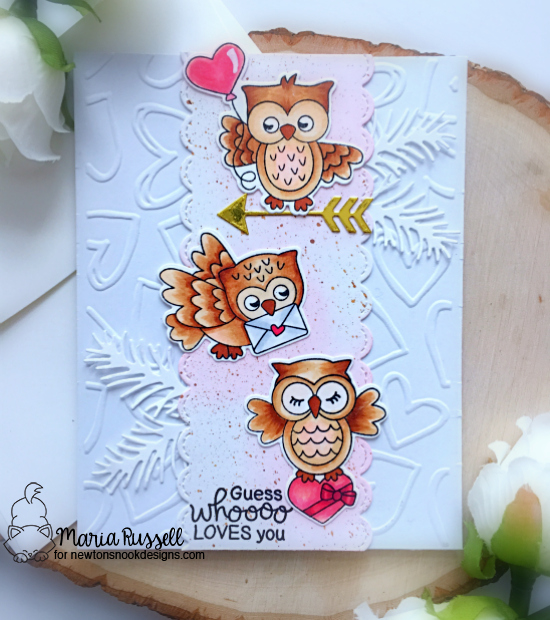
- stamp and color the image on some smooth white card stock. die-cut the image using the coordinating die.
- use the paw prints and ribbon images from the Terrific Terriers stamp set and stamp them using versamark ink on bristol smooth card stock.
- sprinkle white embossing powder and heat-set with the heating tool.
- ink up this bristol smooth card stock with distress oxide inks.
- wipe the embossed images with paper towel to make them white again.
- die-cut the rest of the card stock to assemble the card.

This image is sooooo cute! I also LOVE that the coordinating die, die-cuts the middle space between the two dogs! It’s a definite must-have for sure. You can use this stamp set for any occasion and the possibilities are endless. Here’s a closer look of the puppies:
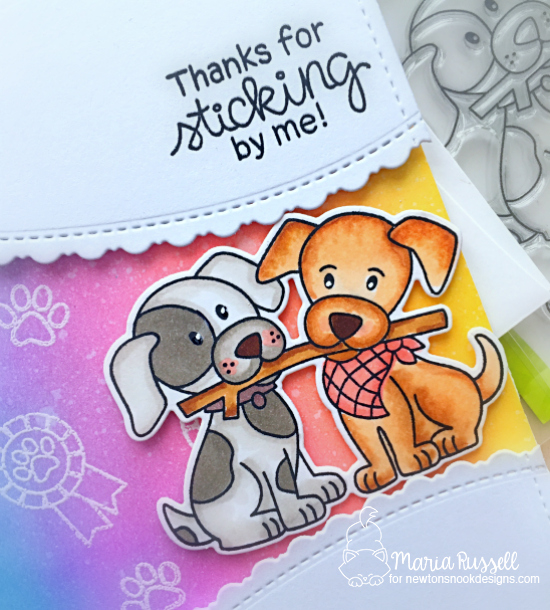
Aren’t they adorable? I also love the rainbow colored background and it really made them stand out.
That is all for this week! I hope you guys LOVE the projects that we’ve made for you using the new stamps, dies and stencils.
Would you like to win the “Spring Pile Up” or the “Puppy Pals” Stamp Set? We will choose ONE lucky winner for each stamp set!
Comment on the NND blog and Design Team blogs (see list below)! The winner will be chosen at random from the collective reveal posts. Make sure to check out each of their blogs and comment for your chance to win. You will not know which blog has been chosen so the more you comment on the better your chances are of winning! You have until Thursday February 14th at 9pm EST to comment — winners will be announced on the blog post on Friday, February 15th.
Check out all the awesome Design Team Blogs below to enter:
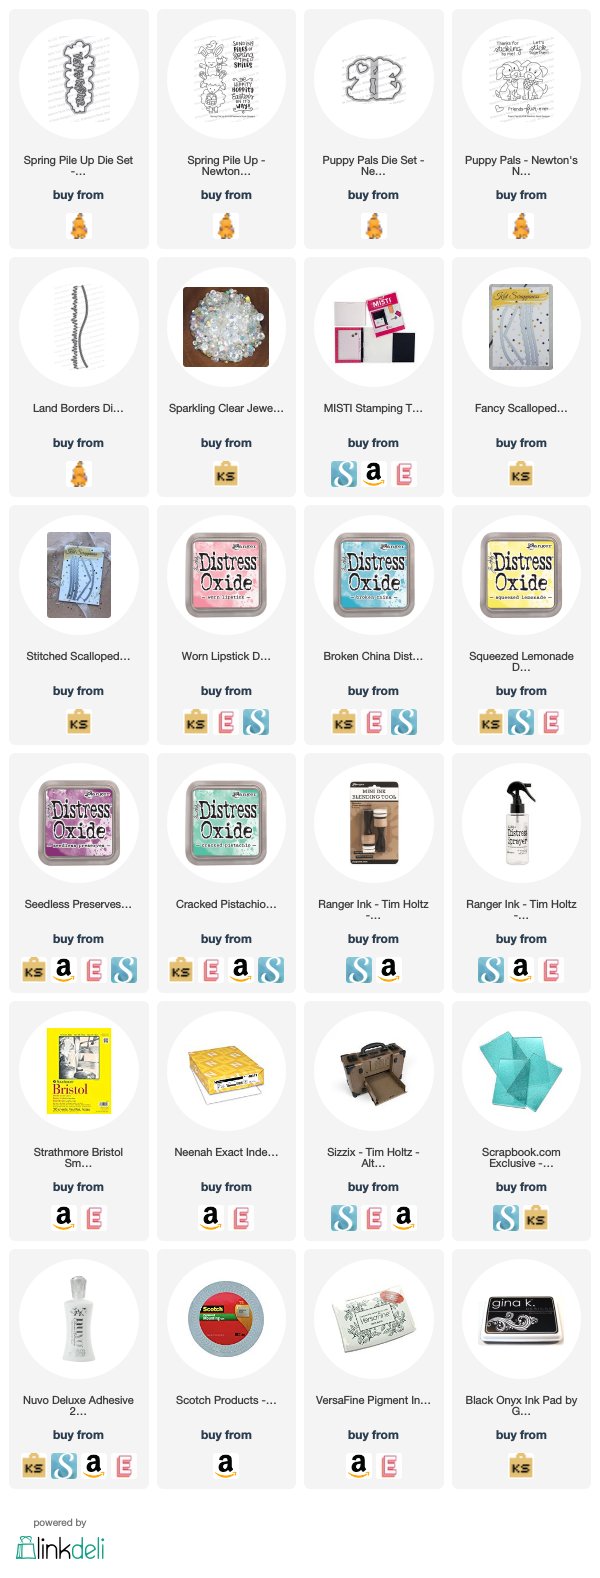
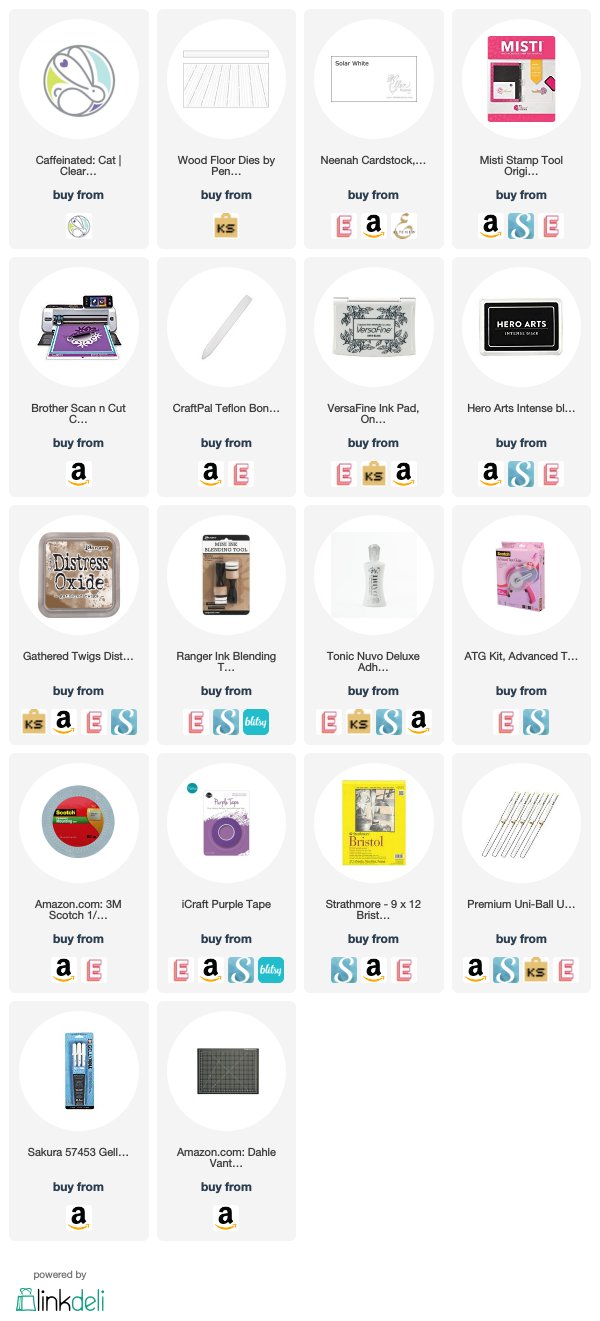
————SUPPLIES—————