I am a bit bummed because it is the last day of the January reveals by Newton’s Nook Designs. Were you able to check out the first three days of the reveal? Which one is your favorite so far? You have a chance to win each stamp set during release week so check out the details I have indicated at the end of this blog post. [Just a little important note: I know some of you had difficulties finding the comments section. If you would like to leave a comment to participate in the giveaway, the “comments section” will only be ever visible when a single post on Word Press is being viewed. Please click on this particular blog post and you will be able to leave a comment below. Thank you!]
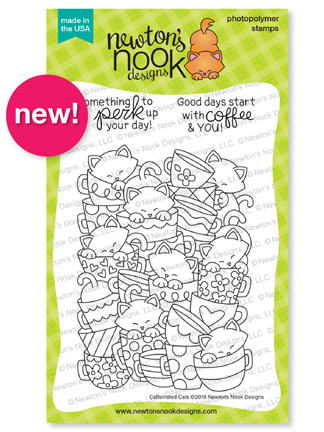
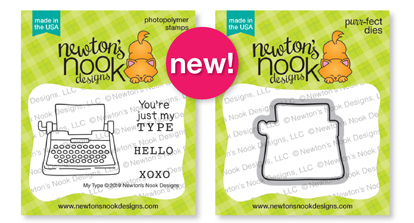
For the last day of the reveals, the design team is showcasing two mini stamp sets with its coordinating dies. They are My Type and Candy Heart. Here’s what they look like:

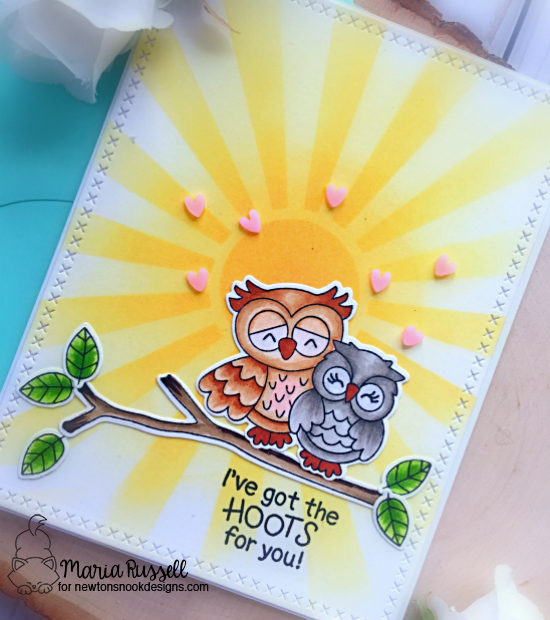
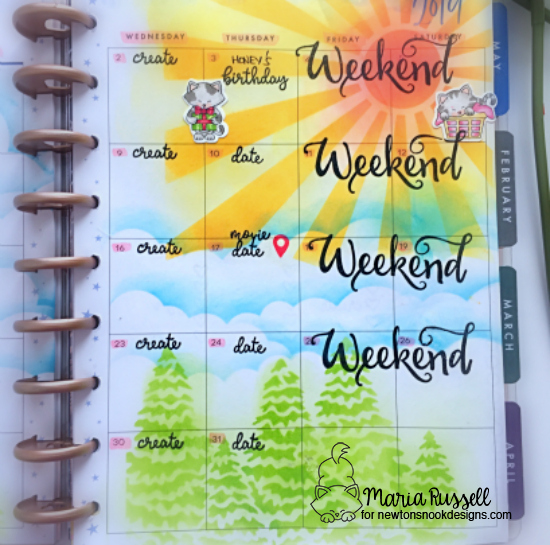
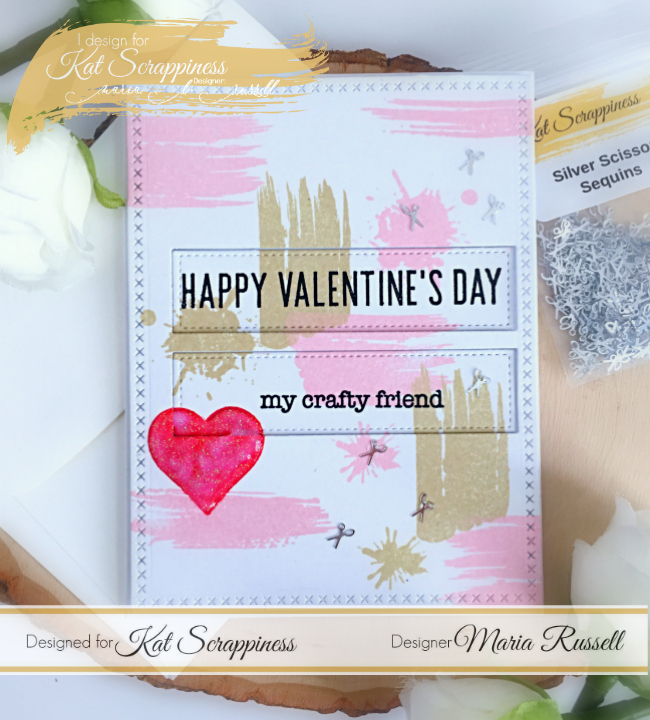
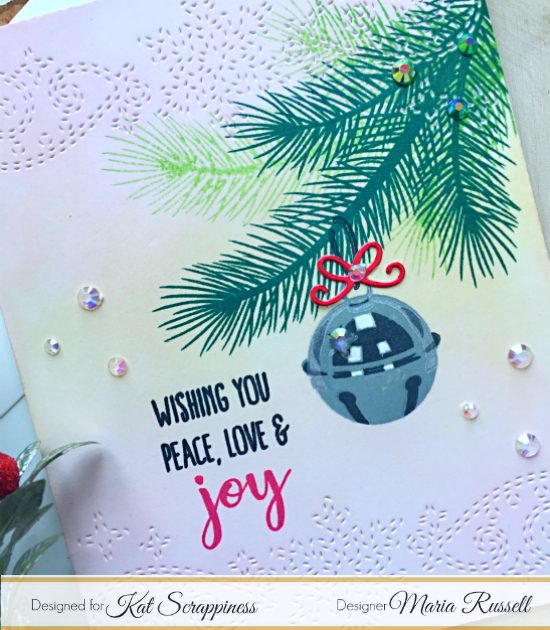
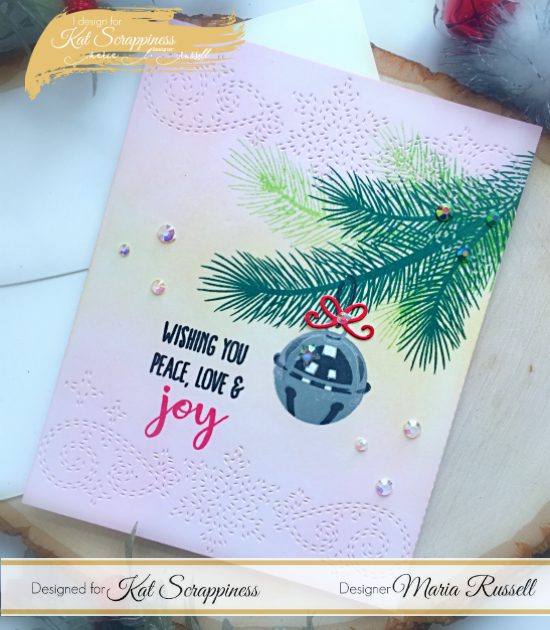
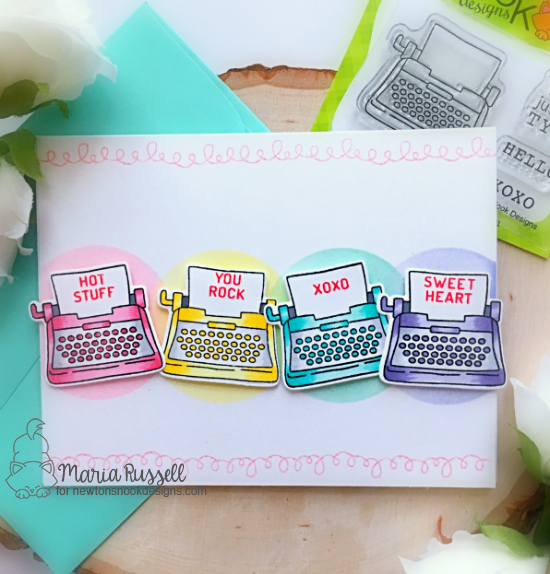
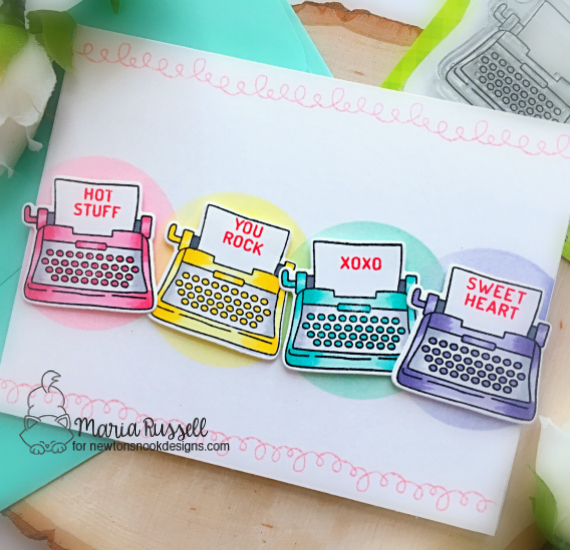
For my first card, I stamped my images with memento ink and colored the images in with Copic markers. I die-cut the images with its coordinating die. I used my handmade circle stencil and inked up a piece of some Bristol smooth white card stock using different pastel color inks.

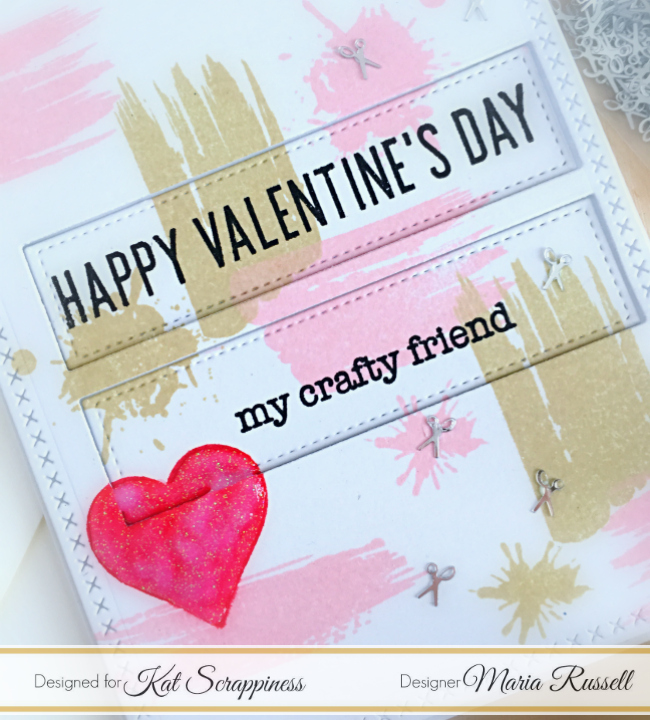
I stamped the sentiments using the Candy Heart stamp set and adhered the pieces onto my card with some foam adhesive.
I adore this mini stamp set. You can use this stamp set not jsut for Valentine’s Day but for any occasion as well. Here’s a closer look:

For Christmas this year, my daughter gave me a mint-green typewriter! I was bawling when I received it! I’ve always wanted one and every time my daughter and I went to Michael’s I would stop by to admire the typewriter and say to her one of these days I’ll get one of these. She bought it out of her teacher’s salary! I was so touched by this and I was super emotional that day! So coloring the typewriter with pastel colors reminded me of my very special gift from my loving daughter!
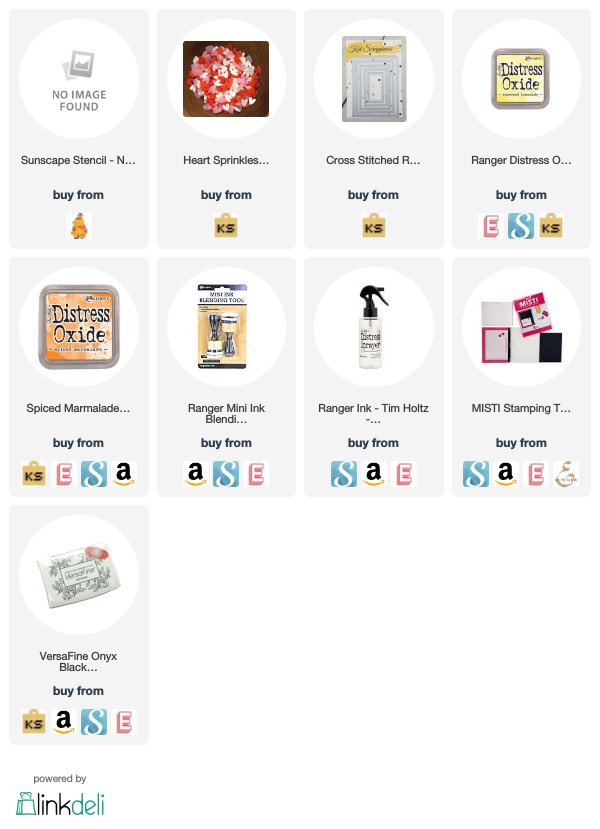
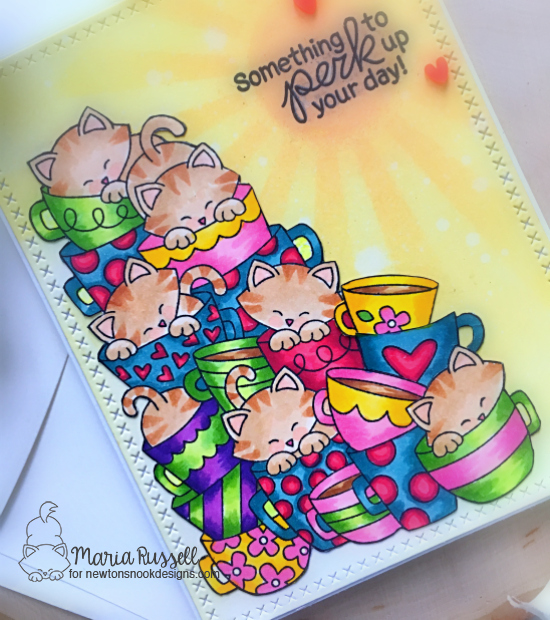
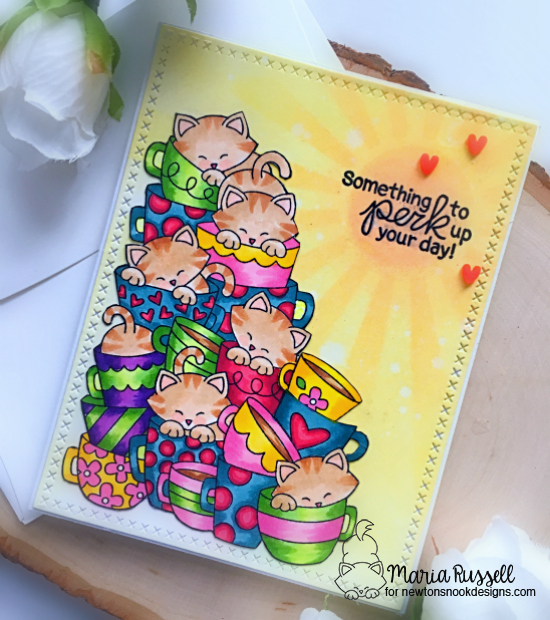
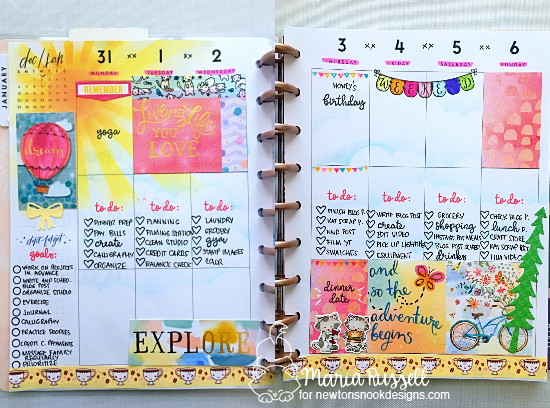
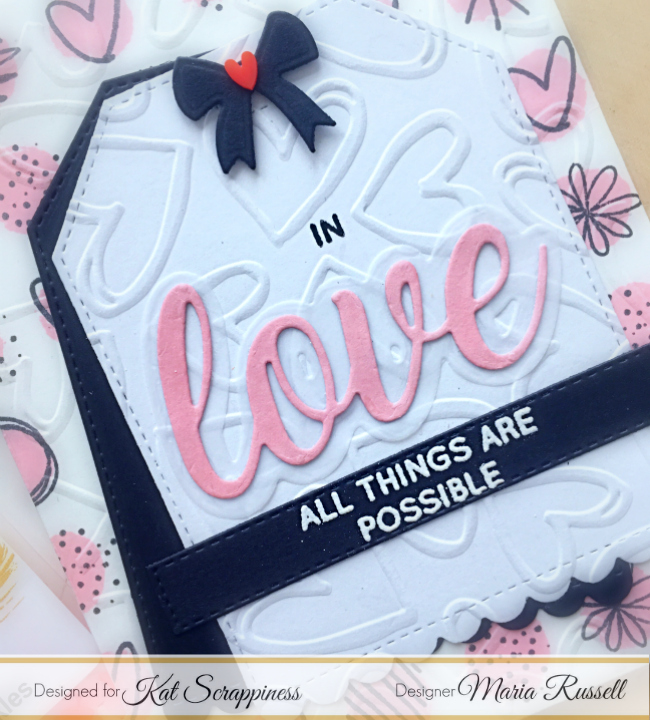
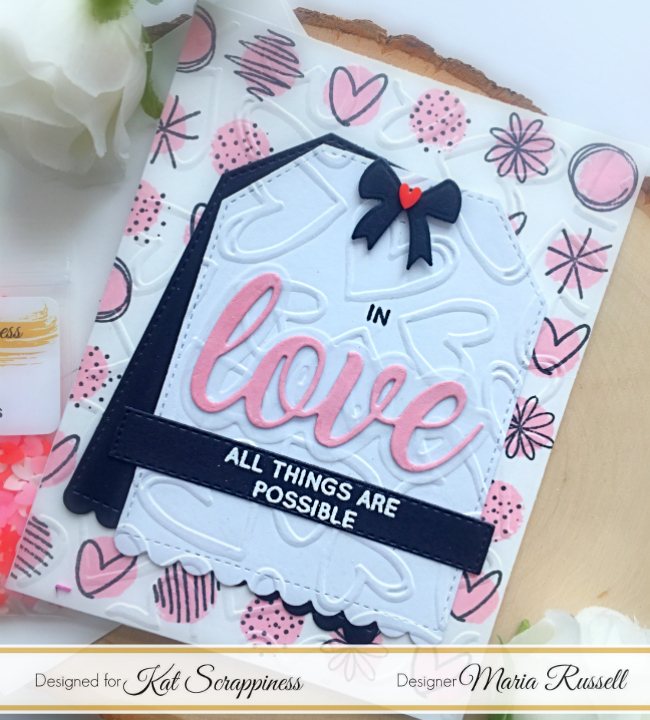
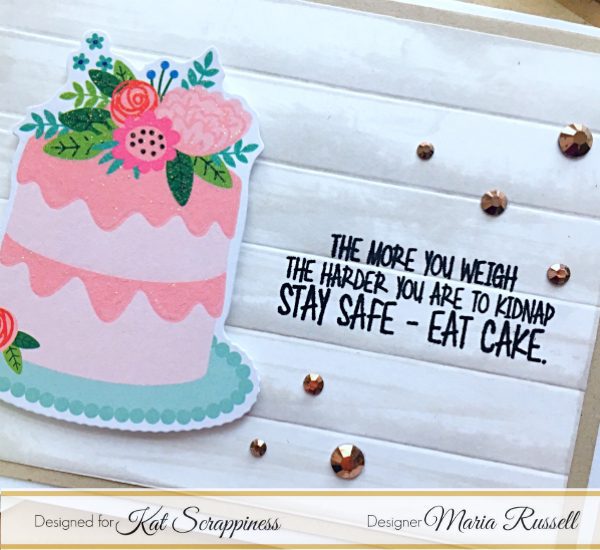
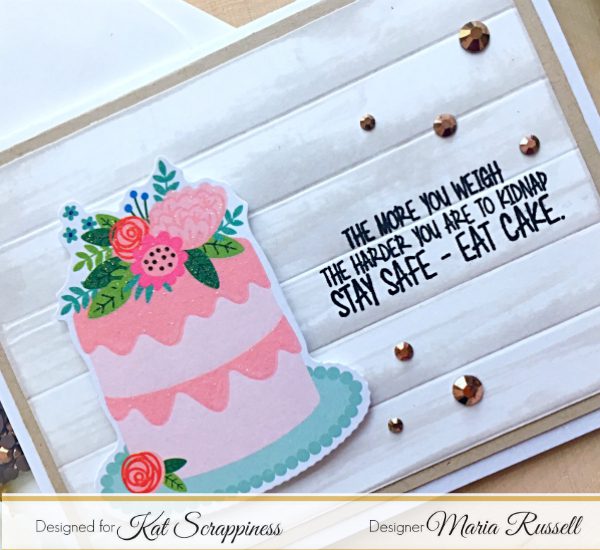
For my second project, I also used the cat images from the Newton’s Christmas Cuddles stamp set. I wanted these kitties sitting on a pyramid of candy hearts. I stamped he images with memento ink and colored them in with Copic markers. I die-cut the images with the coordinating dies. Here’s my second card:

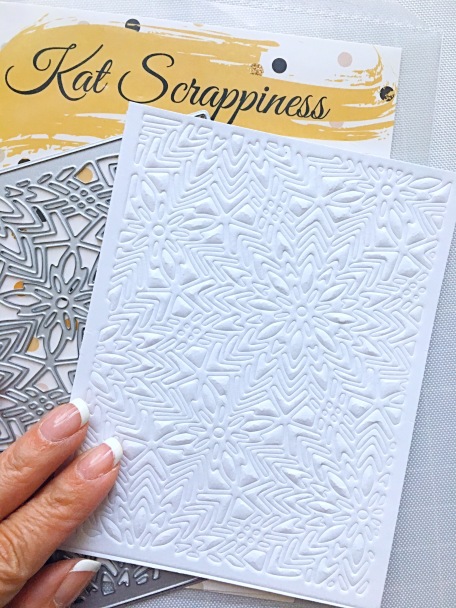
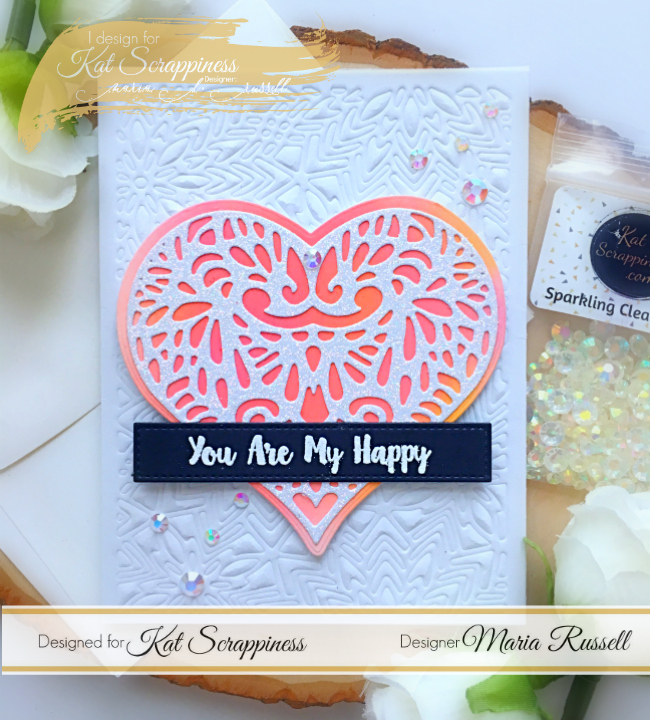
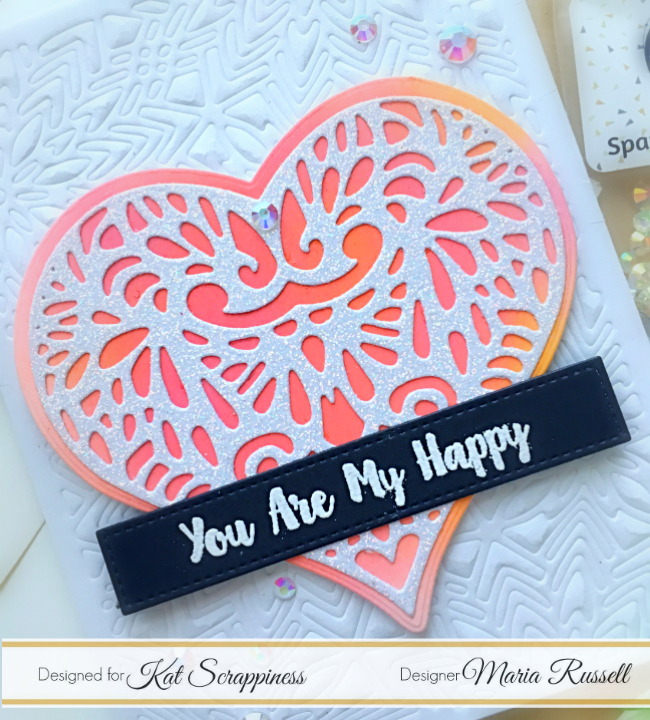
I used a Hearts embossing folder that I purchased from Hobby Lobby to add more details to the card. To finish my design, I added the red heart from the Heart Sprinkles Embellishment from Kat Scrappiness. Here’s a closer look:
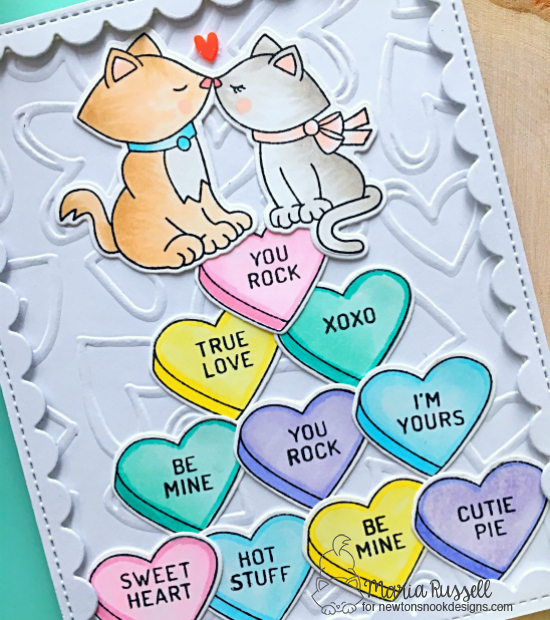
Don’t you just love the kissing kitties? Those Candy Hearts are adorable too! The coordinating die really cuts out the hearts perfectly and is a must-have. These mini sets are so inexpensive!

Would you like to win both the “My Type” and “Candy Heart” Stamp Set?
We will choose ONE lucky winner to win both of these mini stamp sets!
Here’s how to win:
Comment on the NND blog and Design Team blogs (see list below)! The winner will be chosen at random from the collective reveal posts. Make sure to check out each of their blogs and comment for your chance to win. You will not know which blog has been chosen so the more you comment on the better your chances are of winning! You have until Thursday January 17th at 9pm EST to comment — winners will be announced on the blog post on Friday, January 18th.
Check out all the awesome Design Team Blogs below to enter:
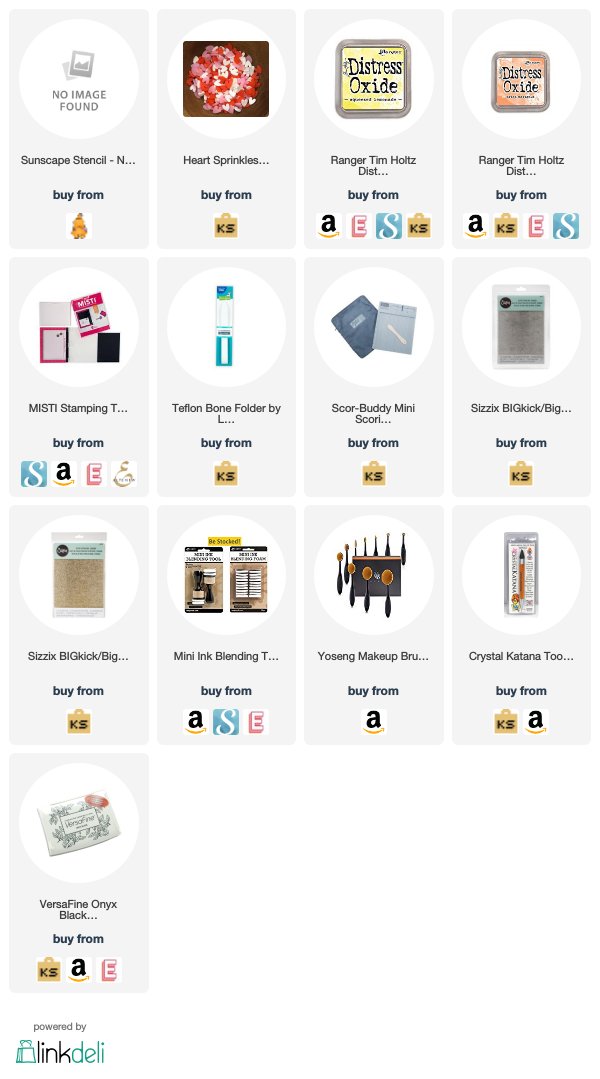
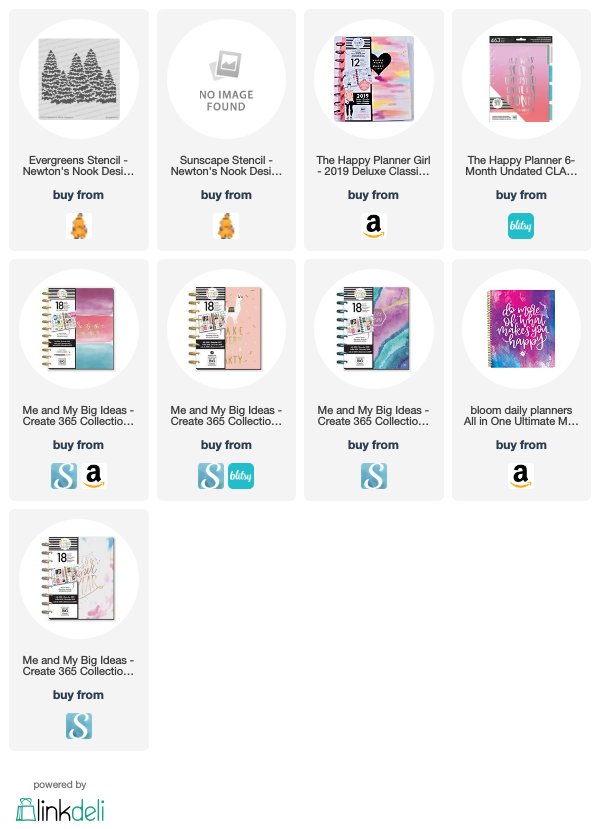
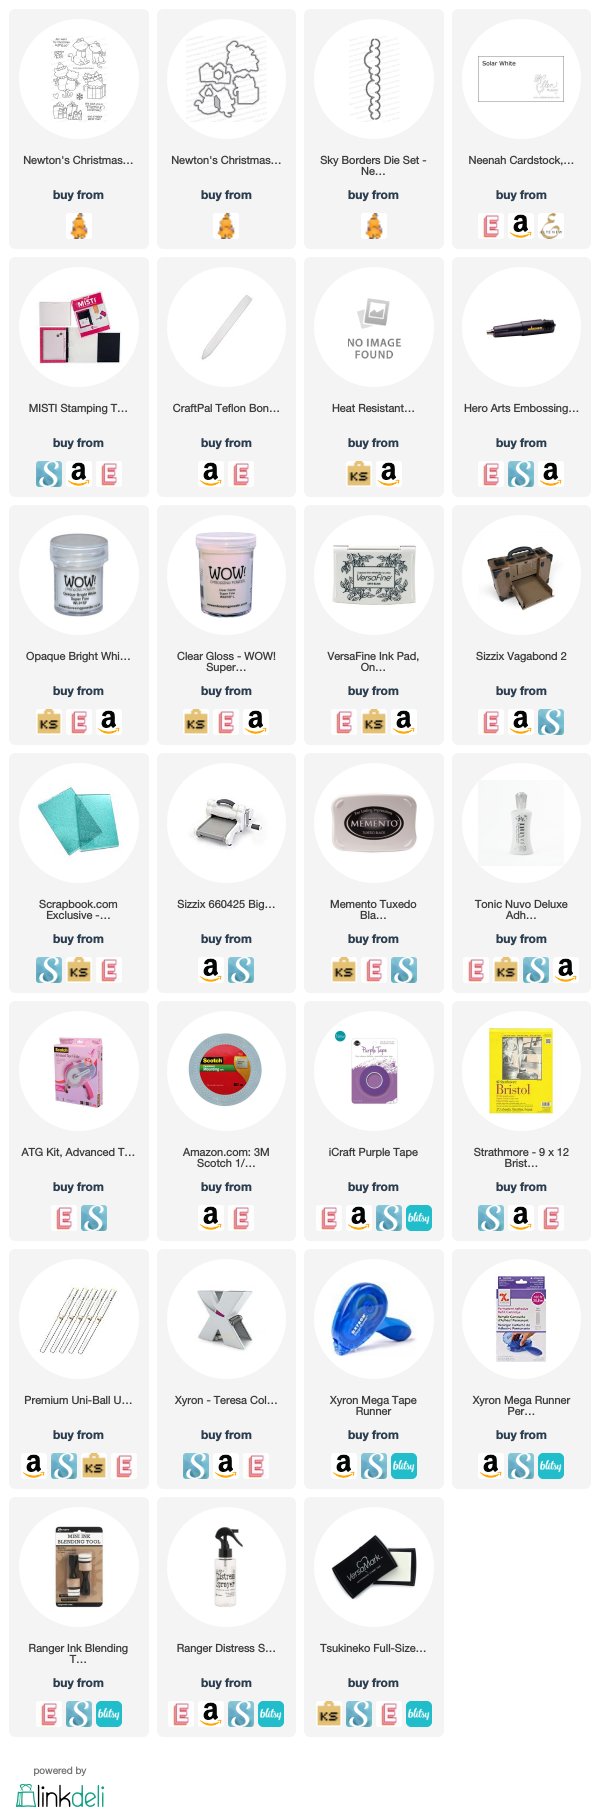
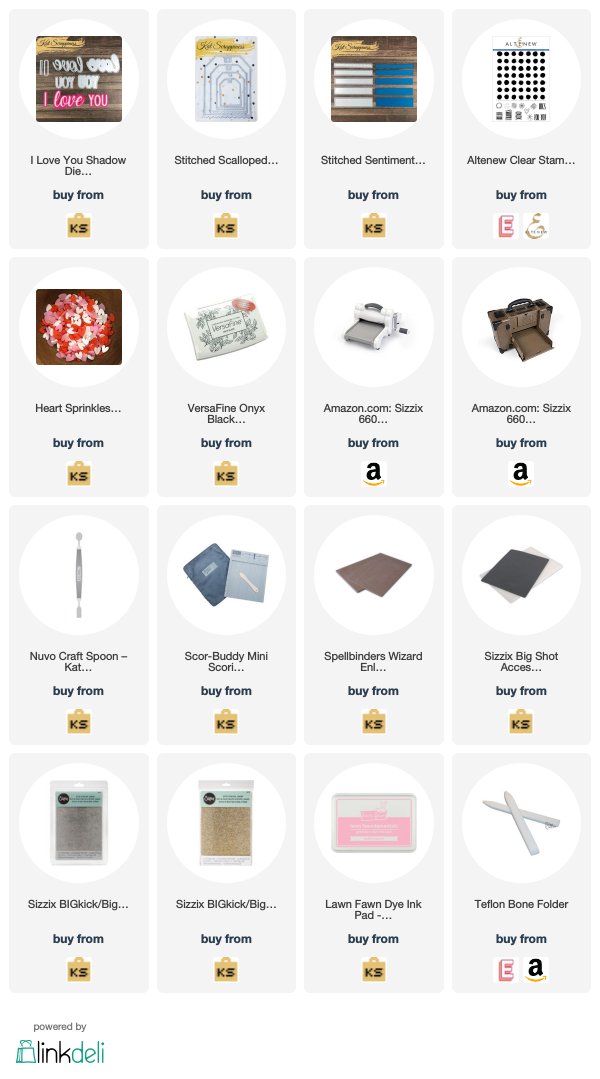
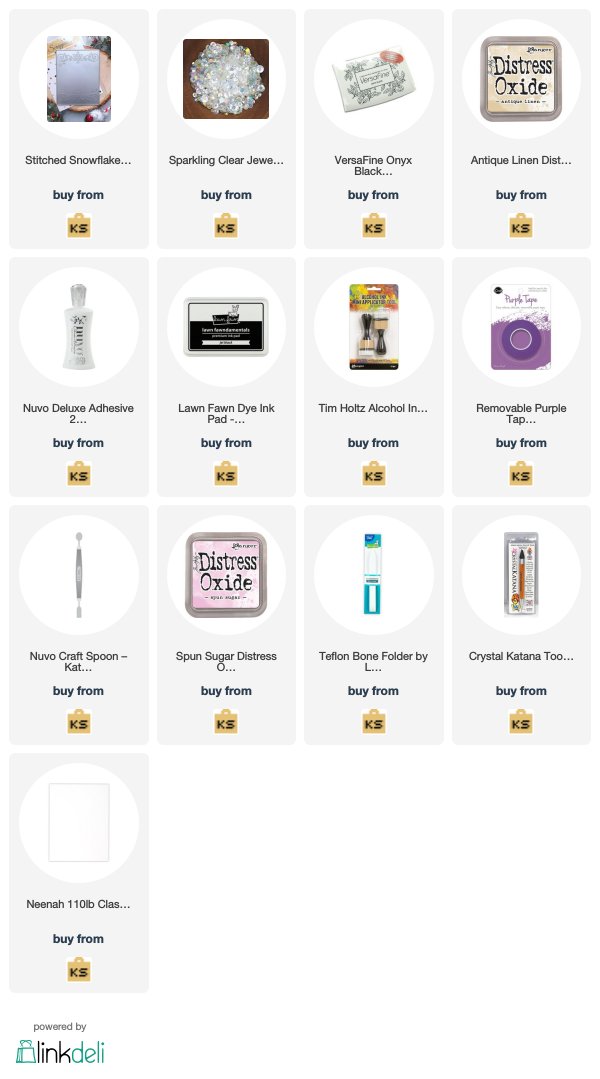
———–SUPPLIES————-