Hello everyone! Maria here with you today. Just a quick heads up, the sale is still going strong so head on over to the shop before everything gets sold out.
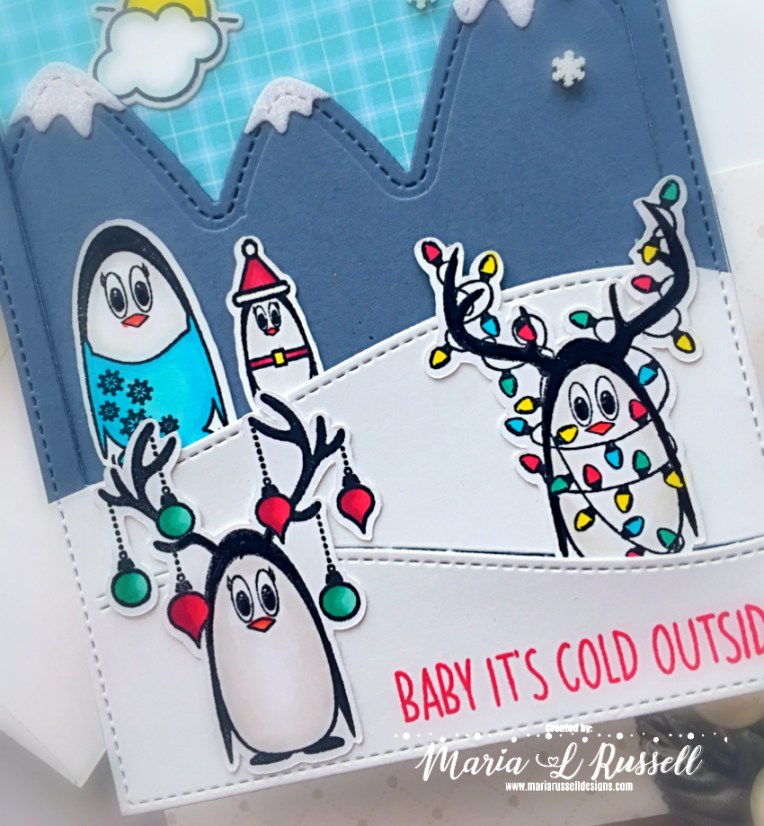
I know it’s a little too early to even think about Christmas! I want to send mine early this year so I have started creating them already. For my project today, I am showcasing the Little Huggables stamp set with the Naughty-isms stamp set.
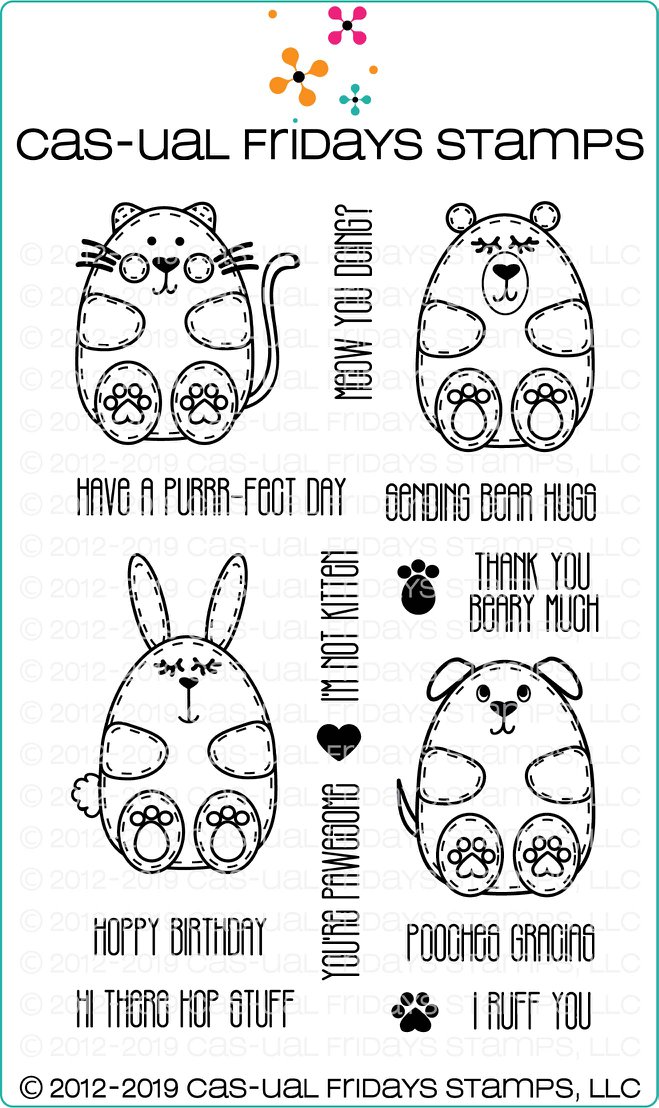

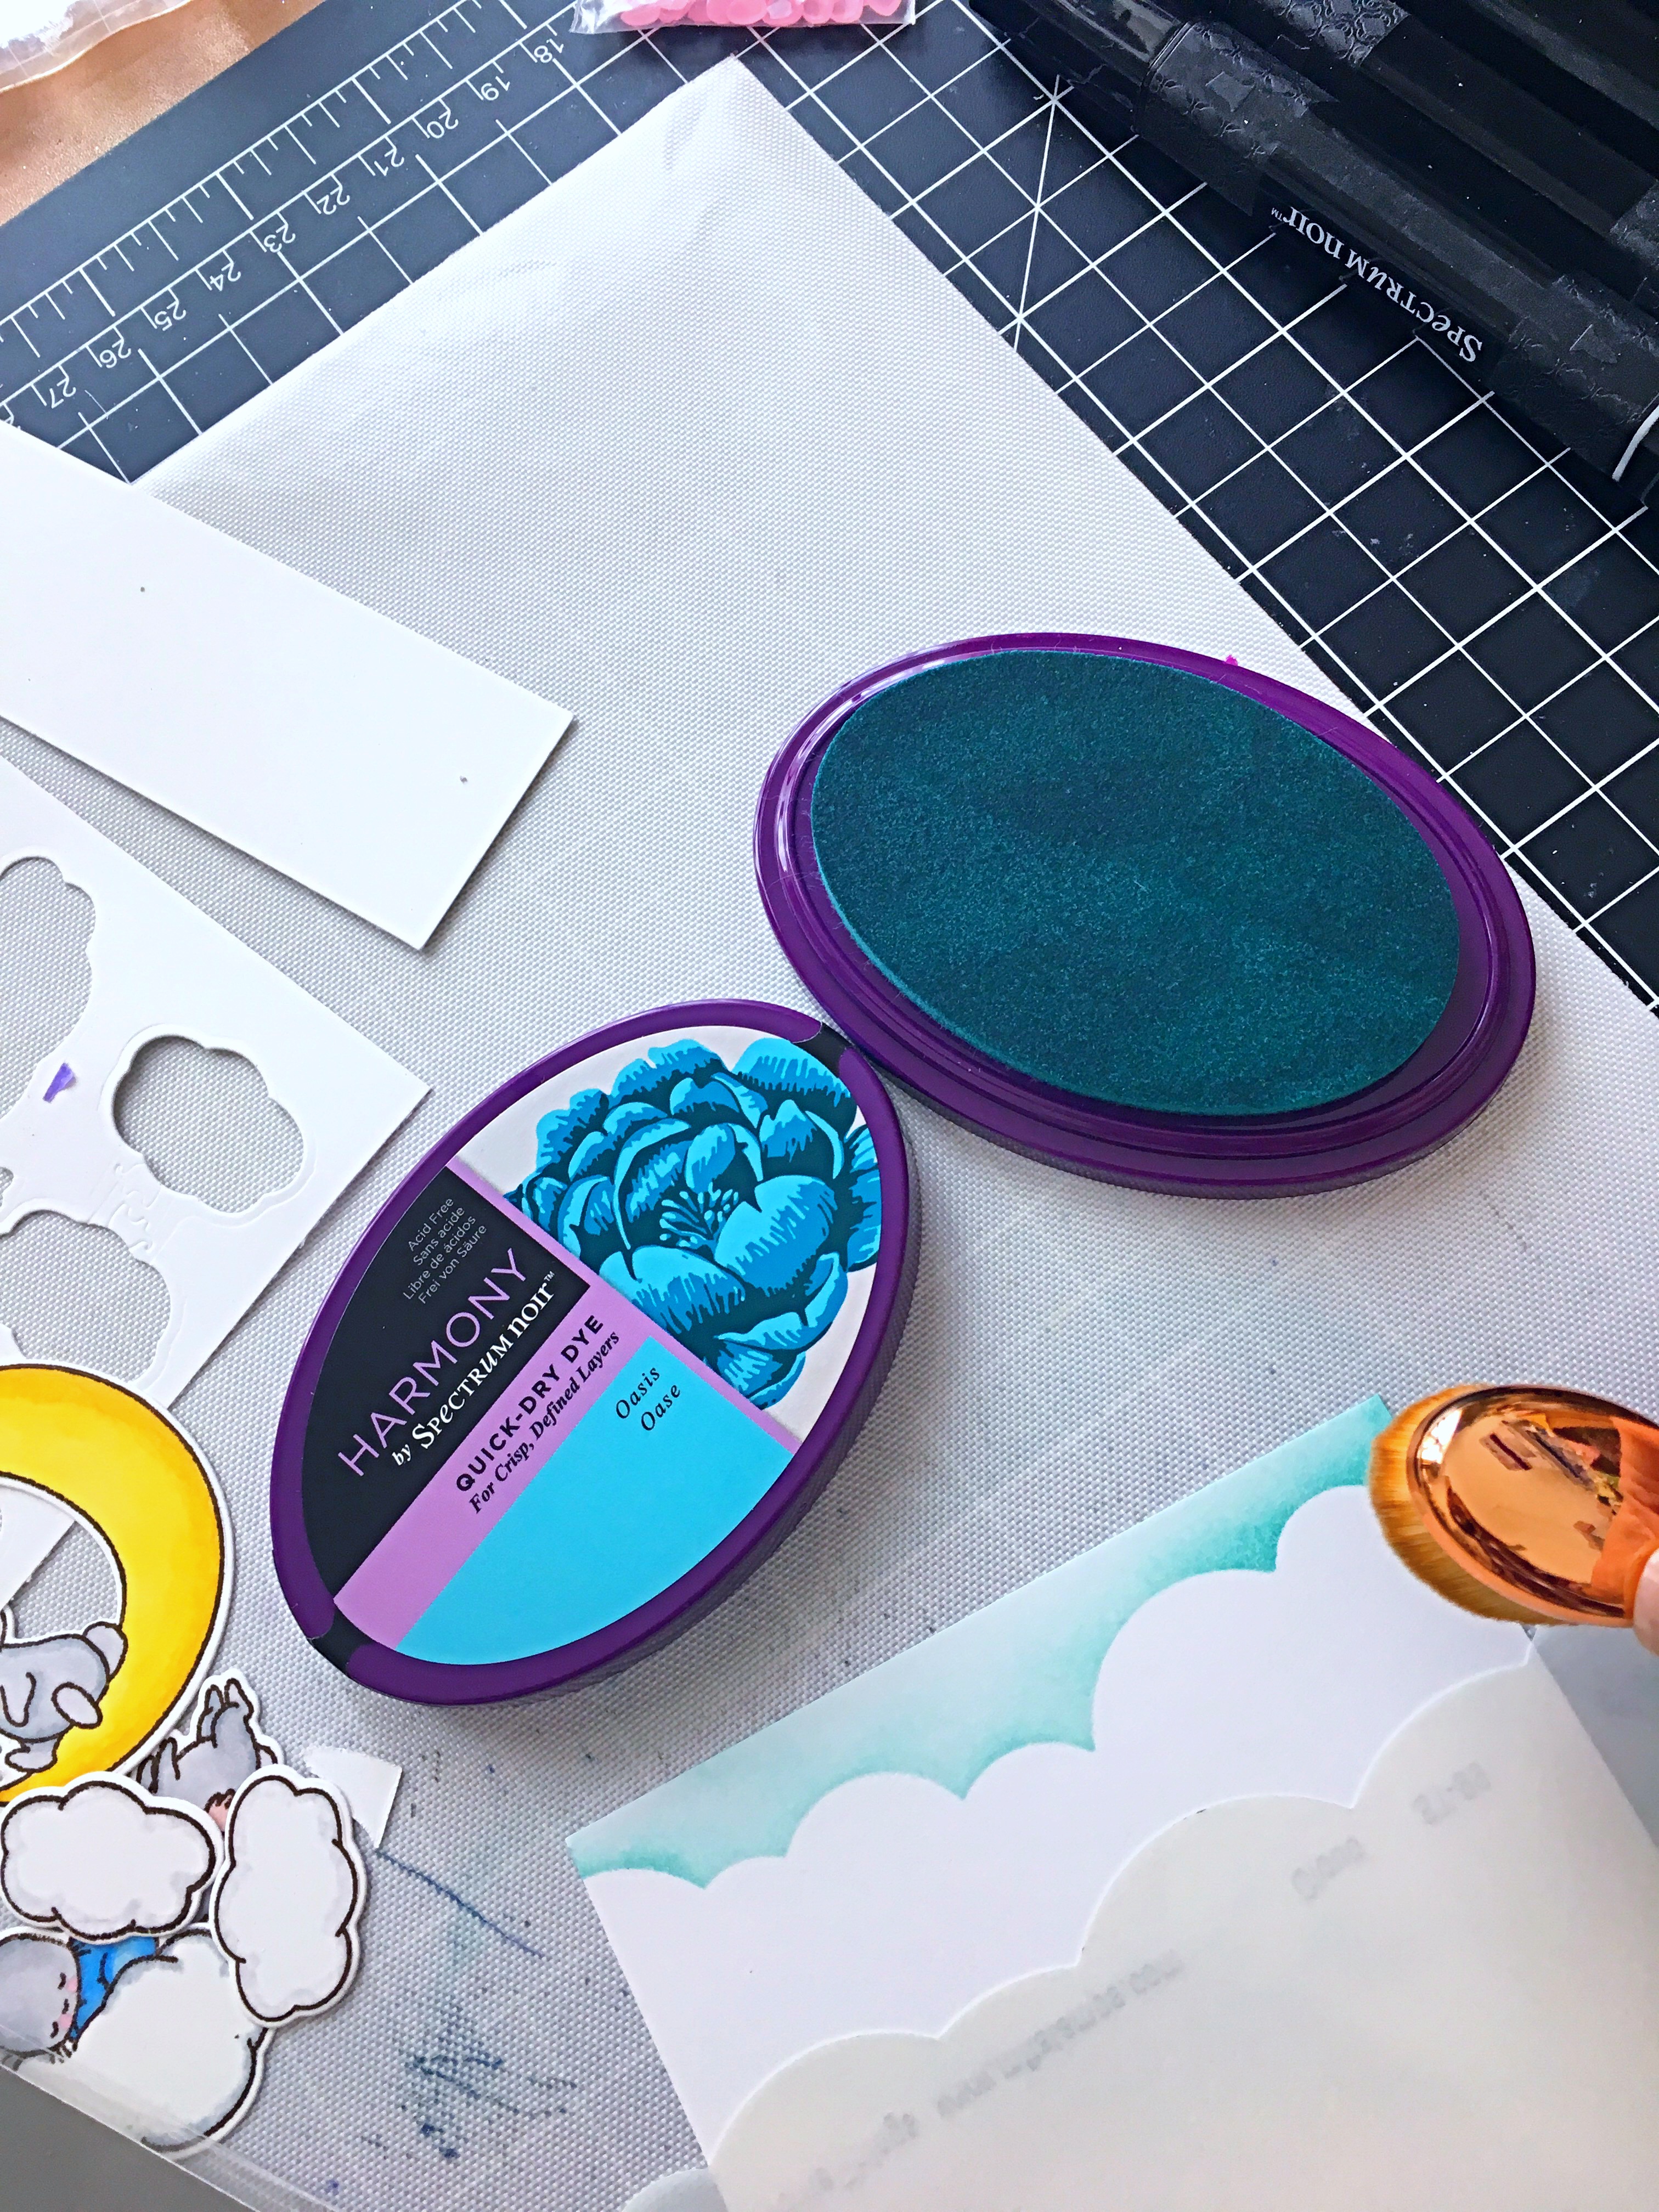
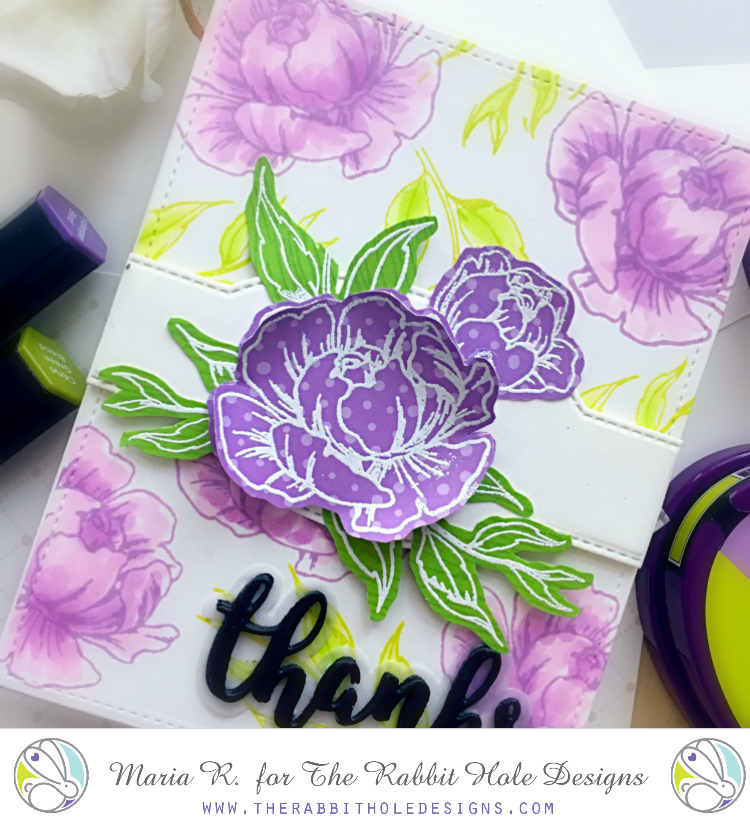
To begin, I started by using a “make a wreath” stencil from my stash and stamped the little present images on Neenah solar white card stock. I also stamped the snowflake with some light blue ink, and my bunny from the Little Huggables stamp set.
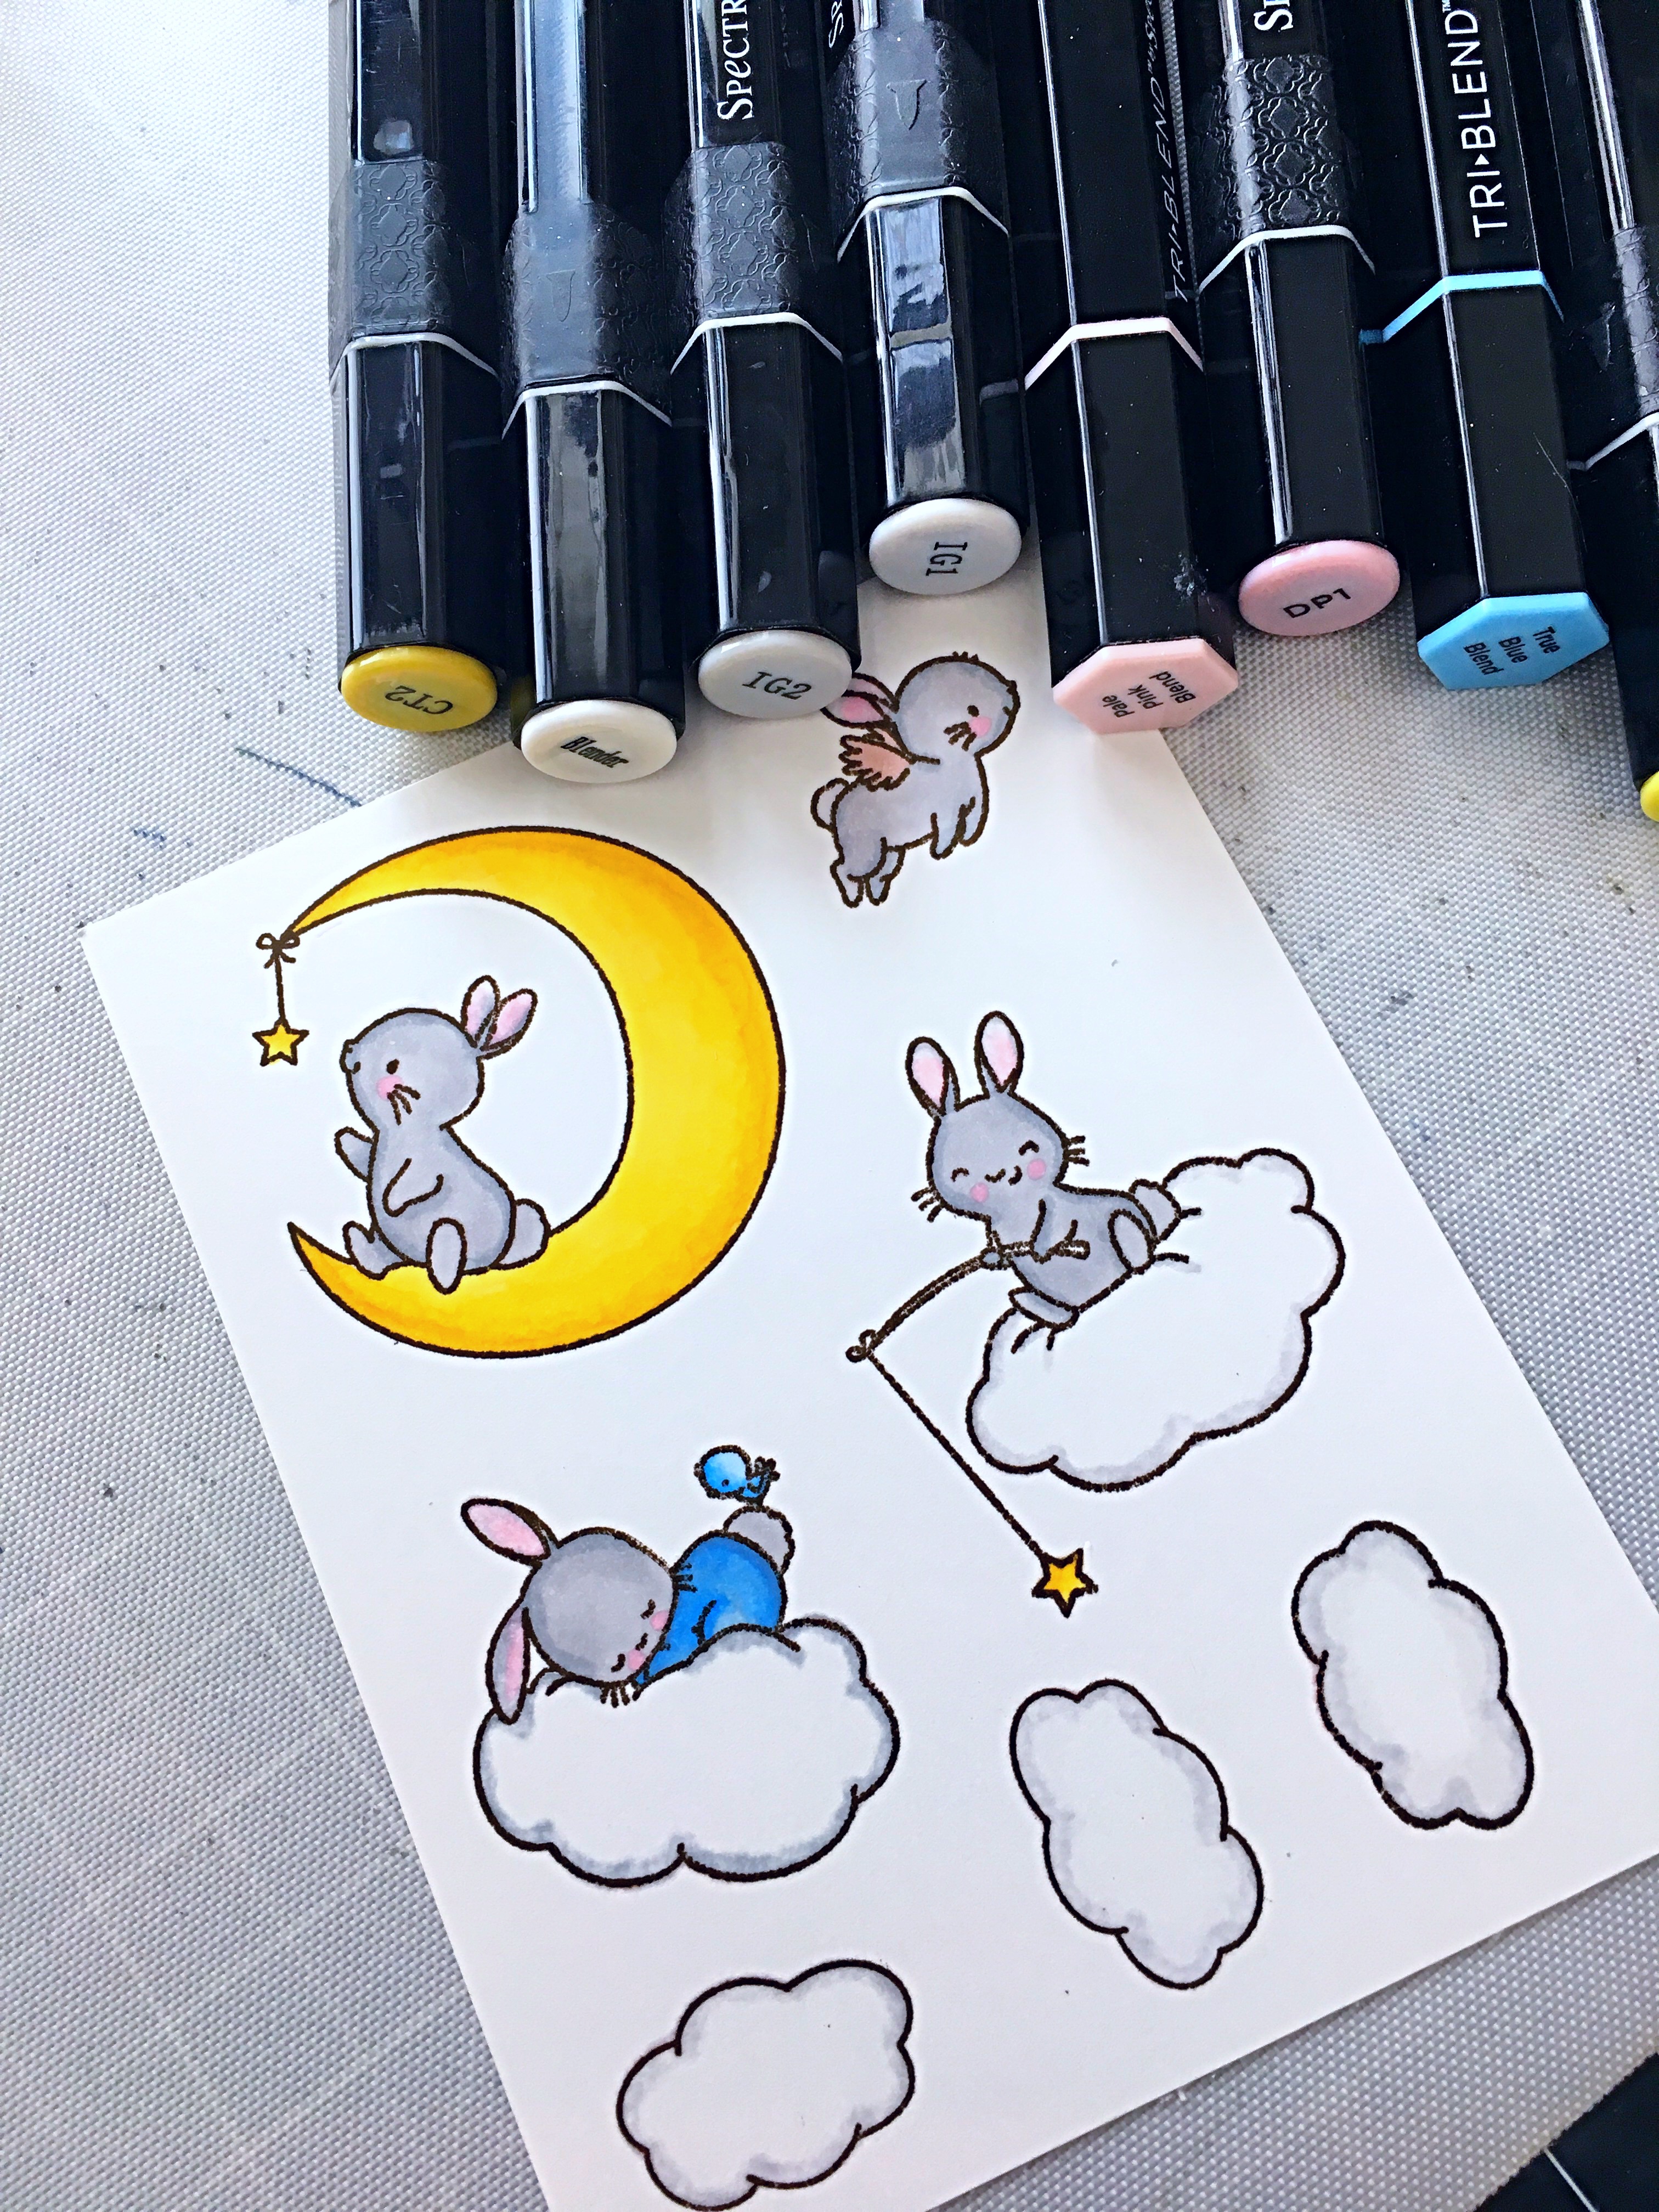
I colored my images in with my Spectrum Noir TriBlend markers.
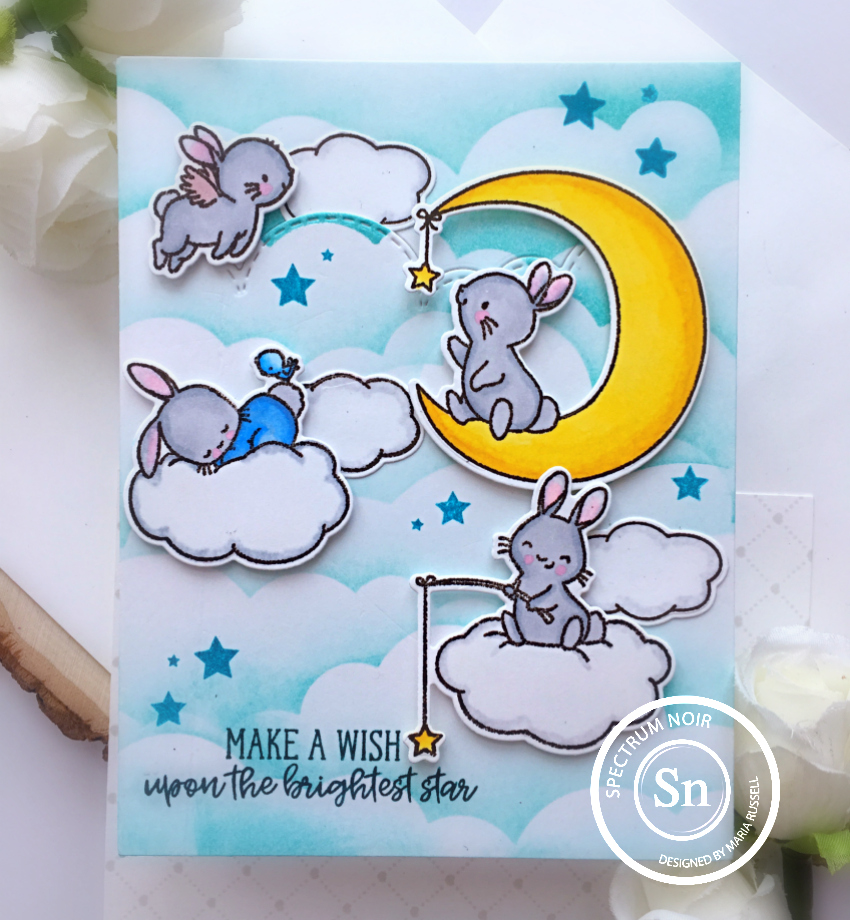
I adhered my colored panel to a red patterned paper and glued this piece on to an A2 size card base.
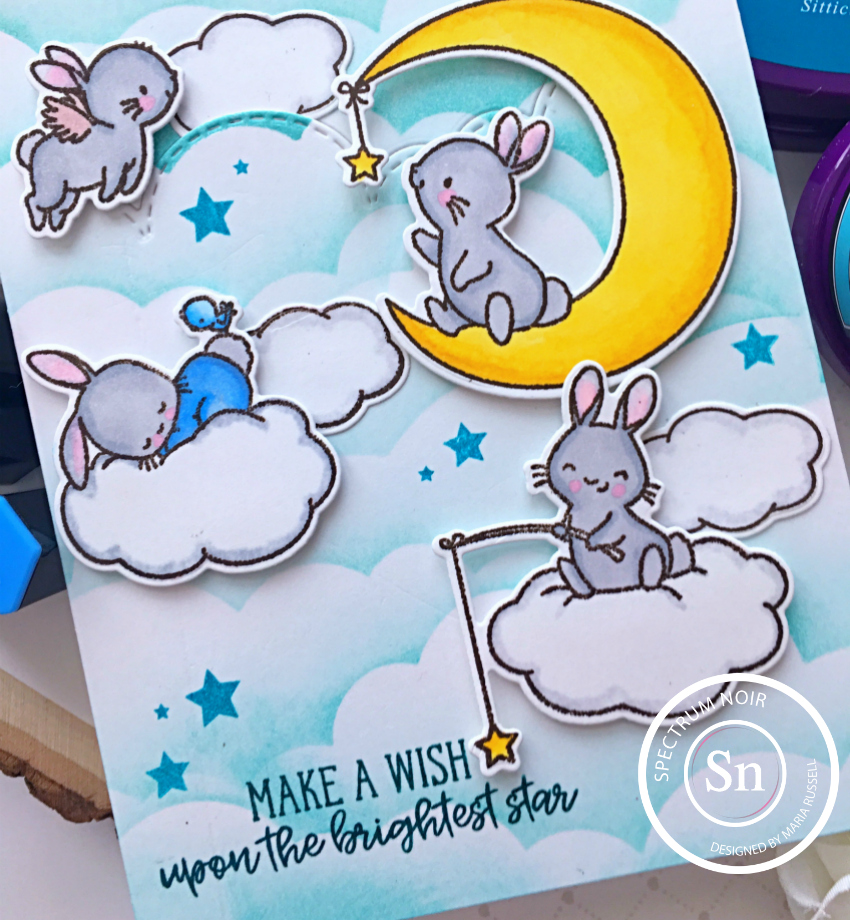
Lastly, I stamped the sentiment with Versafine Onyx black ink and stamped the paw print with Lobster red ink. Here’s my card:

This card is really simple and can be mass-produced. Here’s a little close-up:

I hope you like my Christmas card today. Please visit CAS-ual Fridays Stamps to purchase the stamps that I featured today. Don’t forget to use my coupon code “MARIASENTME” for 15% off your order. Happy stamping!