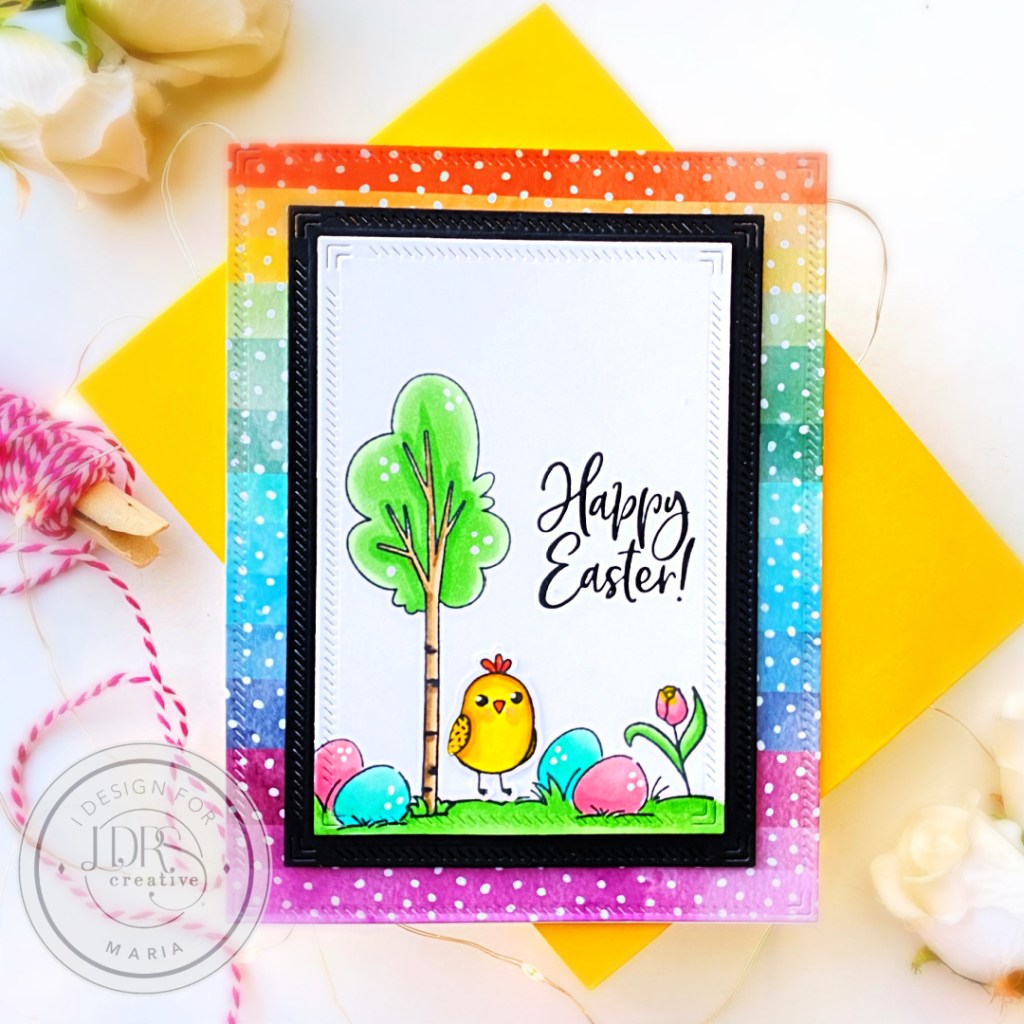
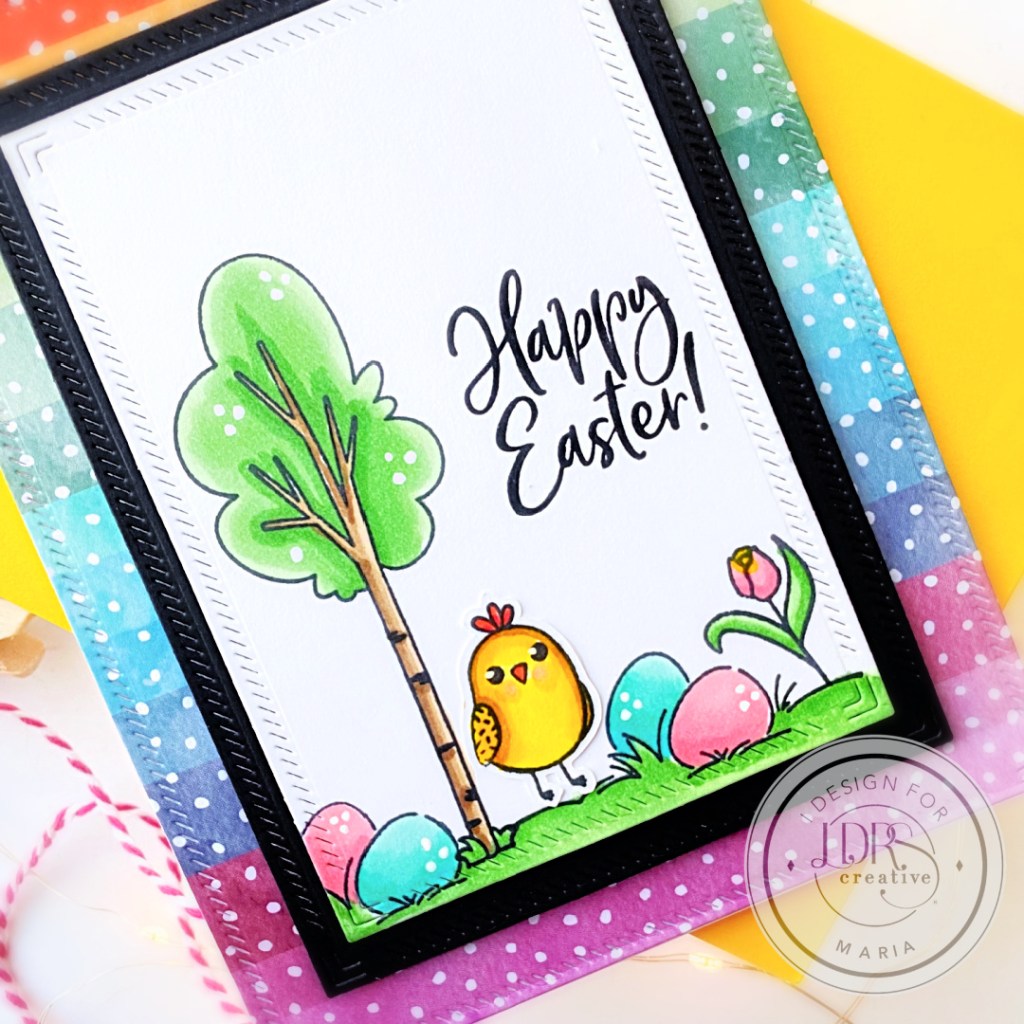
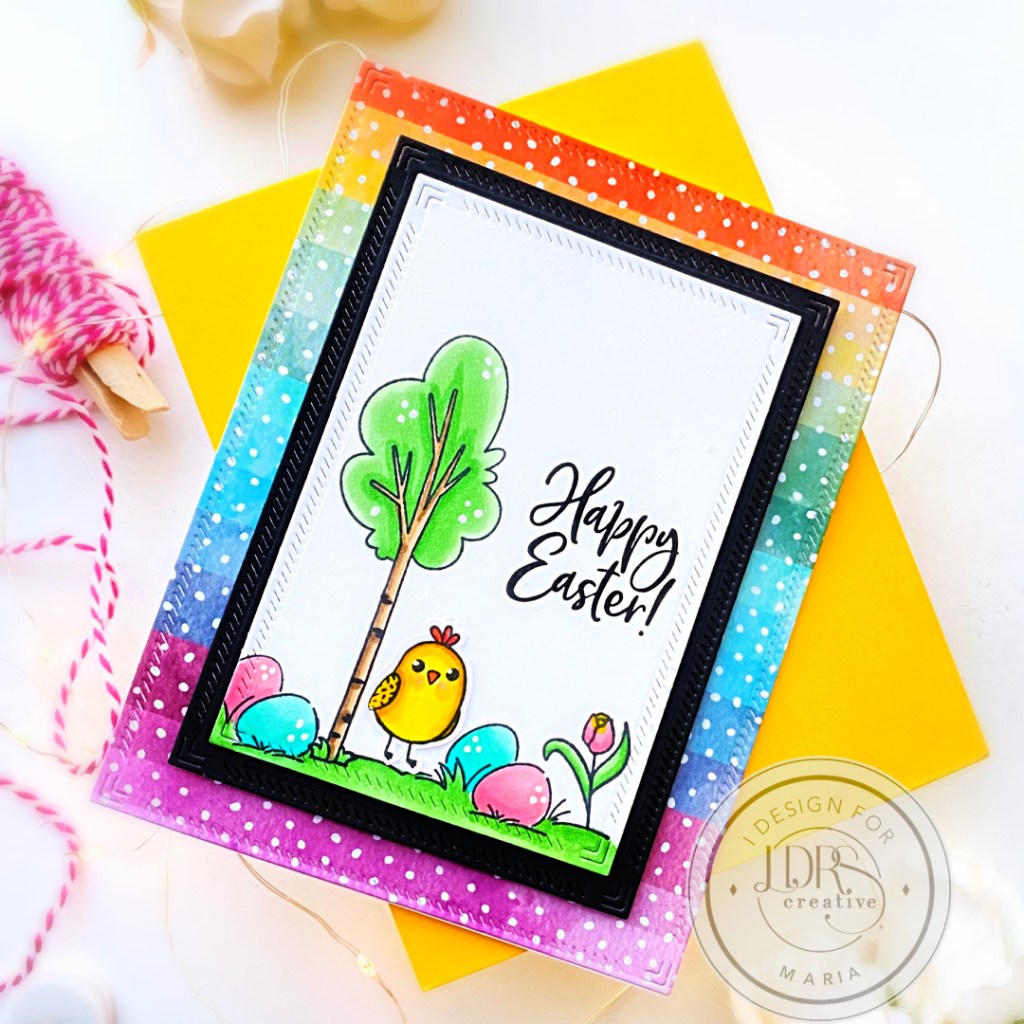
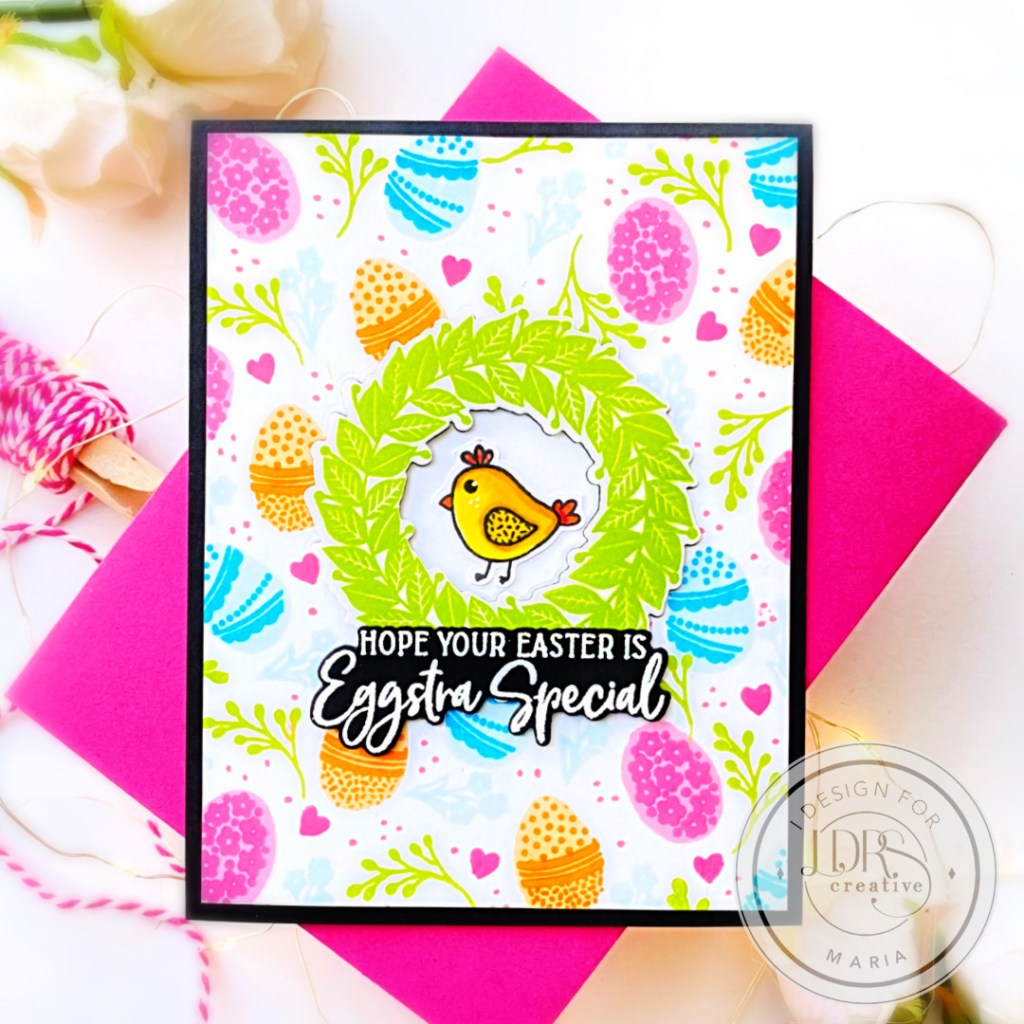
You Are a Shining Star with LDRS Creative’s January 2022 Release

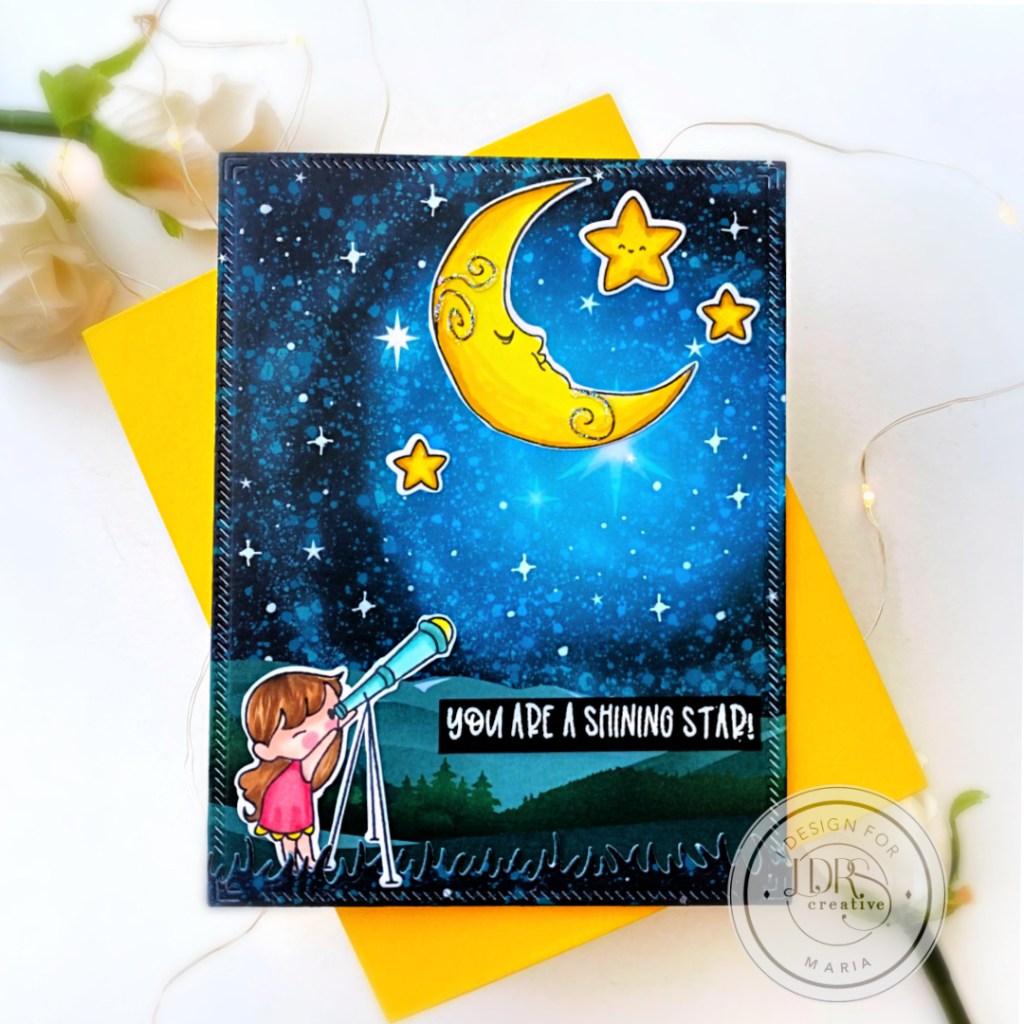
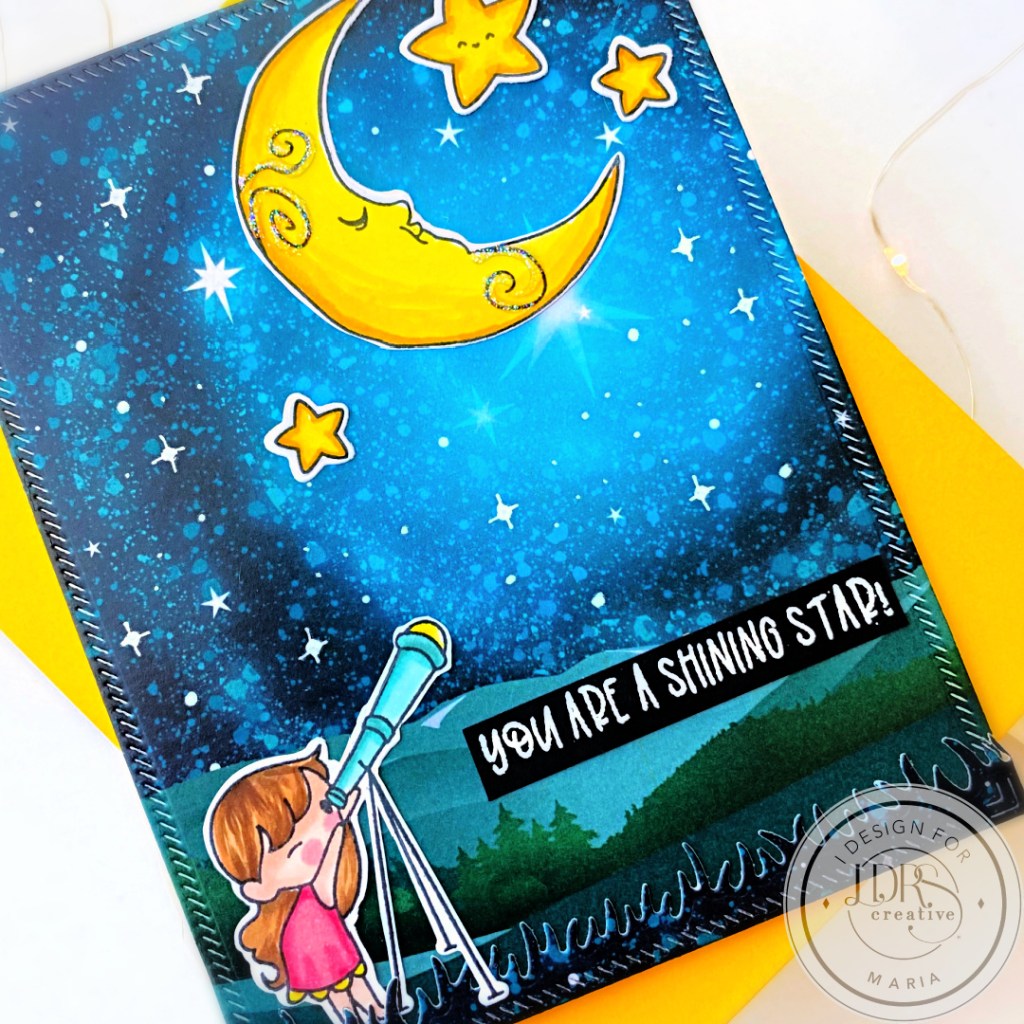
Hello everyone!  I’m sharing this cute and simple card today showcasing the ADORABLE Never Stop Dreaming Stamp Set and Never Stop Dreaming Dies, with the A2 Stitched Layered Card Toppers Die Set and In the Grass Border Dies. 

To make the card, I placed the stamps from the Never Stop Dreaming Stamp Set inside my stamping tool and stamped the images on some Neenah Solar White Card stock using Raven Hybrid Ink.   I stamped the images with the help of the Stampendable Stamping Tool  to get some really good impression.  I colored the images in with alcohol markers and used the Never Stop Dreaming Dies to cut them all out. 

The background is a pattern paper from a previously released Exclusive Craft Kit  that I die-cut using the  A2 Stitched Layered Card Toppers Die Set.  [Side note: y’all need to check the Exclusive Craft Kit  as they are packed-full of crafting goodies that you can use over and over again]. I used my white gel pen to draw dots and starbursts to the background for added texture and interest. I adhered this panel on some A2-size notecard.  Since the paper is 6×6, I cut the extra using the In the Grass Border Dies.  I adhered the grass panel to the background panel with some 1/8 inch double-sided tape.  Other than that, I didn’t really need to do anything else since the background already has everything to create my scene.

Next, I adhered all of the images on the card with glue.  Since I needed the sentiment to stand out on the card, I stamped it on some black card stock using Watermark Ink.  I sprinkled some White Embossing Powder and heat-set with my heating tool.  I cut the sentiment using the Fiskars Paper Trimmer and adhered on the card with double-sided adhesive.  I finished my design by using some white gel pen to draw dots and stars on the background for added texture and interest.  I also used some Stickles to add some shine to the moon.  Here’s another look at the finished card: 

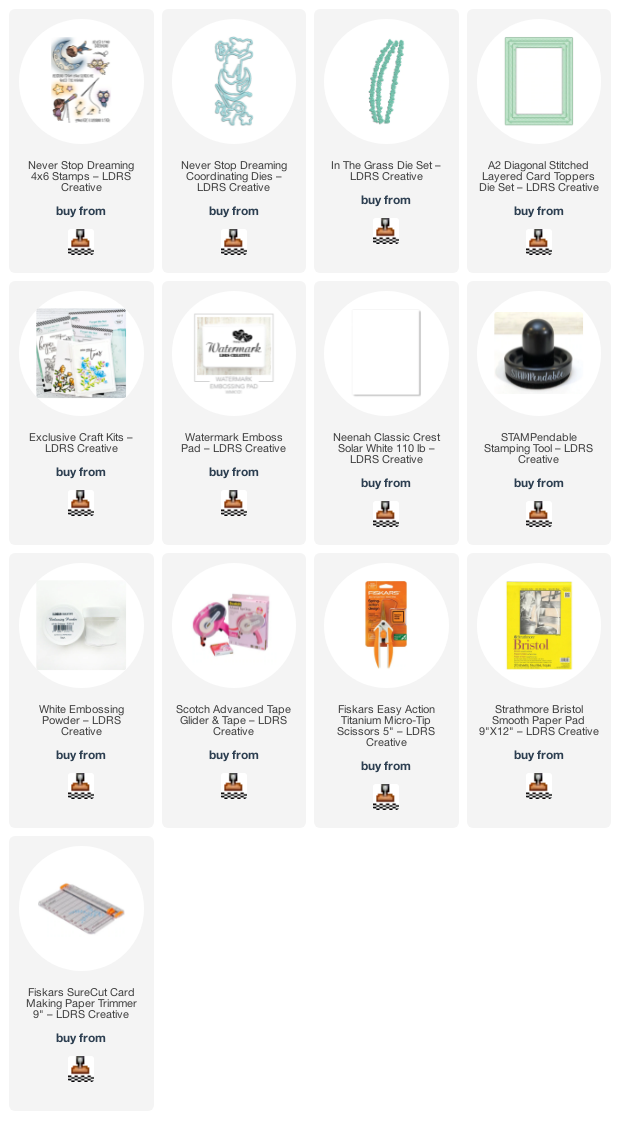
 I hope you like my card today and got inspired.  The supplies I used are listed and linked below.  Thanks for stopping by and happy stamping! 

———SUPPLIES———-
You Make Me Happy – CREATIVE TEAM INSPIRATION DAY 2 with LDRS Creative

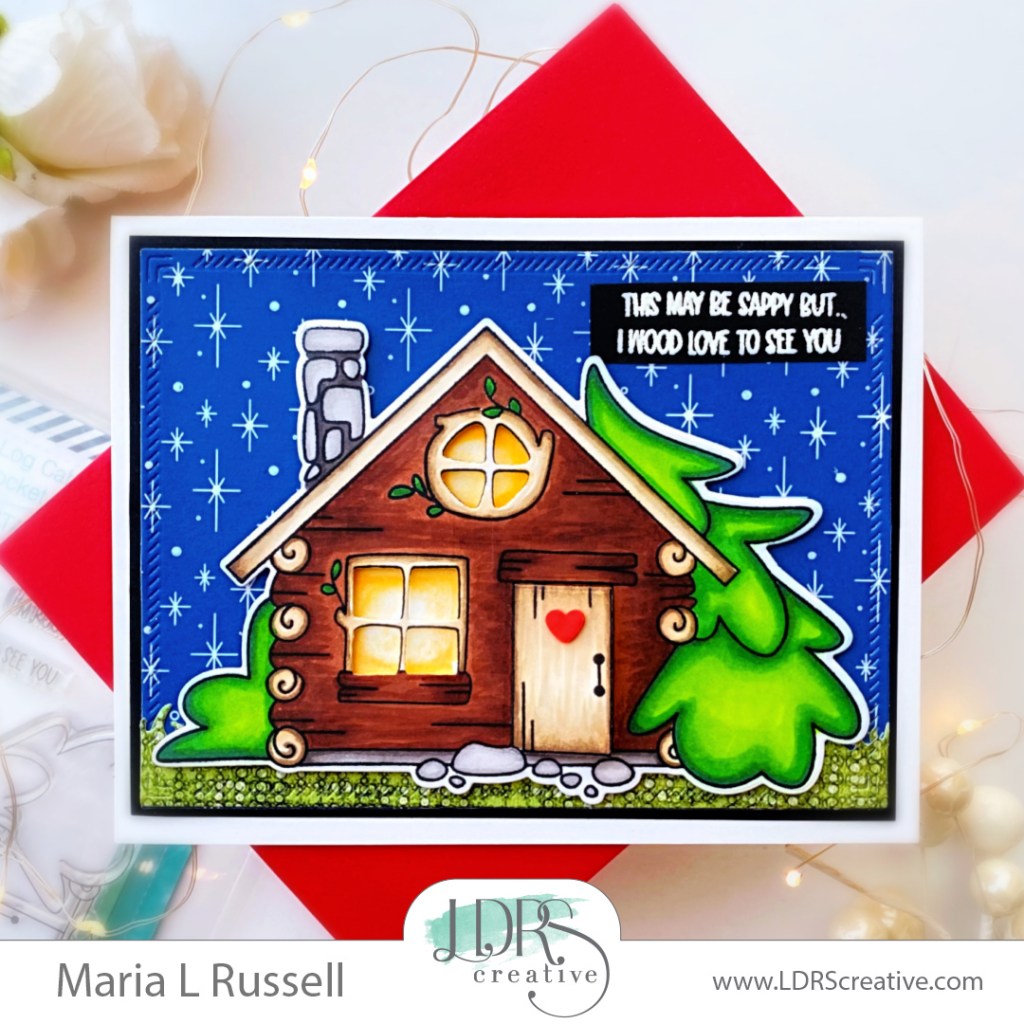
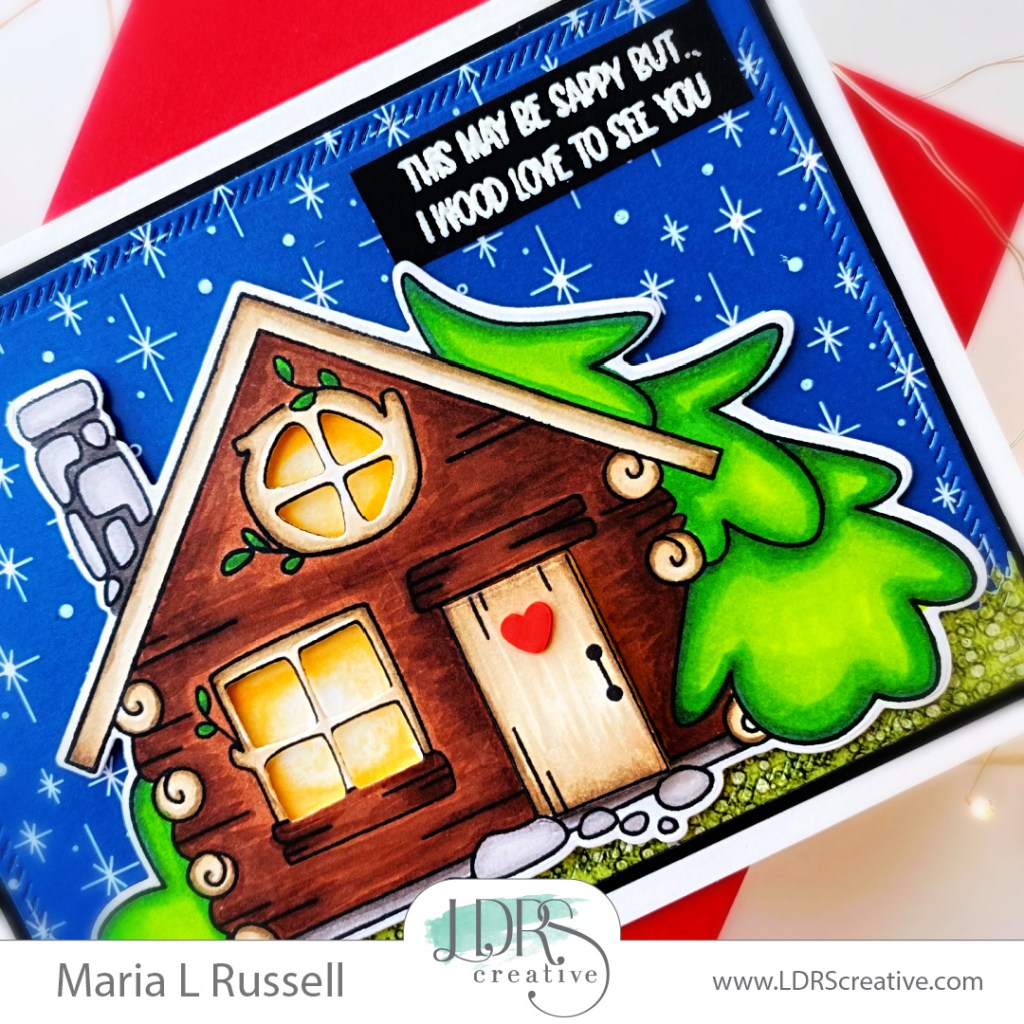
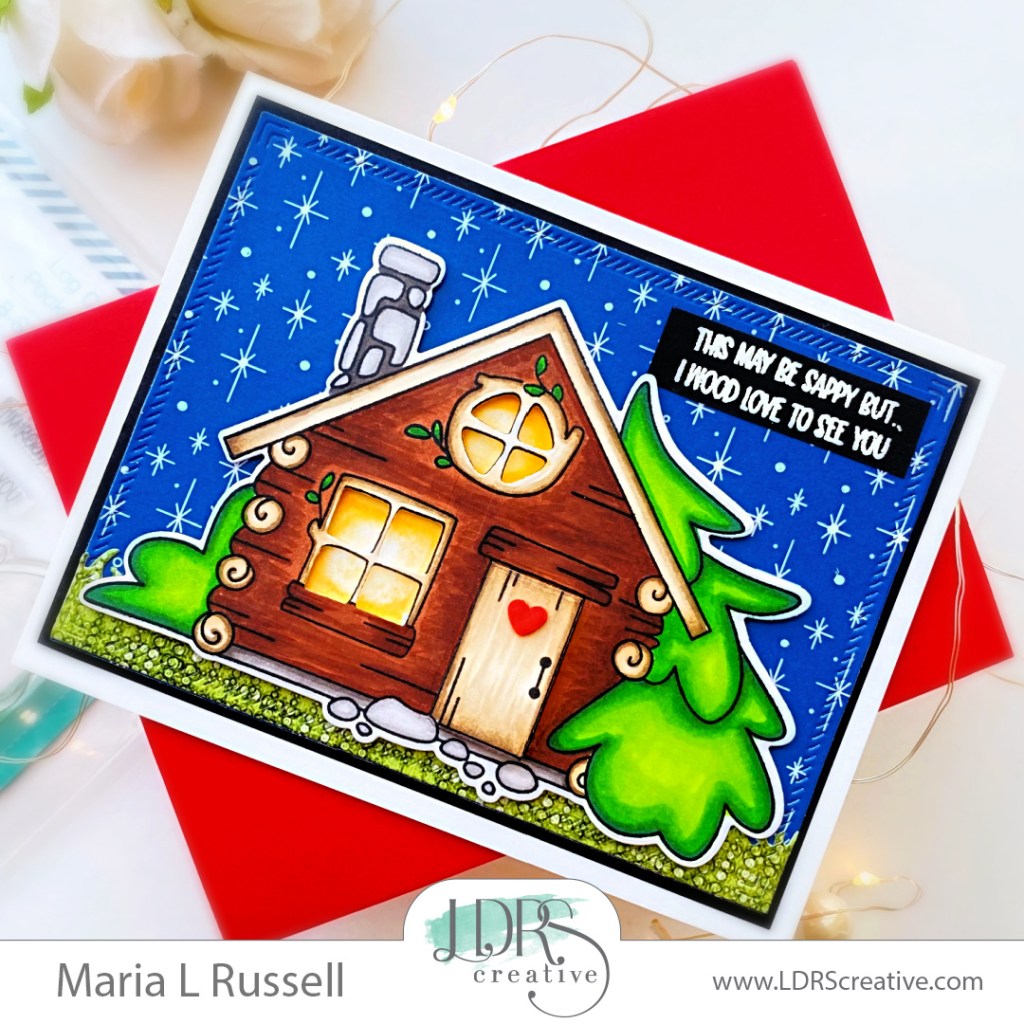
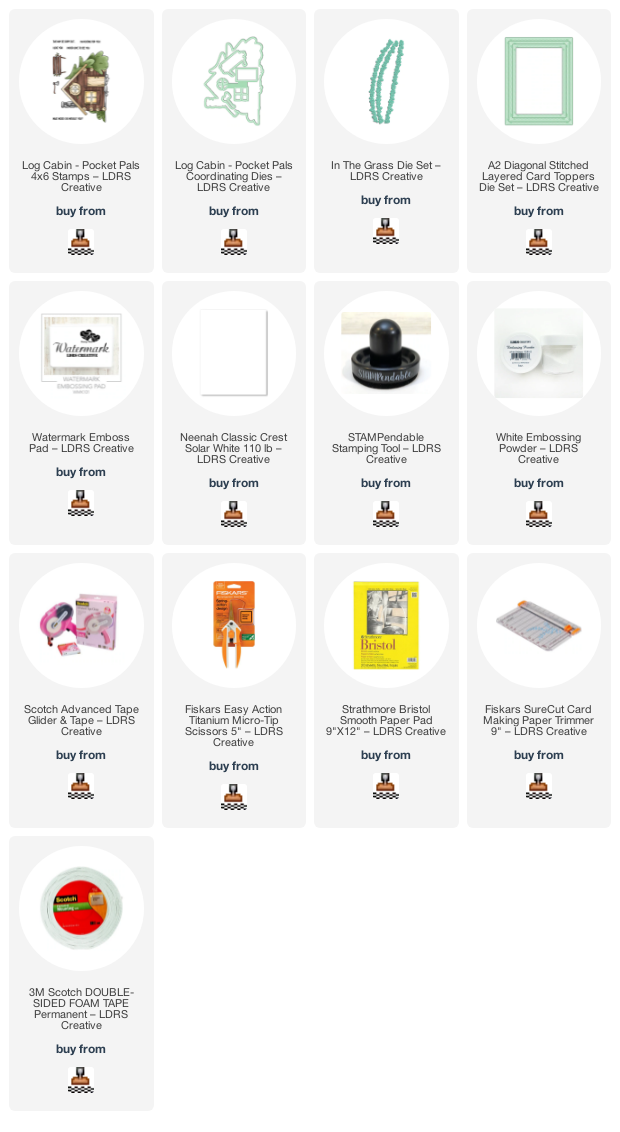
It’s inspiration day 2 at LDRS Creative and the entire design team is showing off a few of our favorites from the winter release. For today’s card, I am featuring the Log Cabin Pocket Pals stamp set and Log Cabin Pocket Pals Coordinating Dies with the A2 Diagonal Stitched Layered Card Toppers and In the Grass Die Set.

Here’s how I made this card:

  • Stamp the sentiment on some black card stock with watermark ink. Sprinkle some white embossing powder and heat-set with heating tool.
  • Adhere the sentiment on the focal panel and use some white gel pen to add dots to the background.

Don’t you just love that it looks “glowing” from the inside? I am so happy how this card turned out. I hope you love this card too and got inspired. The supplies I used are listed and linked below. Thanks for stopping by!

———SUPPLIES———-
You Make Me Happy – CREATIVE TEAM INSPIRATION DAY 1 with LDRS Creative

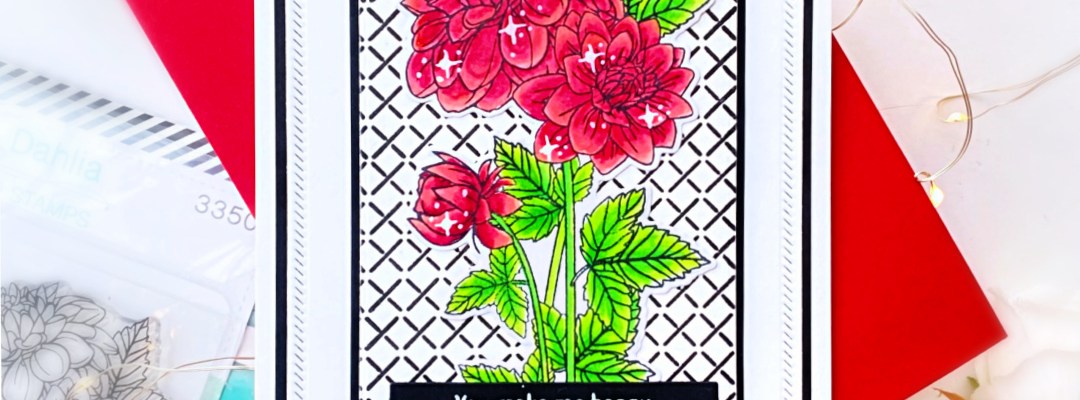
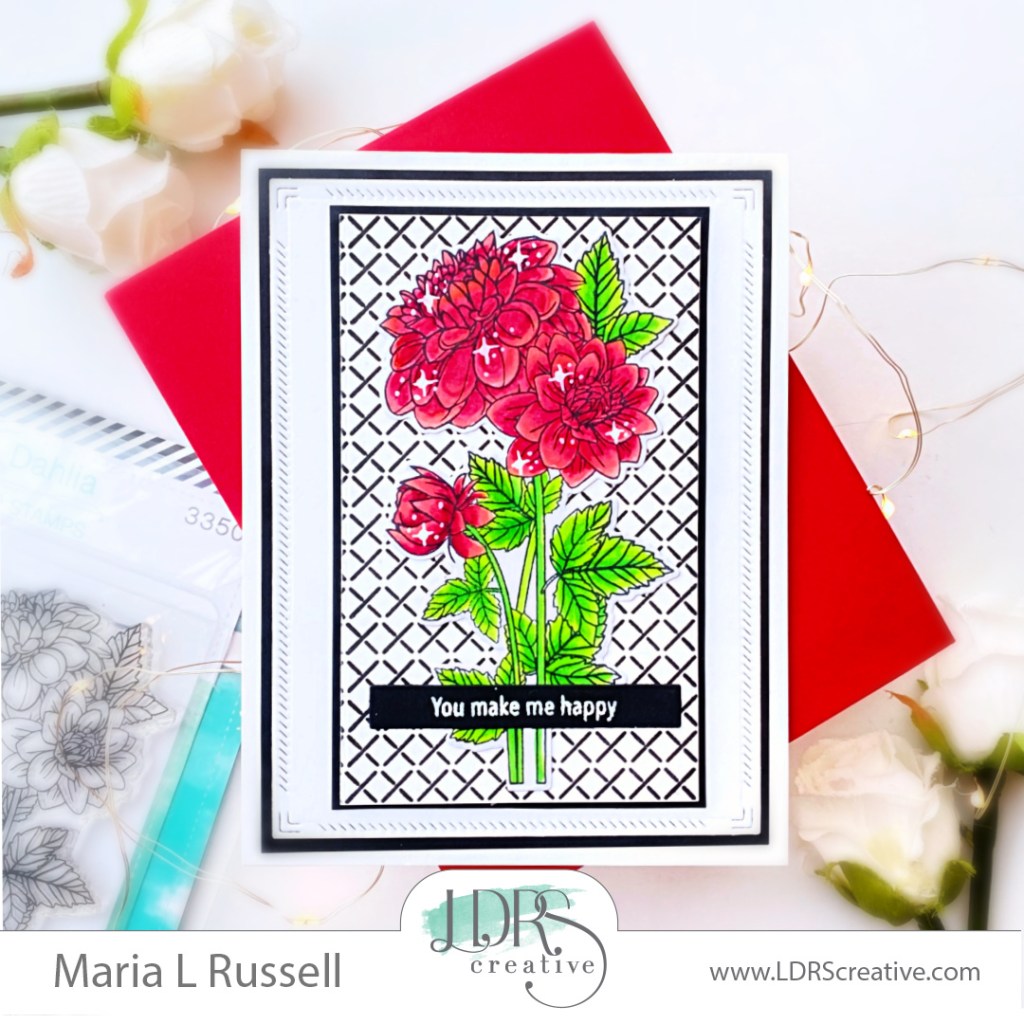
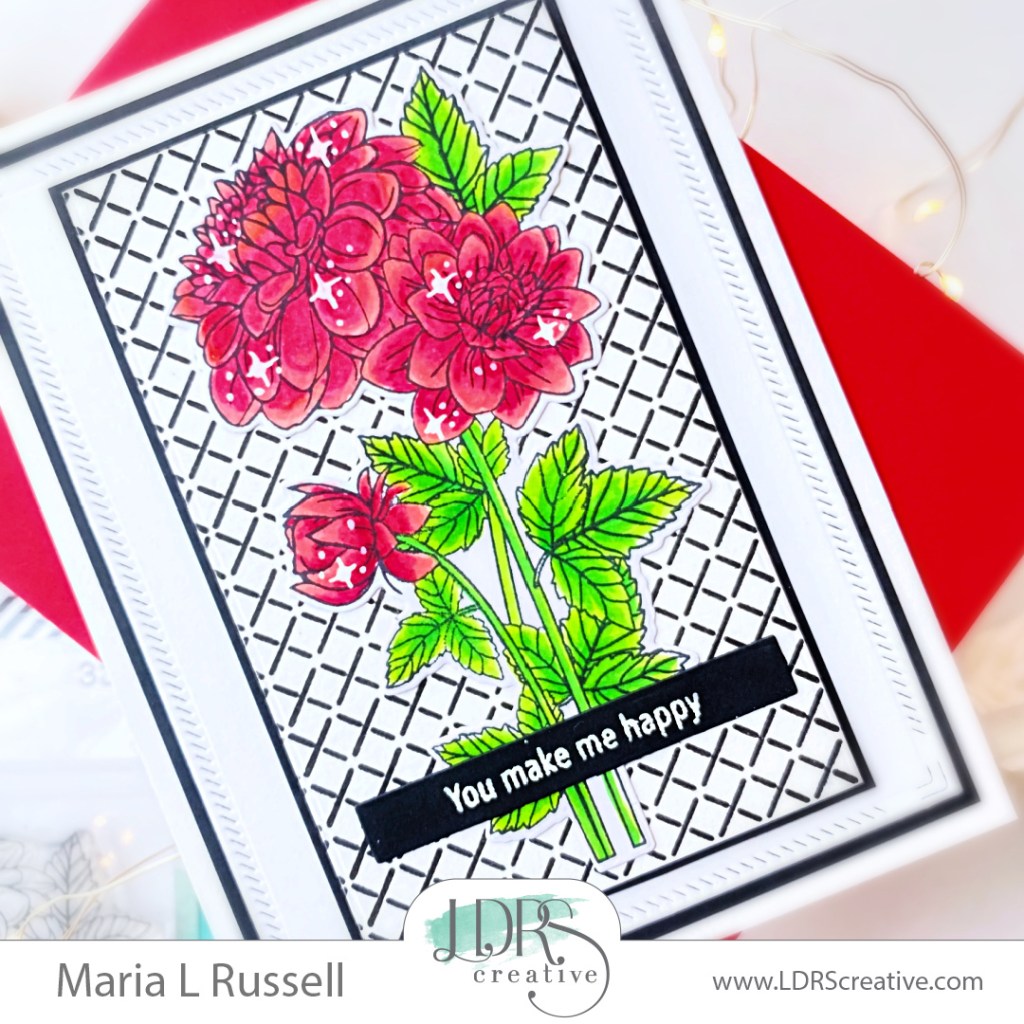
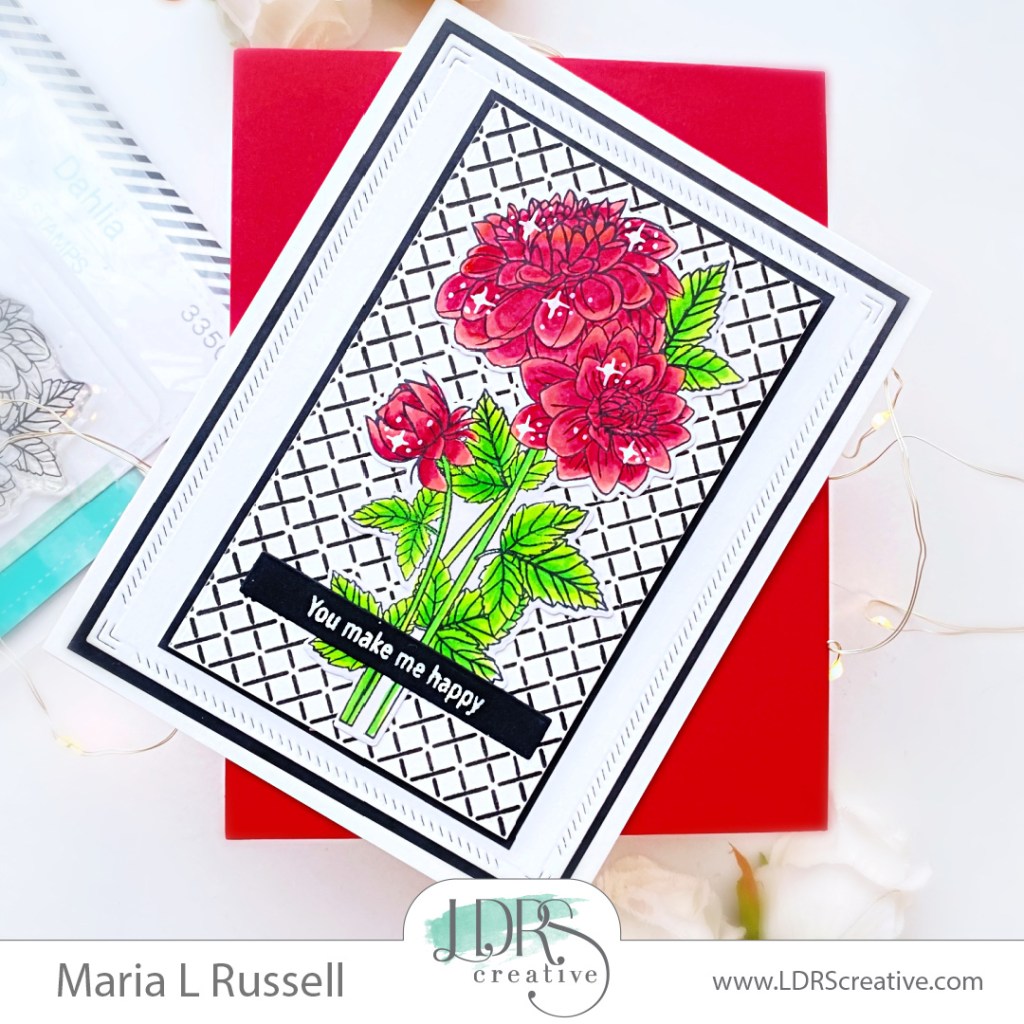
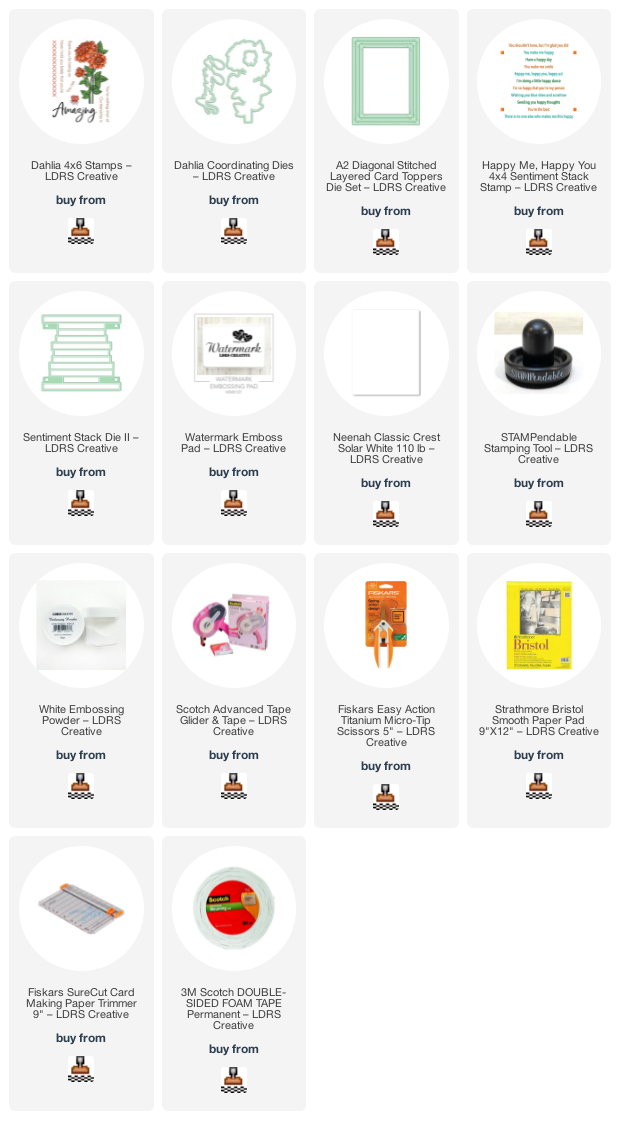
It’s inspiration day 1 at LDRS Creative and the entire design team is showing off a few of our favorites from the winter release. For today’s card, I am featuring the Dahlia stamp set and coordinating dies, with the A2 Diagonal Layered Stitched Card Toppers Die Set, Happy Me Happy You stamp set and the Sentiment Stack II Die.

Here’s how I made this card:

  • Adhere the focal image on the card.
  • Stamp the sentiments from the Happy Me Happy You stamp set and use the Sentiment Stack II Die to cut them all out. I really LOVE these type of stamp & die combo as you get to stamp a few sentiments and die cut all at once.
  • Adhere the sentiment “You Make Me Happy” on the card.
  • Finish the design by using white gel pen to add some dots and stars to the flowers for added texture.

Stay tuned for Day 2 as we bring you more inspiration tomorrow. I hope you like my card today. The supplies I used are listed and linked below. Thanks for stopping by!

———SUPPLIES———-
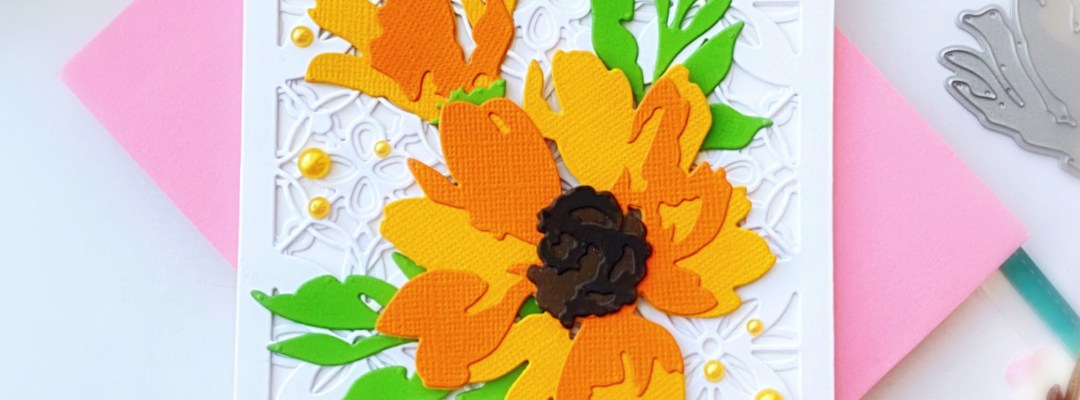
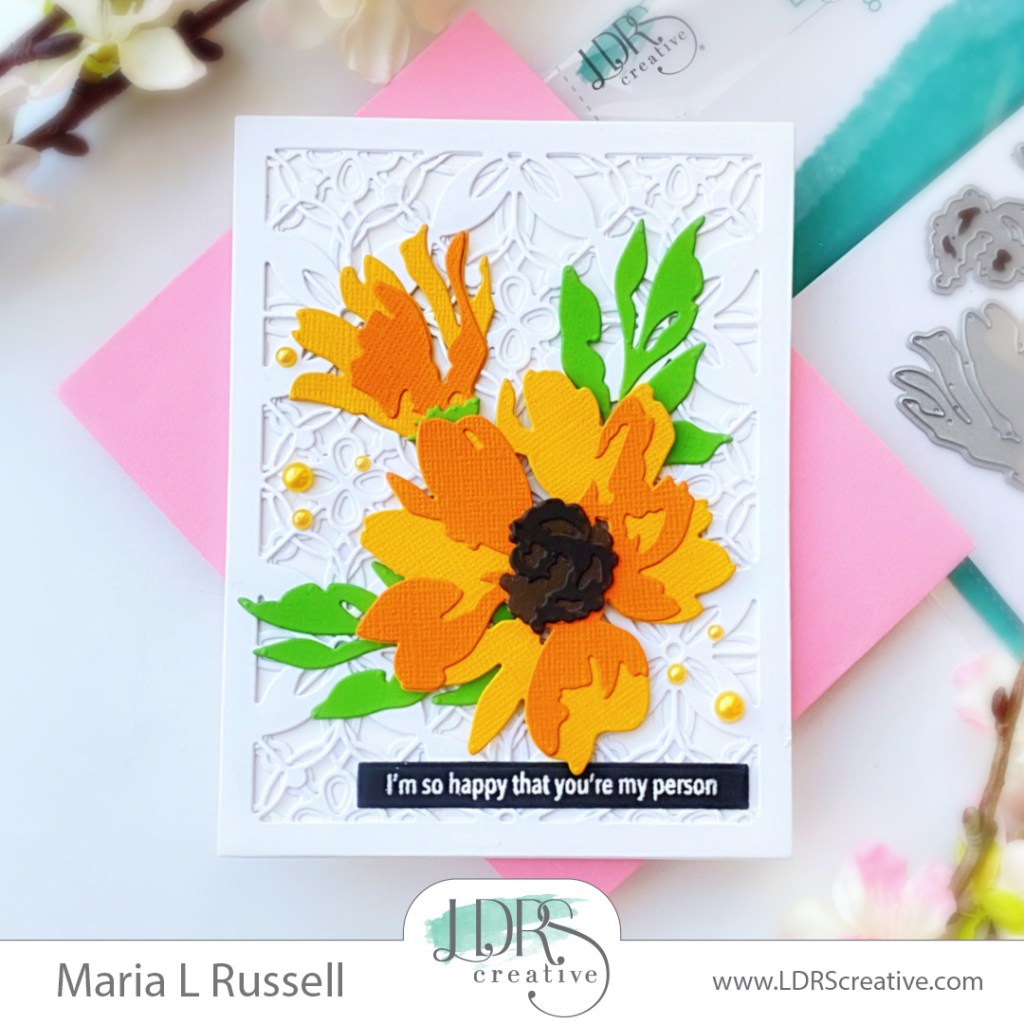
I’m SO Happy That You’re My Person

Hello everyone, it’s Maria!  It’s the middle of the week and I hope you are having a great day so far!  I am back today with a clean and simple card, showcasing some of my favorite products from the last release by LDRS Creative.

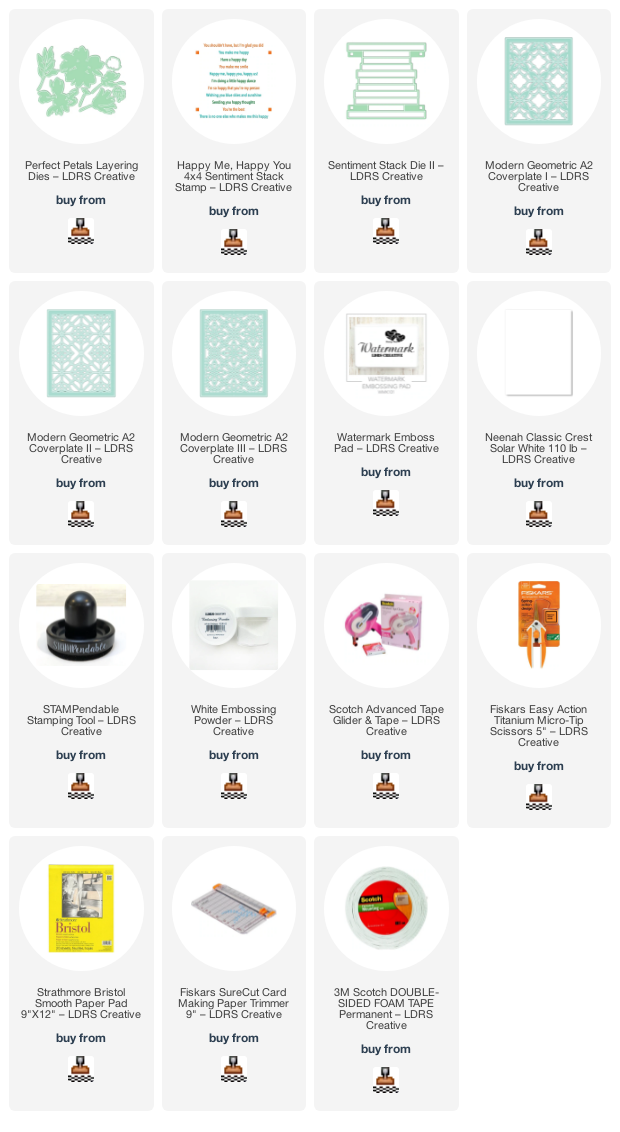
For my project today, I am showcasing the Perfect Petals Layering Dies, along with the Modern Geometric A2 Coverplate I, Modern Geometric A2 Coverplate II, Modern Geometric A2 Coverplate III, Happy Me, Happy You Stack and the Sentiment Stack II die set.

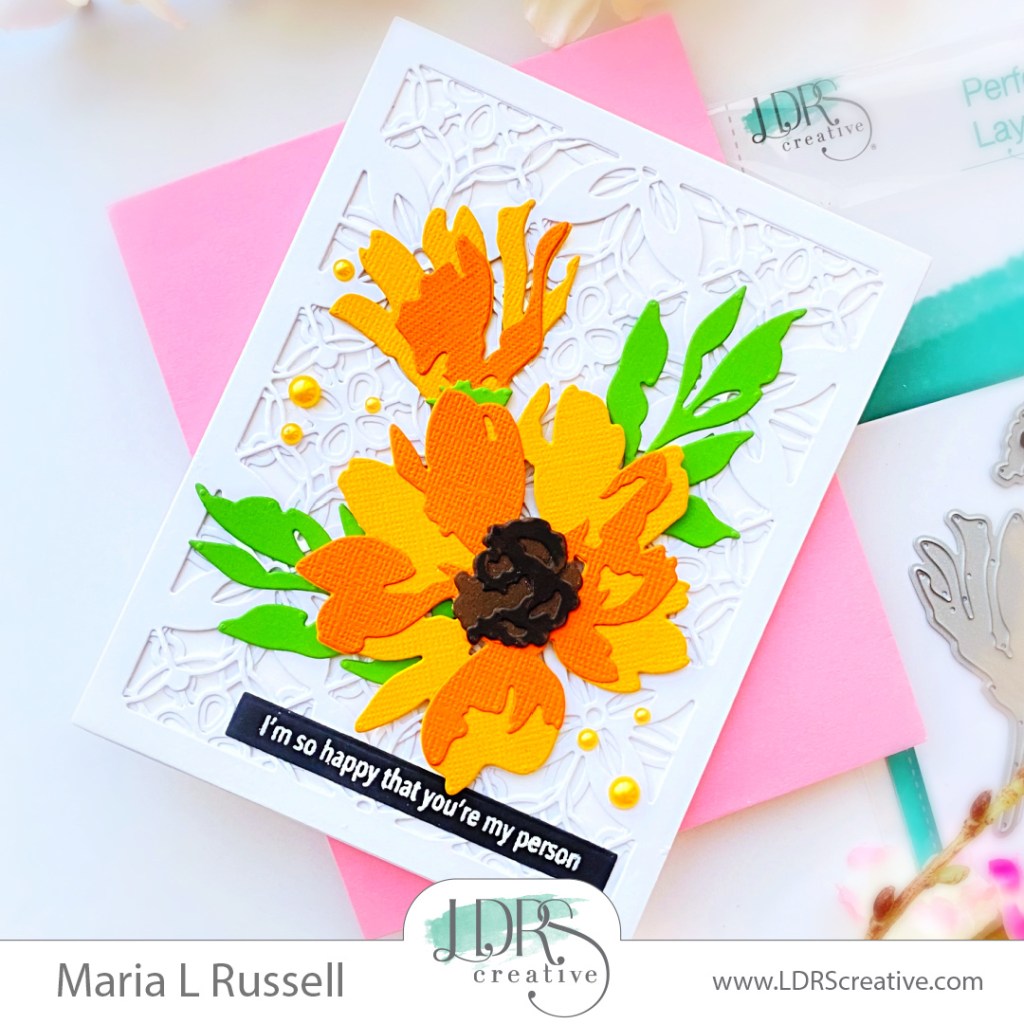
I started by creating the background by die-cutting the 3 layering dies –> Modern Geometric A2 Coverplate I, Modern Geometric A2 Coverplate II, Modern Geometric A2 Coverplate III on some Neenah solar white card stock.  I stacked them up using liquid glue and adhered on an A2-size notecard.

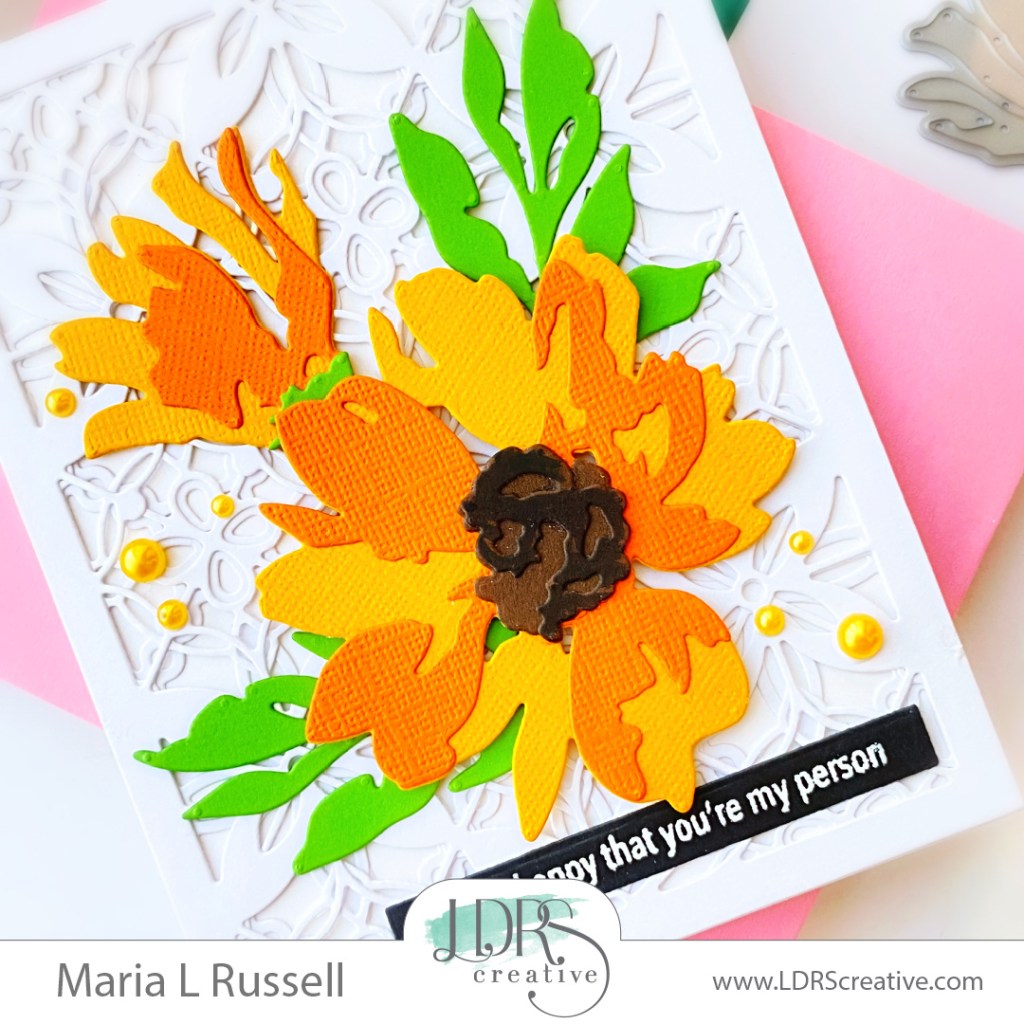
Next, I die-cut the beautiful flowers and leaves using the Perfect Petals Layering Dies with different colors of card stock.  I adhered the small flowers and leaves on the card with liquid glue, then foam-mounted the bigger flower for added dimension.  

I finished the card design by stamping the sentiments from the Happy Me, Happy You Stack with the Watermark Ink on some black card stock.  I sprinkled some white embossing powder and heat-set with my heating tool.  I die-cut the sentiments all at once using the Sentiment Stack II die set.  It is so convenient to have a few sentiment strips on hand using the combo.  I adhered the sentiment on the card and added some yellow-toned flat back pearls to finish the design.

I hope I have given you some inspiration today to create something beautiful.  The supplies I used are listed and linked below.  Thanks for stopping by, and have an amazing day!

 ————-SUPPLIES————–

Joy to the World with LDRS Creative

Hello everyone! I am glad to be back today to share some inspiration and I am also up on the LDRS Creative BlogI Does anyone else love mixing and matching their stamp set and dies?  I do!  I love mixing and matching stamp sets to create a unique card for a certain occasion. 

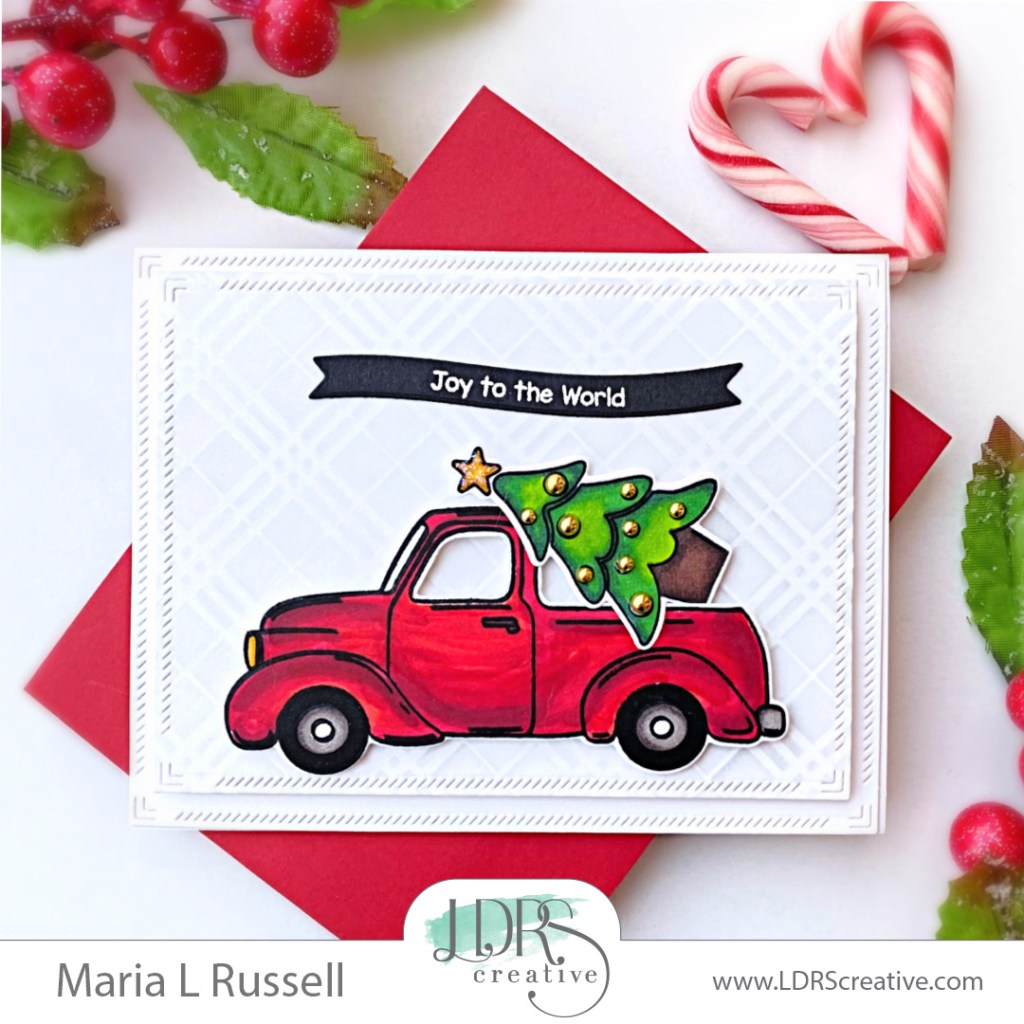
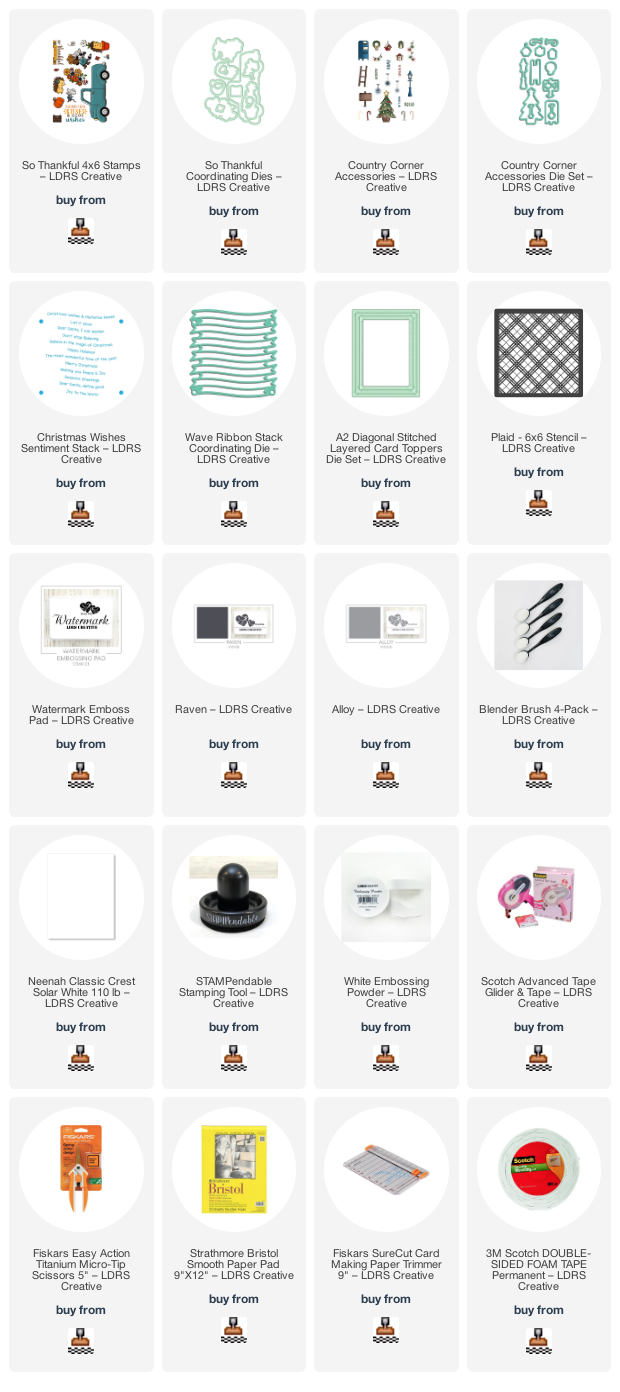
For this project, I am showcasing the So Thankful Stamp Set and coordinating dies along with the A2 Diagonal Stitched Layered Card Toppers Die Set, Country Corner Accessories Stamps and coordinating dies, Christmas Wishes Stamp Set and Wave Ribbon Banner Stack coordinating dies, with the Plaid 6×6 Stencil.

I started by die-cutting two panels of some Neenah solar white card stock using the A2 Diagonal Stitched Layered Card Toppers Die Set.  I adhered the bigger panel to an A2-size notecard.  The smaller panel was inked up using a Blender Brush, with the Plaid 6×6 Stencil and Alloy Hybrid Ink.  I foam-mounted this panel on the card for added dimension.

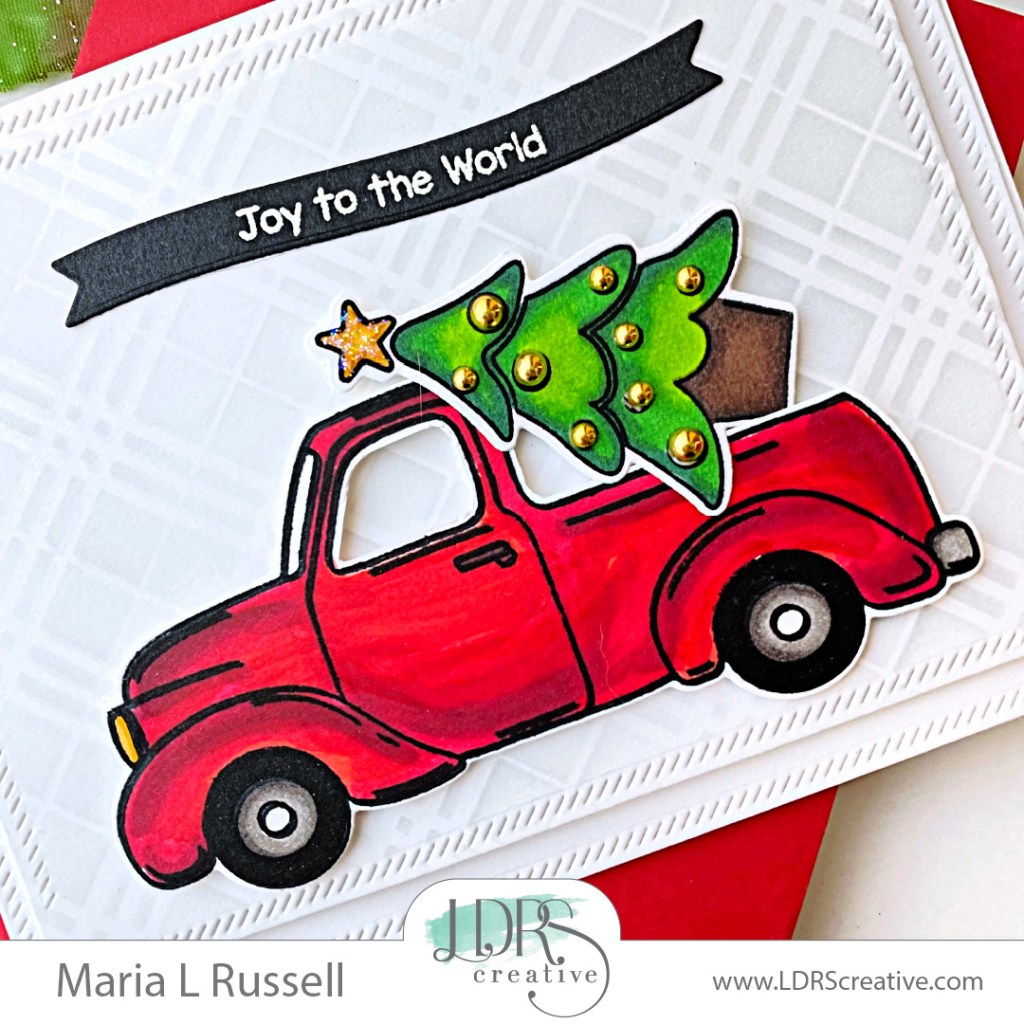
Next, I stamped the images from the So Thankful and Country Corner Accessories Stamp Sets with Raven Hybrid Ink.  This is my favorite ink to use to stamp my images.  I colored the images in with alcohol markers and used the coordinating dies to cut them out.  I adhered the Christmas Tree to the Red Truck with liquid glue and foam-mounted both images on the card front for added dimension.

I stamped the sentiment from the Christmas Wishes stamp set on some black card stock with Watermark Ink.  I sprinkled some white embossing powder and heat set with my heating tool. Next, I used the Wave Ribbon Stack Die Set to cut them all out.  I love using this stamp set and die combo!  You get to stamp it at one go and have a bunch of sentiment strips to be used for future projects! Such a genius idea!  I adhered the sentiment on the card using liquid glue.

I finished my card design by adhering some gold baubles on the Christmas Tree and Stickles to the star, for added texture and interest!  Here’s another look at the card:

I hope I have given you some inspiration today to mix and match your stamp sets and dies.  The supplies I used are listed and linked below.  Thank you so much for stopping by, and have a wonderful day!

———-SUPPLIES————

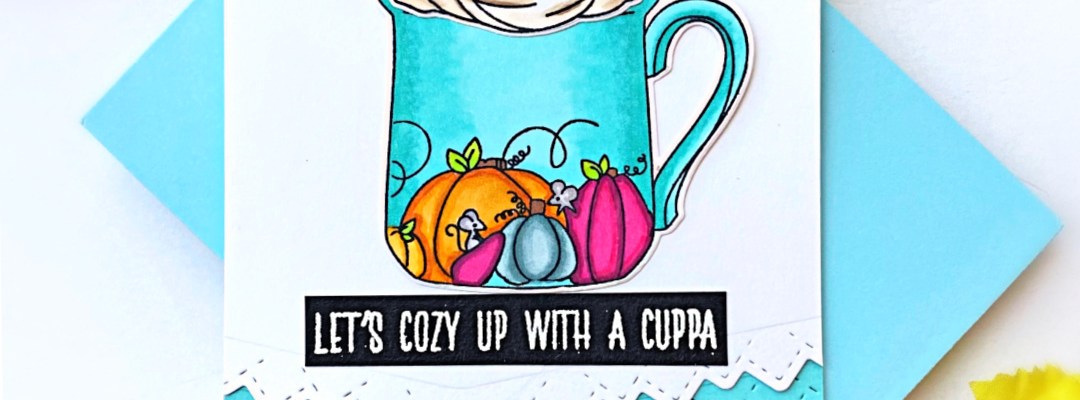
Let’s Cozy Up with a Cuppa with LDRS Creative

The 2021 Fall/Winter Coffee Lover’s Blog hop is here and I have another card to share with you. I feel that LDRS Creative should have a presence in this hop. I have been a part of the LDRS Creative Design Team for quite awhile now and I truly LOVE every single product that they produce. You guys should familiarize yourselves about this company because they are AMAZING!

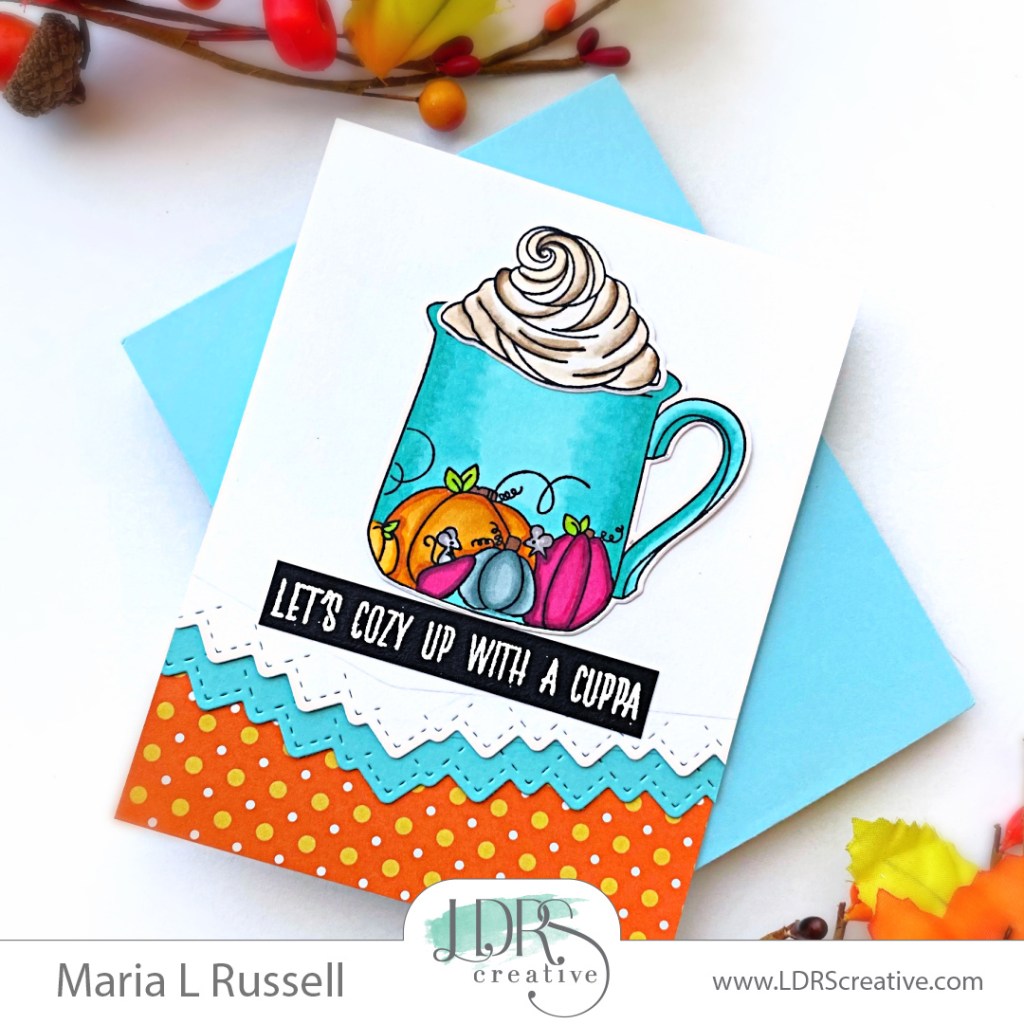
For my card today, I am showcasing the Cozy Cuppa stamp set and coordinating dies, Doodle Border 4×6 stamp set along with the Offset Slimline Stack-ables Die Set that is part of the Pastry Pals Craft Kit and the Happy Fall 6×6 Paper Pad.

Here’s how I made this card:

  • Adhere the two border edge die-cuts to the card base with tape runner.
  • Add the focal image with liquid glue.
  • Finish the card design by adding the sentiment that was heat-embossed on black card stock.

Easy, peasy, right?! I really LOVE how this card turned out and I hope you do as well. The supplies I used are listed and linked below. Thanks for stopping by!

——–SUPPLIES——–

Pastry Pal Cuties with LDRS Creative

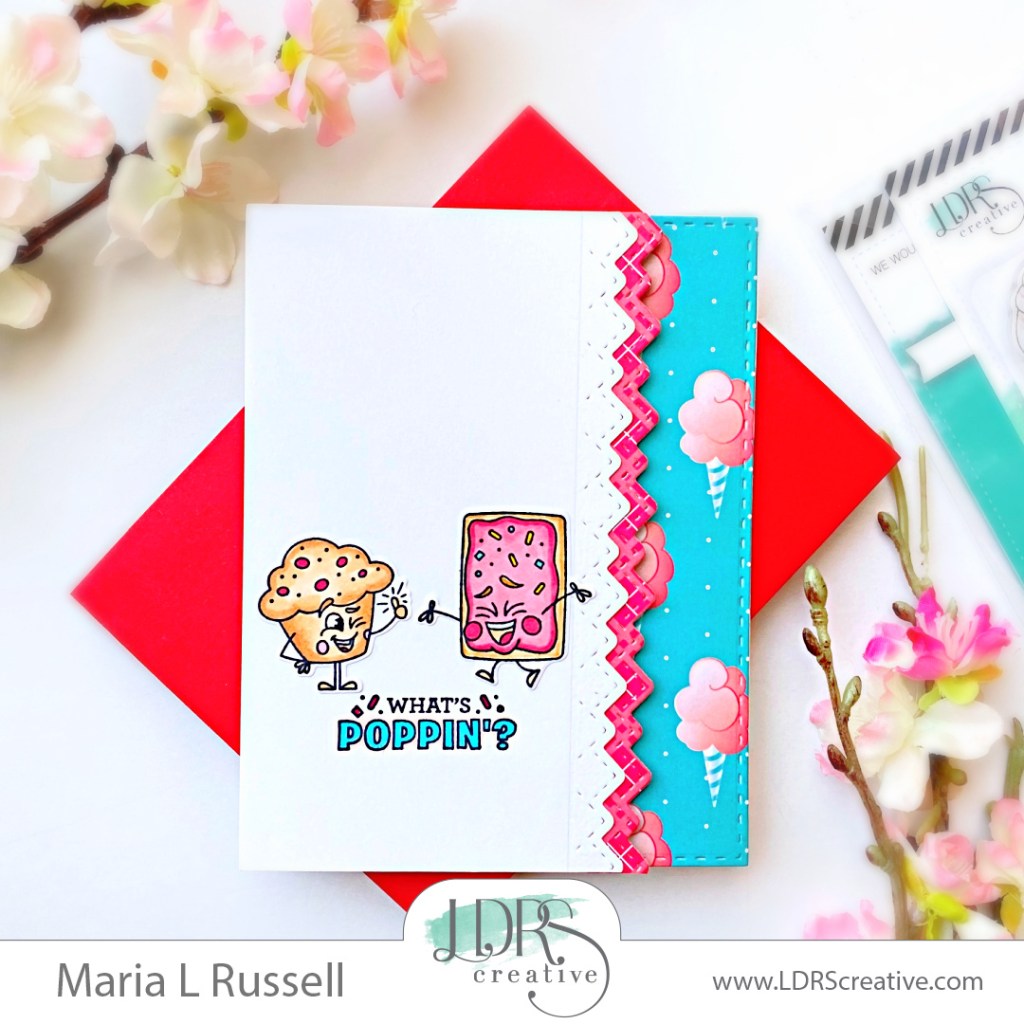
Hello and welcome back!  I am so excited to also be featured on the LDRS Creative Blog today, sharing TWO adorable cards, showcasing the Pastry Pals Craft Kit along with the Candy Counter 6×6 Double-Side Paper Pack.    I don’t know about you but when I saw this kit, I knew I just had to have it!  The images are too cute and you can use this kit all-year round.  The possibilities are endless! 

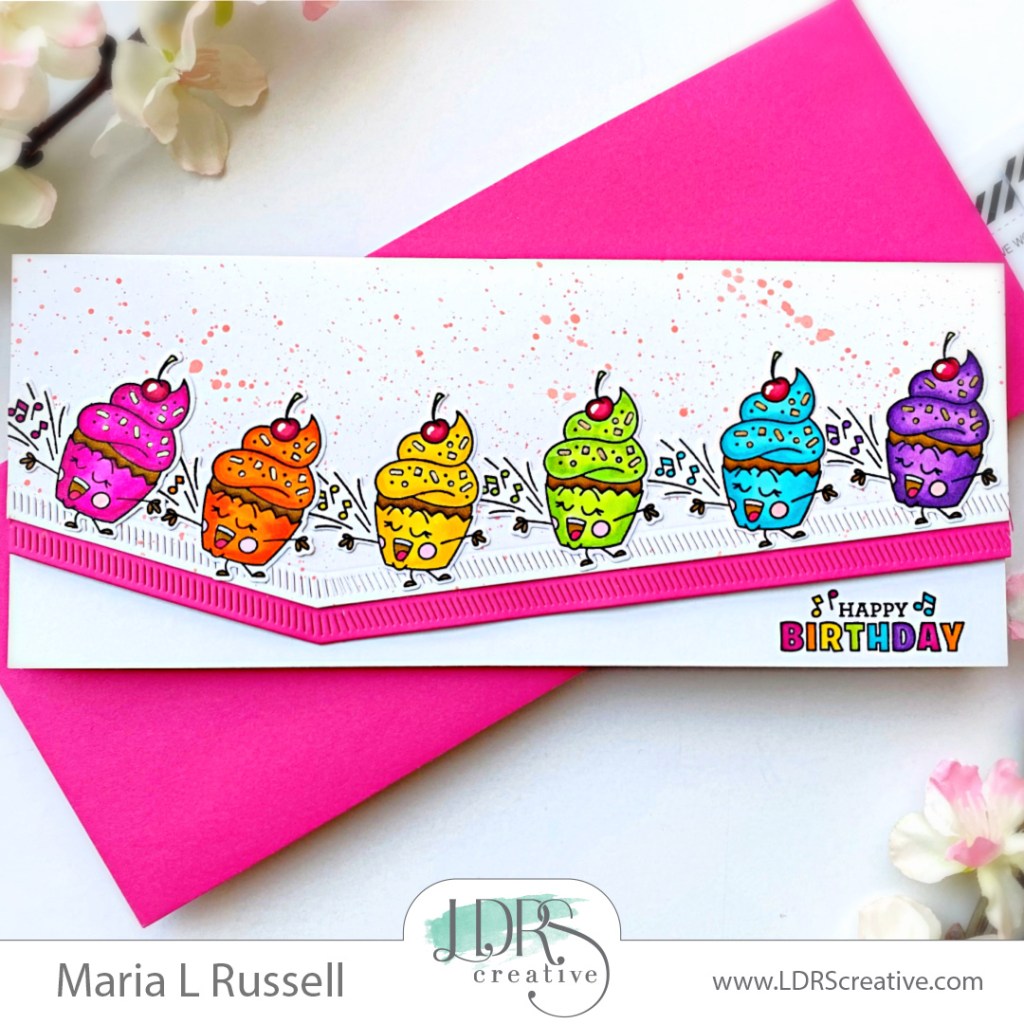
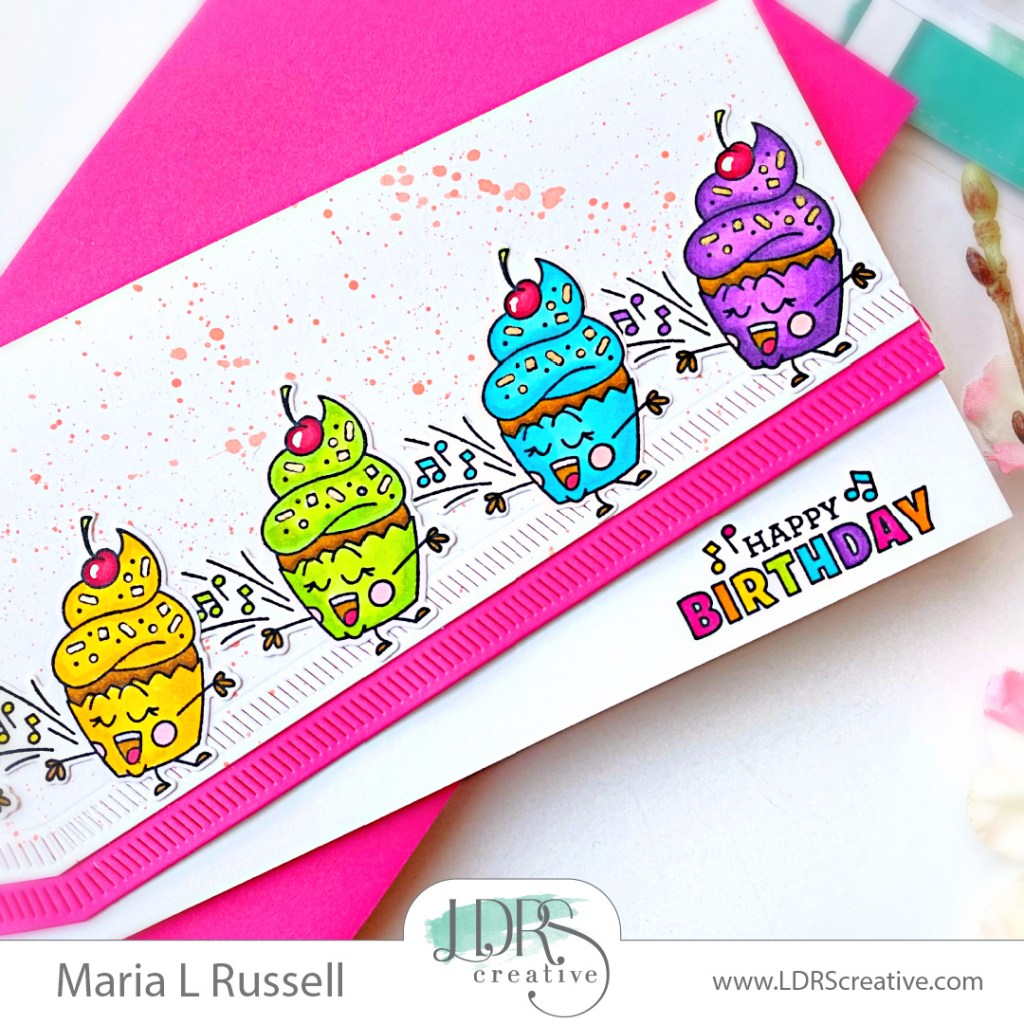
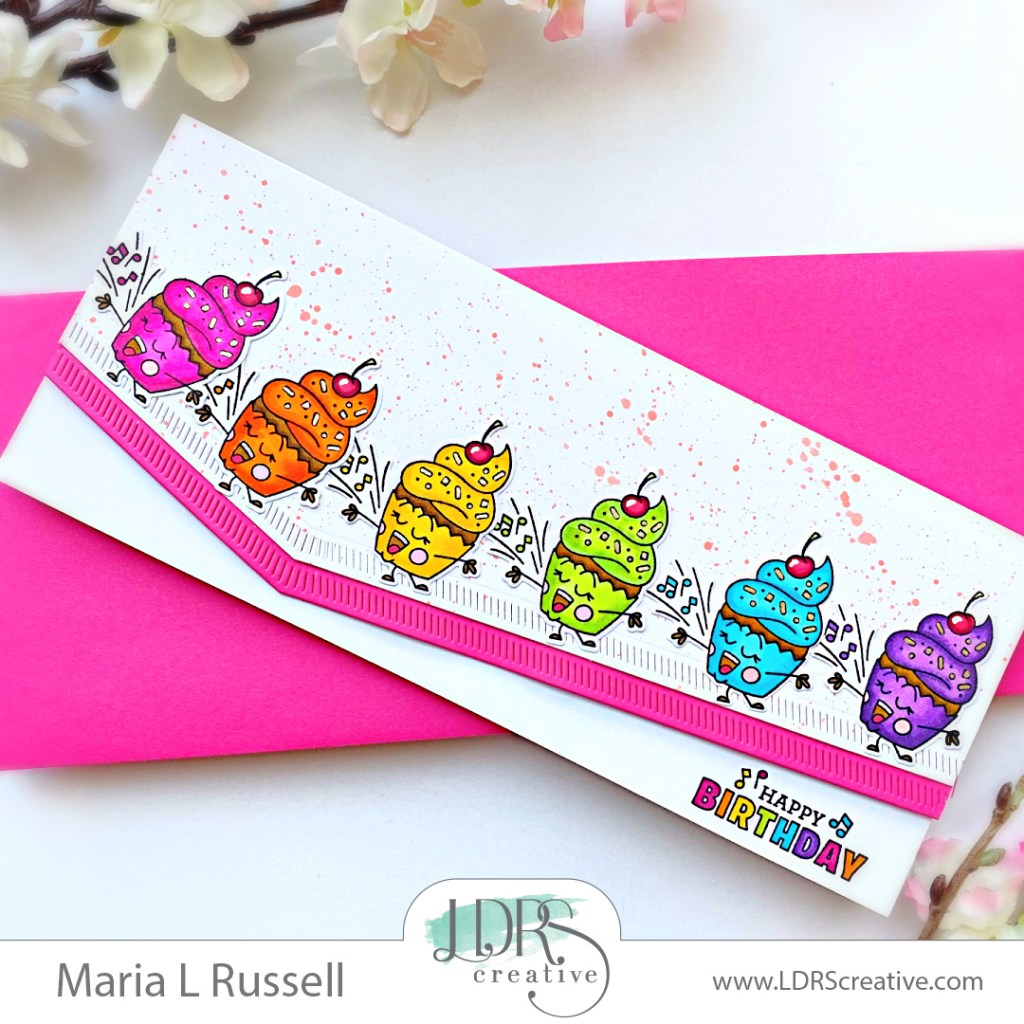
I started by stamping the images from the Pastry Pals Stamp Set on some Neenah solar white card stock with Raven Hybrid Ink.  I used my Stampendable Stamping Tool to get a nice impression of the images.  I colored the images in with alcohol markers and die-cut them all out using the coordinating dies. Next, I die-cut the slimline panels a few times using the Offset Slimline Stack-ables Die Set included in the kit with white and dark pink card stock.  I also used my pastel watercolor set to flick some colors on the card panel for added texture and interest. 

I adhered the pink frame on the white card panel and foam-mounted both on a slimline card base for added dimension.  I then lined up the images and evenly spaced them while adhering one-by-one with liquid glue.  I finished my design by stamping the sentiment with Raven Hybrid Ink and coloring the letters using the same color of markers that I used for the cupcakes.  I also used some gold gel pen for the sprinkles! 

 Since I colored a lot of images from the Pastry Pals Craft Kit, I decided to make another card.   

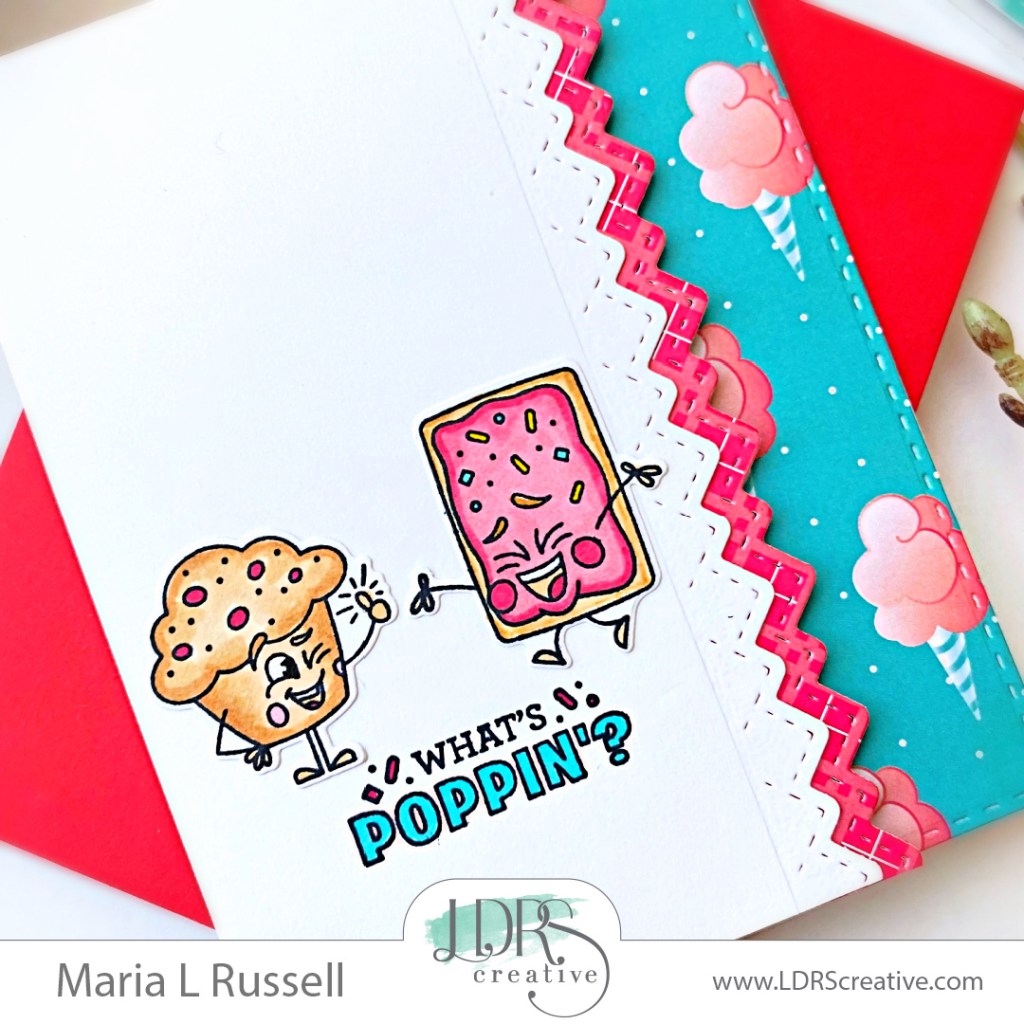
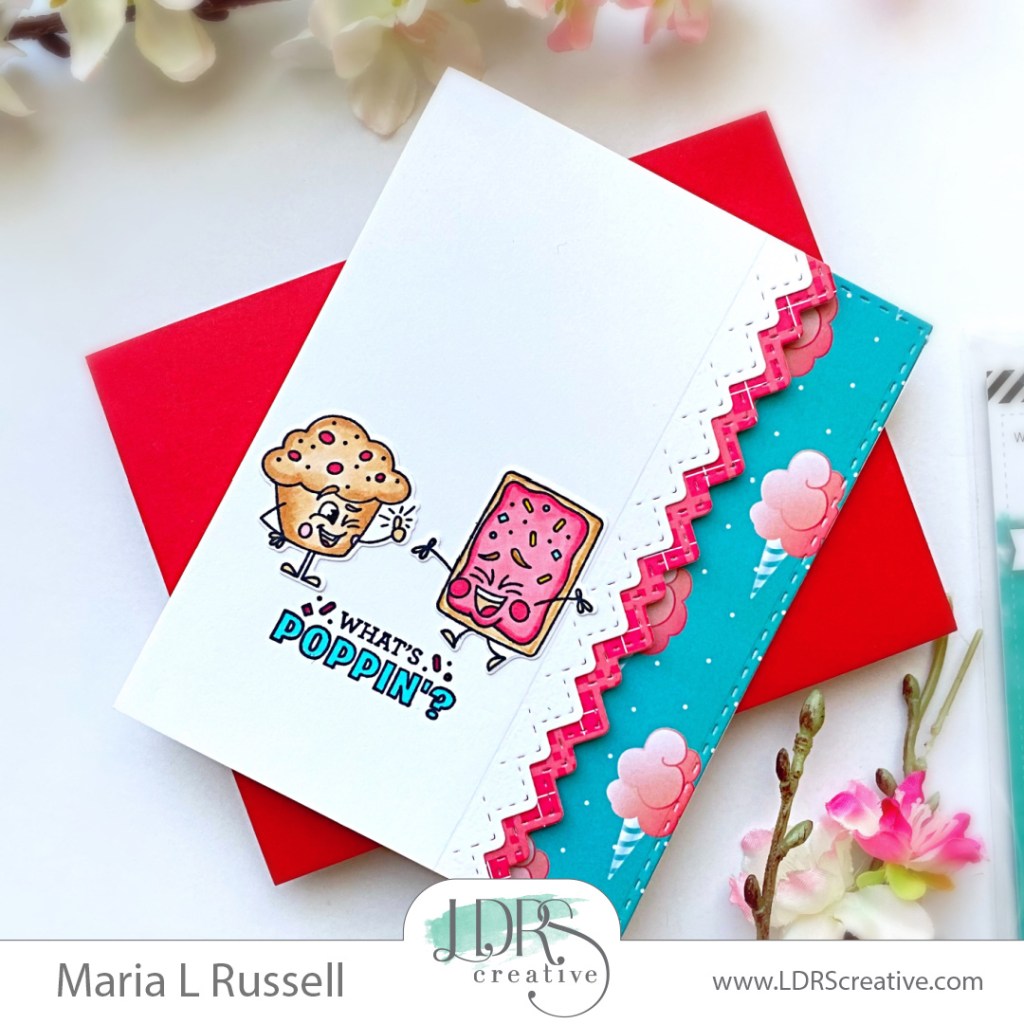
 I used the Offset Slimline Stack-ables Die Set from the kit to die-cut the decorative edges using some Neenah solar white card stock and the Candy Counter 6×6 Paper Pack.  I also used the A2 Stitched Layered Card Toppers Die Set to die-cut the patterned paper and adhered on an A2-size notecard. 

 Next, I foam-mounted the focal panel for added dimension and adhered the images with liquid glue.  I finished the design by stamping the sentiment with some Raven Hybrid Ink and colored the letters with alcohol markers.   

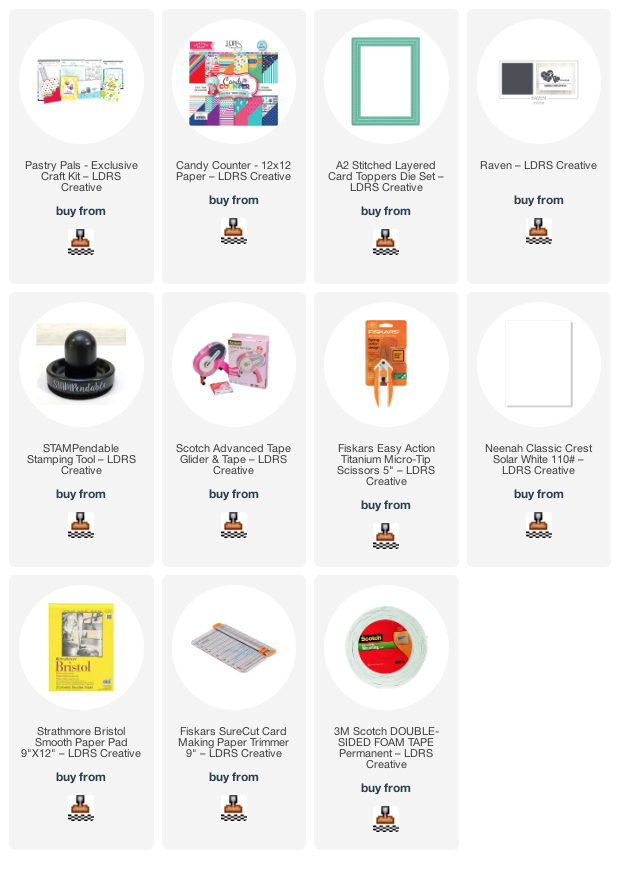
 Aren’t these images adorable?!  I am pretty sure this Pastry Pals Craft Kit will sell out soon just like the rest of the other kits so grab them now before they are gone! I hope you like my cards today and got inspired!  The supplies I used are listed and linked below.  Thanks for stopping by, and happy stamping! 

———–SUPPLIES———-
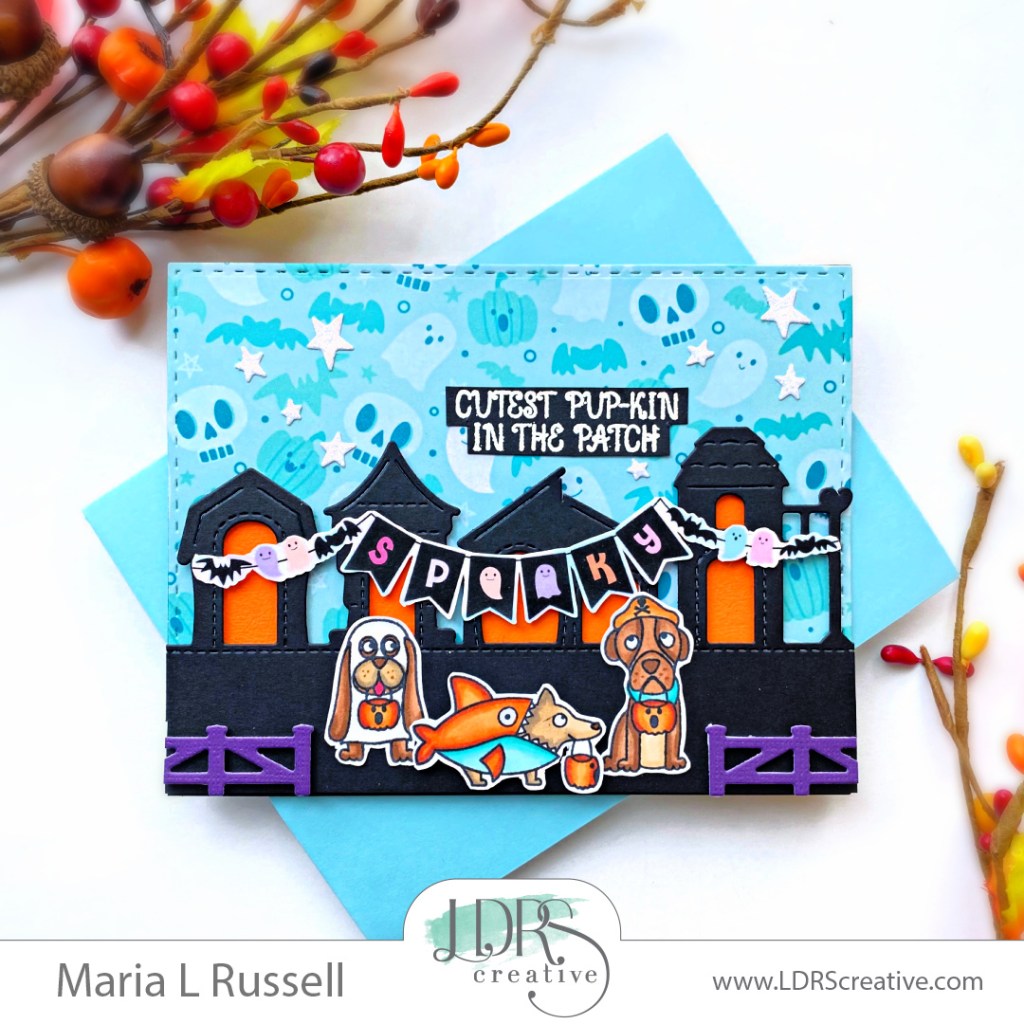
Cutest Pup-Kin in the Patch with LDRS Creative

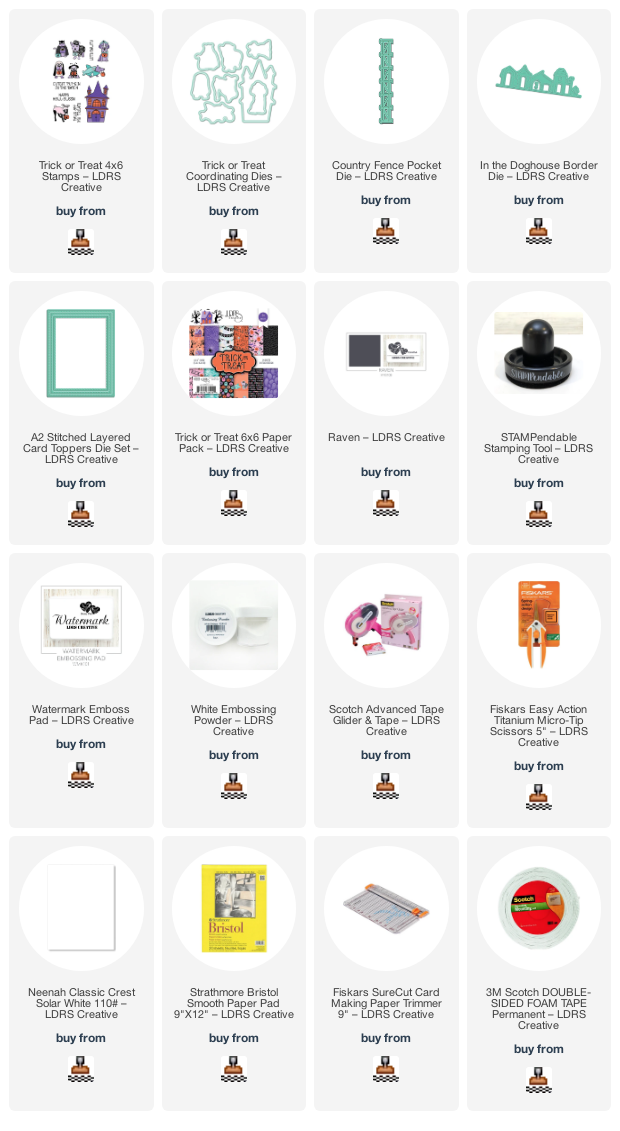
Hello my crafty friends!  I am so happy to be on the LDRS Creative Inspiration Blog!  I’m back today sharing yet another cute but “spooky” card, showcasing the Trick or Treat Stamp Set and coordinating dies, along with (this is one of my all-time favorite paper pack) the Trick or Treat 6×6 Paper Pack, A2 Stitched Layered Card Toppers, In the Doghouse Border Die, and the Country Fence – Pocket Die. 

Here’s what you need to create this card:

Now that we have all of the components, we are ready to assemble the card.  

  • Adhere the pattern paper on an A2-size black note card.
  • Foam-mount the In the Doghouse Border die-cut for added dimension.
  • Adhere the colored images on the foreground with liquid glue.
  • Add the Picket Fence on both sides of the card with foam adhesive.  Make sure you are using enough foam adhesive for added stability.
  • Adhere the banner on the doghouses with liquid glue.
  • Use tape runner to adhere the sentiment.
  • Finish the design by adding some glittered star stickers.

Here’s another look at this cute Halloween card!  Don’t you just LOVE these puppies?! 

 I just love mixing and matching products from LDRS Creative to create some cute scenes! The supplies I used are listed and linked below.  Thanks for stopping by and have an amazing day!

————SUPPLIES———- 

Too Cute to Spook with LDRS Creative

Hello LDRS fans!  I’m back today with two VERY SIMPLE (but so ADORABLE) cards, showcasing the Trick or Treat 6×8 Pirouette Stamp Set along with the newest “must-have” stamping template called Pirouette Pattern Templates with some of the greatest hybrid inks –> Raven, Alloy, Grape Ape and In Your Face Orange.

This first card reminds me of one of my all-time favorite animated movie for Halloween.  Can you guess what movie that is?  Of course that was my inspiration creating this card. 

I started by positioning the Pirouette Pattern Master Template inside my stamping tool and taped it down with washi tape.  I position the spider web from the Trick or Treat 6×8 Pirouette Stamp Set in the center and closed the lid. I opened the lid again to place my card stock inside the stamping tool and stamped the spider web in the middle using Alloy Hybrid Ink.  I went on and positioned the stars and dots wreath and used Grape Ape Hybrid Ink.    

I repeated the process by stamping the images randomly on my card stock.  Next, I used some Raven Hybrid Ink to stamp the skull in the middle of the spider web.   I adhered this card panel on an A2 size notecard. and finished the card design by stamping the black ribbon and the sentiment with Raven Hybrid ink.  I just LOVE the intensity of this black ink, don’t you?! 

For my next project below, I used the Pirouette Patterns Template again to stamp the images on a 4×4 card stock.  This template makes it super easy to perfectly center your images on the card.  The lines really helped me position the images to create a seamless pattern.  I am warning you, it gets really addicting! Haha!

I started with a 4×4 card stock and stamped the spiderweb first with Alloy Hybrid Ink.  Next, I stamped the stars and dots wreath image using Grape Ape Hybrid Ink.  I positioned the ghost and stamped it with Raven Hybrid ink.  I colored the ghost with some alcohol markers for added dimension.  Then, I moved on by stamping the rest of the images with Raven and In Your Face Orange Hybrid inks.

Next thing to do is to mat the card on some orange and black card stock, then adhering it on some purple card stock measuring 4 3/4 by 9 1/2 folded in half, which makes it a 4 3/4 x 4 3/4 notecard.  I finished my card design by stamping the words “Happy Hunting” with some Raven Hybrid Ink.  Here’s another look: 

I just LOVE using the Trick or Treat 6×8 Pirouette Stamp Set with the Pirouette Pattern Templates!  You can create endless design possibilities using both products!  For more project inspiration, please head on over to the LDRS Creative Blog or the LDRS Creative YouTube channel.    The supplies I used are listed and linked below.  Thanks for stopping by today and happy stamping! 

———-SUPPLIES———-