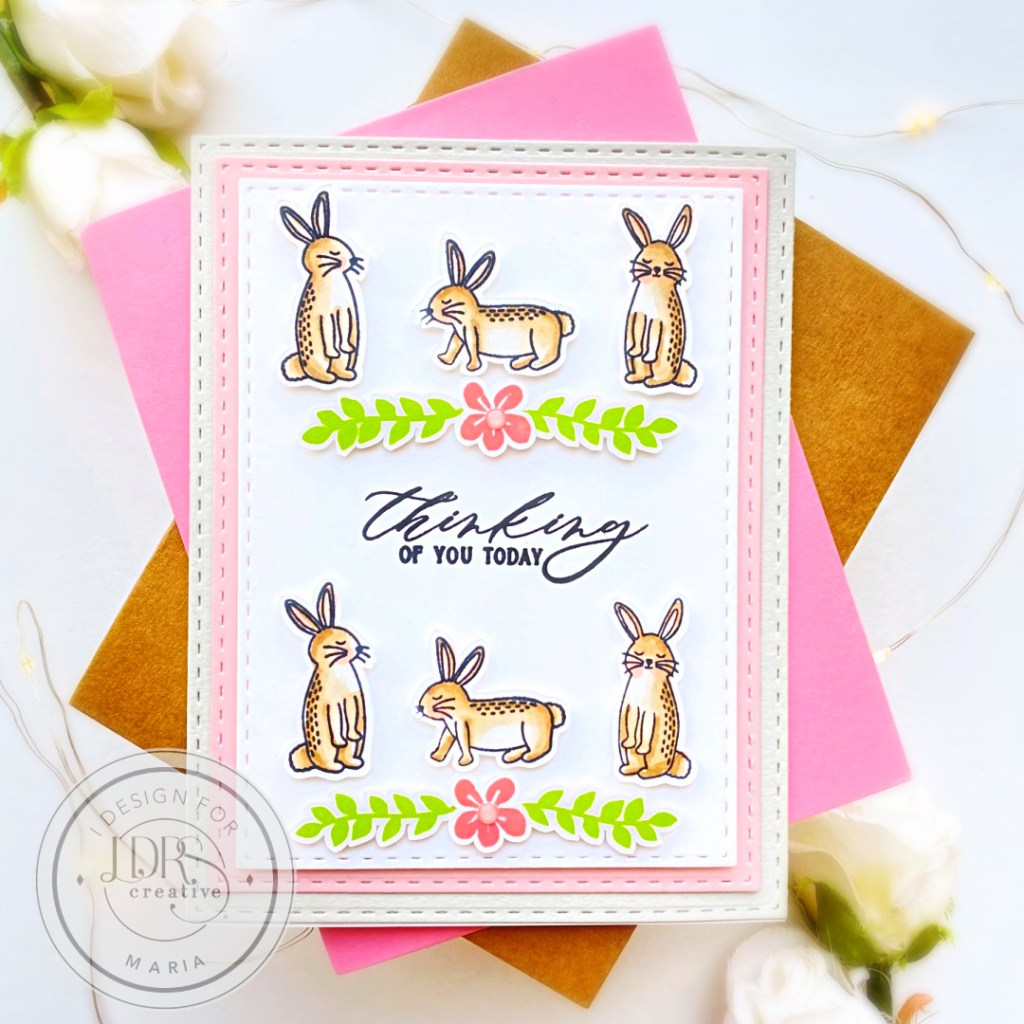
I started by die-cutting some Beige, Pink and White card stock using the A2 Stitched Layered Card Toppers Die Set. I adhered the layers on an A2-size notecard, and foam-mounted the white card stock for added dimension.
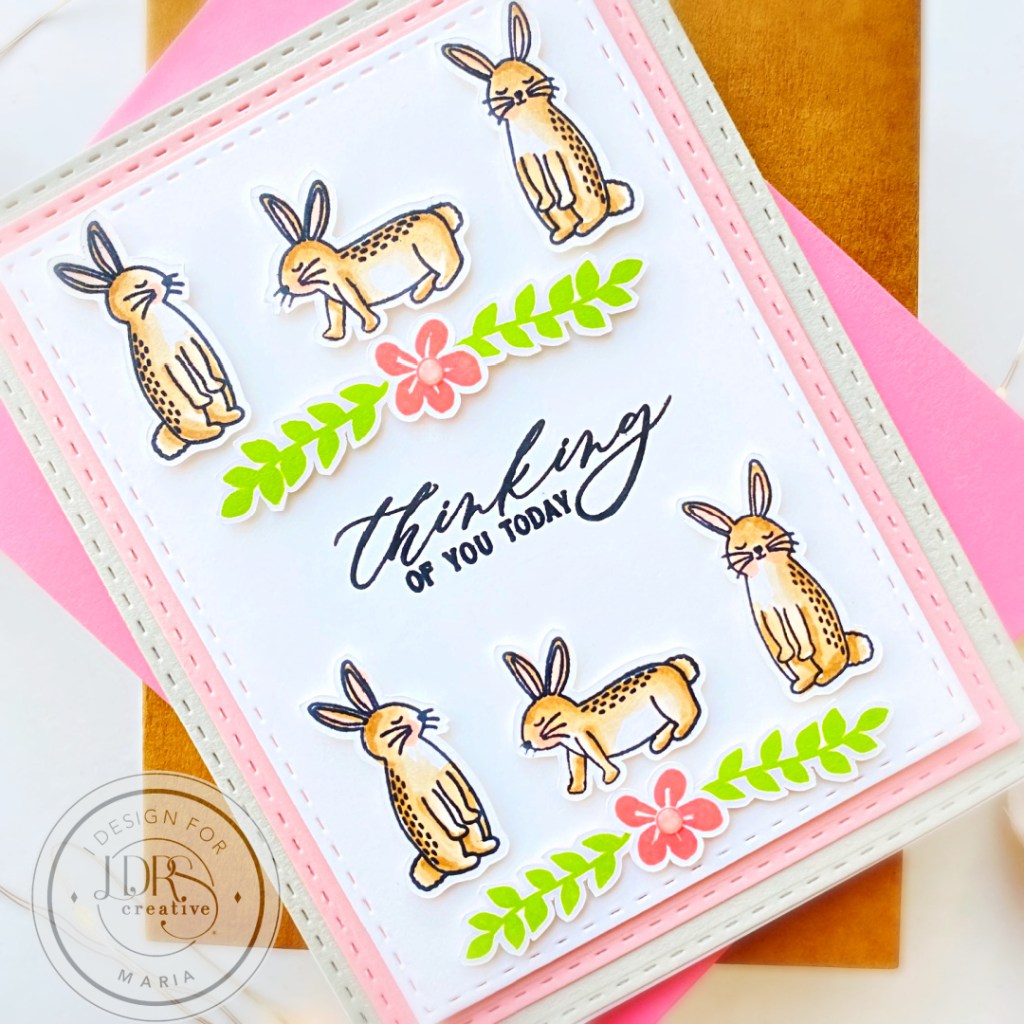
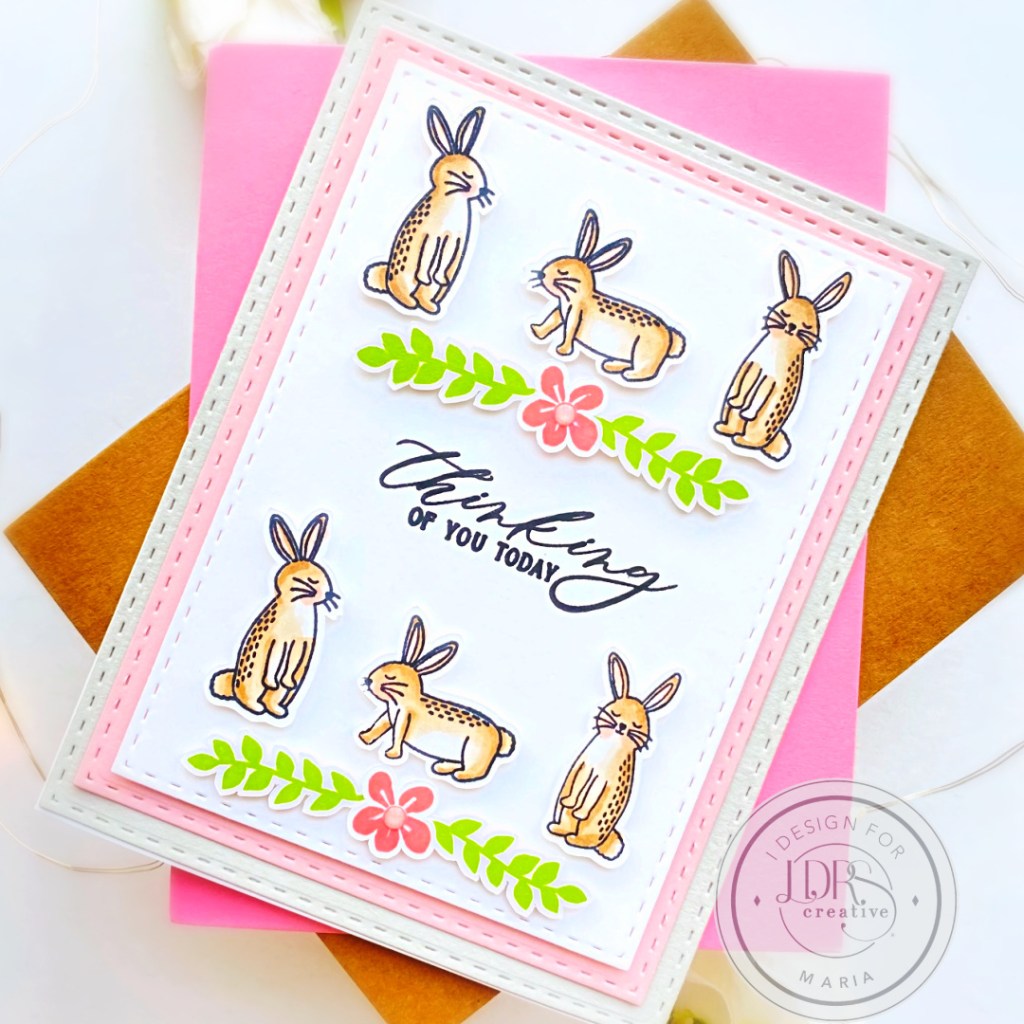
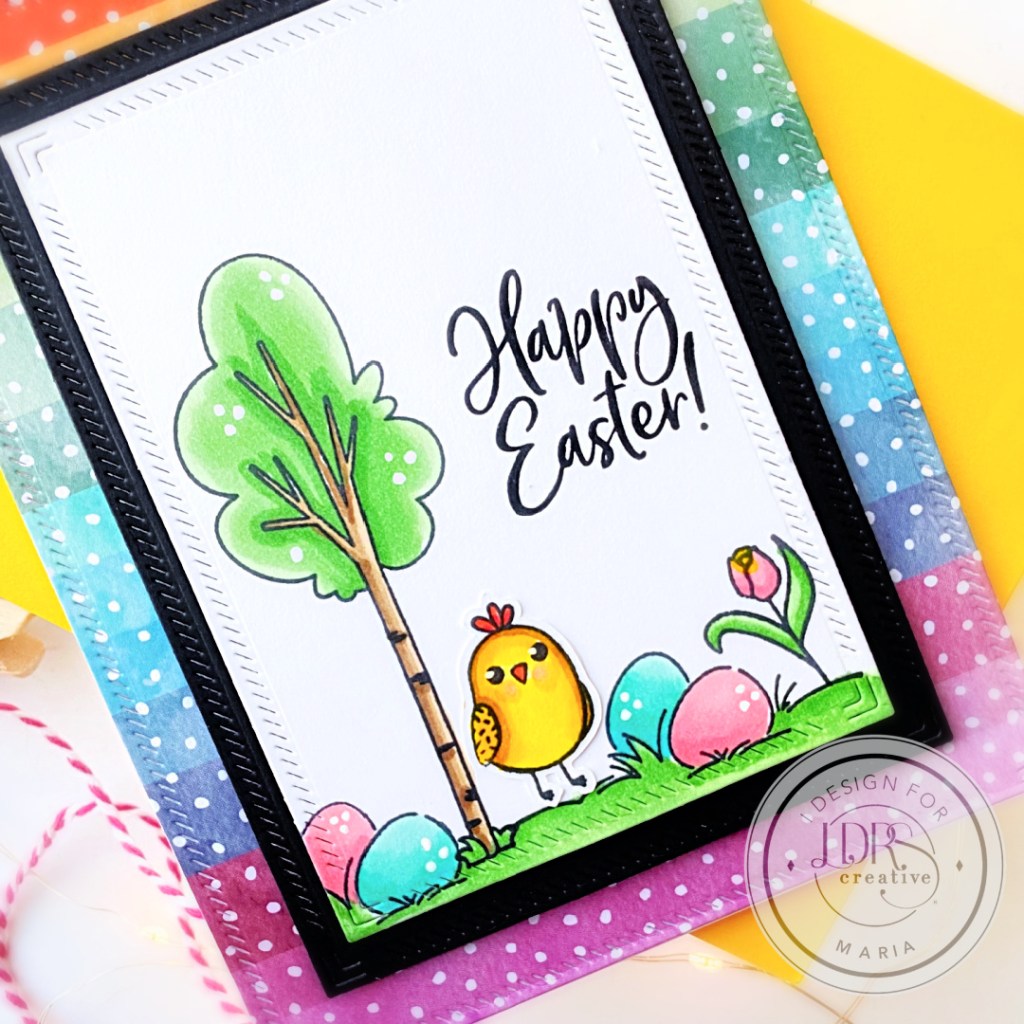
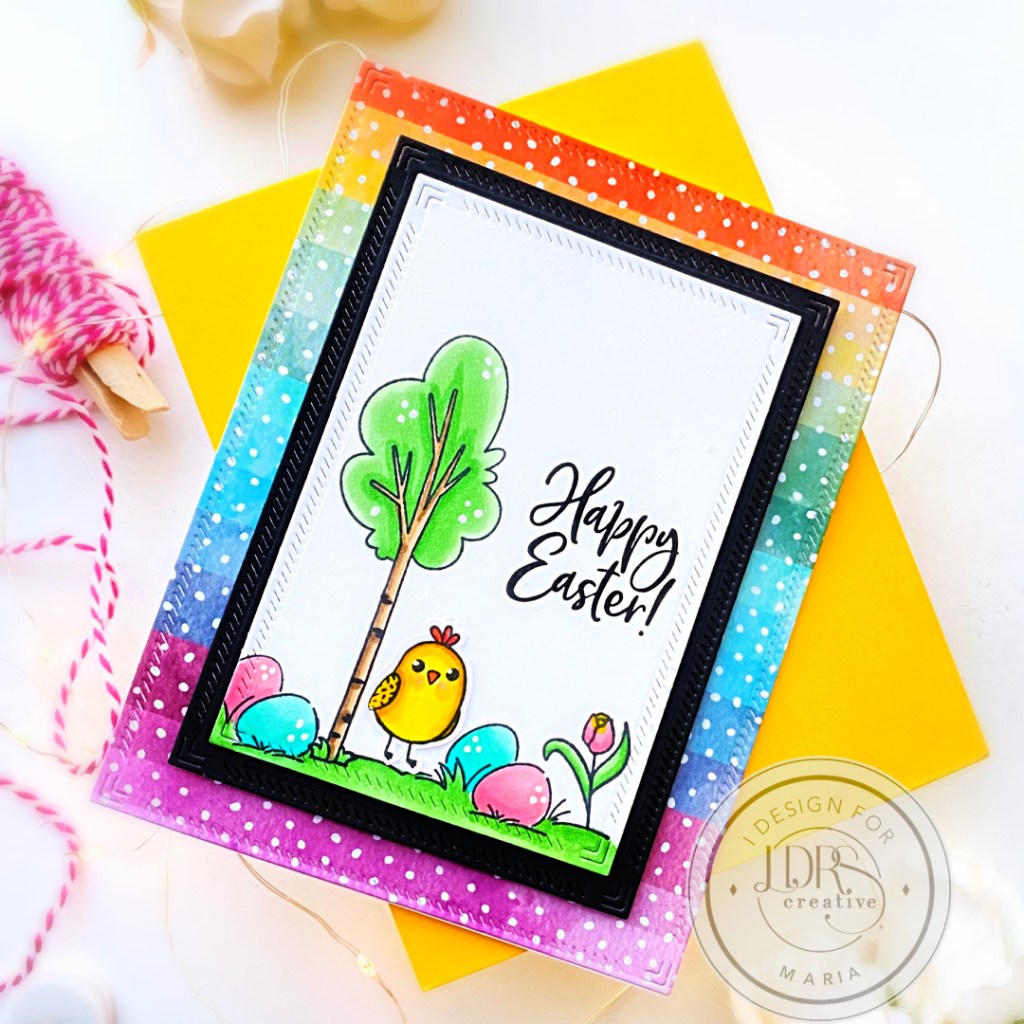
I finished my design by foam-mounting the images on the card for added dimension and stamping the sentiment with Raven Hybrid ink. Here’s another look:
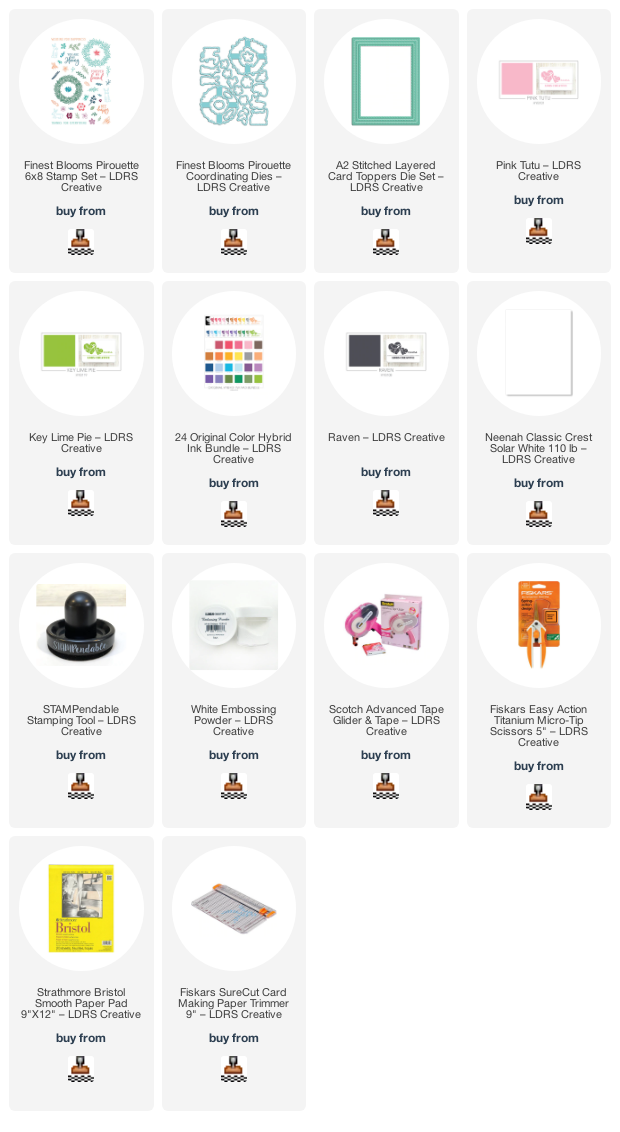
I hope you like my project today and got inspired! Below, you will find links to the supplies used to create this project(s). Where available, I use compensated affiliate links at no extra cost to you. Your support helps me to keep bringing you new projects and inspiration. Thank you for stopping by, and have an amazing day!
Hello LDRS Creative fans! Things are pretty busy here on my side of the world but I am throughly enjoying Spring! What about you?
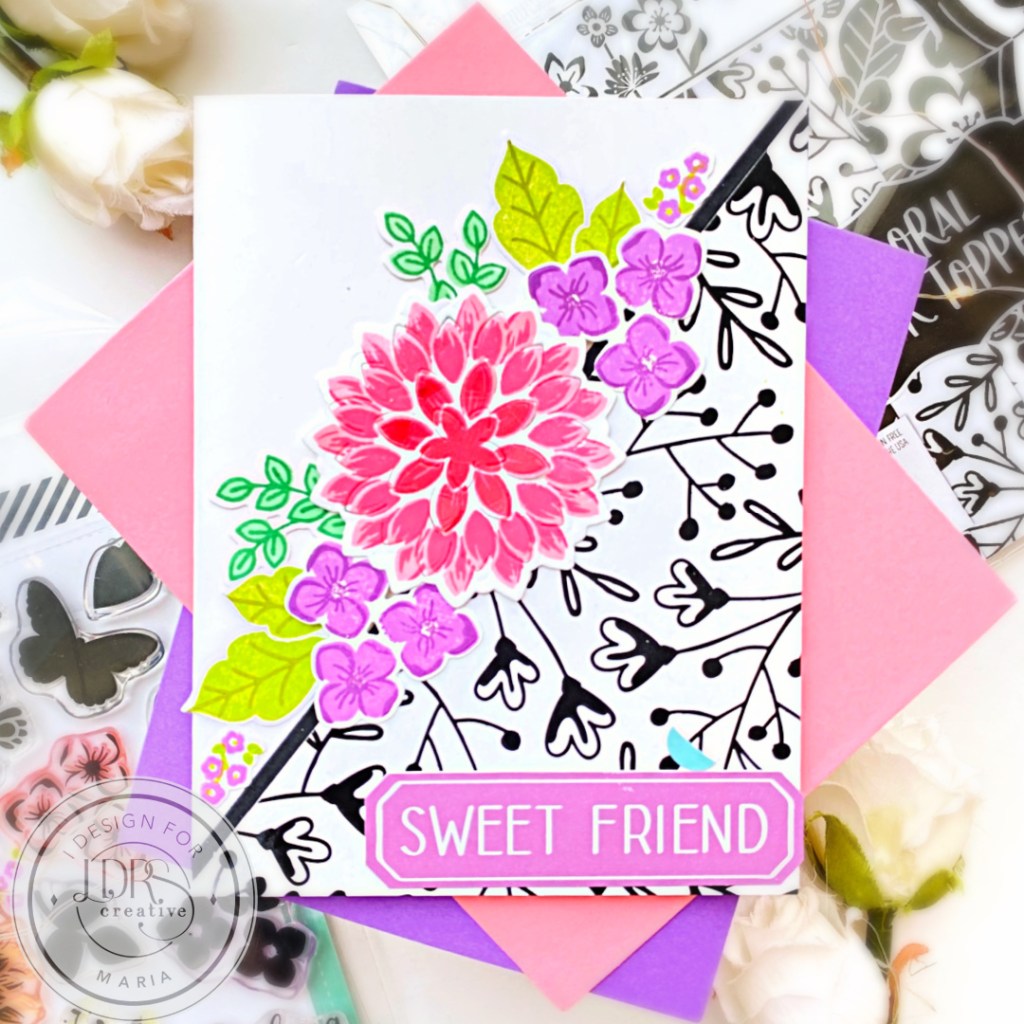
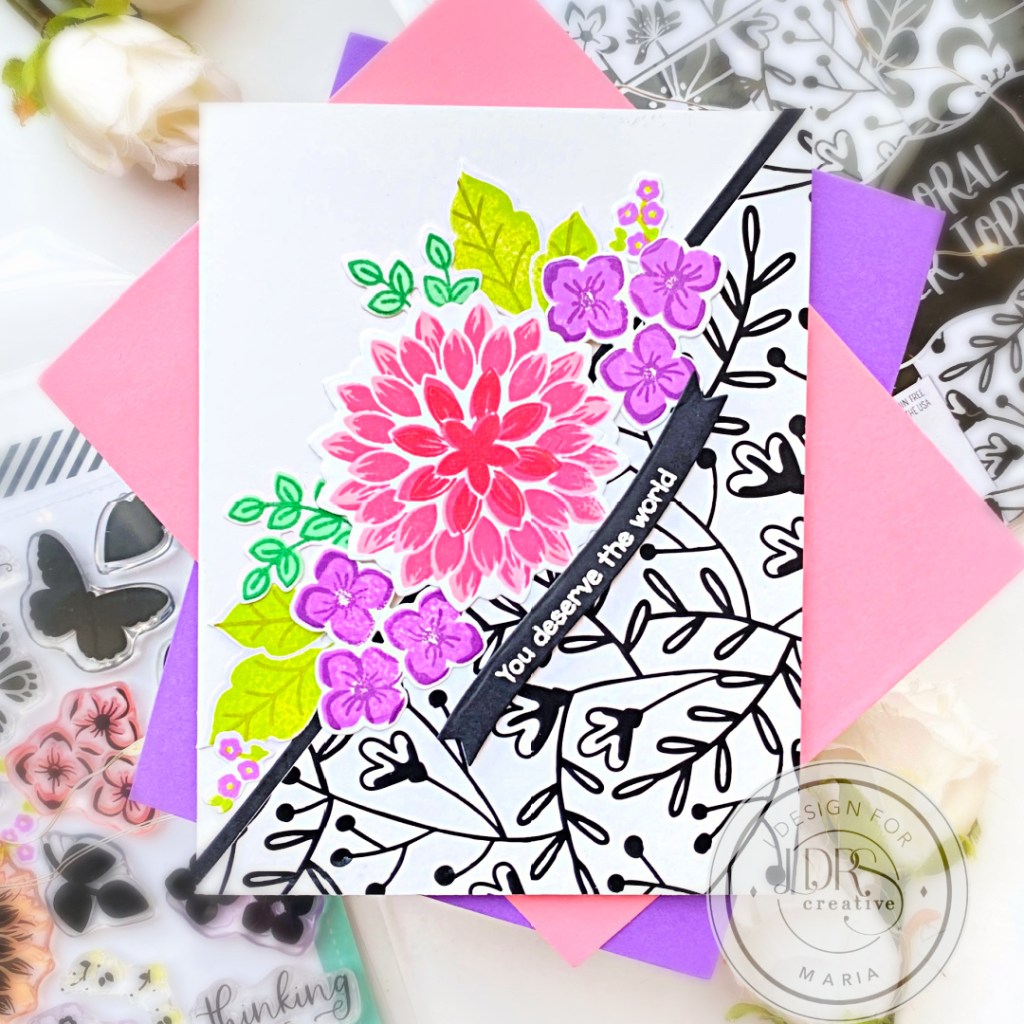
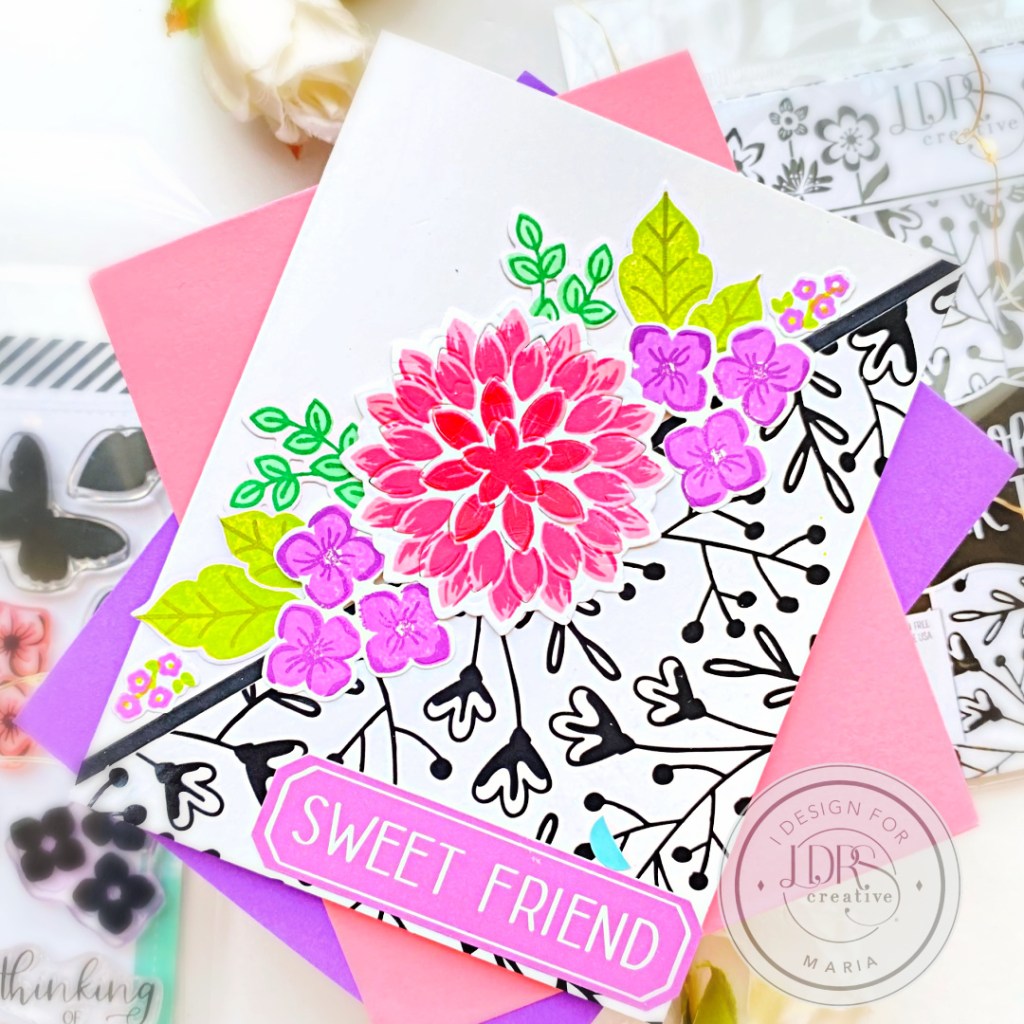
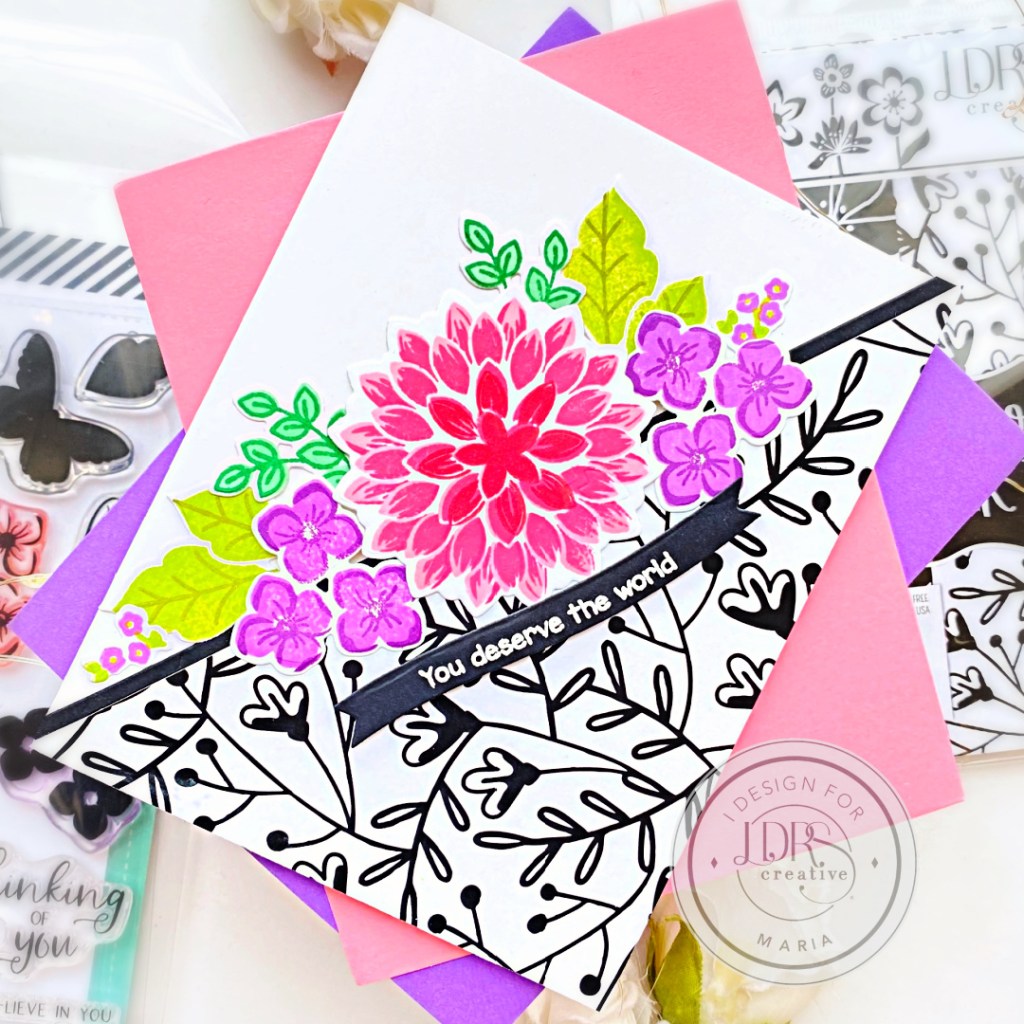
I also have been trying to build my stash of “just-because” cards to send to family and friends and so for today’s project, I have two cards to share with you using one pattern paper.
Next, I cut the Floral Toner Toppers Paper to 4 1/4 x 5 1/2 then used my paper trimmer to cut it in half, diagonally. I foam-mounted both pieces on some A2-size notecards. I cut the black strips using the 1/8″ Slimline Background Strips Die Strips Die on some black card stock and adhered on the card with liquid glue.
I hope you like these cards today and much as I do! Below, you will find links to the supplies used to create this project(s). Where available, I use compensated affiliate links at no extra cost to you. Your support helps me to keep bringing you new projects and inspiration. Thank you!
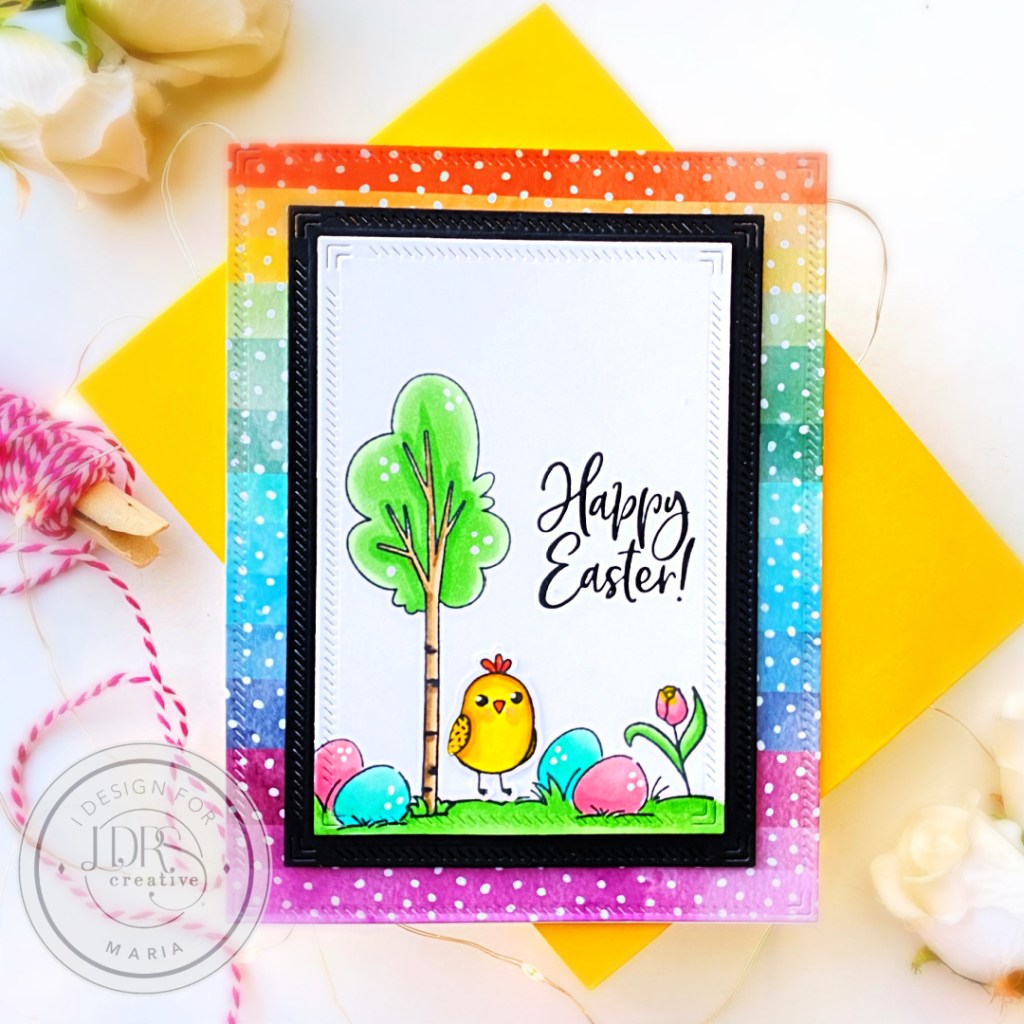
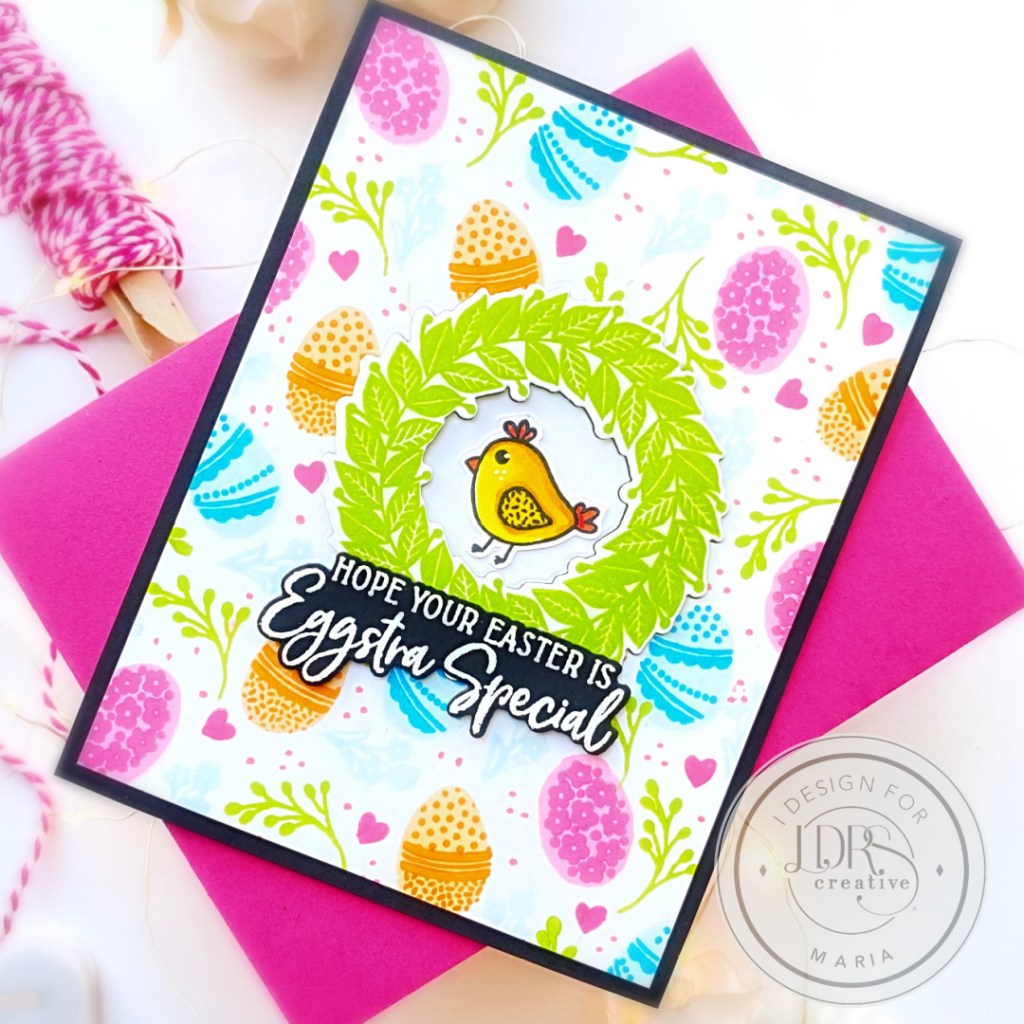
The new LDRS release is to die for! I honestly didn’t know which stamp set to feature for my cards today since they are all AMAZING, but since Easter is coming soon, I figured I’d share some Easter-themed cards!
I started by stamping the images on some Neenah Solar White card stock with Raven Hybrid Ink. I colored the images in with alcohol markers and used the coordinating dies to cut them out. I also die-cut another panel of Neenah solar white using the smallest die from the Diagonal Stitched Layered Frames and stamped the images from the Hoppy Egg Hunt (eggs) and A Day in the Park (tree) using Raven Hybrid Ink. I colored them using alcohol markers and adhered the cute little chick to finish the scene. I matted this panel with some black card stock that I die-cut using the Diagonal Stitched Layered Frames.
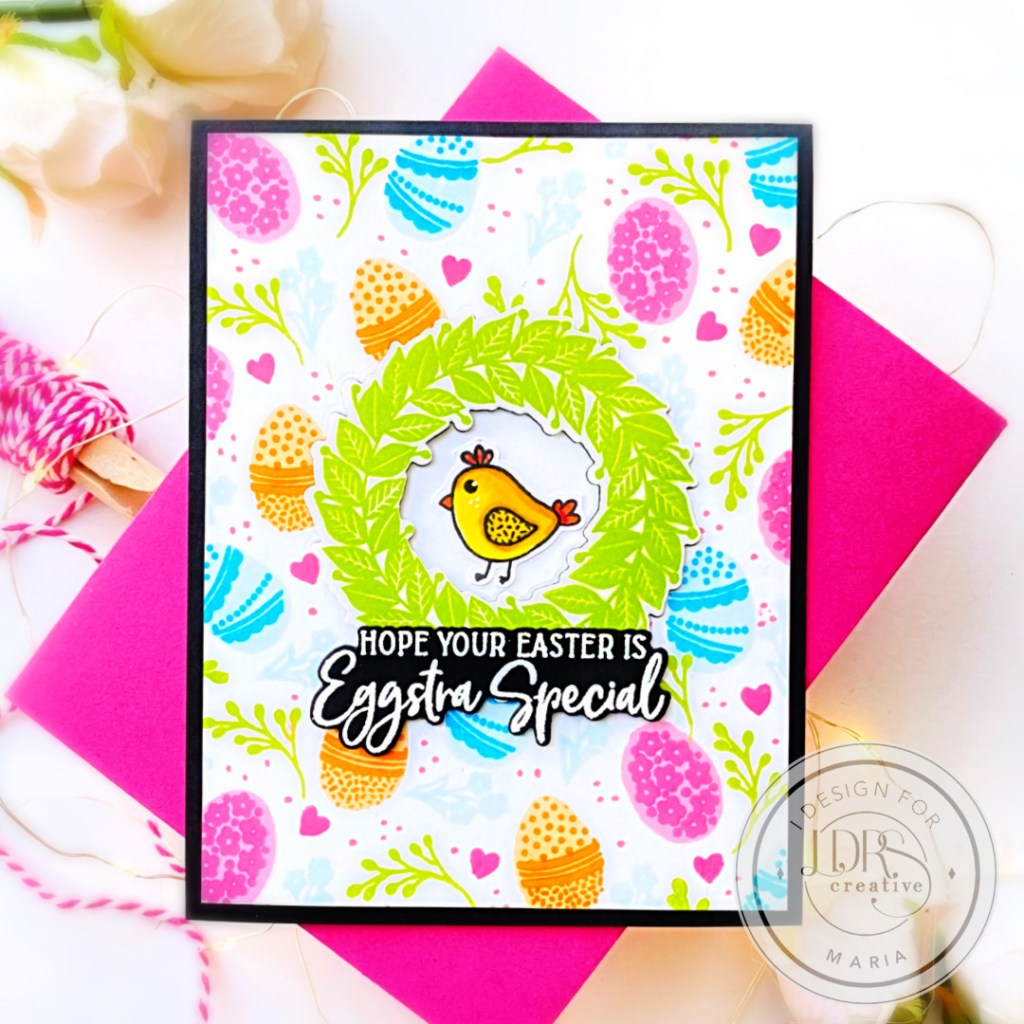
First, I prepared the background that I matted with some black card stock. I stamped the images randomly from the Finest Blooms Pirouette stamp set using the hybrid inks I mentioned above. I had so much fun mixing and matching the beautiful colors!
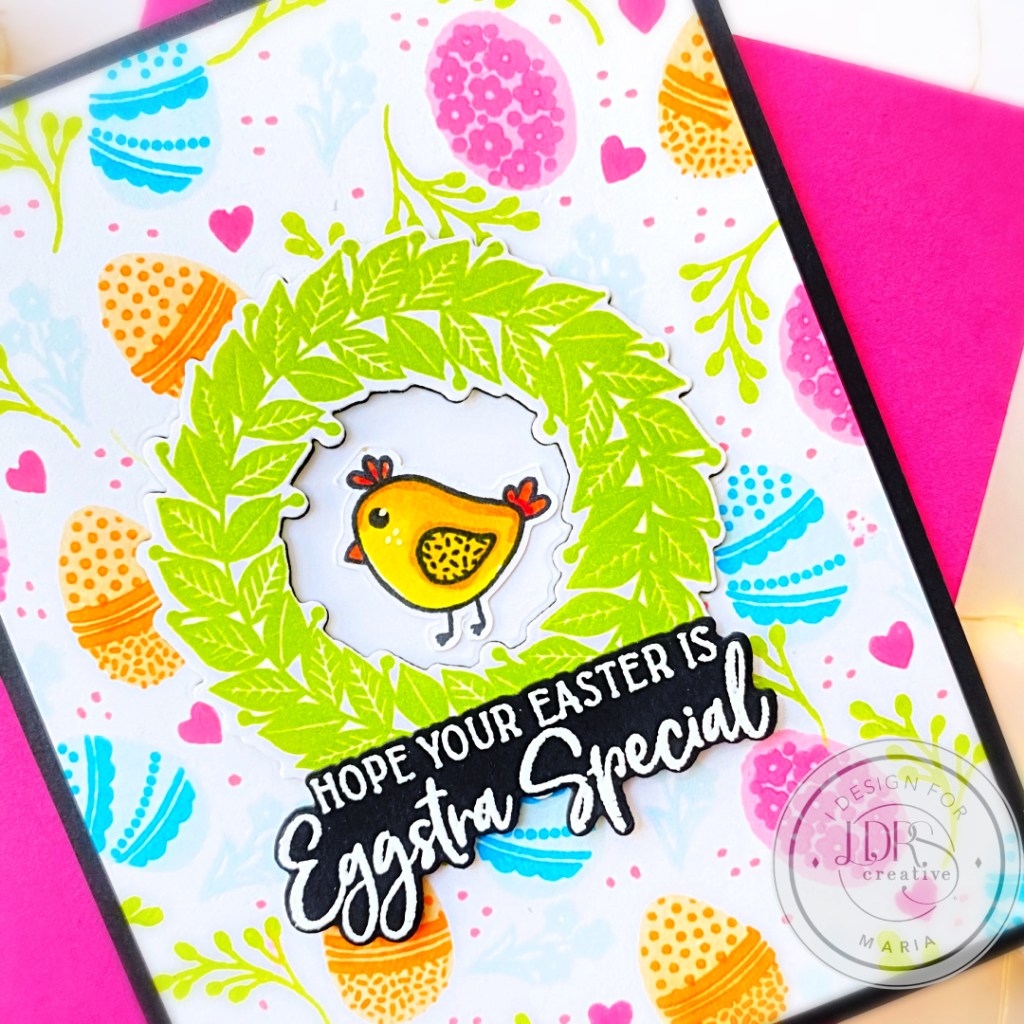
I in-laid the wreath with foam-adhesive for added dimension and adhered the center die-cut with liquid glue. I also adhered the cute little chick in the middle from the Easter Pirouette stamp set. I adhered the card front on some A2-size notecard.
To finish my design, I stamped the sentiment from the Easter Pirouette Stamp Set using Watermark Ink on some black card stock. I sprinkled some White Embossing Powder and used my heating tool to heat-set the sentiment. I love that the sentiment also has a coordinating die to cut it out perfectly! It really is worth the investment! I added some foam adhesive and liquid glue on the sentiment and adhered on the card panel. Here’s another look:
I hope you like my cards today and got inspired to shop the new LDRS Spring Release! The supplies I used are listed and linked below for your convenience. Thanks for stopping by today, and happy stamping!
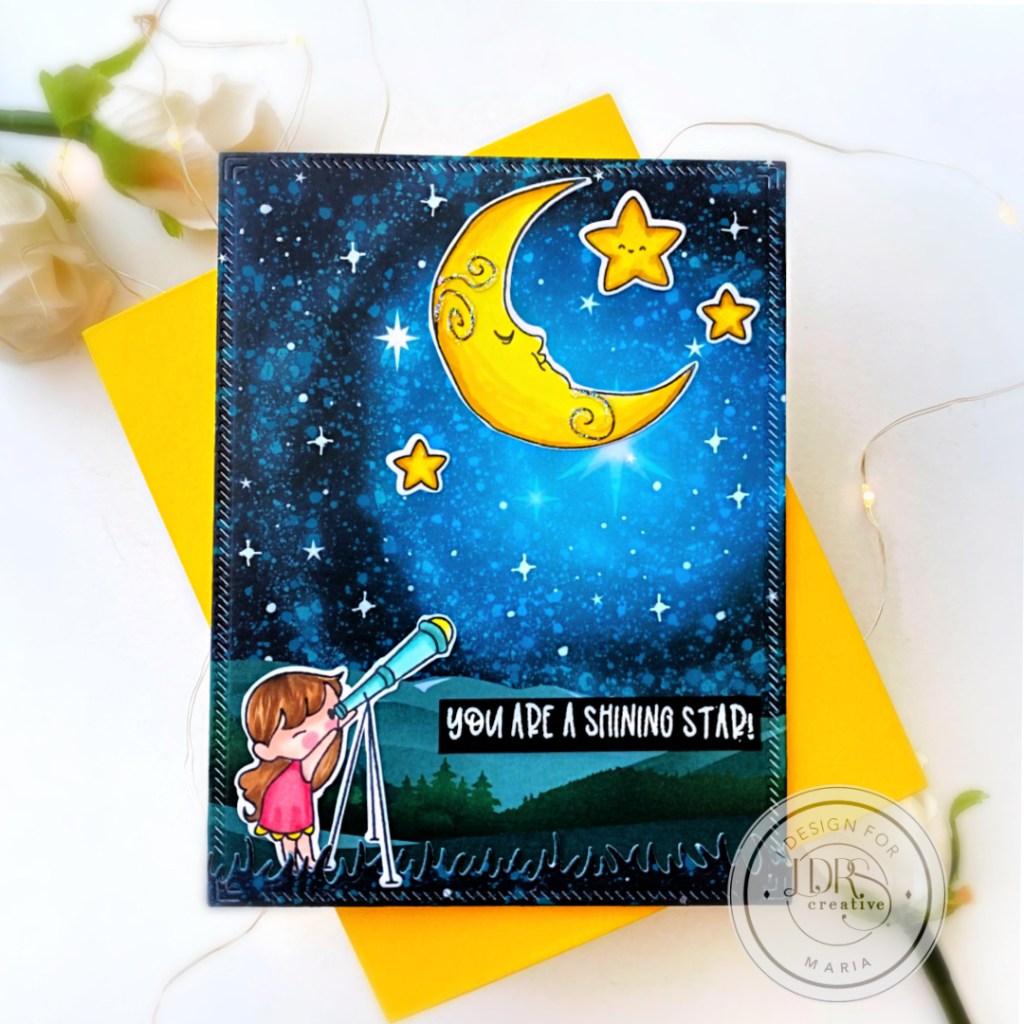
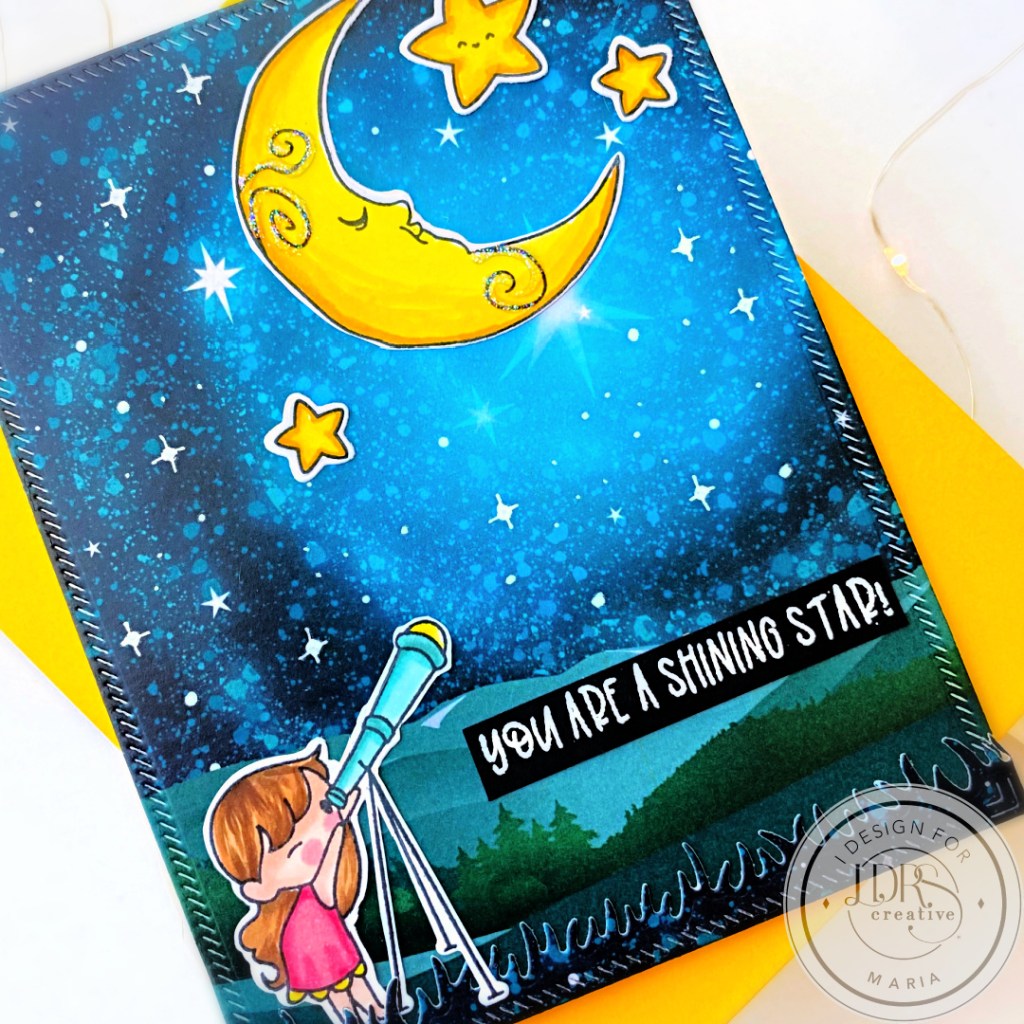
To make the card, I placed the stamps from the Never Stop Dreaming Stamp Set inside my stamping tool and stamped the images on some Neenah Solar White Card stock using Raven Hybrid Ink. I stamped the images with the help of the Stampendable Stamping Tool to get some really good impression. I colored the images in with alcohol markers and used the Never Stop Dreaming Dies to cut them all out.
The background is a pattern paper from a previously released Exclusive Craft Kit that I die-cut using the A2 Stitched Layered Card Toppers Die Set. [Side note: y’all need to check the Exclusive Craft Kit as they are packed-full of crafting goodies that you can use over and over again]. I used my white gel pen to draw dots and starbursts to the background for added texture and interest. I adhered this panel on some A2-size notecard. Since the paper is 6×6, I cut the extra using the In the Grass Border Dies. I adhered the grass panel to the background panel with some 1/8 inch double-sided tape. Other than that, I didn’t really need to do anything else since the background already has everything to create my scene.
Next, I adhered all of the images on the card with glue. Since I needed the sentiment to stand out on the card, I stamped it on some black card stock using Watermark Ink. I sprinkled some White Embossing Powder and heat-set with my heating tool. I cut the sentiment using the Fiskars Paper Trimmer and adhered on the card with double-sided adhesive. I finished my design by using some white gel pen to draw dots and stars on the background for added texture and interest. I also used some Stickles to add some shine to the moon. Here’s another look at the finished card:
I hope you like my card today and got inspired. The supplies I used are listed and linked below. Thanks for stopping by and happy stamping!
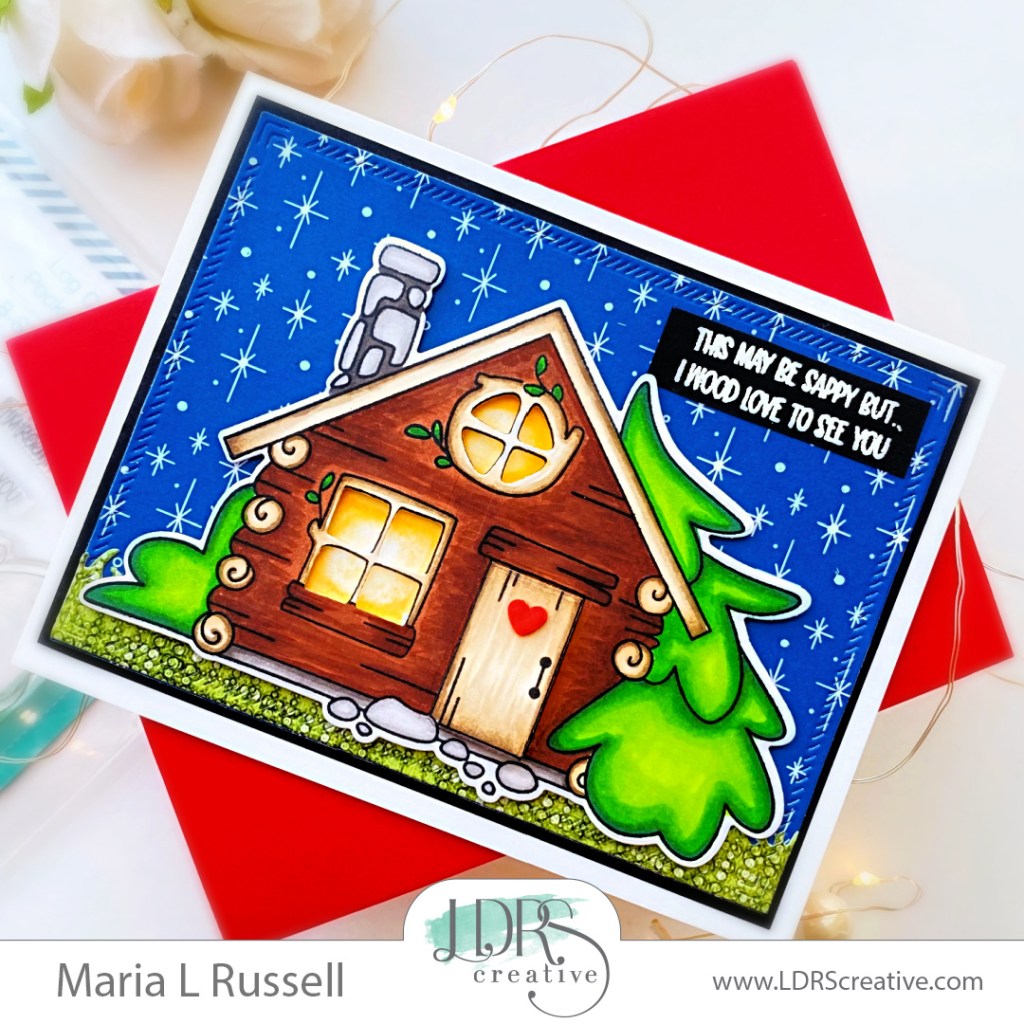
Color the images in with alcohol markers and use the Log Cabin Pocket Pals Coordinating Dies to cut it out. I also used the insert die to cut out the windows and the door to make in interactive. I love that you can open and close the door!
Use the second biggest die from A2 Diagonal Stitched Layered Card Toppers and die-cut some pattern paper. I used a pattern paper from the previously released kit but you can use any pattern paper you have from your stash.
Cut the grass using the In the Grass Die Set and the Daisy Delights Paper Pad. Adhere with glue.
Add the focal image on this panel with foam adhesive for added dimension.
Matt this panel with some black card stock that is about 1/8 inch bigger. Adhere this on an A2-size notecard.
Stamp the sentiment on some black card stock with watermark ink. Sprinkle some white embossing powder and heat-set with heating tool.
Adhere the sentiment on the focal panel and use some white gel pen to add dots to the background.
Don’t you just love that it looks “glowing” from the inside? I am so happy how this card turned out. I hope you love this card too and got inspired. The supplies I used are listed and linked below. Thanks for stopping by!
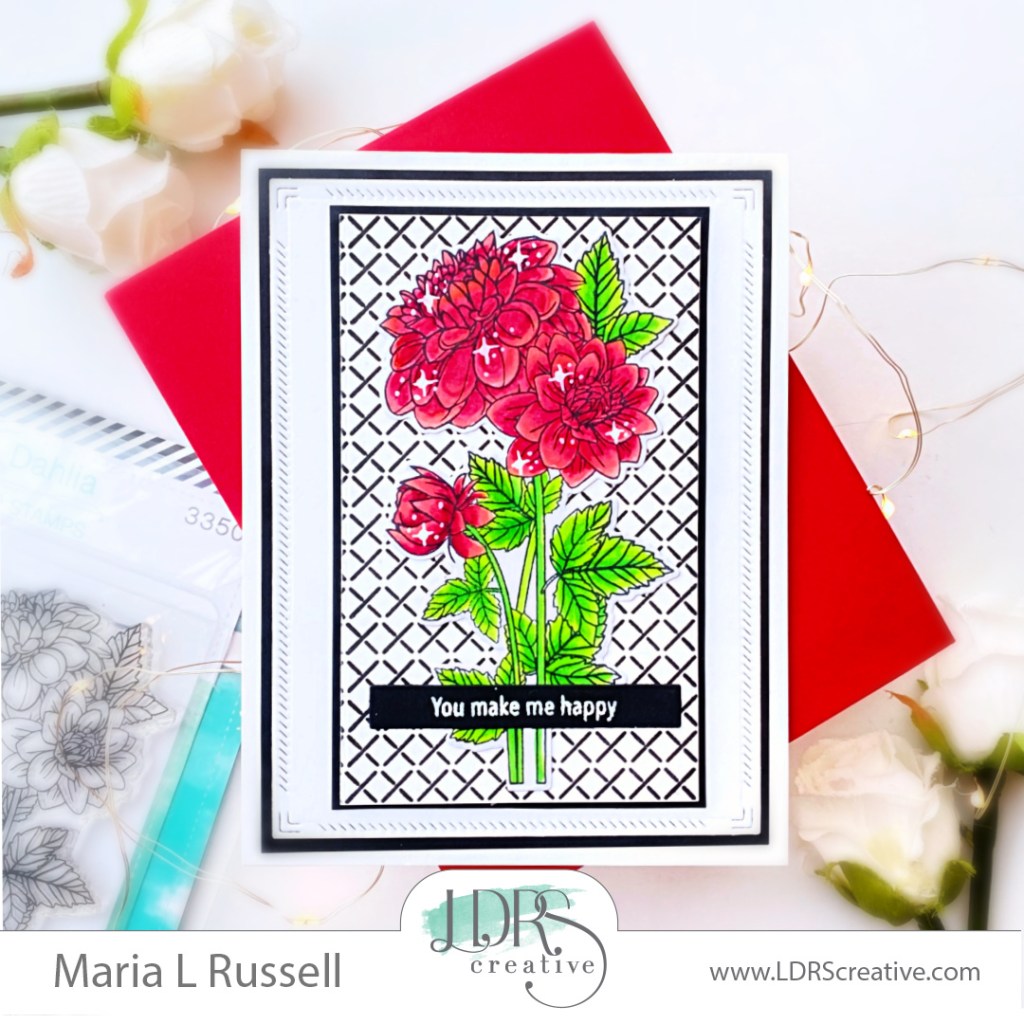
Color the images in with alcohol markers and use the coordinating die to cut it out.
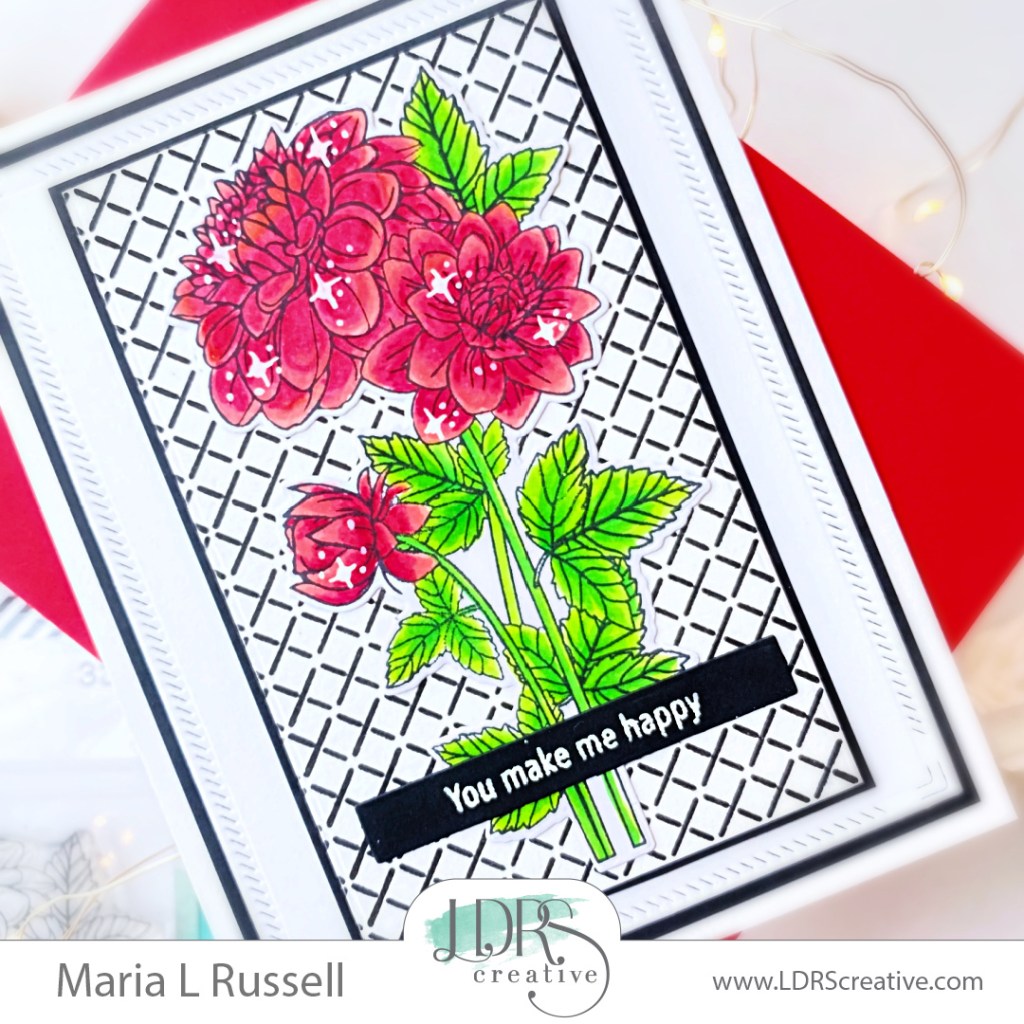
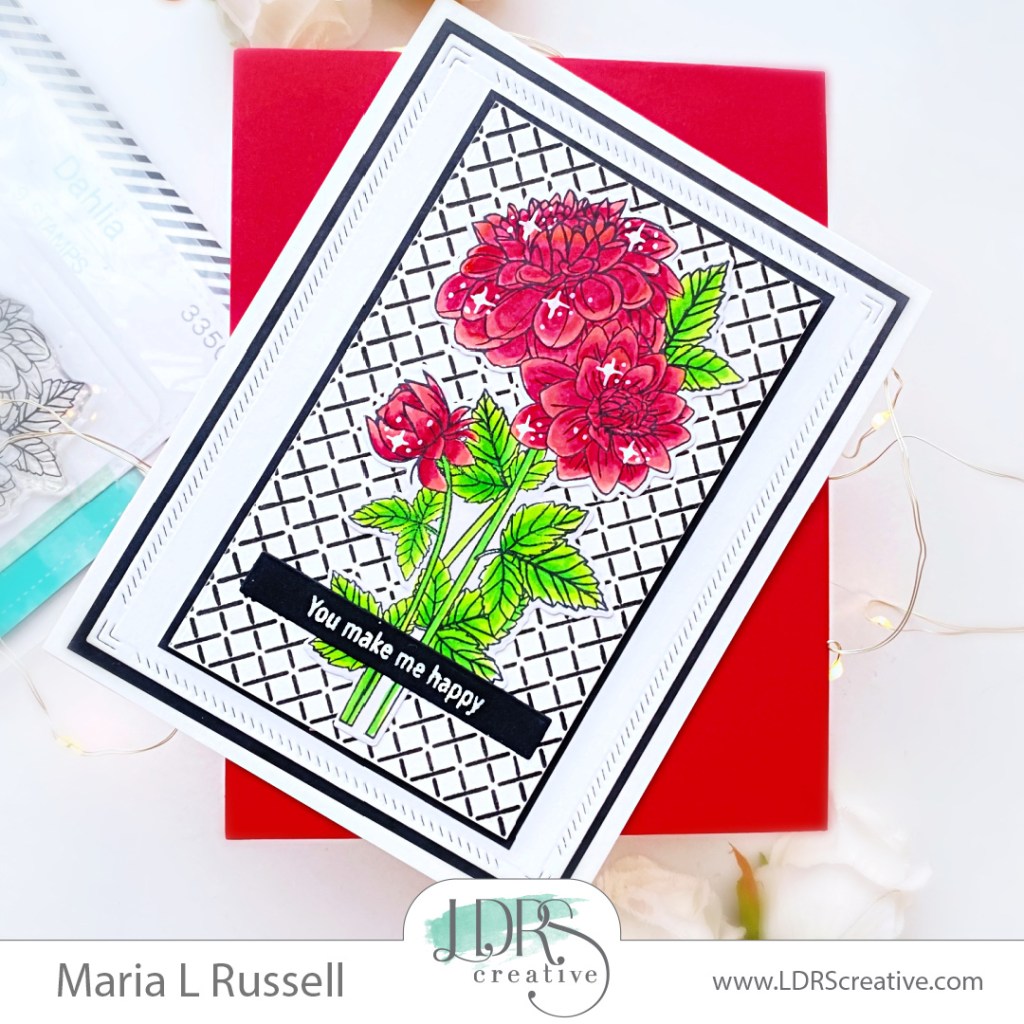
On another panel of Neenah solar white card stock, stamp the “xxxxxxx” image included in the Dahlia stamp set a few times to create a wonderful pattern. Sometimes, the added stamp images can create some beautiful pattern to use as a background for your cards.
Adhere this pattern on some black card stock to ground the images.
Adhere the pattern on the card front with liquid glue.
Adhere the focal image on the card.
Stamp the sentiments from the Happy Me Happy You stamp set and use the Sentiment Stack II Die to cut them all out. I really LOVE these type of stamp & die combo as you get to stamp a few sentiments and die cut all at once.
Adhere the sentiment “You Make Me Happy” on the card.
Finish the design by using white gel pen to add some dots and stars to the flowers for added texture.
Stay tuned for Day 2 as we bring you more inspiration tomorrow. I hope you like my card today. The supplies I used are listed and linked below. Thanks for stopping by!
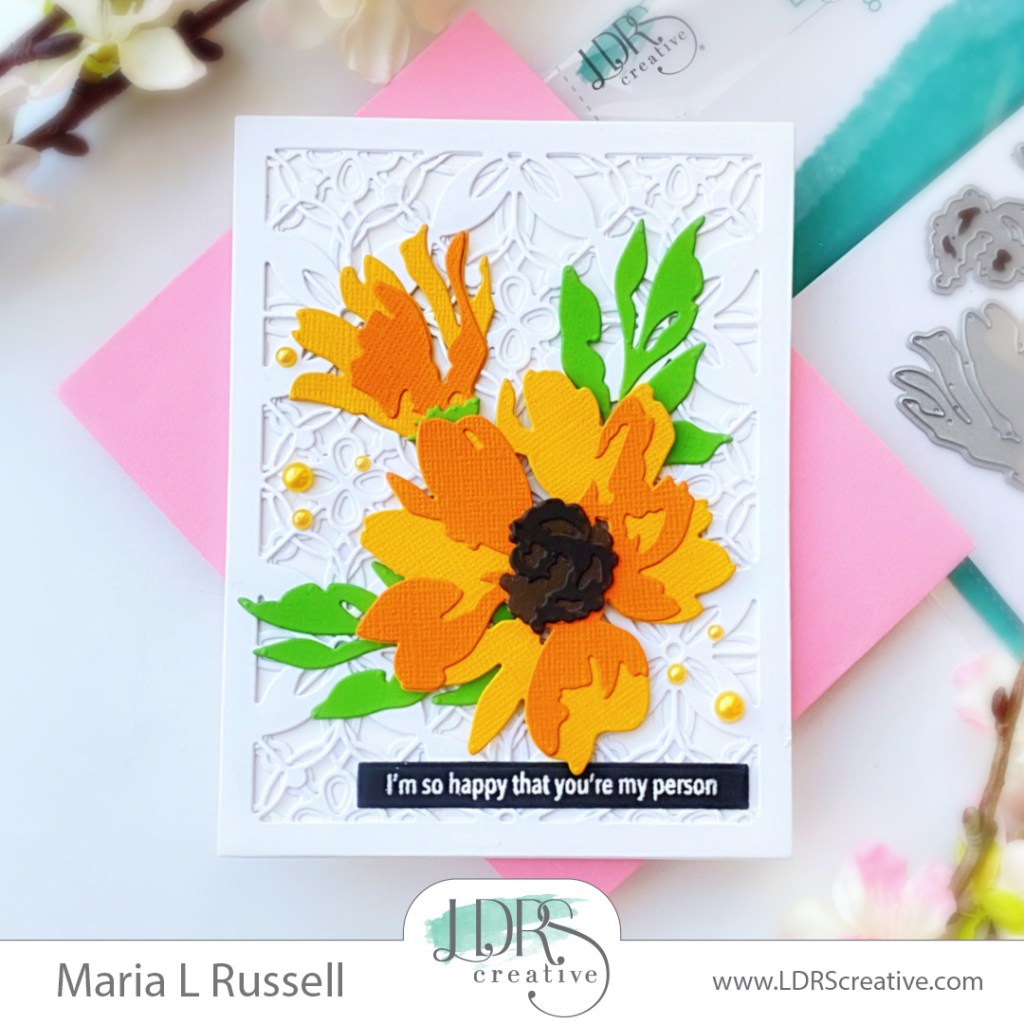
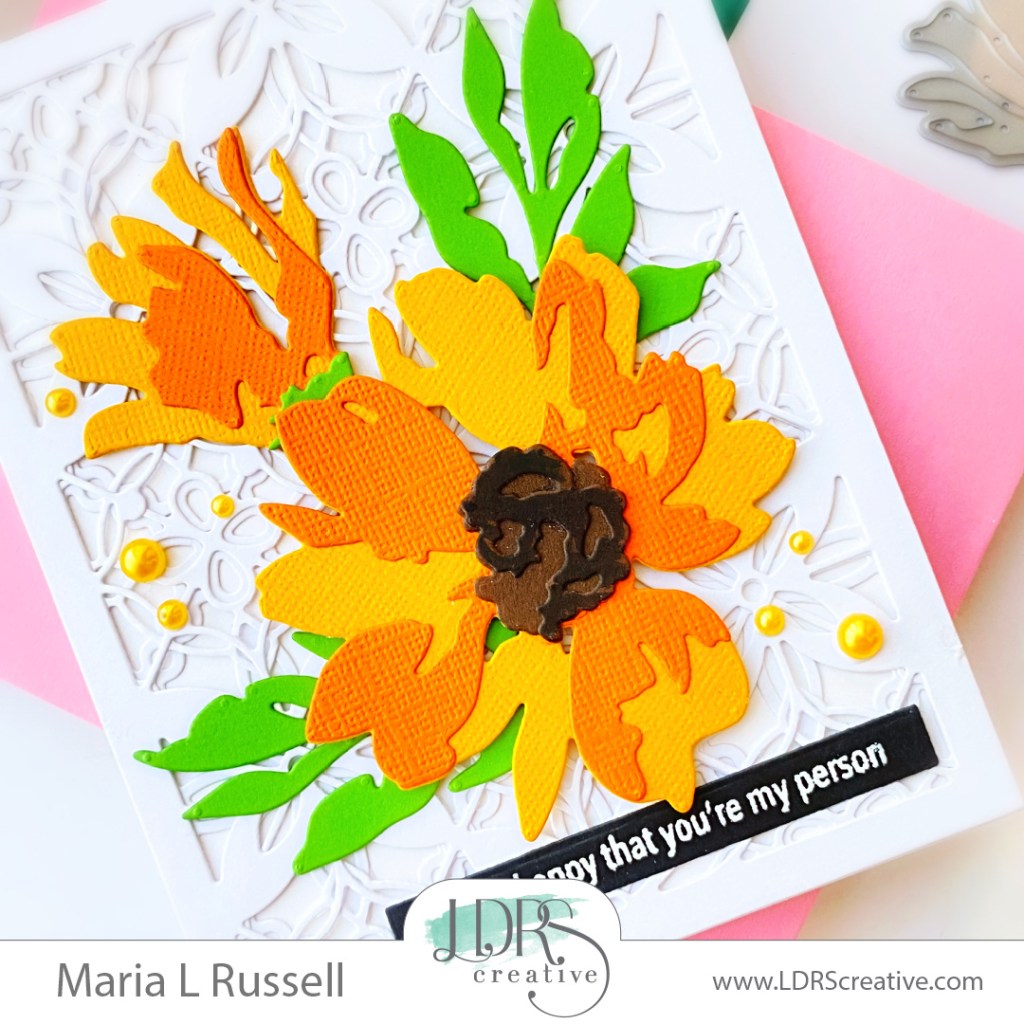
Hello everyone, it’s Maria! It’s the middle of the week and I hope you are having a great day so far! I am back today with a clean and simple card, showcasing some of my favorite products from the last release by LDRS Creative.
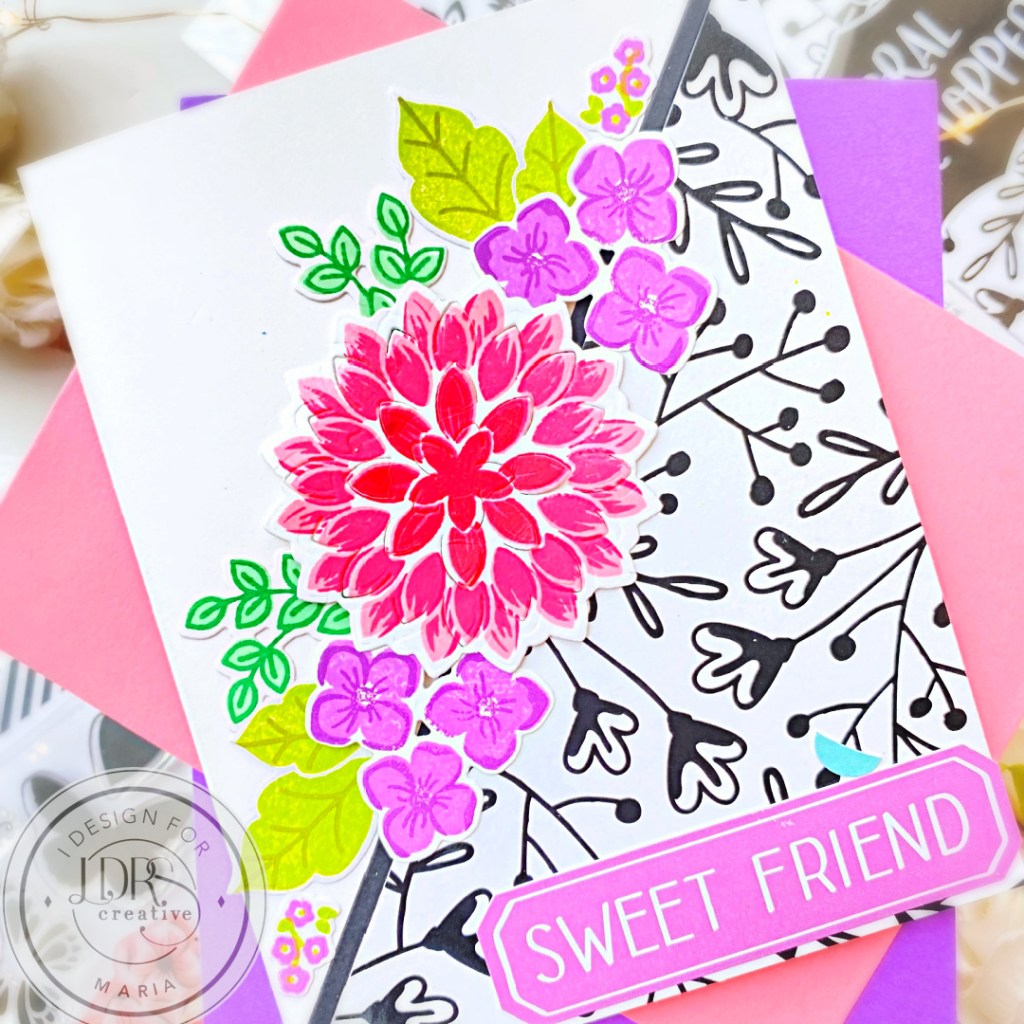
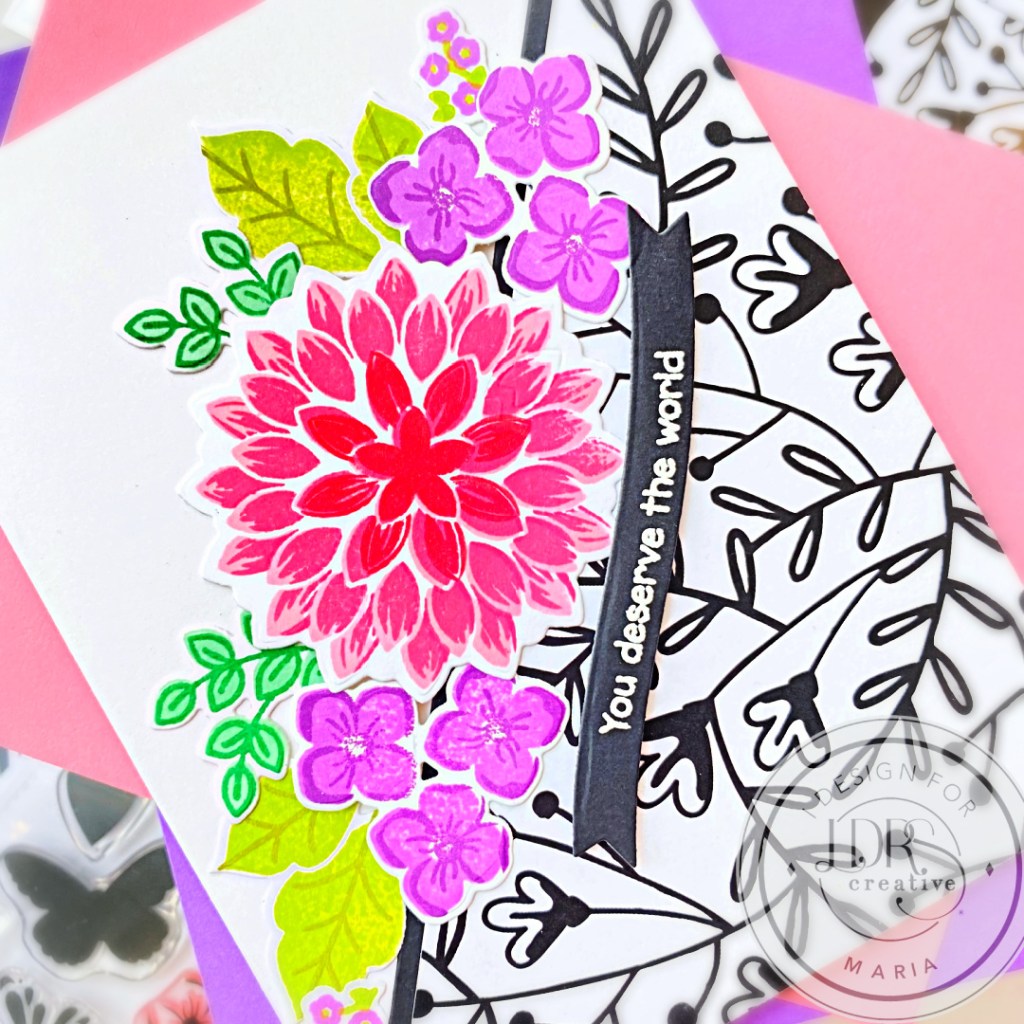
Next, I die-cut the beautiful flowers and leaves using the Perfect Petals Layering Dies with different colors of card stock. I adhered the small flowers and leaves on the card with liquid glue, then foam-mounted the bigger flower for added dimension.
I finished the card design by stamping the sentiments from the Happy Me, Happy You Stack with the Watermark Ink on some black card stock. I sprinkled some white embossing powder and heat-set with my heating tool. I die-cut the sentiments all at once using the Sentiment Stack II die set. It is so convenient to have a few sentiment strips on hand using the combo. I adhered the sentiment on the card and added some yellow-toned flat back pearls to finish the design.
I hope I have given you some inspiration today to create something beautiful. The supplies I used are listed and linked below. Thanks for stopping by, and have an amazing day!
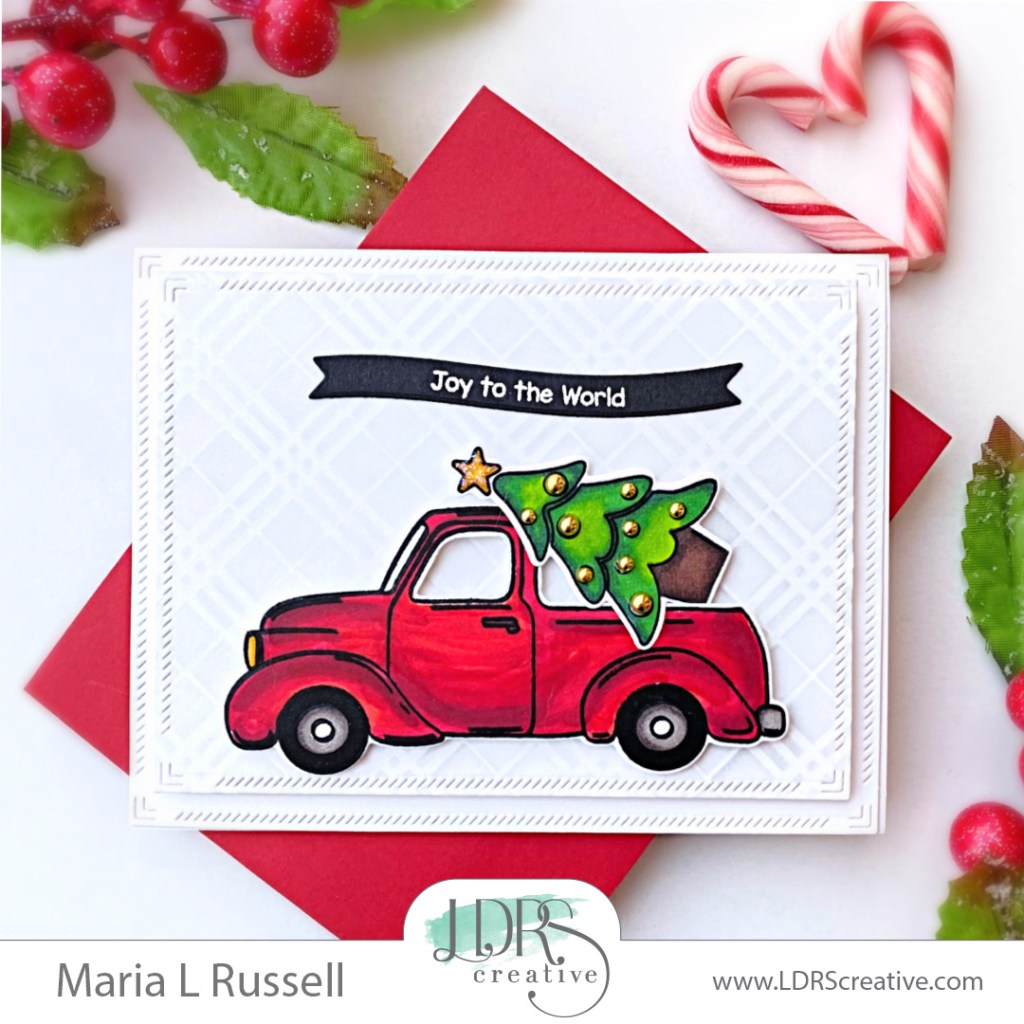
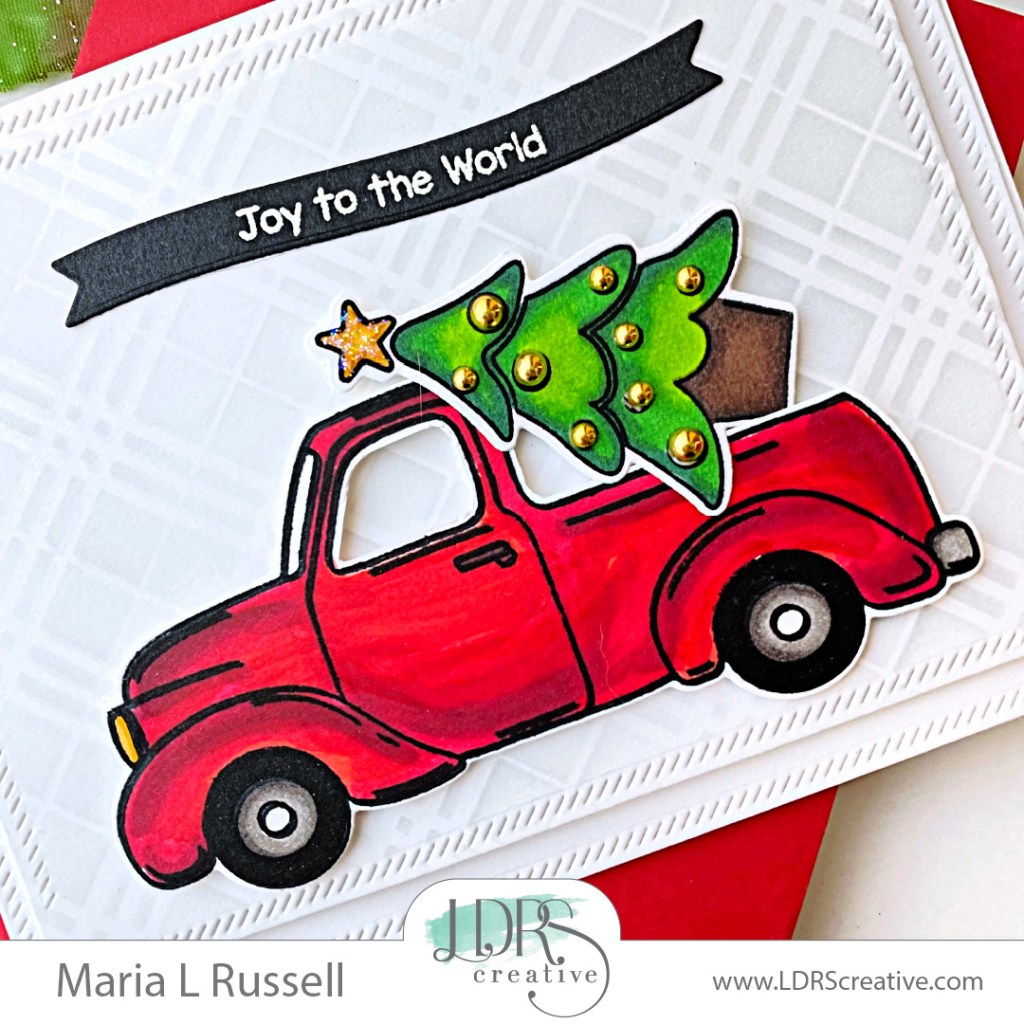
Hello everyone! I am glad to be back today to share some inspiration and I am also up on the LDRS Creative BlogI Does anyone else love mixing and matching their stamp set and dies? I do! I love mixing and matching stamp sets to create a unique card for a certain occasion.
Next, I stamped the images from the So Thankful and Country Corner Accessories Stamp Sets with Raven Hybrid Ink. This is my favorite ink to use to stamp my images. I colored the images in with alcohol markers and used the coordinating dies to cut them out. I adhered the Christmas Tree to the Red Truck with liquid glue and foam-mounted both images on the card front for added dimension.
I stamped the sentiment from the Christmas Wishes stamp set on some black card stock with Watermark Ink. I sprinkled some white embossing powder and heat set with my heating tool. Next, I used the Wave Ribbon Stack Die Set to cut them all out. I love using this stamp set and die combo! You get to stamp it at one go and have a bunch of sentiment strips to be used for future projects! Such a genius idea! I adhered the sentiment on the card using liquid glue.
I finished my card design by adhering some gold baubles on the Christmas Tree and Stickles to the star, for added texture and interest! Here’s another look at the card:
I hope I have given you some inspiration today to mix and match your stamp sets and dies. The supplies I used are listed and linked below. Thank you so much for stopping by, and have a wonderful day!
The 2021 Fall/Winter Coffee Lover’s Blog hop is here and I have another card to share with you. I feel that LDRS Creative should have a presence in this hop. I have been a part of the LDRS Creative Design Team for quite awhile now and I truly LOVE every single product that they produce. You guys should familiarize yourselves about this company because they are AMAZING!
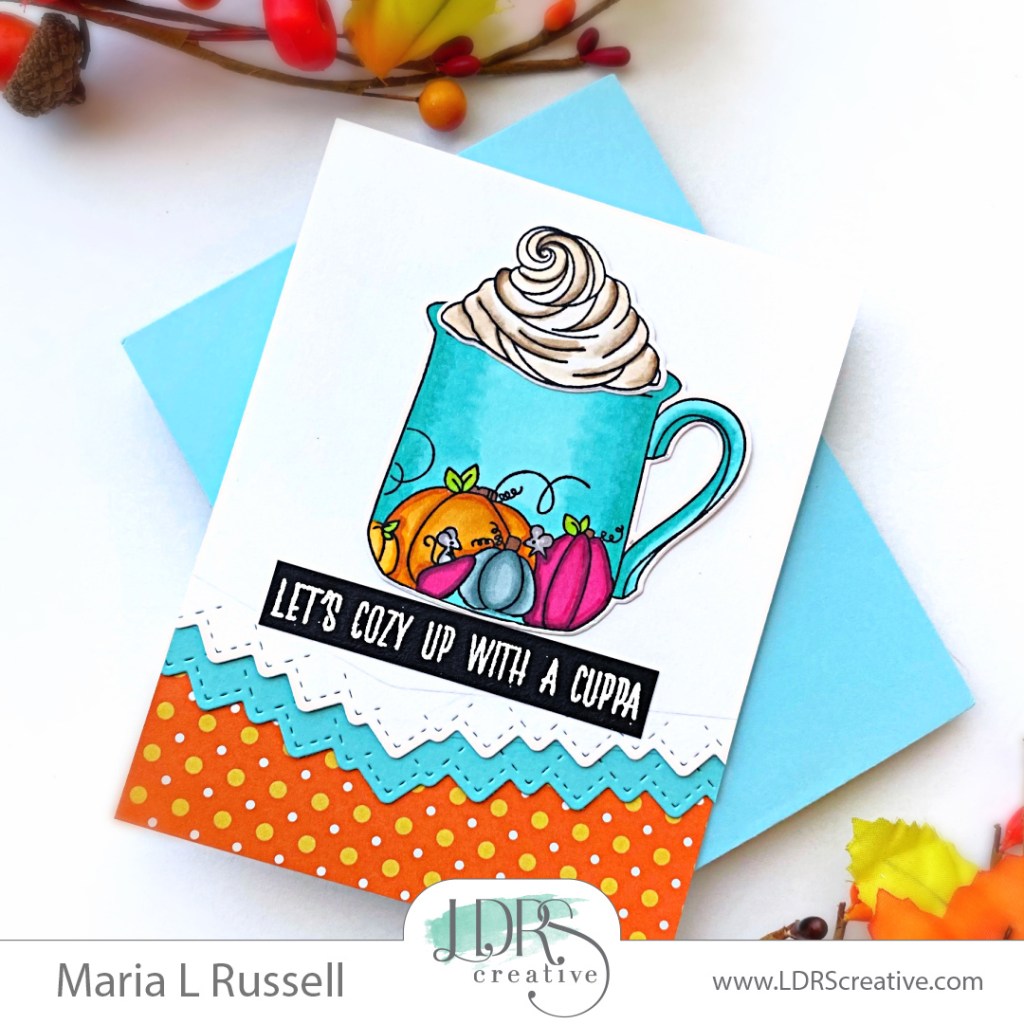
Adhere the patterned paper from the Happy Fall Paper Pad on an A2-size notecard.
Adhere the two border edge die-cuts to the card base with tape runner.
Add the focal image with liquid glue.
Finish the card design by adding the sentiment that was heat-embossed on black card stock.
Easy, peasy, right?! I really LOVE how this card turned out and I hope you do as well. The supplies I used are listed and linked below. Thanks for stopping by!