Paw-sing to Send You A Happy Hello with Newton’s Nook Designs

I have a really cute card to share with you today that is so simple to make that you can ass-produce to send to your friends. For the project below, I am showcasing the new Birdhouse Greeting Stamp Set & Dies with the Smitten Kitten Stamp Set & Coordinating Dies by Newton’s Nook Designs.

Here’s how I made this card:

I hope you like this card today and got inspired. The supplies I used are highlighted and linked within the context of this blog post. Where available, I use compensated affiliate links at no extra cost to you. Your support helps me to keep bringing you new projects and inspiration. Thank you for stopping by, and have an amazing day!

Happy Holidays with Pretty Pink Posh

Hello my crafty friends! I’m super excited to announce that I am guest-designing for Pretty Pink Posh for the months of November and December! This amazing bundle from the October Release was sent to me a few weeks back, but I had to keep my excitement on hold and announce it this month.

Incidentally, this bundle below is discounted at 15% off so you will save quite a bit of money if you purchase it now. It is packed full of goodies that you wouldn’t want to miss to create your holiday projects!

For my project today, I am showcasing the Pine Trees Die Set, along with the Happy Santa Stamp and Coordinating Dies, Layered Snowflakes Stencil, Christmas Friends Stamp and Coordinating Dies.

Here’s how I made this card:

  • foam-mount the ink-blended panel on some red slimline card base.
  • die-cut the trees using the Pine Trees Die Set on some white glitter card stock. Adhere them on the card with glue.
  • add a snowbank die-cut to the card and start adhering the colored images. Using a Reverse Grip Tweezers to grab your images and adding glue and adhering them to your card make things a lot easier.
  • Finish the card design by stamping the sentiment on some red card stock with Versamark ink. Sprinkle some white embossing powder and heat-set with the Heating Tool/Gun.
  • adhere the sentiment onto the card.

Here’s another look:

I hope you like this card today and got inspired. Below, you will find links to the supplies used to create this project(s). Where available, I use compensated affiliate links at no extra cost to you. Your support helps me to keep bringing you new projects and inspiration. Thank you for stopping by, and have an amazing day!

———-SUPPLIES———-

From Meow to You with Kat Scrappiness

I am currently in the process of moving to another destination overseas with hubby, so this project was made awhile back. I wanted to share this today since this card is super adorable, and features new products from the latest release by Kat Scrappiness, Inc.

Here’s how I made this card:

  • prepare the background panel by ink-blending some Bristol Smooth white card stock with Distress Oxide inks.
  • use some Distress Sprayer to spray some water on the background. Pick up the excess water using some paper towel.
  • use the Stitched Nesting Hexagon Die to die-cut the window.
  • use some washi tape to temporarily adhere the Ball of Yarn Stencil to the ink-blended panel.
  • for added texture, apply some white deco-foil gel with a palette knife and gently lift the stencil. Leave this panel to dry for about half an hour.
  • adhere the background on some A2-size notecard.
  • die-cut the frame by using two of the Stitched Nesting Hexagon Dies on some white glitter card stock.
  • foam-mount the frame for added dimension.
  • adhere the hexagon die-cut on the window.
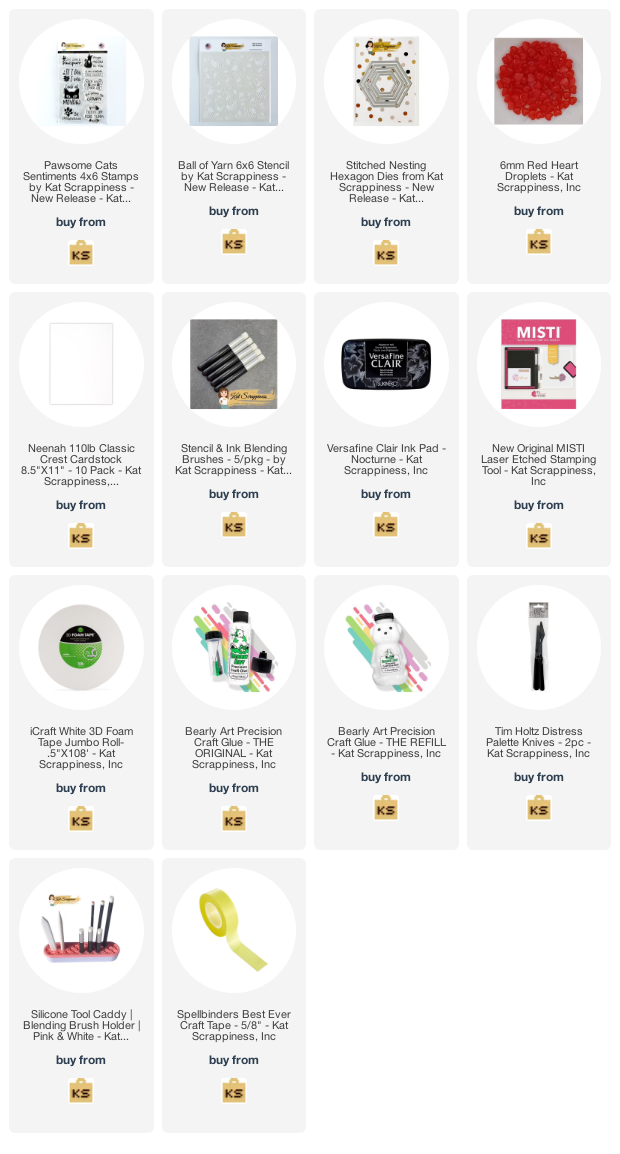
  • finish the design by stamping the sentiment onto the card using the Pawsome Cats Sentiments Stamp Set with some Versafine Onyx Black Ink and adhere some red heart for some fun texture.

I hope you like this card today and got inspired. Below, you will find links to the supplies used to create this project(s). Where available, I use compensated affiliate links at no extra cost to you. Your support helps me to keep bringing you new projects and inspiration. Thank you for stopping by, and have an amazing day!

———-SUPPLIES———-

KS – Halloween & Thanksgiving Release

Scrappiness

It’s finally here! The Kat Scrappiness, Inc. September release is AMAZING! You will find A LOT of new dies, stamp sets, paper pads and more!

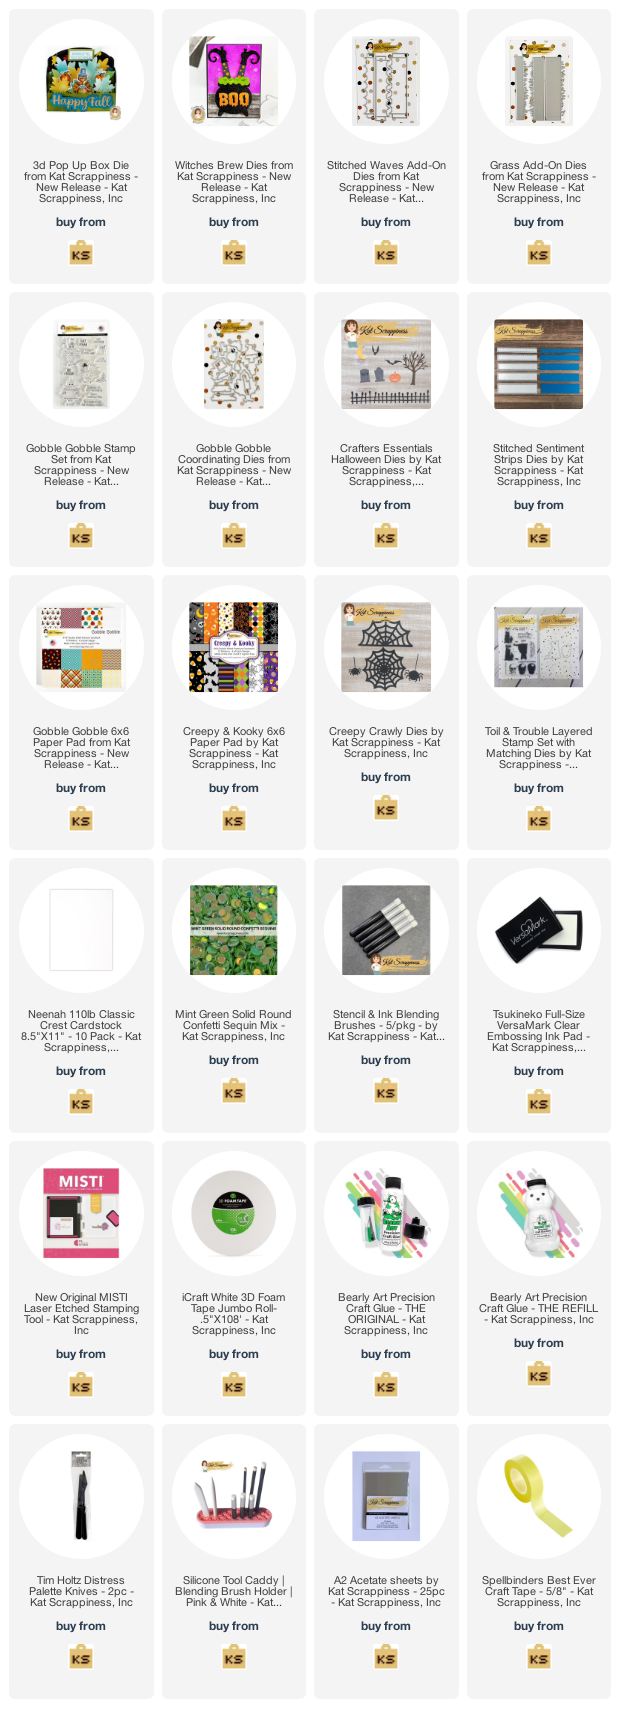
For my first project today, I am showcasing the 3D Box Pop-Up Die and Waves Add-On Die Set, along with the Witches Brew Die Set, Creepy Crawly Die, A2 Reverse Scallop Frame (Stars) Creepy & Kooky Paper Pad, Toil & Trouble Stamp Set plus a lot more.

Here’s how I made this card:

  • adhere stars to the cauldron with liquid glue.
  • adhere the cauldron on the 3D Box card with liquid glue.
  • die-cut the witch’s legs from the Witches Brew Die Set from different colors of card stock and adhere them together. Add the witch’s legs to the
  • adhere the cauldron on the 3D Box card with liquid glue.
  • die-cut the witch’s legs from the Witches Brew Die Set from different colors of card stock and adhere them together. Add the witch’s legs to the 3D Box card also with strong double-sided tape.
  • adhere the spiderweb that was die-cut from the Creepy Crawly Die on the 3D Box card.
  • cut a few strips of acetate sheets and adhere some stars that were die-cut using the A2 Reverse Scallop Frame (Stars) for added texture and interest. I love that they look like they are floating!
  • finish the card design by adding the sentiment from the Toil & Trouble Stamp Set.

Here’s another look:

For my next 3D Box Card, I am showcasing the same 3D Box Pop Up Die, Grass Add-On Dies, along with the Gobble, Gobble Stamp Set, Gobble, Gobble coordinating dies, Gobble, Gobble Paper Pad, Crafter’s Essentials Halloween Dies and Stitched Sentiment Strip Dies.

I pretty much did the same steps above. The only difference is I stamped and die-cut the images from the Gobble, Gobble Stamp Set and cut using the Gobble, Gobble coordinating dies. I also used the Gobble, Gobble Paper 6×6 Paper Pad.

The “spooky” tree was die-cut using the Crafter’s Essentials Halloween Dies and adhered with double-sided tape and finishing the card design by adding the sentiment.

In a couple of hours, we are also having an Instagram hop where you can find more projects by the entire Design Team. We also have a GIVEAWAY! Hop on over to my Instagram handle @RPRMLR77 to join and WIN.

I hope you like this card today and got inspired. Below, you will find links to the supplies used to create this project(s). Where available, I use compensated affiliate links at no extra cost to you. Your support helps me to keep bringing you new projects and inspiration. Thank you for stopping by, and have an amazing day!

——-SUPPLIES——

Love & Meows SKETCH CARD

Love is in the air and I am busy creating Valentine’s Day Cards. What have you all been up to? If you haven’t seen the new release by Newton’s Nook Designs, y’all need to head on over there and check out all the new products, including the new Love & Meows Paper Pad.

I found a few card sketches while browsing on Pinterest so I thought I’d give it a try today. I don’t normally create sketch cards because mixing patterns is not my thing; but when you have a really cute pattern paper such as the Love & Meows Paper Pad, you can’t help but show it off!

Here’s how I made this card:

  • Stamp the image from the Knead Kittens stamp set on some X-Press It Blending Card and color the image in with alcohol markers.
  • Use the Knead Kittens coordinating die to cut the image.
  • Cut some red card stock measuring 4 1/4 X 5 1/2 and adhere on an A2-size notecard.
  • Cut a few pieces of pattern paper from the Love & Meows Paper Pad and adhere to the card.
  • Use a scallop border from your collection and die-cut some dark pink card stock. [Designer tip: this will create a smooth transition between the patterns.]
  • Die-cut a small stitched rectangle with some Neenah solar white card stock. Matt this piece on some dark pink card stock that matches the scallop border. Adhere this panel on the card front.
  • Adhere the focal image on the card for added dimension.
  • Stamp the sentiment with VersaFine Clair ink in Black
  • Finish the card design by adding some heart enamel dots with liquid glue.

This card is easy, peasy! I may have to start making sketch cards more often since this took about less than 30 minutes, and it can easily be mass-produced! What do you think?

I hope I’ve given you some great inspiration today using the new products from the January release by Newton’s Nook Designs. The supplies I used are listed and linked below. Thanks for stopping by!

———-SUPPLIES——-

(insert here)

I love Fall with Newton’s Nook Designs

It’s time for some fall inspiration on my blog today. Sometimes when the stamp set is so pretty, you don’t really need to add anything else, don’t you agree?

For my card today, I am showcasing the Fall Friends stamp set with its coordinating dies along with the Sunscape 6×6 Stencil by Newton’s Nook.

I started by stamping the images on some Neenah solar white card stock with Memento Rich Cocoa ink. I colored the images in with alcohol markers. I also stamped the image on some masking paper and fussy-cut with my precision snips. I covered the colored image with the masking paper.

Next, I used the Sunscape Stencil with some Light Blue Quick Dry Dye ink to add some texture to the background. I removed the stencil and adhered the foreground to an A2-size black notecard.

I finished my design by die-cutting the “I love fall” on some white card stock. I adhered the letters on black card stock and fussy cut to create a black shadow for added dimension. I adhered the sentiment on the card with liquid glue. I also added some glossy accents to the heart to make it stand out. Here’s another look:

This card makes me want to snuggle up with my little kitty and drink some hot cocoa! I hope you love this card as much as I do! The supplies I used are listed and linked below. Thanks for joining me today!

——-SUPPLIES——–

A Friend Like You is One of a Kind

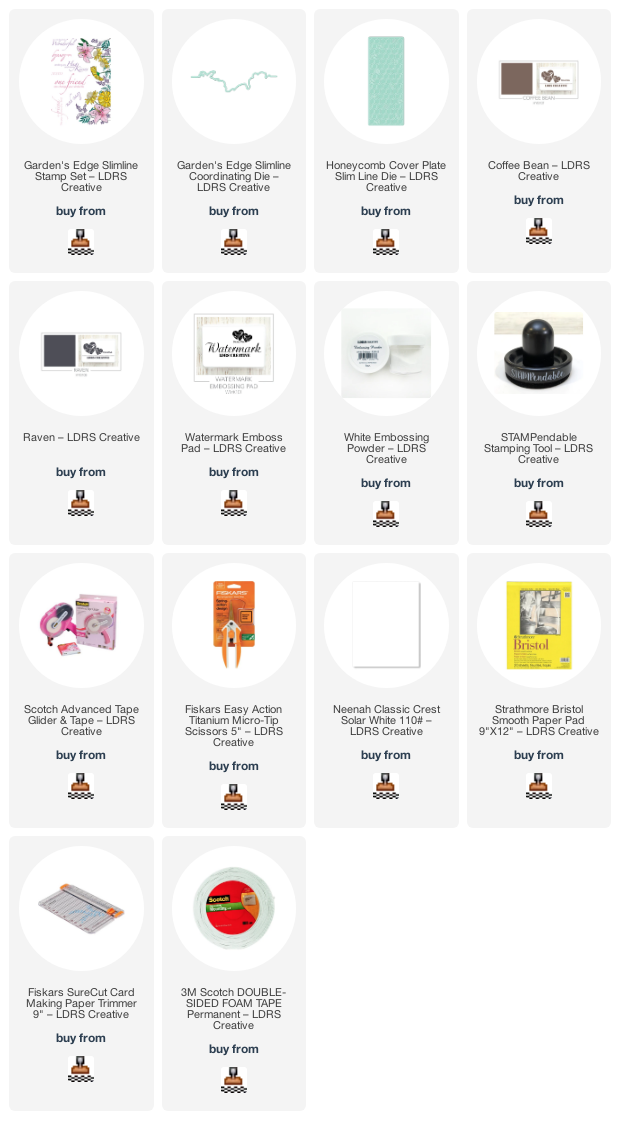
Hello LDRS fans!  Maria here with you on the blog today sharing this slimline card, showcasing the Garden’s Edge Slimline stamp set, along with the Garden’s Edge Coordinating die and the Honeycomb Cover Plate slimline die. 

I love sending some “just-because” cards to my friends and this beautiful floral stamp set is exactly what I needed.  I started by stamping the images on some Bristol smooth white card stock using Coffee Bean Hybrid ink.   What I love about the LDRS hybrid inks is the fact that you can use either alcohol or water-based markers and it will not smudge.  I colored the images in with some water-based markers.  I die-cut the colored image with the coordinating die. 

The Honeycomb Cover Plate slimline die was used to die-cut some Neenah solar white card stock and adhered with liquid glue on a slimline card base.  The focal image was popped up with foam adhesive for added dimension.  I stamped the sentiment on some black card stock using Watermark ink.  I sprinkled some white embossing powder to this and heat-set with my heating tool.  I fussy-cut the sentiment with my precision snips and adhered the same with liquid glue on the card. 

I finished my card design by adding some gold baubles for added interest.  Here’s another look: 

I hope I have given you some inspiration to create something beautiful today from the latest release.  The supplies I used are listed and linked below.  Thanks for stopping by! 

————SUPPLIES———–

Happy 4th of July Card with Newton’s Nook

Hello Newton’s Nook Designs fans! I hope you’re having a wonderful week so far! Who is excited for the 4th of July weekend? That is my inspiration for today’s post.

I am back today to share with you this 4th of July card, showcasing products from the June release called Newton’s 4th of July stamp set & dies, along with the Fireworks stencil.

To make the card, I started by stamping my images on some Neenah solar white card stock and colored the images in with Spectrum Noir Illustrator markers and Copic markers. I used the coordinating dies to cut them all out.

The colorful background was made by ink-blending some Bristol smooth white card stock with my favorite Distress oxide blends –> Faded Jeans, Wilted Violet, Picked Raspberry and Dried Marigold. I didn’t bother to color the bottom of the card stock since I knew they will be covered anyway. I sprayed this with water and picked up the excess with paper towel.

Next, I used the Fireworks stencil and Therm O Web Metallix Gel in Gold to add texture to my ink-blended background. The gel was evenly spread on teh card stock with the help of TOW Stencil Pal. I set this panel aside to let it dry for about half an hour, before adhering to an A2 size notecard.

I used the Sea Border Die Set to die-cut two strips of white card stock and foam mounted both pieces onto my card.

I cut a strip of black & white pattern paper and adhered at the bottom with liquid glue. I also adhered both images on the card using both liquid & foam adhesive for added dimension.

Lastly, I stamped the sentiment on some black card stock that was die-cut using one of the dies from the Frames & Flags Die set. I foam mounted this onto my card to give it stability. Here’s another look:

I hope you like card today. The supplies I use are listed and linked below. Thanks for stopping by and have an amazing day!

———SUPPLIES——–

You Make Rough Days Better with Newton’s Nook

Hello my crafty friends! I hope you are staying safe and having a nice week so far! I am back today to share with you a very simple card, showcasing the Puppy Friends stamp set and coordinating dies along with the Petite Clouds Stencil and the following dies –> Land Borders, Sky Scene Builder and Banner Trio.
I started by creating the background first. I used masking tape to mask off the left side of some Bristol smooth A2-size white notecard. I used some distress oxide ink and the Petite Clouds stencil to create the sky. I sprayed some water on the colored panel for added texture.

Next, I removed the masking tape and used some light gray ink to stamp the sentiment “You ARFF the BEST!” in random order.

I die-cut the clouds and the grass border and adhered them on the colored panel with some liquid glue. Since I already have the image that I colored and die-cut previously, I added adhesive and tucked it behind the grass panel.

The sentiment strip was die-cut and stamped with Versamark ink and heat set with my heating tool. Positioning the sentiment was pretty easy, covering the grass panel slightly. I finished my design by adding a red heart on one of the clouds and used my black gel pen to add more depth and texture to the puppy’s eyes and nose. Here’s another look:

I hope you like this card design today. It’s pretty simple but sometimes, less is really more!

The supplies I use are listed and linked below. Thanks for stopping by today and happy stamping!

———SUPPLIES——-